Back to the Basement
After a few months of little progress, I've had a burst of activity, moving the project forward
It’s been a few months since I last wrote about my basement finishing project, thanks mostly to being busy with other activities — building some desks, digging a duck pond, gardening, actual work, and much more. Despite the lack of updates, though, progress in the basement hasn’t been at a total standstill. In fact, I’ve made significant strides with the heating, plumbing and electric. Here’s a quick look:
When we last left off, I had just finished installing hundreds of feet of PEX tubing to heat the first floor. That work was arduous, which every muscle in my body made abundantly clear.
And yet, I wasn’t done running tubing. I still needed to create a circuit of PEX pipe to service the radiator panels I planned to install in the basement itself. The basement stays nice and cool in the summer; in the winter it gets downright frigid. Installing a few wall radiators (and a bunch of insulation) should solve that.
Unlike with the ceiling, the running of the tubes for the radiators was rather simple. I just needed to create a circuit from the manifold through each radiator and then back to the manifold. The trickiest part was that wherever I planned to set a radiator, I needed to have the PEX tubes come out of the walls and then return back into the wall to continue to the next radiator. And, this is key: to pass inspection, I needed to keep the tubes in a continuous circuit so that they could be pressure-tested.
After scouring the Internet for advice, I determined I could use a wooden brace with two holes and plastic grommets to guide the PEX through the wall and back again. Once I had done that for the four radiators, I connected the PEX back into the manifold and pressure-tested to 100 psi to verify all was tight.
I held my breath while the air compressor pumped the air into the system. To my relief, there were no explosions, leaks, or other failures.
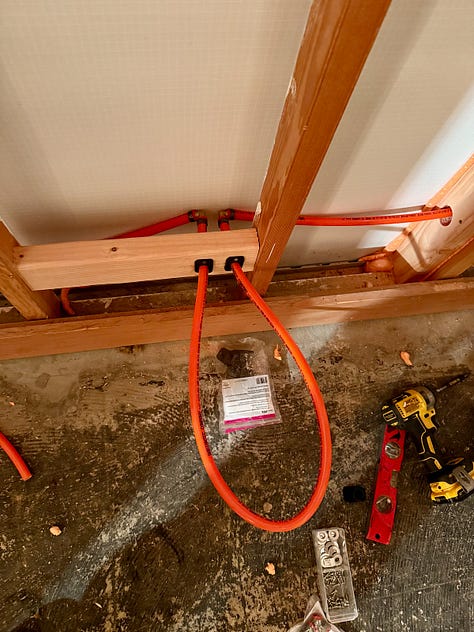
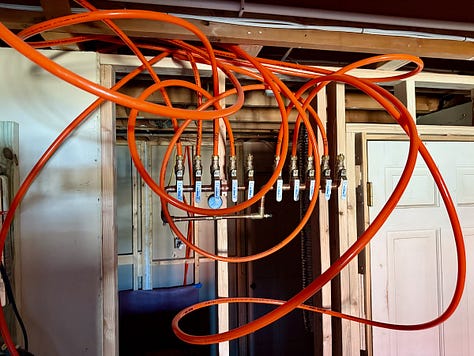
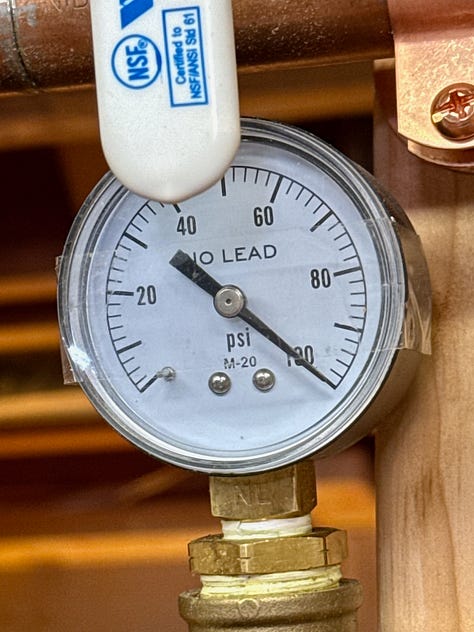
Once the still-to-happen inspection is complete, I’ll be able to add drywall and trim and fit the mess of tubes around the manifold to make it all neat and tidy. Then I can hook up a boiler, pumps, and other equipment to make the system fully operational.
Rough-In Plumbing
Next up was addressing the plumbing — mostly in the bathroom and also moving a few pipes or valves that would have gotten in the way of drywall.
Although I can do some plumbing myself, I’m keenly aware that being in the basement requires some additional considerations and code adherences, such as handling a “wet vent.” Not only was I moving a few things around, but I was also adding a shower and installing a washing machine in the basement. So, I decided to call in some experts.
Perhaps one of the best feelings in the world is knowing you have tradespeople you can trust. I am lucky that I’ve found such folks and have developed relationships with them. For plumbing, I turn to Brian. He’s helped me on projects including installing a water softening and filtration system, replacing a hot water heater, replacing a dead well pump, and running new garden hydrants.
To save some money, I had already demolished the old bathroom and busted up the concrete where the new drain system would go. Then Brian came in and set the rest of the plumbing in place. Watching him, I never felt that it was work I couldn’t have done if I had an advisor and some additional (and expensive) tools.1 Nevertheless, I was pleased he did the work and that I would have complete peace of mind that all would be well once walls were closed in and cement entombed the drain.
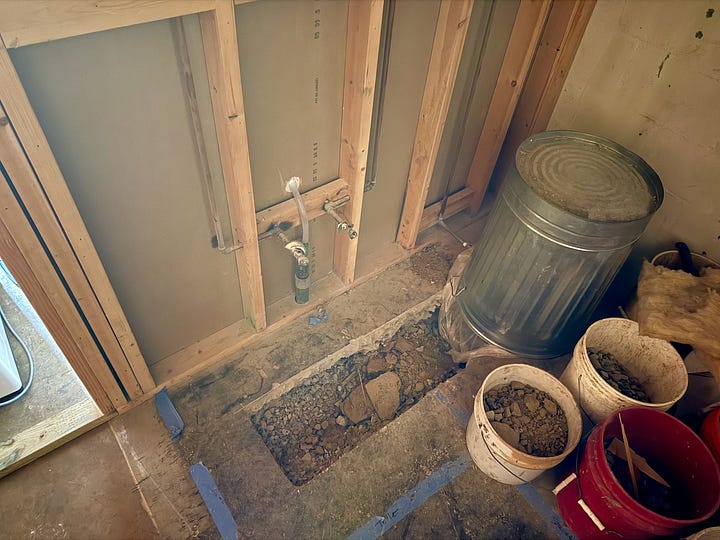
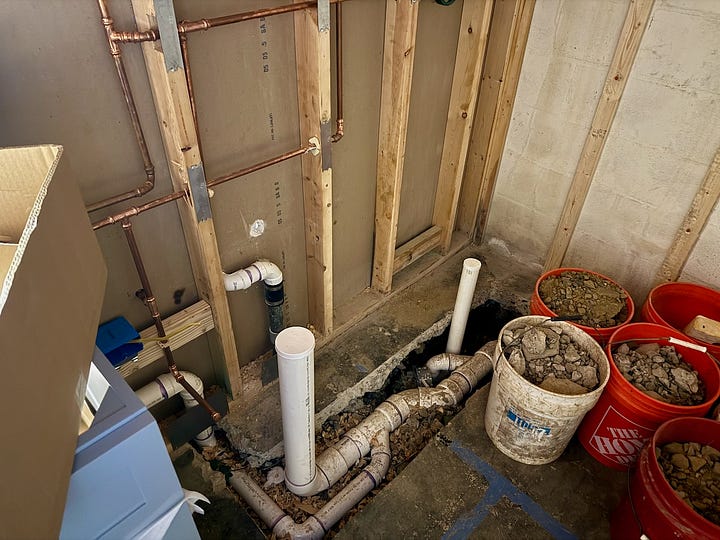
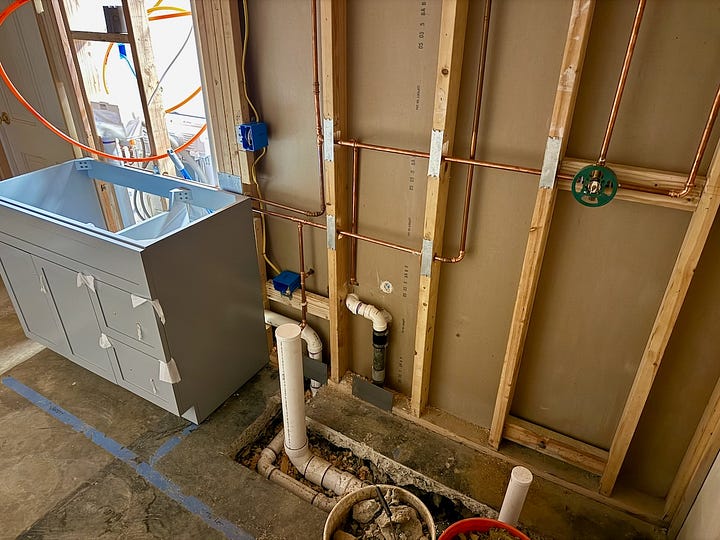
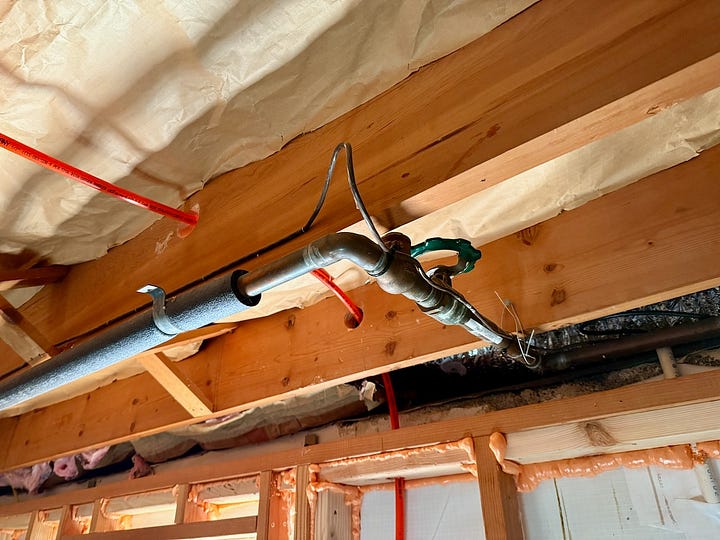
I also had Brian move some pipes and valves that would have gotten in the way of my future drywall.2
More Carpentry
After Brian finished his work, I realized I had a bit more carpentry to do — namely I needed to address a few areas where drywall would need additional support or backing. Mostly, this occurred just under the floor joists in a gap between the bottom of the joists and the top of the walls. Why there was a gap here I don’t know — for the most part, the perimeter walls had been erected by the previous owner. Nevertheless, I had to deal with it so that the drywall could be screwed into backing at the drywall’s edges.
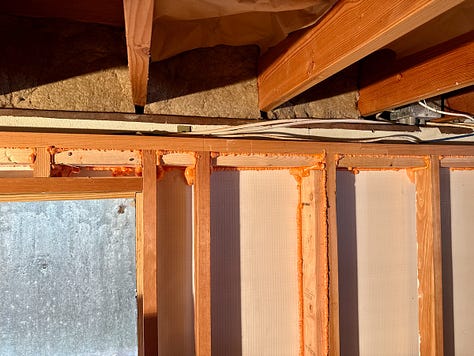
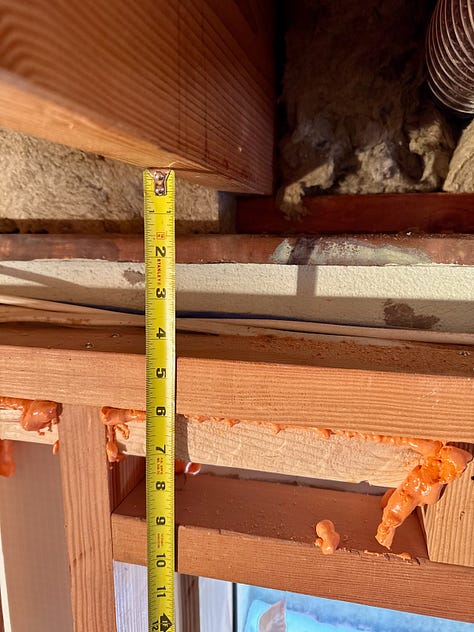

In addition, I realized I needed to build a few more bulkheads and add straps to a few places I had previously missed. None of this was hard, but it reminded me that good work is always about good prep and attention to details. If I hadn’t done these things, drywall would droop or hang funny.
Rough-In Electric
Another tradesman I’ve come to rely on and trust is Andy the electrician. He has helped me with all manner of projects, from installing an EV charger to upgrading circuits to handle heavier loads, to helping me install ceiling-mounted and 240-volt outlets in my shop and more. Again, most electric work isn’t that hard, but specialized knowledge and tools make all the difference between work you can rely on and work you’ll always worry about.
Luckily, Andy is also happy to have me pitch in and lend a hand, which saves me money (and him time), and allows me to learn.
Over two days, we pulled wire, installed new gang boxes for outlets and switches, set locations for lights, and made sure everything was code compliant.
The hardest part for me isn’t the manual labor; it’s trying to figure out where everything should go at this relatively early stage. This is especially true for the home theater setup I’m planning for the family room. The idea is to have a great 7.1 audio system including speakers in the ceiling and the rear wall. For that, I need to make sure I’m running speaker wire to the right spots.
Because I plan to build custom cabinetry for the family room and media center, it’s critical I lay everything out just right. Same for my office’s built-in desk and cabinetry. Where should everything go so that when I’m sitting at the desk, outlets are just where they need to be?
To figure this out, I needed to research the items I planned to (eventually) have in place — TV, speakers, fireplace, monitor, etc. — and size them. Then I drew it all out. Once I worked out those plans, I could decide not just where outlets and switches and lights should go, but also the placement of in-wall conduit runs for various A/V cables. Hopefully I get it right and that future Josh will thank past Josh for making his life a bit easier.
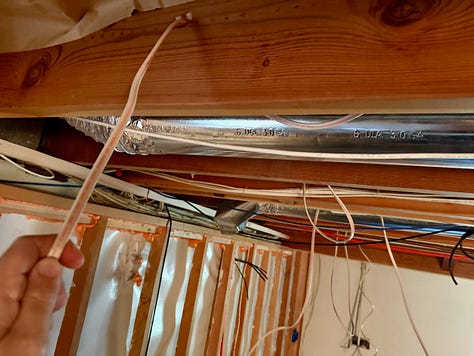
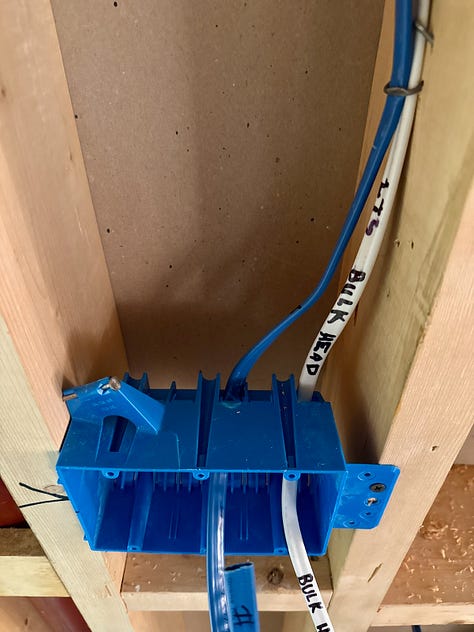

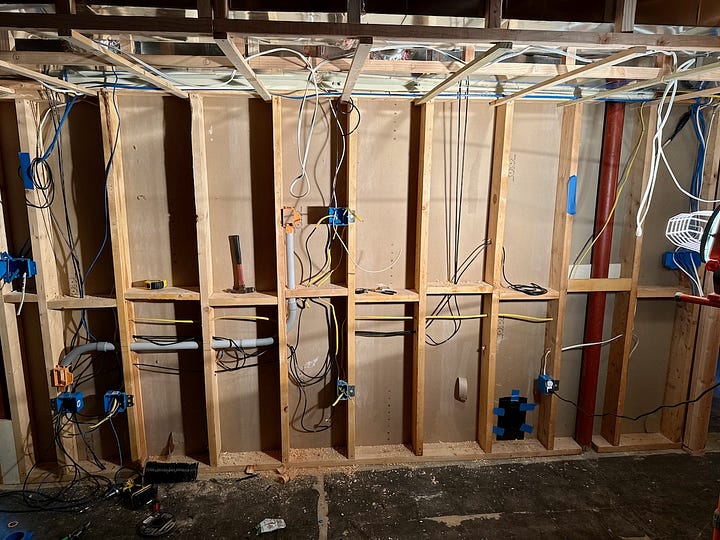
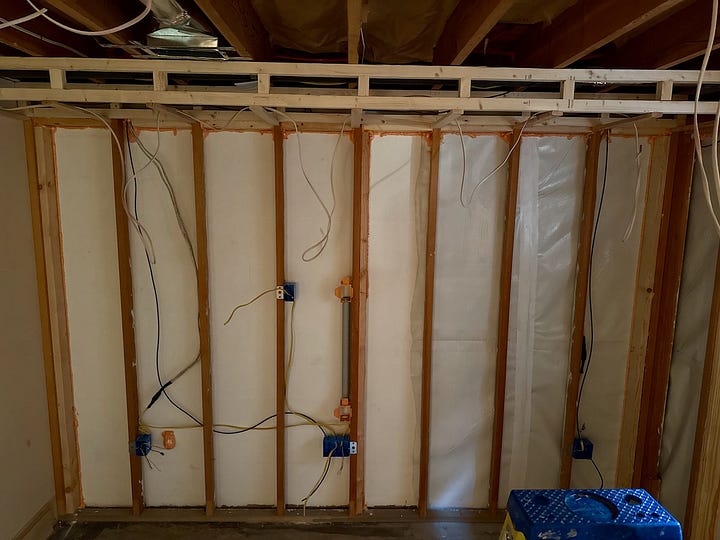
I think I’m now ready to get the inspector to pay a visit and sign off on all the rough-in work. Assuming that goes well, it’ll be time to add insulation and drywall. I’ll also be able to start building my cabinetry and finish the heating system.
There’s still an awful lot to do, but progress is progress.
In particular, a copper crimping tool that retails for about $2,300. That alone would not have made it worthwhile for me to do this work myself. Also, he had to pull out a lead connected on the old toilet drain and that, too, I was happy to not have to do.
What I didn’t have him do, however, was replace the basement sillcock valve that had burst because at the time, I hadn’t yet realized it had failed. That wouldn’t happen for a few weeks yet — not until I was cleaning the mini excavator I had rented from Home Depot with a hose connected to that sillcock valve. In fact, it didn’t happen then, either. It happened three hours later when I returned home to find my basement had flooded with two inches of water thanks to the burst pipe.
Thankfully, the basement had nothing on the ground that could have been damaged. Once I got all the water out — probably a few hundred gallons — I was able to replace the sillcock valve myself.


"Future Josh." "Past Josh." Watch out the Morlocks don't grab those pipes.