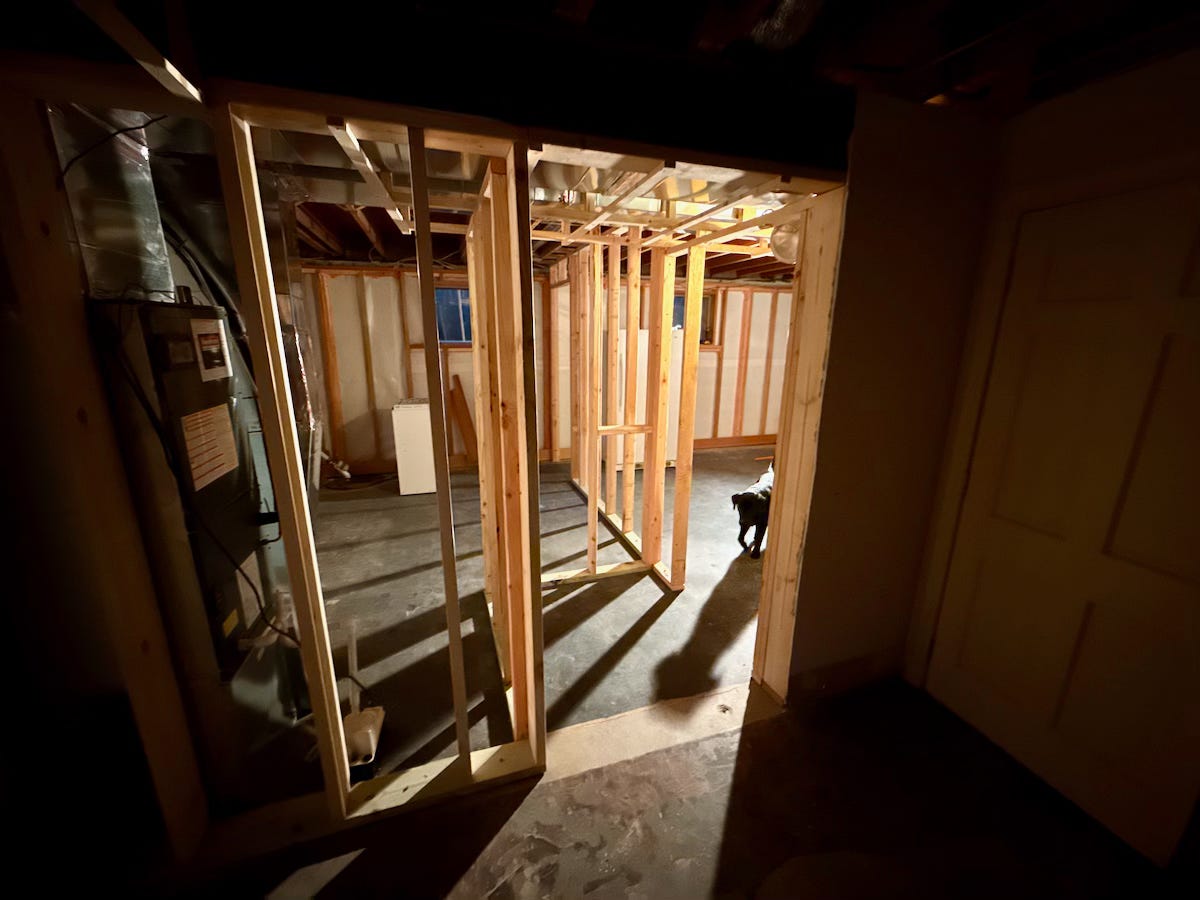
Breaking Ground, Building Walls
Demolition winds up and construction begins
Although I have a fair idea of what I want to do as I renovate my basement, and I have a general plan for what I need to do to get there, I don’t really have a firm grip on all the details. Or to put it another way, I probably know 80 percent of what to do. The problem with that, of course, is the leftover 20 percent represents an enormous opportunity to make disastrous and/or expensive mistakes.
For that reason, I’ve been looking for someone to provide me with expert guidance. A contractor on retainer, perhaps. A construction sherpa, you might say. Alas, I have nobody at the ready who fits that bill. I do have a wonderful electrician who is willing to take and respond to my texts, and a plumber who kindly answers my questions. But those are somewhat awkward conversations; I don’t want to bother them for advice on how to do something I’m not hiring them for, even if I do (and will) bring them on for other jobs, including aspects of this one.
I put out a call out on a social network for someone — a retired contractor, perhaps? — who would be willing to give me advice for a small fee. I heard from a couple and connected with one who was perfectly friendly but I think wasn’t super eager to be my on-call advisor.
As a result, YouTube and home improvement sites and magazines have become my go-to resources. The problem with them is that they provide generalized information. It’s up to me to figure out how to apply that generic guidance to my specific circumstances.
Last of the Demolition
Although I had emptied and cleared the bathroom (and the rest of the basement), I still had more demolition to do. That’s because as I stood in my empty bathroom, I decided to site the walk-in shower where the toilet had been, which meant shifting the toilet and vanity down a couple of feet. And that meant breaking up the concrete slab so I could relocate the drains.
I ventured to Home Depot and rented a 14-inch concrete saw and a jackhammer. After taping up some plastic sheets to contain the oncoming mess, I used the saw to slice relief cuts, which saturated the air with dust. I also nearly sliced off my leg when I set the saw down before the blade stopped spinning. The huge 14-inch blade didn’t stop immediately, so the blade’s angular momentum created a gyroscopic effect that caused the saw to lurch toward my thigh. I suspect the diamond-tipped blade would not have been much bothered by my Carhartt jeans. I’m glad I didn’t find out.
I then grabbed the jackhammer and started pounding away on the concrete. To my surprise and delight, it broke up the slab with ease. I picked up the debris and kept hammering away until I had broken up all of the concrete. Using a pair of bolt cutters, I snipped the embedded steel mesh and heating wire that had been embedded in the slab.
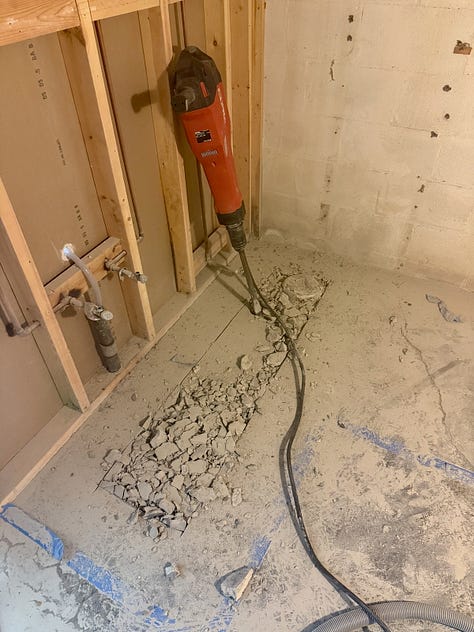
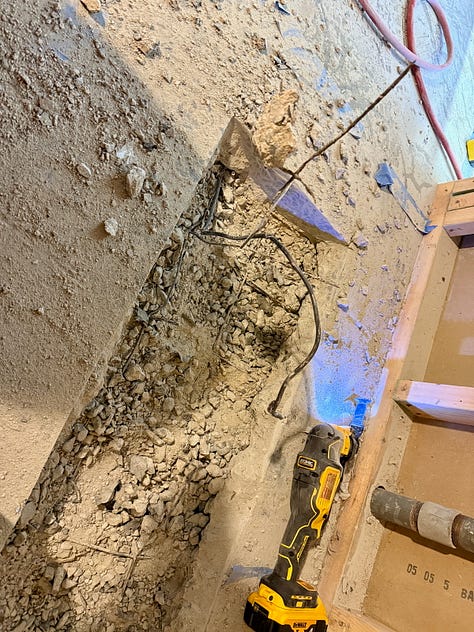
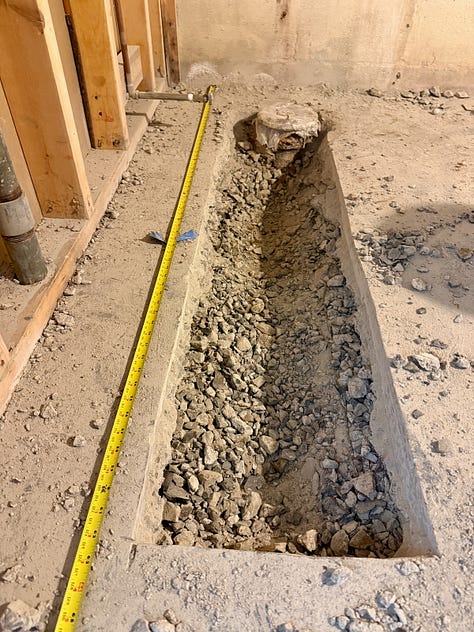
With the section of slab fully broken up, I then dug out the remaining debris and stone to make room for the future drains and traps. Then I covered the existing drain to keep sewer gasses from seeping into the basement. Finally, I spent the next rest of my life cleaning up all of the dust that had settled throughout the basement and even up into the house despite my plastic curtains.
Walls and Bulkheads (or Soffits)
Another part of the project that was calling my name was erecting new partitions, bulkheads (or soffits, depending on who you ask), and fire blocking.
For this part of the project, I decided to invest in a pneumatic framing nailer. I could nail everything by hand, of course, but with five walls to build, plus the fire blocking, I knew a nail gun would be put to good use. And boy, was it. I measured and cut my footers, headers, and studs and quickly nailed them together. I raised the walls, made sure they were level and plumb, and then nailed them in place. In some cases, that meant adding blocking between joists for the wall’s header to be secured.
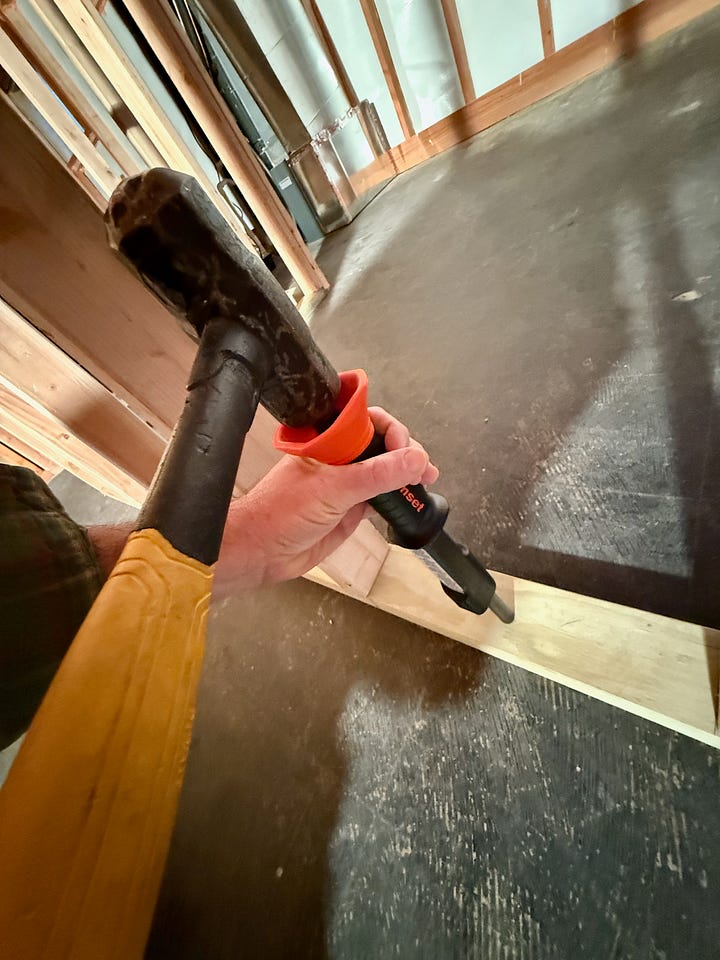
To affix the walls to the floor, I bought a RamSet “gun,” which uses .22 caliber cartridges to shoot a nail through the footer into the concrete floor. It’s kind of awesome.
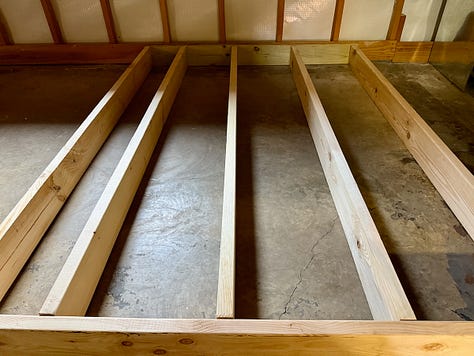
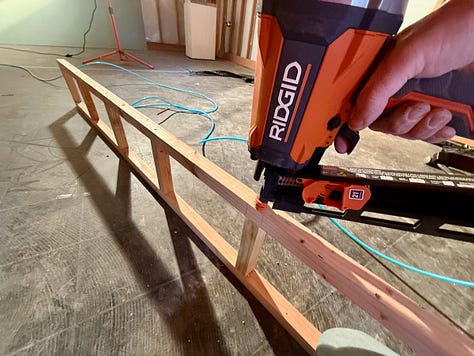
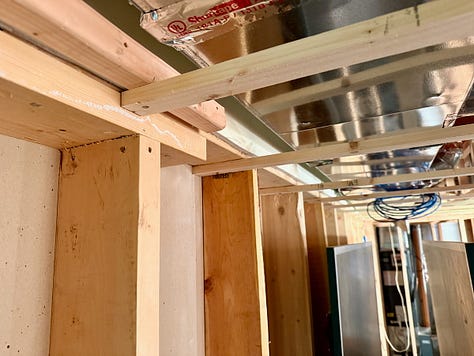
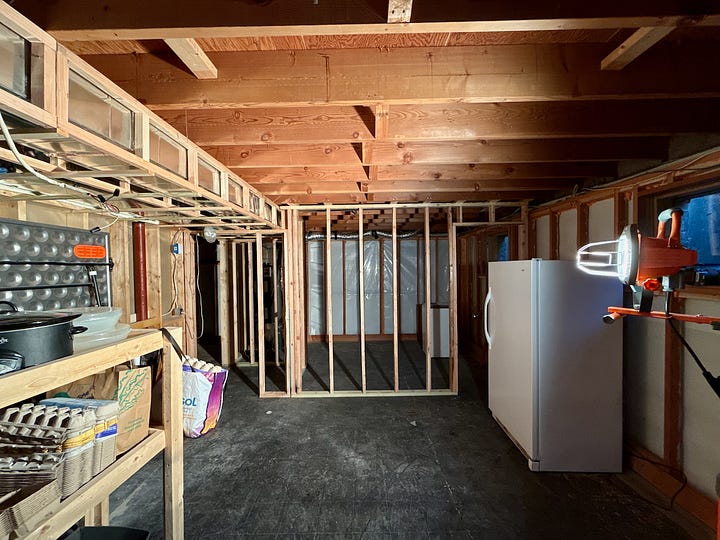
Being a basement, there exists some HVAC ductwork that hangs below the floor joists. To account for this, I had to build bulkheads to go around the ducts onto which drywall can be attached. With my dad’s help, we tore out some existing drywall to expose a wall’s header and studs. Then we attached “ladders” to the ceiling joists and then nailed ¾-inch strips across the ladders to create the bulkhead’s ceiling.
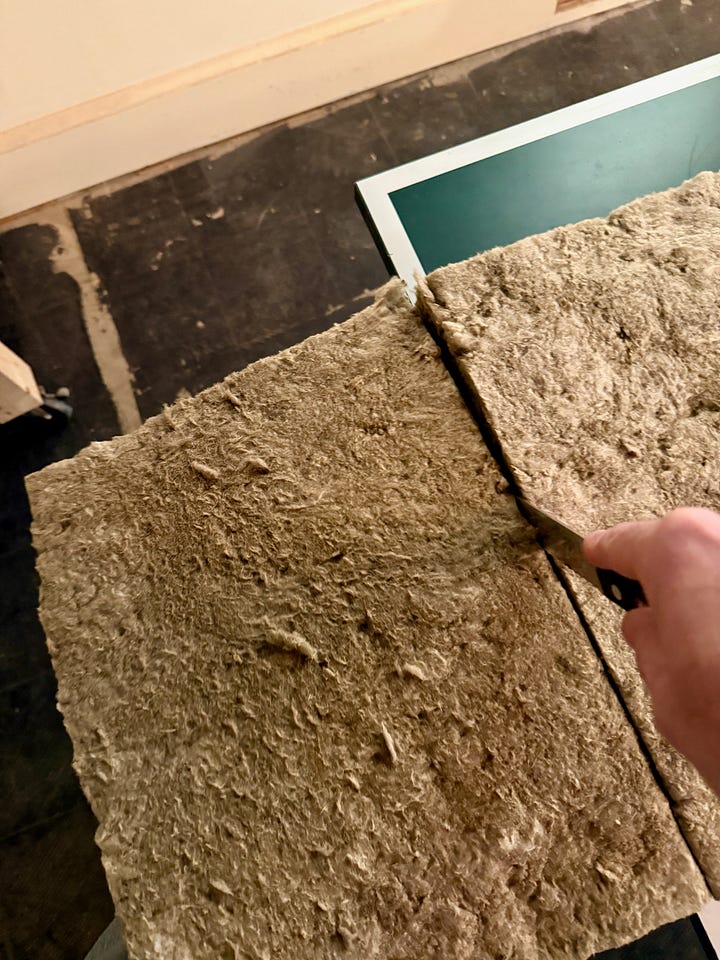
I also took this time to stuff two layers of R-13 mineral wool insulation into the basement’s eaves — that is, the space above the basement wall over the foundation’s sill toward the outside of the house. To cut the insulation, I used a serrated bread knife, which worked like a charm (but did cause some confusion upstairs when nobody could find the knife to, you know, cut bread. Maybe it was just my imagination, but I swear within minutes of pushing the insulation into place, I could already feel the basement getting slightly warmer.
Fire Blocking
In order to comply with code — or maybe more aptly, to help prevent fires from burning down my house — I needed to install what’s known as “fire blocking.” Put simply, fire blocking is using material to close gaps in the wall to prevent a fire from being able to spread along a wall or up into the floor above.
The previous owner had already built stud walls along the basement foundation, setting them off the waterproofed cement block by about an inch. So, to comply with code, I needed to close up any gaps along the tops of the wall. I also needed to close vertical gaps every 10 feet along the wall. To do this, I cut pieces of 2x4s, pushed them tight to the concrete block, and nailed them to the existing framing. I then sprayed special fire block foam along every seam where I installed the 2x4s.
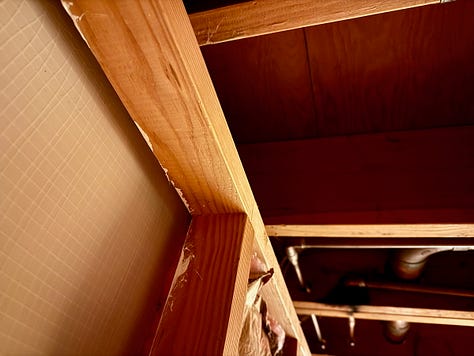
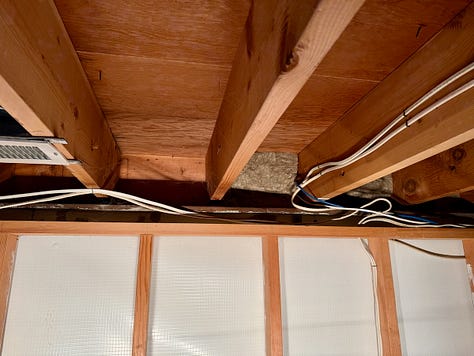
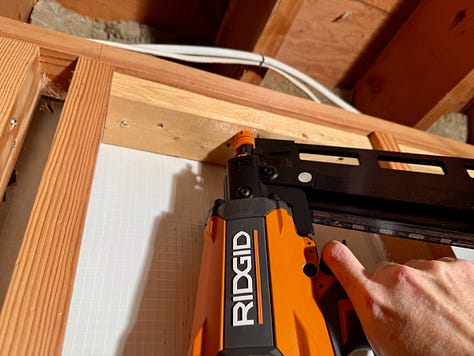
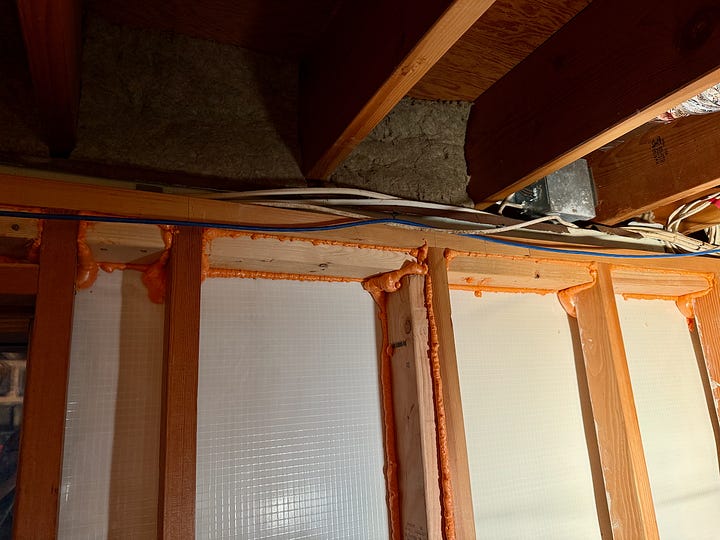
I think I did it right, but I’m not 100 percent sure. This is why I’d love to get that consulting contractor. Absent that, I expect the building inspector will let me know if I’ve failed to do it right (and presumably will guide me on how to fix it properly).
Next Up
With the walls and bulkheads in place, my attention now turns to installing the hydronic radiant heat in the joist bays over the basement and along the baseboards. That’s next time.


