New Year, New Shop Furniture
New cabinets, a flip-top lathe table, and an improved miter station significantly improve the shop
Earlier this year, I found myself frustrated with my shop. Tools and accessories were scattered about. My lathe was in the way. My miter station was too small.
What I needed was more storage space, so I built a new big-ass cabinet of drawers, a new base cabinet to support an existing tool chest, and a new miter station with a flip-top lathe table.
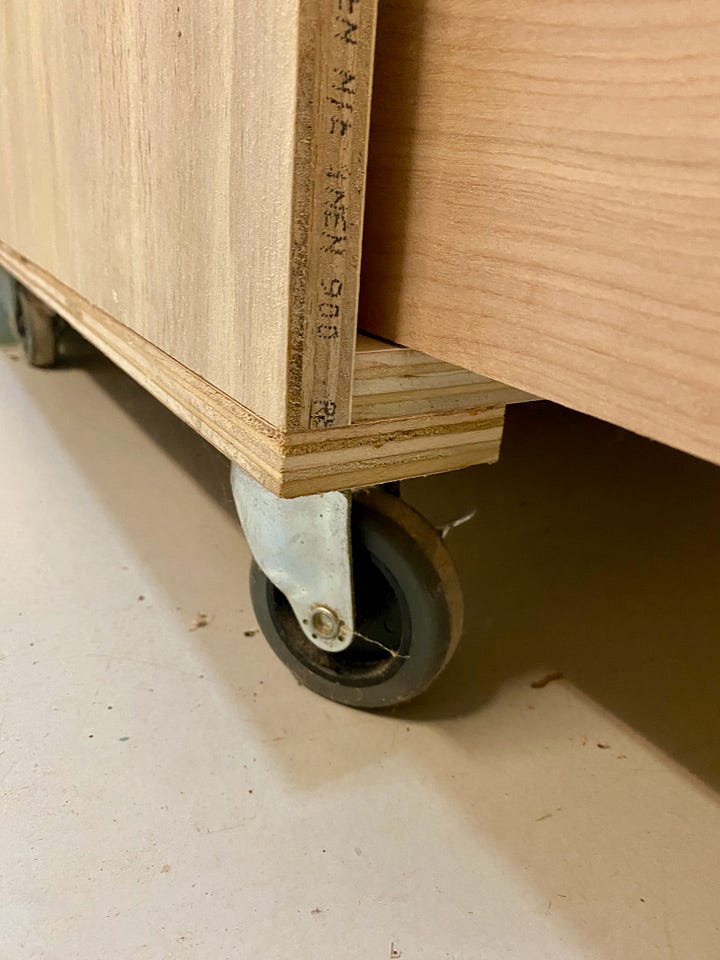
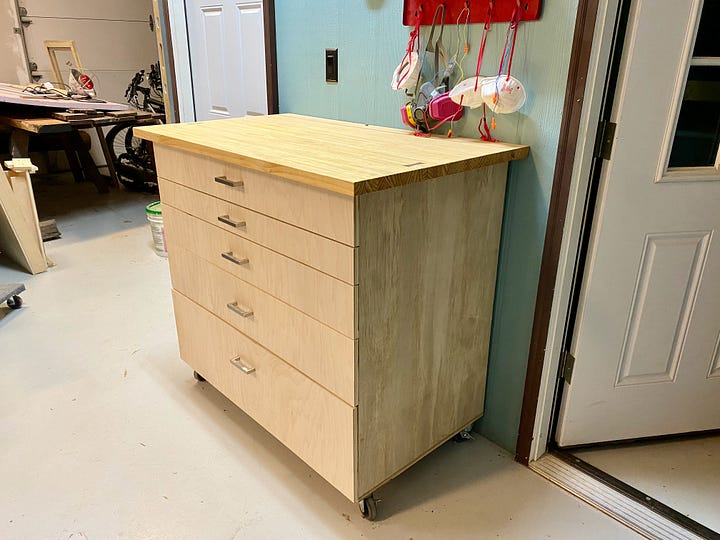
I started with the large rolling cabinet of drawers. It was important to me that the drawers be large enough to hold table saw accessories as well as a variety of drill press accessories, from bits to clamps. So, I designed the cabinet to be 42 inches wide, 36 inches tall and 24 inches deep. The build itself was straightforward — I made a plywood box with pocket screws, added some strips underneath to support heavy-duty caster wheels, and built drawers of various depths to hold all of the stuff I wanted to pack away.
For the top, I already had an off cut of laminated lumber from when I made my assembly table that just happened to fit the dimensions quite nicely. The only issue with it was a couple of gaps in the lamination. To help keep them from widening, I inlaid two hand-cut walnut bow ties.


Once that cabinet was complete, I built a second, slightly larger one that would carry one of my heavy-duty tool chests. The chest had been on a large MDF desk-like cabinet, which wasn’t really sufficient to support the weight it was carrying. It also took up too much space and couldn’t easily roll on its light-duty casters.
As with the big cabinet, I built this one using plywood and pocket screws. But, unlike the first cabinet, I added 1-½-inch-thick dadoes in the top and bottom into which I slid a double-thick panel of ¾-inch plywood. This provides a substantial amount of extra support, which I felt was necessary for the load it would carry.
Initially I planned to add drawers to the cabinet, but I haven’t done that yet. It remains open and I might decide to add shelves and doors instead, which would be cheaper and give me a different kind of useful space for bulkier items.


Then, most recently, I used my time off during the holidays to replace my miter station. My old one was designed to be mobile, but I decided a larger, permanent station would be more appropriate. When I came across these plans from Michael Alm, which incorporate a flip-top lathe station, I decided that’s what I would build.
I won’t detail all aspects of the build here (you can watch the video below or follow the plans linked to above), but I will say that it’s fairly straightforward.
It all starts with building and leveling a base. From there, you build three cabinets like the ones I describe above. A critical element to this build, however, is making sure the height differences between the wings and the miter cabinet match the height of the miter saw, which depends on the specific saw you own.
For the top, I used Baltic birch plywood and took care to ensure a continuous grain pattern across pieces. Unfortunately, I made a measuring mistake at the one point and ended up having to replace a piece. As a result, one sections doesn’t follow the same grain pattern. I might be the only one who notices, but it is nevertheless annoying/frustrating.


After I finished following Michael’s plans, I decided to make a couple of enhancements.
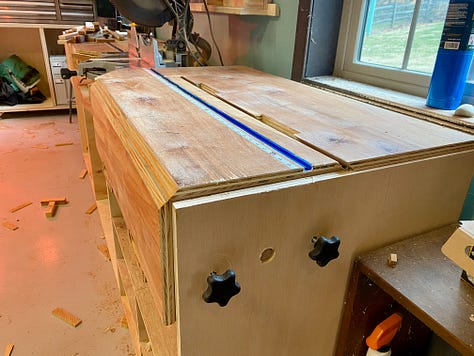
First, I wanted to include a built-in measuring tape and add a stop block to the track. To do this, I ordered half-inch wide left-to-right and right-to-left self-adhesive metal measuring tape. Then, with a half-inch dado bit mounted in my router, I clamped a straight edge to the cabinet, set the router bit to a depth of a 1/32nd of an inch, and cut a path through the top. I then carefully measured the distance from the saw blade to a point in the table and used that to index the tape into the path. Once set, I repeated the process on the other side of the blade.
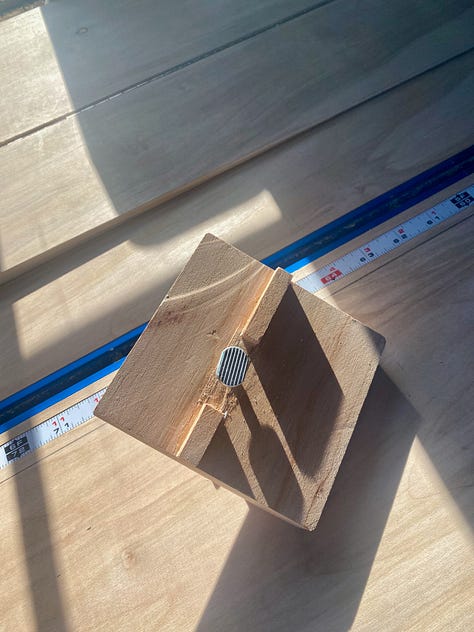
Second, I needed to add a stop block. To do that, I found a 3x3 piece of two-inch-thick hardwood. In order to fit it into the track, I needed to remove some of the thickness except for a half-inch-wide rail, which would ride in the track. Then I needed to cut away part of the rail and insert a T-bolt that I could tighten down with a knob.
Next, I wanted to strengthen the “lock” on the miter flip-table, so I drilled a hole into each side of the lathe carriage and through to the outer cabinet. Into the holes in the cabinet and the carriage I screwed threaded inserts into which I could screw and tighten down bolts. Then I flipped the carriage over and used the existing holes to determine where new holes could be drilled and inserts inserted. When all was said and done, I had two “locks” on each side of the carriage that would work when the carriage was in either position (lathe up or lathe down).


I realized I was removing and re-seating the lathe, which was causing the screw holes to loosen. Concerned that this could eventually lead to an inability to hold the lathe in place, I inserted and epoxied threaded inserts into the carriage base. Now I could bolt the lathe in and remove it without concern that I’d be loosening the threads in the wood.
Satisfied with the enhancements, I applied boiled linseed oil to the top of the entire station, followed by a thin coating of paste wax.
As with the tool chest cabinet, the cabinets under the miter station can take drawers or doors, but I haven’t added either yet. Soon.

