From Trash to Table
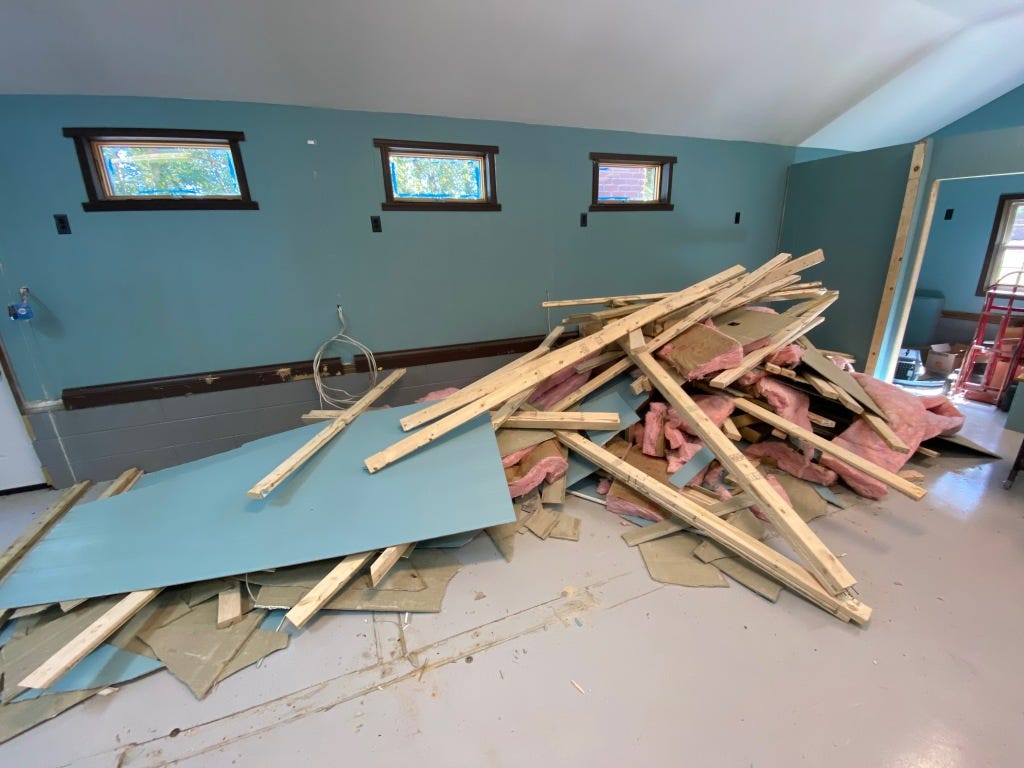
When I started to demolish the extraordinary well-built kennels in the garage, I assumed I'd throw everything into the trash dumpster. But I quickly realized that a significant portion of the debris was in the form perfectly usable pine 2x4s and 2x6s. Throwing them away would be a tremendous waste. And with wood prices being as high as they are, reusing the timber would not only be good for the environment, it'd be kind to my wallet.
Among the ways I could reuse the wood would be to build bench tops by laminating them together. I figured this would be a fairly simple weekend project. As usual, I was wrong.
As I mentioned in my greenhouse bench post, one of the first tasks after taking apart the kennels was to clean up the leftover timber. This included removing screws and nails and slicing off the sullied edges, which were replete with caulk, construction adhesive and bits of cement board. The best way I could come up with to clean the boards was to run them through the table saw, slicing off each edge.

The only real downside of this approach was that it was near impossible to create straight edges on the boards. Not only were some twisted or cupped, but because both edges had varying amounts of junk on them, there just wasn't any straight edge to reference. And since the boards were six to eight feet long, that only contributed to the difficulty of cutting in a straight line.
Nevertheless, with my dad's help, I was able to clean up the edges of something like 200 boards. (By the way, if you aren't already, I highly encourage you to read/follow my dad's blog about building a boat in his garage.) This process alone took a couple of weeks.
My plan for building a bench top was to face-glue the 2x4s to each other. I estimated that 32 boards glued together would result in a top that would be about 42 inches wide by three inches thick and about 7 feet long.
However to do this, I would need to work in sections of roughly four groups of 8 boards so that I could fit each section through my planer. Then, once each section was ready, I could glue them together to reach the final tabletop dimensions.
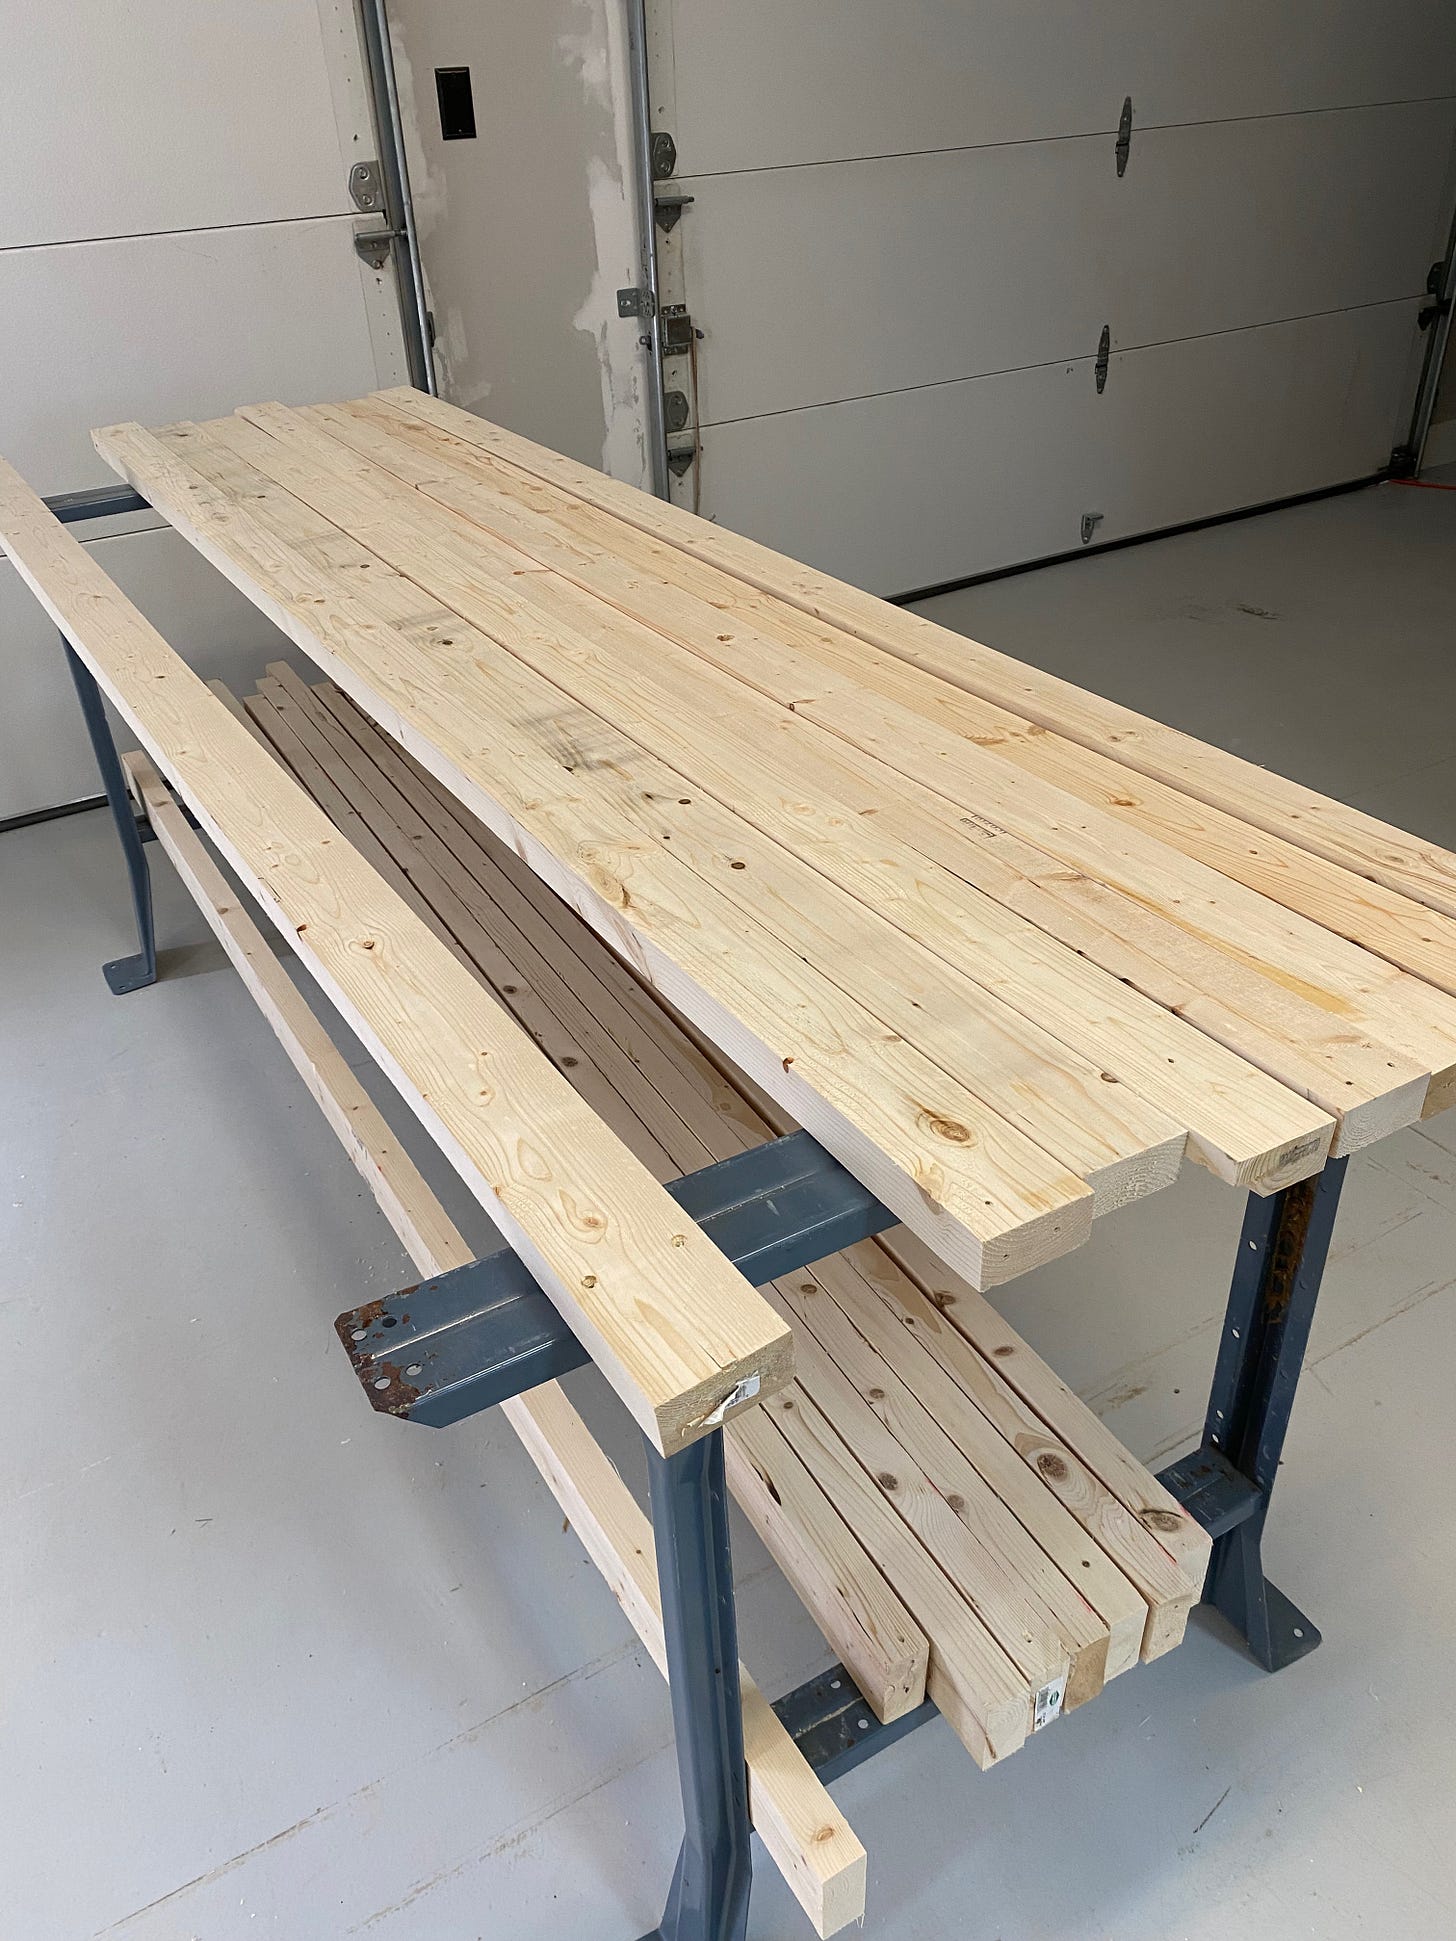
With that in mind, I needed to select boards of similar length that were also fairly straight. Any boards that were significantly cupped or warped would cause them to pull away from the other boards.
On the floor, I arranged and rearranged the boards until I had groups that were fairly uniform. Next, I wanted to make each board face as smooth and flat as possible, so I ran every board through the planer. This would help ensure tight bonds when gluing them together.

After running them through the planer, I applied glue to each face and clamped the boards tight. Even if the boards weren't perfectly straight, the combination of clamping pressure and glue would bring them true. And by doing this to groups of eight boards at a time, as I mentioned, I could ensure the resulting "planks" wouldn't be too wide to run through my planer once dried.
When the glue dried, I removed the clamps and ran the boards through the planer to flatten the tops and bottoms. For regular readers, this is when I realized I hadn't changed planer knives in a while. Upon rotating the knives, the planing process moved from "what the French is wrong with this damned machine" to "holy Sheetz, this machine is pure magic."
Unfortunately, in cleaning up the boards, I managed to miss a buried screw. I know this because the screw made its presence known when it knocked the brand new planer knives, causing me to throw an adult hissy fit, also known as screaming swear words into the void.
Nevertheless, I persevered and planed all of the planks to a standard thickness. The next step was to edge-glue them to each other to create the full top. (Note, I also decided to make a bottom shelf, so instead of four planks, I had six; four for the top; two for the bottom shelf.)
However, the edges of the planks were not perfectly straight nor at a pure 90-degree angle to the planks's faces. This meant that any attempt to edge-glue them would leave significant gaps in the joints and an uneven surface. What I needed to do was to "joint" the planks to create purely flat and square edges.
To my consternation, I had no real way to do this in my shop. Although I own a jointer, it's a small one that would be insufficient for this job. And while it is technically possible to joint on a table saw or a router table (or at least come close), these planks were far too long, thick and heavy for that to work.
What I needed was an industrial jointer.
I figured there must be some nearby shop or sawmill would that would have one and either let me rent it or would do the job for me. I called several places in the area, but none could solve my problem. One did suggest an alternative. "Try The Workshop in Fredericksburg."
It was just the lead I needed. I called The Workshop and learned that it's a like a gym for woodworkers. People pay a monthly membership fee and get to use their equipment. The only real difference is that at The Workshop, people actually go and spend their weekends there. I called and they said they could definitely help. I didn't even have to be a member. They offered to do milling for $85 an hour. I was delighted.
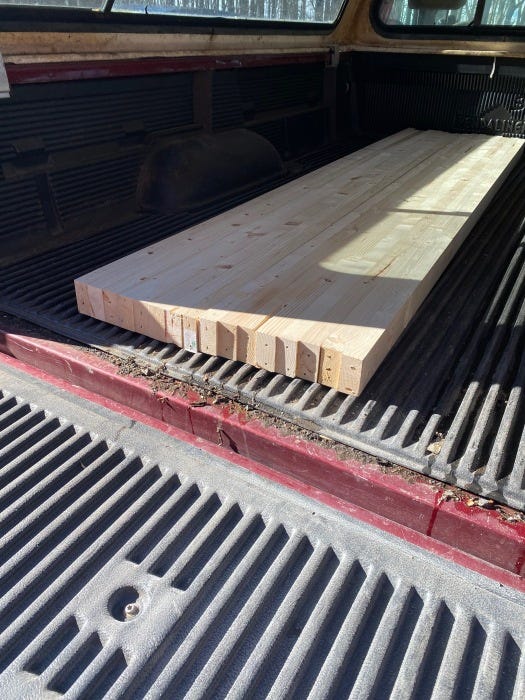
So, a few weekends later, I loaded the planks into the truck and headed to Fredericksburg. After a lovely hour-long drive through Virginia's back roads, I arrived at a small industrial park and went inside.
With more than 4,400 square feet of space, The Workshop is filled with all manner of industrial woodworking tools. And it was filled with all manner of woodworkers, too, from white middle-aged men with goatees to white middle-aged men with full beards. (I kid. There were women and children people of color there, too. Though not many. It really really was mostly old white guys, which I guess describes me, too.)
Not only is The Woodshop filled with tools, they also have an incredible selection of lumber and hand tools for sale, as well as finished items. It's pretty nice. I just wish it was closer to my house — or that I was closer to it.
In any event, I told one of the head honchos what I was there to do and he said he'd help. But he also expressed deep concern as we unloaded the planks from my truck onto a dolly in the shop.
"I really hate doing this with construction lumber," he said.
"Screws?"
"Yep. And nails. And stones. You just don't know what's in there," he replied. His face looked like he smelled dog poo on my shoes.
"I mean, if you're not comfortable doing this, you can say no," I said, trying to be considerate.
"Oh, I'm not comfortable," he said curtly. "You can put this right back in your truck now." My heart sank. After a beat, he added, "but, let's go ahead. Just know that if we hit a screw, you're paying to replace my knives. They're $50 each and there are three of them." He paused again. "So that'd be $150."
I withheld any expression of annoyance at his condescending explanation of how simple math works; I appreciated his willingness to proceed and I wanted to stay in his good graces. Or get back to them, anyway.
"OK, I understand," I said. "I've looked over this really well and I'm pretty sure I've gotten all the screws out."
"There's one," he said, pointing at the end of one of the planks.
Fungonuggets. He was right, but at the same time, that screw wasn't anywhere near where a jointer knife would go.
"There's another."
"I mean, along the edges where we'd be jointing," I said, more defensively than I meant.
He grunted. "Well, let's try. It's your money."
We wheeled the planks to the jointer and then he said something that lifted my spirits. "Let me go get my metal detector."
After a moment, he came back with a wand scanner like what one might see at an airport extra security checkpoint. He waved it across the edges of the first plank and it stayed mum.
"Looks clean," he said. "Then again, it can't find stones." He looked at me. "Well, let's go."
He turned on the giant jointer and we ran the plank through it several times. My heart thumped in my chest. Honestly, I was less worried about the cost than I was just pissing the guy off and looking the fool.

We finished one edge of the plank and then flipped it over and ran the other edge. All good.
We put the plank back and did the same with the second. Close visual inspection, metal detector swipe, jointing. Flip plank, inspect, detect, joint.
Third plank. Inspect. Detect. Joint. Flip. Inspect. Detect. Joint.
Fourth plank. Fifth. We were down to our final plank. No screws yet. Could we get through the final plank?
As we ran it through the final pass, the guy said, "ok, there you go." No screws. Jointing done. The whole thing took half an hour. Instead of charging me the full $85, he dropped the price to $50. "You didn't use the whole hour," he said. I happily handed him my credit card.
I was giddy on the drive back home. The planks were now ready to glue together. The more I thought about it, though, the more I realized I couldn't — or at least, shouldn't — just edge glue them like I had the boards to make the planks. Rather, I really should use some sort of tenon to help keep them aligned to each other.
There are multiple ways to accomplish this — the priciest among them would be to use a Festool Domino Joiner (not to be confused with a jointer with a "t"; and by the way, I'm happy to provide my shipping address if anyone would like to send me one) — but I decided I could do this old-school and simply use dowels as tenons.
To do this, I needed to very precisely measure the location along each board face — on both sides of the joint — and precisely on the board edge so that the pieces would be able to mate.
With the planks on a flat surface, I made three marks along each joint to indicate where on the horizontal the dowel should go. Then I measured the same distance down the edge from the corner to mark the vertical position. Then using a drill jig, I very carefully drilled a ⅝-inch-wide, 2-inch-deep hole at each marked position on both planks.
I then cut a ⅝-inch dowel to 3-½-inch lengths. I sanded the ends of the dowels to taper them. And then, when I was ready to glue the planks together, I inserted the dowels with some glue into one plank, applied glue to the plank's entire edge, and then lined up the other plank. To my relief, the holes perfectly matched up to the dowels. Using clamping pressure, I then brought the two planks together until the joint was tight. I think repeated this process twice more. This meant my bottom shelf was fully assembled, while the top had been reduced from four planks to two.
Once the two top planks were dry, I removed the clamps and prepared to repeat the process to unify them into the single large table top. Lacking clamps of sufficient length, I reconfigured several pipe clamps to lengthen them (connecting two pipes together). Then I was able to drill the holes, insert the dowels, apply the glue and draw the pieces tight.
I was really pleased with myself at this point. Everything was coming together just as I had hoped. Once everything was dry and the clamps were removed, my next step was to cut the entire assembly to its finished length.
For this, I would use my track saw. I put the track on the piece, clamped it in place, and made multiple, successively deeper, cuts into the wood. Alas, the saw was not able to cut all the way through the piece, so after doing this to both ends, I flipped the table top over (he says casually; in reality, lacking any helpers, I had to flip a seven-foot-long, four-foot-wide, three-inch-deep block of wood by myself and it was not easy) and lined up the track again. With a few more cuts, the ends fell away.
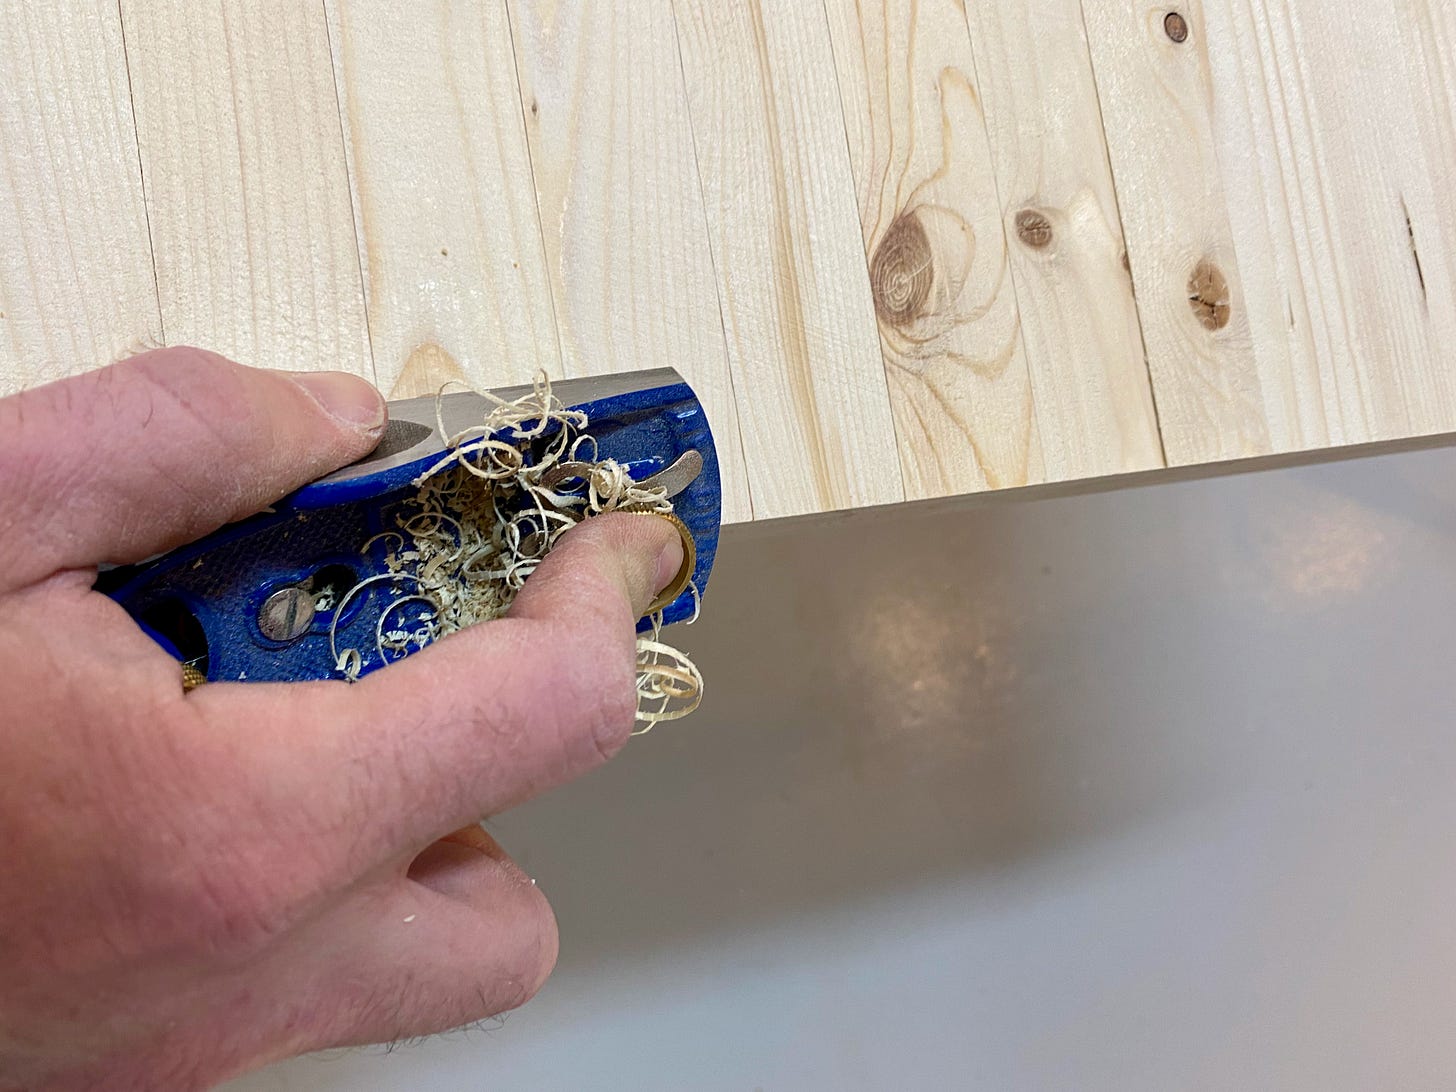
Now about all the was left was sanding and finishing. I broke out the belt sander to flatten the joints. A low-angled block plane made quick work in softening sharp edges and corners. Then I worked an orbital sander at progressive grits to remove the roughness and make everything smooth.
At last, it was time to apply a finish. I chose an oil-based satin polyurethane, which after three coats with sanding in between, gave the table a smooth, hard, clean finish.
With the table top on my workbench, I attached a pair of metal stands the previous owners had left behind (thank you Jeff and Doug!) with hex screws (also left behind -- Thank you Jeff and Doug!). Then, somehow without a much-needed shop helper, I managed to slide the table off the workbench and stand it upright. This would make a fine shop table, I thought as I admired it.
Now, all of the finishing steps I just mentioned? In truth, that was just to the underside of the tabletop. With the top on the stand and upright, I repeated the process for the table's actual topside, as well as its edges and ends. I did the same for the lower shelf, too. Rinse and repeat, as they say.
With the polyurethane dry, the table was done. Final dimensions: 35" high with a 2.5" thick top, 44" wide and 83" long. The shelf sites slightly smaller at 20.5" wide and 61" inches long. It was a big-ass-thing of beauty all made almost entirely from material left behind. It will be a fine shop table, maybe also a gaming table. And the 35" height perfectly matches my table saw height, so it could also work well as an outfeed table. Not bad for a bunch of trash.


