Shop Furniture
I know my shop is pretty big compared to most hobby shops, but somehow I always seem to feel cramped. That's probably at least partially to do with not having places for some of my tools. My workbench planer, for example, sat on the ground and always seemed to be in the way — and at the same time, never convenient for use. My oscillating sander was taking up valuable space on a shop table. My miter saw, which sat on this metal sawhorse, seemed to take up more space than it made use of. The net effect left me feeling annoyed with a shop I otherwise loved being in.
So when I came upon some shop furniture plans from Fix This, Build That, I was interested. More than interested — I was excited to see if they'd help me make better use of my space and my tools.
The two plans I was interested in were the flip-top tool stand (/) and the mobile miter station.
You don't need a blog post to walk you through the build — Brad has YouTube videos and the plans themselves to do that, and quite well, I might add. But I will tell you about my experience.
The plans themselves are detailed and well-written. Parts and materials are clearly described with links, though I didn't always buy when he suggested. For example, I found different (and I think better) caster wheels on Amazon.
One thing I wish I had done — though my failure to do so ended up not being a problem — was to measure my tools before starting construction. Both plans assume tools of certain dimensions and there's no guarantee that my (or your) tools will fit. Luckily for me, mine did. Next time, I'll definitely measure first just to be sure.
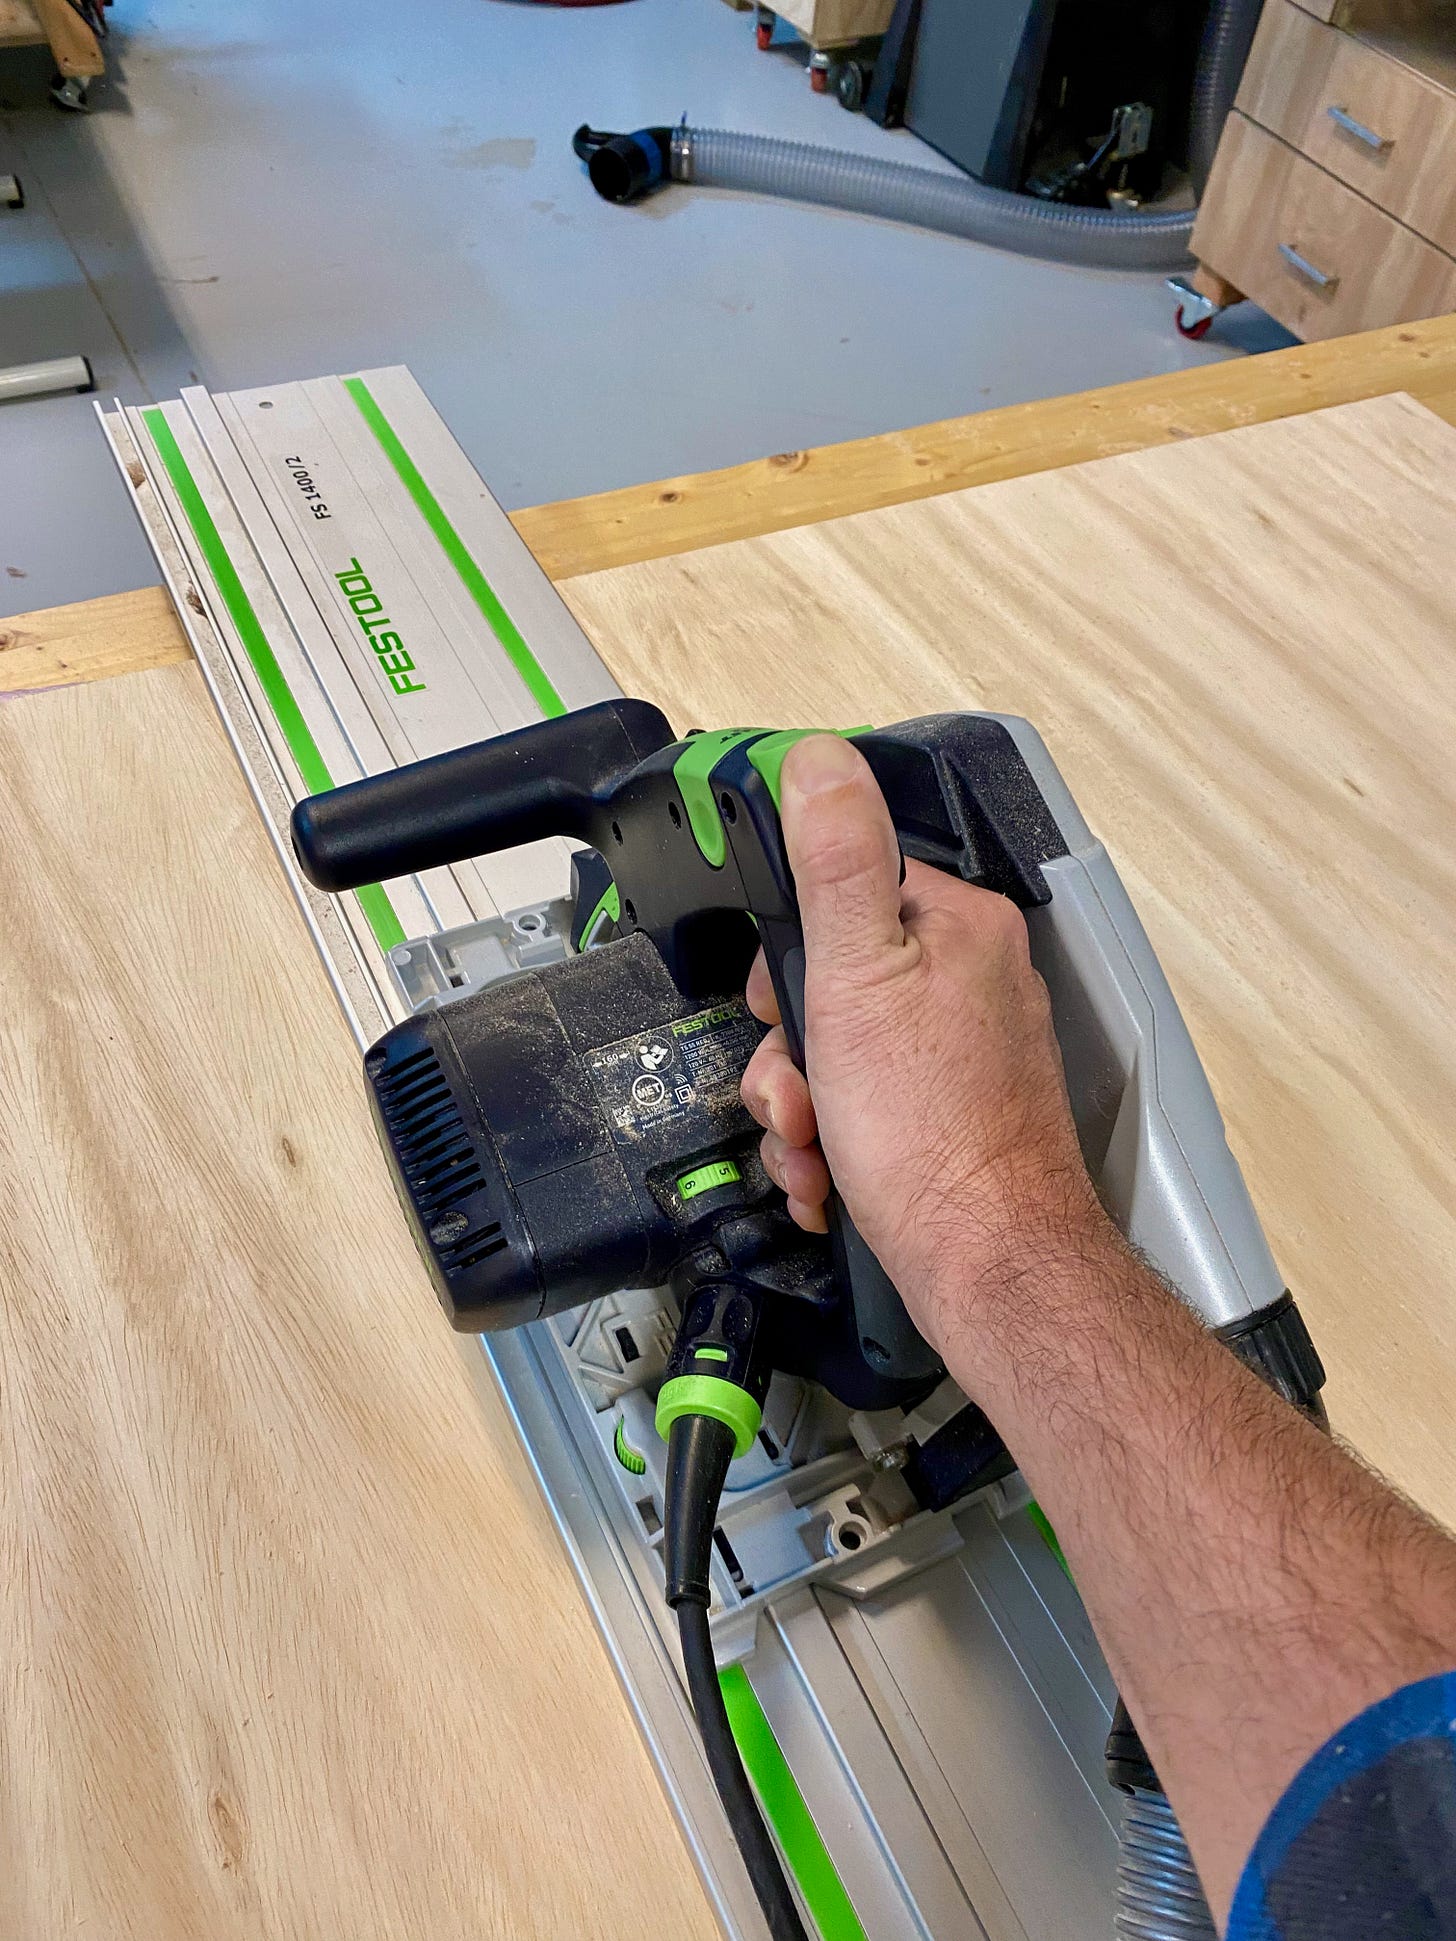
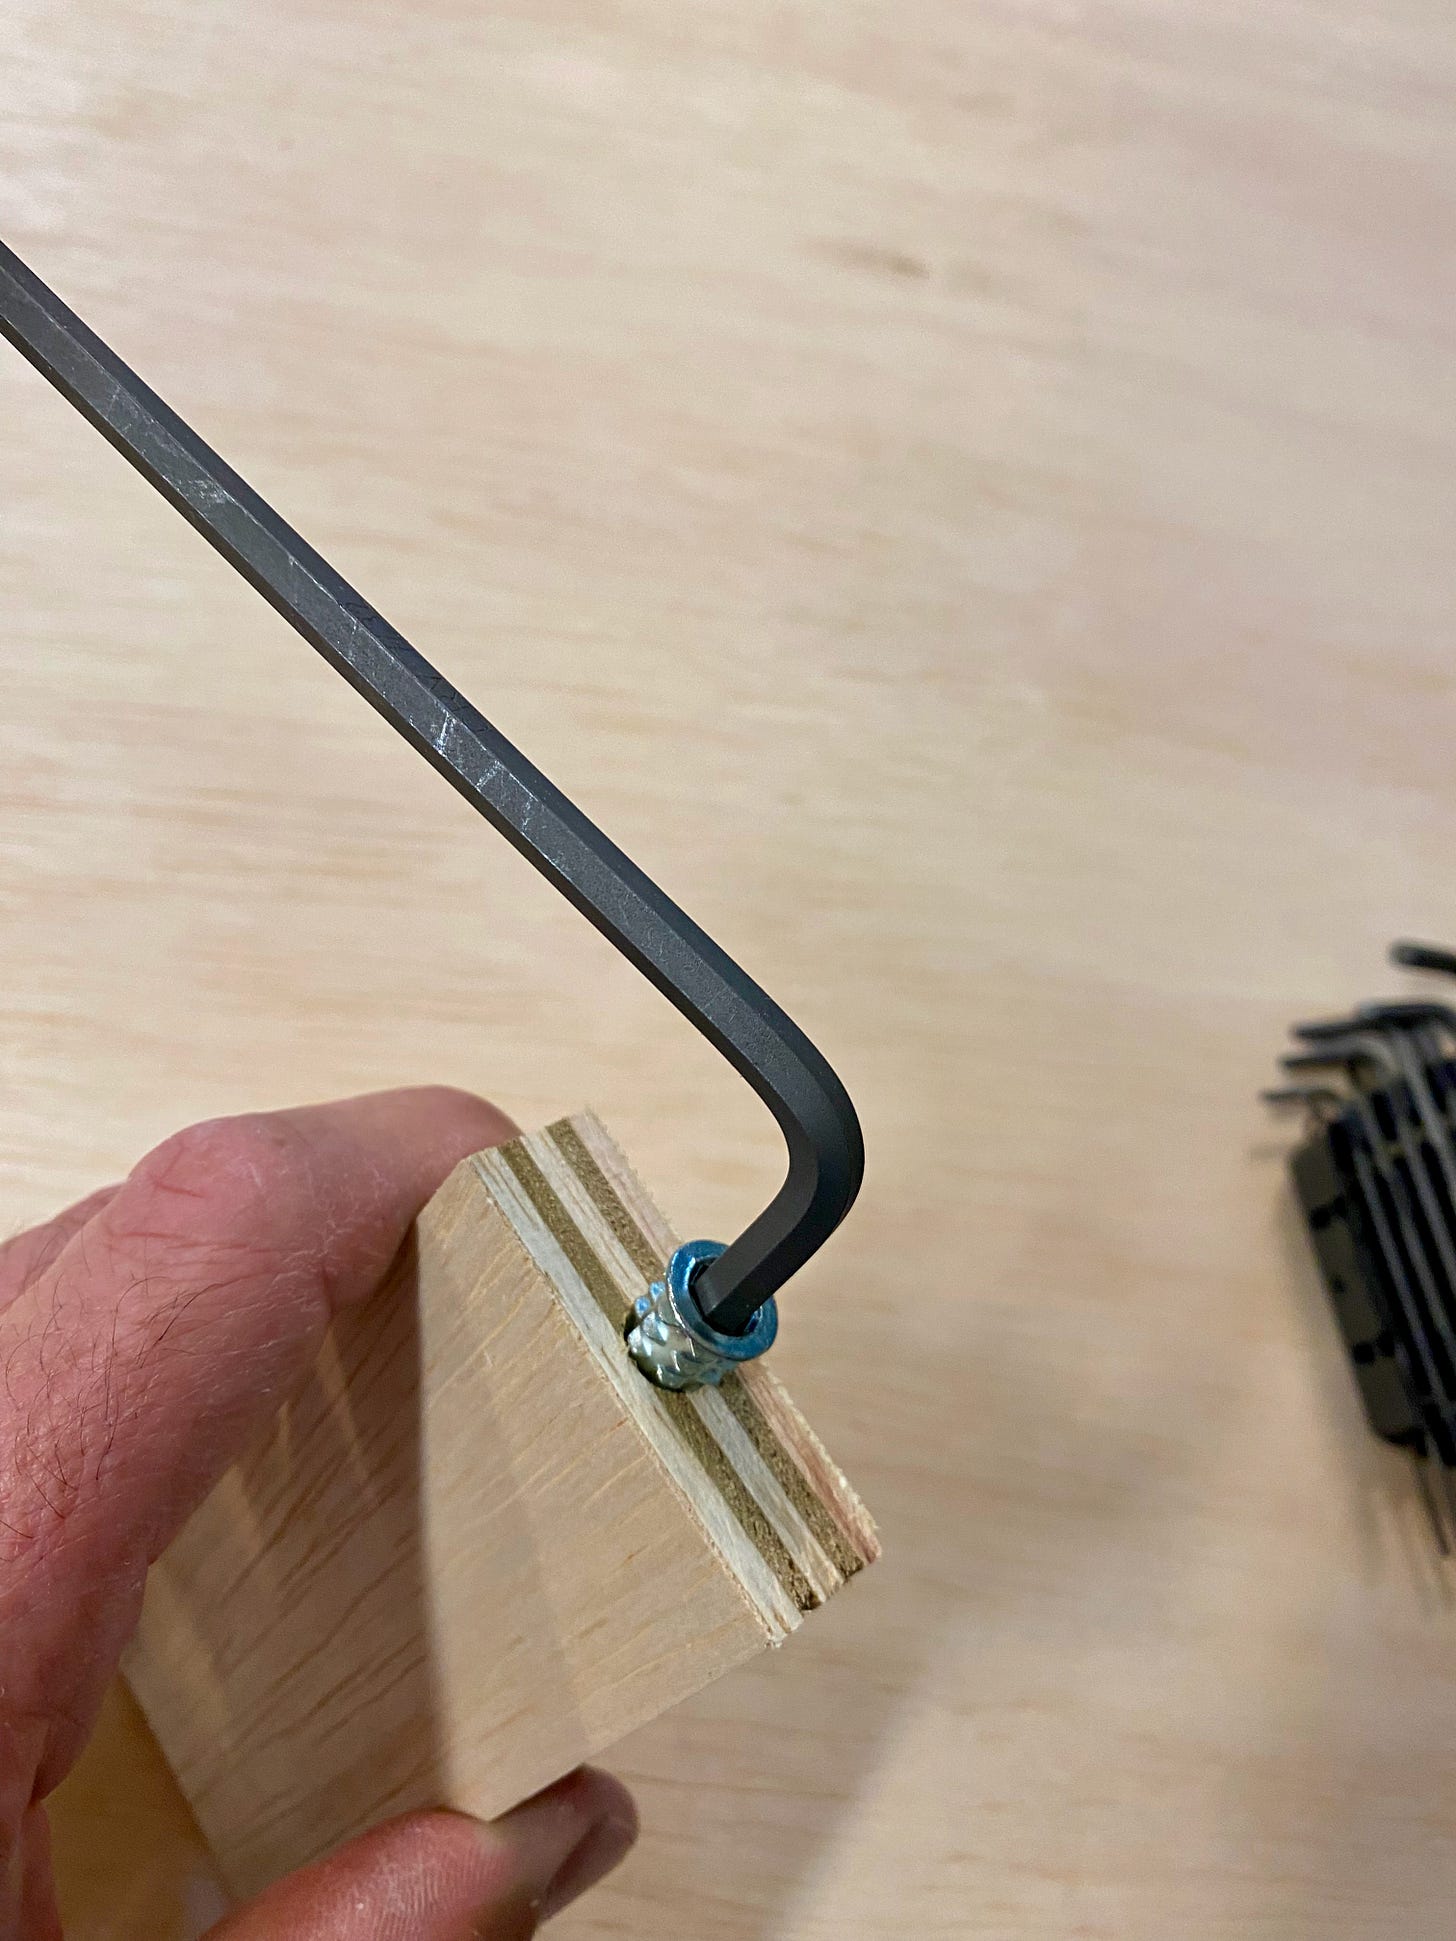
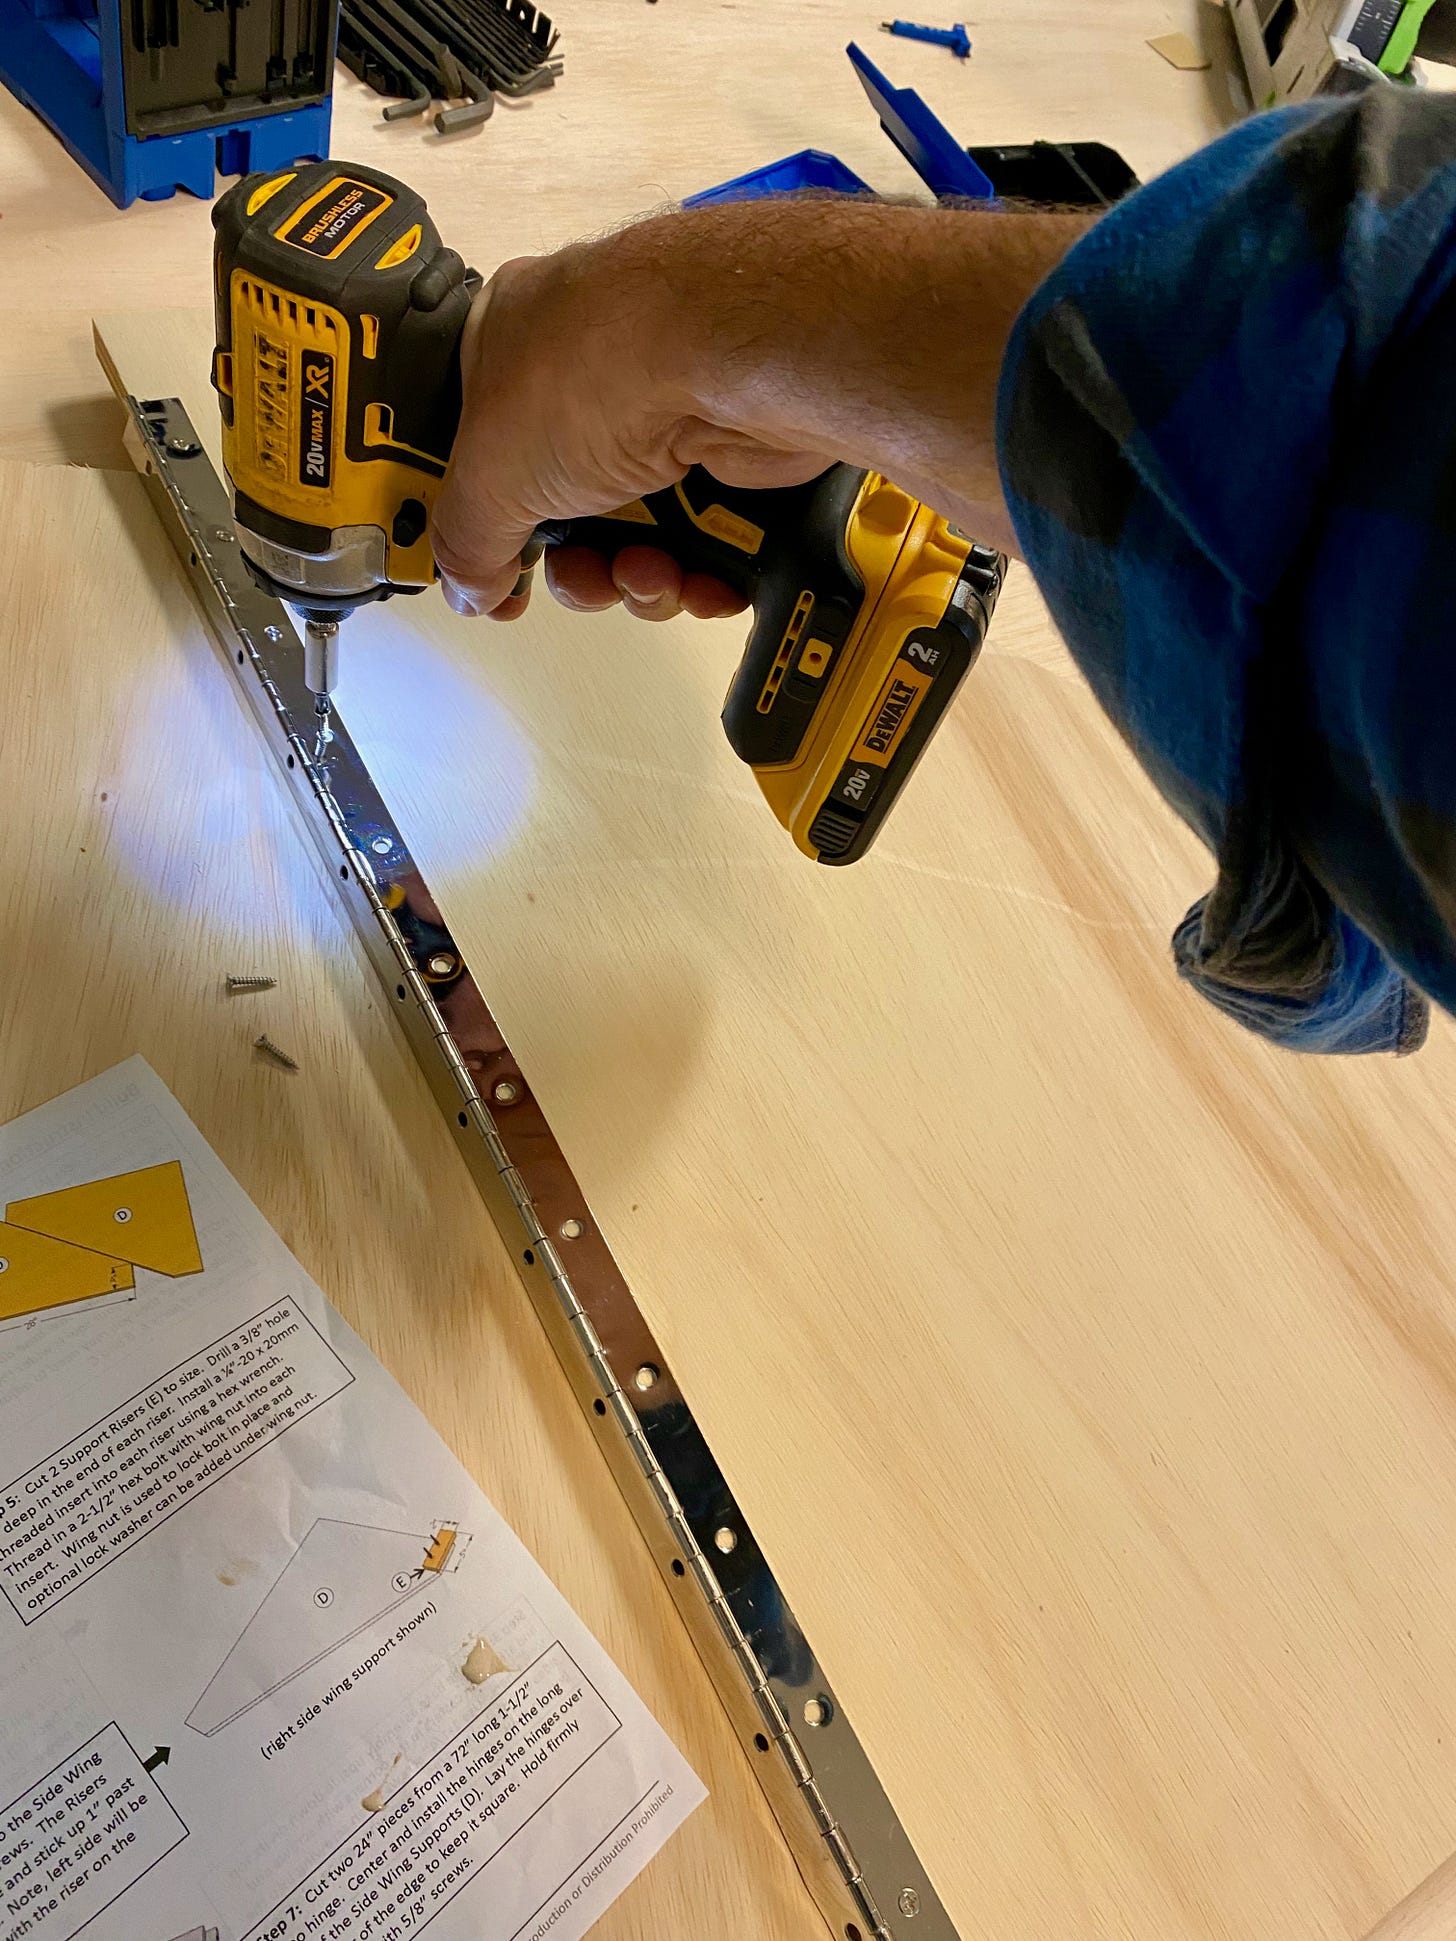
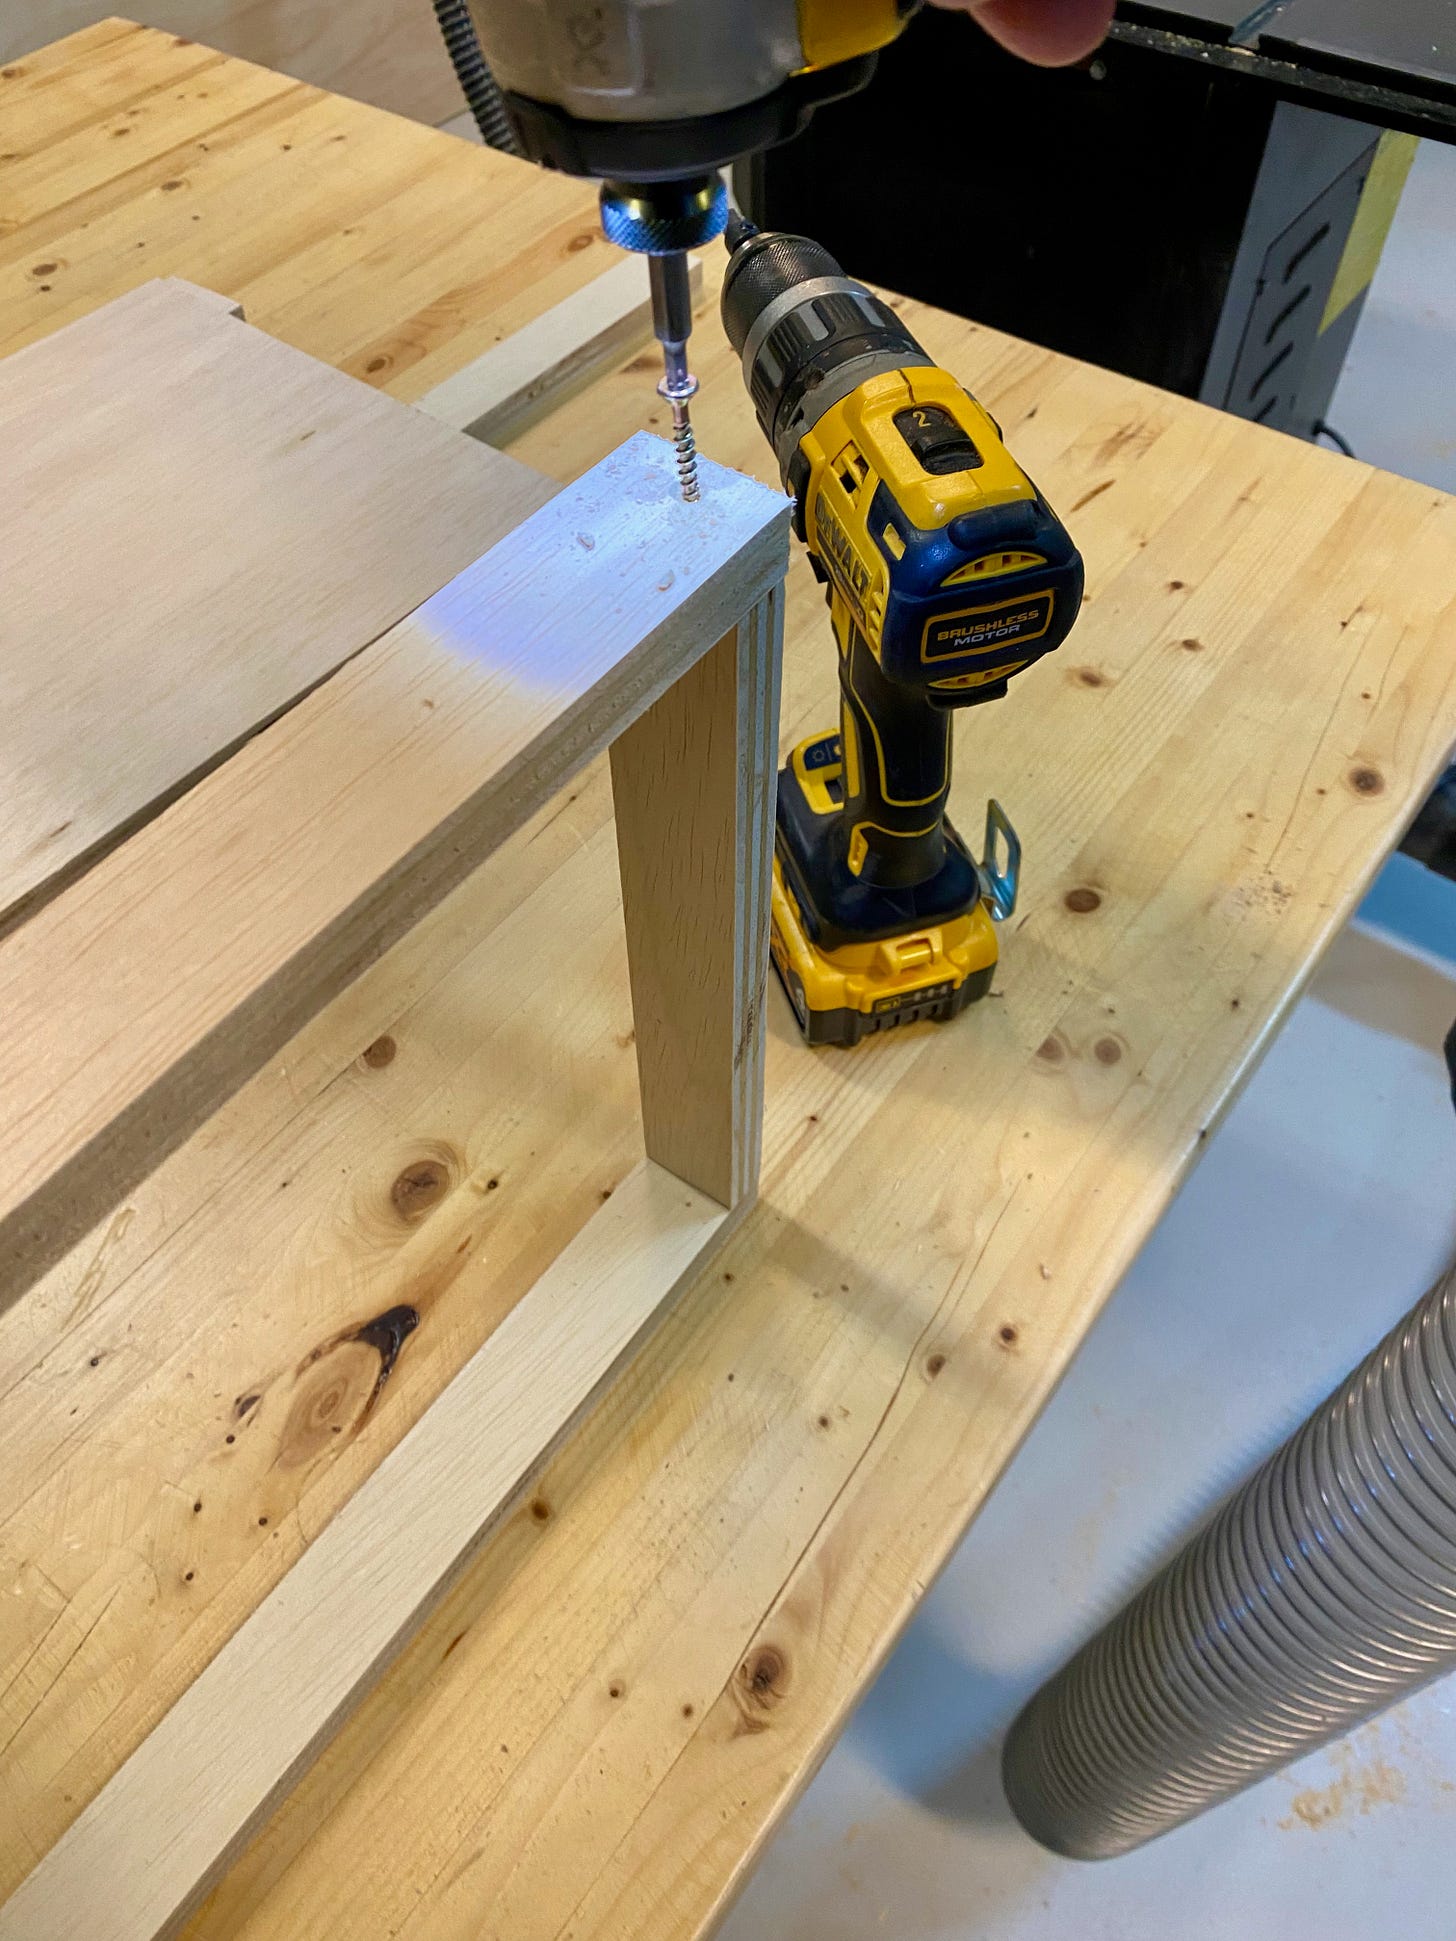
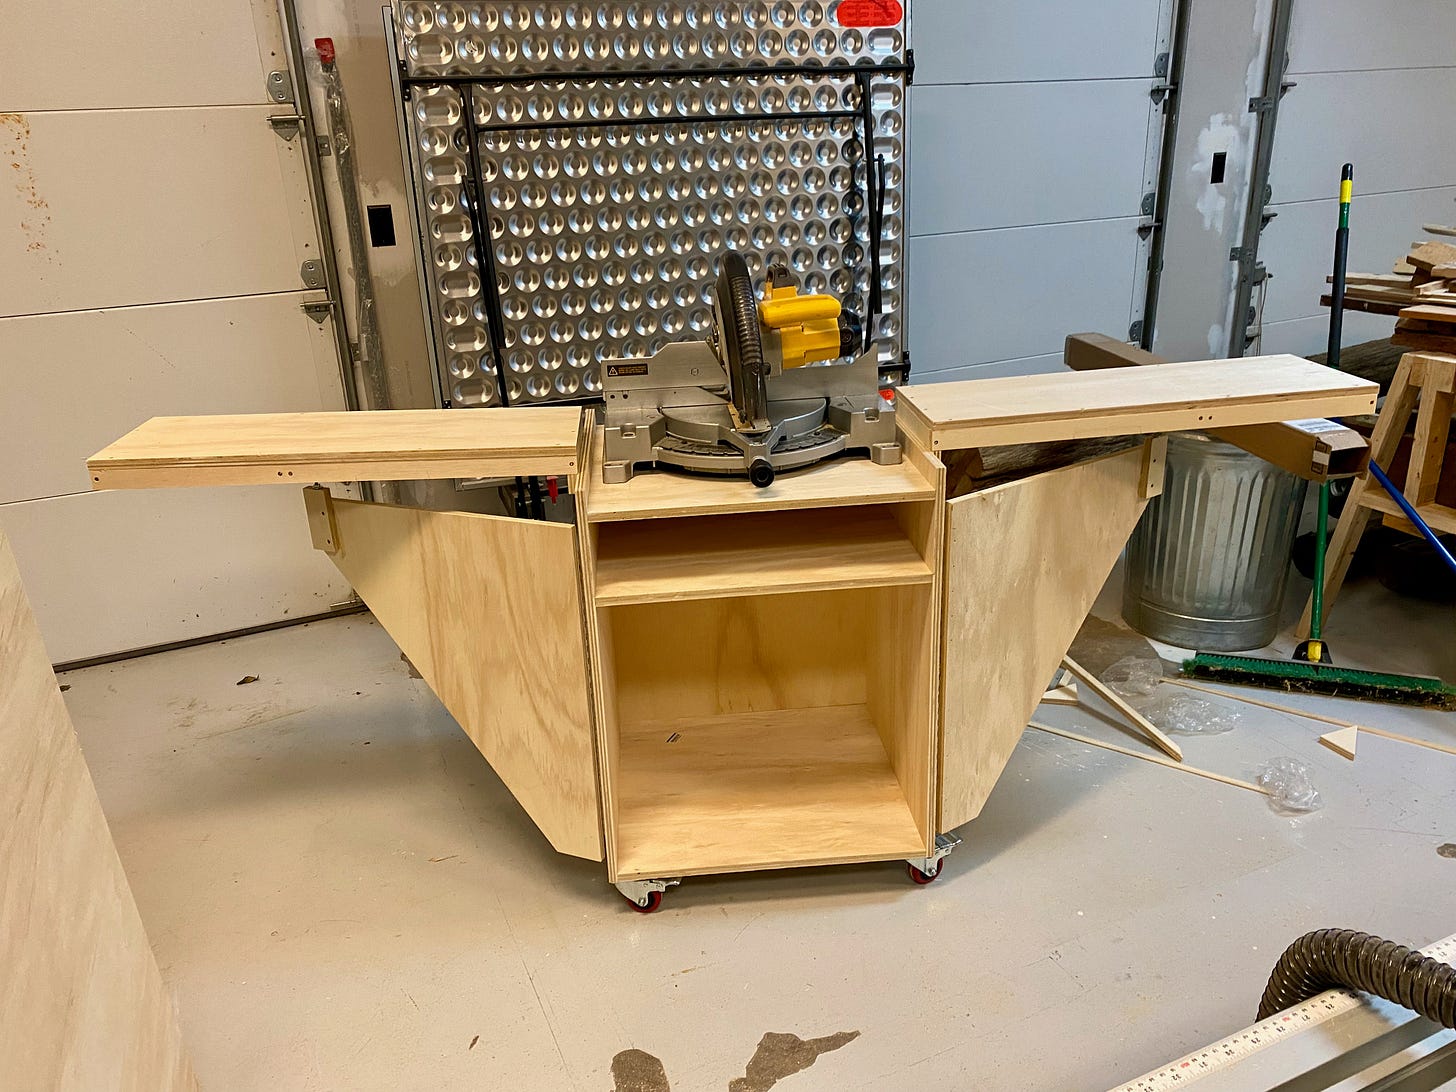
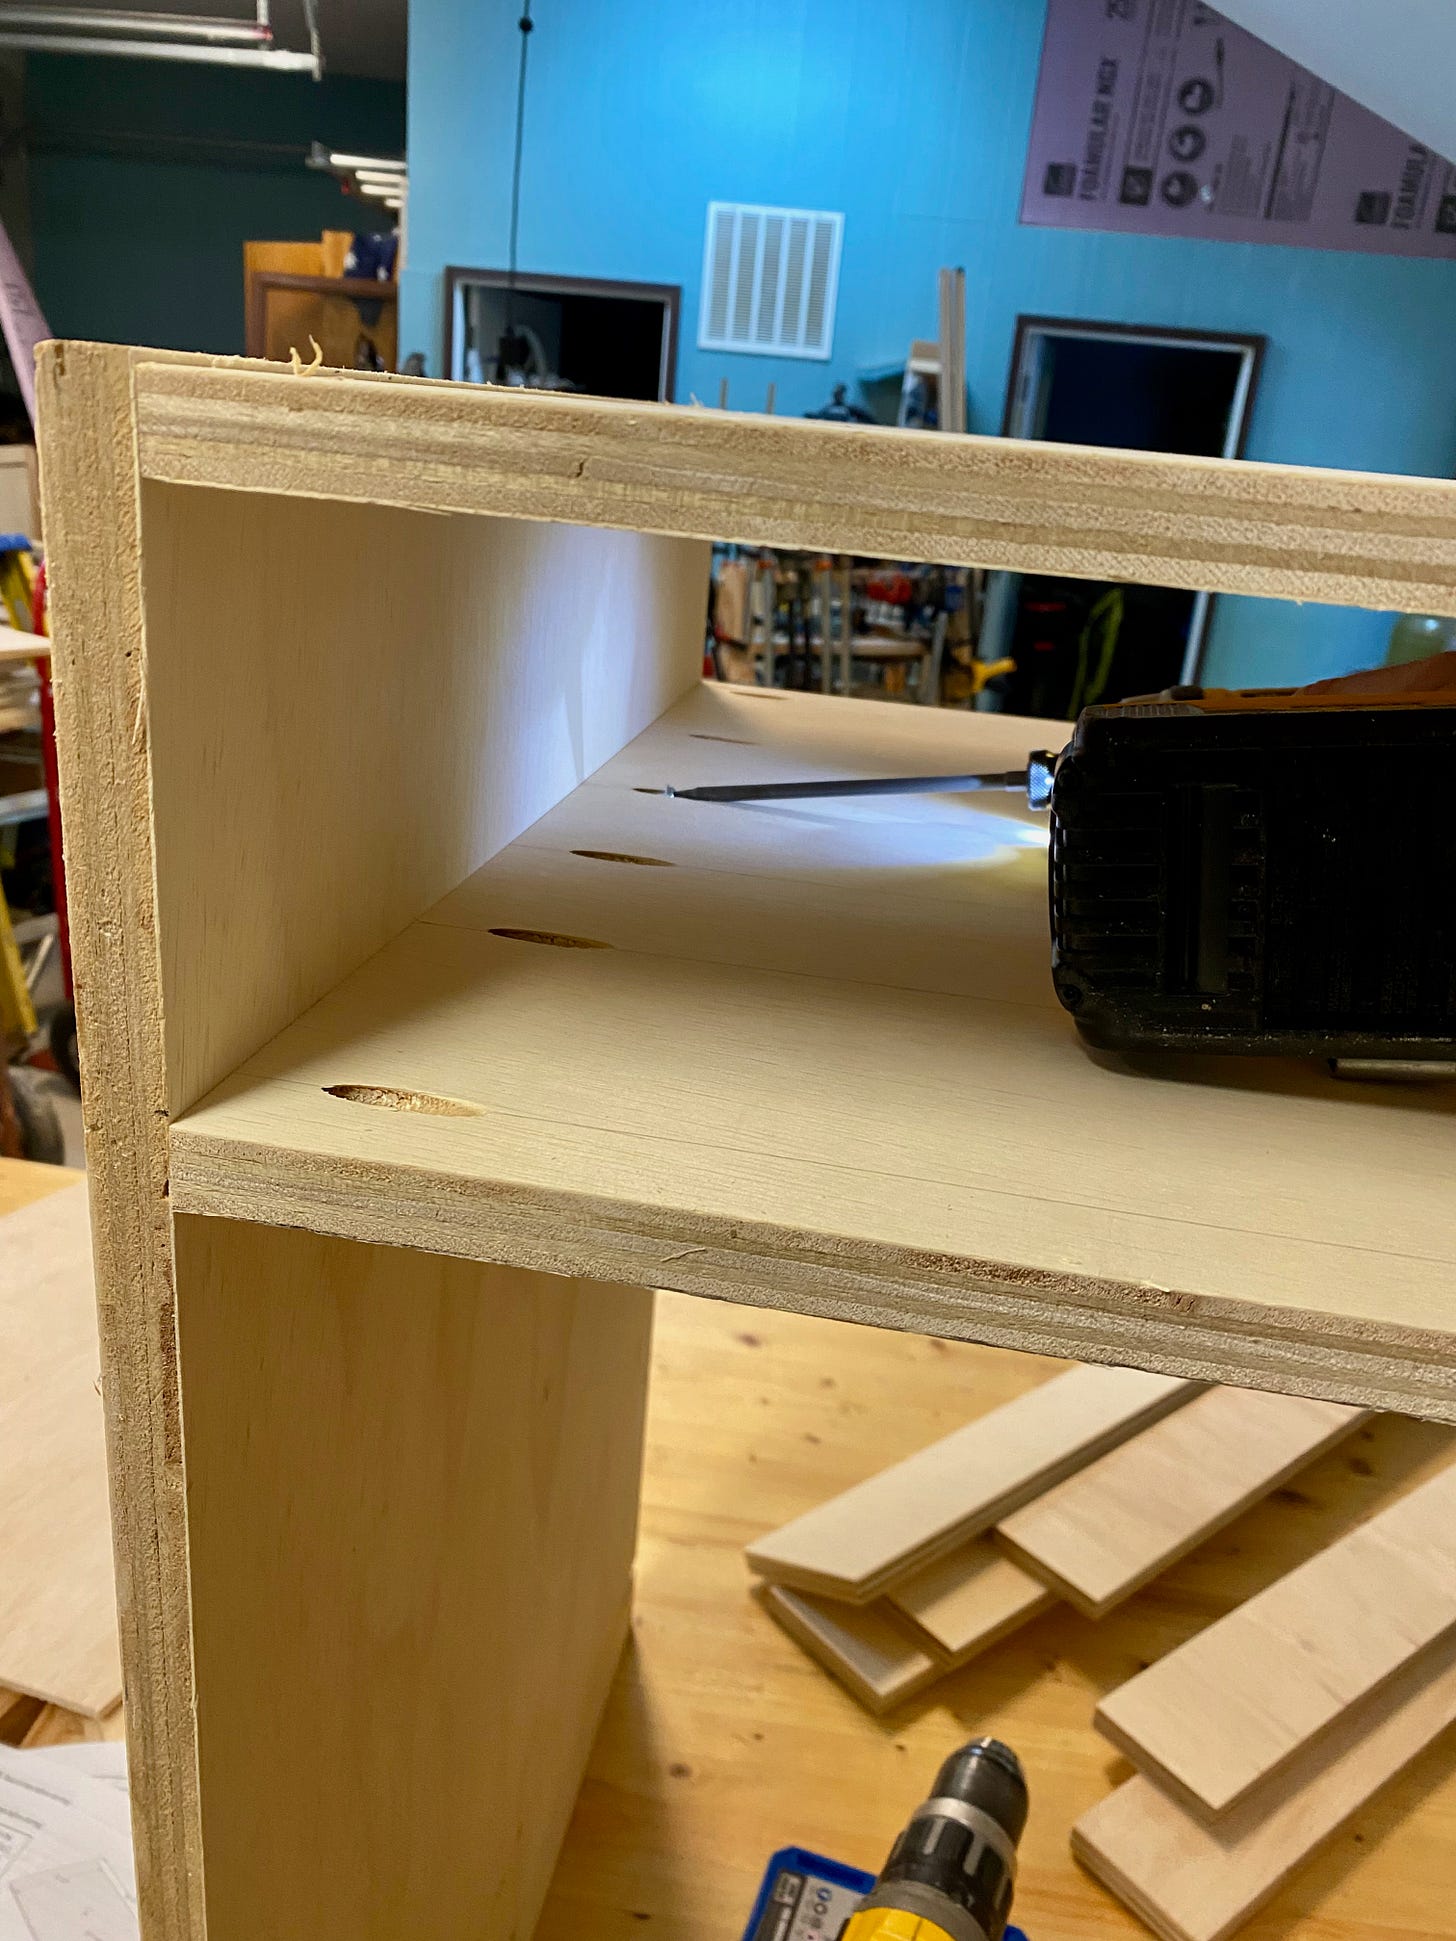
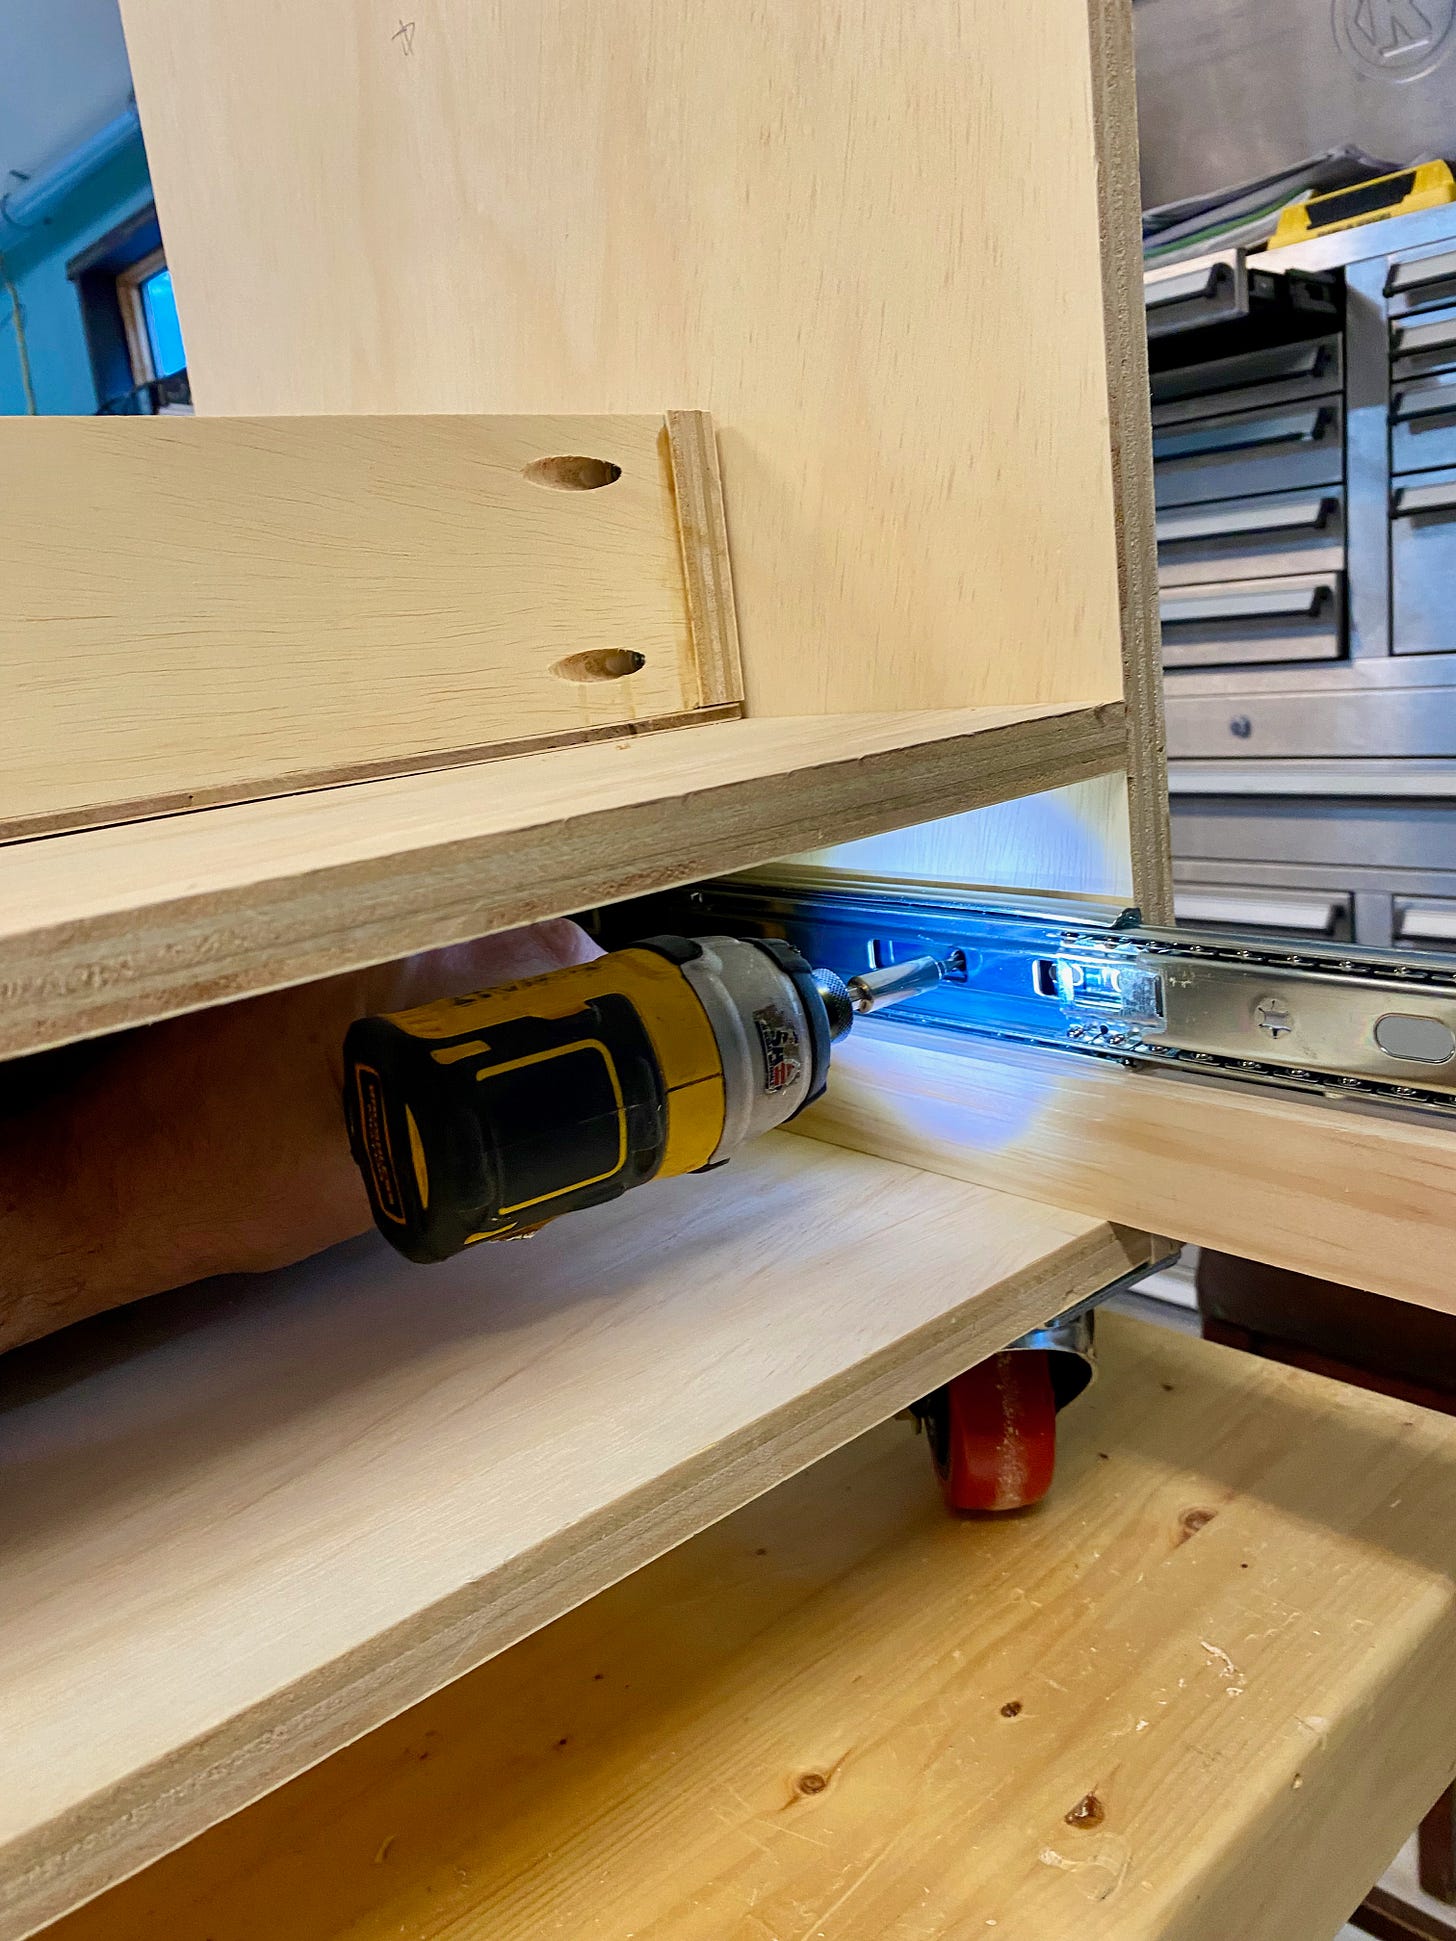
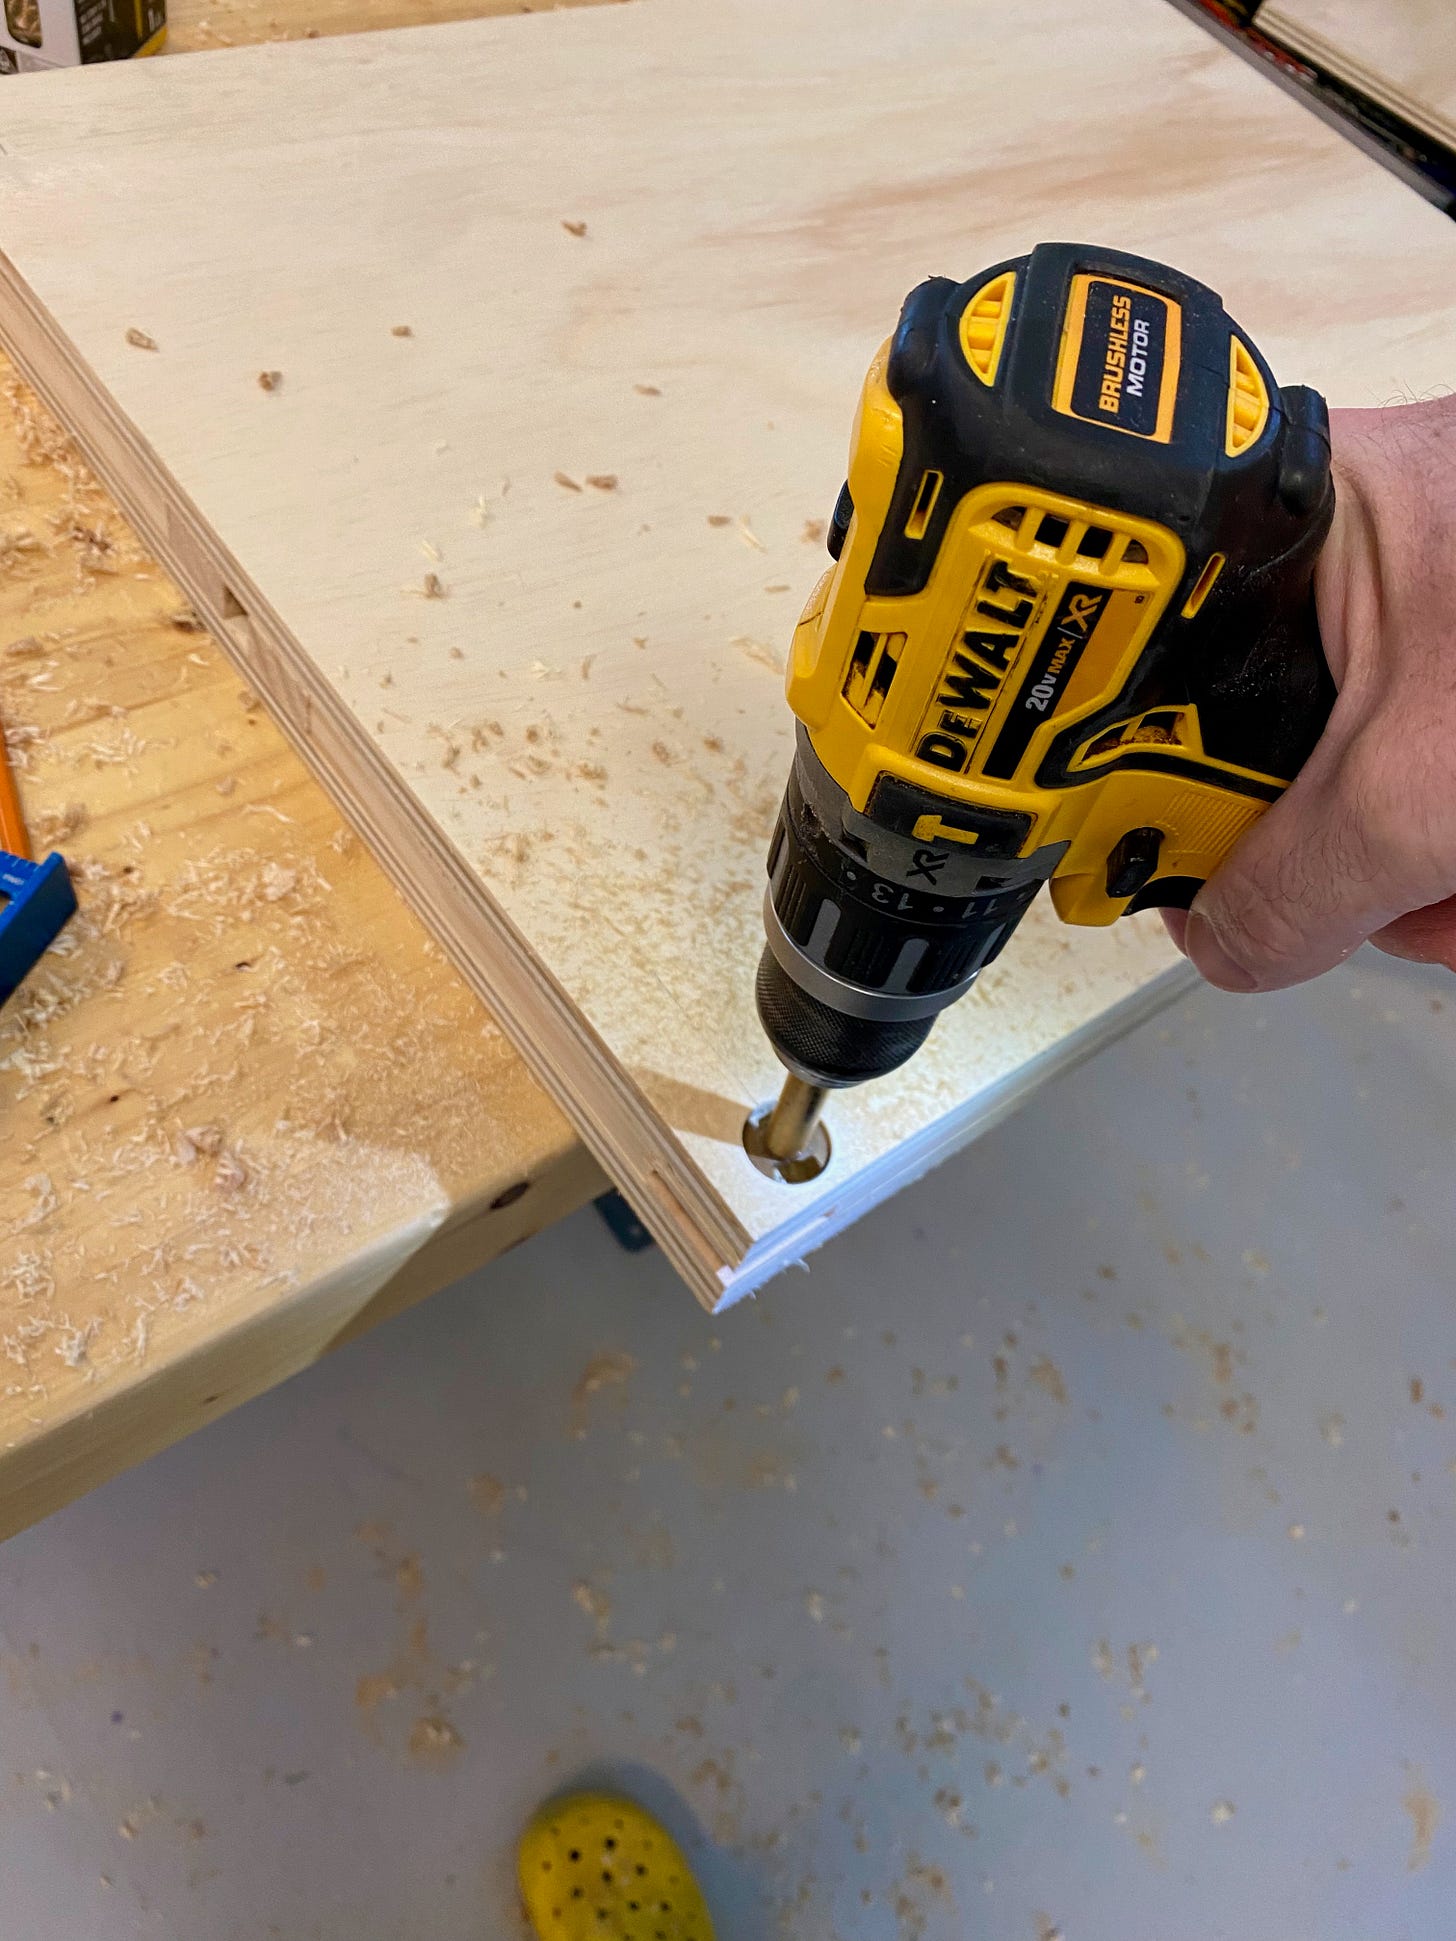
Both projects are primarily plywood boxes, so once you've cut the plywood to size, assembly with glue and pocket screws goes pretty quickly. I started with the miter station. It's actually a bit fussier with some smaller pieces and more hardware. None of it is difficult, though. Once I made and attached the plywood blocks to the wings, I was well on my way.
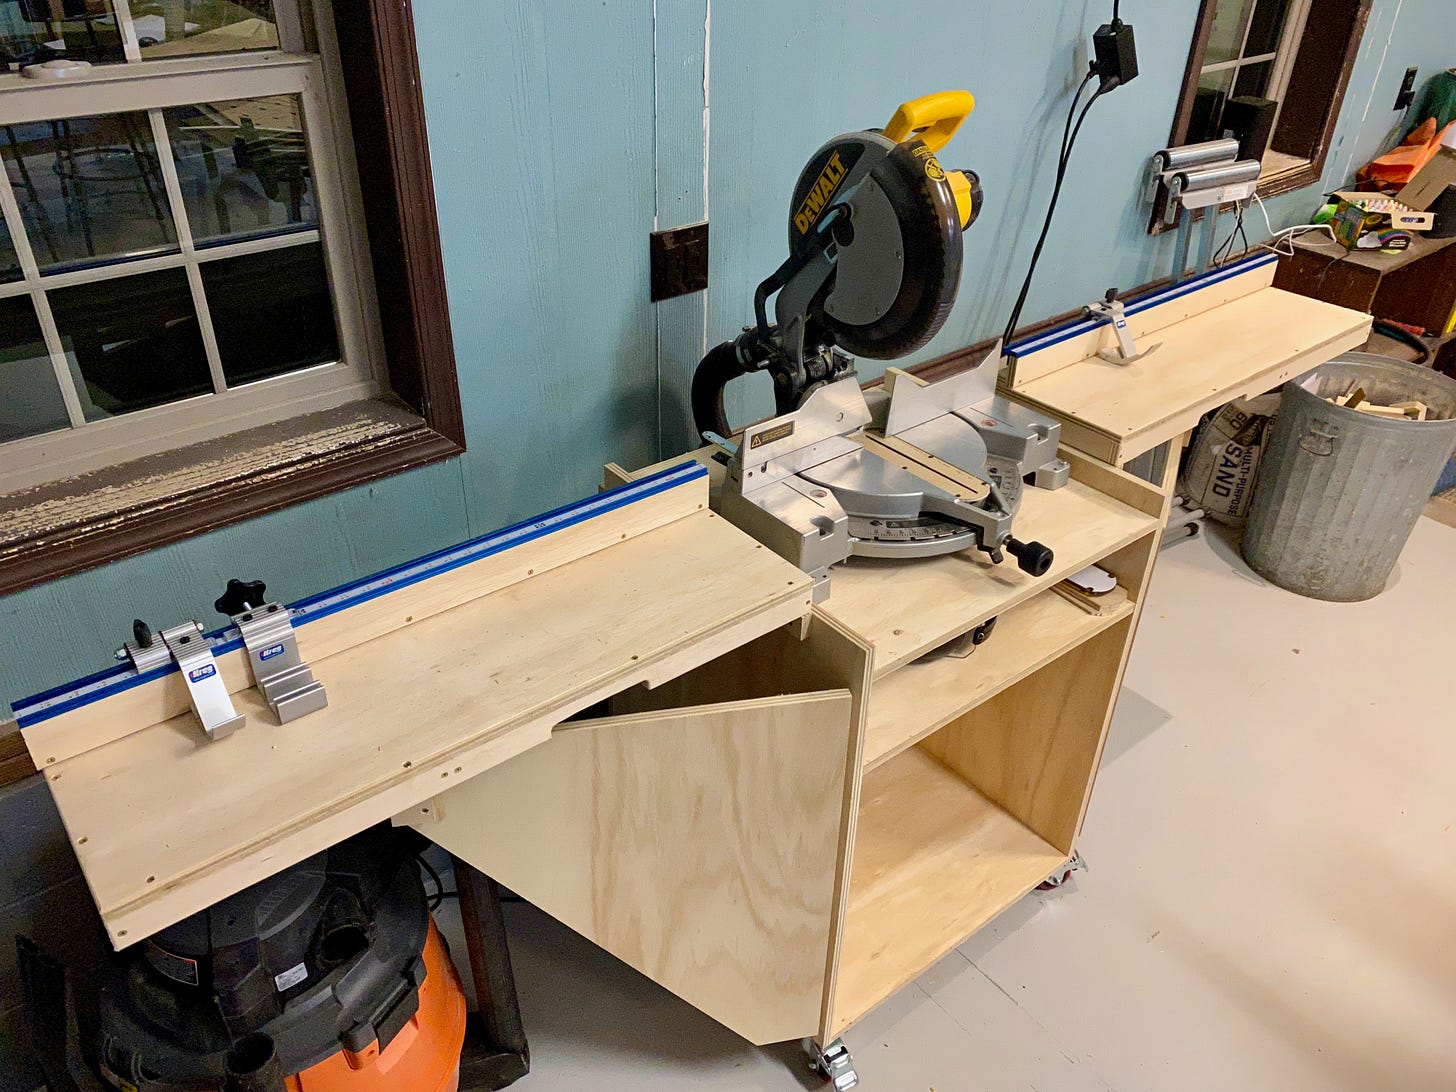
The miter saw station greatly benefits from some Kreg T-tracks, measuring tape and stop blocks. With those in place and properly calibrated — reading the directions helps you (me) get it right the first time and saves you (me) from having to order replacement measuring tape because you (I) screwed it up out of impatience and a failure to read — the miter station really stands out. However, since the fence's tape measurement doesn't really start until about 14 inches, it's a good idea to make a perfectly-sized extension block — say 16 inches — so you can still use the fence stop to make short cuts. (In other words, to can make 5-inch cuts, set the stop at 21 inches and add the 16-inch extension, leaving five inches for the piece you're cutting).
I also really like some of the details, like a recess in the fence to keep sawdust from piling up and causing a piece to be misaligned.
What I haven't yet figured out is how to construct a reasonable hood to help keep dust from scattering throughout my shop. That's still on my mind.
Flipping Tables
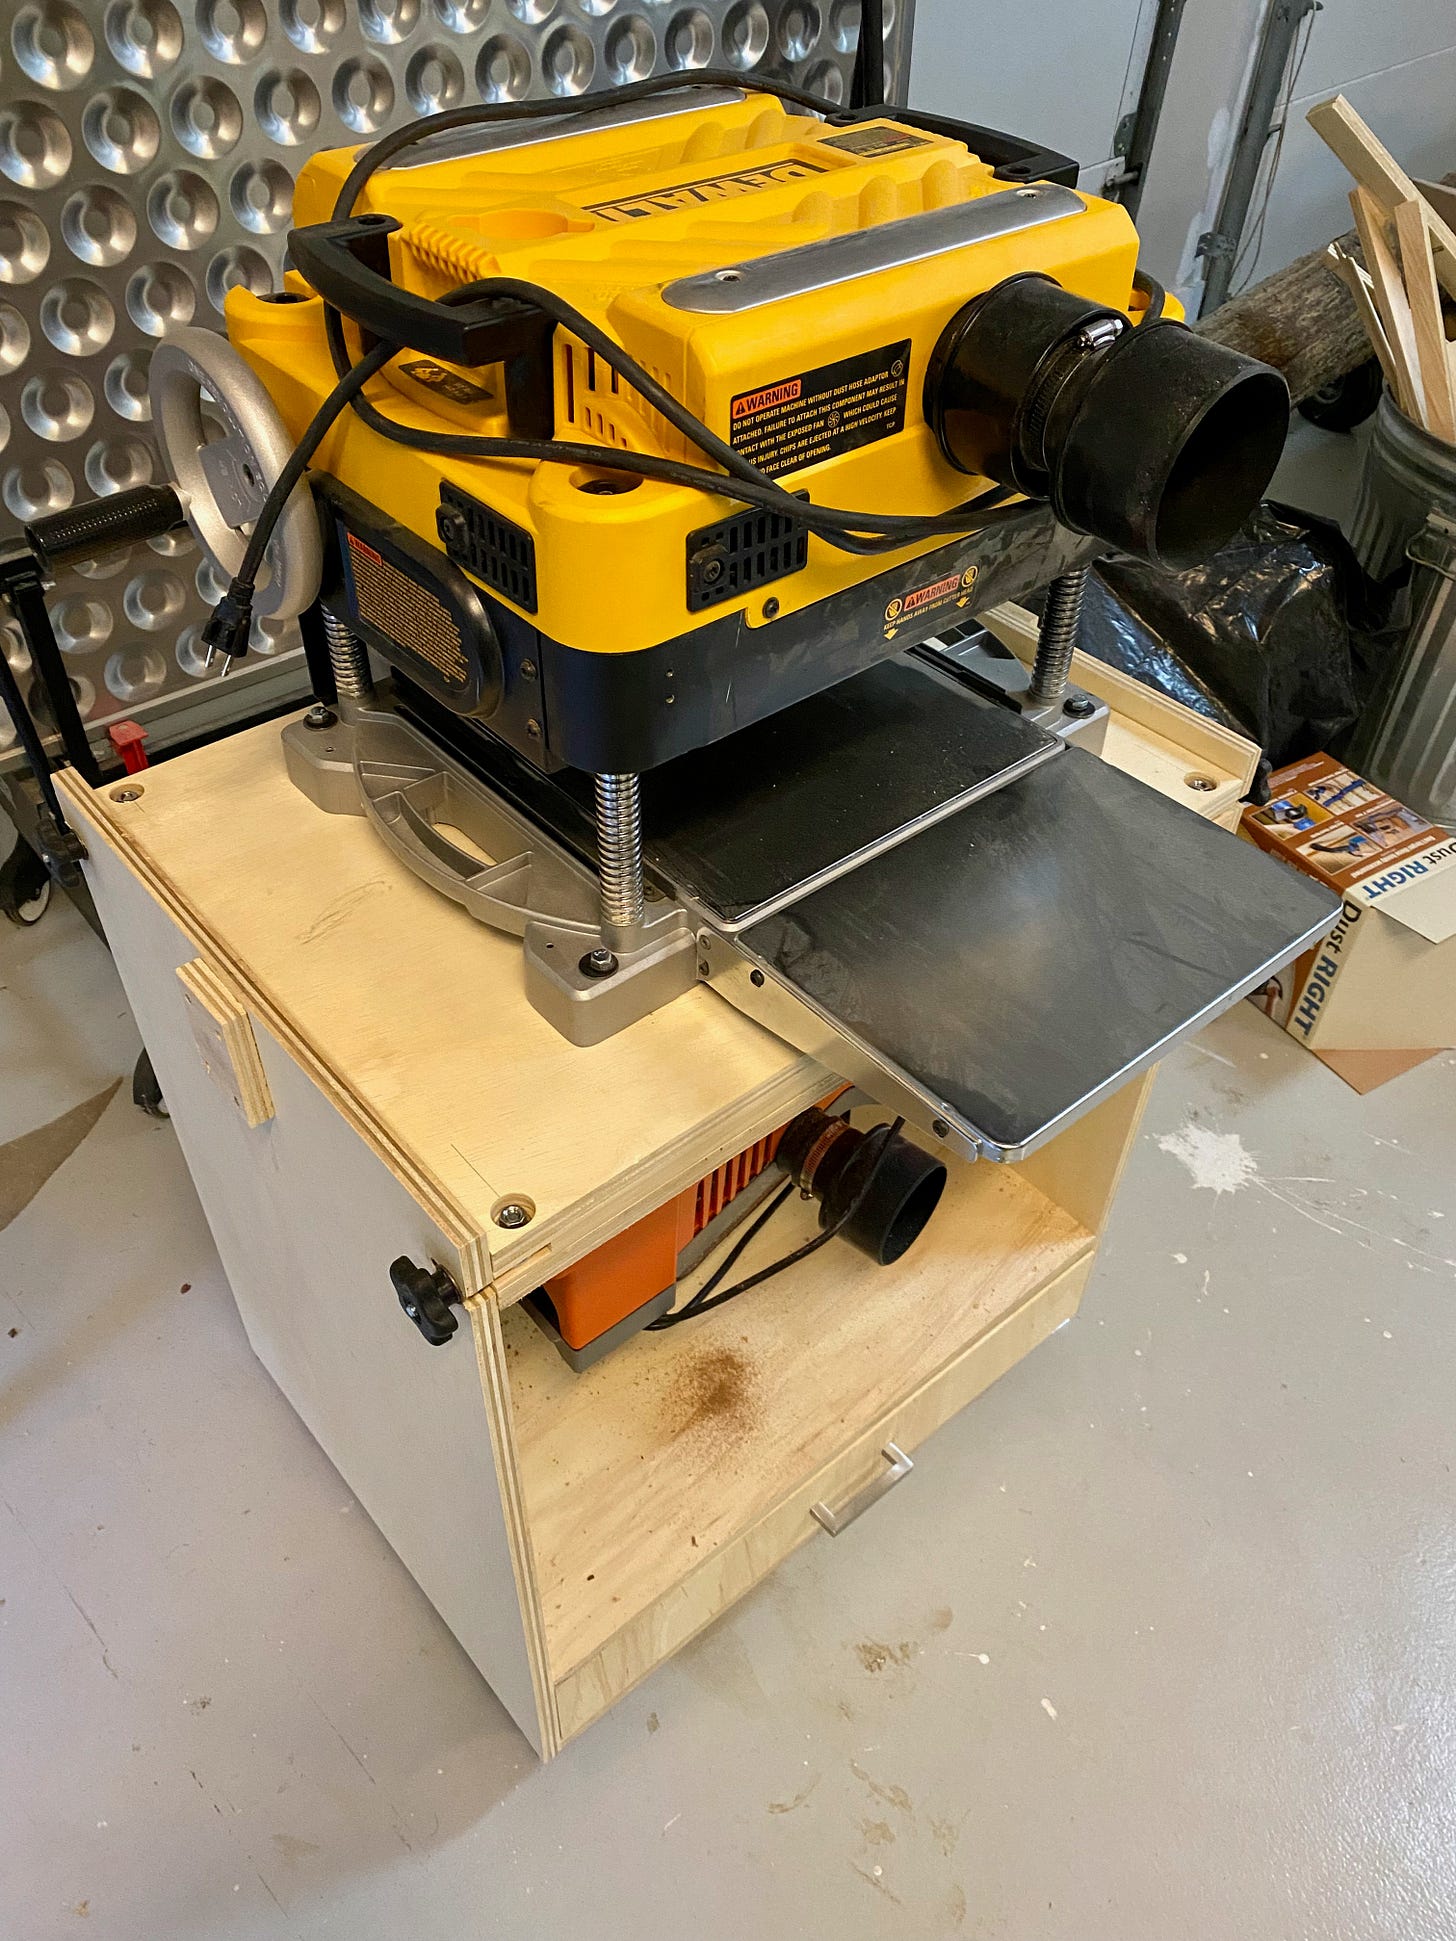
I was more nervous about the flip-top stand, simply because it was going to be carrying my planer and my sander. The planer, especially, is rather heavy and I was concerned about the table's ability to handle that weight.
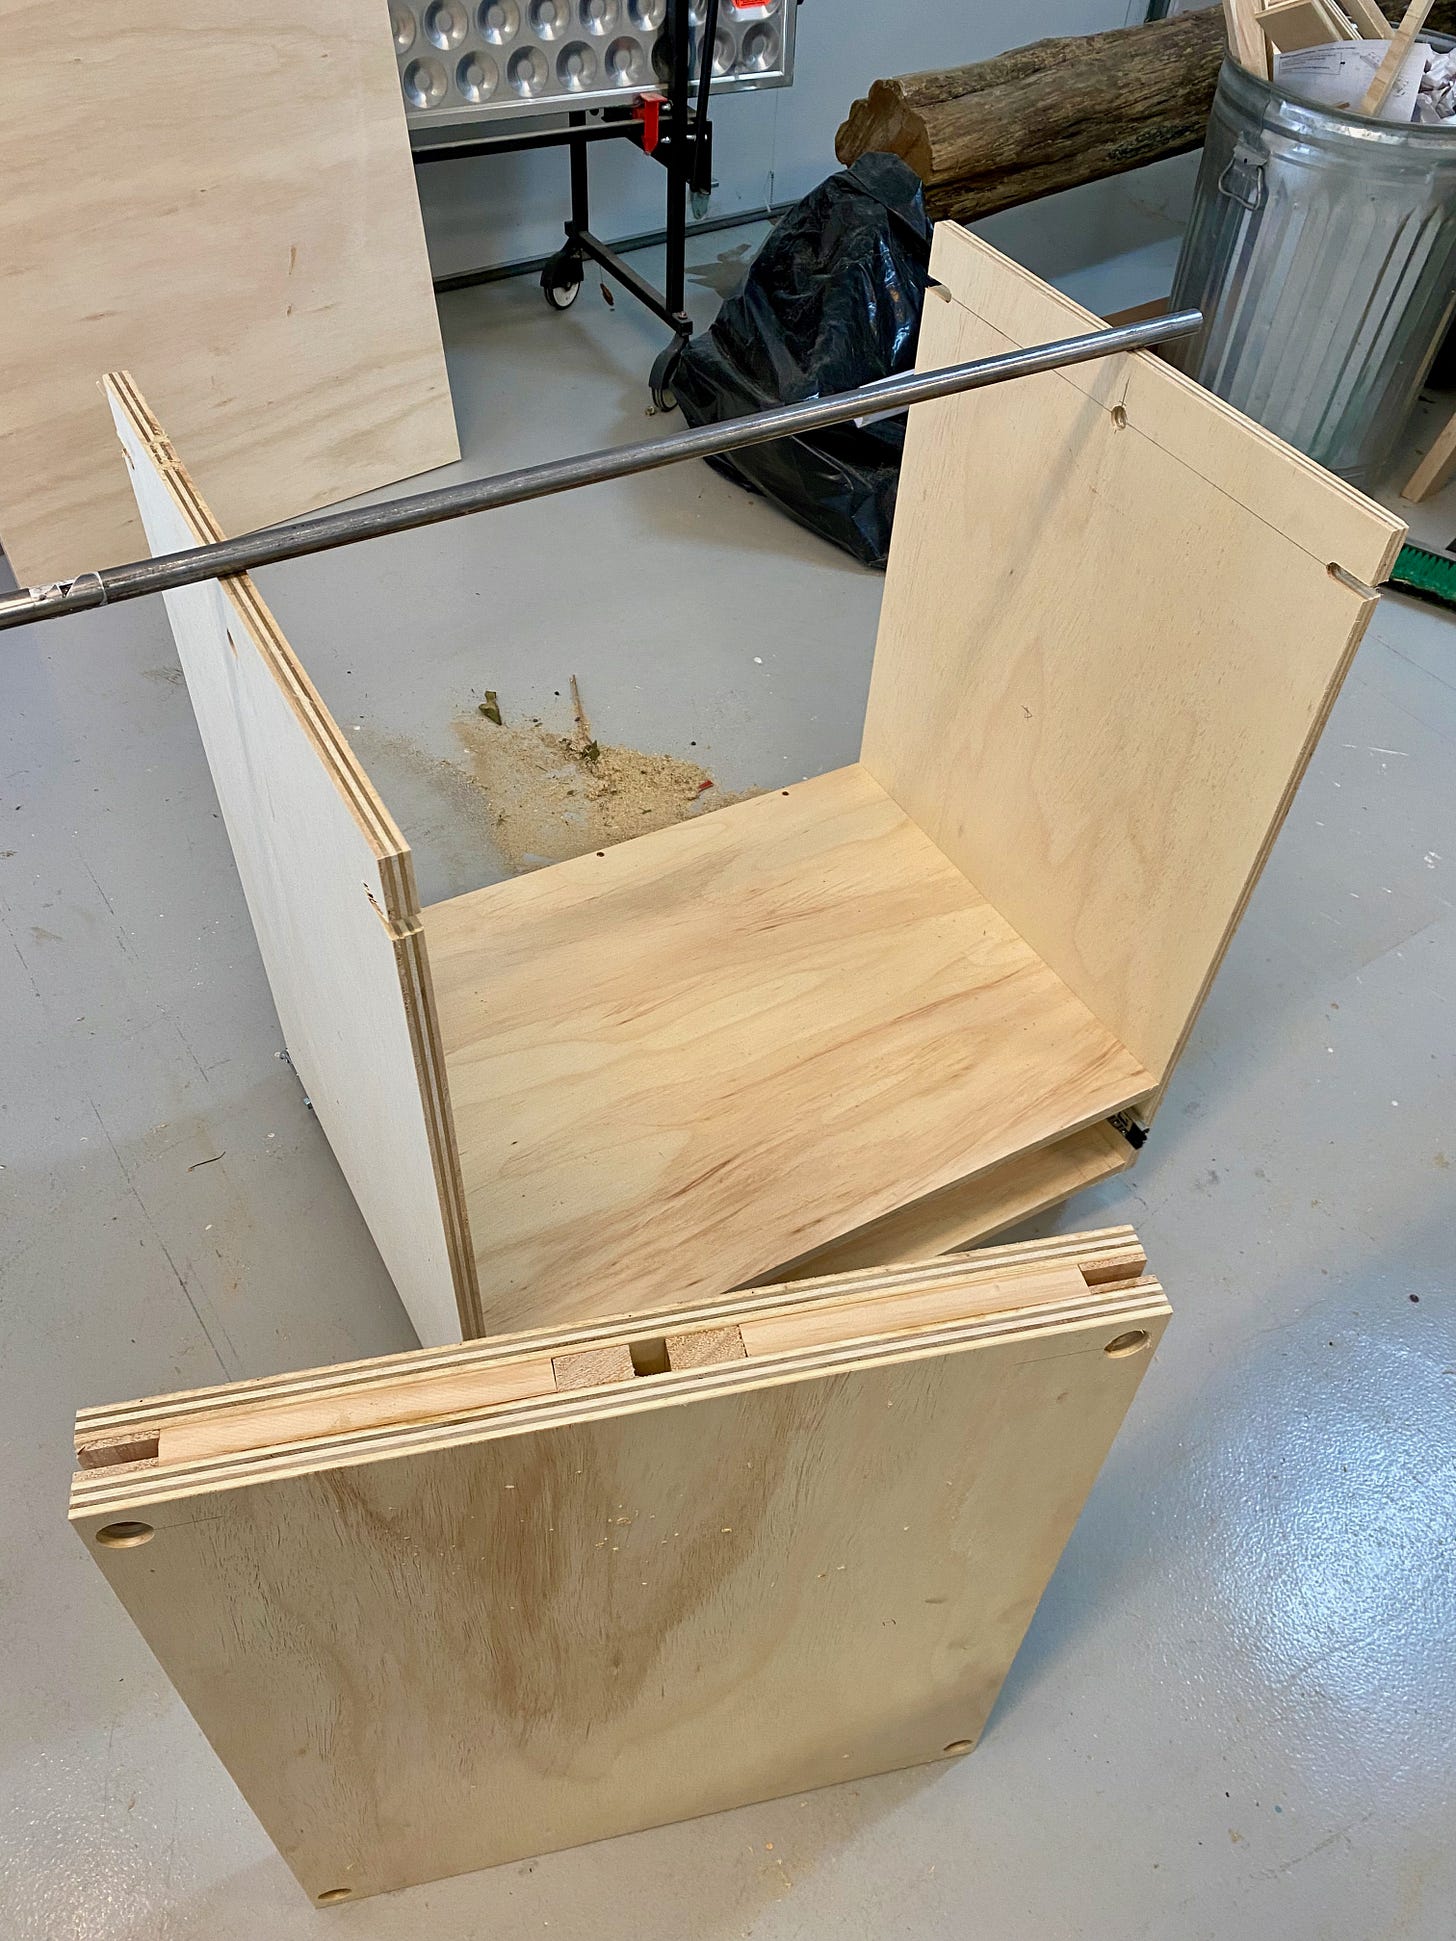
I needn't have worried. The platform the tools sit on is super solid, thanks to the two laminated sheets of ¾-inch plywood with solid wood sandwiched inside. And the plywood sides are more than capable of holding the weight as well.
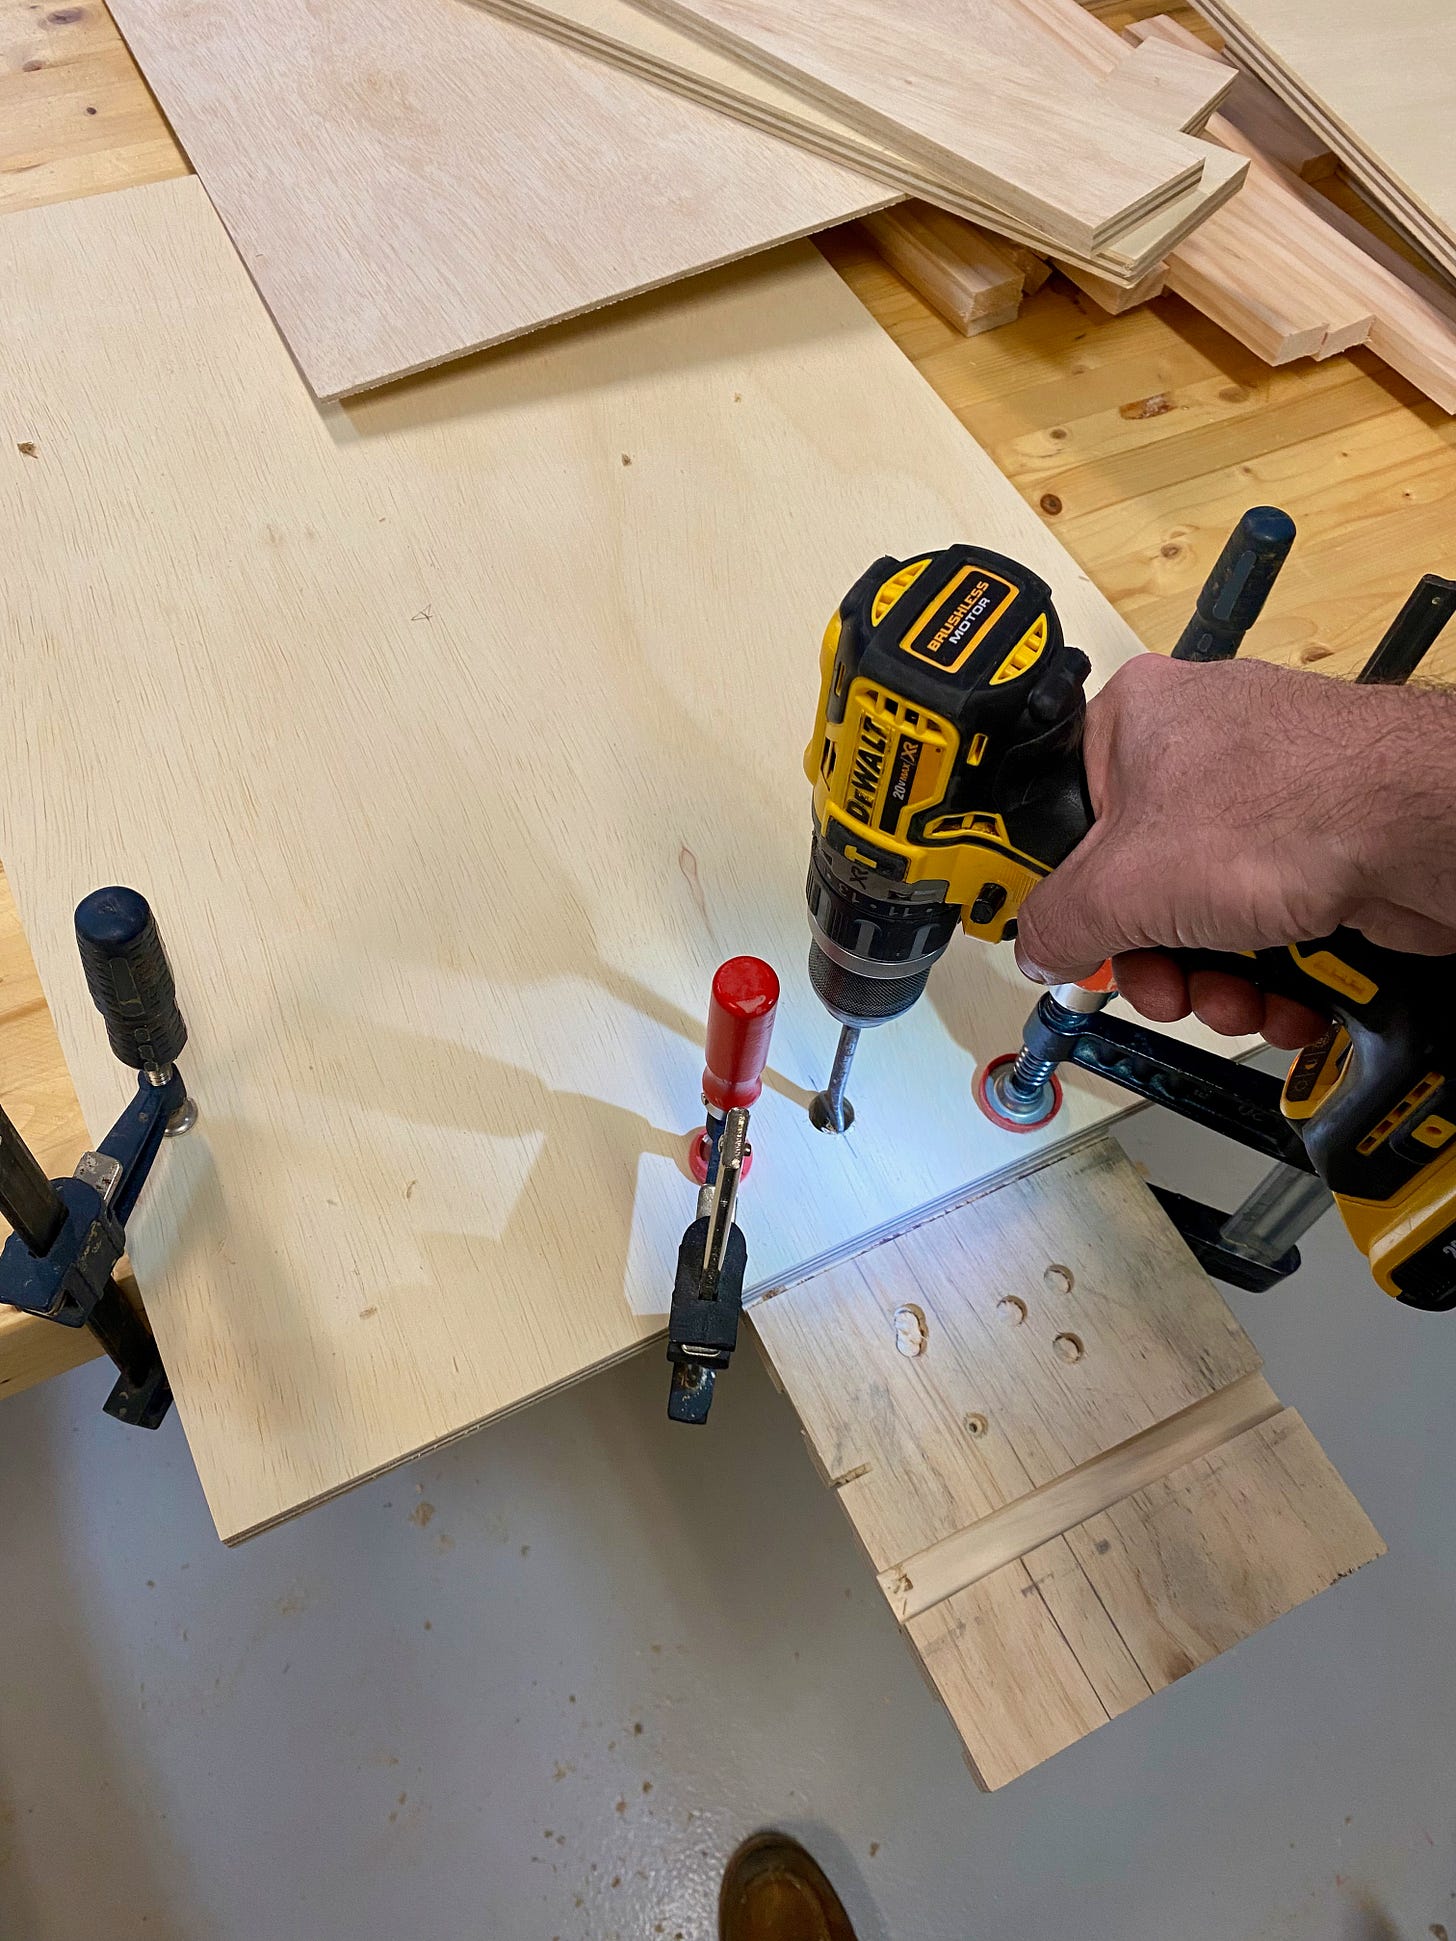
Assembly was pretty easy, too.
It's dead easy to flip and the drawer at the bottom is super handy for holding extra planer knives, sanding belts and the like. Now both tools are out of the way when not in use and easy to roll up to my dust collection system when needed. Fantastic.
I'm even thinking about making a second flip-top stand for a pair of grinders. It really is that convenient and handy.


