A little bench for a big sister
The best time to give someone a birthday present is that person's birthday. The second best time is four months later.
There really is no excuse for my leaving such a long gap between posts. There are reasons for it, but no excuses. The good news — I think it’s good news? — is that I have several things to write about, so if I can just get my act together, I’ll have more frequent postings for at least the next little while. So, let’s get started.
About a year or so ago, my sister asked me if I could make her some kind of bench for her front door foyer. It’s an open space and it lacks any place for people to sit and take off (or put on) their shoes, or for her to store things like hats, gloves, scarves, etc.
Of course I’d be happy to, I told her, and started thinking about what might work well in the space she had. But, as time went on, I got busy with other projects and let this request slip into the recesses of my mind.
It was jogged forth this spring, however, when I was paging through an issue of Woodsmith magazine, which featured a cute padded storage bench that I thought could be just right for my sister’s project. Conveniently, it was also her birthday, so I let her know her present would be this bench. She’d just have to wait a little longer for it.
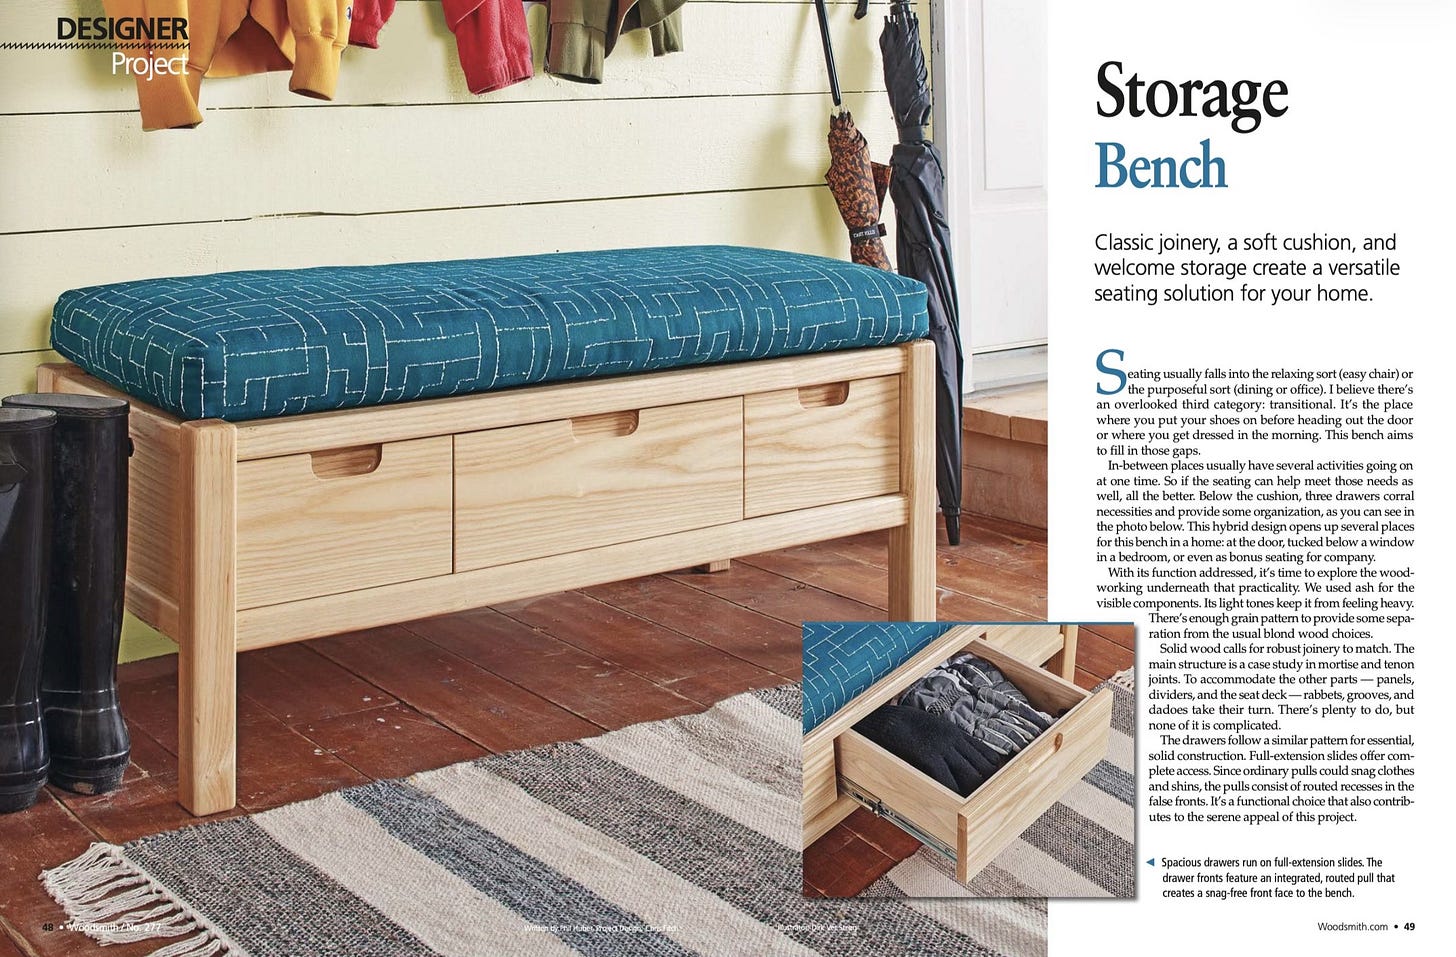
Like many of my projects, it builds on concepts or techniques in previous works while also challenging me with new things. For example, the drawers feature a continuous grain pattern, like what I sought to achieve with the writing desk project, but the drawer pulls are recessed, requiring an entirely different approach to any I’ve taken before.
After consulting with my sister, I decided to make one small alteration to what was pictured. While, as in the photo, I’d build the bench out of ash, which has a beautiful grain pattern, I would stain it black to match her other decor. It would also be the same wood and stain as the tabletop I had made for her and her spouse several years ago.
As with all projects, this started with a trip to the lumber yard. I picked out a few boards, including some nice two-inch thick pieces from which I’d make the robust legs. Back in the shop, milling and cutting the lumber to size was straightforward.
The bench is mostly straightforward mortise-and-tenon joinery — basically the wood equivalent of “insert tab A into slot B.” The tabs are the tenons and the slots are the mortises.
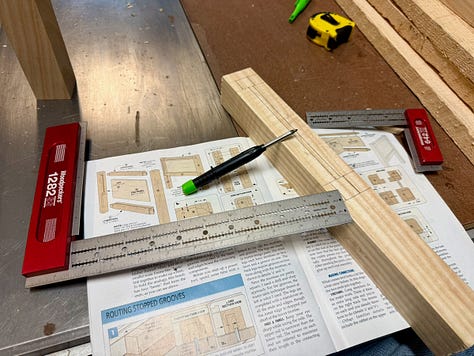
To make the mortises, I first marked their locations on each leg, and to do that, I had to make sense of the plan’s diagrams.
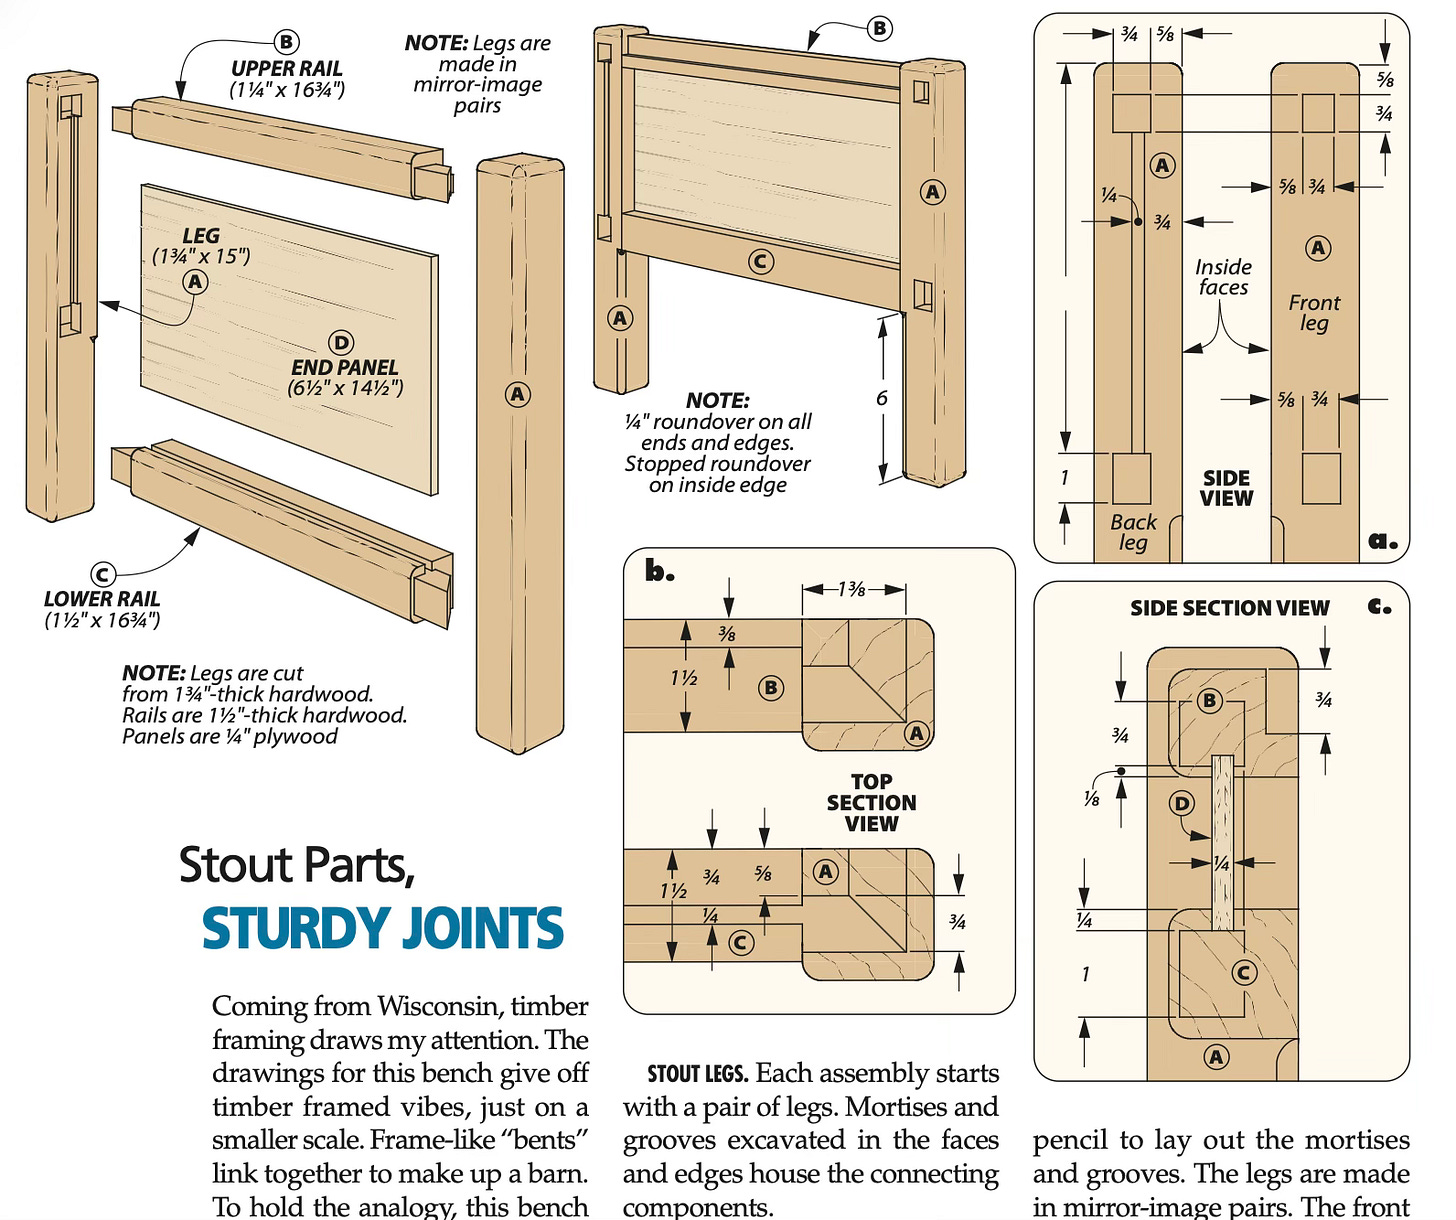
Now maybe it’s just me, but despite the exceptional detail these appear to display, I was frequently confounded by certain aspects.
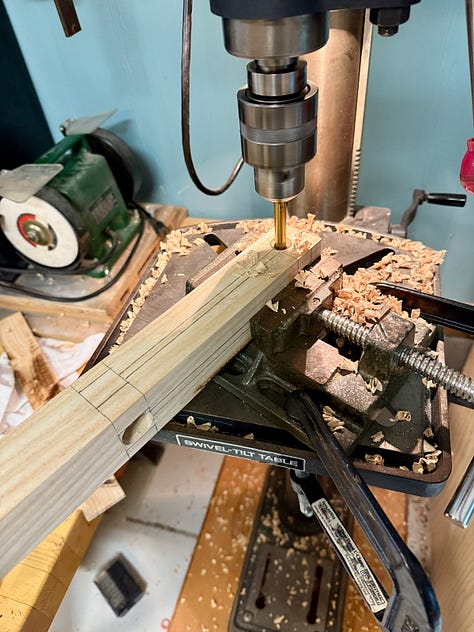
In any event, I marked up the legs and used a drill press to make the initial mortise holes. Then I squared them off with a mallet and chisel.
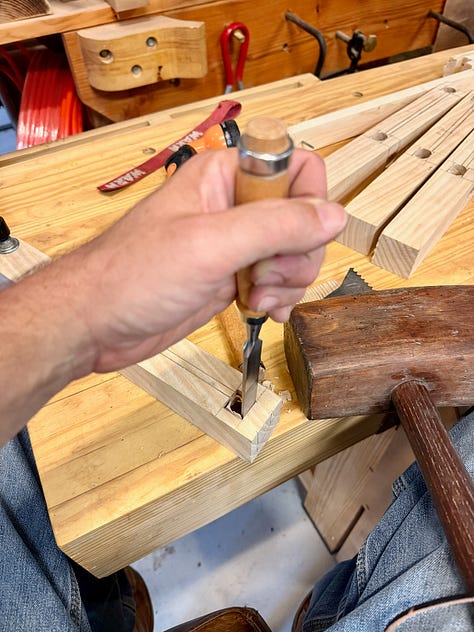
Once I had the mortises in good shape, I milled the cross pieces or rails that would fit into the pegs. These rails would have the tenons — or tabs — on their ends, created by cutting away material, like you might cut the base of a candle to fit into the candlestick.
To help make everything super strong and tight, the tenons would be cut at 45-degree angles so that they’d meet like the corners of a picture frame inside the mortises, as shown above in the plan’s diagram. (Look at the inset box titled “b.”)
I test fit the tenons and mortises, adjusting both as necessary until everything fit together snugly.
To this point, the project had been pretty straightforward. The next step was a bit trickier, though. I needed to cut a slot along each rail and between the mortises on each leg — all perfectly aligned with each other — for ¼-inch plywood to slide into, thus creating the solid sides.
For the rails, this was easily done on the table saw. For the legs, though, I needed the slots to run only between the mortises — something I would not be able to accomplish with a table saw. For this trick, I had to turn to the router table.
A router is a machine that spins a cutting bit like a top. Different bits can make different kinds of cuts. To make the cut I needed, I used a small ¼-inch straight bit. If I push a piece of wood straight down on this bit, it’d make a ¼-inch hole, like what you’d get with a drill.
However, if you push a piece of wood across the bit as it spins, it will cut a ¼-inch groove. What’s really helpful about this is that you can start and stop your groove wherever you please, creating a groove with definite end points.
By carefully aligning start and stop blocks on the router table and even-more-carefully setting a fence to just the right distance from the router bit, I was able to gently drop a table leg onto the bit where a mortise was cut and then push the leg until the bit reached the other mortise. Then I’d carefully lift the leg and voilà! I had a perfectly cut groove just between the mortises.
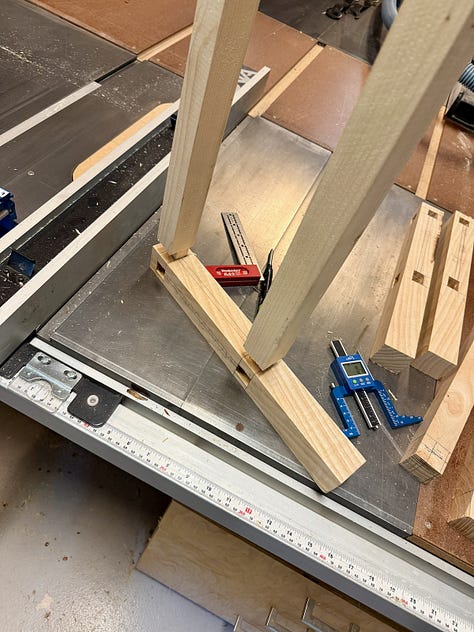
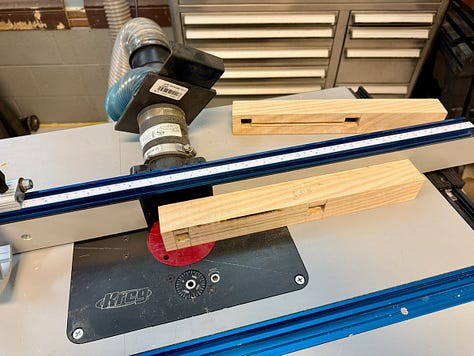
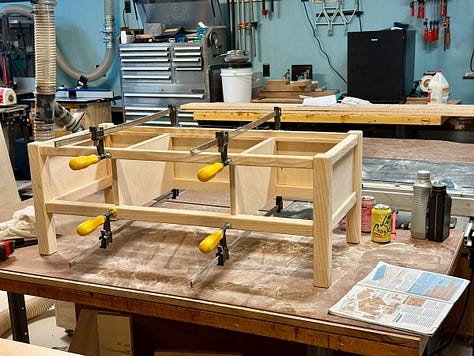
With the grooves cut, I rounded over the edges of the legs and rails, sized and cut the plywood sides and the ash drawer dividers (which also gives the bench added strength), gave everything a thorough sanding, and then glued and clamped it all together.
Next, it was time to make the drawers. Rather than build these out of plywood, I made them out of solid ash and assembled them using tongue-and-groove joinery. While the glue on the drawers dried, I started staining the bench frame. I also cut the plywood top that would serve as the bench seat and once the stain dried, installed drawer slides.
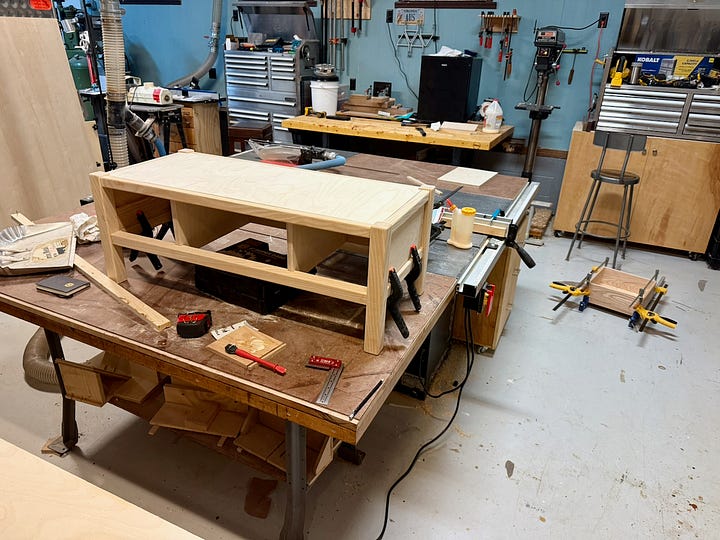
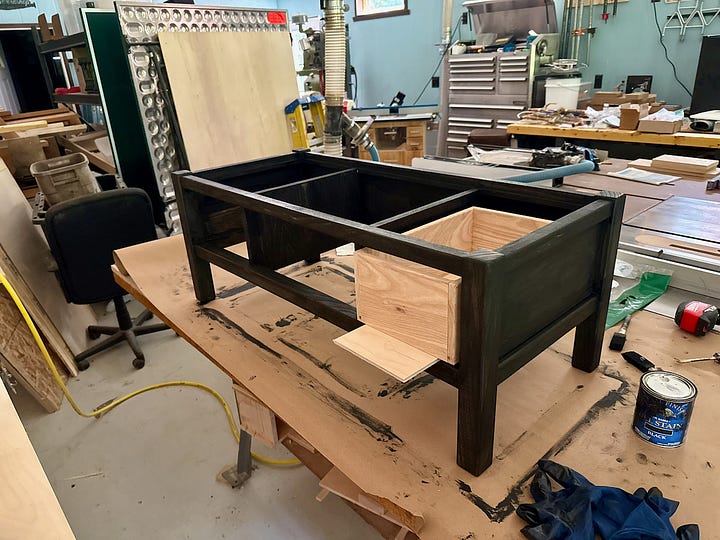
There wasn’t much left to do, but what there was left was the one thing that I’d been worried about since I started: the plans called for the drawer fronts to have recessed hand pulls cut into them. And I had no idea how to do that.
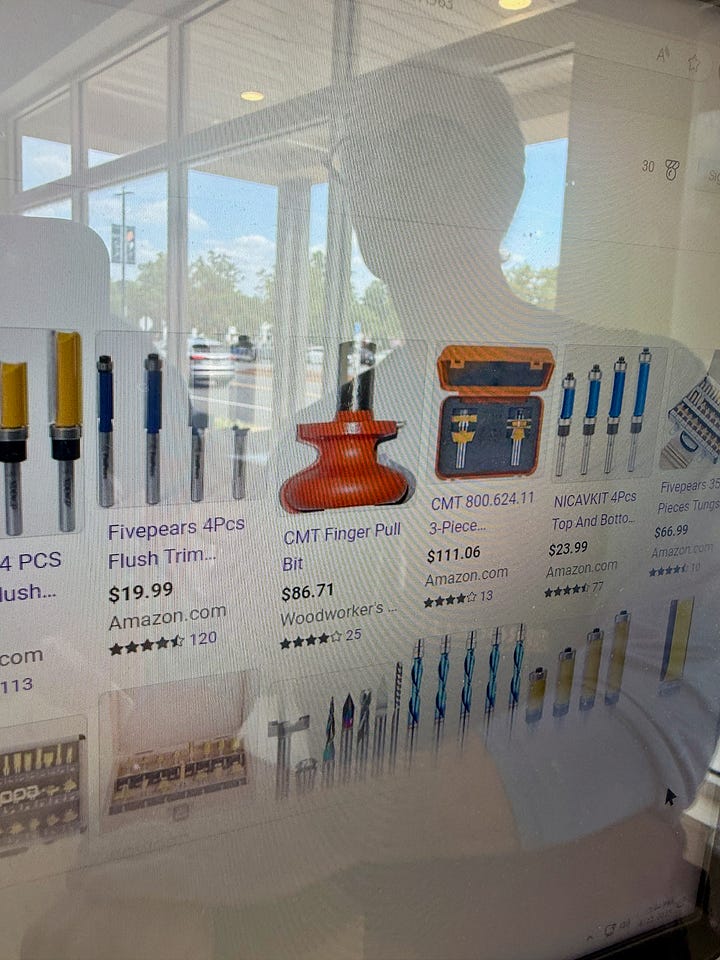
Well, I had some idea. Or ideas, anyway. At first I thought I’d make a jig or pattern that I’d run a bit around. But that seemed convoluted and a lot of work. I’d also need a bit that had not just the right profile, but also a bearing to run along the jig. And such a bit I could not find.
I even went to the local woodworking store and pored over their router bits, but failed to find anything I needed.
Then, in talking about the problem with a friend, I realized I was approaching this all wrong. Yes, I needed a bit with the right profile, but the way to cut the grip was to turn the drawer front face down on a router table, set the correct stops, and then simply push the piece into the bit.
I found and ordered a bit online and once it arrived, tested this method on a piece of scrap wood. It worked perfectly, giving me the confidence to cut the actual drawer fronts.
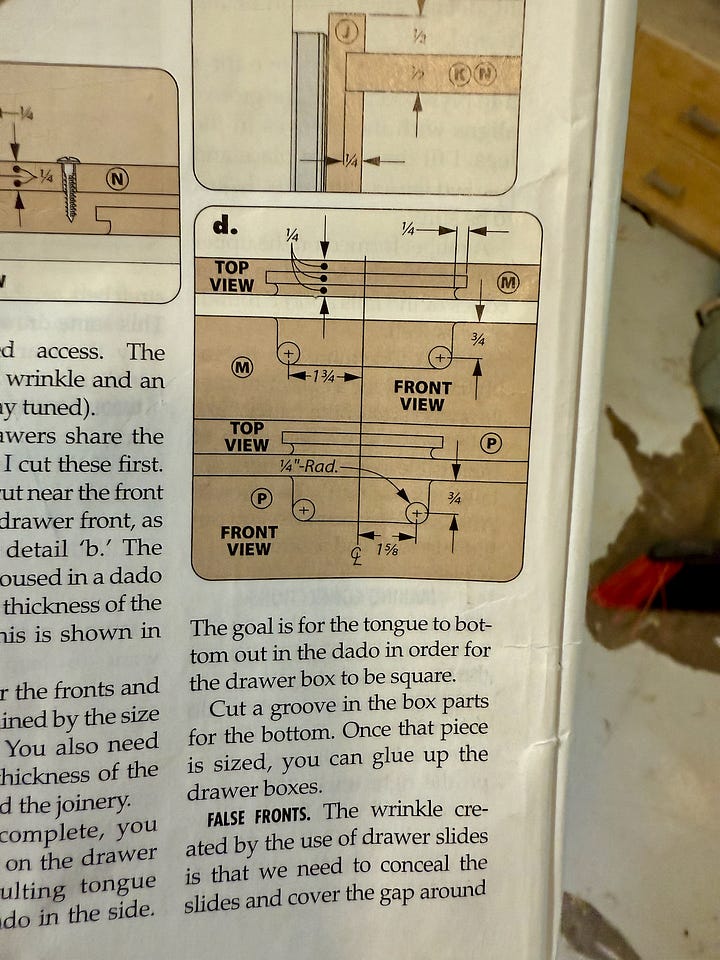
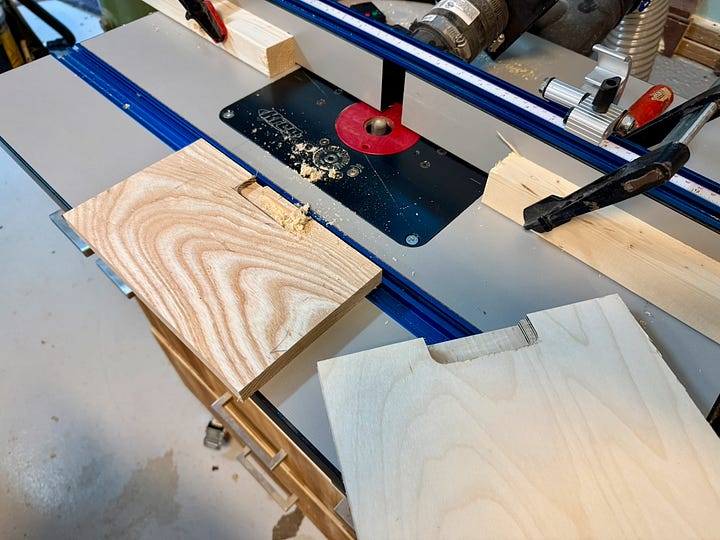
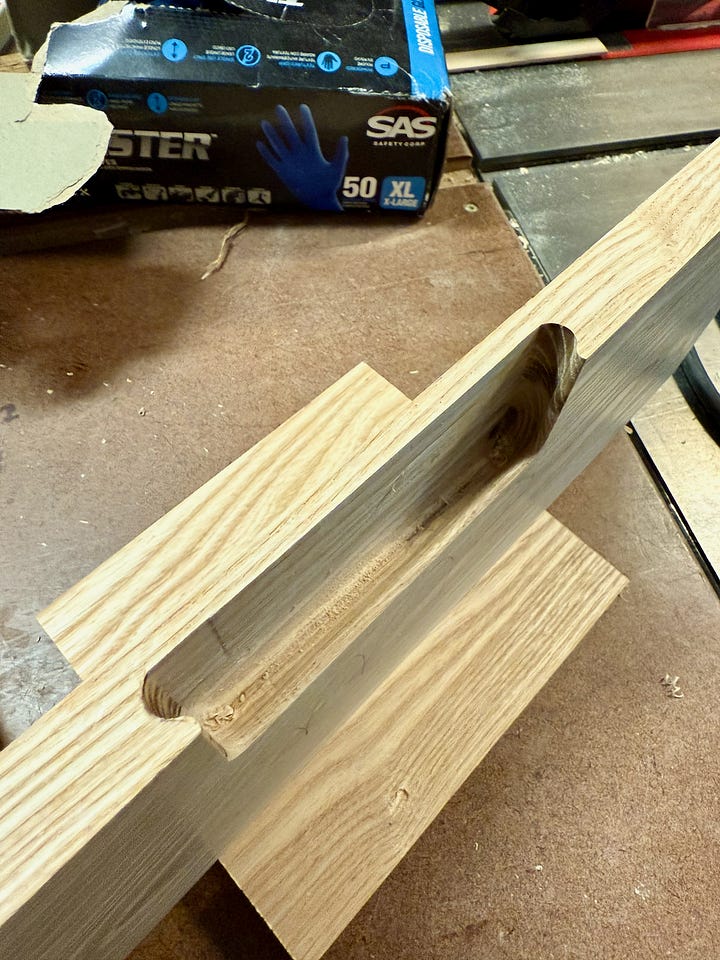
With the finger grips cut, I then attached the drawer fronts to the drawers and stained everything black. Then I installed the drawers and realized I had made a terrible error. Despite all my care and attention, I had misordered the drawer fronts so that the grain was no longer continuous. As I let out a string of expletives and scathing, self-loathing invective, I realized I could detach the faces and re-order them properly, though doing so would create some extra screw holes and other minor blemishes that only I would know about (and now all of you).
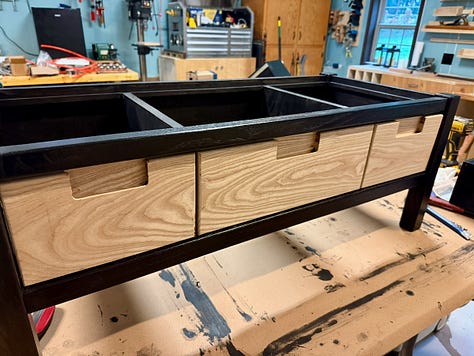
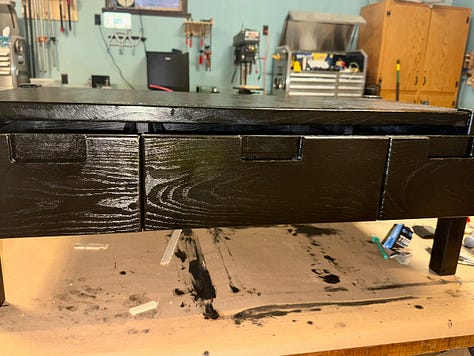
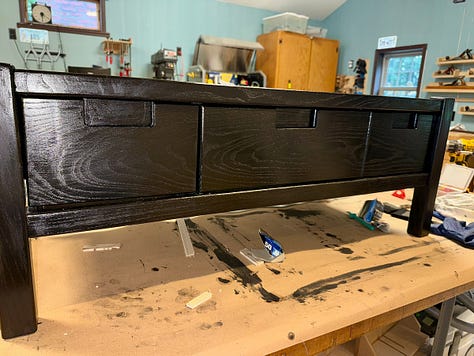
Once it was all properly set and the stain and top coat dried, I delivered it to my sister — just four months after her birthday. I had earlier sent her dimensions so she could order a made-to-fit cushion for the top. In truth, once we placed the bench in her foyer, it seemed a little small for the space. But, I think with some strategic placement of house plants or other items on either side, it will fit in quite nicely.


So glad to see you writing again. I've missed your updates. Love the bench!