Ash to Table
Solving a Christmas dilemma with a custom table top
Note: Whether you all realize it or not, it’s my goal to have a new post every week — a goal I often, sadly, fail to achieve. These past two weeks I’ve failed due to being kept busy by our new puppy. So, sorry not sorry. To make it up to you, there’s a bonus cute puppy photo at the end of this week’s post. Enjoy.
Christmas should never sneak up on anyone. We all know it’s coming and have plenty of time to prepare for it. Heck, I should be preparing for the 2023 holiday right now. It is, after all, only five months away. But I’m not… I’m still catching up from 2022. Case in point: a square ash table for my sister-in-law.
As last Christmas approached, I found myself stumped as to what to get certain people, including my sister-in-law. Luckily, I have this convenient “get out of gift jail” card, which is essentially “I’ll make you something.”
So that’s what I gave her: an IOU for a custom-made piece of furniture. We just needed to figure out what that’d be.
In my head, I was thinking it might be a clever waterfall TV table, maybe something similar to this one I spotted in a woodworking magazine:
Actually, I think this one is a little ugly, to be honest, but the concept is solid. In any event, she wasn’t interested in that. Rather, she wondered if I could build a replacement table top for a small round table that was, well, too small. And not only that, instead of round, she wanted it square. Could I do that?
Yes. Yes I could.
Setting the Table
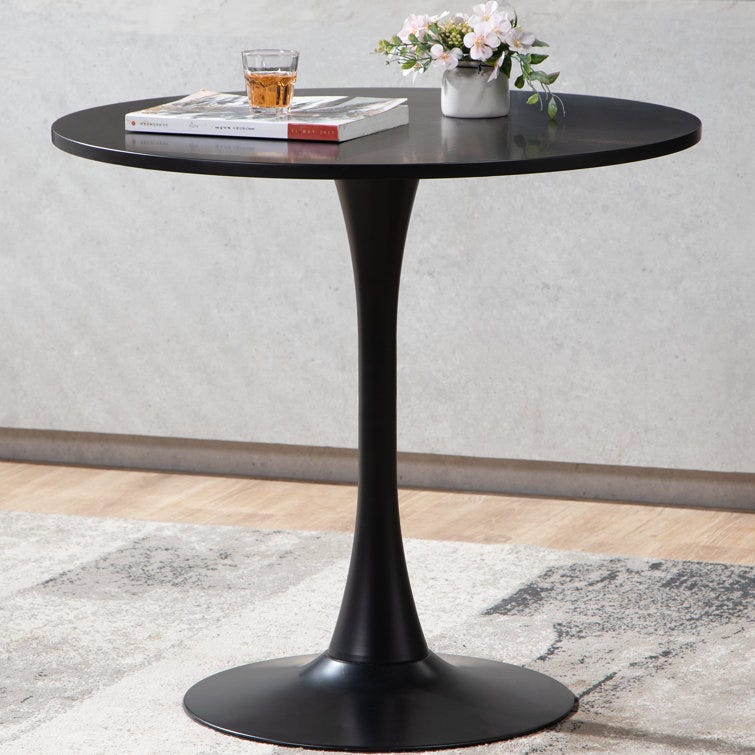
I started by checking out the existing table, which looked like this:
The metal base screwed into the wooden top, so I was confident it would be easy to swap out the top. The original top was 31-½ inches across. I got out my measuring tape and asked my sister-in-law to show me what size she’d want the square top to be. She put her hands out and I measured. Forty inches.
I figured the base could still handle a top of that size, so that size seemed reasonable. Finally, I asked what she wanted the finish to be. “Black,” she said. Just bigger and square.
The original table top was made of painted MDF, but I wanted to make something that I thought would last longer and look better. I also didn’t want to paint the top, which would scuff and wear poorly. Rather, I wanted to stain it and then apply a nice top coat.
Ash is a particularly nice wood to stain, so I went to my lumber yard and picked out a four 5/4 (that’s 1-¼”) 8-foot-long pieces of ash, each about 6 inches wide. Once I cut them down, that’d give me eight boards across, enough to make a 40-inch square table.
Back in the shop, I ran the boards through my planer, rough cut them to size and squared off the edges. Because the pieces were going to be edge-glued together, I needed to ensure the boards were dead-on straight. For that, I used my bench jointer. However, after several passes, I noticed that my boards were getting less straight than when I started. I turned them around, changed my form and checked for straightness again. Worse.
Specifically, I was seeing gaps at the ends of my boards. It’s like more wood is being removed at the start or the end of my jointing pass. Clearly, my technique is lacking.
Of course, every time I run a board across the jointer, I’m also making it narrower. And since I had already calculated the number of boards and their widths to get me to a 40-inch table top, I needed to solve my problem quickly before I ended up with a smaller table.
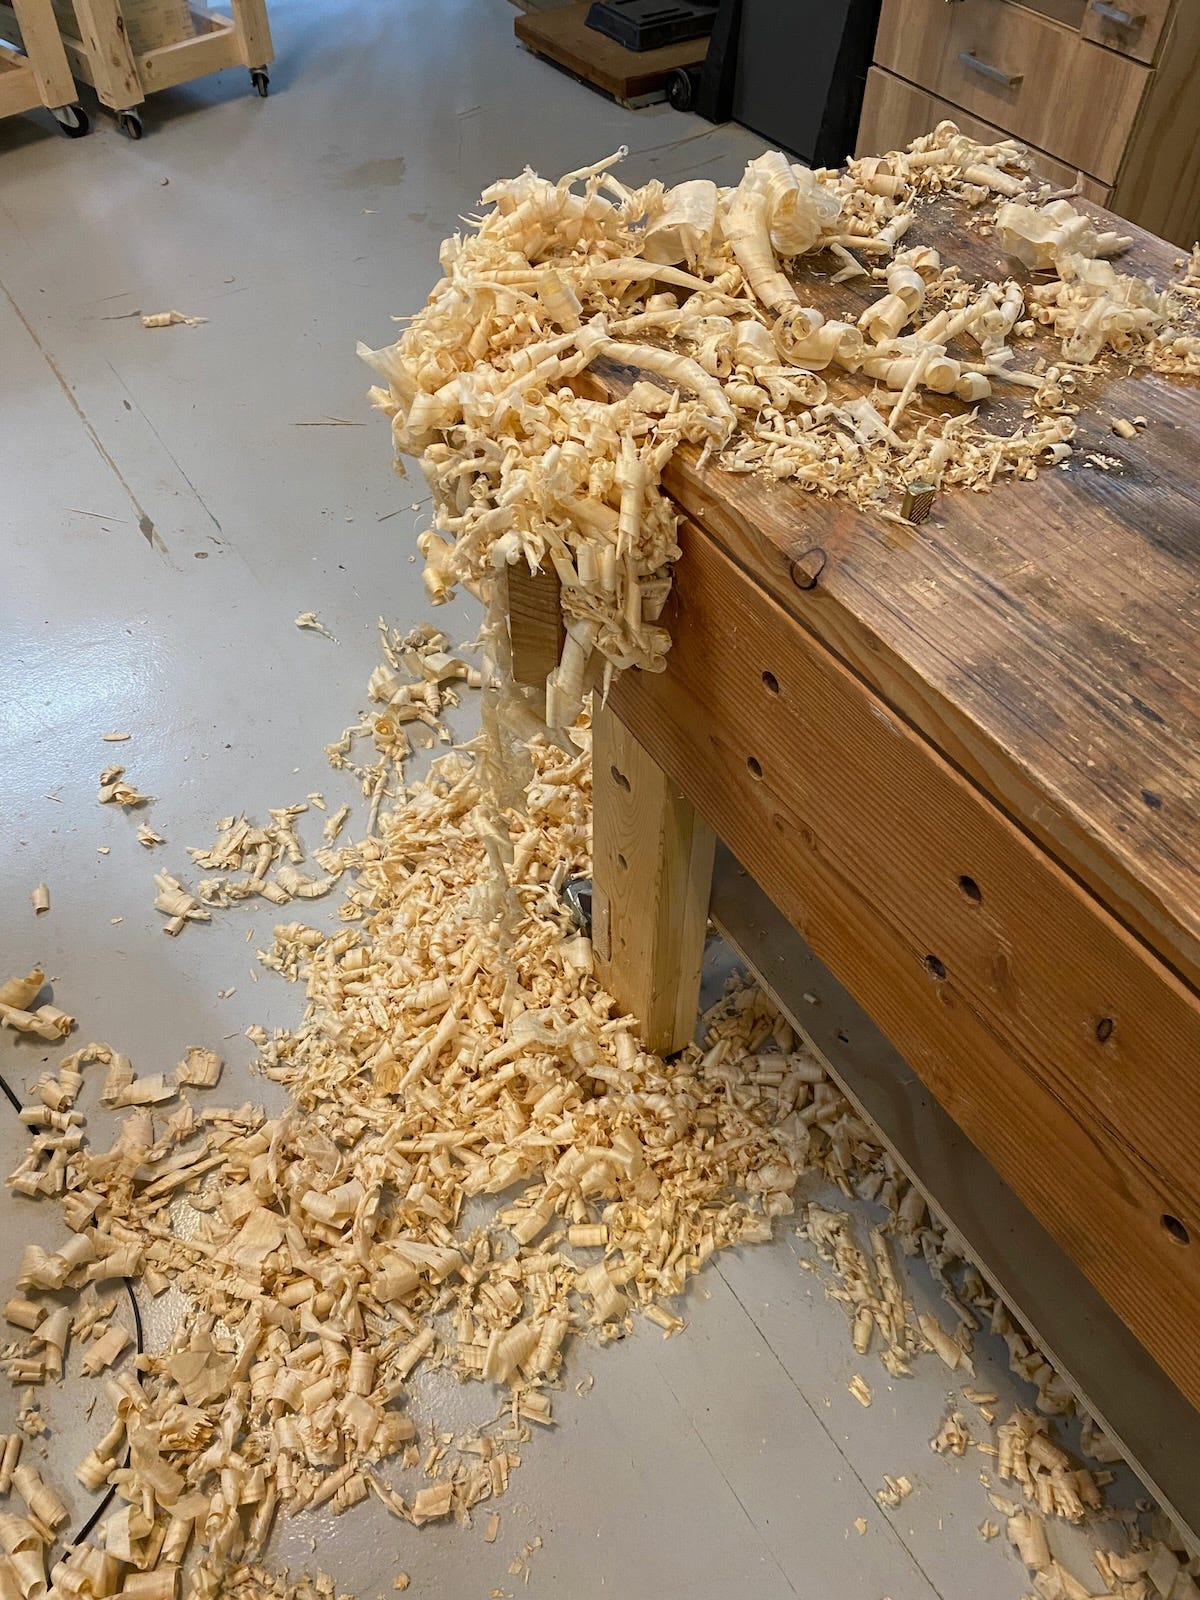
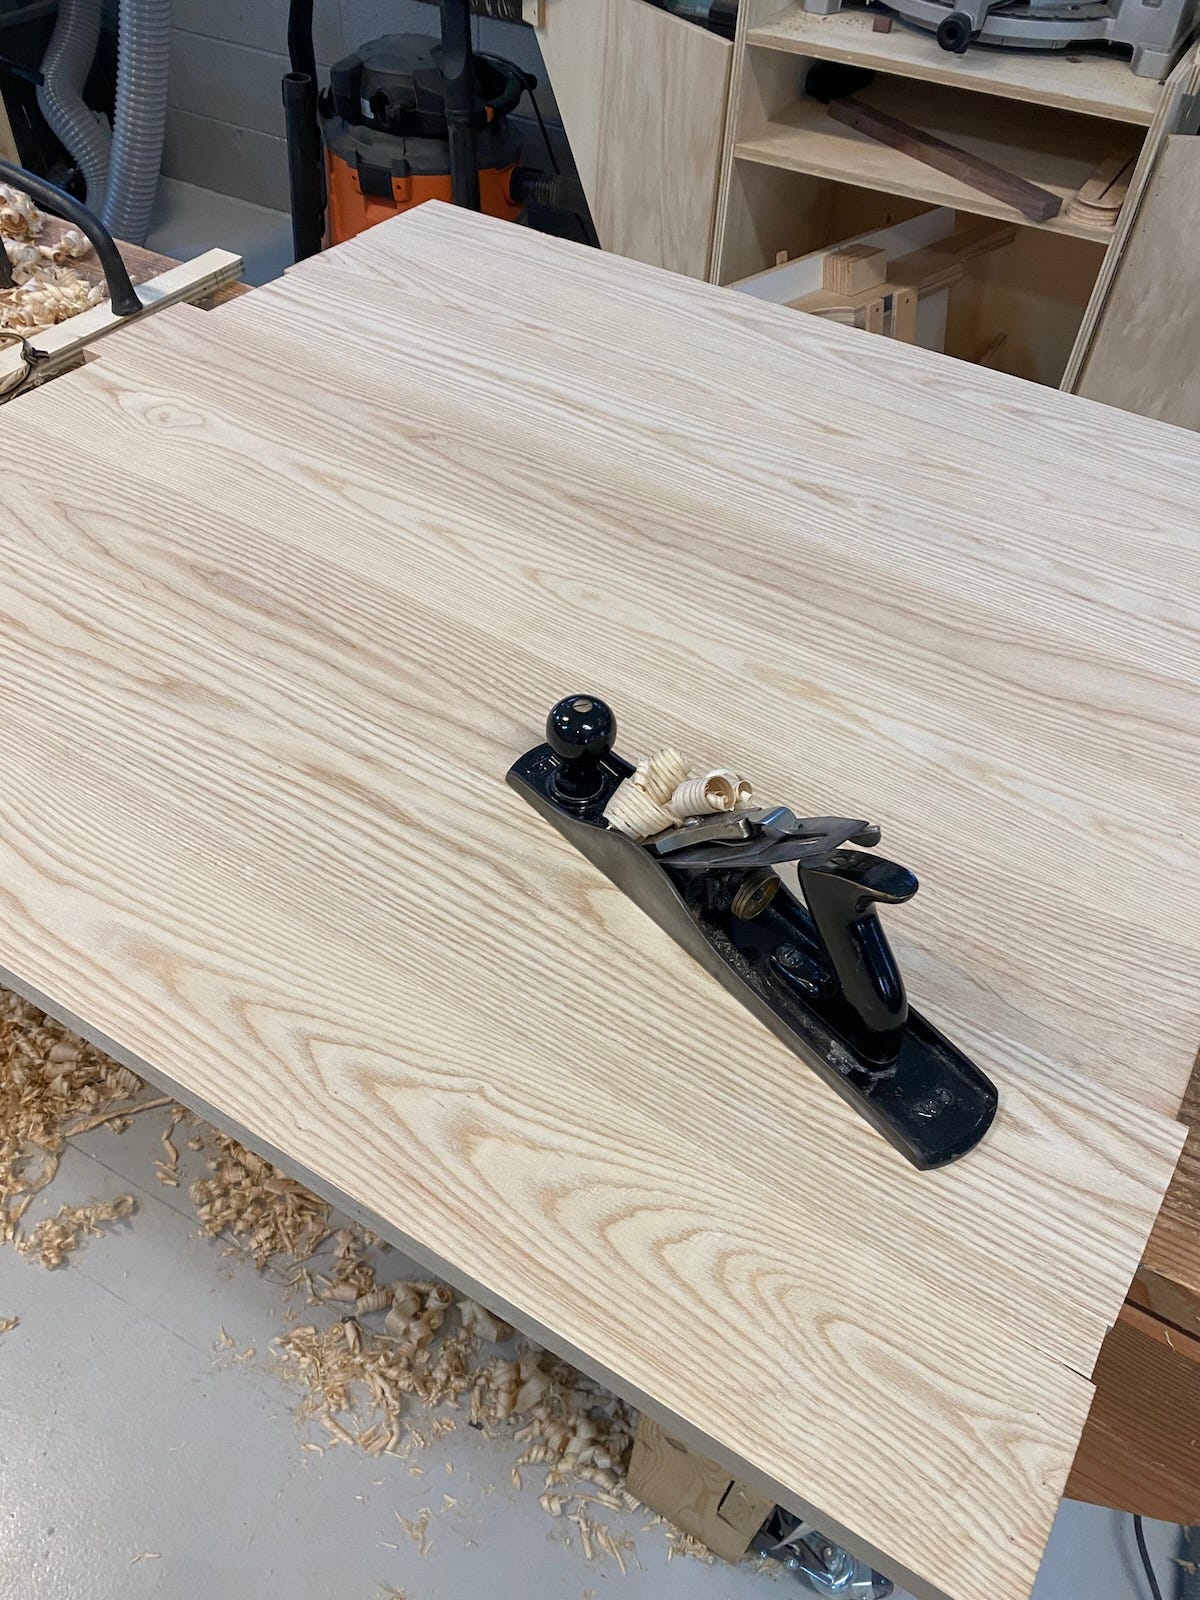
Recognizing my jointer deficiency (that is, I’m deficient at using it, not that the machine is defective), I turned to my handy jointing hand plane. After sharpening it up, I made a few passes, curled a few shavings and had my pieces flat and true.
As it happened, I removed so much wood that my table was no longer 40 inches across - it was more like 36 inches! Thankfully, I had a couple of pieces of scrap ash that I planed and was able to add in and bring the table back to size.
With the all of the pieces fitting nicely together, I glued and clamped them up.
Flattening the Slab
Once the glue dried on the ash, I removed the clamps and started to thinking about how to flatten the table top itself. See, the planks were all pretty flat, but once they are glued up, there are small ridges where the planks are misaligned. Or, in some cases, some of the planks have slight bows or cups or warps that become more apparent when they are all glued together. (One way to combat this is with a Festool Domino Joining Machine, which would make a great present for the special woodworker in your life.)
To solve this, I needed to plane the entire table, which I could do only with my hand planes, since the top was now far too wide to fit into any machine. This is not a particularly easy task, especially if the wood has knots in it. Happily, this ash was clear of any knots and the planing went relatively smoothly (no pun intended). After 30 minutes or so, I had mostly flattened and smoothed both sides and worked up a decent sweat.
I then turned to my palm sander to take care of any remaining high or rough spots. Working through the grits, I got both sides of the table feeling pretty nice.
At this point, I wanted to cut the table to final size, which I did using my track saw. Then I used a palm router to put a simple round on all of the edges. I briefly considered something more dramatic or ornate — a heavy chamfer or a curvy ogee — but neither seemed like they’d work well with the relatively thin table top or the overall aesthetic of the piece.
With the top sanded and sized, it was time for the stain. I opted for General Finishes black oil-based gel stain, which goes on thick and goopy and is supposed to give a deep, rich look.
After letting it sit for 10 minutes or so, I wiped it off as directed and was severely disappointed. The tabletop wasn’t a rich inky black; it was more like I had spilled a weak Oolong tea over the whole thing and dabbed it up with a paper towel.
Exercising an uncommon degree of patience, I waited a day for the first coat to dry and then applied a second coat. That looked much better. Once the stain dried, I flipped the table over to apply the stain to the other said. After each application, I had to wait a full day for it to dry. So it took five days to get two dried coats on the entire table.
Then it was time for a protective topcoat. I again turned to General Finishes for an oil-based satin gel topcoat. I applied the milky goop and brushed it smooth. Each coat took at least a day to dry and since I needed to do three coats on two sides, I was looking at another week. (Even then, General Finishes advises waiting as long as a month for the topcoat to fully cure and harden!)
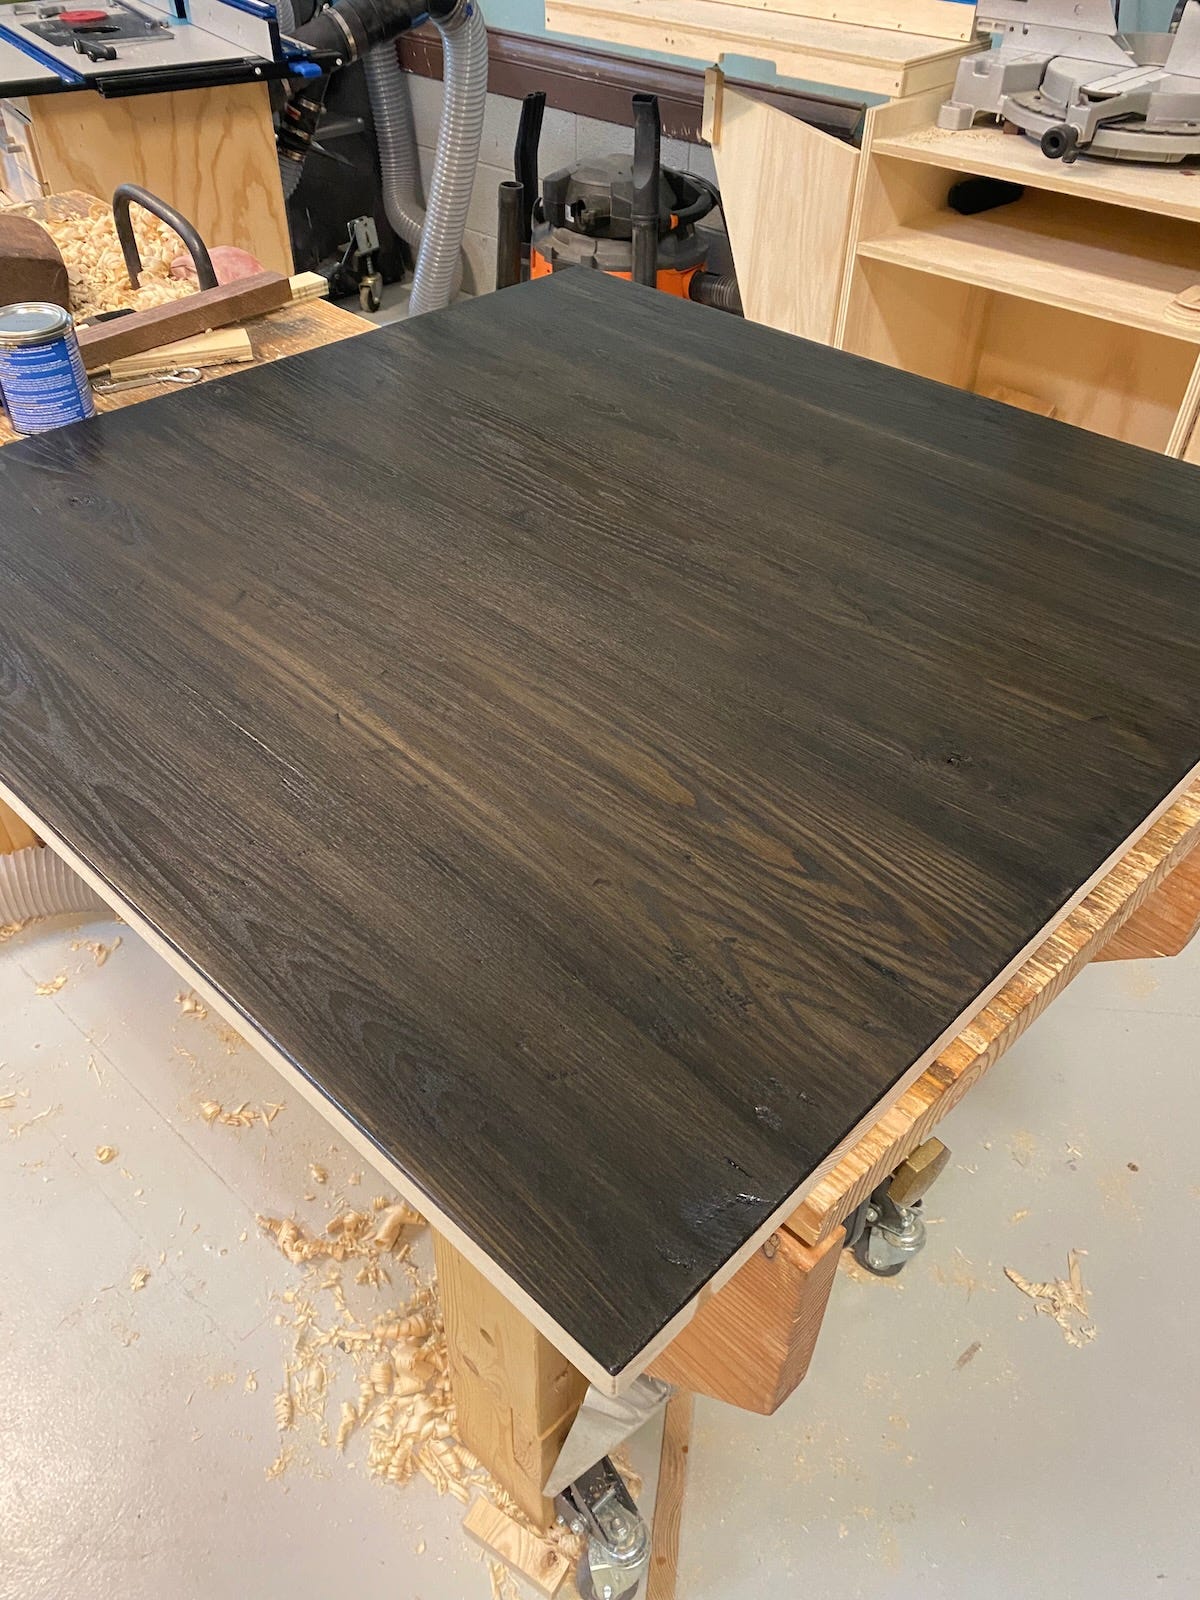
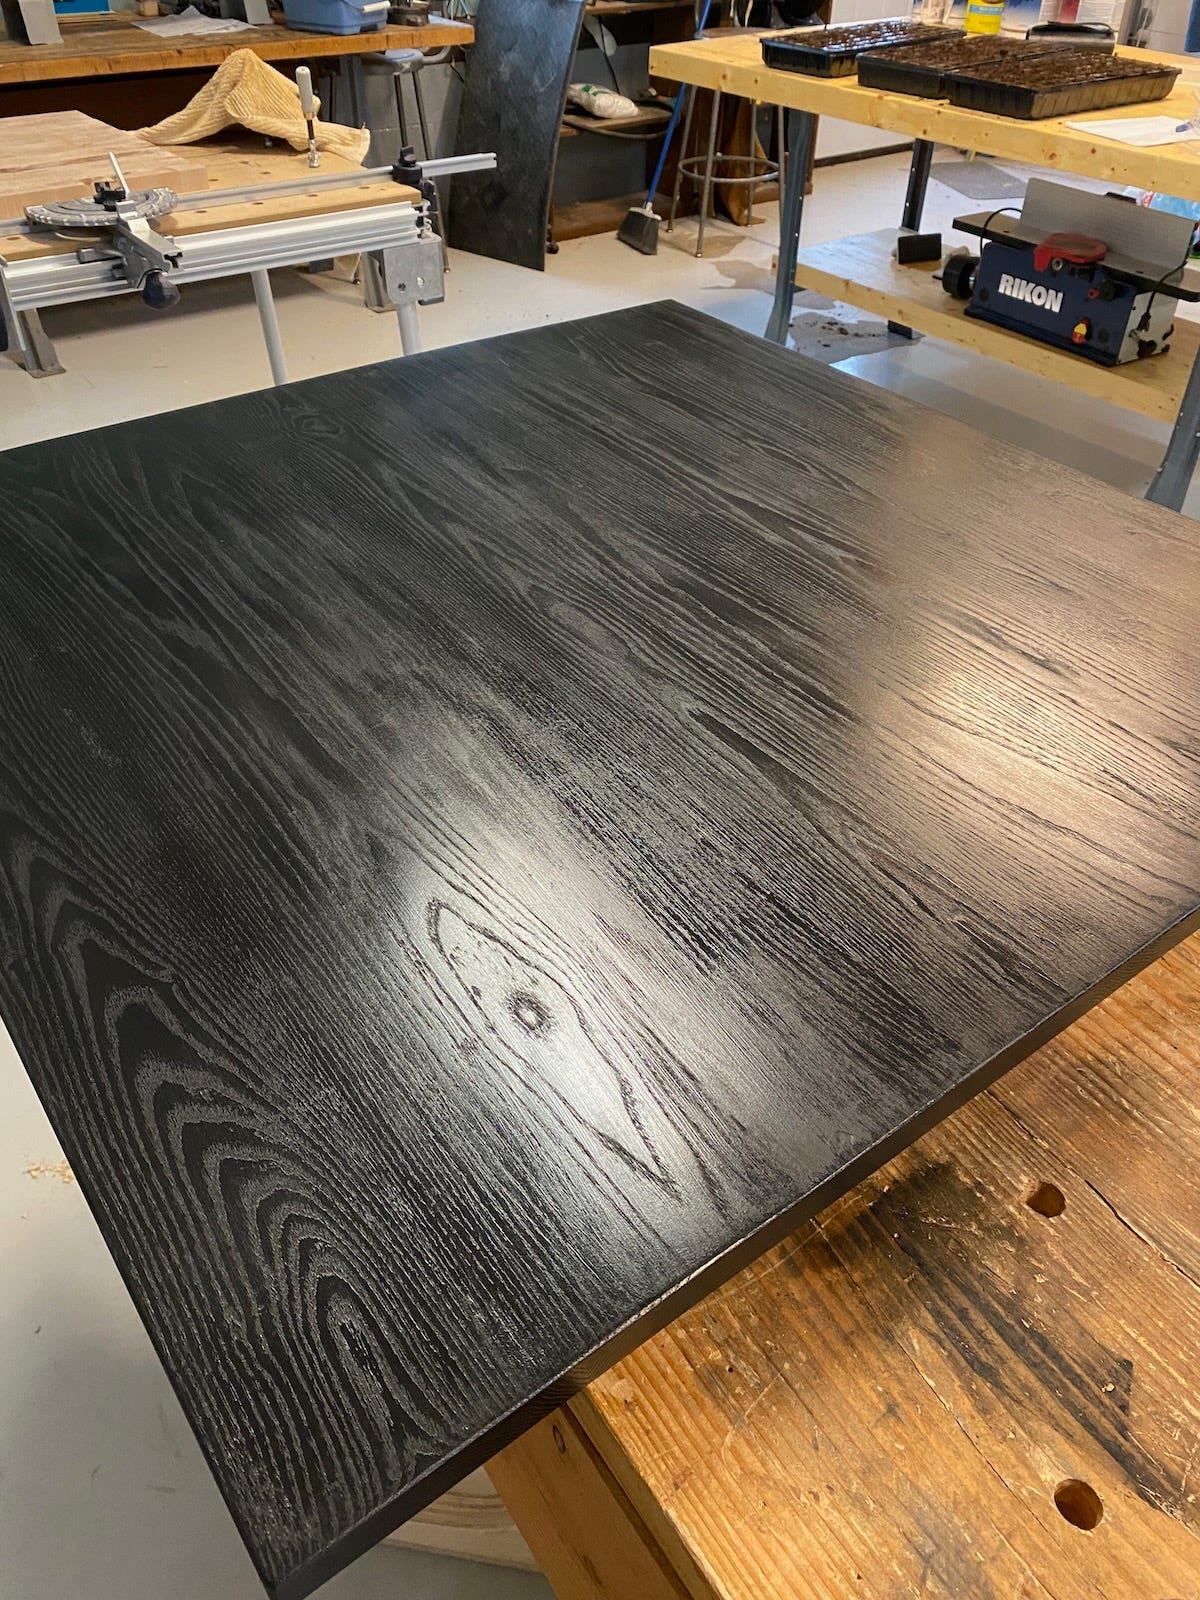
But, once it was fully dry, it looked pretty spectacular.
Even with the rich deep black and the subtle satiny shine, the ash grain popped through.
With the top dry and ready, I returned to my sister-in-law’s house. I flipper over the old table, unscrewed the base from the top, marked the center point on the new top and placed the base accordingly, and screwed them together. Then I flipped the updated table back into position and centered it under their pendant light.
While not necessarily a complex build — after all, it’s just a square piece of wood, right? — it was a bit trickier to pull off than one might assume. In fact, I’d argue that sometimes the simplest looking things are among the most challenging because flaws are so much more evident on simple things than complex items.
So, I was pretty happy that not only did I think the table turned out nicely, but that it ended up being just the Christmas present my sister-in-law wanted, even if it was a couple of months past due. Now I need to start thinking about the holiday coming up. It’s going to be here sooner than I care to think.
P.S. Here’s the bonus cute photo of Murphy the puppy.
You’re welcome.




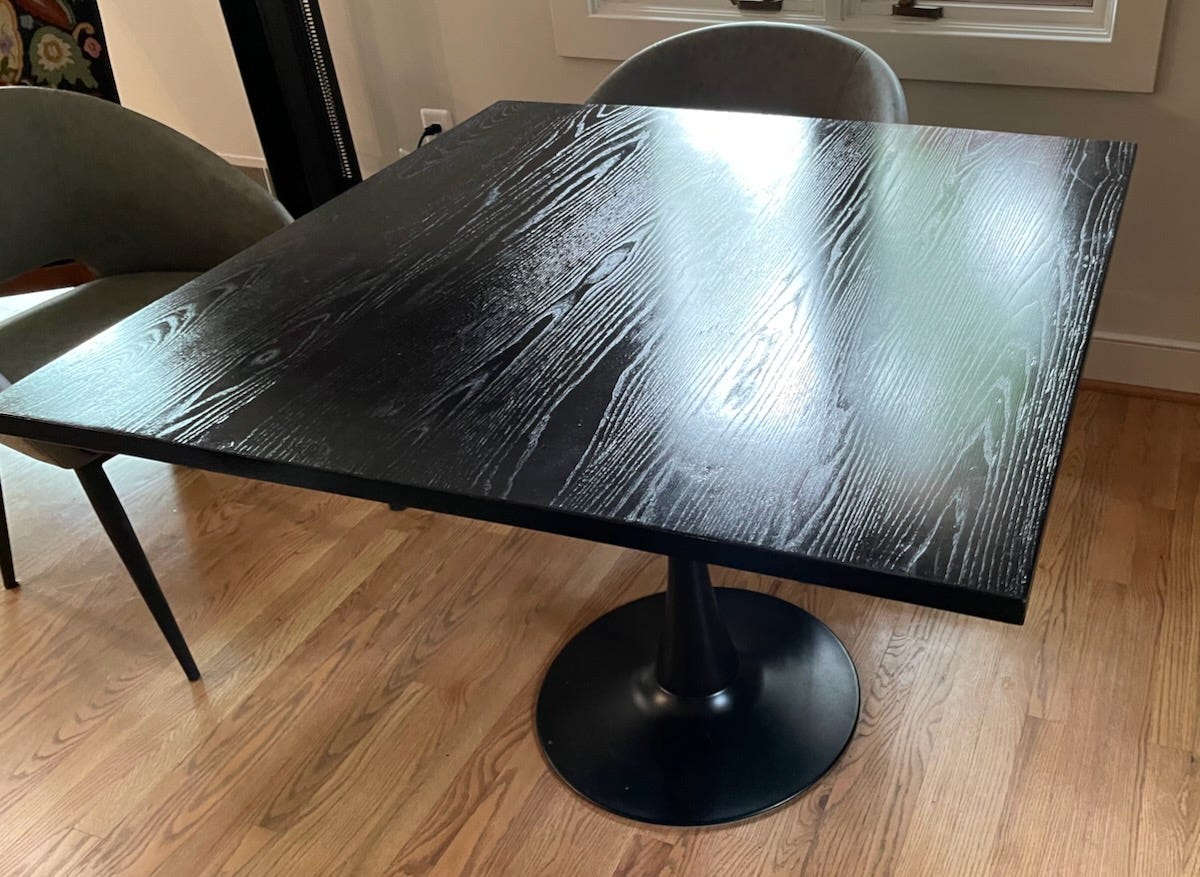

We love the table. It holds its beautiful shine.
Gorgeous!!!