Race for the Greenhouse
A long weekend is the perfect weekend to start make progress on a new greenhouse
One of the promises I made myself and my wife this spring was that I’d build a new greenhouse this summer. And yet, on the eve of Labor Day weekend, all I’d manage to do was to take down the old greenhouse and make a bit of mess in the yard. If I was to salvage any credibility, I’d have to spend the long weekend making a lot of progress on the promised greenhouse.
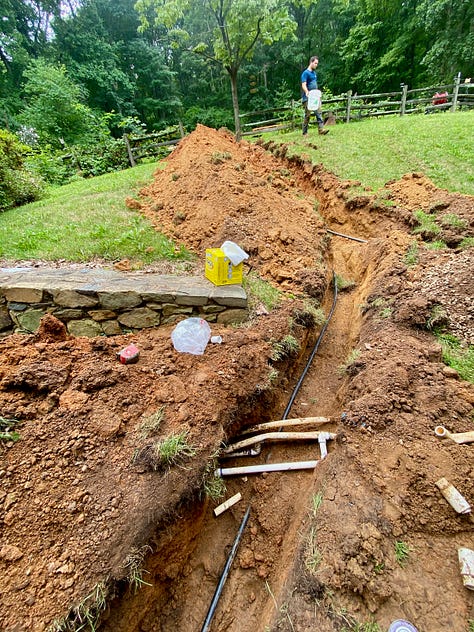
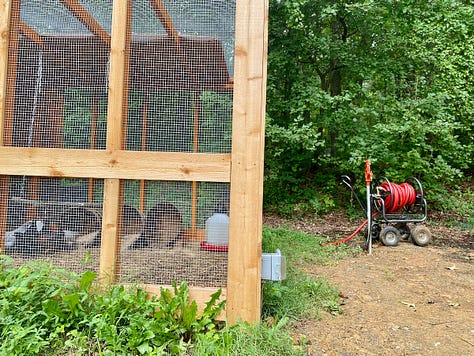
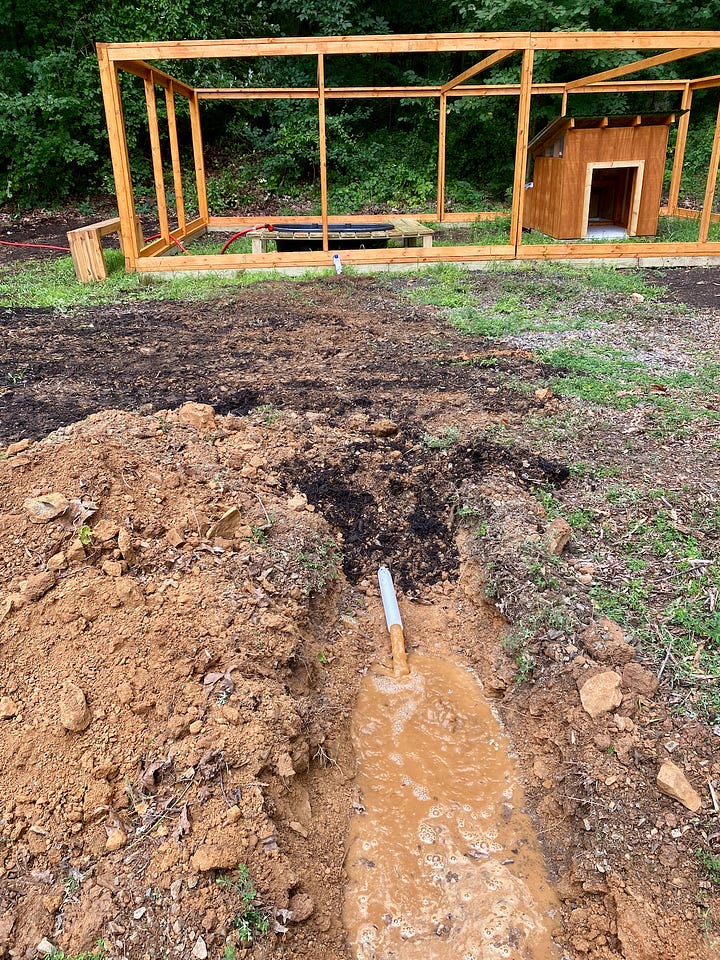
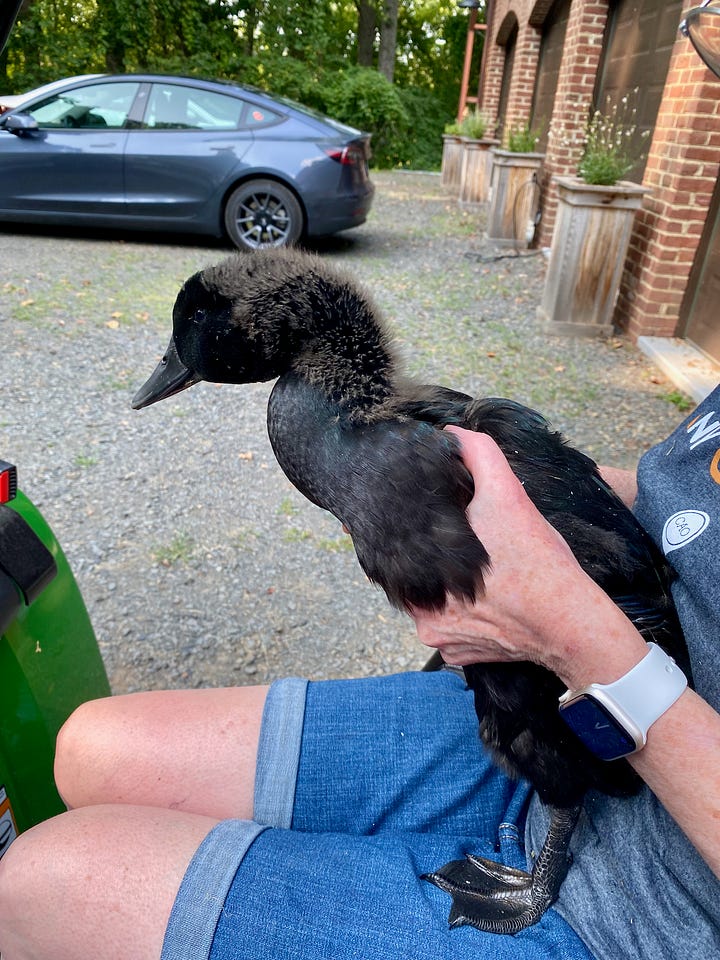
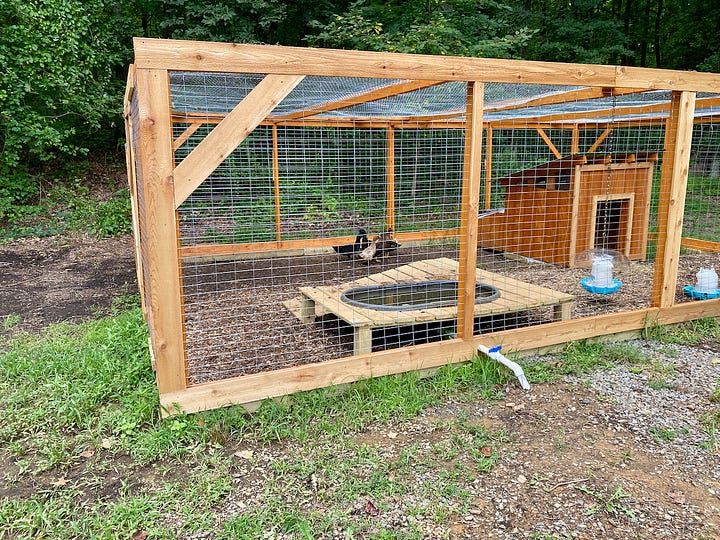
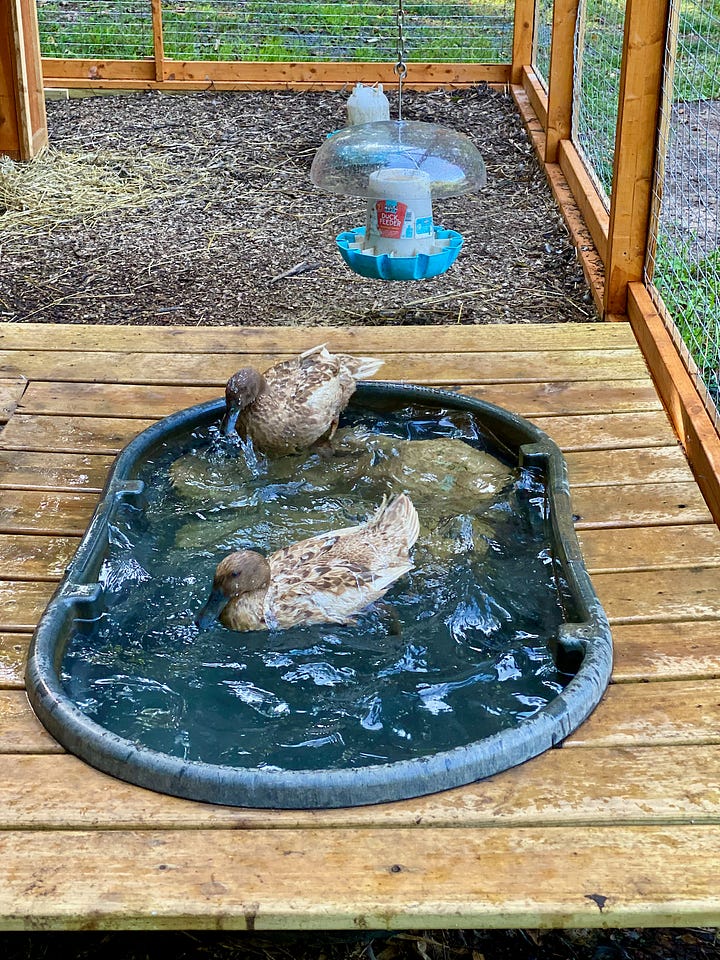
But before we get to that, a quick recap since the last posting way back in mid July. When last we left off, I had mostly finished the “chicken wing” and started the new duck run. Since then, we finished the duck run, got water lines and electric up to the coops and buried the duck’s drainage pipe. The poultry are now living the sweet life.

We also harvested our first honey after having bees for the last 16 months. From one hive we managed to pull 45 pounds of delicious honey with a delightful floral taste. (Next year I’m hoping to double that haul.)

I made one jar of hot honey with peppers I had grown and my god is that delicious. And speaking of bees and honey, here’s a shameless plug for a recent story I wrote in the Fauquier Times about a former Marine who is building a community around his burgeoning career as a honey entrepreneur.
Ok, back to the greenhouse.
Day 1
A few years ago, I bought Cynthia a little greenhouse kit. It measured about six feet by eight feet and stood about seven feet tall. Made of metal and thin acrylic plastic panels, it did a decent job giving seedlings and plants a sunny place to live in mild months. But during winter, it struggled, even with a heater, to keep plants happy. And it was small — too small to really do anything in. So I decided to build a bigger replacement.
I came upon a greenhouse I thought looked pretty great on Family Handyman’s website. It certainly seemed like it’d be a nice upgrade. And the write-up and video made it look pretty straightforward. Why couldn’t I build that? I decided I could.
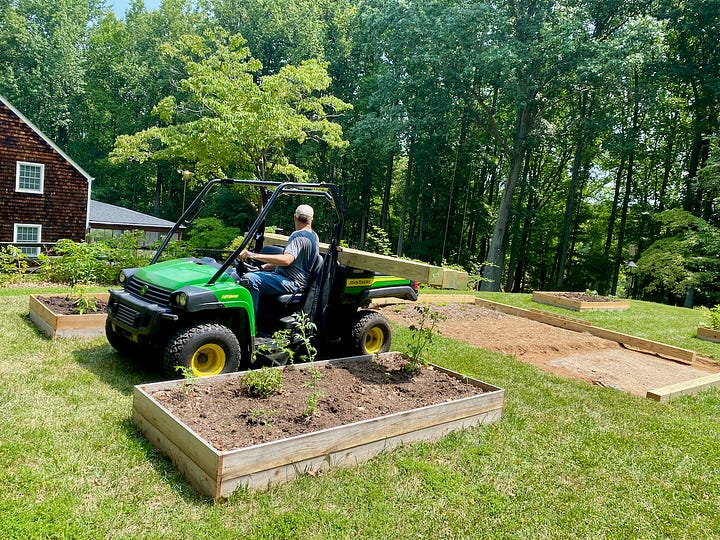
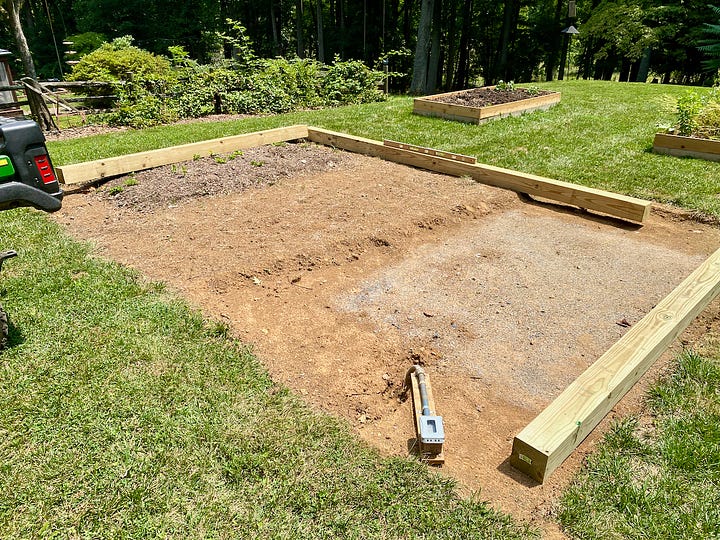
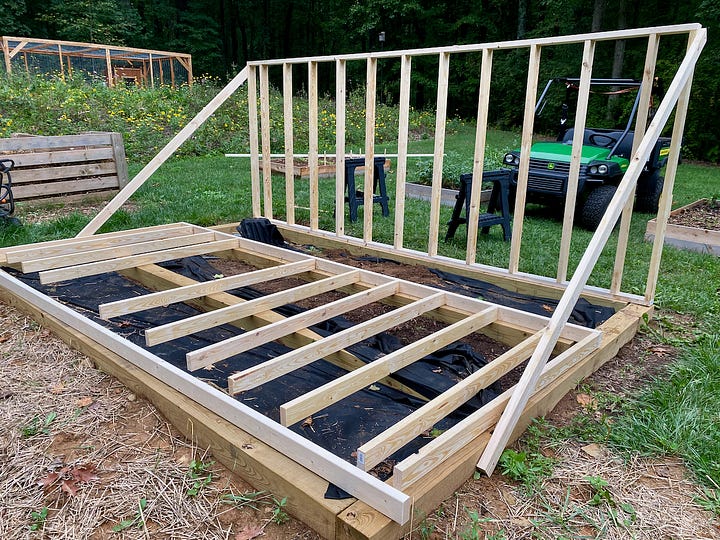
The plans describe building a large stone base and setting the greenhouse on that. But I didn’t like that idea. Rather, I decided to lay 5x5 pressure treated timbers on the ground to serve as the foundation and then build the greenhouse on top of those. So that was step one: laying the timbers.
I loaded them onto the Gator and carefully navigated them into position. I already laid electric and ethernet through underground conduit and was getting water brought up next to the greenhouse, too.
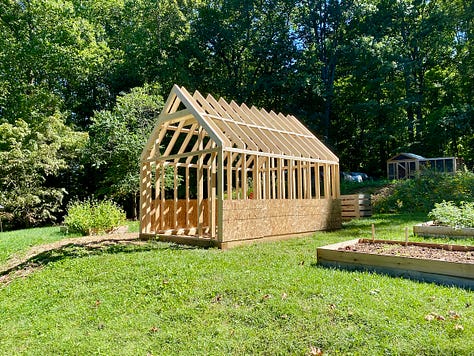
The footprint of the greenhouse would be about 15 feet by 10 feet and would stand about 12 feet tall. By square footage, it would be about three times larger than the old greenhouse; by volume, it would be about six times larger.


With the foundation in place, I headed off to the home center and picked up the wood I’d need for the walls. I’m always surprised how much material is needed for a project. In the cart at the home center, it seems like so much. But then it quickly gets absorbed into the project and you wonder where it all went.
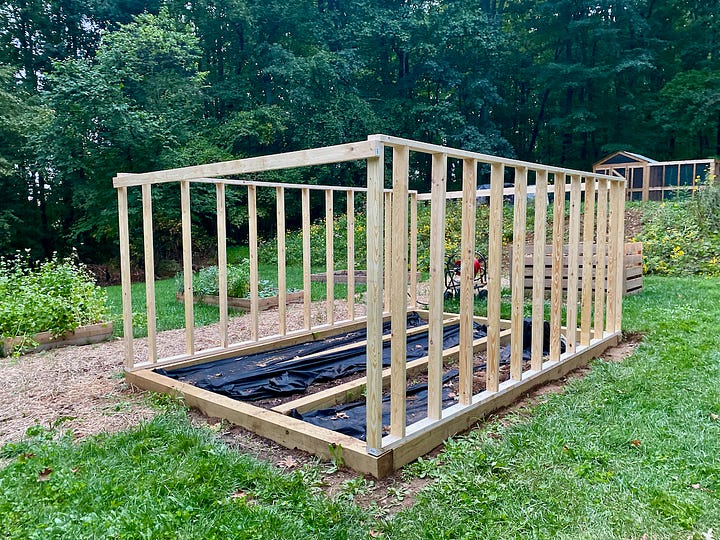
It was time to cut and assemble. I made each wall with 5’9” studs set 16 inches on center. I built the walls on the ground, nailing in the studs by hand, and then lifted the walls into place. I used braces to keep the walls plumb while I screwed them into the pressure-treated timbers. By the time I got the two side walls up, it was getting dark and I was beat.


Day 2
On the second day, I quickly built and erected the front and rear walls and then made another trip to the home center to buy lumber for the roof.
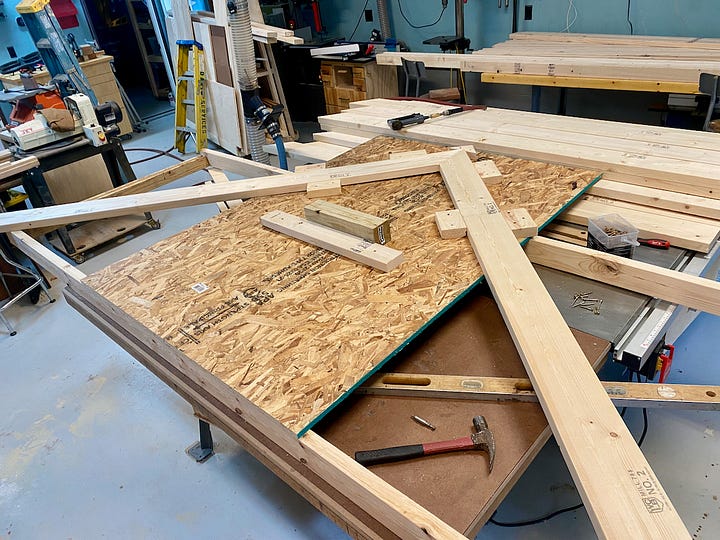
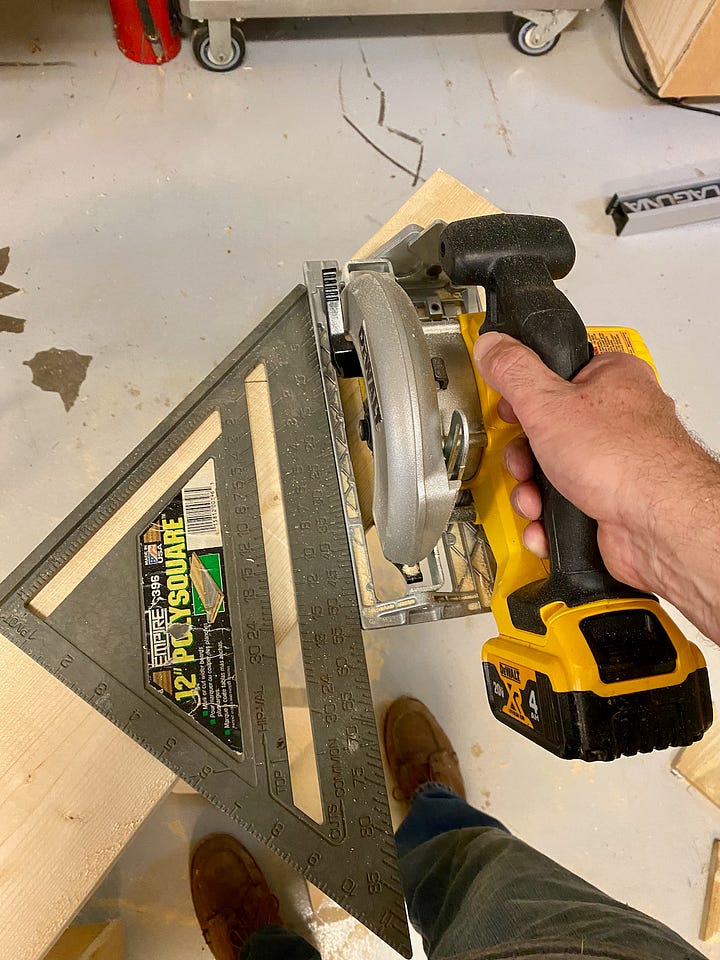
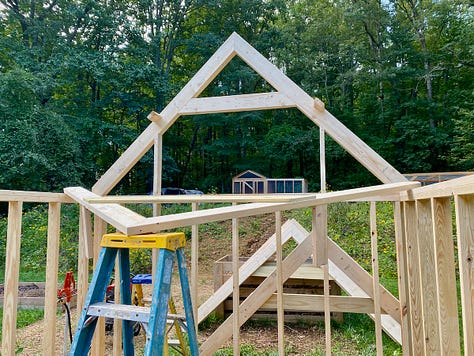
The roof is made of trusses that stand directly over the studs in the side walls. The ridge is a perfect 90-degree angle, so every cut is an easy 45. To make the trusses exactly the same, I built a large jig in my shop. For each truss, I set a pair of 2x6s — each with one end cut at 45 degrees — into the jig. That made assembly quick and allowed me to mark the cut ends of the trusses with consistent accuracy.
I needed 11 trusses to stand over each stud, plus two gable ends, each of which are two trusses sandwiched together. It took more than half the day to make the 15 trusses, but once I was done, I loaded them onto the gator and hauled them up to the greenhouse. For each of the two gable ends, I attached a 10-foot 2x4 to the bottoms of the double trusses and then lifted them into place. Using a long board to brace and hold the ends, I screwed them through the top plates. To keep everything even, I added top plates to each of the side walls as well.
Sweaty, exhausted, and hungry, I called it a day, glad that the long weekend gave me one more day to get the greenhouse to a good stopping point.


Day 3
To my relief, Labor Day itself brought beautiful weather — cooler and far less humid than the previous two days.
With the trusses already constructed, all I needed to do was hoist them into position and screw them to each other and to the walls. To make this easier, the plans suggested I cut spacing blocks that matched the spacing of each stud bay and pre-attach those blocks to each truss. You’d think the stud bays would all be the exact same width, since I placed the studs 16 inches on center. But, they weren’t. They varied by as much nearly an inch, so I measured everything out to get everything exactly right. Then I screwed the blocks in place, making sure to mark where everything went for a perfect fit.
Although I was able to lift and set the gable ends on my own (although not without some difficulty), I couldn’t do the same for the trusses, since, thanks to the spacing blocks, they were unbalanced and would be unable to stand straight without being held in place. I simply didn’t have a way to lift them, hold them, and screw them down by myself. Lucky for me, my daughter’s boyfriend stopped by for a visit and I was able to recruit him as a helper. Together, we lifted the trusses and while he held them steady, I screwed them to each other and to the frame.
Once the trusses were in place, I turned my attention to sheathing. To help give additional strength to the greenhouse, the bottom 32 inches would be sheathed and, later, sided. The first part was easily done by cutting 4x8 sheets of sheathing into thirds and then screwing the panels to the studs of the greenhouse. The second part (the siding) will come later.

Next Steps
This was a good stopping point for the weekend, but much remains to be done. The next step is putting in the front door. Then I need to add a sill and siding over the sheathing.
Once that is done, I’ll turn my attention to the floor. I might build a wooden deck for a floor, or maybe I’ll pour a concrete slab or lay brick. I haven’t decided yet. After the floor, it’ll be time to attach the polycarbonate panels, after which I’ll add trim to finish the outside. Then all that will be left will be finishing the inside, including benches and a few accessories.
But all that will have to wait for now. Labor Day weekend is over and it’s time to get back to actual work. The fun work will have to wait until next weekend.


Can’t wait to read about what comes next! And that honey!!!! So jealous!!!