Little Greenhouse on the Prairie
I may be stupid, but I'm not dumb. Using a four-car garage as a woodshop/ping-pong room/tractor garage/man cave means I need to make sure there's something in this place for Cyn, too. So for her birthday last October, I bought her a nice little greenhouse to put in our future garden.
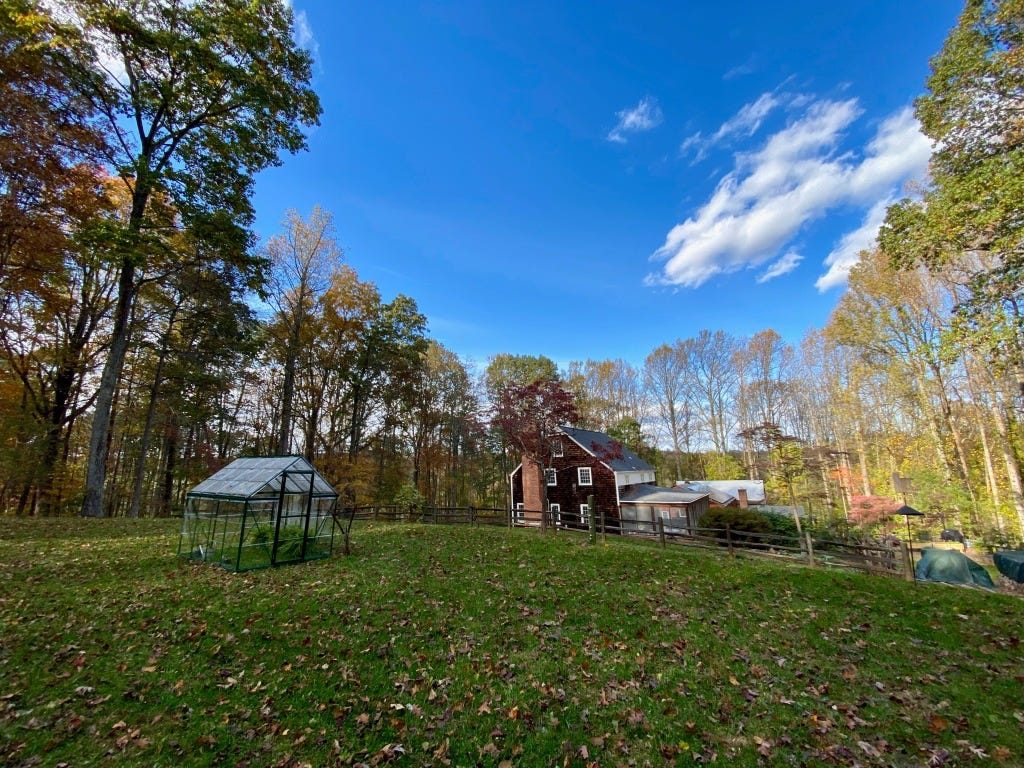
When the greenhouse arrived, we assembled it in a day and set it in place in the center of a flat field above the house. Eventually we'll build garden beds and walkways around the greenhouse, and then surround the entire area with some kind of fencing (electric maybe?) to keep deer and other critters away. Much of that work is still to come.
We erected the greenhouse in the middle of the field, standing over a patch of grass. Within a few weeks, however, we realized we needed to be more thoughtful in its placement. For starters, the greenhouse wasn't sitting level, so whenever we looked at it from afar, it looked like it was preparing to slide off our property.
Second, it was just resting on a patch of grass. To be sure, the grass inside the greenhouse grew just fine, but were we really going to mow in there? Furthermore, the more we tramped on it, the muddier it got. So, I decided to take action.
Bricklayer
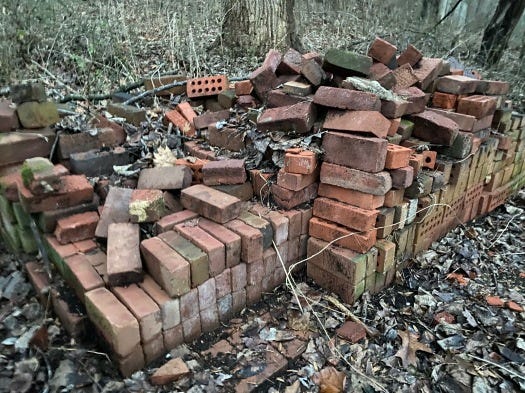
Lucky for us, the previous owner left behind a lot of stuff, including a healthy stash of bricks — maybe as many as 1,000 of them. And I figured a brick floor was just what this greenhouse needed. The bricks would provide a nice level base and would also act as a heat sink; They'd absorb heat during the day and release it at night to help warm the greenhouse.

To start, I outlined the footprint of the greenhouse and then moved it aside. With the border defined, I dug down about six or seven inches and created a level base. A few bags of stone dust and sand later, I had a nice firm and level foundation. It was time to lay brick.
The bricks were stacked in the woods at the bottom of a hill, a fair distance from the greenhouse. Using a wheelbarrow, I schlepped a dozen or so bricks up to the greenhouse and started to lay the perimeter. It quickly became apparent that I was going to need at least 200 bricks to complete the floor. That meant at least 20 trips with the wheelbarrow. After three trips, I was pretty tired. I'm not completely out of shape, but I'm not 24 anymore either.
What I needed was a tractor and a cart. The good news? I already had the tractor. The bad news? I had no cart. I did a little Google searching and found several carts that looked promising, but I wasn't eager to spend several hundred dollars. On a whim, I turned to craigslist and found a used cart for $75 just down the road from my house. I responded to the ad and within minutes I got a reply. I met the seller less than an hour later and returned home with just what I needed. I'm not sure I've ever had a better stroke of luck.
In no time, I had the cart hooked up to the tractor and was hauling bricks. Three trips and I was all set.
Once the floor was in place, I placed the greenhouse on its new foundation and swept in sand to fill the cracks.
Power Up
Now a level floor is all well and good, but it's not going to keep the lights on. For that, I needed electricity.
To do that, I wanted to run electrical wire underground to the greenhouse. There were a stash of wires poking out of a side garden, so I figured I could tie into them to bring electrical to the greenhouse. Code says electrical wires need to be buried 18 inches. I got out my shovel and started digging. The heavy, clay, stone-laden soil did not make it easy. In fact, after a few feet, I gave up. Once again, it was time to turn to internal combustion.
The local Home Depot rents all manner of tools, including a trencher, which is like an enormous chainsaw on wheels. I headed over and asked about renting it. A hundred dollars or so for four hours? Deal. Problem was, I had no way to get it home. The trencher is far too big and heavy (over 600 pounds, I'd estimate) to put into the bed of my truck. Instead, I needed to rent a trailer to haul it home.
No problem! I have a tow hitch on my truck. Problem! I don't have a wiring harness on my truck. Without a wiring harness to make the trailer lights work, I can't rent the trailer. And Home Depot didn't sell the wiring harness I needed.
Amazon does, however. So I ordered it online, but that meant waiting to rent the trench. A few days later, it arrived and thanks to the straightforward instructions, I got it hooked up. Finally, the following weekend I returned to Home Depot and rented the trencher and trailer.
For those who have never before operated a trencher, like myself, here's a tip: get a helper. Preferably an older teenage boy who wants to demonstrate how strong he his. I did not have such a helper. In fact, I did not have any helper. I just had me, and I'm far from being a teenage boy. The trencher is a mother$*%#@r to manipulate. It's as heavy as a hippo and as ornery as a donkey. To be sure, when it's slicing through the earth, it's a magic machine that makes it worth every penny. But when it slips into the trench and you have to lift it out, you're swearing out every deity that's ever been prayed to, and maybe a few that haven't.
Eventually, I cut the trench to 18 inches, returned the machine to Home Depot and laid in the cable. I was very proud of myself.
It was only then that I discovered the wires I was attempting to connect to are not connected to anything — at least not as far as I could tell. Maybe it would have been a good idea to test them before cutting the trench?? Alas. I tried to follow the mystery wires to their source, but eventually lost them under the driveway as they headed away from any source of power. In time, I gave up on my plan and decided on a different approach.
What I needed to do was to cut a new trench. Instead of trying to connect to existing wires, I would connect the line directly into the house. Having returned the trencher already and not being eager to pay for it again, I decided to cut this new trench by hand. Let's not discuss how well I adhered to the 18-inch-deep code requirement.
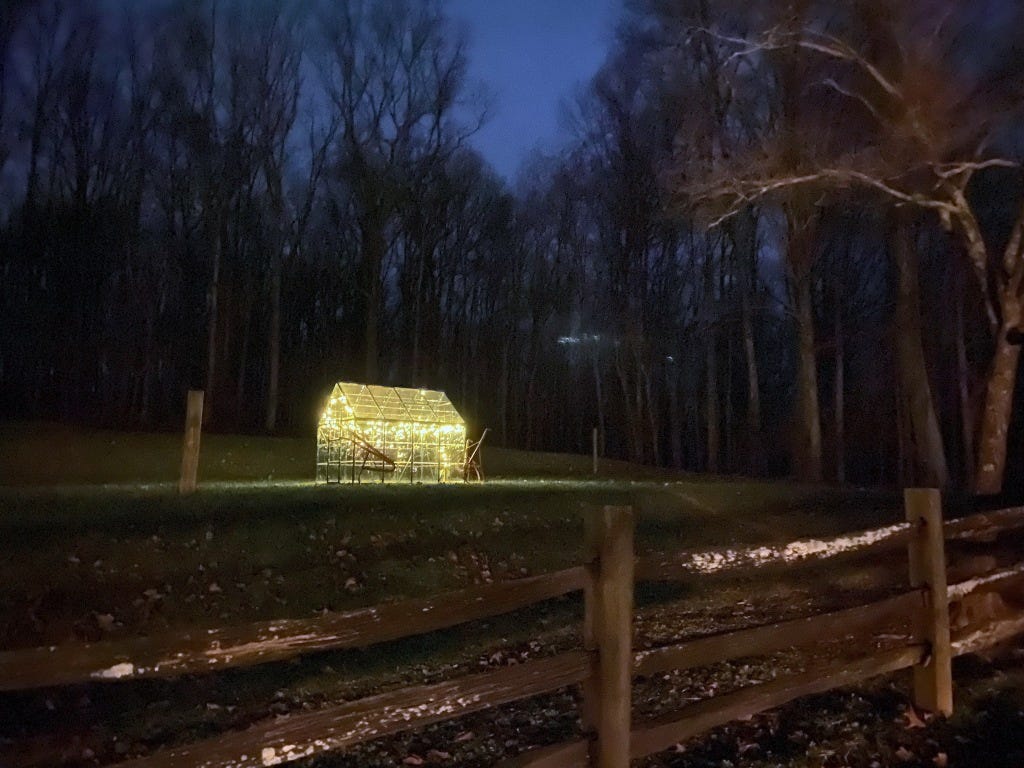
With the trench cut, I re-laid the wire. In time I will drill through the foundation and properly connect the wire to a circuit, but for now I pigtailed the wire to an extension cord. With the wire properly laid and connected, I then wired up two outdoor electric outlets — one along a fence and one in the greenhouse. In the greenhouse, I added a HomeKit outdoor extension plug so I could use my phone to turn on and off devices. Finally, I strung fairy lights around the roof. Pretty.
We had a level, brick-floored, electrified greenhouse, but what we really needed were benches for plants. Luckily, I had just the shop — and leftover wood — for the job.
Behold the Benches
With more than 100 eight-foot 2x4s (and some 2x6s) salvaged from the kennel demolition, I had more than enough material to make plenty of plant benches. But, the boards were far from being ready to re-use. Most, if not all, had construction adhesive and cement board detritus up and down their edges. To remove it, I ripped each board through the table saw, twice, to clean up their edges.
This took several weeks — and several trips to the dump to toss out the off-cuts — since there were so many boards to process. But once they were done, I had plenty of clean boards to use.
The greenhouse is six feet wide and 8 feet long. As such, I figured we should have benches that line each side of the greenhouse, leaving an aisle down the middle. On each side, I wanted two rows of benches. The inner row along the greenhouse side should stand about four feet, with the row along the aisle standing about a foot shorter. Each bench would also have a lower shelf about a foot off the floor.
In the end, I determined that eight benches, each just shy of four feet long and a foot deep, would do the trick. This would make them relatively easy to handle and maneuver, but once they were put in the greenhouse, would give the effect of two long benches on each side and plenty of space for lots of plants.
With the boards already processed, and with my dad's help, it was fairly quick to cut the pieces to length and screw them together. A combination of pocket screws and through-screws held them tight. After a coat of water sealant, they were ready to be put in place.
Turn Up the Heat
By this point, we were nearly ready to put plants in the greenhouse. However, being December/January, even with a bright sun hanging in a clear blue sky, temperatures were plummeting into the teens and twenties. So, making use of a generous gift card from my brother, we bought a small greenhouse heater.
We plugged it into the smart plug (making it easy for us to turn on and off remotely, as with the lights), and immediately saw it raise the greenhouse temperature. Within a few hours, it had lifted the temperature from the low 30s into the low 50s. I'm afraid to know what the impact on our electric bill will be. (Actually, I calculated that running it nonstop 24hours a day would cost about $5 a day, or $150/month. We are not running it nonstop 24 hours a day.) Cyn added a remote temperature gauge she can monitor on her phone, which shows all is well and warm in the little clear bungalow.

Now, finally, we are ready. The greenhouse is level, electrified, lit and heated. All that's left are some plants.
The first ones on the scene were some Australian orchids that like the cold (though not freezing temps).
We also started some seeds in the house — spinach, lettuce, herbs and catnip — that we'll move out to the greenhouse once they've germinated.
With the greenhouse now fully operational, I'm told it would be nice to add a sprinkler to the greenhouse. Never mind that I still have to put in the outdoor garden beds, walkway, steps, fencing... oof, it never ends.


