Piano Bench Made to Order
A coworker asked for a custom piano bench made from walnut. Did I end up just making a tiny table?
If I had to do it all over again, would I make the same decisions? Lead the same life? I guess it depends on what knowledge I could carry back in time.
Not that I’m complaining. But I do know that as a kid, I always had an interest in carpentry. I just never pursued it. And now, even with my shop, I’m still very much a woodworking novice.
So when people ask me to make them something, my internal response is mixed: gratitude and appreciation for the consideration, but worry and concern about my ability to deliver. Excitement for the opportunity, eagerness to get started, and dread about disappointing.
Still, I would rather be asked than not and I’m pleasantly surprised how many people make requests.
A recent one — and the subject of this posting — was a request I received to build a custom piano bench. A coworker wanted something that would fit in with her current furniture. She sent me pictures and described some of the things she wanted. We discussed materials (she decided one walnut) and I shared some Google images of things that seemed to be, at least directionally, what she was describing.
Starting with the seat
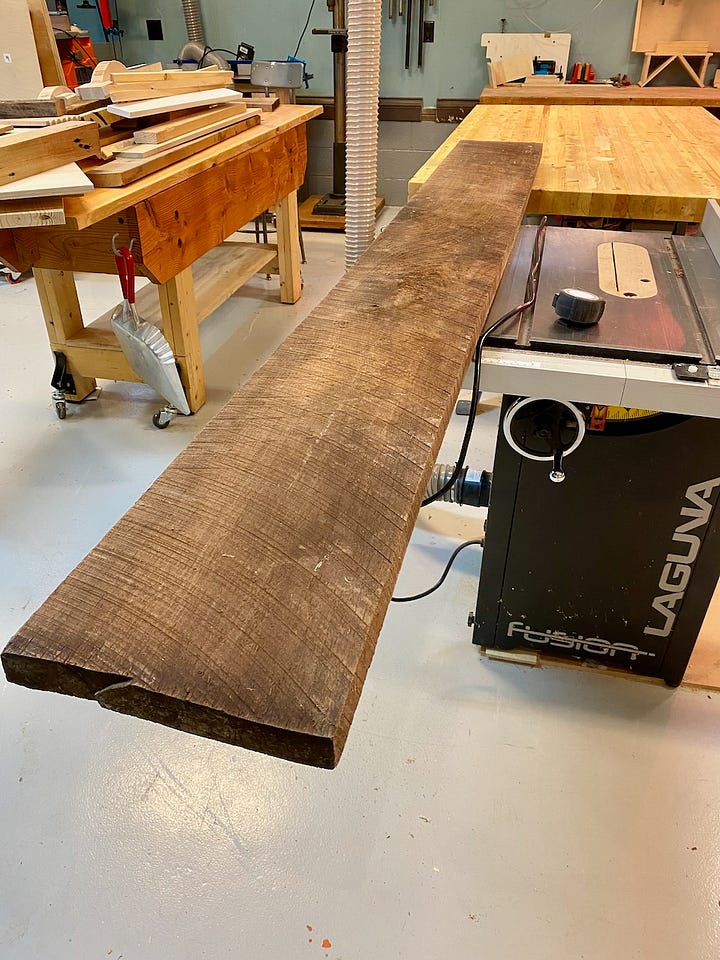
I made some initial drawings and measurements and figured I should be able to make the entire bench out of a single rough-cut board of walnut. The board was about 10 inches wide, six feet long and 1-½ inches thick.
Because the final dimensions of the bench were to be about 30 inches long, 13 inches wide and 19 inches tall, I cut the long board into shorter sections and then ripped them into narrower pieces so they could be glued back together to create the wider seat and the thicker legs.
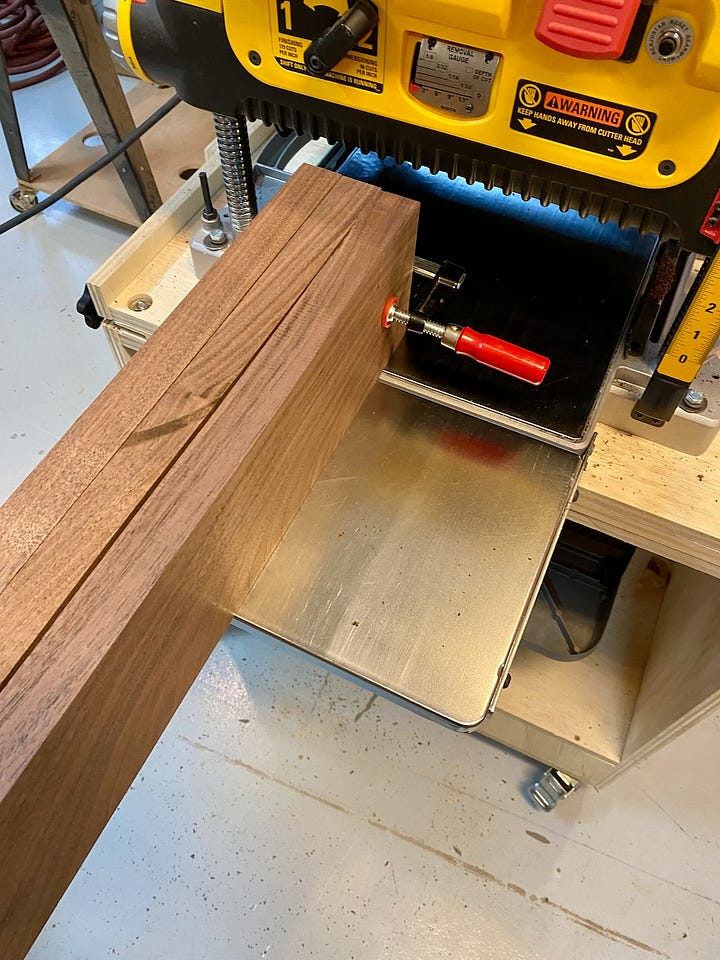
After ripping the pieces, I sent them through the planer to smooth each face and set them to a consistent thickness. I never tire of seeing shaggy, rough-hewn boards enter and smooth boards emerge.
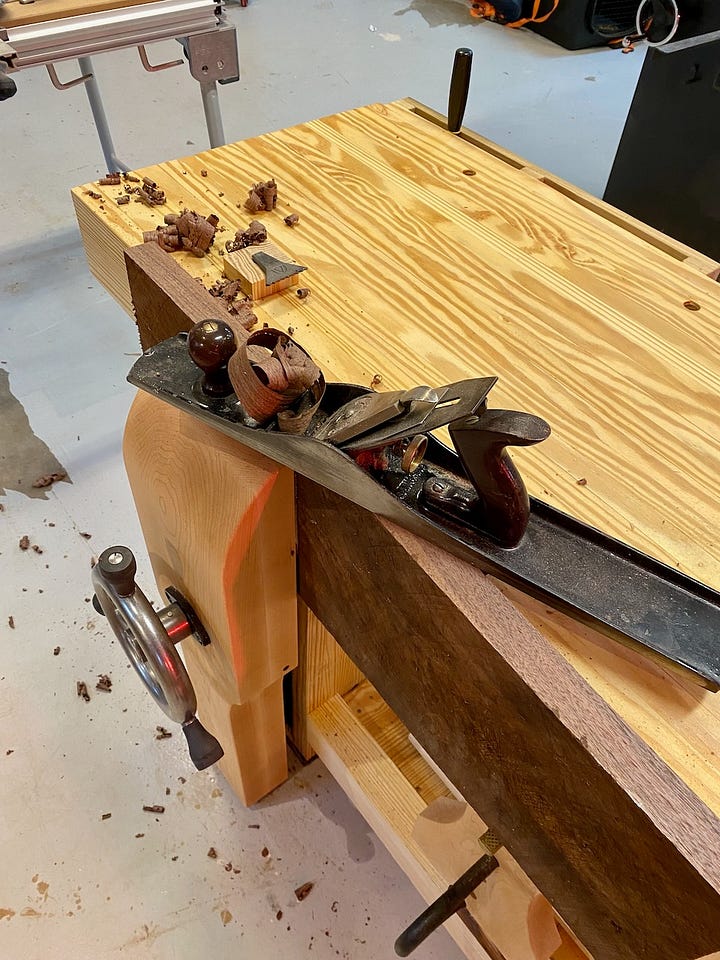
After planing the boards, I took them to my new bench and locked them in the vice. Using a hand plane, I jointed each edge of the seat boards. The bench worked beautifully, but my planing technique needs some work. Although I made beautiful shavings, I failed to plan the edges at a 90-degree angle to the face. As a result, if I were to glue these boards together, they’d bend at each joint instead of creating a single planar surface.
I tried other ways to fix this problem — running the planks through my jointer, running them through my table saw — but none resulted in the perfect edge I was seeking. I even tried clamping the boards together and running them on edge through the planer. Still not good enough. Creating perfectly flat edges that sit at 90-degree angles to the face continues to be the most challenging part of my woodworking.
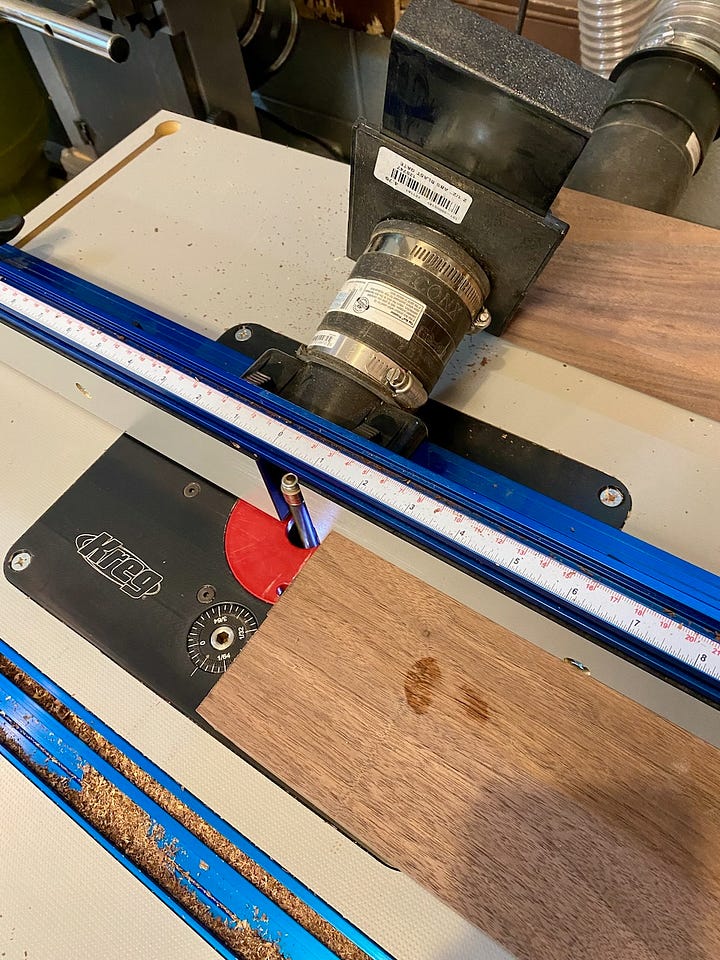
Finally I decided to use my router table to accomplish this task. Using a thick spiral-head bit and setting the out-feed fence in line with that bit’s cutting edge, I set the in-feed fence about a 32nd of an inch behind the bit. That way as I pushed the wood across the fence, a sliver of material would be removed and the out-feed fence would ensure the board remained perfectly flat.
This worked well and after running all of the seat pieces through, I glued them up.
Making the base
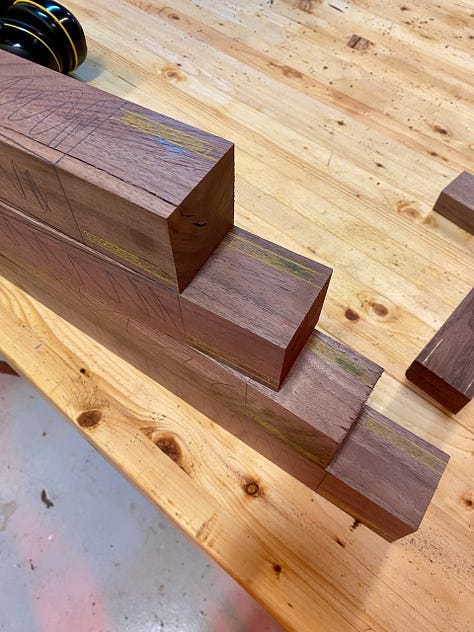
While the glue dried, I set about making the bench legs and the apron that the legs would attach to. Very similarly to the cherry table base I made last year, I glued together sticks of lumber to make thicker legs and, once dried, squared the sides, and cut to length.
I planned to rip the legs on the table saw with a tapering jig, but before I did that, I wanted to cut the mortises for the apron’s tenons to fit into. This was a lesson learned from the cherry table where I cut the tapers first and the mortises second. Why was that the wrong order? Because cutting the tapers first made it difficult to rest the legs on a flat surface for cutting the mortises.
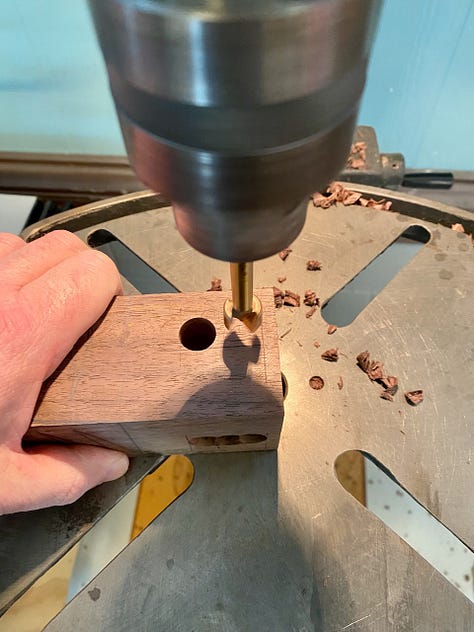
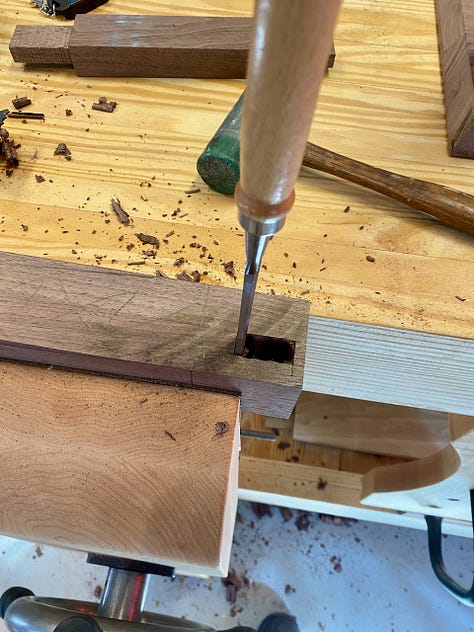
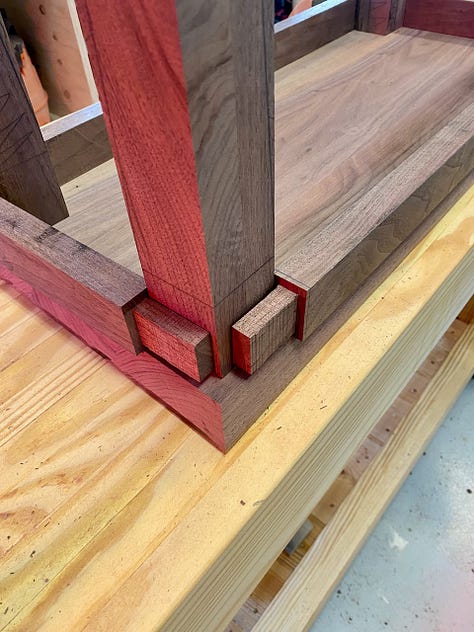
After measuring everything out, I took the legs to the drill press and hogged out the mortises with a 3/8ths forstner bit. Then I squared off the mortises with a chisel.
With that done, I cut the aprons to length and then on the table saw outfitted with a dado blade stack, cut the tenons, being sure to test fit everything as I went multiple times. Once the tenons were cut, I made small adjustments with a chisel, sandpaper, and file to get everything to fit just right.
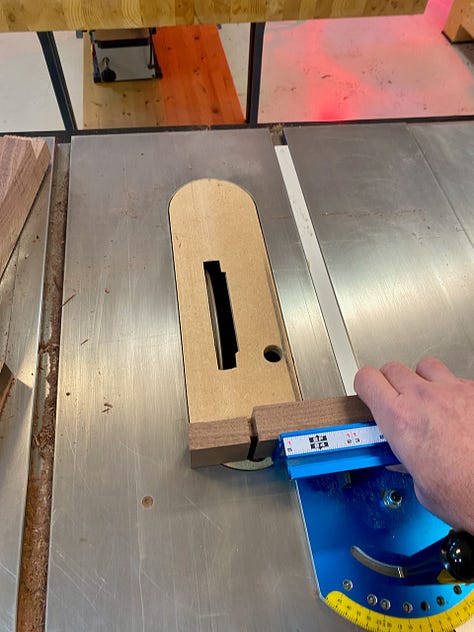
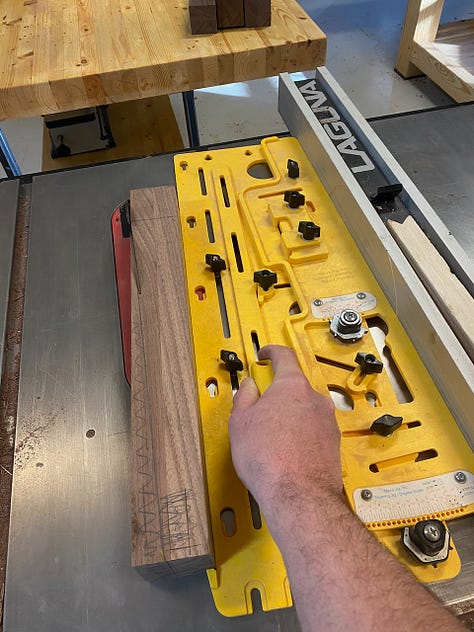
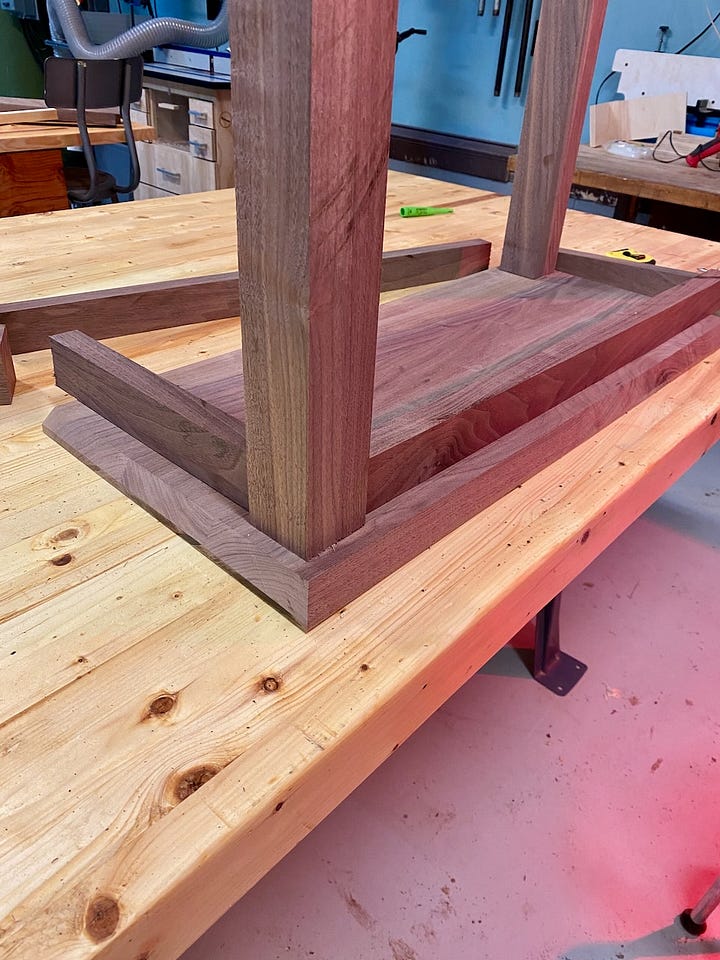
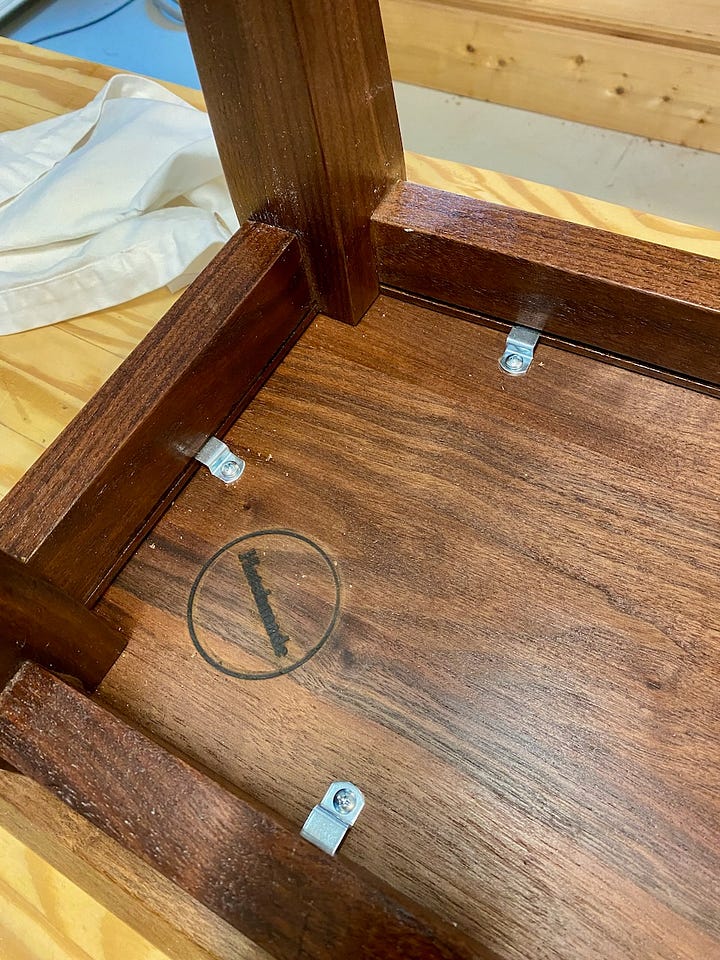
I took the pieces apart and cut the tapers on the legs — first running a scrap piece through the saw to make sure everything was properly lined up. Then I cut a channel on the inside of the apron. The channel would receive Z-clips that would screw into the underside of the seat, holding everything together.
Why not just glue the seat to the apron and legs? Over the course of a year, with temperature and humidity fluctuations, wood tends to expand and contract across the grain. As an example, if you look at the back of your hand. Your fingers are like wood grain. Throughout the year, the length of your hand — the direction of the grain — doesn’t really change. But the width of your hand — akin to across the grain — does. That’s why wedding bands are looser in winter and tighter in the heat of summer.
Wood is the same, so if I had glued the seat to the base, the expansion and contraction across the grain would likely cause the seat to split or the base to crack. So eliminate this problem, I mechanically attach the base in such a way that there’s room for expansion and contraction, thus the need for slots for the Z-clips to ride in.
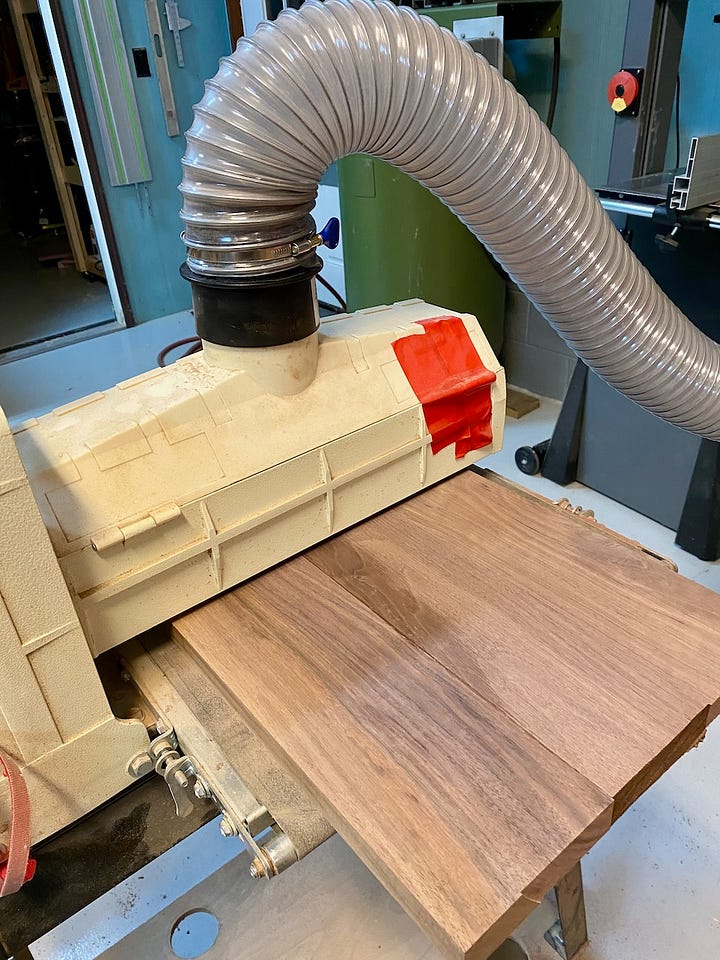
Once the seat was dried, I cleaned up the glue joints and sent it through my drum sander to get everything flat and smooth. Then I ran it through the table saw, with the blade set to a 30-degree angle, to square it off and to add a chamfer on the underside of each of the four edges.
With all the pieces cut, it was time to sand and finish.
Finishing forever
I never fail to discount how much work it takes to finish a piece. It’s easy to think the bulk of the work is building the thing, but in reality, it’s the sanding and finishing that takes the most time and has the greatest impact on how good the piece looks.
I started with a coat of a natural oil-based stain. It immediately transformed the wood from a dull muddy brown to a rich milk chocolate.
After letting the stain dry for a few hours, I applied an oil-based satin gel topcoat. Using a foam brush, I slathered the topcoat on all surfaces and “painted” it smooth. Then I waited. After 12 hours it should have been dry, but it wasn’t. I waited 12 more and it was still tacky. After another day, it still wasn’t dry enough. I realized I had committed two sins: first, I put too much on at once. And second, I left my garage too cool — barely 50 degrees — for the finish to dry properly.
I also noticed that my sanding work had been poor. I could see scratches and other marks that should have been buffed out as I worked through the grits, but wasn’t.
Disappointed with the results so far, I decided to go back before going forward. I took some heavy sandpaper to the bench and removed the gummy finish. I worked through the grits again — more deliberately this time. The surface looked better already.
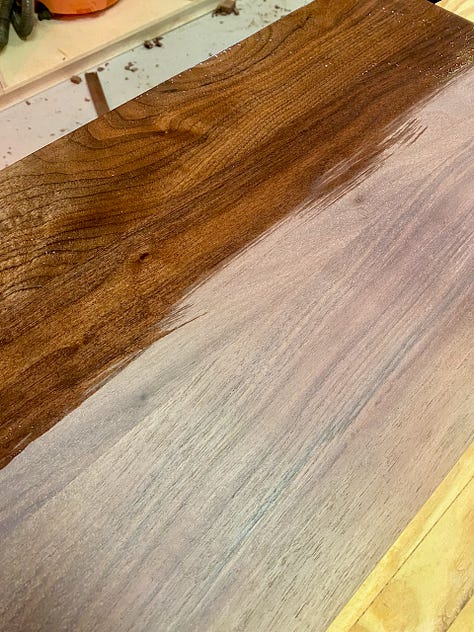
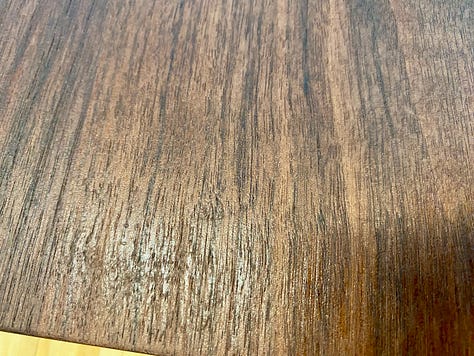
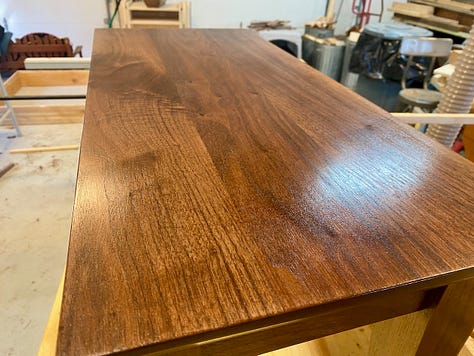
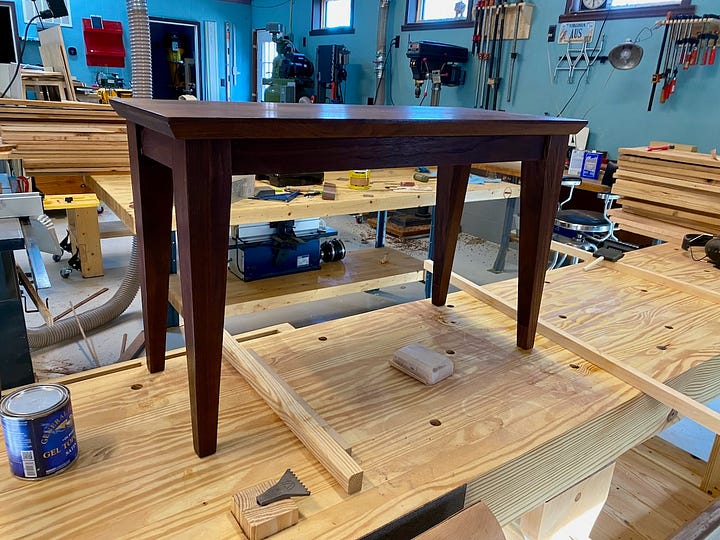
Then I applied a much thinner coat of topcoat gel with a soft cloth and set the garage to maintain a temperature of 60 degrees. After 12 hours, it was dry and looked far, far better. I buffed the surface with steel wool and applied another coat of gel and waited again. I did this four times until the surface glimmered.
Once the final coat was dry, I applied a thin coat of paste wax and then buffed it out. I thought this would help protect the surface and enhance the finish, which it sort of did. It also left behind a white reside in some of the grain that proved nearly impossible for me to remove. Argh!
So I took a soft wire brush and some vinegar to remove the wax residue and cleaned the surface with acetone. Then I applied another gel topcoat.
At last, the bench was complete — almost. To fully finish it off, I heated my branding iron with a torch and left my mark on the bench’s underside. Then I drilled a few pilot holes and screwed in my Z-clips, leaving room for seat expansion. Lastly, I added felt slides to the bottom of each leg.
Now it was done. And honestly, it was beautiful. It might be the nicest thing I’ve made yet. Not that it’s not without some flaws — a few scratches I can still see; a little glue residue I failed to remove — but as a friend of mine would say, “that’s just the hand of the artist.”


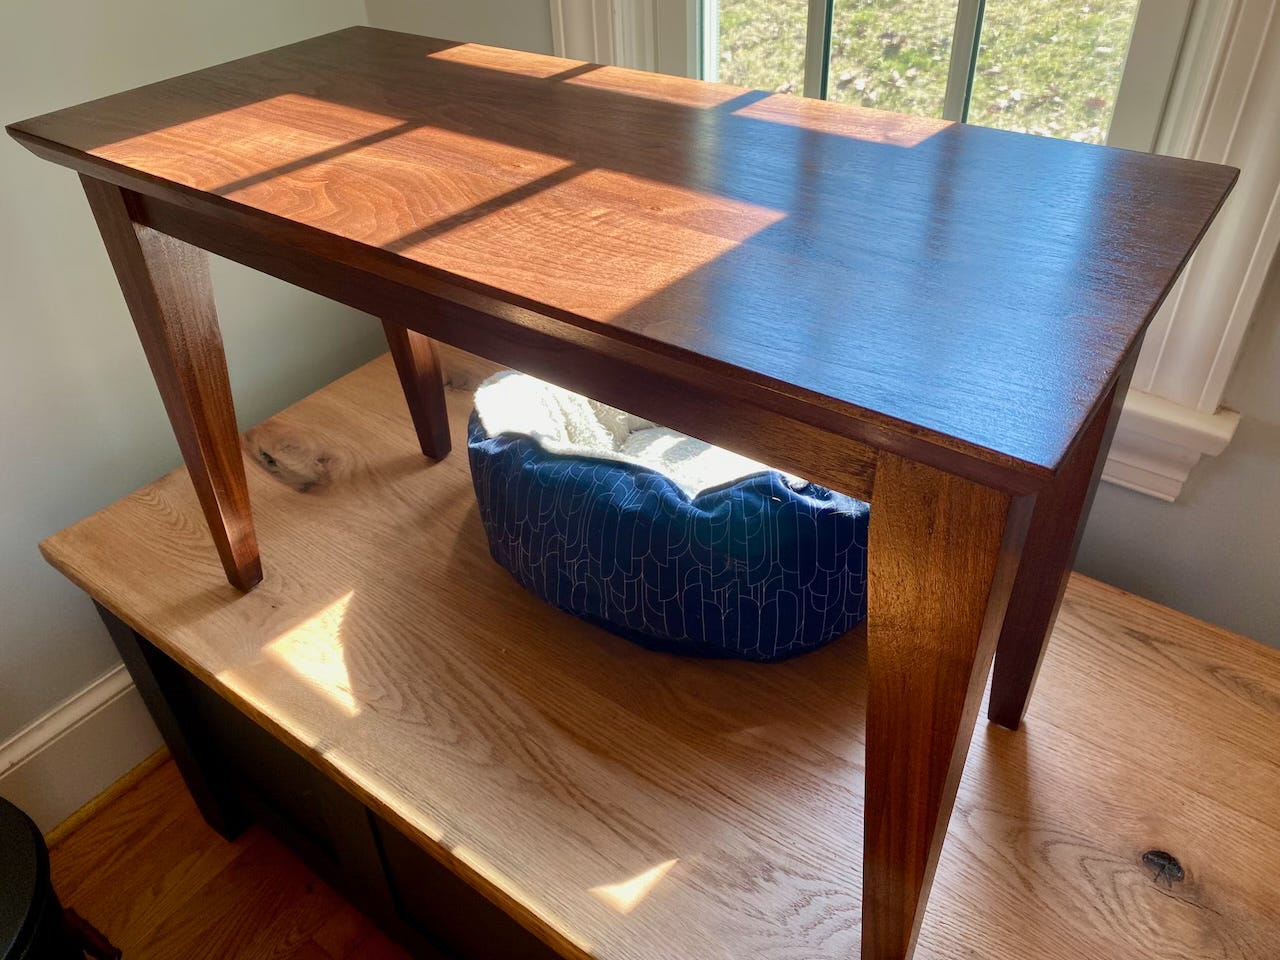
Beautiful. Special.