Modern Garden Benches
Museum-like benches from plain 2x4s
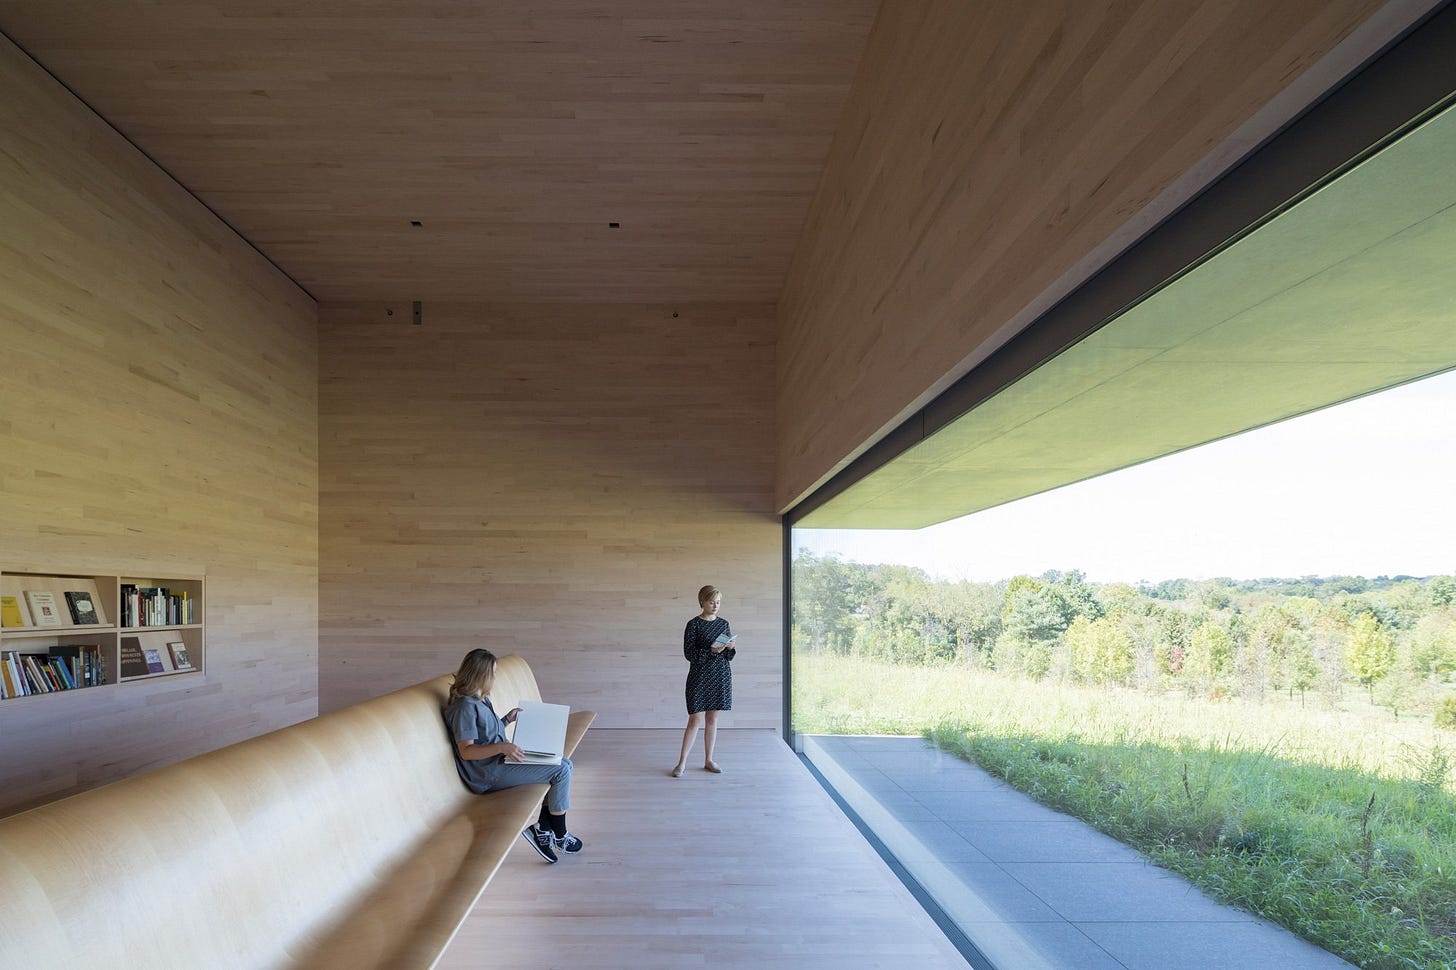
Last winter, a friend of mine took me to the Glenstone museum in Potomac, Maryland. It’s a pretty fantastic privately-funded modern art museum — something of a cross between the Smithsonian’s Hirshhorn Gallery and an Ernst Blofeld villainous underground lair if that combination was designed by Steve Jobs. That’s the Glenstone.
Among the things I really like about the museum is the architecture, landscaping, and permanent furniture. Its walkways, benches and signage — heck, even its parking lot — are all beautifully designed and engineered. Through natural materials like wood, stone, glass, and stainless steel, you get a sense of elegance, simplicity, strength and calm. Or, I do, anyway. And I especially like the way these materials are blended into a landscape of native grasses and other vegetation.

So this spring when I was working in my vegetable garden and I realized I needed a bench, I plumbed my Glenstone memory banks for inspiration and decided to make a pair of benches constructed from laminated and lap-jointed pine 2-by-4s. These benches might not actually exist at the Glenstone, but they are inspired by that sensibility.
A Simple Bill of Materials
One of the best things about this project is that the materials list is one item long: 10-foot 2-by-4s. Seven are enough for a single bench.
Ok, maybe there’s a second thing if you don’t have it already: exterior-rated glue, like Titebond 3. A gallon would be good because you’re going to use a lot of it. And if you’re not a purist, you could get some 2-½ screws or brad nails. They can help, but you don’t need them. So three things. But really just one. Times seven.
Something you may have noticed about the lumber you get at the home center is that even though it is nominally, for example, listed as 2 inches by 4 inches, it actually measures out to be 1-½ inches by 3-½ inches. That’s because the “2” and the “4” are the dimensions when the lumber was rough milled. But, after each side is surfaced, the board loses a quarter of an inch on each surface, reducing the actual dimensions by half an inch in each dimension. Thus a 2-by-4 ends up being a 1-1/2-by-3-1/2.
The other thing you’ll notice is that the edges of the lumber have been rounded over. There are a variety of reasons for why this is, including:
Fewer splinters
Easy handling
Less likely to become damaged
Fire resistance
And probably more. When framing a wall, these rounded edges are fine — and maybe even helpful. But for our purposes, where we want to face-glue the lumber together, the rounded edges will create ripples in our laminated surface. You can see this in action if you look at a row of hardback books on a shelf. Even when the book spines are all perfectly aligned with each other, wherever two books’ covers meet, there’s a little valley. That’s the same as what would happen if I laminated the 2-by-4s together without removing those rounded edges.
So that’s step one.* To do this, I set the table saw to 3-¼ inches and ripped one edge off each board. Then I reduced the table saw to 3 inches and ripped the opposite edge off each board. I now had nice square edges on my 14 boards, each of which now measured 1-½ inches by 3 inches (having shaved two ¼-inch slices from the thickness of each board; those ¼-inch strips, by the way, will make great kindling later this year).
*Here’s a little secret: I write most of my posts many months after I complete the project I’m writing about — mostly due to being busy and just not getting to the writing as soon after I do the work as I’d like. So I misremember things. Like, having gone back and reviewed the photos, I saw that I actually cut the pieces to length first (that’s what I write about next) and then I trimmed the edges as described above. I did this because shorter pieces are easier to handle on the table saw. So why didn’t I rewrite this post to make it accurate to my actual process? Because it’s late and I’ve already written it this way and it kind of flows from one section to the next and I don’t have an editor who will make me change it, but I still wanted to explain why the text doesn’t match the photos and now I feel kind of guilty, like I’m just rationalizing my laziness and damn it, I should have just changed what I wrote or not bothered to tell you this and you’d never know. Too late now. I’ve just written a long explanation and there’s no going back even if I wanted to, which I kind of do now, but also don’t. Sigh.
Now that the boards were properly sized, it was time to cut them to length. Each 10-foot board would be cut into three pieces: one that was about six feet long and would be used for the seating area, and two pieces — one three inches shorter than the other — that would be used for the legs. Why would some leg pieces be three inches shorter than other leg pieces? Glad you asked!
A Staggered Approach
The design concept for these benches was that the boards would all be face-glued, or laminated, together. Imagine your fingers represent the 2-by-4 boards. Now imagine putting glue between each finger and then bringing your fingers together. That’s essentially what I planned to do with the boards to make the bench.
But I also needed to think about how to make legs, or if you prefer, the support sides. One way I could do this would be to build the long bench part and then sit that on top of the side pieces, maybe screwing the top down into the side supports. Ugly. Lazy. No thanks.
Or, I could align the top flush with the side supports and screw through the sides into the ends of the top. Super ugly. Maybe a little less lazy. But also super stupid and definitely structurally unsound. Hard. Pass.
A third option would be to make a box joint, similar to how I built the walnut benches I’ve previously written about. That would be strong and would look pretty nice.
Of course, those aren’t the only three options — I could make legs or miter the sides, for example. But, because this entire bench was going to be made of laminated pieces, I figured I could actually imitate the box-joint approach but through a completely different and relatively easy (and good-looking) approach.
That’s because, whereas the walnut benches needed to have joints cut into them, my laminated bench could have joints built into them.

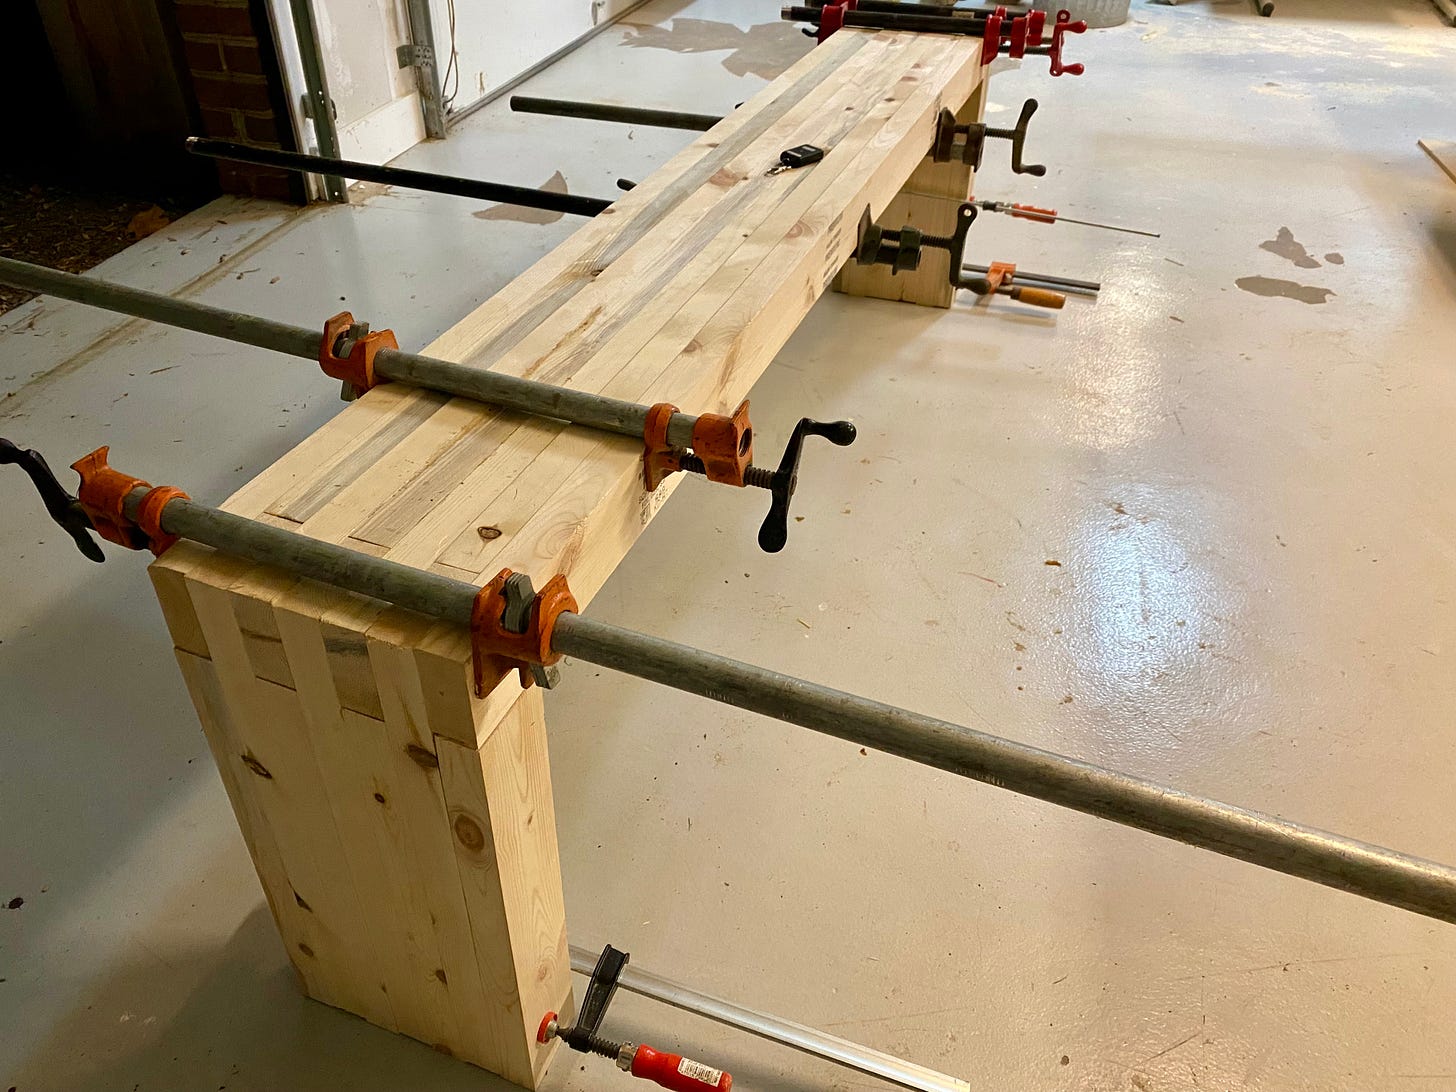
To do this, I would stagger the laminations by the thickness of each board, which, wait for it, is three inches. The result would be a series of “teeth” that would perfectly match teeth on each of the support sides.
Of course, if the support sides were going to be staggered in this way, I wanted those teeth only on the end that would mate with the bench top. The bottom of each side — you know, where it hits the ground? — that should be straight. So that meant half of my side pieces needed to be — wait for it — three inches, which as I keep pointing out, is the thickness of the boards, shorter than the rest of the side pieces.
Alternating Joints
Once the pieces were all cut, it was time to assemble. Despite my explanation above, I didn’t actually want to make three assemblies — a top and two sides — and then try to fit those together. I figured that would be too difficult to make everything fit without a lot of fussing about.
Instead, I decided I’d simply build up the bench sort of like building a brick wall. I started by laying a long piece on its side, with a short leg piece butting up under it on one end and long leg piece butting up aside it on the other, checking to ensure the corners were square. I put glue where the pieces met and shot a brad through to hold the pieces together. Then I laid down a layer of glue along the entire assembly face. Once the glue was rolled out, I laid down the next layer of pieces, alternating the short and long legs so that the long leg laid on the short leg, the bench top now shifted down three inches, and the short leg laid on the portion of the initial long leg that was still showing. I glued the butt ends and after ensuring the corners were square, shot a brad through the pieces to hold it tight. I did this five more times and then clamped everything together.

Then I repeated for the second bench and let the glue dry overnight.
The next day, I removed the clamps and my benches were done! Sort of.
I decided the legs were a bit long, so I used a reciprocating saw to shorten the legs and rounded over the leg bottoms to help keep them from splintering whenever the bench was dragged around.
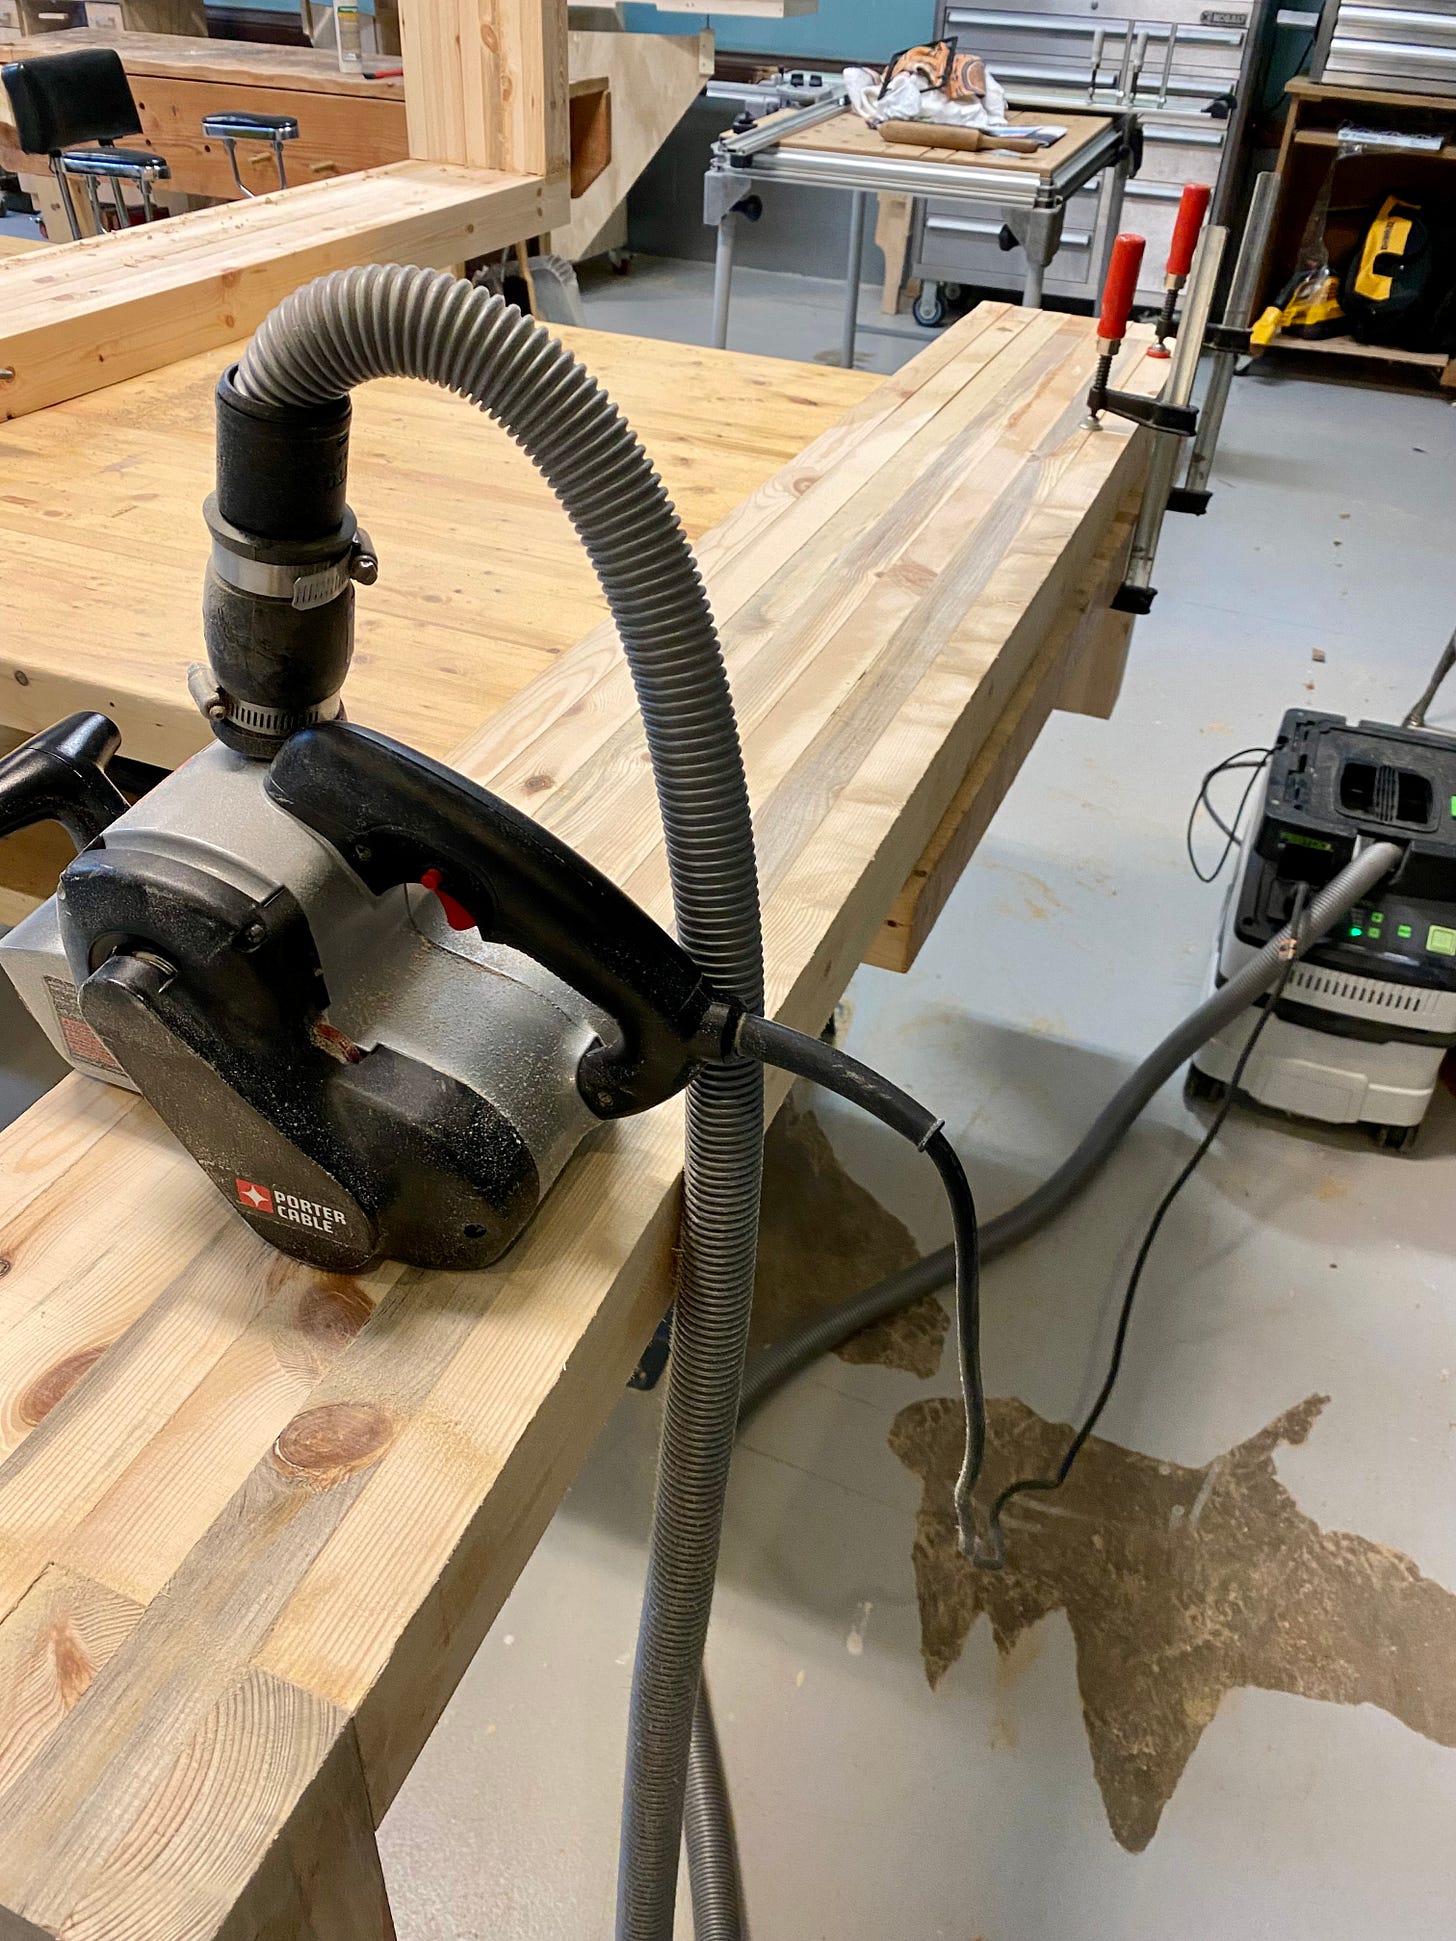
I also needed to clean up the glue that squeezed out and sand everything to remove any unevenness that existed across the layers. To do that, I used a belt sander, which made relatively quick work to get everything reasonably flat. The belt sander left the surface a bit rough, so I used an orbital sander to smooth it out.

Since the benches were to remain outside, I liberally applied several coats of spar urethane to each bench, which also gives the wood a nice golden honey hue.
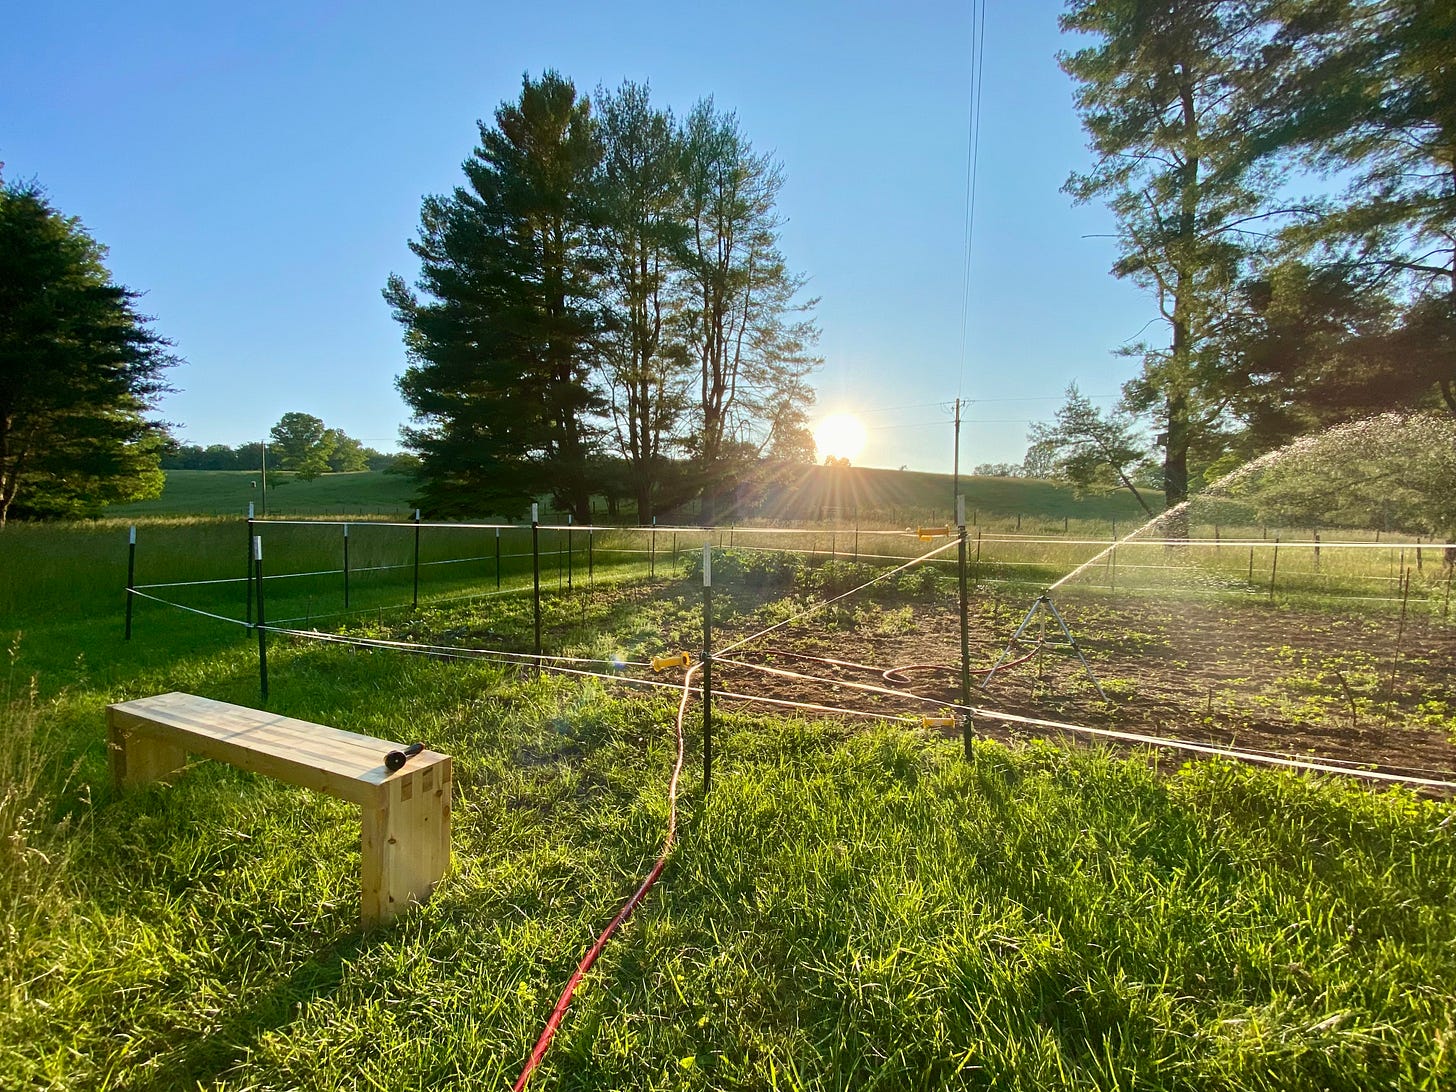
And that’s it. Once the finish was dry, it was time to set them out. I placed one near the chicken chalet and the other by the garden.
Nobody would mistake our little plot for a world-class modern art museum-slash-global villain’s lair, but I think the inspiration held through to the final results.


