Greenhouse Part II
Time to focus on the floor and the door
The worst thing about weekend projects are the weekdays. I’m impatient to get back to my fun projects and weekdays keep that from happening. Oh sure, they pay the bills. They fund the fun stuff. But deep down inside, I just can’t wait to get back to my projects.
So, four days after framing the greenhouse during Labor Day weekend, I was back to my project where the next step was to construct the floor. My first thought had been to build a wooden floor — more or less a deck — with two 6x6 support beams spaced across to provide support for 2x6 decking I’d lay across. It’d be fast, easy, and relatively cheap.
Then, as I thought about how to heat the greenhouse, I decided on a more brilliant approach — a concrete slab into which I’d embed plastic tubing for hydronic radiant heat. This is what they do on This Old House all the time and it would be the perfect way to heat the greenhouse during winter. I’m so smart, I thought.
But, as I did research on this approach, I discovered it might not be the right path forward after all. The cost looked to be higher — much, much higher — than I expected and the mechanicals more complicated — much, much more complicated — than I hoped. In all, it seemed like an expensive, complicated risk not worth taking. Maybe I’m not so smart after all.
Somewhat dejected by this dose of reality, I realized I had a good solution already on site: recycled bricks. I had several thousand that had been stacked in the woods by the previous owner. I had already pulled out and re-stacked the bricks near my garage, so they were all ready to be used. There were at least three different brick styles, which really couldn’t be combined, but I was fairly confident I could find enough of one style to use for the floor. It certainly would save me money. And a brick floor should, in theory, act as a thermal battery whereas a wooden floor could not. So, brick it would be.
Of course, a trip to the home center was still in order. I calculated that I’d need about 2.2 cubic yards of crushed stone, half a cubic yard of leveling sand, and 200 pounds of polymeric sand to fill in the joints.
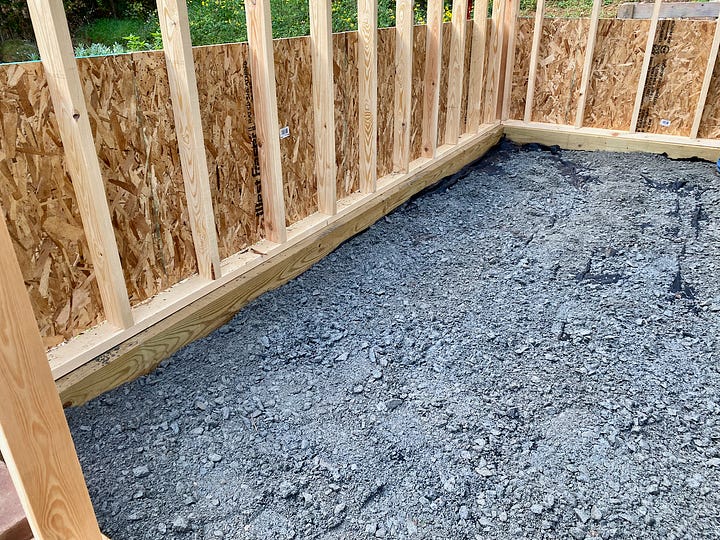
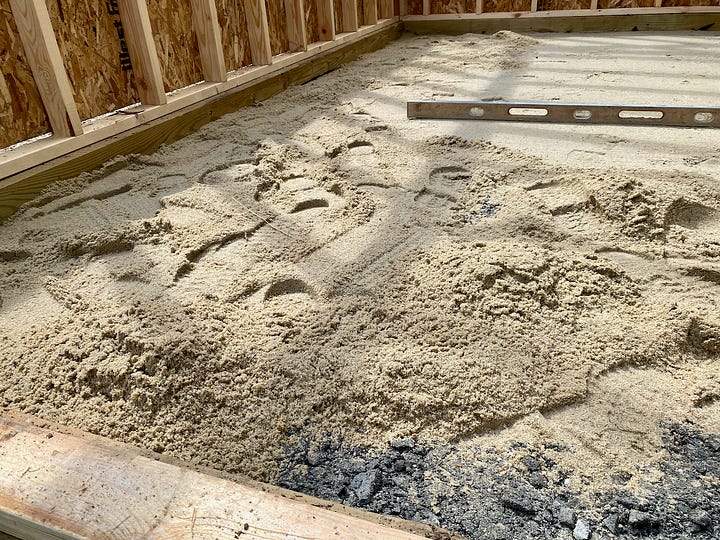
At the home center, I found crushed stone sold in ½-cubic-foot bags. At first I thought, “hey, great! I just need five bags!” Then I realized I was being a moron and I needed cubic yards of material, not cubic feet. Seeing as there are 9 cubic feet in a cubic yard, that meant I’d need something like 120 bags of gravel. Oof.
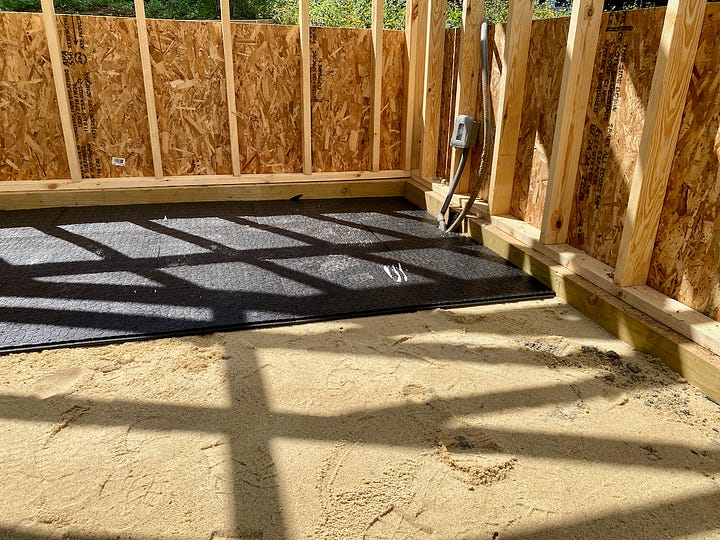
Then I saw a new product for paver patios — basically a foam board, kind of like a beach boogie board, that serves as a paver base. Instead of 120 bags of gravel and 40-plus bags of sand, I could buy 20 of these foam mats, just a few bags of stone and a few bags of sand (plus the polymeric) and be laying brick in no time. It still wasn’t cheap, but it was significantly cheaper. And faster, too. Sold.
Back home, I unloaded the material and got to work. With a helper by my side, we spread the gravel and tamped it down. Then we unrolled a layer of weed block and topped that with the leveling sand. We smoothed and evened the sand with a level and then started plopping the foam mats into place.
I think the mats are made from recycled plastic, which I feel good about, and I suspect they may provide a little hint of insulation, which wouldn’t be a bad thing either.
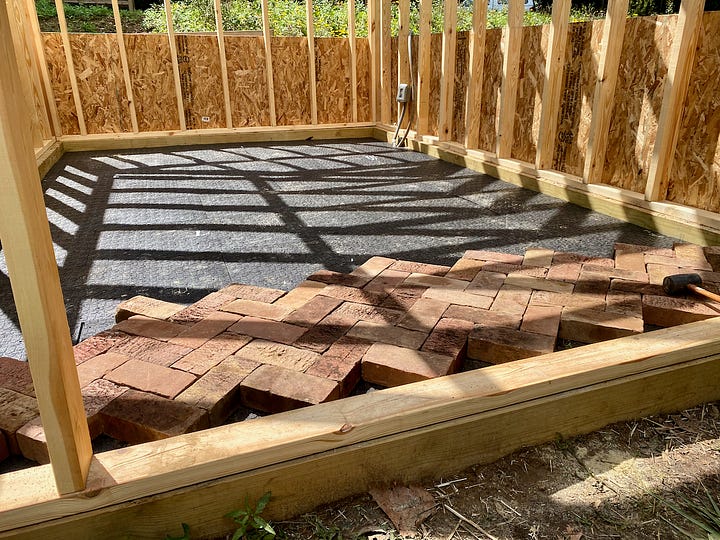
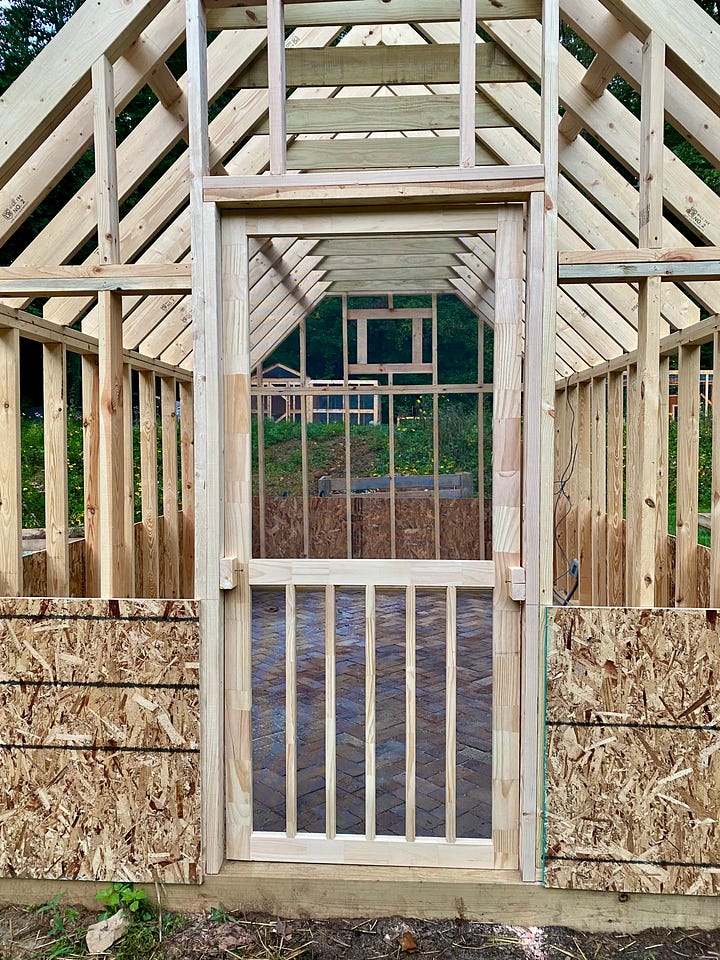
Once the mats were in place, it was time to start laying brick. I decided to go for a pretty herringbone pattern set on a 45-degree angle from the entrance. Laying the brick was fast and easy, but this pattern creates a lot of small corner and angled pieces that need to be cut off full bricks. For that, we rented a paver saw, which proved its worth in gold.
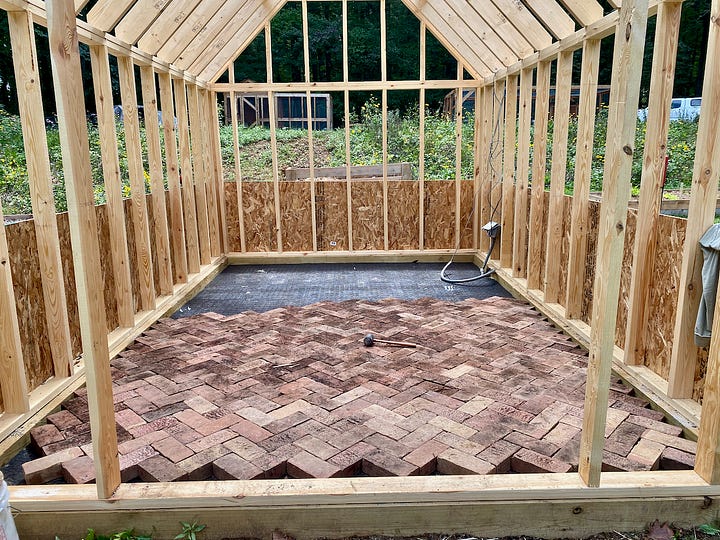
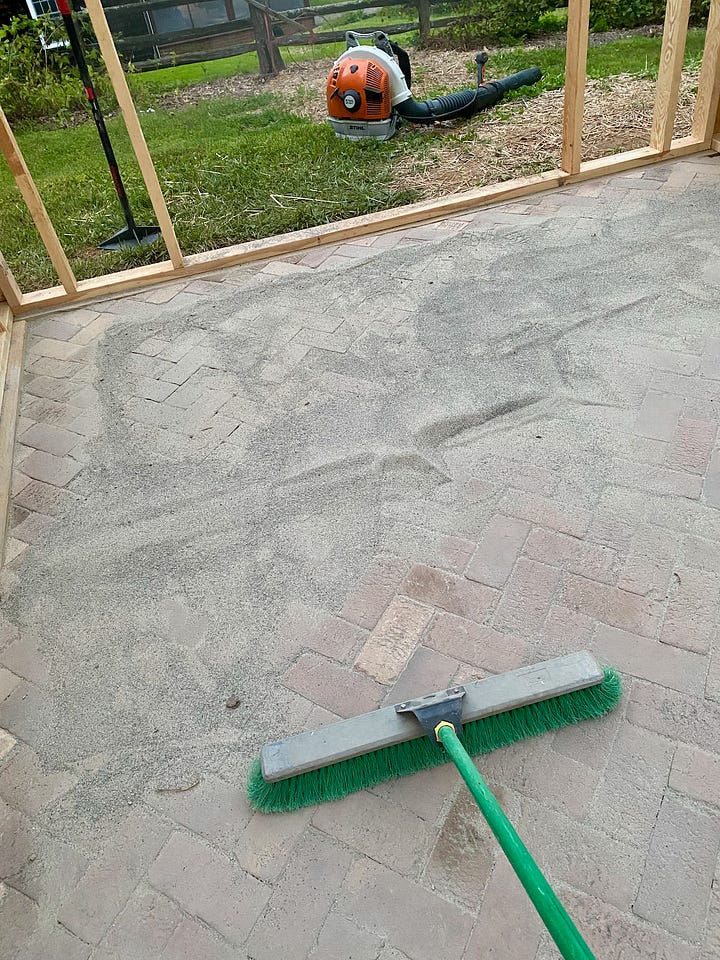
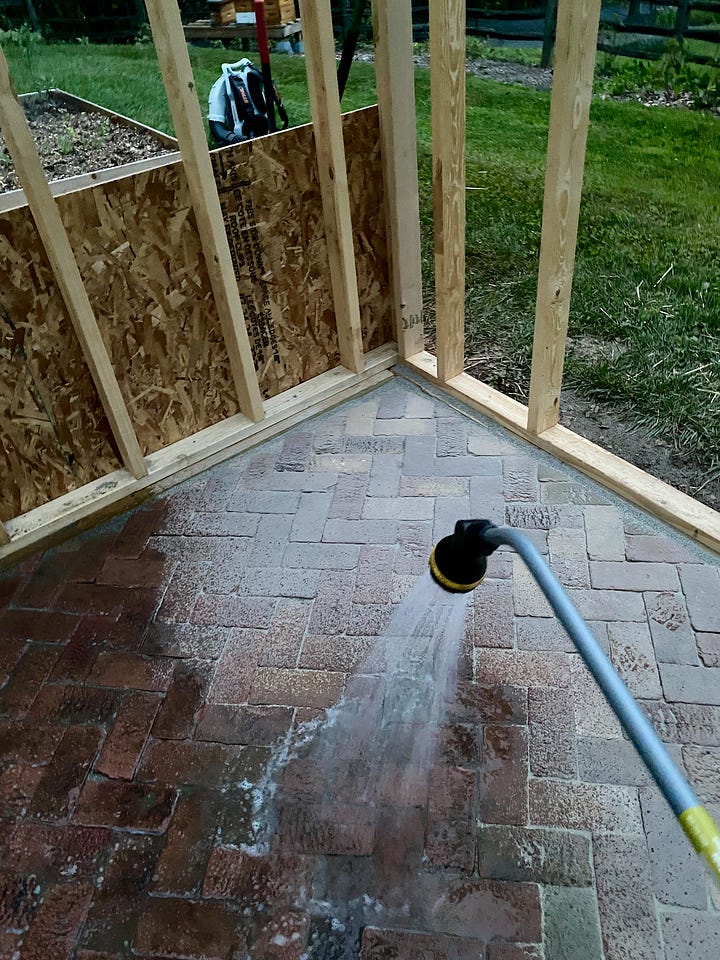
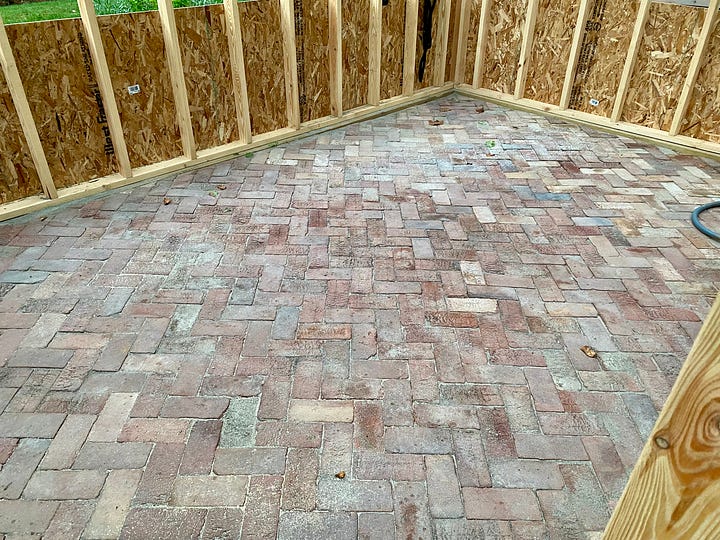
By late afternoon, all of the bricks were in place. For the final step, I dumped several containers of the polymeric sand — basically a special sand with additives that make it more like mortar than sand — and swept it into the joints. To set it, I soaked the brick and sand with my hose and let it dry.
From Floor to Door
The next day, I briefly delighted in my new greenhouse floor before turning my attention to the next step in the framing — the door. Rather than build my own door, I got lazy and bought a wooden screen door from the home center. At 36 inches wide and 80 inches tall, I needed to make some alterations to the front wall for it to fit.
I started by measuring the center of the front wall and then marking a 42-½-inch opening for the door. This would allow for the door itself, plus a ¼-inch on each side, plus two sets of studs that would frame the door. With these points marked, I cut the gable header. Then I installed two king studs that run from the floor to the gable. Once those studs were in, I added two more studs standing 80-½-inches, based on the height of the door plus a ¼-inch above and below. On top of these studs, I screwed in a header plate and cut the base of the wall to complete the opening.
I set the door in the opening and it fit perfectly.
With the door framed out, I was left with just two more small framing adjustments. First, I needed to frame a 16-inch square opening in the rear gable for an exhaust fan to sit in. I made a frame for the fan, cut the cripple studs in the gable, and screwed everything into place. I test fit the fan and found that it was ever-so-slightly too tight. I’ll have to figure out how to shave away some of the studs to make the fan slide in easily. Maybe I can just take away a little wood with a small block plane. I’ll deal with that later.
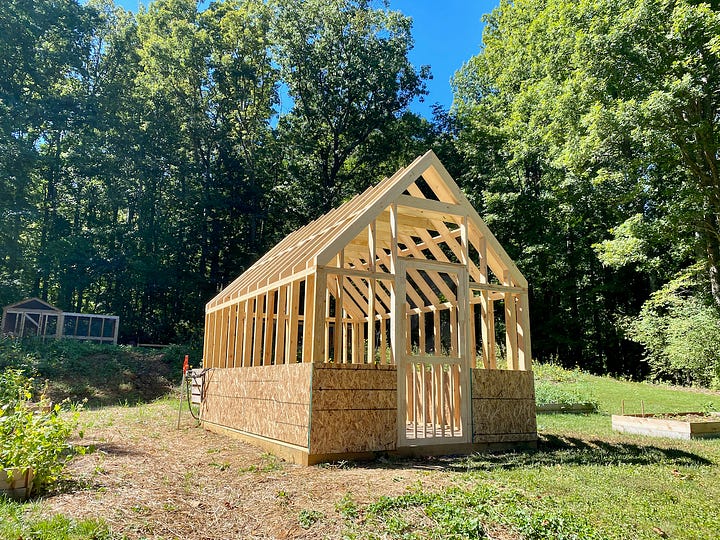

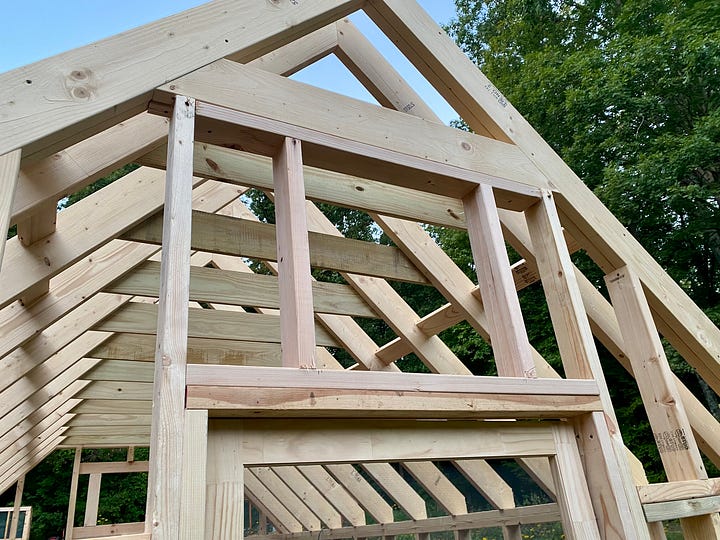
The second task came about thanks to a brilliant suggestion from my wife. She pointed out that a piece of stained glass we had found at a flea market years ago would fit beautifully above the door to the greenhouse. She was right, so I framed another square opening above the door — this one 20-½ inches in each direction.
I won’t put the stained glass place until later, but this was the time to prepare for it.
Alas, thanks to earlier sunsets, the lack of a holiday weekend, and other life events, this was all I could get done this weekend. I’m hoping to get a little done during weekday evenings, but I don’t expect to get to much. I’m already counting the hours until next weekend.

