Completing the Living Room
A TV console built to match, last, and hide cables just about completes one room in the house
There are times when I wonder if the adult version of me, if there is such a thing, and the child version of me have much of anything in common. For example, when I was a kid, I desperately wanted a TV in my bedroom. I eventually got one — a 13-inch black-and-white Sanyo set on which I could watch Sunday afternoon Browns’s games, assuming I could contort the rabbit ears just so. Later, it was replaced by a passed-down, wooden-cased 13-inch color Sony model that had been our family’s primary television before we upgraded to what was then an enormous 27-inch color CRT set.
But now, I abhor televisions in the bedroom. I don’t even particularly like them in the main social space of our house, the living room. I’d prefer to have just a single television in something like a basement family room. (Of course, the idea that a television is a single device is itself antiquated, given streaming video to computers, phones and tablets.) Also, my preference isn’t necessarily the preference of my wife or daughter.
Regardless, our basement isn’t yet finished and set up as a family room, so the living room is where we have our TV set up. And until recently, it’s been kind of a disaster.
A Bad Arrangement
Ever since moving in, our TV — a decade-old 32-inch flat-screen — has been sitting on a nice, but short, mission-style side table. A sound bar sat on the table’s bottom shelf, extending out either side like an NBA center trying to sleep on a camping cot. The TV itself sat under one of my mom’s paintings, creating visual disharmony. Behind the open-legged table, a tangle of cables connected various devices, which was probably the greatest sin of all.

Even so, I wasn’t entirely sure what I wanted to do to clean up the situation. Mount the TV on the wall? Build a surround on the wall for the TV to sit inside? Build a simple table for the TV to sit on? To help refine my thinking, I turned to Google and browsed images of living room TV set ups.
The most common arrangement appears to be for TVs to be mounted directly on walls. It’s certainly an attractive and clean look — especially if recessed into the wall — but not without its challenges, particularly for existing finished space. I didn’t really want to get into opening the drywall and re-wiring electrical lines, so I dismissed that option and focused instead on furniture solutions.
One option, a wall-mounted surround, can look nice, but it suffers from some of the issues with the direct-mount approach. Also, it seemed too permanent and I have visions of relocating the TV to another room entirely one day.
So, a console with shelves seemed the best answer. And having just completed the pair of firewood storage benches, building something to match those seemed like a smart approach. I could integrate shelves for books, perfectly size the pieces to the space (between two windows), and design it to better hide cords and cables.
I sketched out some ideas on my iPad and once I had a concept I was happy with, took measurements and transferred them to graph paper to create fairly detailed drawings.
The Build
Although I decided I wanted the console to match the fireplace storage benches, I figured I’d need to build them quite differently than I built the benches. To make those, I had crafted 4x4 legs and used mortise-and-tenon joinery along with floating panels for the sides. The results were terrific, but because my TV console had a slightly different design, I’d need a very different approach.
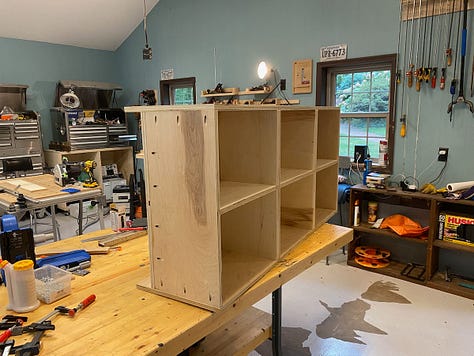
Whereas the fireplace benches have a solid font, back, and sides, my console would have two rows of open shelves in the front and a hidden shelf in the back to hold cables. These changes led me to build a carcass out of plywood and then add trim around it to mimic the appearance of the benches.



But that raised a critical question: how would I handle the 4x4 legs that would run from the top to the floor if the overall box was made out of plywood?
I could cut into the carcass and attach the legs, but that seemed unlikely to turn out as anything other than a disaster. Instead, I decided I’d make short leg nubs that I’d attach to the bottom of the carcass and then match up with trim to give the appearance of legs that run from top to toe.
With that concept in place, I started cutting.
My first step was to build the main carcass out of ¾” plywood. After cutting the initial pieces, I ran the back, sides, and double-thick vertical dividers over a dado stack on the table saw to make slots for the middle shelves to sit in. Glue and pocket screws held it all together. The sides were intentionally less deep than the top and bottom to create a “false back” where a hidden shelf would go. To hide the pocket screws and the rear shelf, I glued another, larger, piece of ¾” plywood to each side.
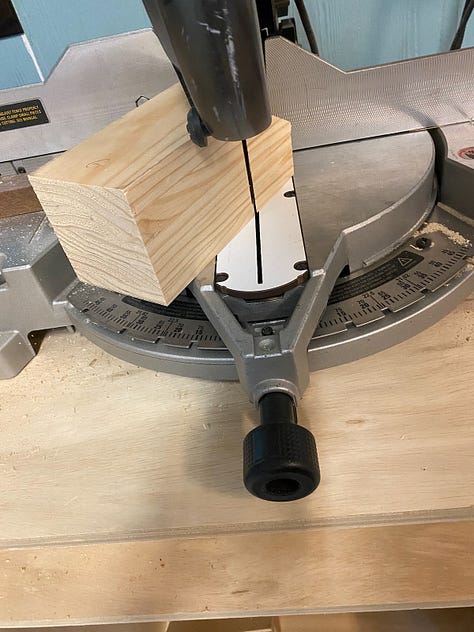
While the glue dried, I face-glued five pieces of 1x4 pine to create a 4x4s for the leg stubs. After letting it sit in clamps for a day, I planed and sanded it to be perfectly square, chopped them into four 6” pieces, and then sliced tapers into them to mimic the profile of the bench legs.
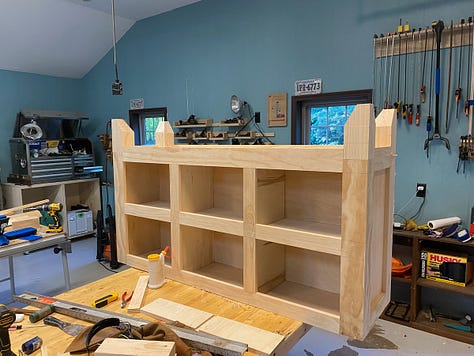
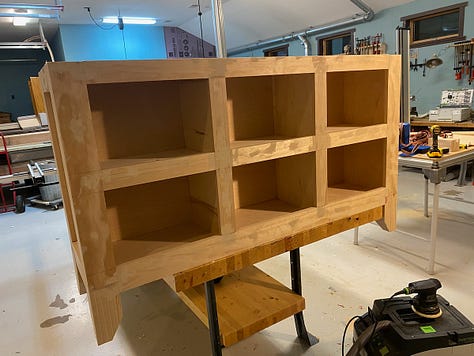
Then it was time for the cabinet’s face frames, which were also made from the 1x4 pine boards, conveniently matching the profile of the leg stubs. I cut the planks to length and glued them to the front, sides, and the rear, making sure to leave space for the forthcoming leg stubs, which I later added with glue and some screws through the bottom of the carcass into the stubs.
I had to sand, sand, and sand some more to get the leg stubs flush with the trim. At this point, I began to wonder about the approach I had taken. Sure, it was easier to build the cabinet this way, but was it right? Were the legs going to look like they were added on? Should I have built the cabinet around the legs instead of building the legs around the cabinet? Oh well, too late now.
I filled nail holes and sanded some more. Before too long, the cabinet was looking pretty sharp, my worries notwithstanding. All that was left was to slap on a couple of coats of dark blue milk paint. And make a top.
The Top
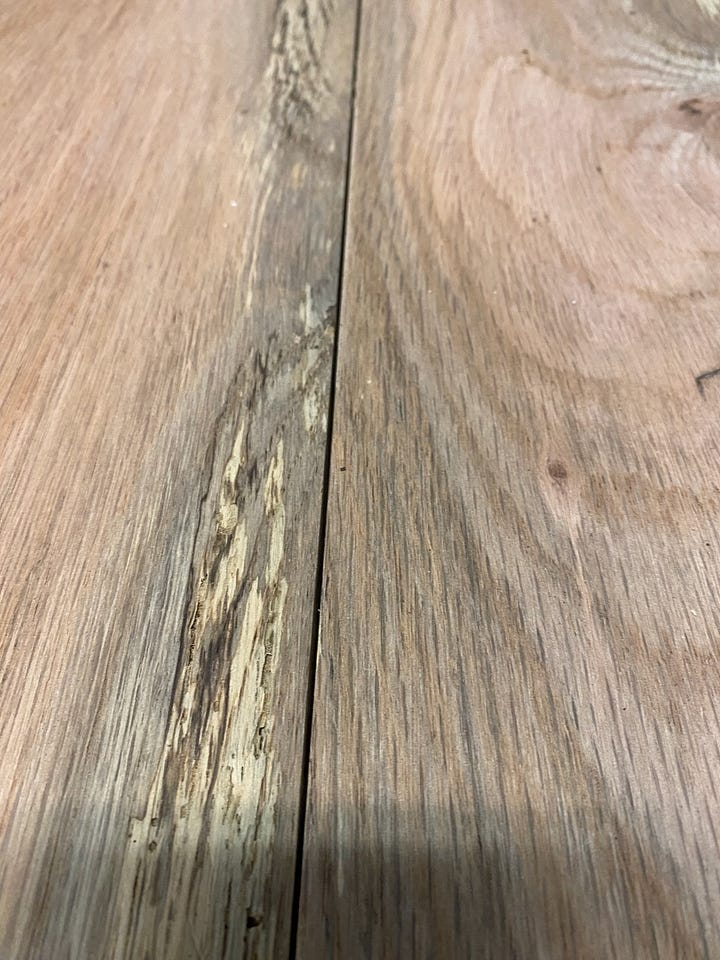
As with the fireplace benches, I wanted to use some reclaimed wood for the top. I selected three boards of the same species — reclaimed oak with some minor spalting (discoloration due to fungus) — that I thought would work well. I ran them through the planer and cut them to rough size. Several spots were rotted, so I picked away the flaky bits. One of the boards had a really pretty “live” edge that I wanted to keep and use to be the on the leading edge of the console.
The real trick was figuring out how to joint the boards so that I could glue them together without there being gaps between each board.
One way to do that would be to use a long hand plane. I have one and have done that successfully in the past, but on these boards, I was running into too much difficulty getting them straight.


Another option is to use a jointer, which is a machine that creates a perfectly flat surface. But, for long boards, you really need a long jointer, and I don’t have one. I have a short jointer, but it wouldn’t be able to keep the straight edge for the full five feet of the boards.
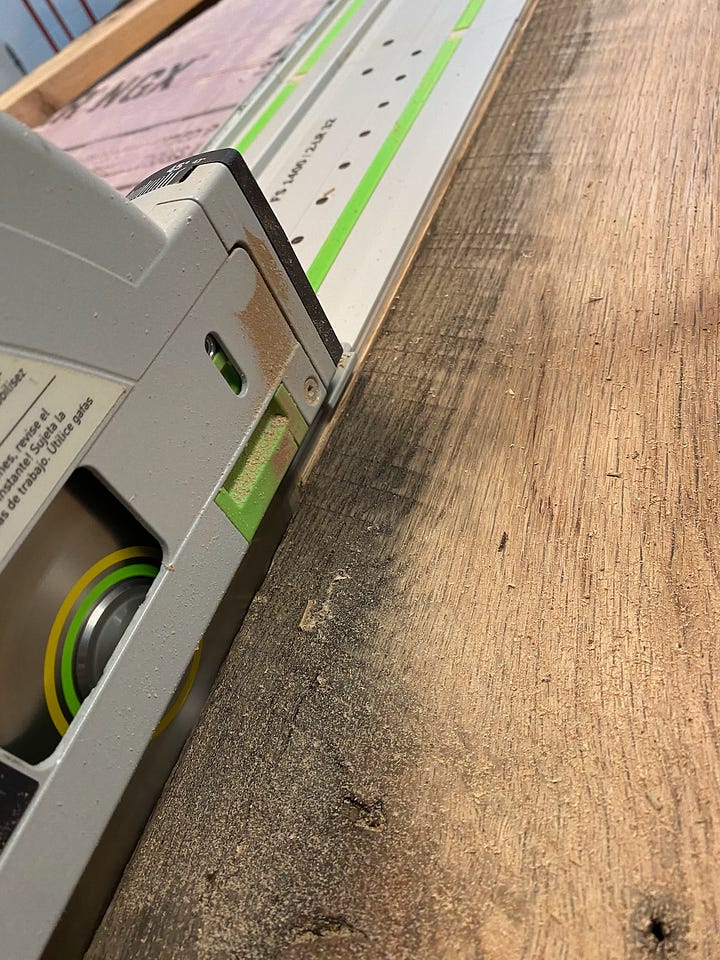
Finally, I decided I could use my track saw to joint the boards — a method I’ve used before to good success. (If you’re wondering, table saws typically don’t have enough tolerances to make for a perfectly flat edge, especially on anything longer than a foot.)
I connected two pieces of track together and ran the track saw over the edges. I put the boards together and while they were close, they weren’t as tight as I wanted.
Then I varied my approach. Instead of cutting one edge at a time, I decided I’d put two pieces together — edge to edge — and run the track saw down that seam. No matter how the blade might deform, it would do so to both boards at the some time, creating a perfect match.
And indeed, that trick worked beautifully. After two passes — one for each joint — I was able to glue the boards together for the top.
Once the glue dried, I cut the top to its final size, rounded over the corners with a router, dug out some more rotted wood, sanded everything smooth, and applied stain and a flat topcoat for the final finish.
Putting it in Place
Once everything was dry, I lugged the cabinet into the house and set it in position. I brought the top in separately and laid it on the cabinet, positioning it just so. Two screws from inside the cabinet locked it in place.
The console fit the space perfectly, but our 32-inch TV looked far too dainty. It was time for an upgrade. I took a few measurements and verified that not only would a 55-inch TV would be appropriate, but it was damn near a necessity. I also swapped out the soundbar for a couple of bookshelf speakers. As I set things up, I coiled the cables and stashed them away in the hidden rear shelf.
Sitting on the couch, I was delighted by the transformation, but also harbored some regret. Unlike the fireplace benches, the legs, rails, and stiles of the console were all flush with each other. (On the benches, the legs are about ½” proud of the rails and stiles.) Did this bother me? Did I mind the flush look? Did I mind that it wasn’t a perfect match to the benches? Was I being silly?
Oh well, it was too late now. I decided that I was happy with it (and mostly, I am) and relocated the table that had previously supported the old TV to a spot next to the couch, where it actually belonged. Suddenly, the room snapped into place.
What had been little better than a dorm-room setup now looked like a grown-up’s living room, with nary a cable to be seen. I call that a win.


I love reading about the details!!!