Building the Base
The Anarchist's Workbench project continues with a focus on the bench base
As I described in my previous post, the Anarchist’s Workbench starts at the top. Literally. The top of the bench, which is made up of 18 boards laminated together, is the first part of the build. So far, I had glued up three sections of six boards.
Before gluing the three sections together to make the single top, I wanted to take them to a workshop with industrial tools to make them perfectly flat and square. But that won’t happen for a few days. So, over last weekend, I turned to working on the base.
I rough cut all of the pieces to width and length, leaving it all a little bigger than the final dimensions. Then I planed all of the pieces to a consistent 1-¼-inch thickness.
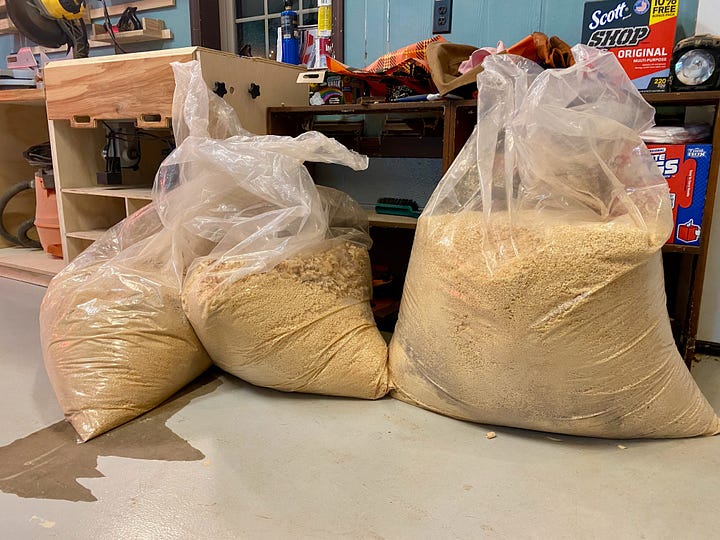
All of the planing generated copious amounts of sawdust, chips and shavings — at least six bags worth (maybe 90 pounds?) — which I gladly spread all through the goat pen and chicken coop, replacing their ripe livestock odors with the more pleasant scent of pine.



The base is made up of four stout five-by-five legs and two pairs of two-and-a-half-inch-thick stretchers. In all cases, this is accomplished by laminating various pieces together. Let’s start with the legs.
Christopher Schwarz smartly designed the bench to be joined primarily through mortises and tenons and then pulled tightly through drawbore pegs. The leg’s tenons are created through the natural construction of the leg itself. Four pieces of five-inch-wide, 1-¼-inch-thick boards are laminated together, with the two outside pieces stopping three inches short of the two inner pieces. That creates a 2-½-inch-thick tenon in the center of each leg.
Before the glue-up, though, the Balsa Buddha suggests cutting a four-inch wide, three-inch deep notch in one of the long leg pieces, four inches from the bottom. This creates a perfectly sized mortise for the stretchers to sit in.
I cut the sides of the notch on the table saw and then chiseled out the bulk. Then I glued up the four legs, making sure the notch was properly set in the correct position.

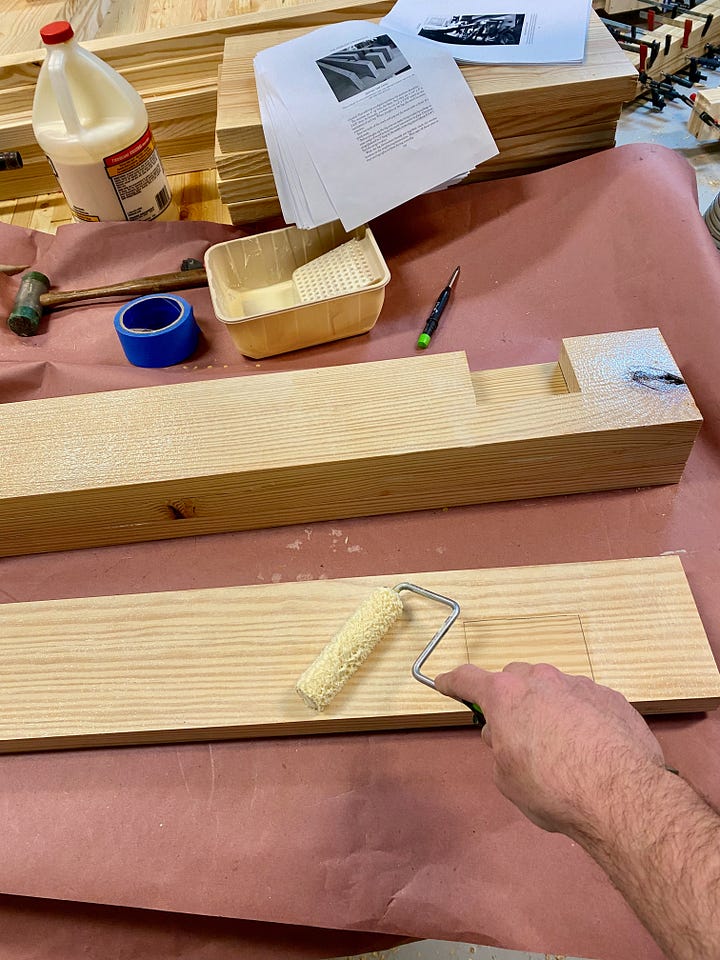
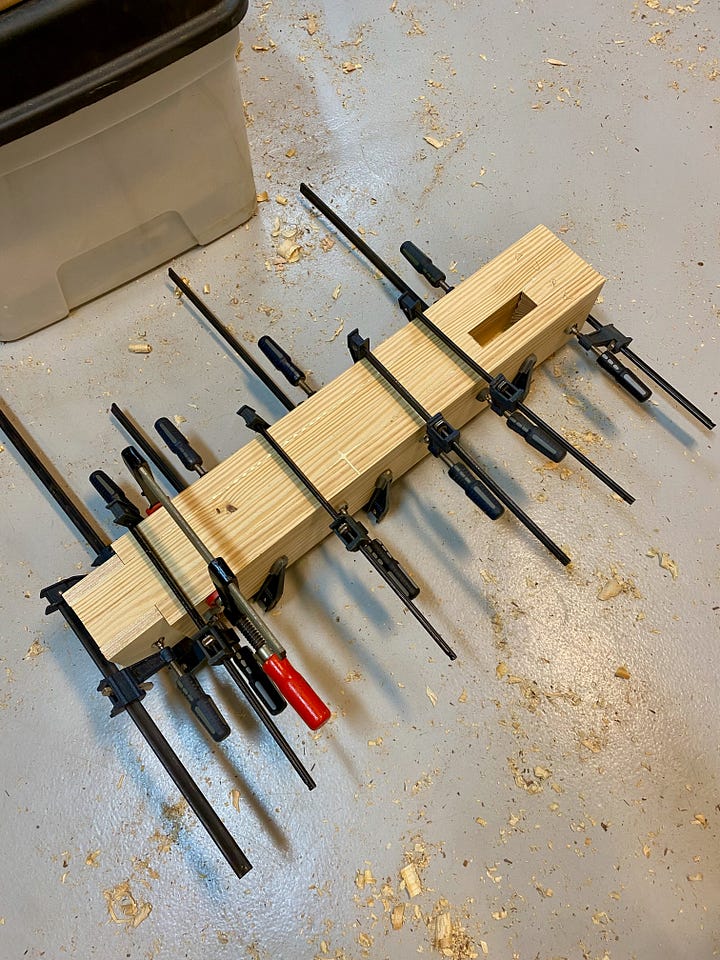

The four stretchers are similarly designed, except instead of being made of four laminated pieces, they are made of two, where one extends three inches beyond the other on both ends. I also took care — on both the stretchers and the legs — to ensure the visible sides would be knot-free for a clean appearance.
Once the glue-ups of the legs and stretchers were complete, I cleaned up their edges on the planer and table saw.
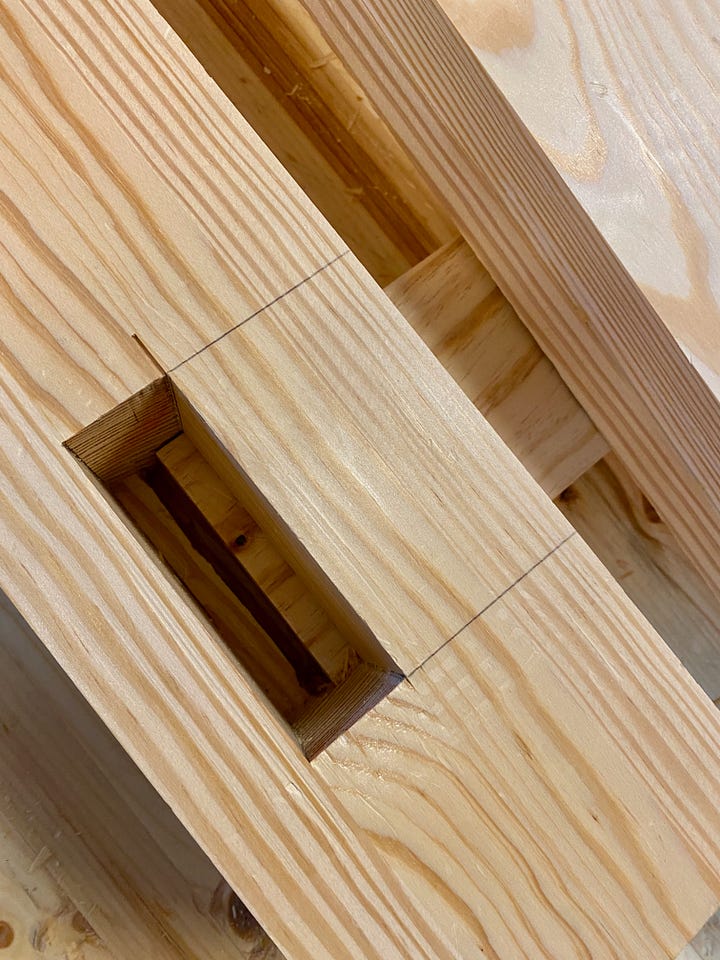
Each leg actually needs two mortises — one for each of the two stretchers that will connect to it. The notch made during construction handles one of the notches. The other has to be cut out the old-fashioned way now that the legs are glued up.
To do that, I marked the position of each mortise and used a 1-¼-inch forstner bit to hog out the bulk of the material. I then cleaned and squared the mortises with a chisel and mallet. I dry-fit the stretchers to ensure the mortises were sized just right, adjusting as necessary.
Because the stretchers’ tenons extend three inches deep into the leg and because they sit 2-½ inches in from the side, when the two tenons from the stretchers meet in the leg, they butt up against each other, causing one not to be fully seated. To solve that, I had to cut away a half-inch rabbet from one of the tenons so they could be nestled together inside the leg, which I did that on the bandsaw. If you don’t understand the previous paragraph, suffice it to say that I needed to make some additional cuts in order to make sure everything fit tightly. Blah, blah, blah.

Now that the stretchers could fit snugly in the legs, it was time to address the “drawbore” pegs. A drawbore peg is essentially a dowel that is pushed through a hole in the mortise and tenon to tie the two pieces of wood together. If it helps, try to recall just about any movie thriller where the hero is being chased. You know the scene where the hero pulls open a door, runs through it, and then on the other side he or she slides a broom handle through the door pull, effectively preventing the person in pursuit from opening the door? A drawbore peg does essentially the same thing.
Ah, but there’s an important difference between a real drawbore peg and my example. In my example, the broom handle simply prevents the door from being opened (akin to the tenon being yanked out of the mortise). That would be as if I drilled a straight hole through the mortise and tenon and slide a dowel through it. But what a drawbore peg construction does is it offsets the tenon’s hole just slightly so that when the peg is inserted, it has to squeeze through tenon’s offset hole, which pulls that tenon super tight into the mortise. A blog post on Lost Art Press, Schwarz’s publishing company, explains in more detail, including a great cross-section image that makes it clear what’s happening.
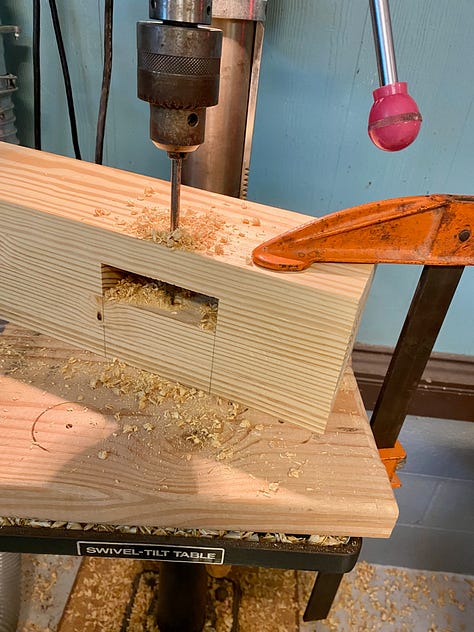
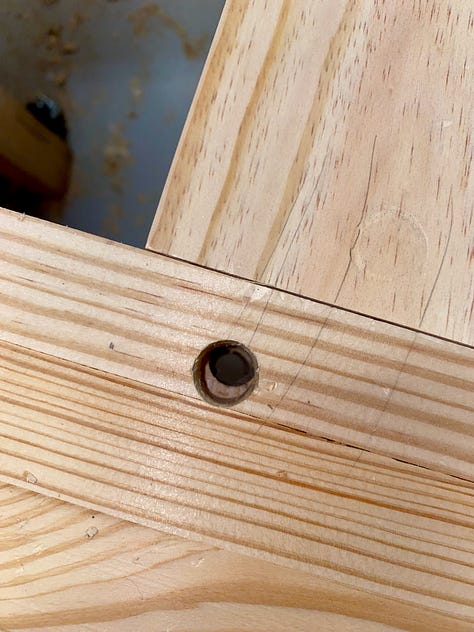


The point is, you can’t do this by simply drilling a single hole through the assembled piece. Instead, if you have to drill a hole with the tenon removed. Then you re-insert the tenon and mark where the center of the hole you drilled would land on the tenon. Then you remove the tenon and drill a hole about one-eighth of an inch toward the shoulder of the tenon. This offset is enough so that when the peg is inserted, it forces the tenon tightly into the mortise. Got that?
Anyway, I drilled all of the drawbore holes and offsets and then cut eight five-inch oak dowels to serve as my pegs. On the sander, I ground one end of each peg to a point. Then I assembled the legs and stretchers (without glue for now) and lightly tapped the pegs just until they cinched up the stretchers into the legs. I’ll need to remove the pegs later, thus the reason for not using glue and not knocking the pegs in all the way yet.
Now the base is mostly done and is temporarily, but tightly, assembled. Once I get the top finished, I’ll use the base to help lay out the top’s mortises, which the legs will fit into.
That’s next time.

