Yarn Boxes
A pair of quick wins for a couple of knitters in my life
After finishing my workbench, I decided to shift gears and focus on a couple of smaller projects. My wife and my friend’s wife are both knitters. In our house, at least, that means my wife is constantly scolding our cats for pouncing on her balls of yarn.
To help keep her yard safe from meddling felines, I decided what she needed was a box for the yarn with a hole it could thread through. This would keep the ball of yarn hidden from kitties’ eyes, slowly unrolling in darkness as my wife stitched up her latest sweater (which, as of this writing, happens to be my next sweater. Lucky me!).
My friend’s wife does not have a kitty she needs to worry about, but she does have a dog who, I suspect, also finds balls of yarn to be deliriously tempting.
So, I set about making a couple of boxes. The first would be for my friend’s wife. I decided it didn’t need to be fully enclosed — it could have an open top — it just needed a hole in the front for the yarn to thread through.
The boxes needn’t be very large — just six inches cubed or so. I decided to build them with dovetails and use contrasting species of wood.
Digging into my scrap wood bin, I found some oak and walnut that fit the bill. I cut them to size and planed them to a thickness of about half an inch. Dust from the pungent, chocolate walnut and the earthy oak filled the shop.
I thought about cutting the dovetails by hand, but decided I’d do that on a different project. For now, I’d just use a dovetail jig I had purchased at a garage sale (but hadn’t yet used). It works in tandem with a router to cut all of the pins and tails. This particular jig makes only “half-blind” dovetails, meaning you see them only on one side.
I decided to make the oak pieces the front (with the yarn hole) and back of the box and the walnut the sides where the contrasting dovetails would be seen. I set up the jig, clamped it to my workbench, properly aligned the pieces (checking them multiple times), tightened everything down, and turned on the router.
So that I could see clearly, I squatted down so that my eyes were level with the jig and started guiding the powerful router in and out of the jig’s U-shaped guides. Sawdust shot at my face. I felt like a goose being gavaged with oak and walnut shavings. Good thing I was wearing a mask and eye protection.


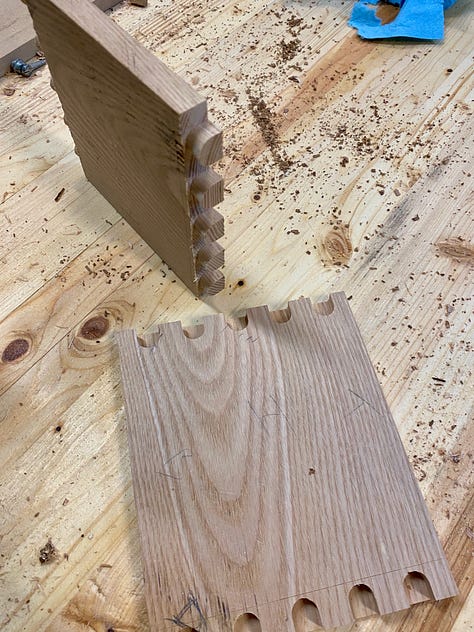
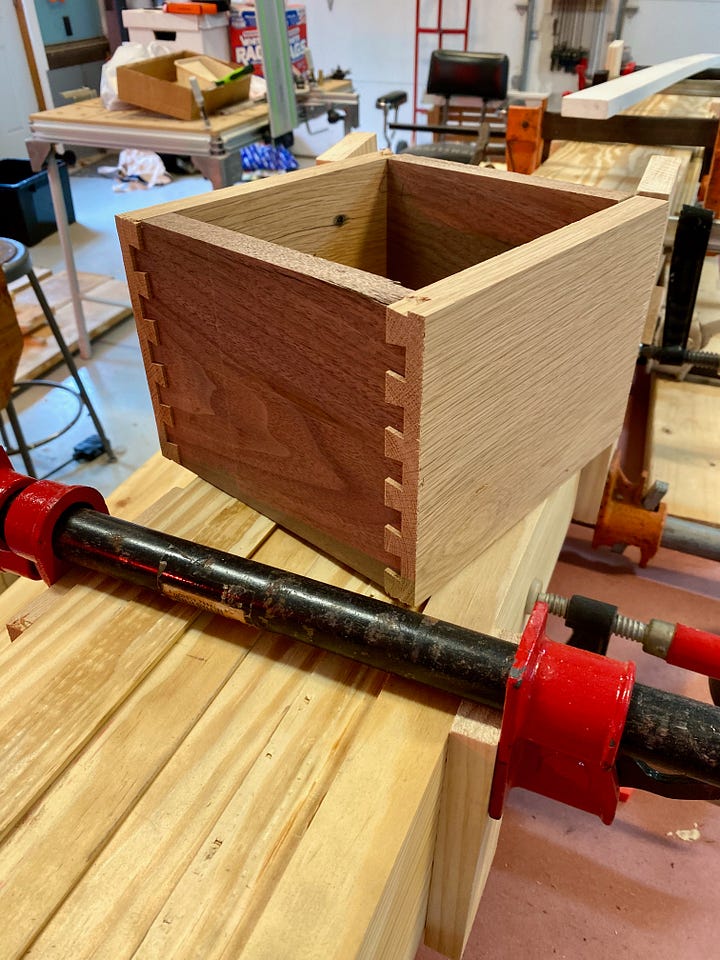
I checked the fit of the dovetails and they were nice and tight. After cutting the remaining pieces, I cut a one-inch hole in the front (for the yarn to go through) and rounded over the hole’s edges on both faces. Then I glued the box together.
The dovetails were tight, but they weren’t flush. That is, the sides sat “in” from the front and rear pieces. To fix this, I put a flush-trim router bit in the router and used it to make everything flush.
This works because a flush-trim bit has a bearing at the top (or bottom) that rides along the surface you want to maintain. The knives of the bit are perfectly aligned with that bearing, so they cut away any material up to where the bearing rides.
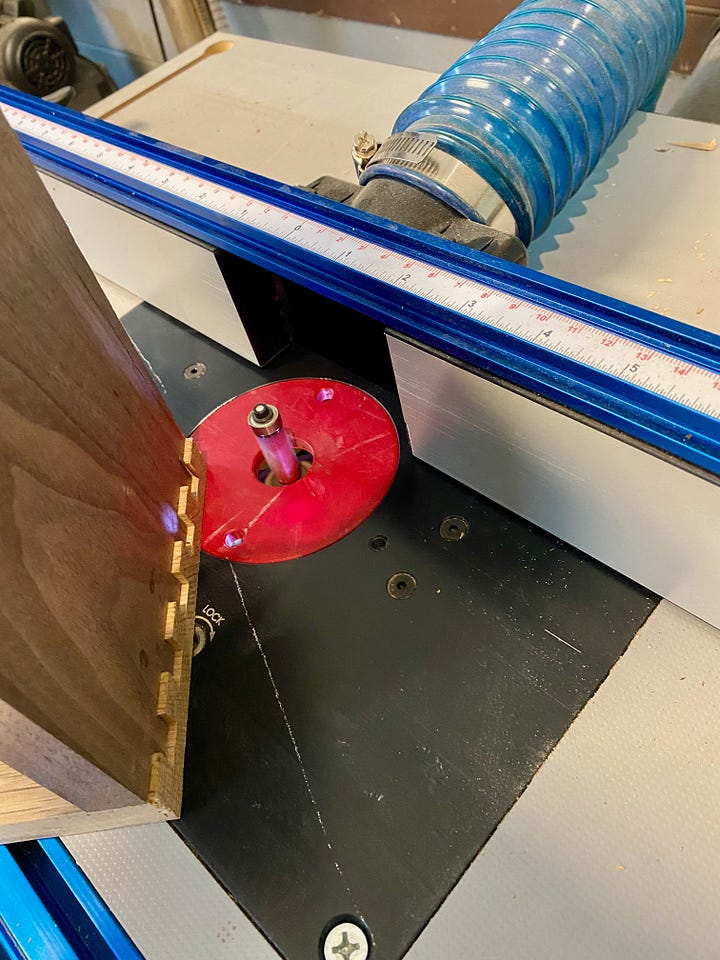
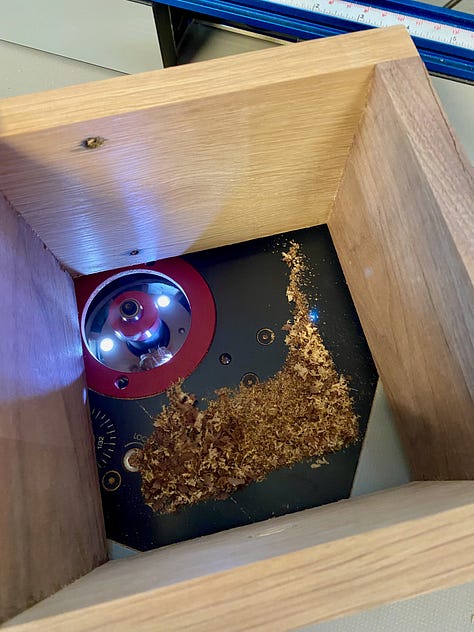
Once that was done, I needed to make the box’s bottom. For that, I swapped out the flush-trim bit for a mortising bit. This bit works similarly, but instead of the blades being flush with the bearing, they extend past the bearing by some amount — in this case it was about a quarter of an inch. I guided the inside of the box around the bit and cut away material so that the bottom could be inset into the base of the box.
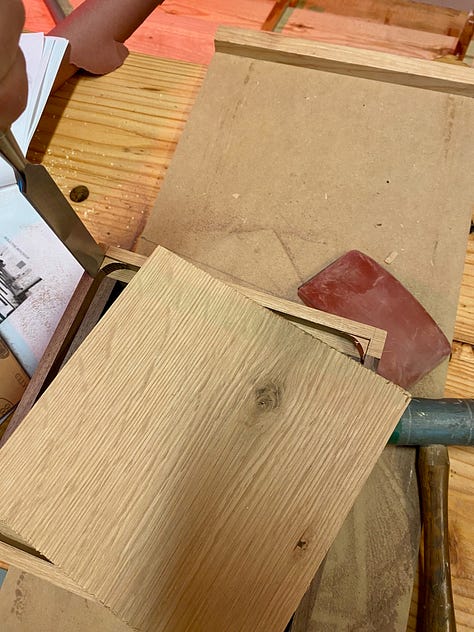
Because router bits are round, it left rounded inside corners, which I squared off with a chisel. Then I sized a thin piece of walnut and glued in place.

Once everything was dry, I sanded the box and then finished it with a natural stain, a couple of coats of a satin top coat, and a buffing of wax to make it smooth and slick. I was happy with the results.
The second box I made nearly the same way. I used cherry instead of oak and made the walnut the front and back. In order to ward off the cats, I also added a top, which is where the yarn would come through. Since this box would be fully enclosed, the top needed to open and close.
As I considered my options for that, I decided that the upward force of the yarn meant that the top should be something that slides and locks in place, rather than something that could be lifted up.


That lead me to make the front of the box shorter than the sides, and then to cut grooves into the sides and back that the top could slide into. I also decided to make a lip for the top to match the front, so that when the lid was closed, it would appear like a full cube.
Unfortunately, I didn’t realize until later that I went about this all wrong. That is to say, I should have made all four sides the same height with a groove all the way around, and then glued them all together. Then I should have cut away part of the front and used that for the top’s front lip. Doing so would have preserved the dovetail appearance on the top’s lip. It would have looked sharp.
But that’s not what I did. Instead I used a solid piece of walnut to make the lip, embedding the top into it. It works. It’s fine. But it’s not as sharp as it could have been.
I drilled a hole through the top for the yarn to come through. And like the first box, I routed an inset groove in the bottom for a base, though unlike the first box, I left the corners rounded and shaped the bottom piece to fit.
Both pieces turned out nice, I think. And as always, I learned a few lessons which maybe I’ll apply on a future project.

