Workbench Progress: Hurrying Up and Waiting
With the top and base built, I'm eager for assembly. But first I need to do about a dozen other things.
If step one in building the Anarchist’s Workbench is making the top, and step two is making the base, then step three would be marrying the two, right?
Yes and no. Step three is indeed about bringing the base and top together, but it’s not actually joining them yet — at least not permanently. Rather, Chris Schwarz, a.k.a. Rabbi Hickory, outlines a bunch of prep work that has to be done first, and that’s what I spent last weekend and recent weeknights doing.
The first thing I needed to do was actually to finish step one and glue together the three sections that compose the top. I wanted to further plane and joint them so they’d come together easily, tightly and coplanar to each other. To do that, I loaded them into my truck (also satisfying my day’s weight lifting routine) and headed down to The Workshop in Fredericksburg, Va. The Workshop is basically like a gym for woodworkers. One buys a membership and gets to use their commercial-quality machines. Or, if a membership isn’t right for you (like you live more than an hour away, ahem), you can buy milling time by the hour. That’s what I did.
(Note: the owners of the workshop would like to franchise their business. They say it takes about $500,000 to start up. I’m totally down for doing this. I just need $500,000.)
A couple of shop workers helped me plane and joint the segments. I had hoped to get everything perfectly square and flat, but I realized that was going to be too difficult to do. So, after about an hour’s work, I determined that the segments were good enough for my purposes and took them home. I figure I could use hand planes to finish them off if necessary.
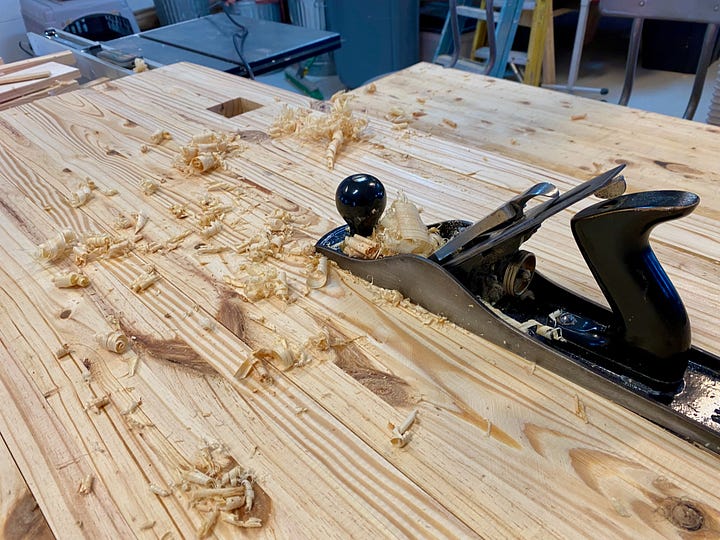
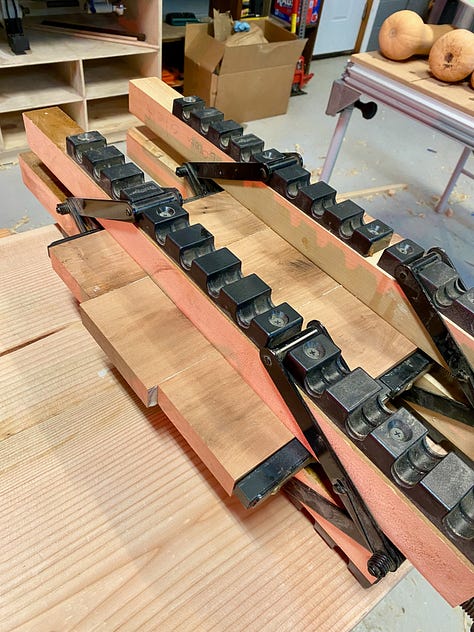
Back in the shop, I glued the three sections into one 250-pound slab. Once the glue dried and I pulled off the clamps, I spent a little time hand-planing the underside to get it relatively flat.
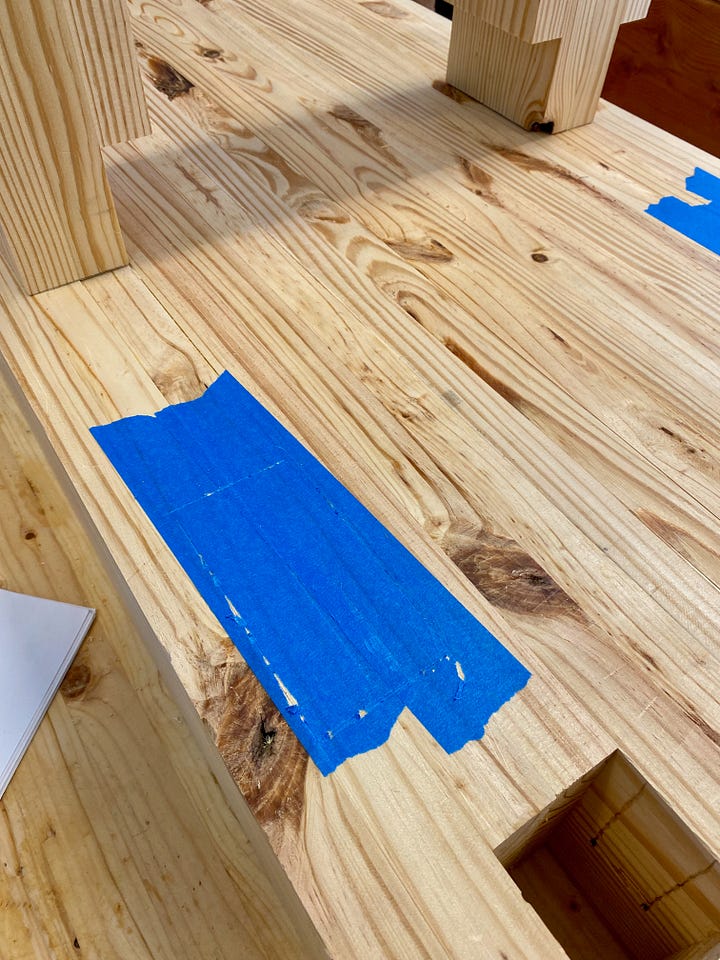
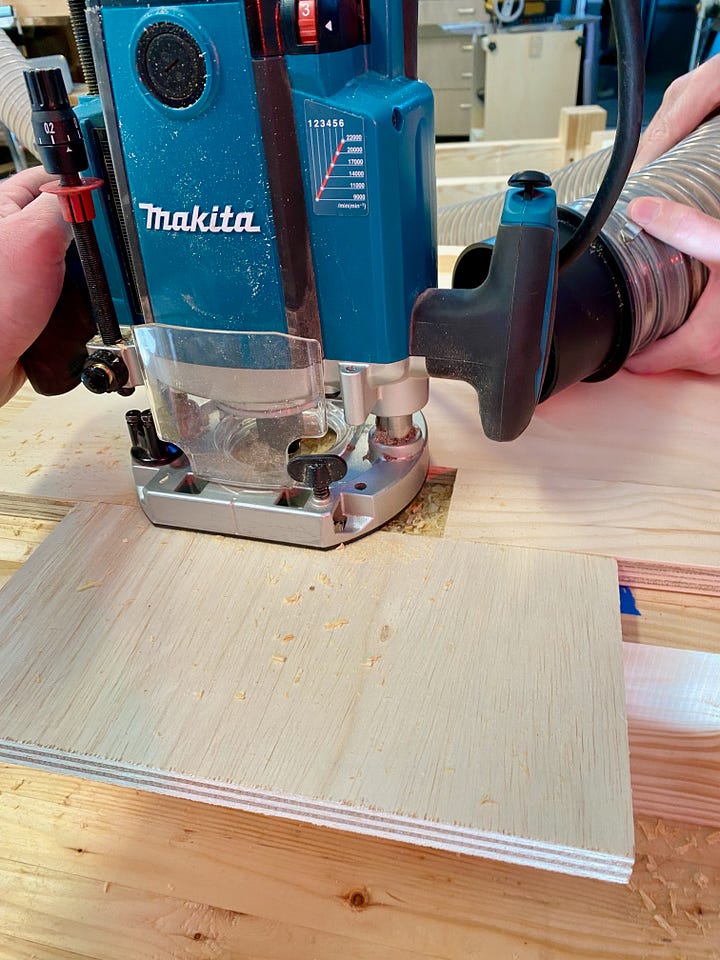
I then lifted the temporarily assembled base and inverted it onto the underside of the slab. I used tape to mark where the leg tenons should slide into the base, making sure to keep the front legs coplanar with the leading edge of the bench. I then built a router jig to match the dimensions of the leg tenons.
Aware that my next move would be irreversible, took special care to triple-check measurements. It was time to make deep cuts into the underside of the top and it was imperative that I get this right. If I screwed it up, it’d probably mean building a whole new top.
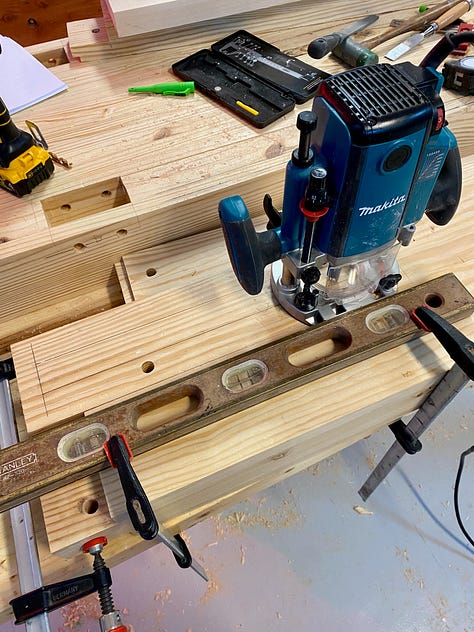
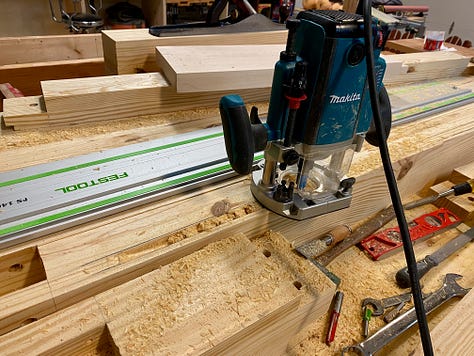
I clamped the jig in place, knelt down to get a clear view of the cut I was about to make, and carefully plunged the router into the wood. My heart raced while the chips and sawdust flew. The pungent pine dust filled my nostrils. When I finished, I vacuumed out the debris and make my assessment: I think okay? In truth, I wouldn’t really know until I cut all four mortises.
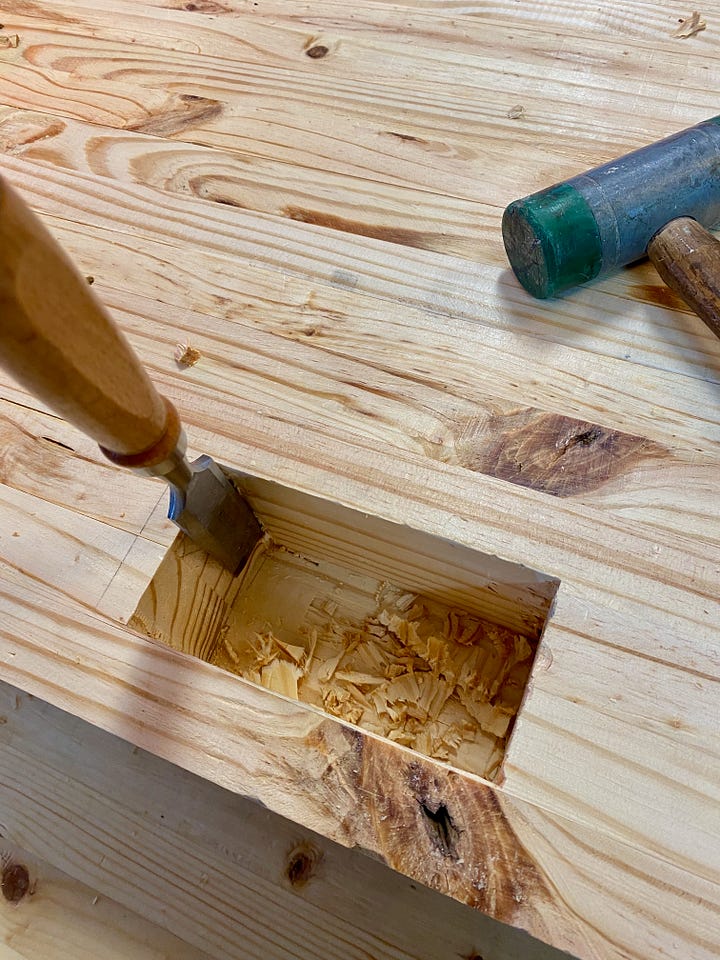
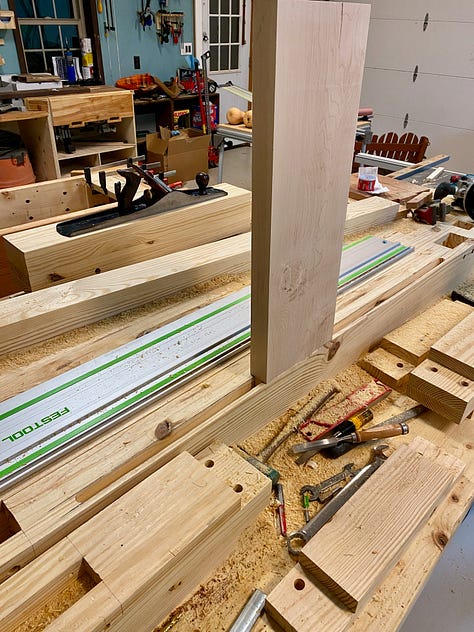
Once I finished making all four cuts, I still had to use a chisel to square the insides of the mortises by hand, since the router leaves rounded inside corners. Once I did just that, It was time to see how the base fit. I slid it over and everything lined up perfectly. I gave the base a few taps and it dropped into position.
Having confirmed the fit, I now needed to take everything apart. Why? For two reasons; first, I needed to drill drawbore holes in the leg tenons, and second, I needed to make further cuts in one of the legs in order to install a vise.
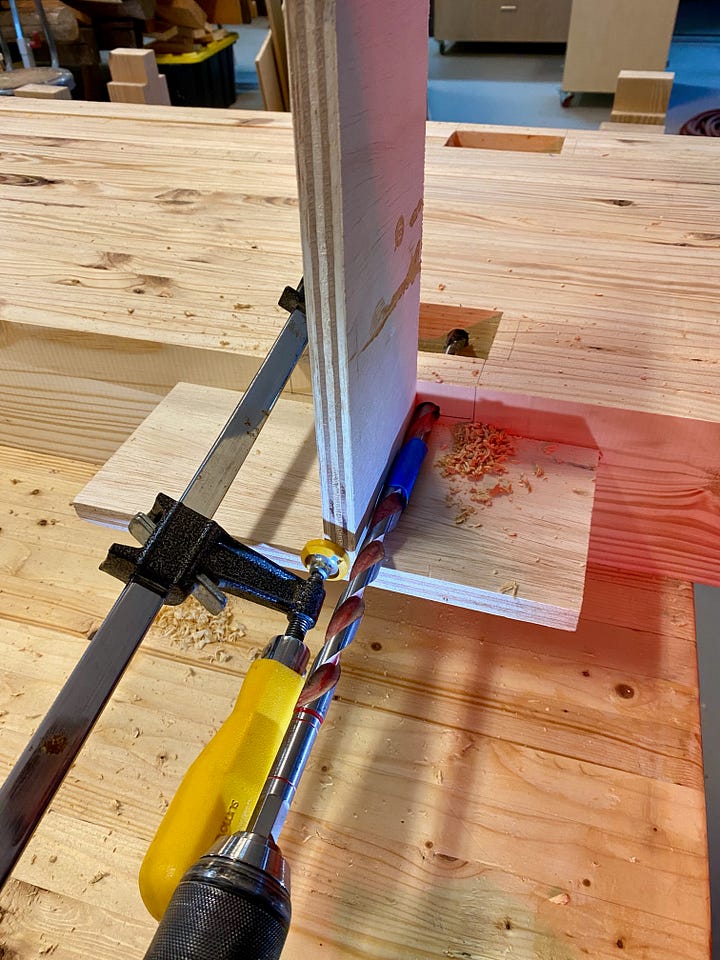
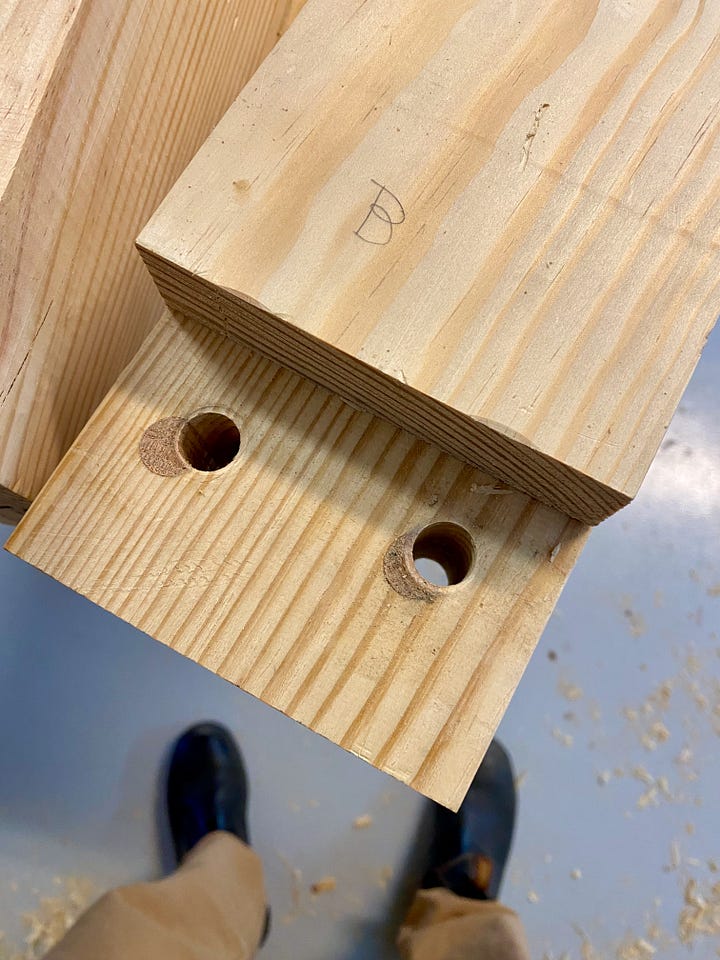
To pull the heavy base out of the top, I used a jack to lift up one end while I pushed up the other with my hands. Once the base was out, I drilled the drawbore holes into the sides of the top. After marking the leg tenons, I then drilled drawbore holes one-eighth of an inch toward the tenons’ shoulders. Then I checked to make sure everything lined up.
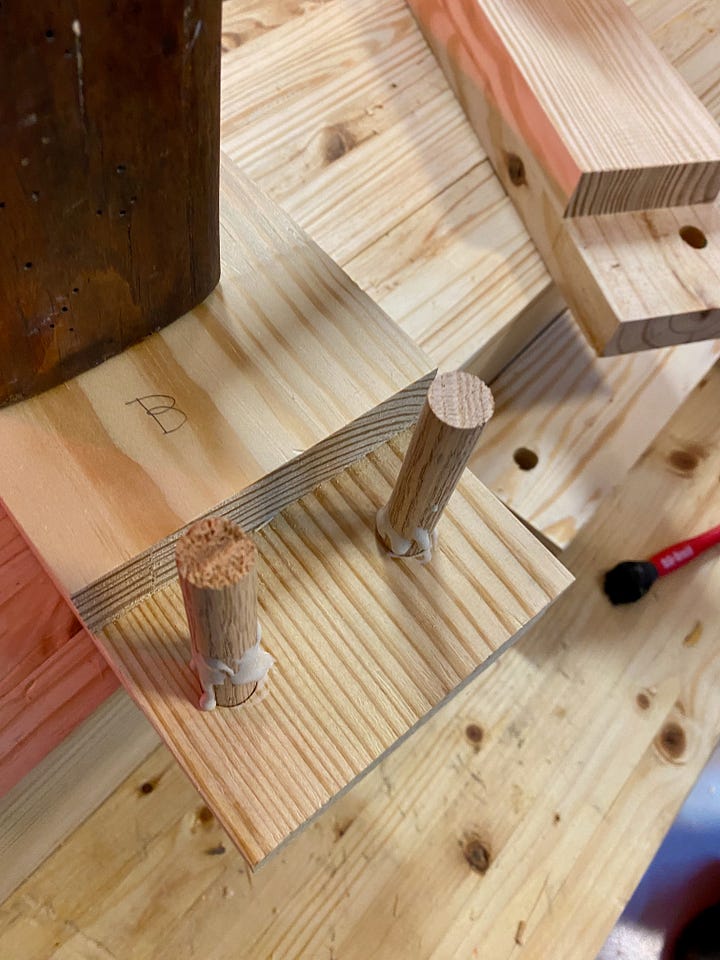
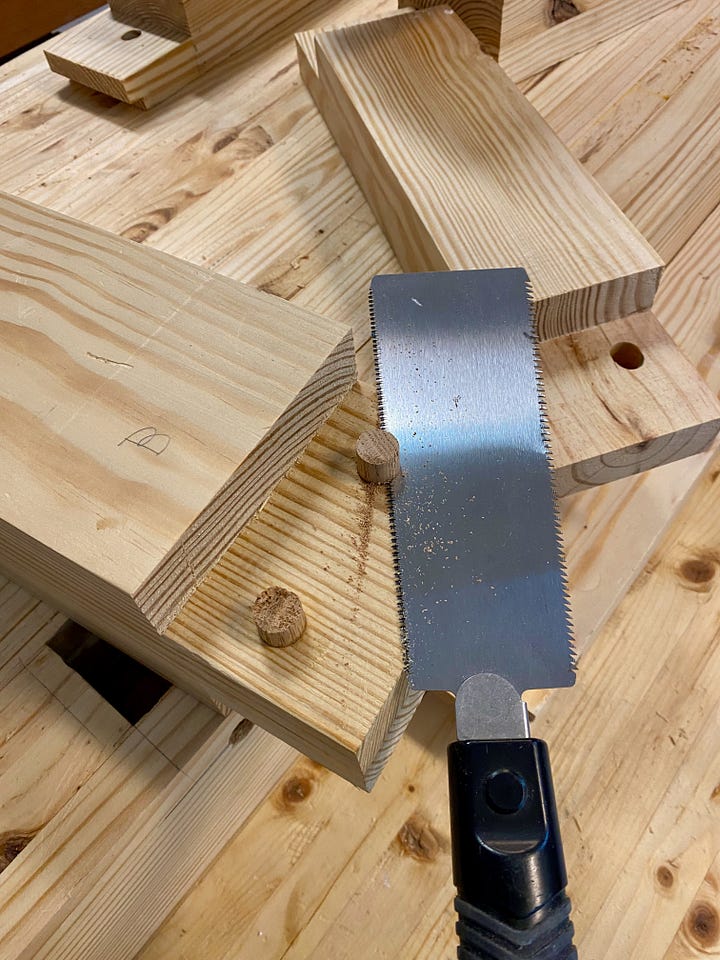
Alas, on one tenon I screwed up and drilled the holes in the wrong spot. To fix the problem, I glued oak dowels into the mis-drilled holes. Once the glue dried, I sawed and planed the dowels flat and then correctly drilled new holes.
With that set, I turned to making the cuts necessary to install my leg vise. Following the recommendation of Vicar of Vices, I bought a Benchcrafted Glide vise with a criss-cross brace mechanism. I also bought a couple of blacksmithed plane stops, and the swing-away seat.
While I waited for the hardware to arrive, I downloaded Benchrafted’s instructions and started making the necessary cuts — a long mortise for the criss-cross mechanism and a series of holes for the screw and support pins — in the designated leg. I also needed to do the same in what’s called “the chop,” which is the piece that the vise moves opposite the leg.
Rather than making the chop out of more yellow pine, I decided to make it out of hard maple. Why? Honestly, it’s because that’s what Mahatma Maple says he does.
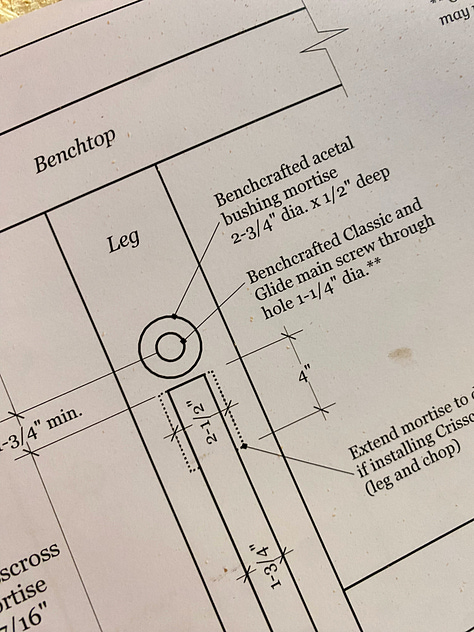
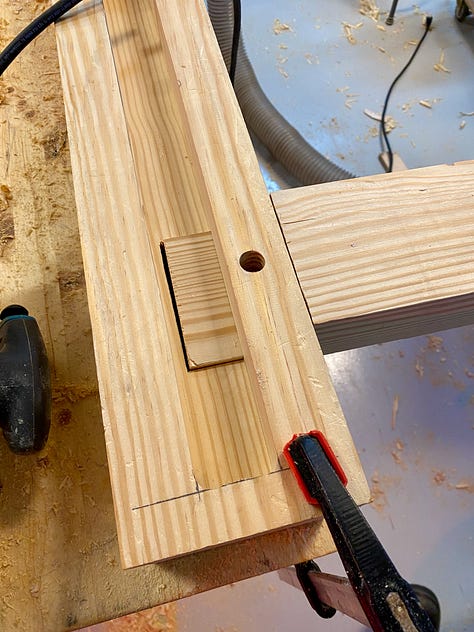
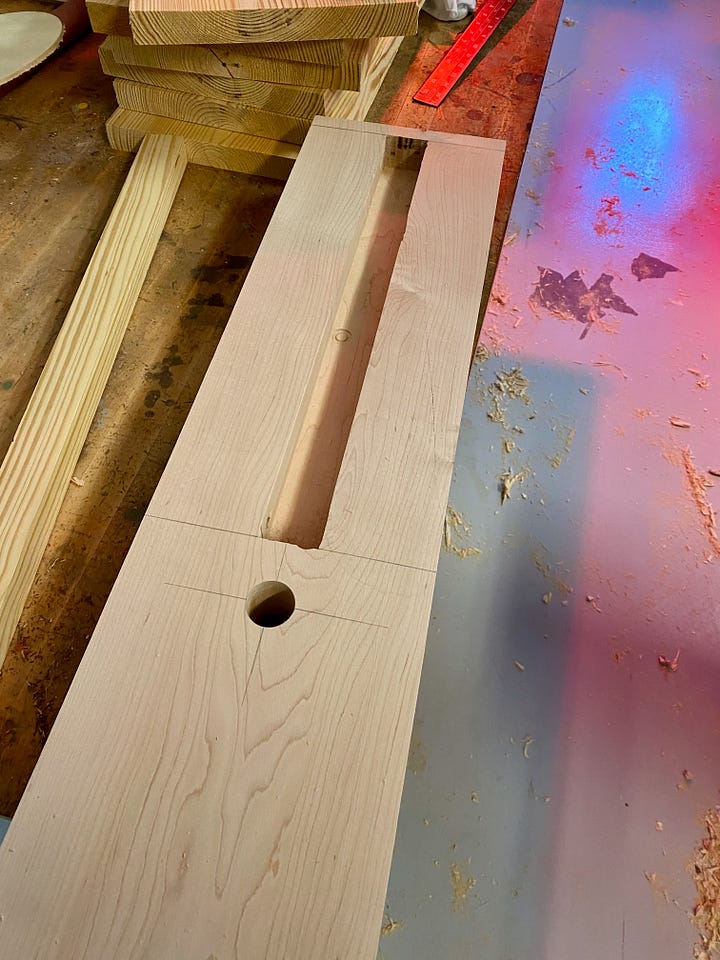
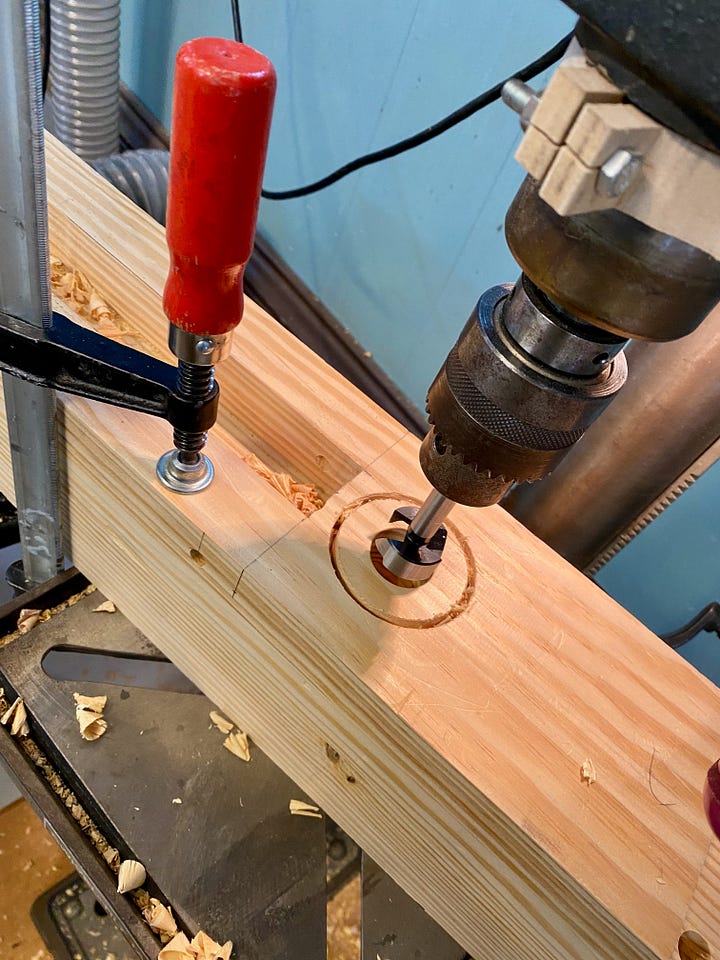
The chop is made from two pieces of maple face-glued together. I also cut a second piece of hard maple to serve as what’s called a “sliding deadman,” which is essentially a board with holdfast holes that can slide along the front edge of the bench. Pope Pine says the bench doesn’t need a sliding deadman, but I liked the idea of it, so I decided to do it anyway.
The deadman itself will sit on a rail and has a tenon at the top that fits into a long mortise under the bench top that runs parallel to the front edge. I cut the tenon into the deadman and then used that size to set the size of my mortise, which I made with a router and a straightedge guide.
I also needed to make the wooden seat for the swing-away seat hardware I ordered. Since it needed to be at least 11 inches in diameter, I found a reclaimed board, rough cut it to size, jointed the edges and glued it up into a large square blank.
Once it dried, I put my router on the end of a six-inch long piece of plywood, with the other end screwed into the center of the blank. This allowed me to swing the router around the central pivot point and make a perfect circle.
Lastly, I prepped eight more oak drawboard pegs that would hold the leg tenons in the bench top by cutting them to rough length, sharpening one end to a point, and waxing the pegs for easier insertion.
Everything was now ready for assembly, but without the vice hardware in hand, I decided it’d be best to wait to glue anything together, just in case something didn’t fit quite right and I’d need to make an adjustment.
But as soon as the hardware shows up, it’ll be assembly time.

