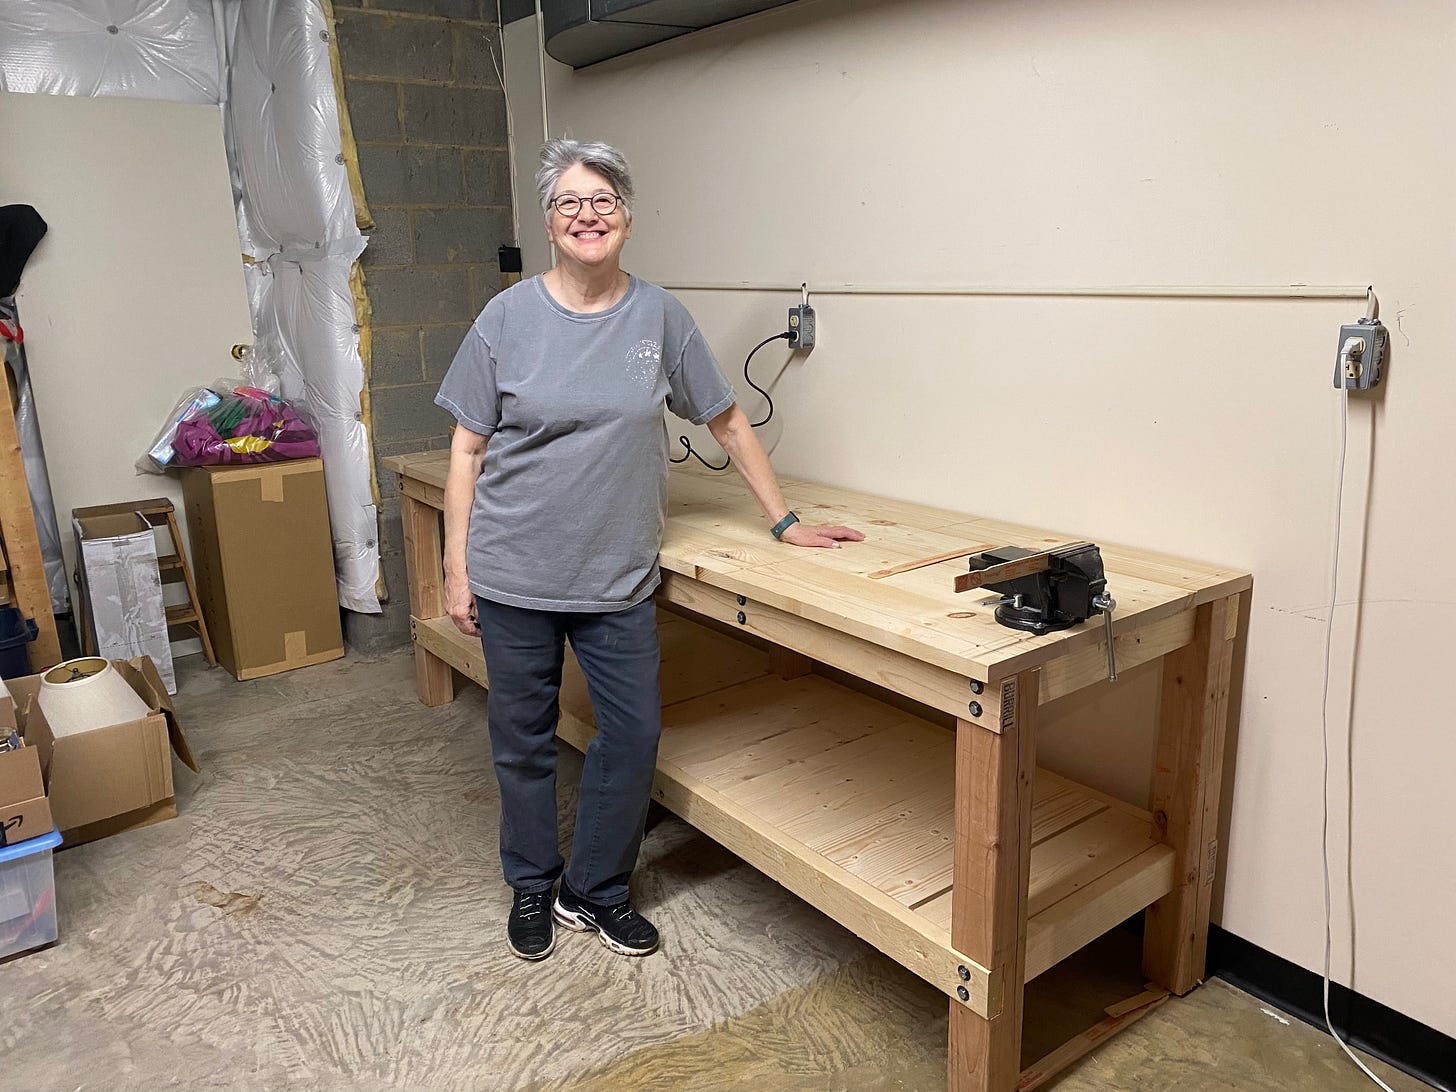
Workbench for My Sister
Making things is fun, but even more fun is making things with and for other people. Last year, my sister moved into a new house and in her basement, there was a perfect place for a big workbench. Too bad she didn't have one — until recently.
To address this gross injustice — a prefect workbench location and no workbench — my sister came over on a recent sunny Sunday. We looked at a variety of styles and plans to find one that would work for her needs and space. This rollable workbench with an MDF top seemed good, as did this heavy-duty plank workbench. It's not so much that we needed specific plans as I just wanted to give her ideas and options. In the end, we decided to make a version of the long heavy-duty plank bench. So we met at the local Home Depot and pulled out our shopping list:
Two 8-foot 4x4s
Six 8-foot 2x4s
Four 8-foot 1x6s
Four 8-foot 1x8s
Twenty four 5" lag screws
Eight 3" lag screws
A box of 2-¾" washer-head woodscrews
A box of 1-¾" woodscrews
Once we had our materials, we headed back to the shop and unloaded. The first job was to cut the 4x4 posts, which were to be the bench's legs, to length. I set my sister up at the miter saw, set a stop and she got cutting.
With the legs cut to length, the next step was to cut notches in them for the cross beams. Each leg required two notches, one at the top and another partway down the leg where a shelf would go. Because we'd be insetting 2x4s (which actually measure 1-½" by 3-½") in the notches, we needed them to be 1-½" deep and 3-½" wide. There are various ways to cut such a notch, but the easiest is to raise a table saw blade so that it cuts into, but not through, the wood. Then, by making successive passes across the blade, you can slowly cut out a notch.
Now, standard saw blades are just one-eighth of an inch wide, so if you want to cut a 1"-wide notch, you'd have to make at least 8 passes over a ⅛" blade. That'd get old fast. And we needed 3-½"-wide notches!
In addition, most saw blades have angled teeth, so the back of such a notch wouldn't have a smooth bottom. It'd have all kinds of little ridges.
To address both of these issues, you swap out your standard blade for a dado stack. A dado stack is a pair of blades sandwiched around wood chippers. You can adjust the width of the stack from ¼" to almost a full inch. And the cuts are perfectly flat.
Addressing both of these issues is what a dado stack is for. A dado stack can be set to remove much more than just ⅛" of wood. You can cut a 1" groove in one pass with a dado blade. than that, allowing you to cut grooves of varying widths -- and to set those widths precisely.
So, I swapped out the blades and set stops to precisely cut the notches in the right places. Cutting the full notch depth in one go would be too much for the saw, so we made several passes, raising the blade each time. Because my dado stack is only 6", we actually were unable to cut the full 1-½" notch depth, but we got close enough. So what if the 2x4s protrude a touch? (That said, I won't turn down a new 8" dado stack should one be delivered to my house via the generosity of my loyal readers.)
Two notches in six legs meant a lot of cutting and a lot of dust. It was easily the most complex and time-consuming part of the project, but once complete, we were able to clamp on the 2x4s and begin to see the bench take shape.
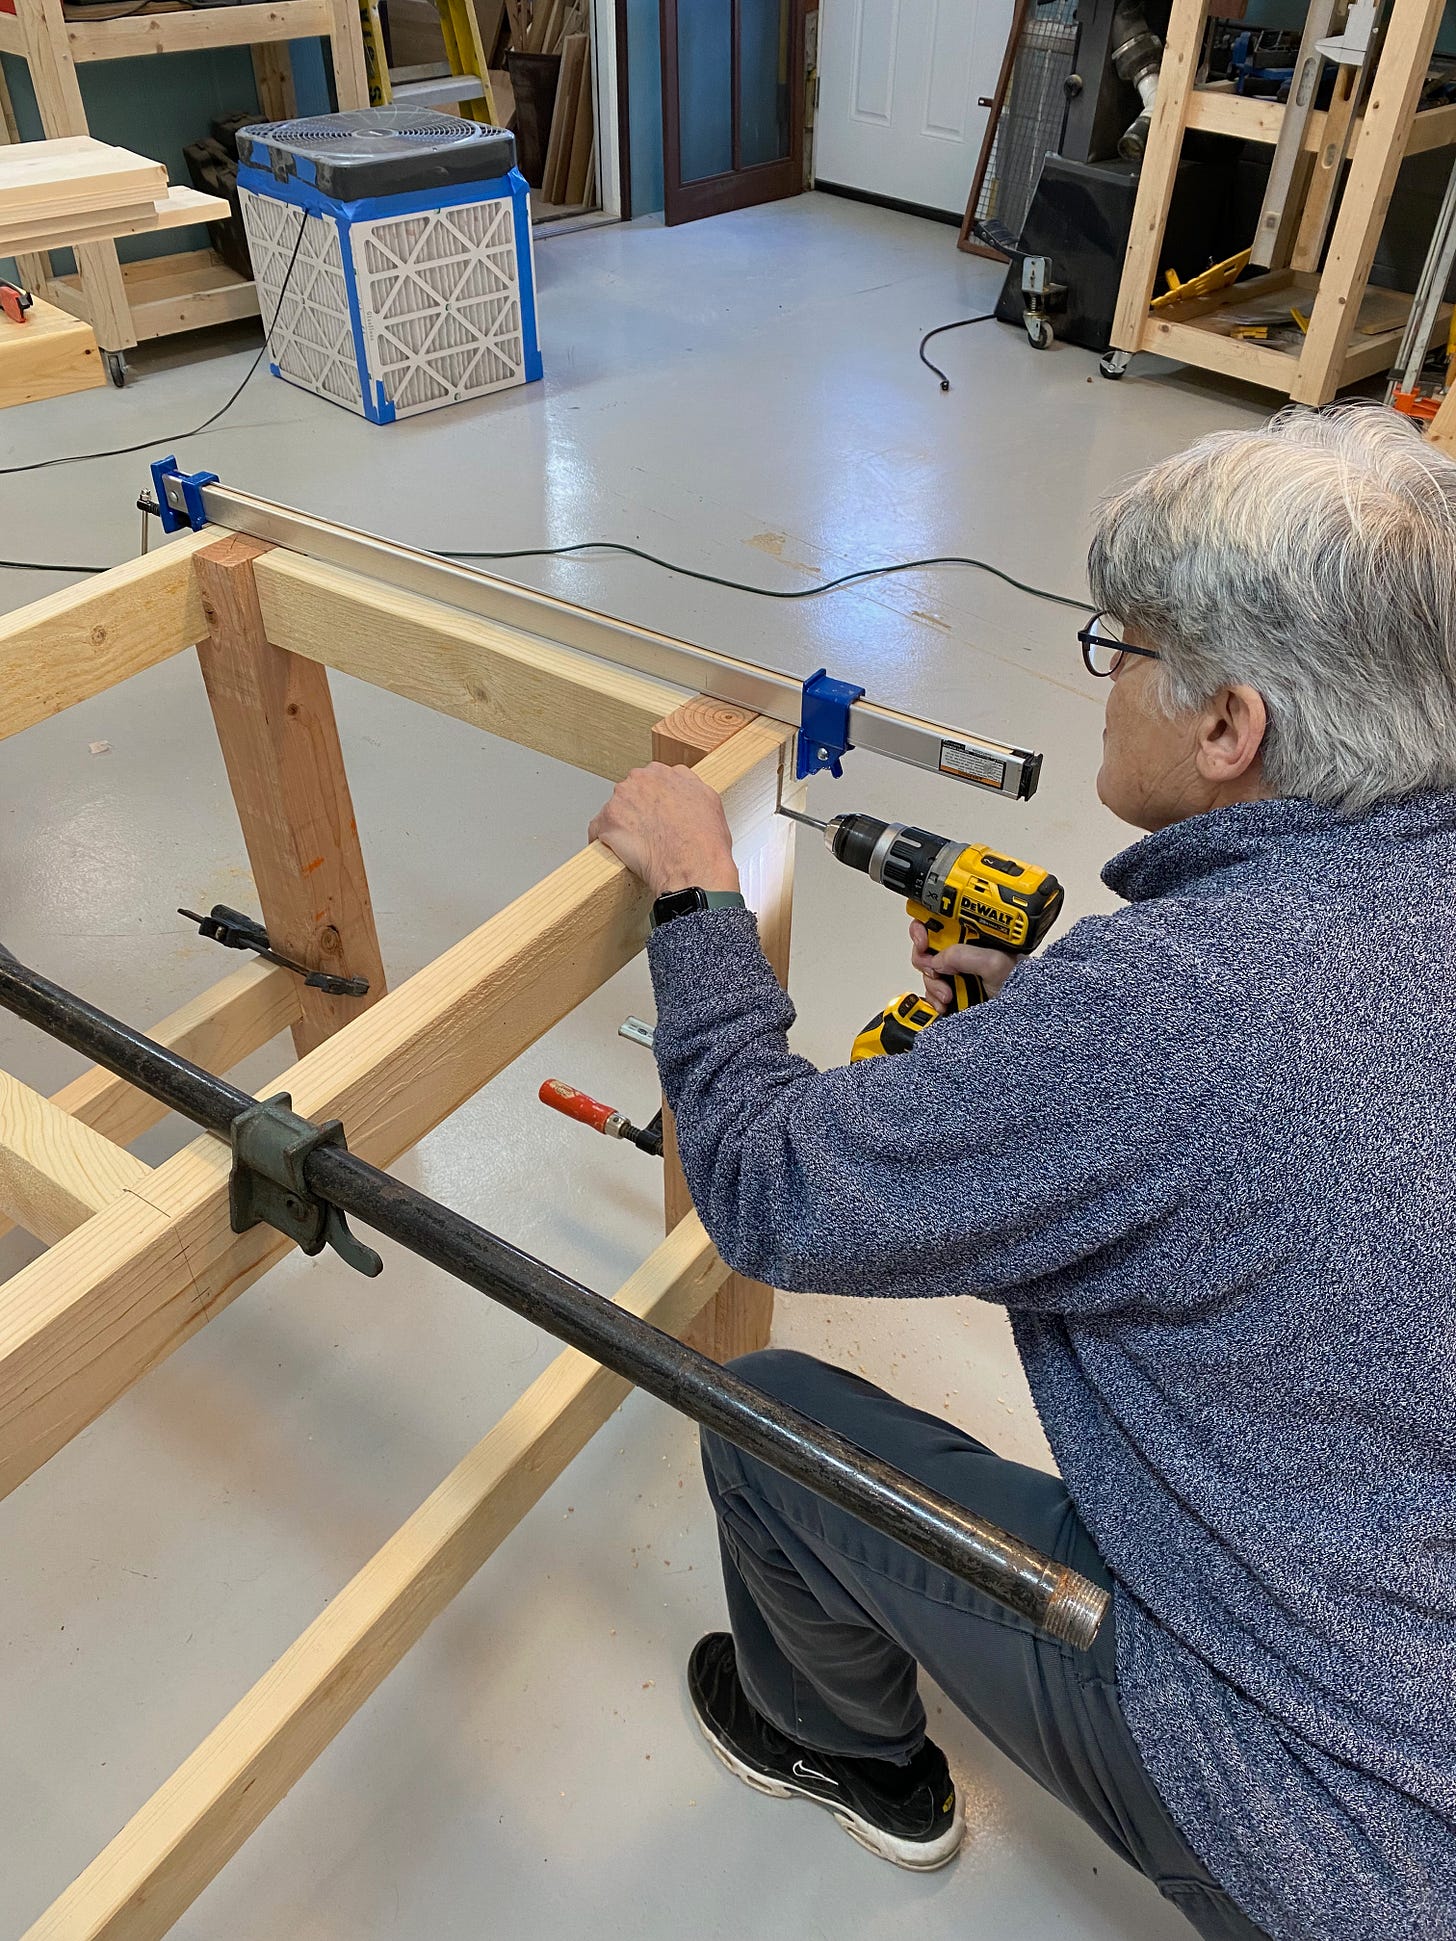
The next step took us back to the miter saw where we cut our cross pieces that would connect the two long sides of the bench. With these cut to length, we clamped everything together, drilled pilot holes, and then drove lag bolts through the legs into the cross pieces.
At this point, the frame of the bench was all set. The next step was to lay the 1x8 planks on the frame and screw them into the frame. Were this workbench to be used for major woodworking, we would have chosen a different construction method that would have made for a flatter top and a heavier base. But that would have been overkill for this bench's destiny. For our purposes, screwed-on planks would work perfectly well.
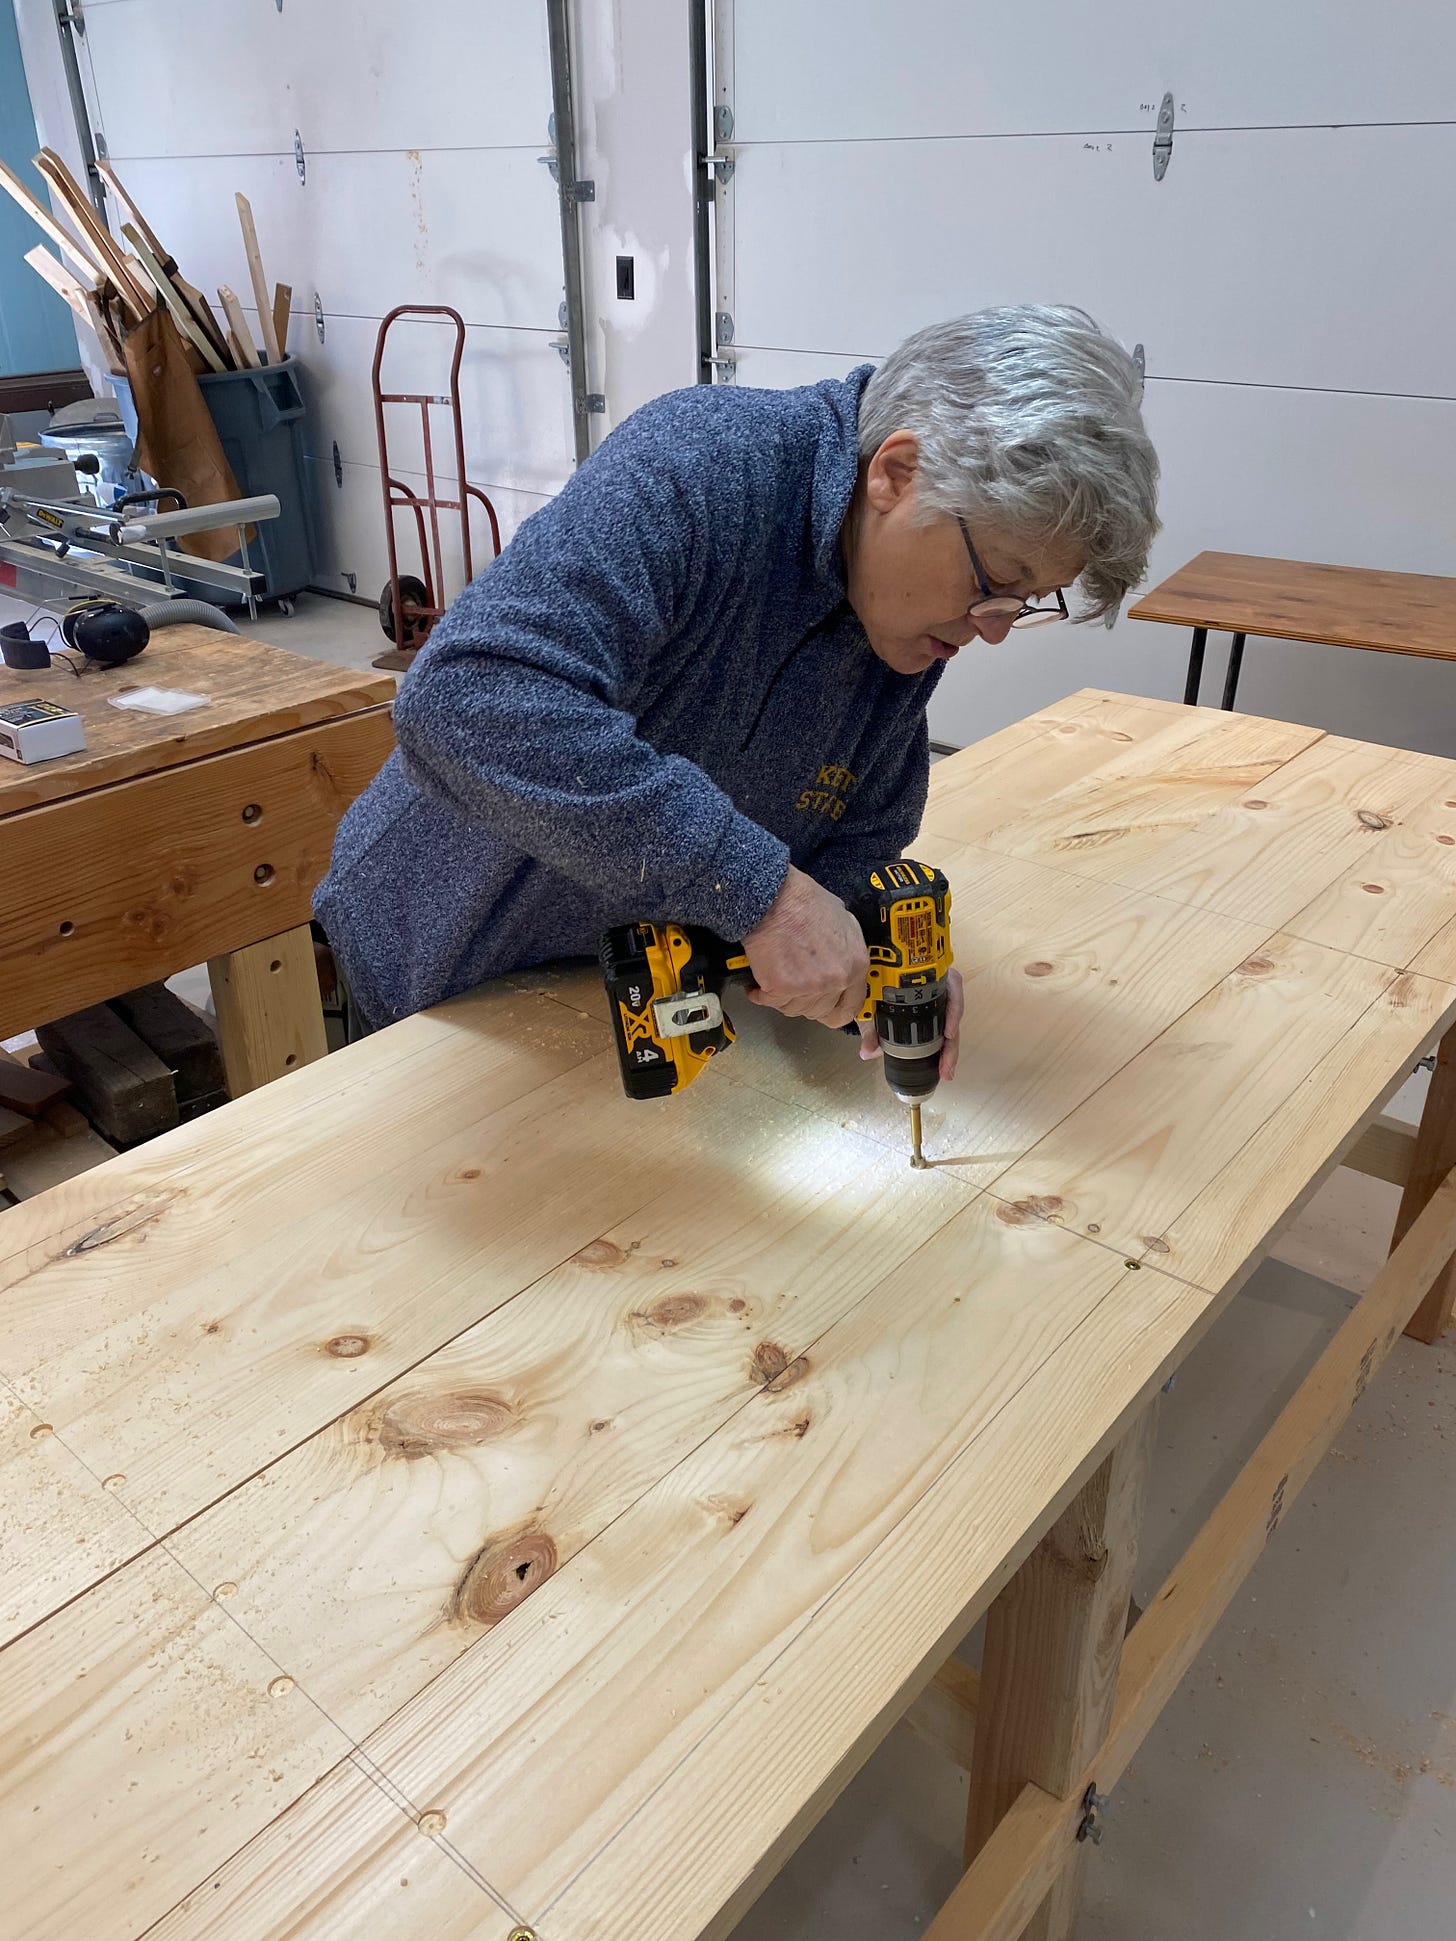
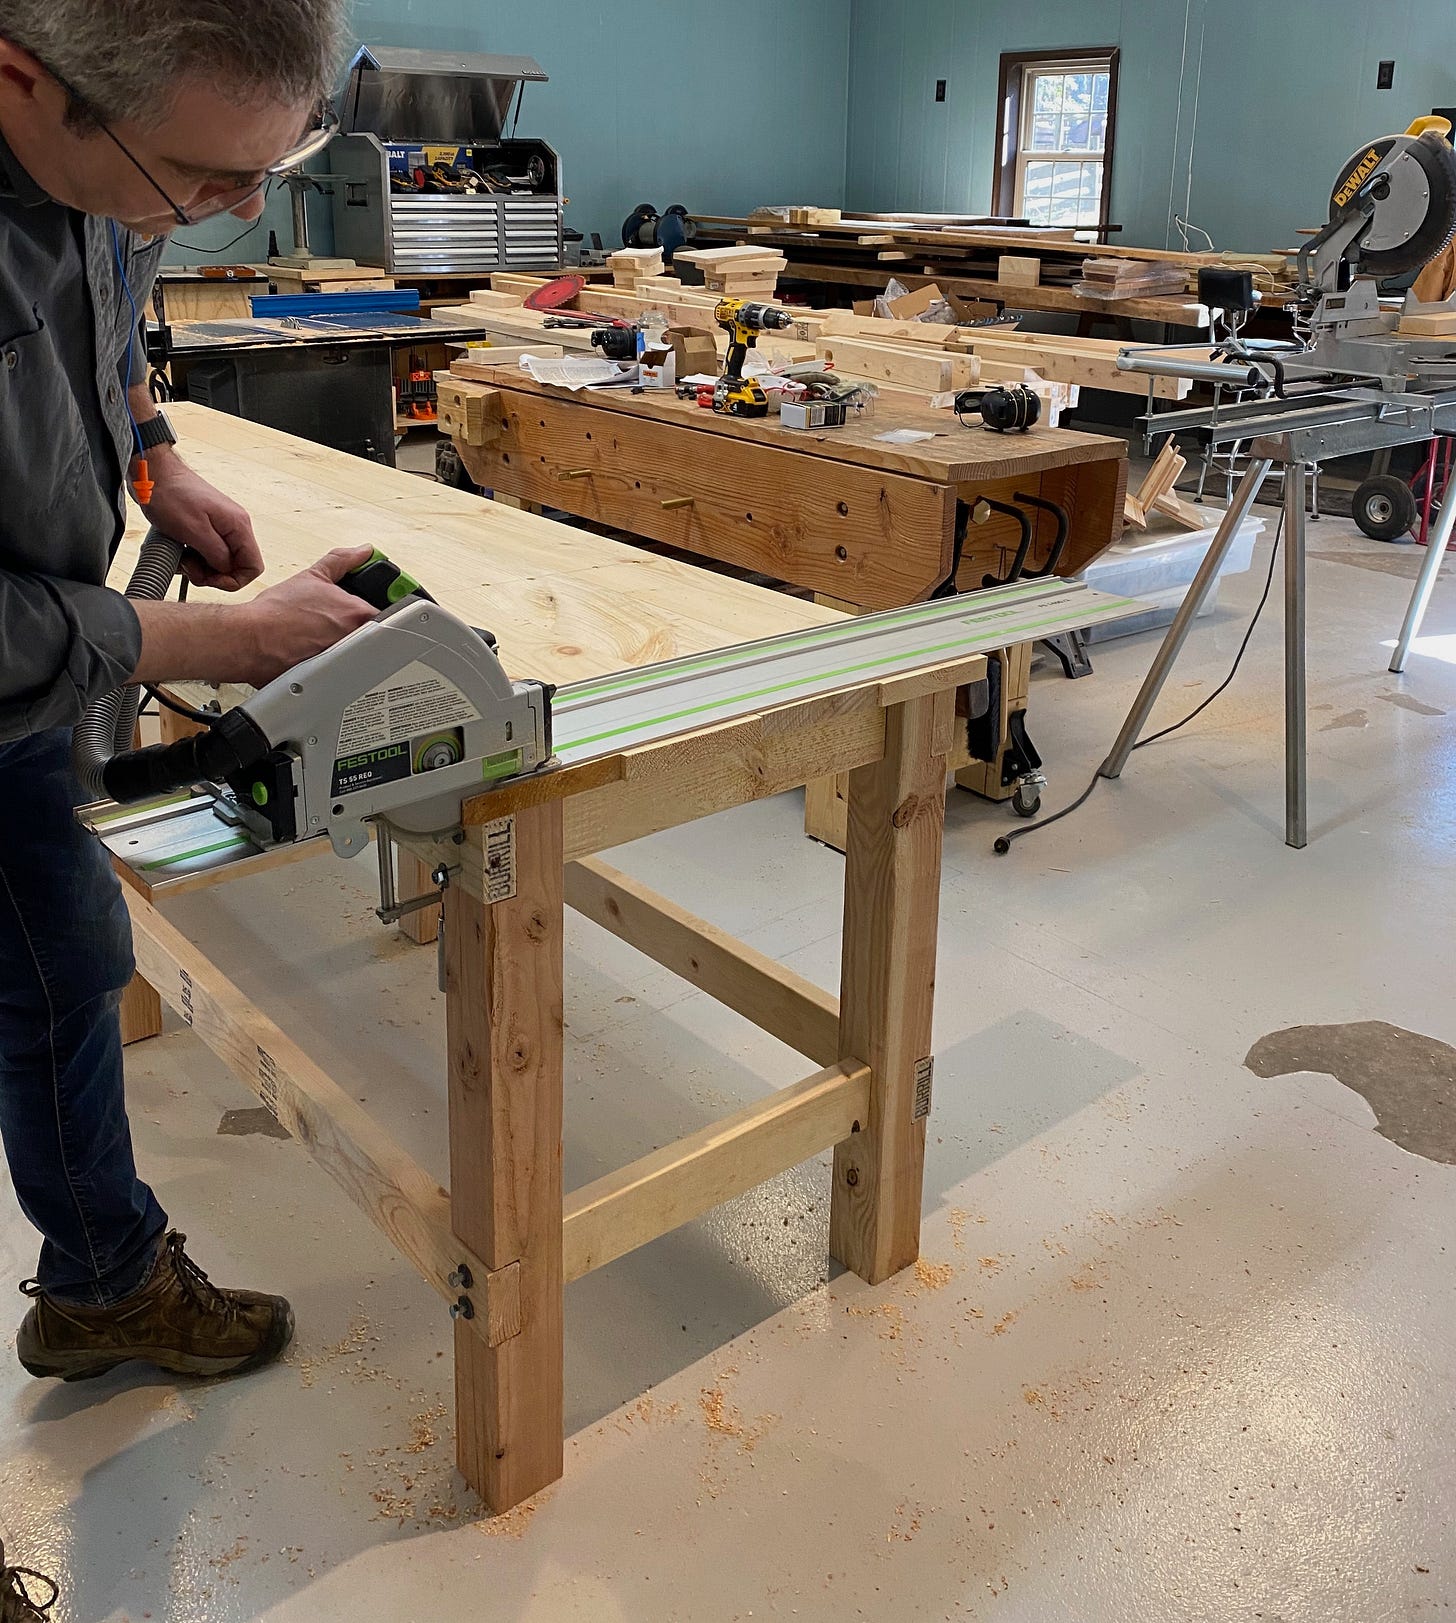
We clamped down the planks and used a forstner bit to drill small flat recesses where the screws would go. Then we drilled pilot holes through the middle of each recess before using the washer-head screws to firmly attach the plank to the frame. Then we used a track saw to square off the planks.
With the top planks in place, we nailed and glued cleats on the inside of the bottom 2x4s. These cleats would hold the bottom shelves. We then cut the 1x6s to length and laid them on the cleats. Around each leg, we had to cut notches in the 1x6s so they could be properly seated.
Finally, we were done. Except there was one big problem: this huge 8' bench was in my shop, not in my sister's basement! It was too heavy to lift into my truck, so we removed the bottom shelf slats and unscrewed the top planks. With that weight removed, we were able to lift it into my truck bed and after some maneuvering, closed the gate.
Once at my sister's house, we carried the bench in through the back door and set it in place. I reattached the top planks and laid the shelves in place and shimmed the legs to prevent any rocking. And as a final touch, I mounted a mechanic's vise on one corner.
Now the perfect place for a big workbench has a big workbench properly in place. The job isn't completely done, though. I let instructions with my sister to give the bench a thorough sanding (and left a sander for the job) and then to apply some kind of finish, like a polyurethane or even boil linseed oil.
Sanding and finishing aside, though, not bad for less than $250 and five hours in the shop.


