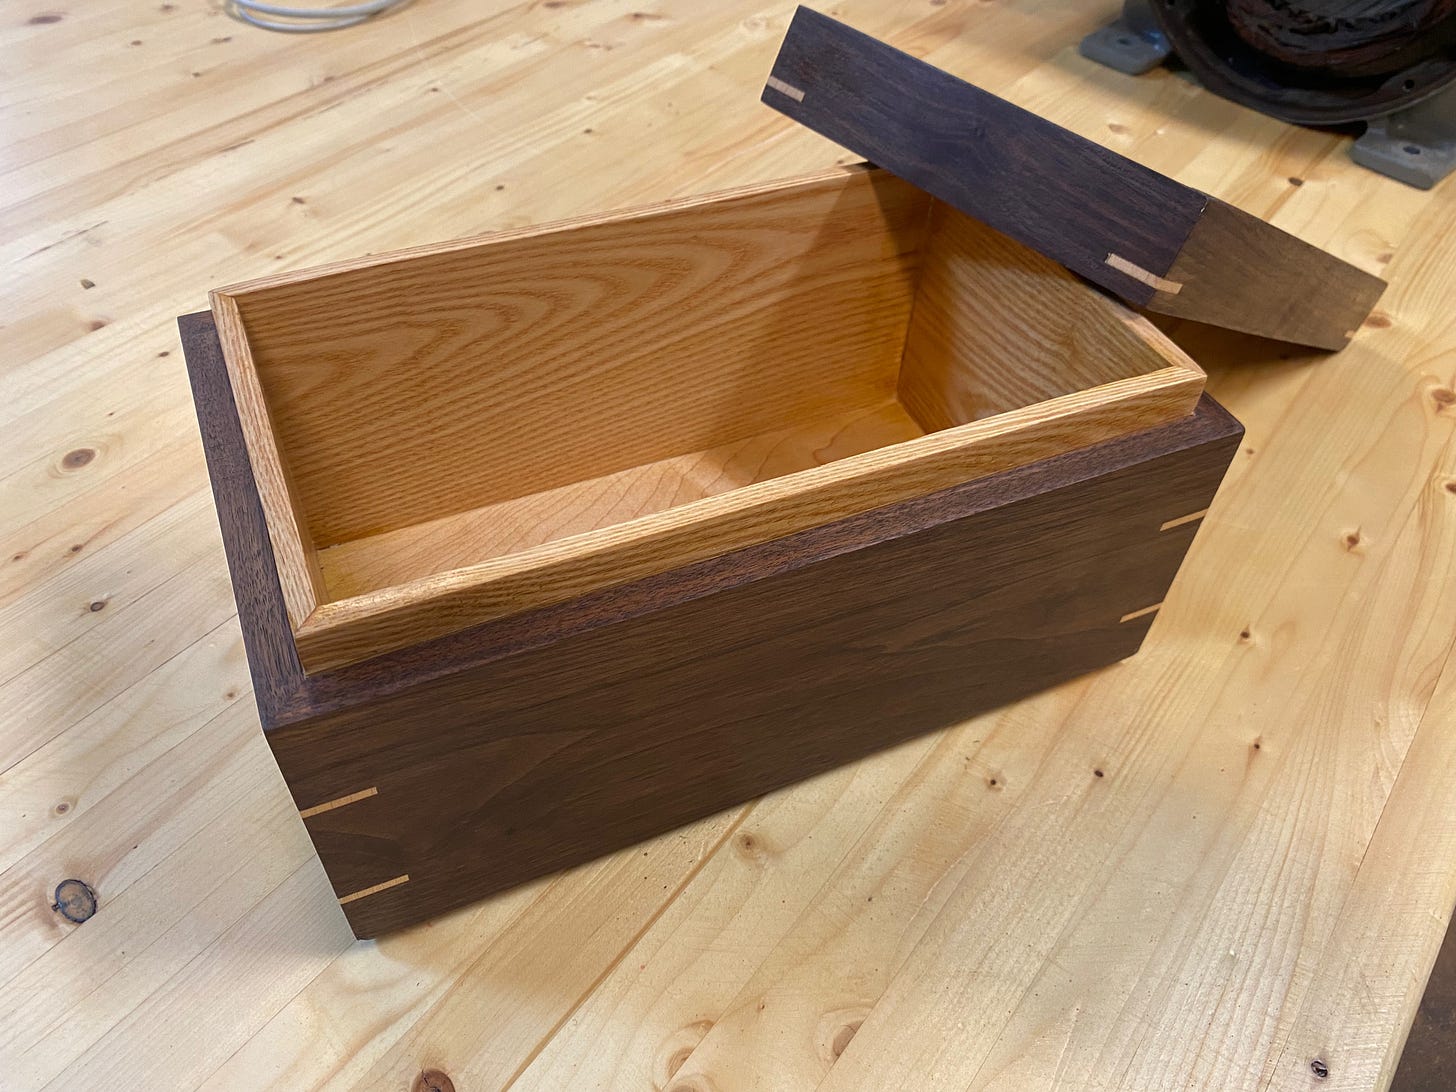
The Box Is the Present
When one of my nieces finished graduate school and celebrated her 27th birthday last year, I told her I was making her a present and it would be done "soon."
"Soon" is a relative term, of course, and by geologic standards, she barely had to wait at all; I ended up only a year behind schedule and finally gave it to her a few weeks ago. I thought I'd take a moment to write about its construction here.
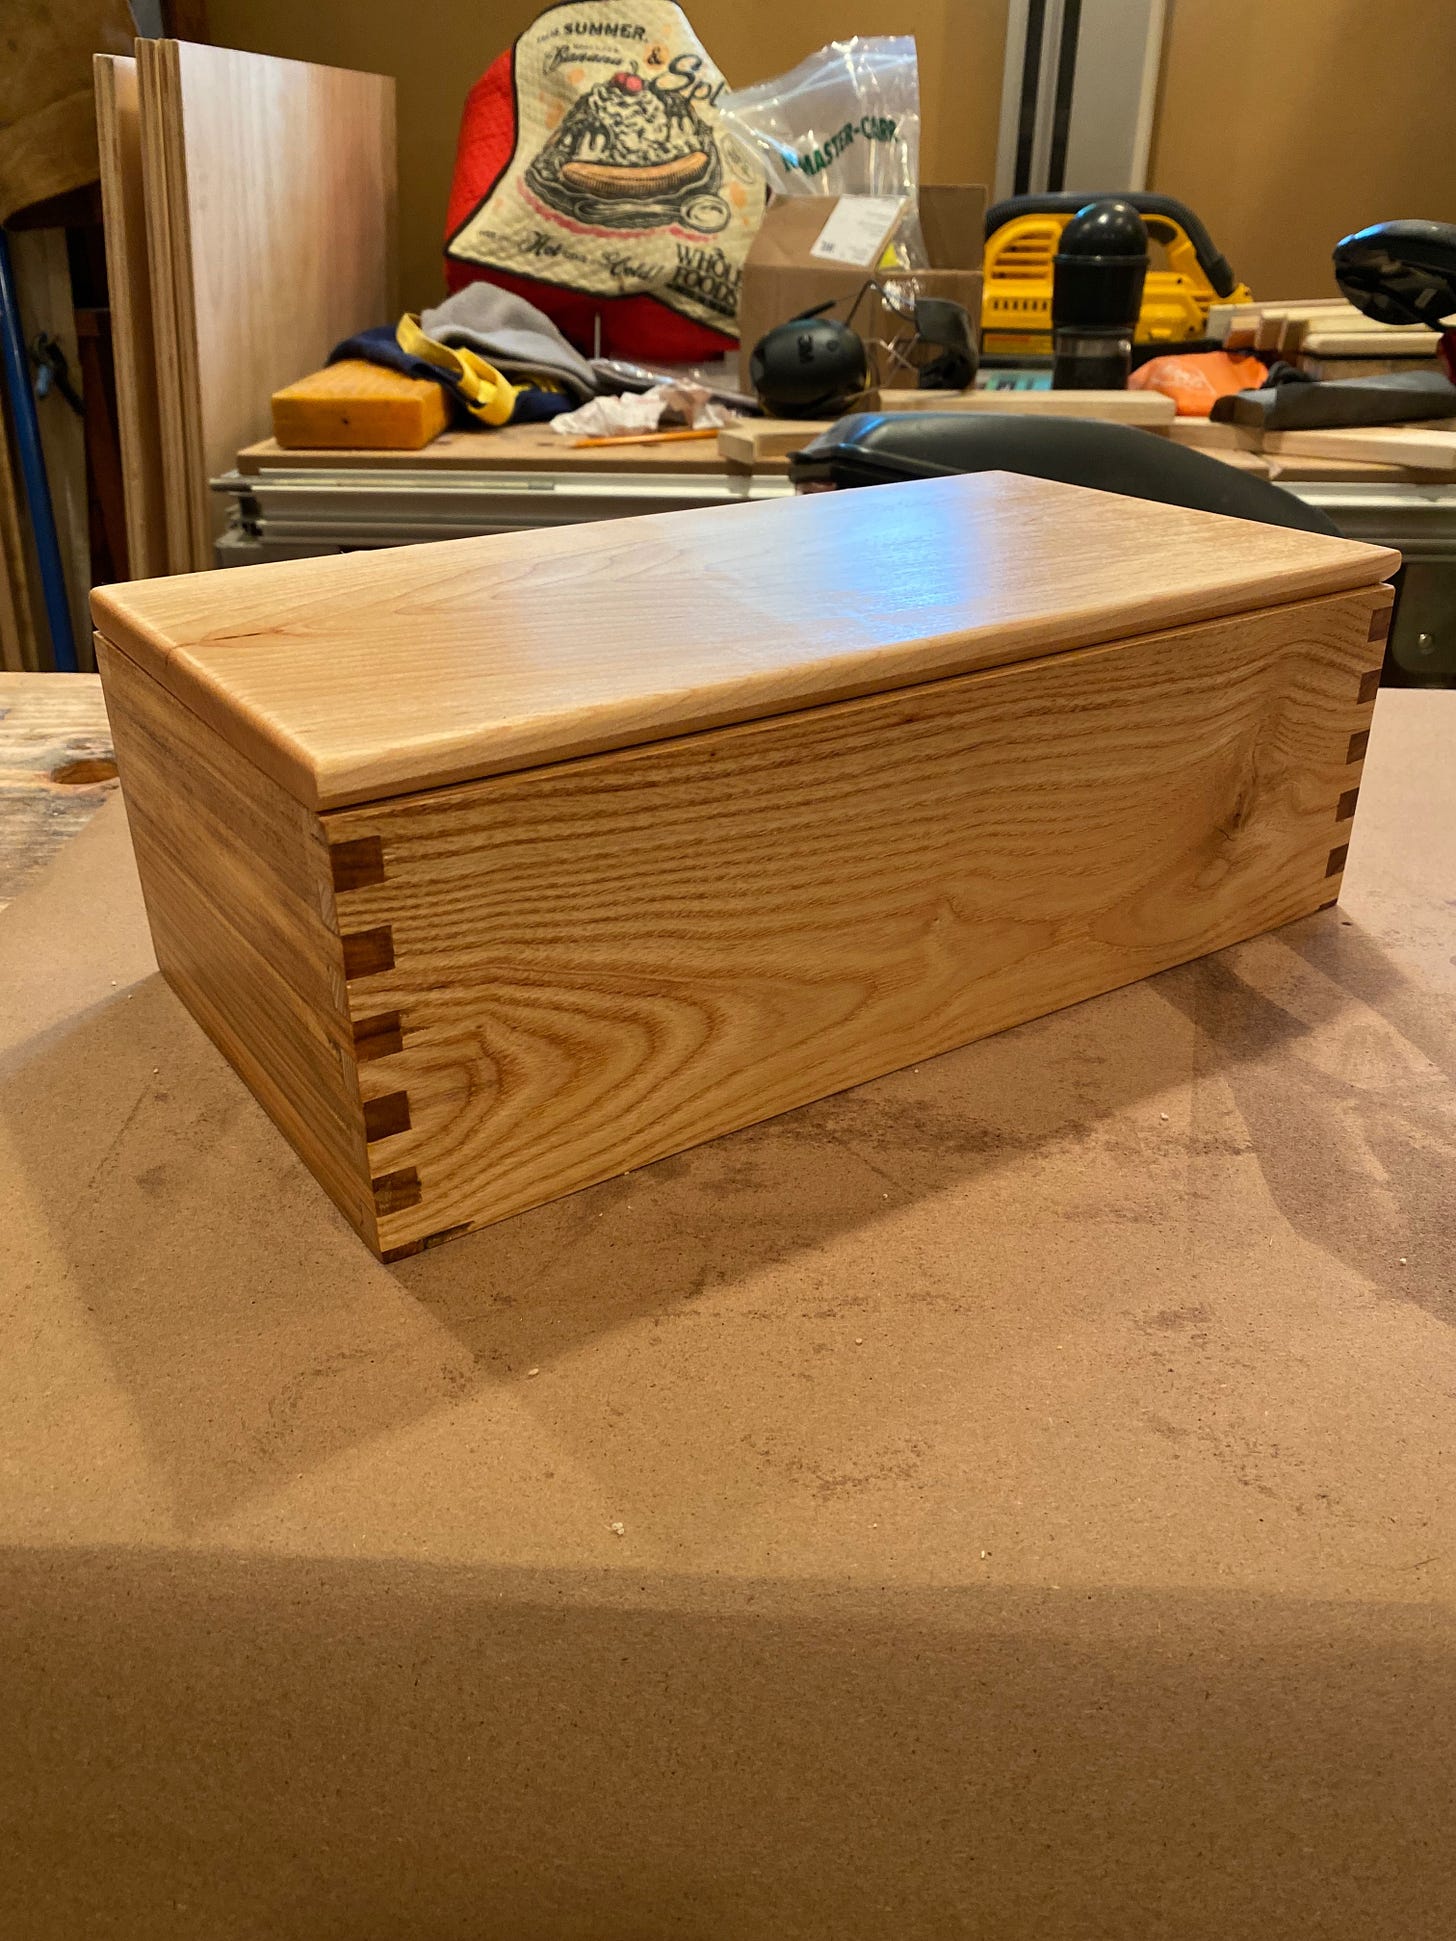
Boxes are fun projects because they have a lot of room for creativity, aren't terribly complex, still require care and attention, use a variety of shop tools and techniques, and can be finished in relatively short order. In recent years I made two for my daughter — one with purpleheart inlays and a jewelry tray and another simpler finger-jointed box she uses for larger keepsakes.
Each box had its own characteristics. The smaller jewelry box has wrap-around corners so that the wood grain connects around each corner in a (mostly) seamless way. Then I used dowels through the miters to help strengthen the joints. The inlays required special care and attention as well. Meanwhile. the larger box features finger or box joints for greater strength and a neat interwoven look. Both hinged tops with shiny brass hardware.
New Design
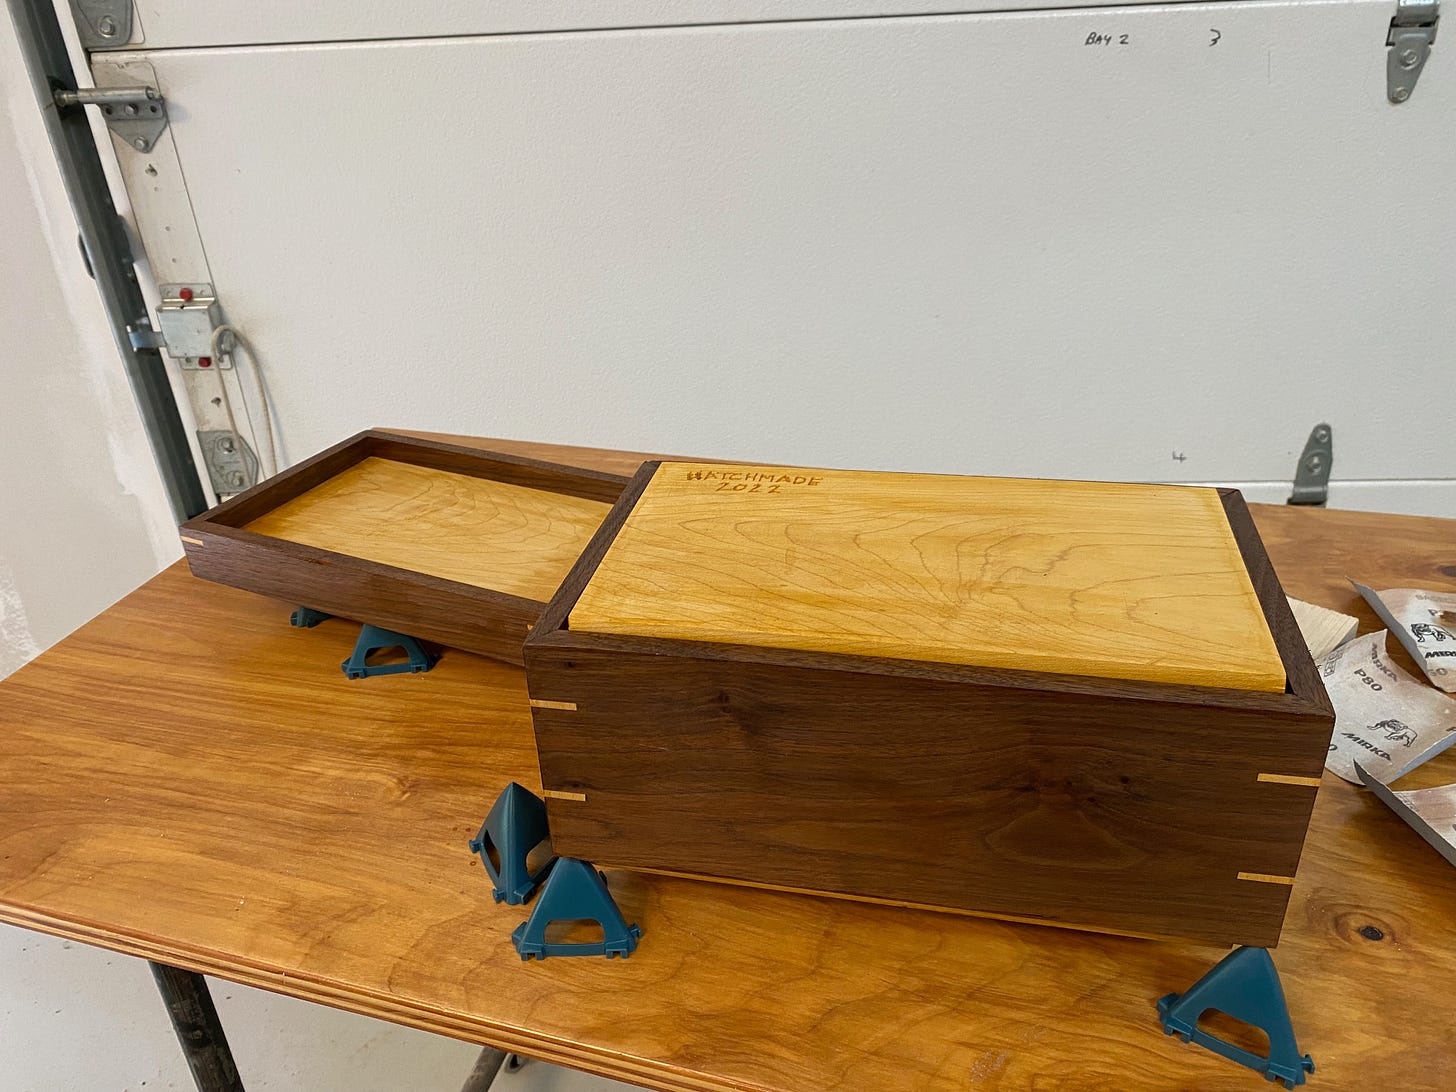
For my niece's present, I decided to try a couple of different tactics. One was to strengthen the miters through the use of splines that would run across them. I also decided against using hinges and instead wanted a friction top. And I decided to give the base a shadowbox effect so that the box would appear to hover on whatever surface it was sitting on.
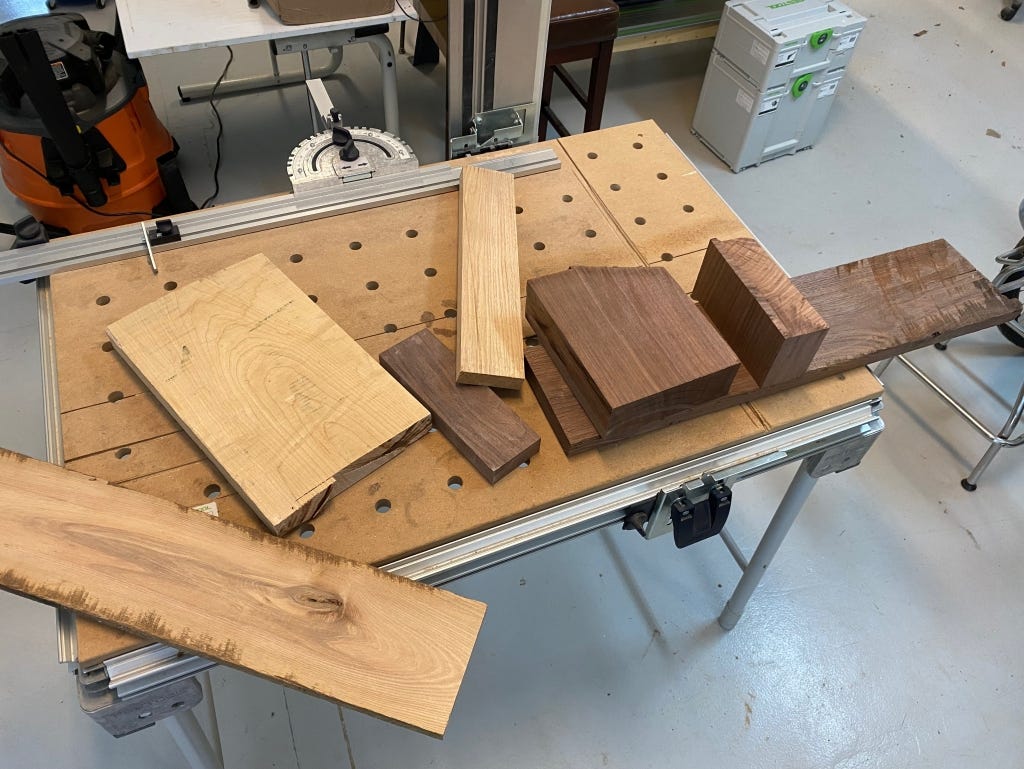
I started by surveying my wood supply. I am incredibly lucky to have inherited an amazing stock of hardwood. It's a little intimidating, actually, because I feel compelled to use the walnut for great works. I don't want to waste it or screw it up.
But after my mantle rebuild, I had some offcuts that seemed the perfect size to make a nice keepsake box. I also had some maple offcuts from an earlier project and figured that would be a beautiful complimentary wood.
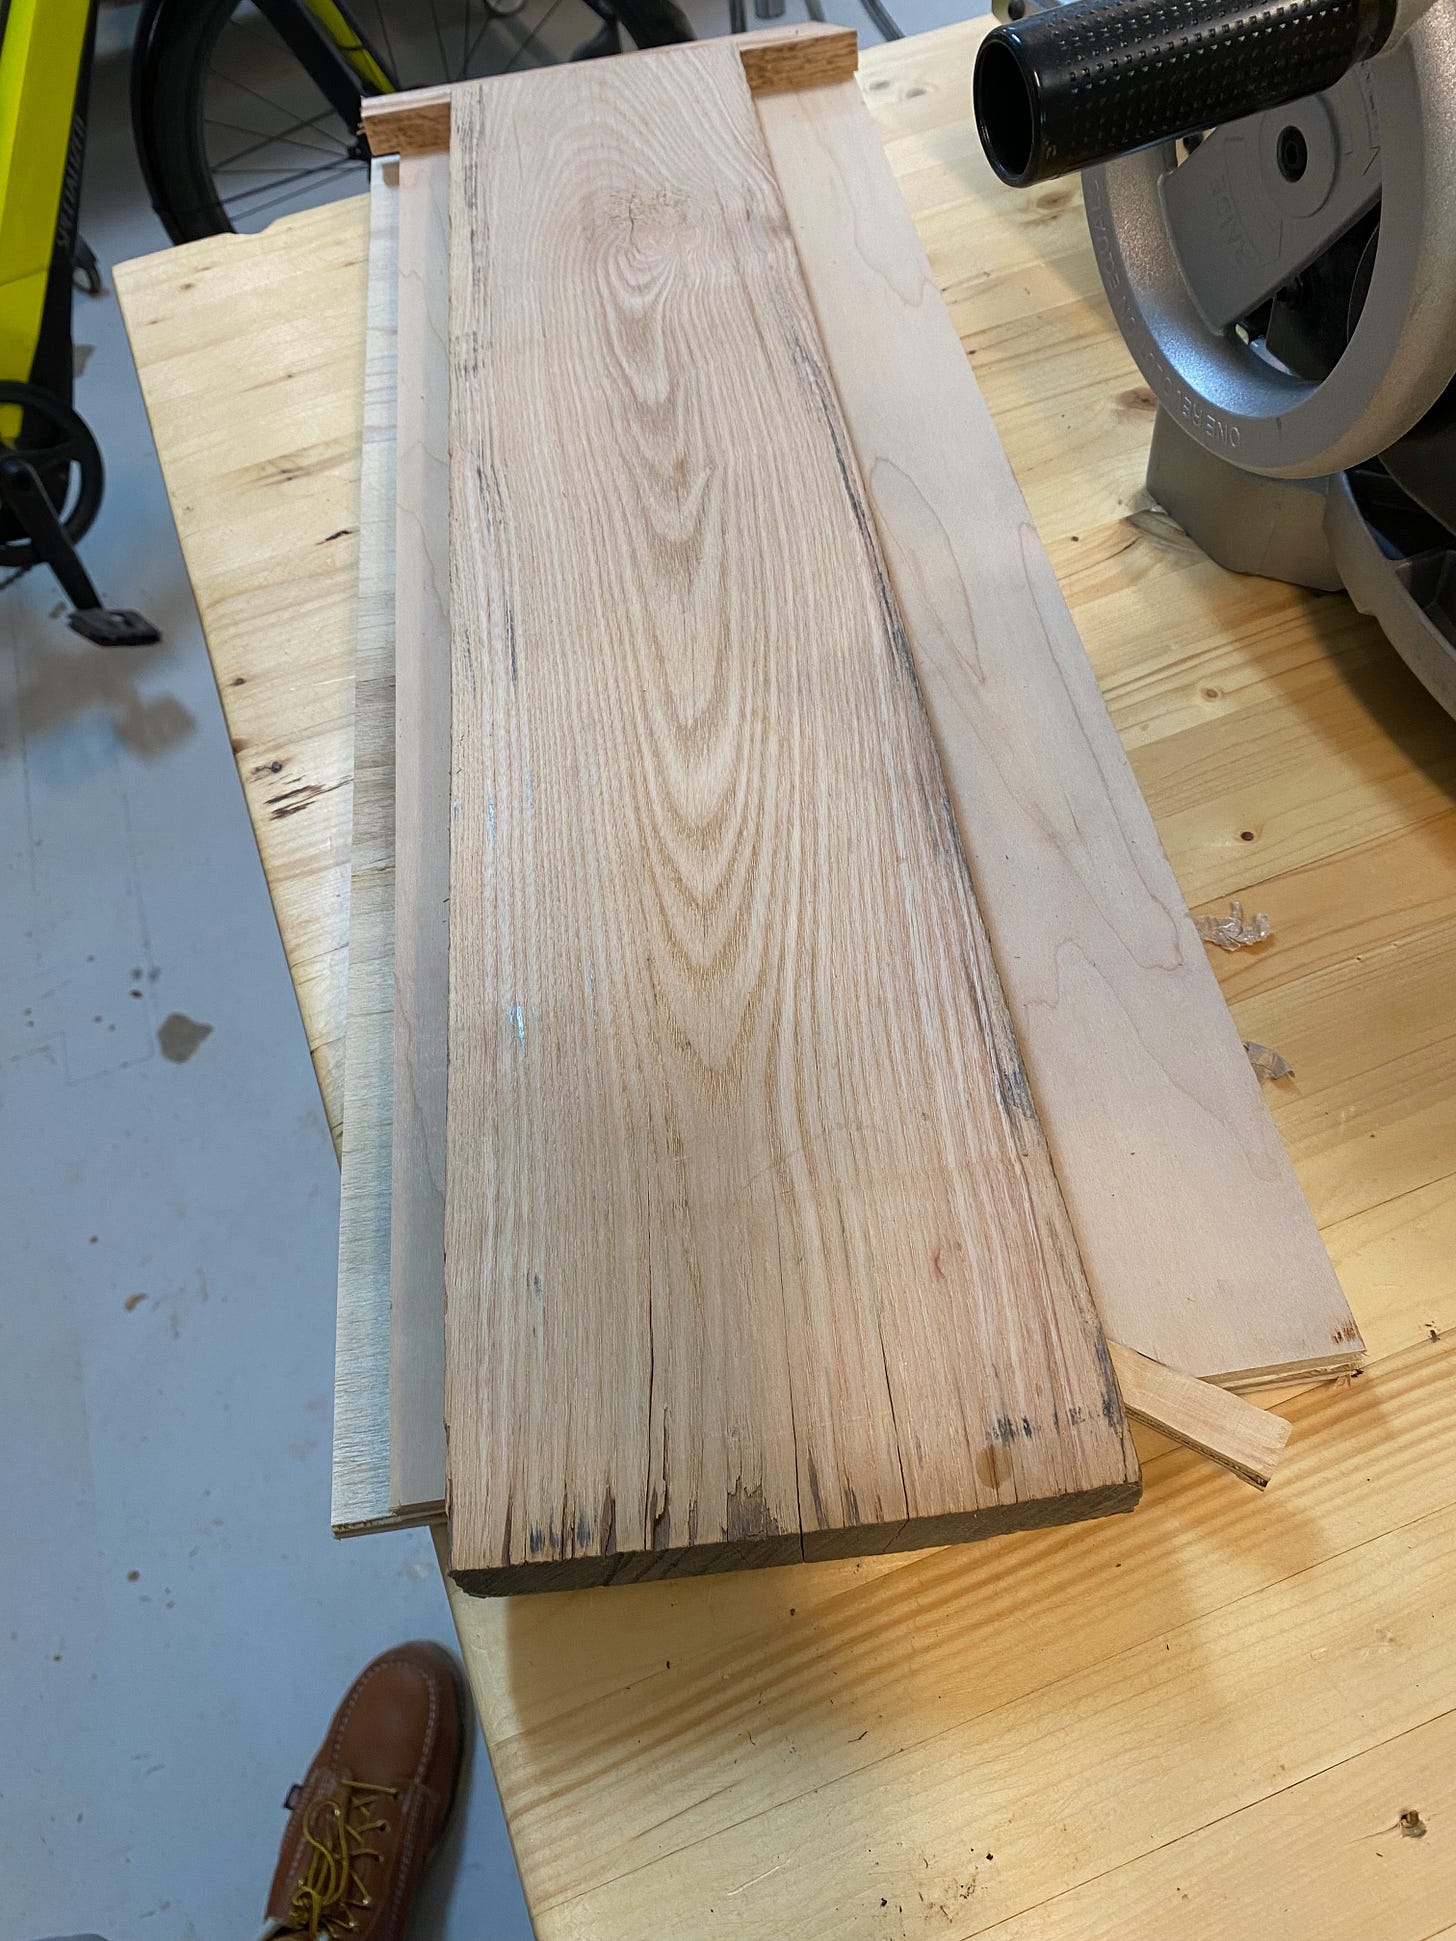
Getting the cuts ready for use required some work, however. Some were cupped, warped, twisted or bowed. To fix that, I built a sled out of plywood and glued the hardwood plank to it. This would allow me to run the plank through the planer using the plywood base as a flat reference surface. Once the top of the plank was flat, I could remove it from the sled and flip it over to complete the planing process.
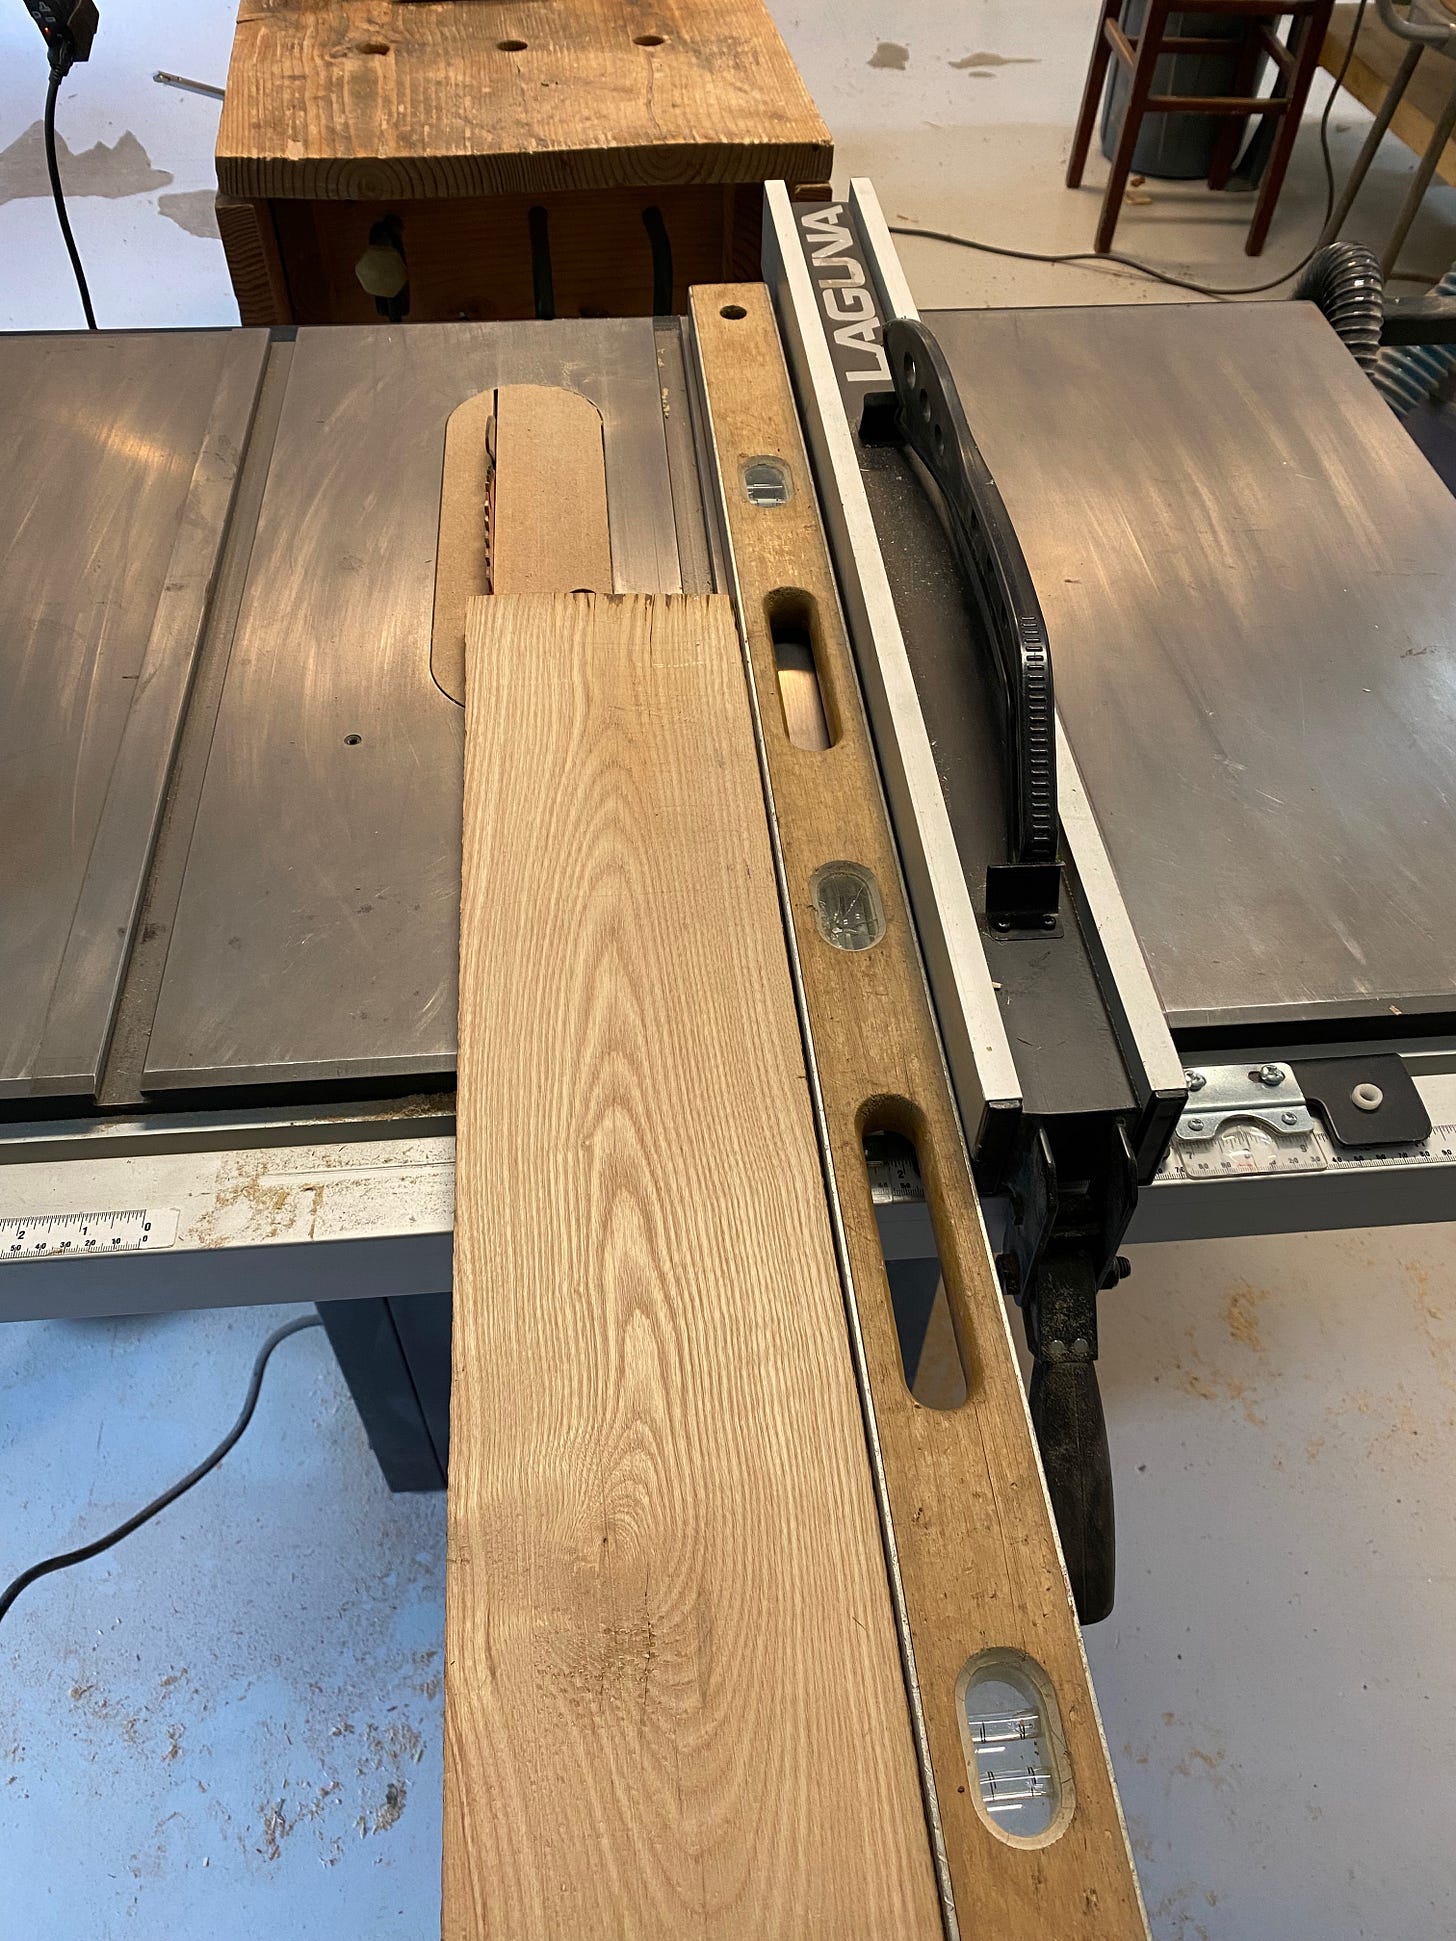
I also needed to give the boards a perfectly flat/straight edge. Once option would be to use a jointer, but I decided on a different approach. I used a long straightedge level and taped the board to it. Then I took the assembly to my table saw and with the straightedge against the fence, sliced the board's opposite side. That allowed the straightedge to be transferred to the cut side, creating a smooth and and straight reference edge.
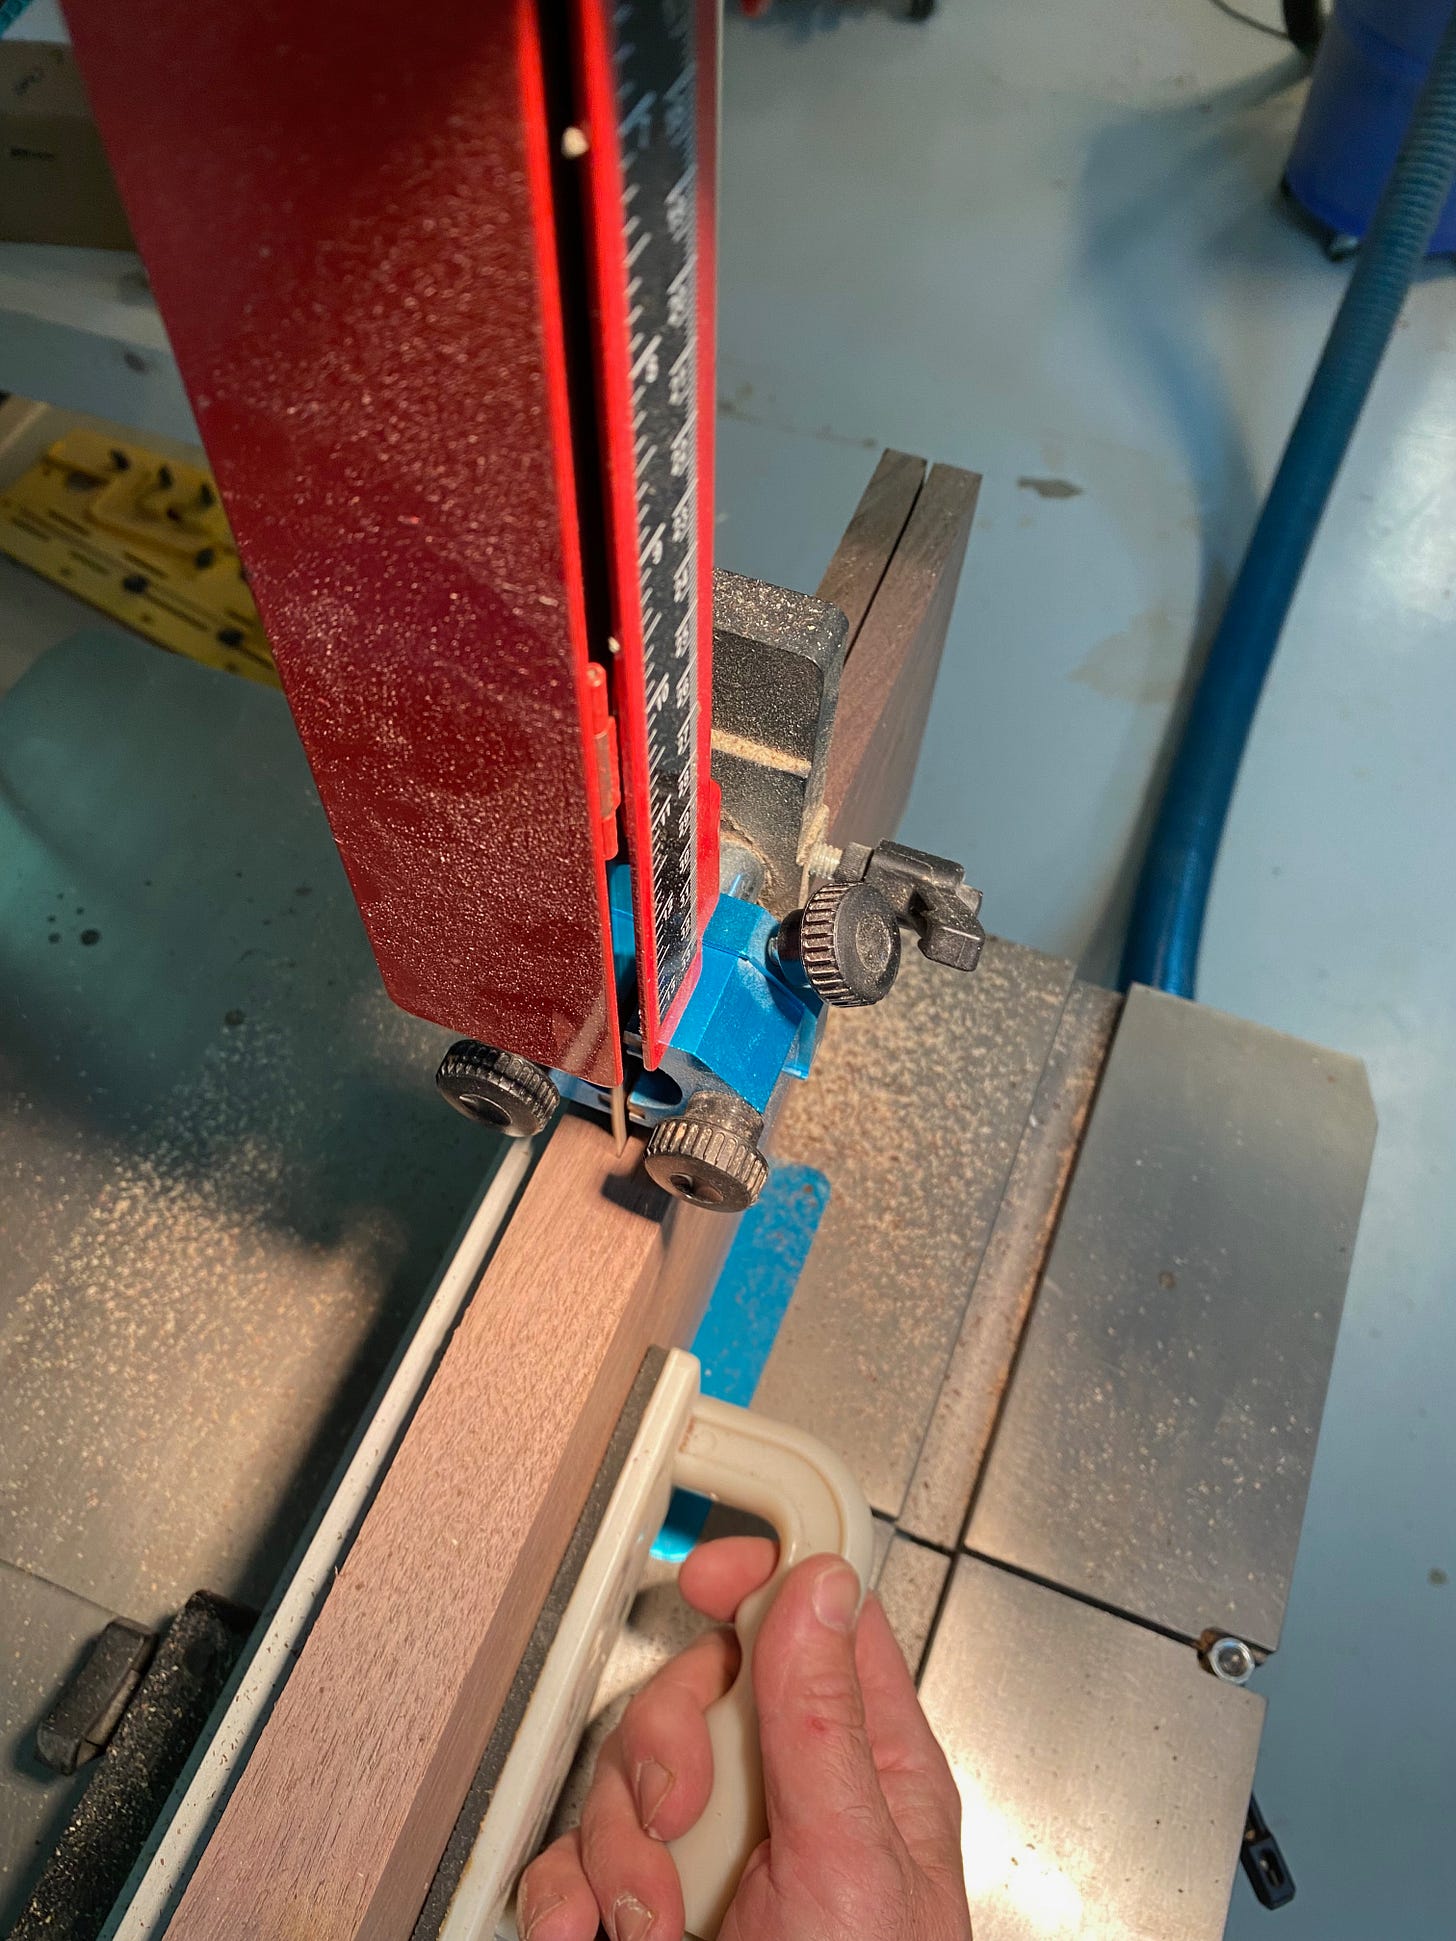
Next, I took the boards to the bandsaw for 're-sawing,' which is where you slice a board in half as if you were cutting a bagel. The cool thing about re-sawing wood is that if the lumber has prominent grain, you can end up with a beautiful "book match" when you place the wood side-by-side. Or, if you place it end to end, you can achieve the wrap-around grain effect I mentioned earlier and that was the plan for this box.
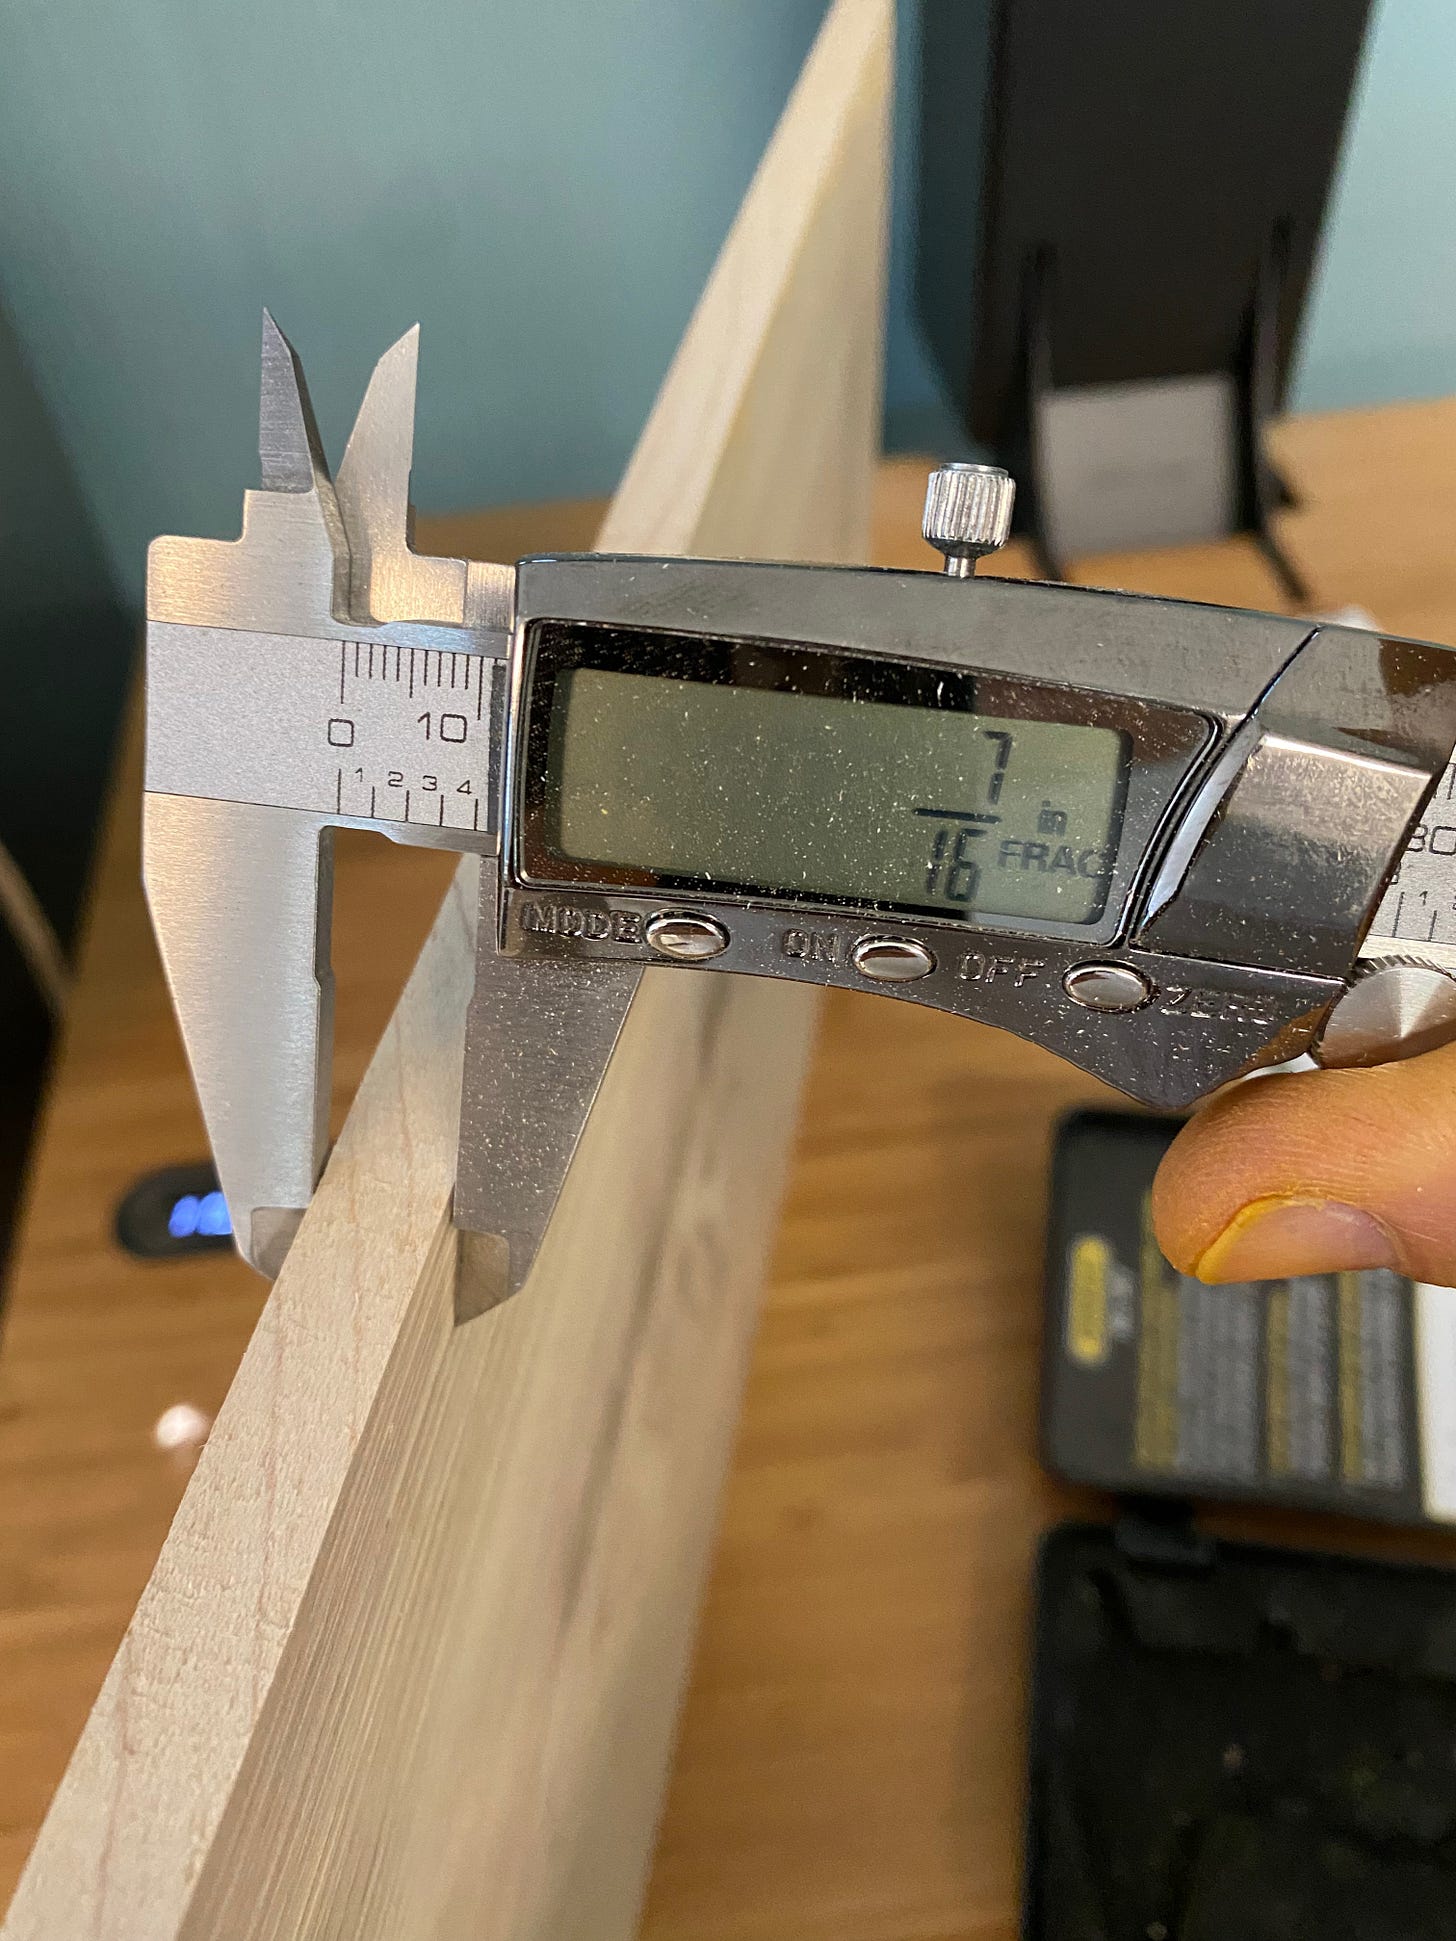
After re-sawing the walnut, I did the same with a thick piece of maple, which would become the box's top and bottom. With the lumber re-sawn, I took the pieces to the planer to bring them down to the same thickness — about ¾ of an inch.
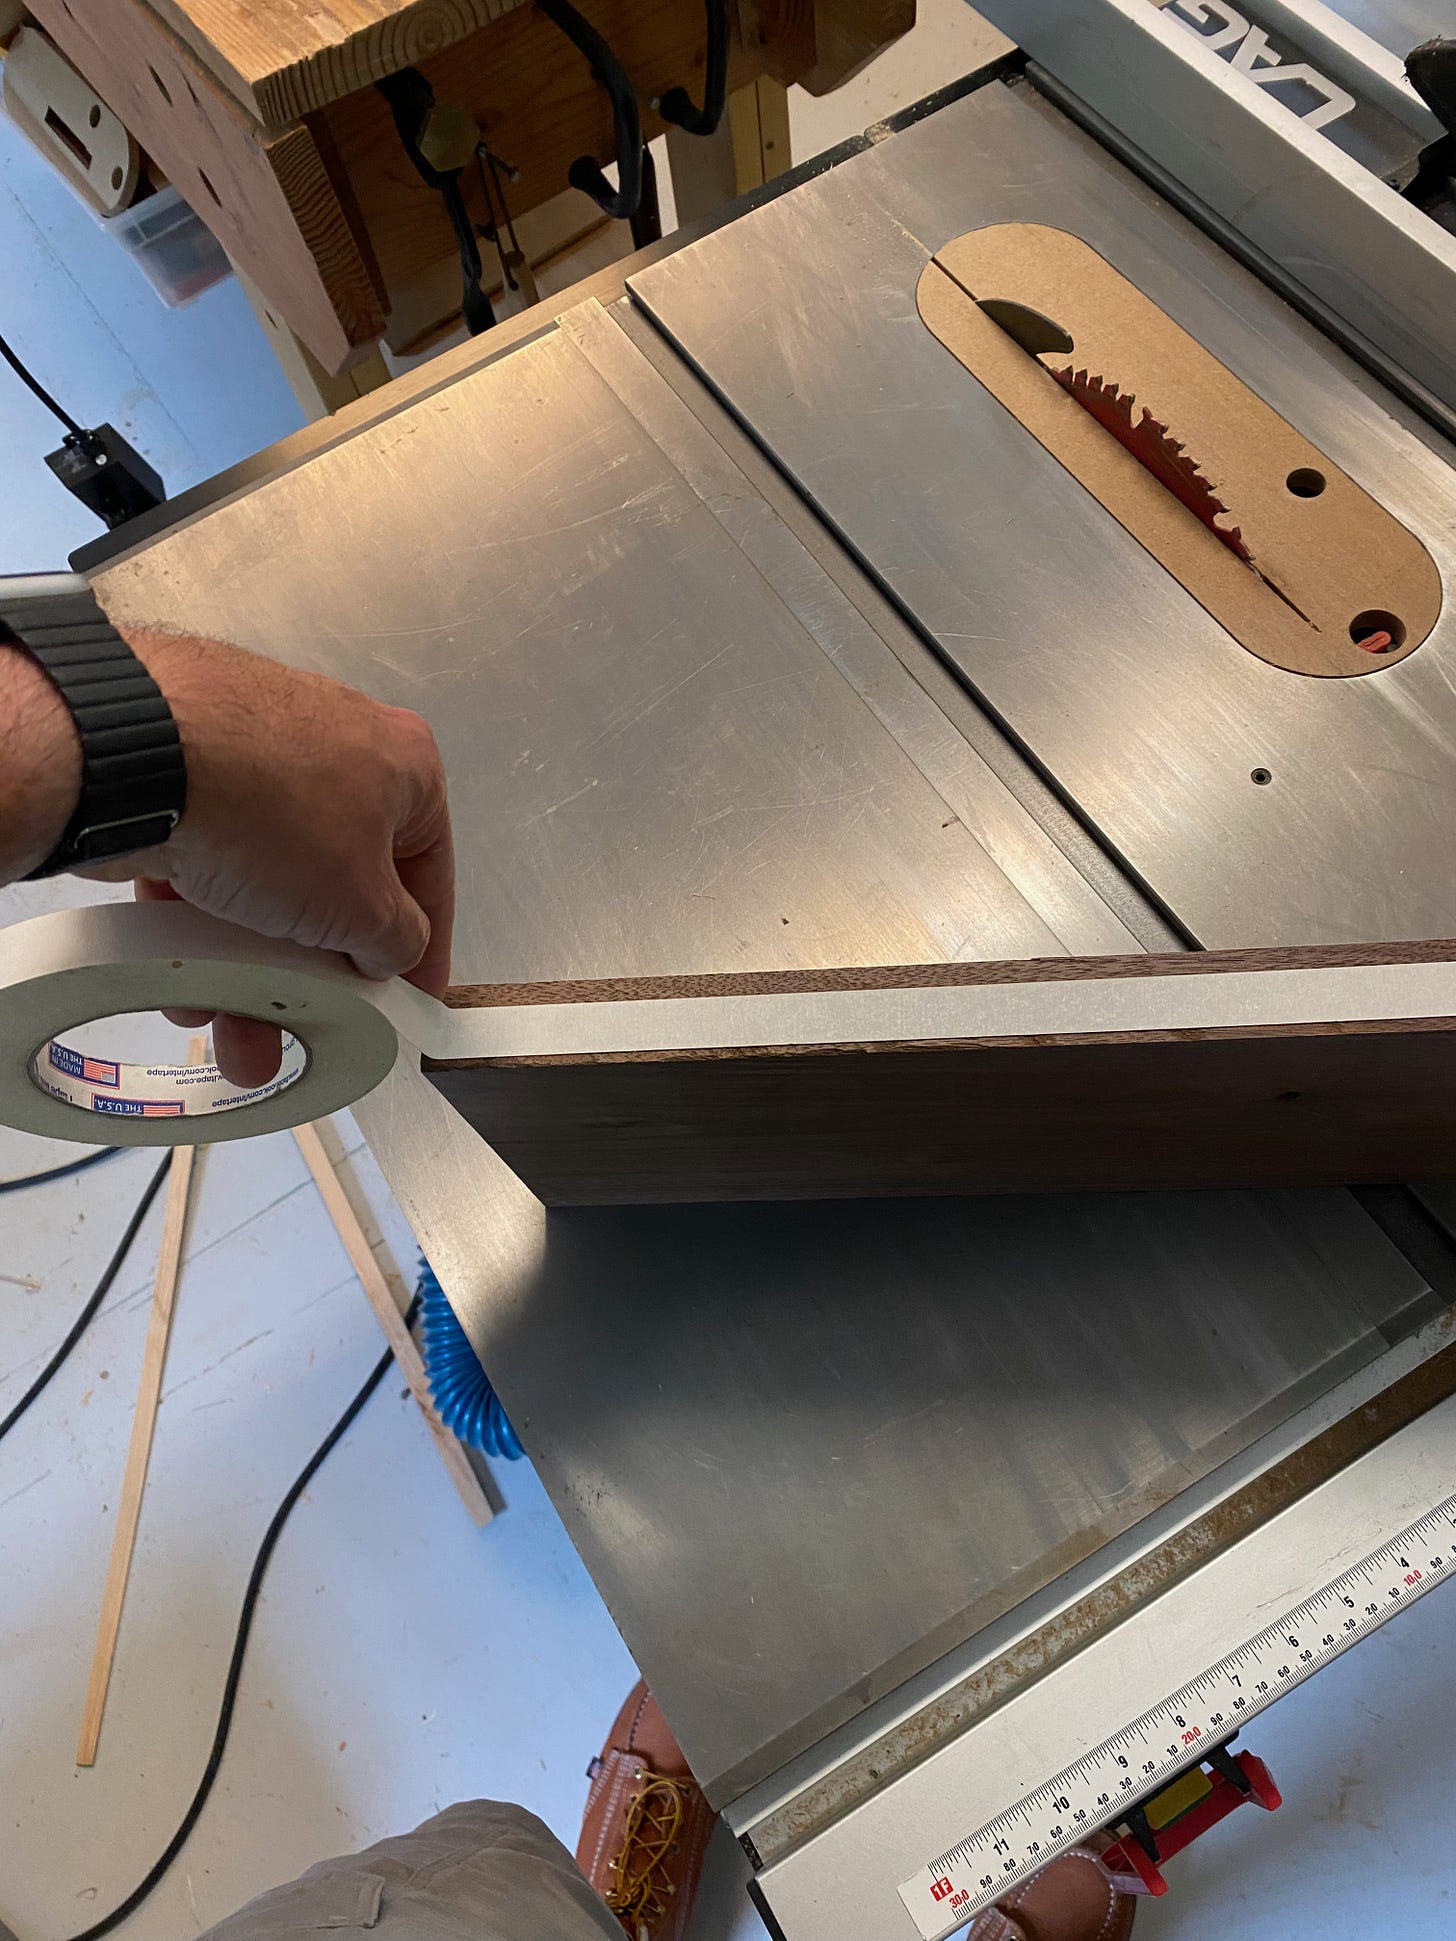
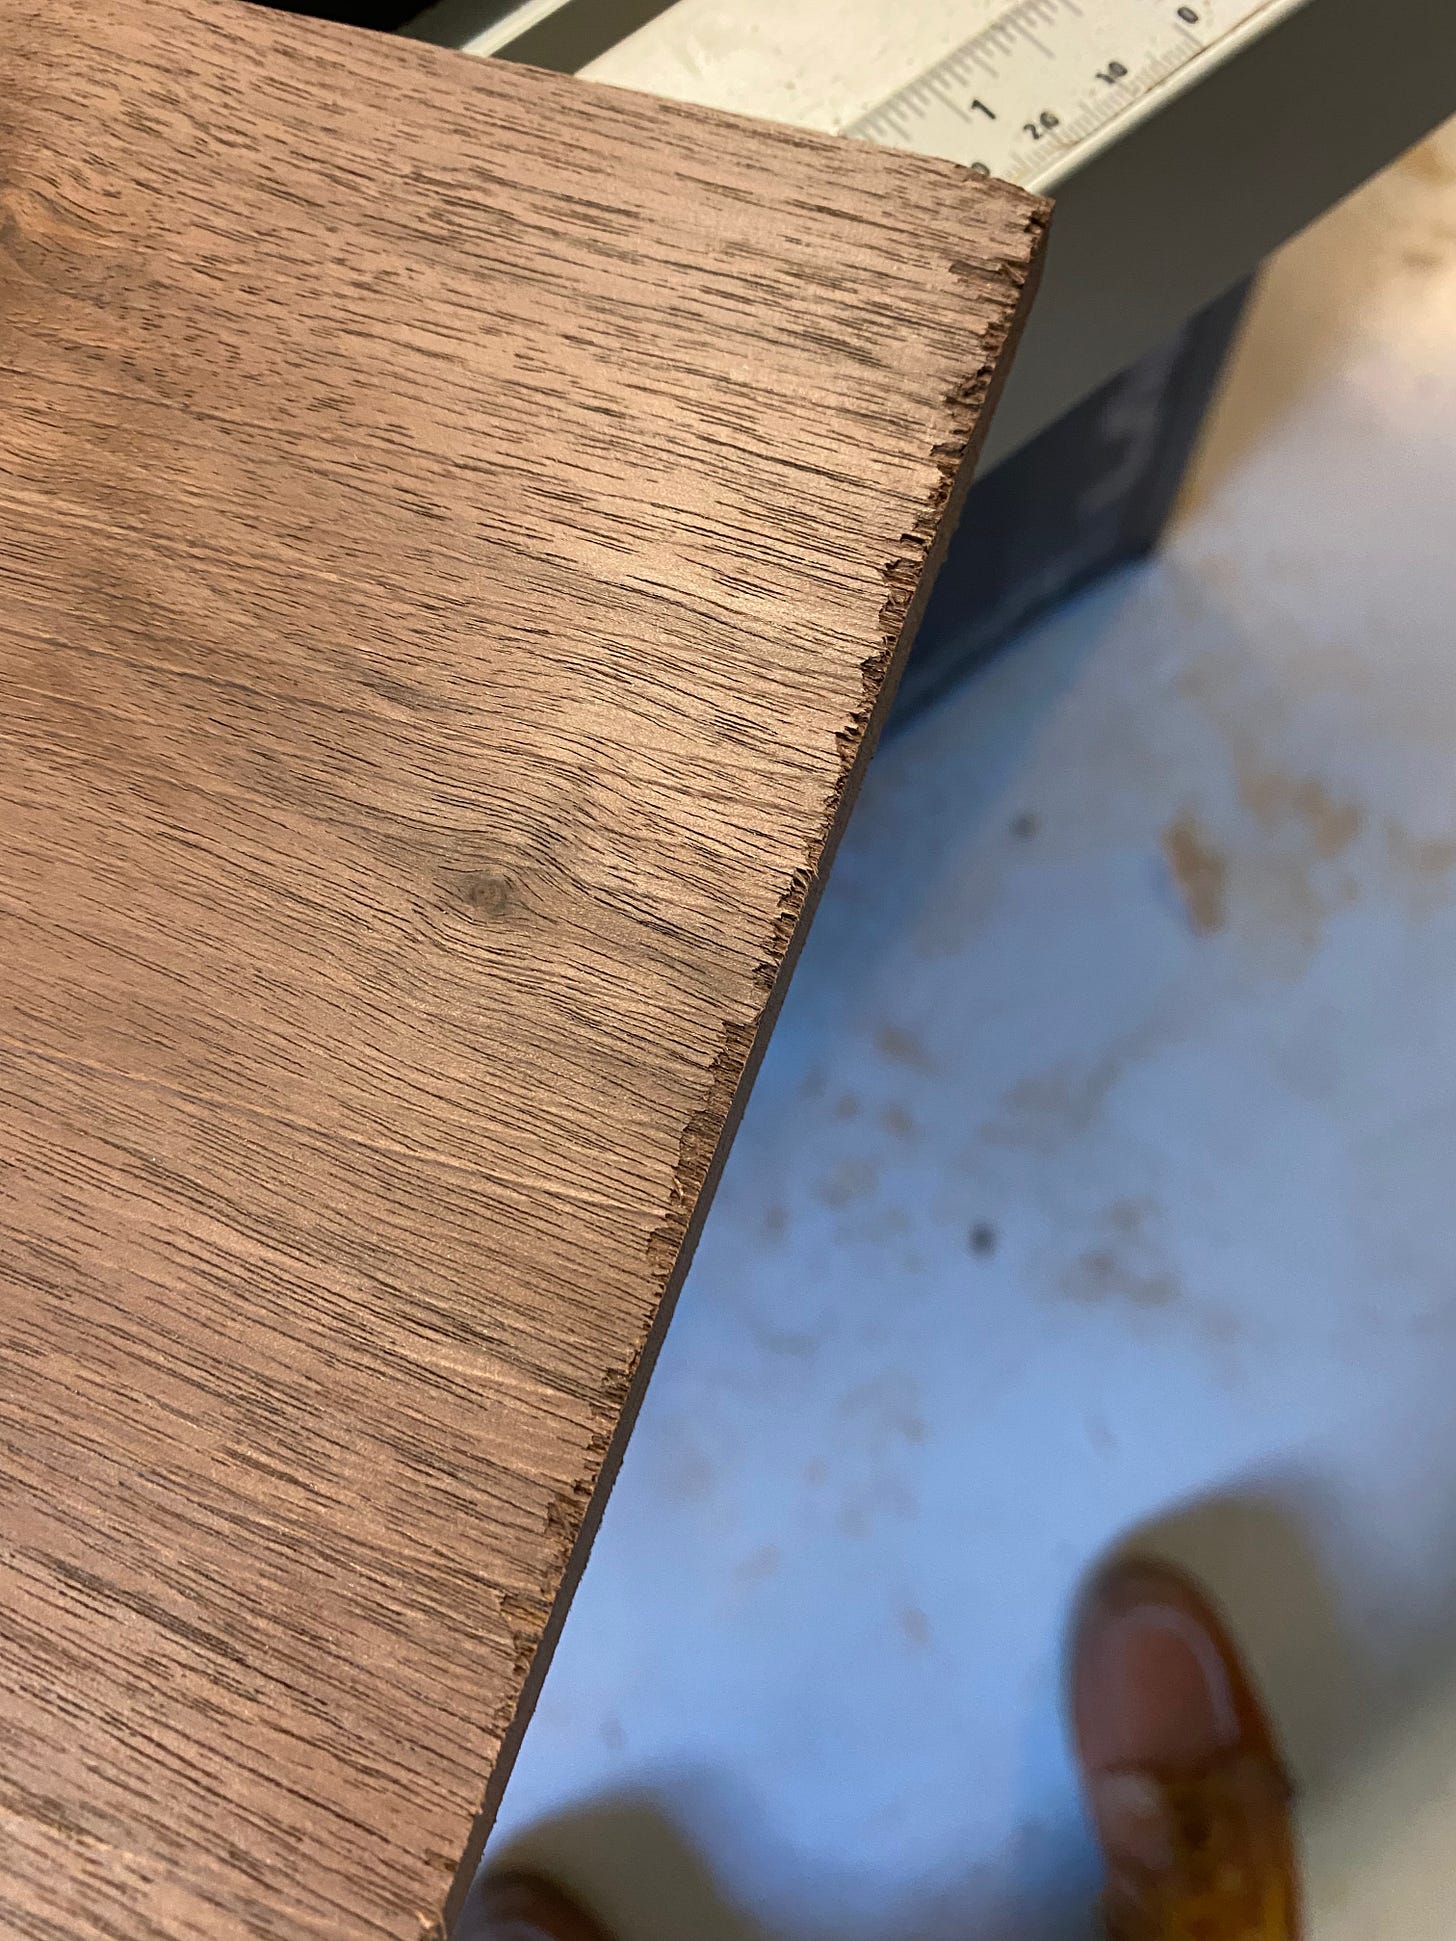
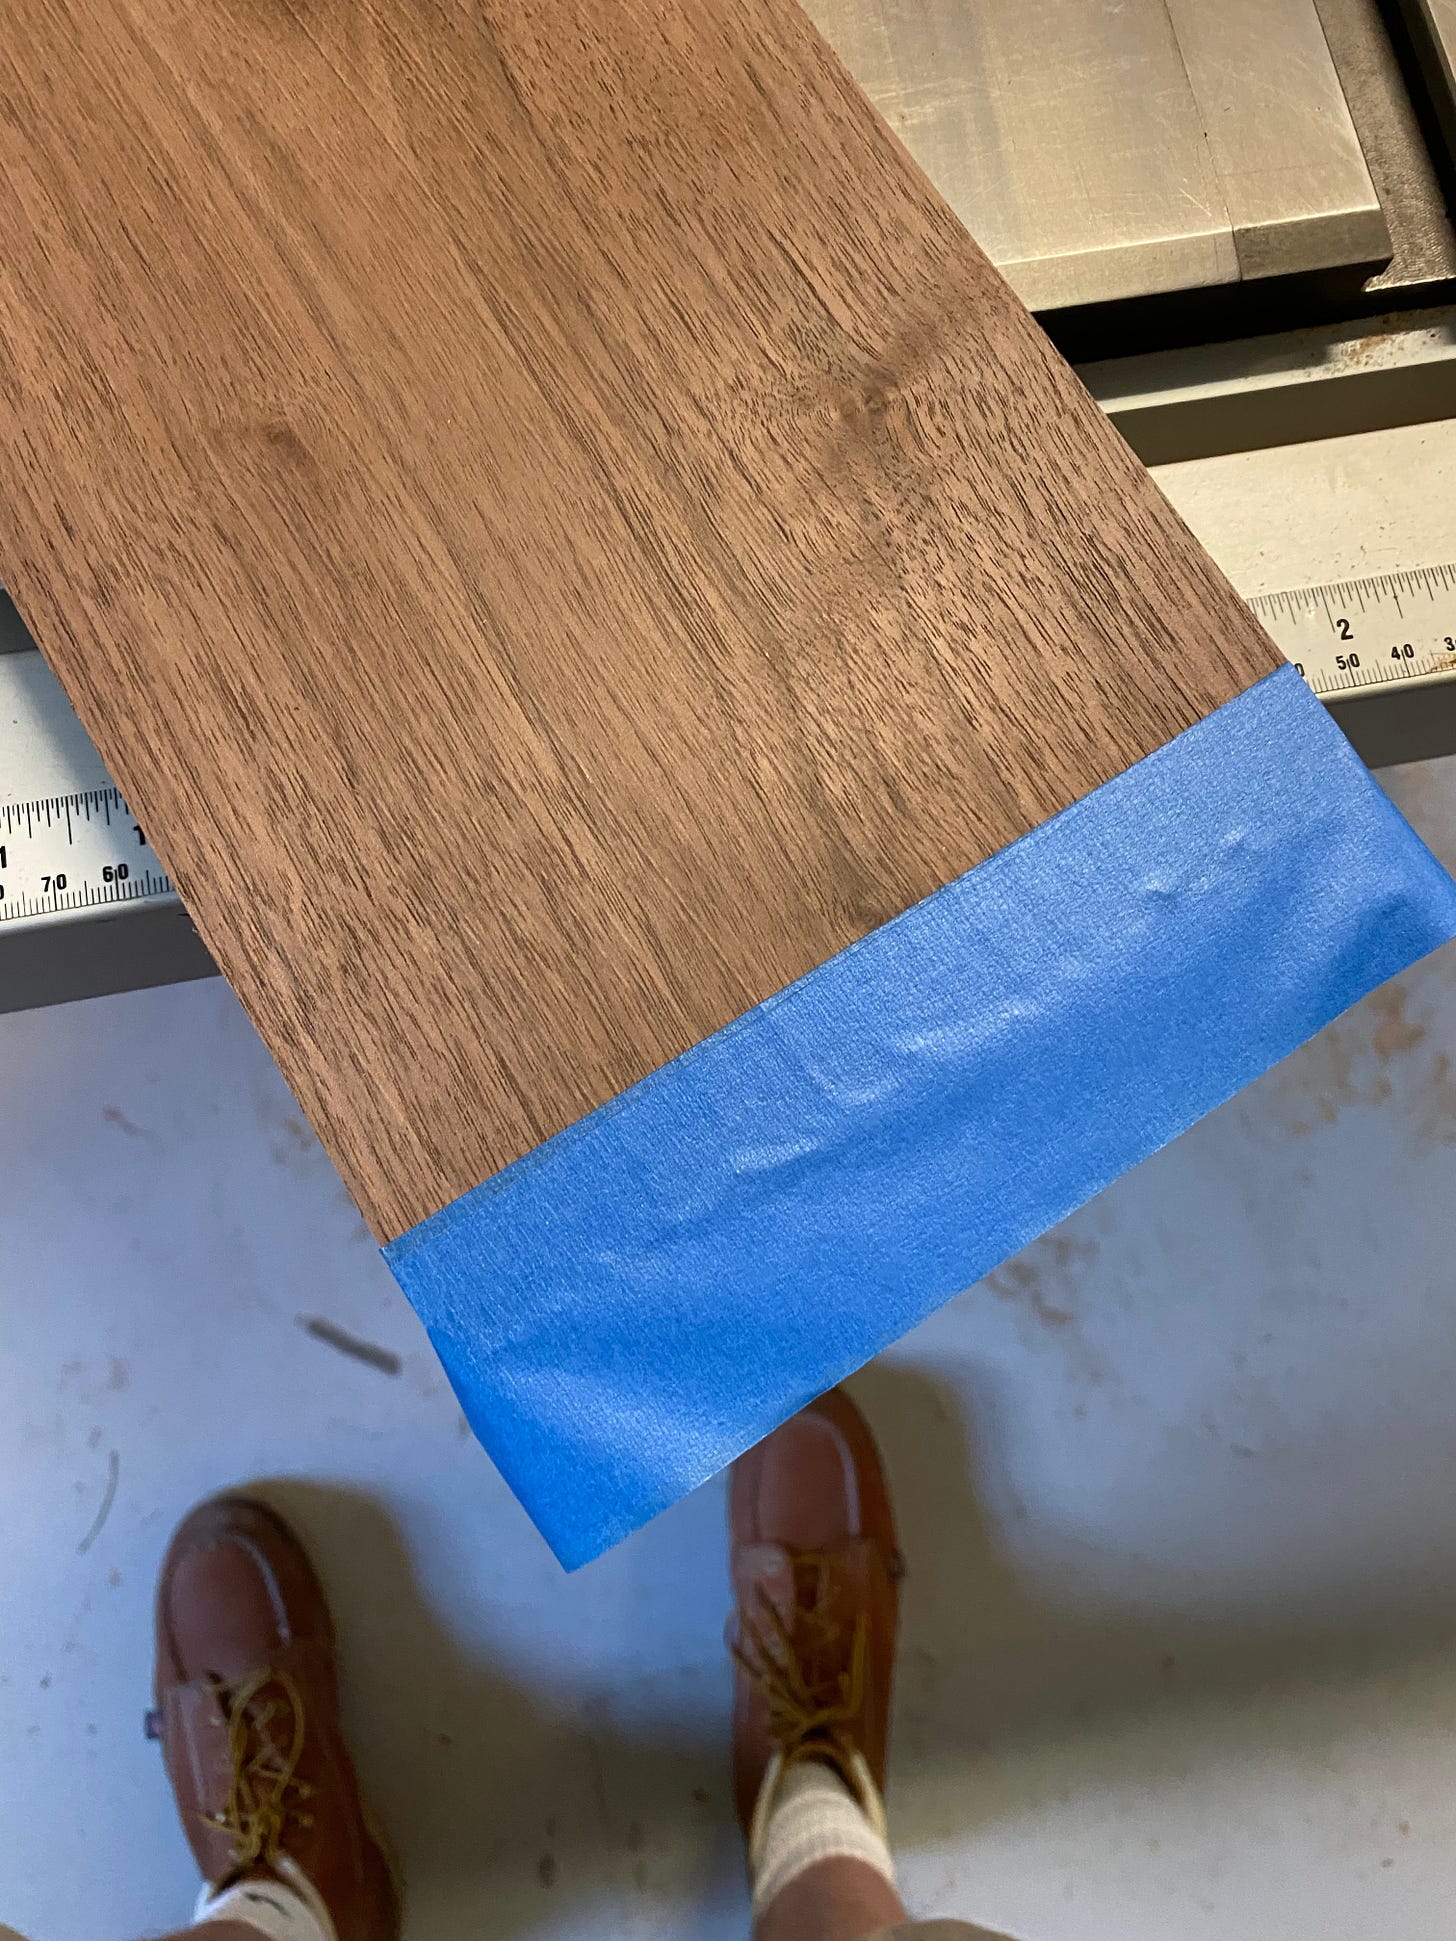
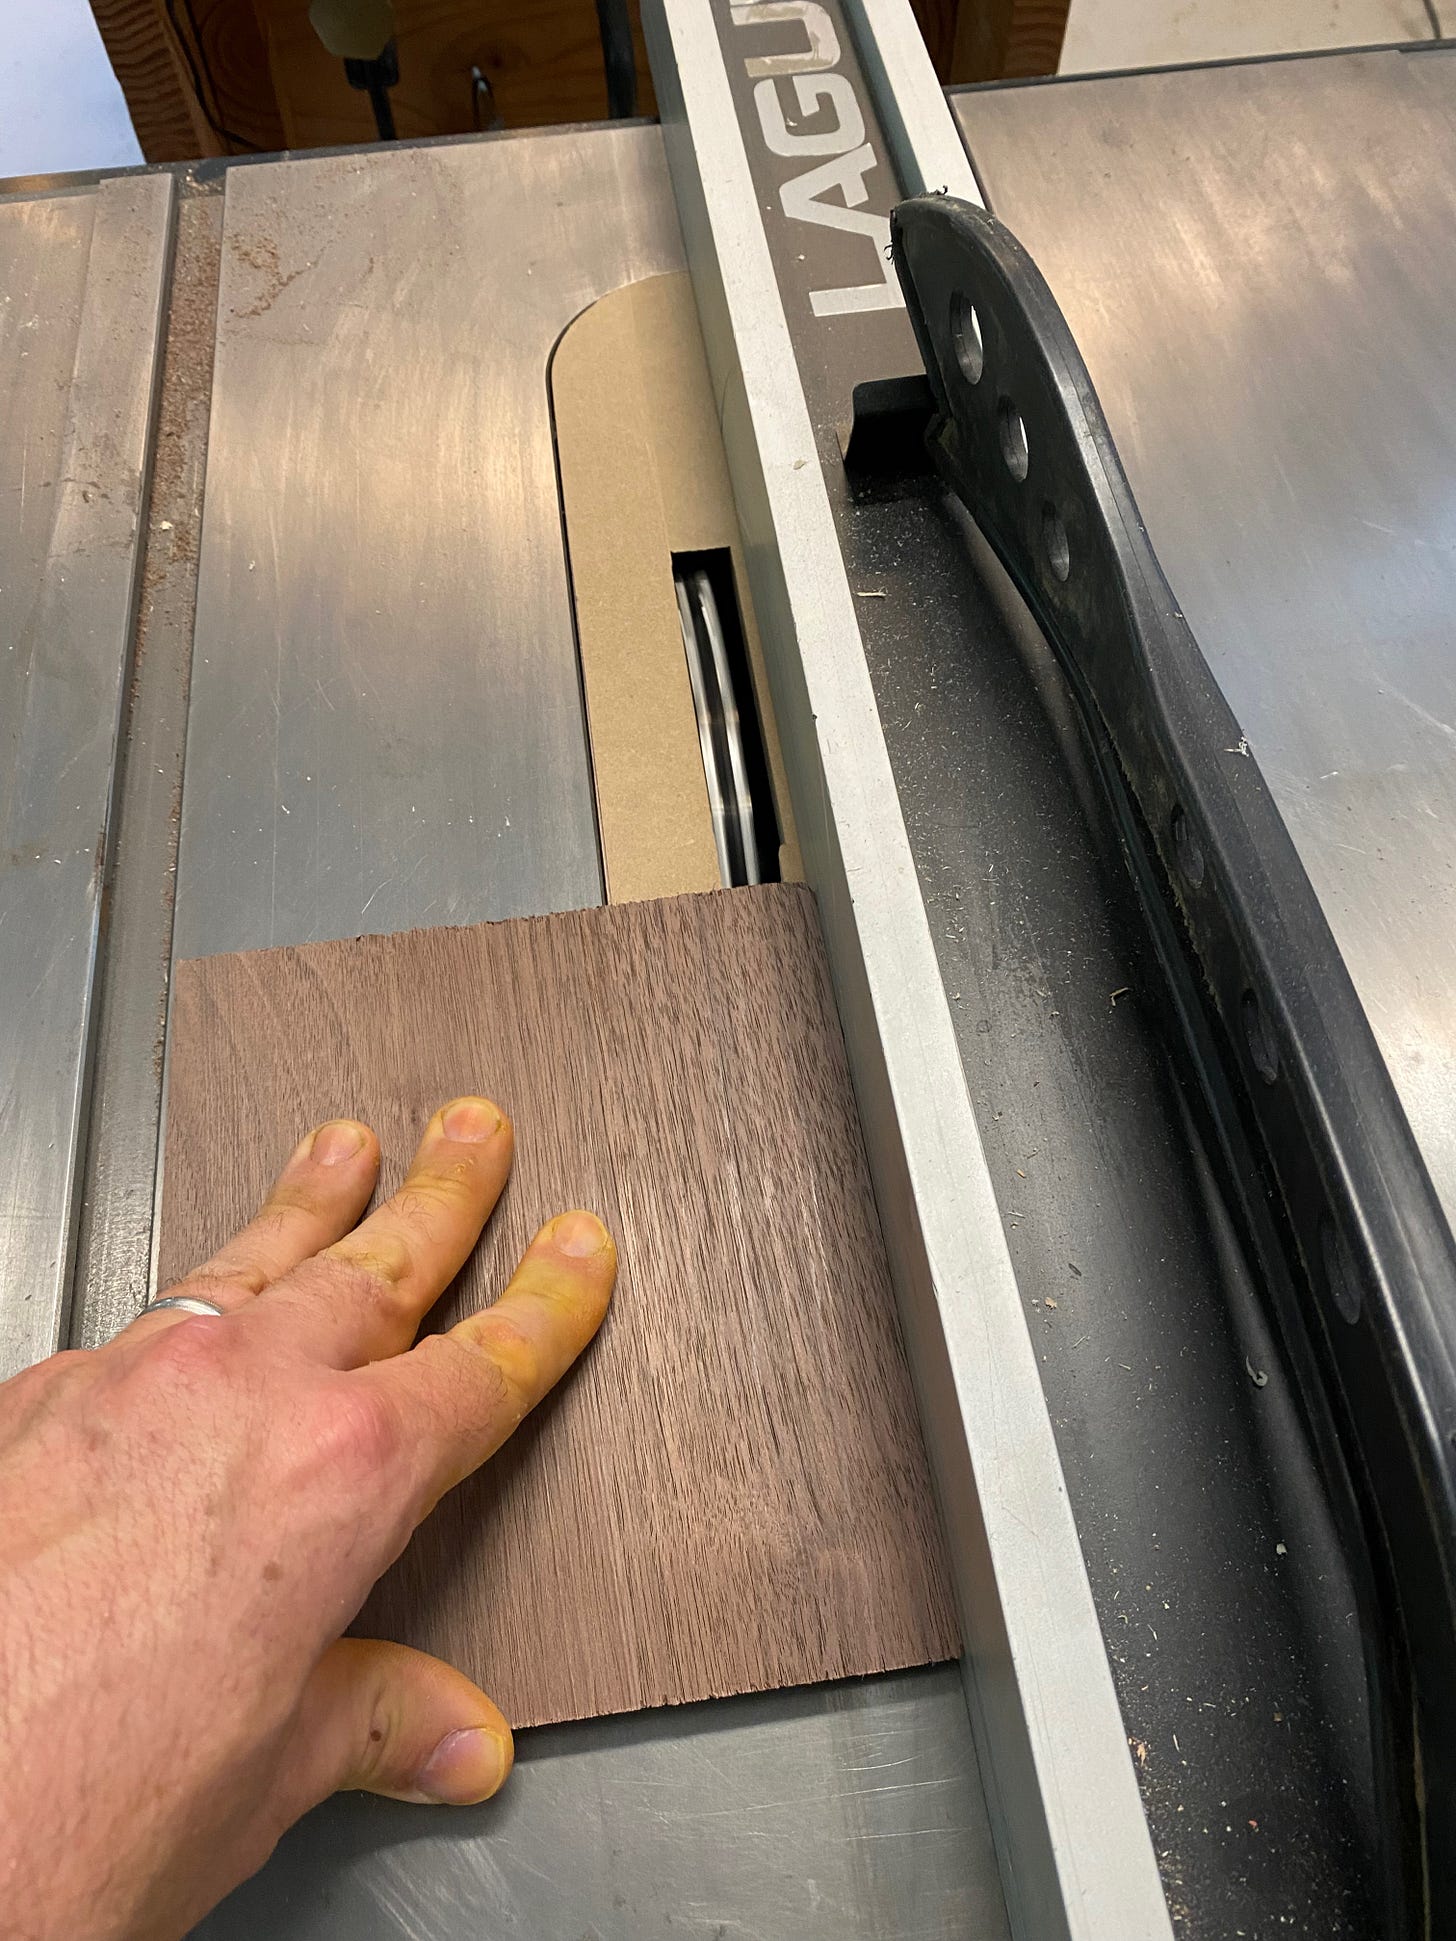
Next, I needed to cut the pieces to length and mitered to form the corners. My first cut left bad chipping happening at the end of the board, so I put masking tape at the spots where I planned to make my cuts to help eliminate that problem. Then I used the table saw with the blade set at a 45-degree angle to cut two ends and two sides out of the walnut. This gave me the outer shell of the box.
Groovy Dadoes
For the top and bottom, I planned to have maple planks sit in grooves or dadoes cut into the interior of the box. For the top, this would be a simple matter: cut a ½-inch-thick groove at the same depth in all four pieces and then insert a properly sized 9/16-inch piece of maple that would sit in those grooves like the wheels of a Kidcraft train set ride the grooves in the track.
For the base, the concept was the same, but with a key difference. The maple plank needed to be relatively thick with a lip that would ride in the dado. That's because the plank needed to extend below the box in order to lift its sides up and create the shadowbox effect I was seeking.
So it was time to dado. Thanks to a previous blog post and an incredibly generous sister and siter-in-law, I had recently become the proud owner of a fancy new 8" dado set. I opened up the table saw, set the new blades in place, measured carefully, measured carefully again, and lined up a test cut to make sure my measurements were accurate.
Once I was satisfied, I sliced into the box sides and cut eight perfect dadoes — two per side.
Then I took the maple plank that would be used for the box bottom and made "shoulder" cuts that would ride in the dadoes I had just made on the sides.
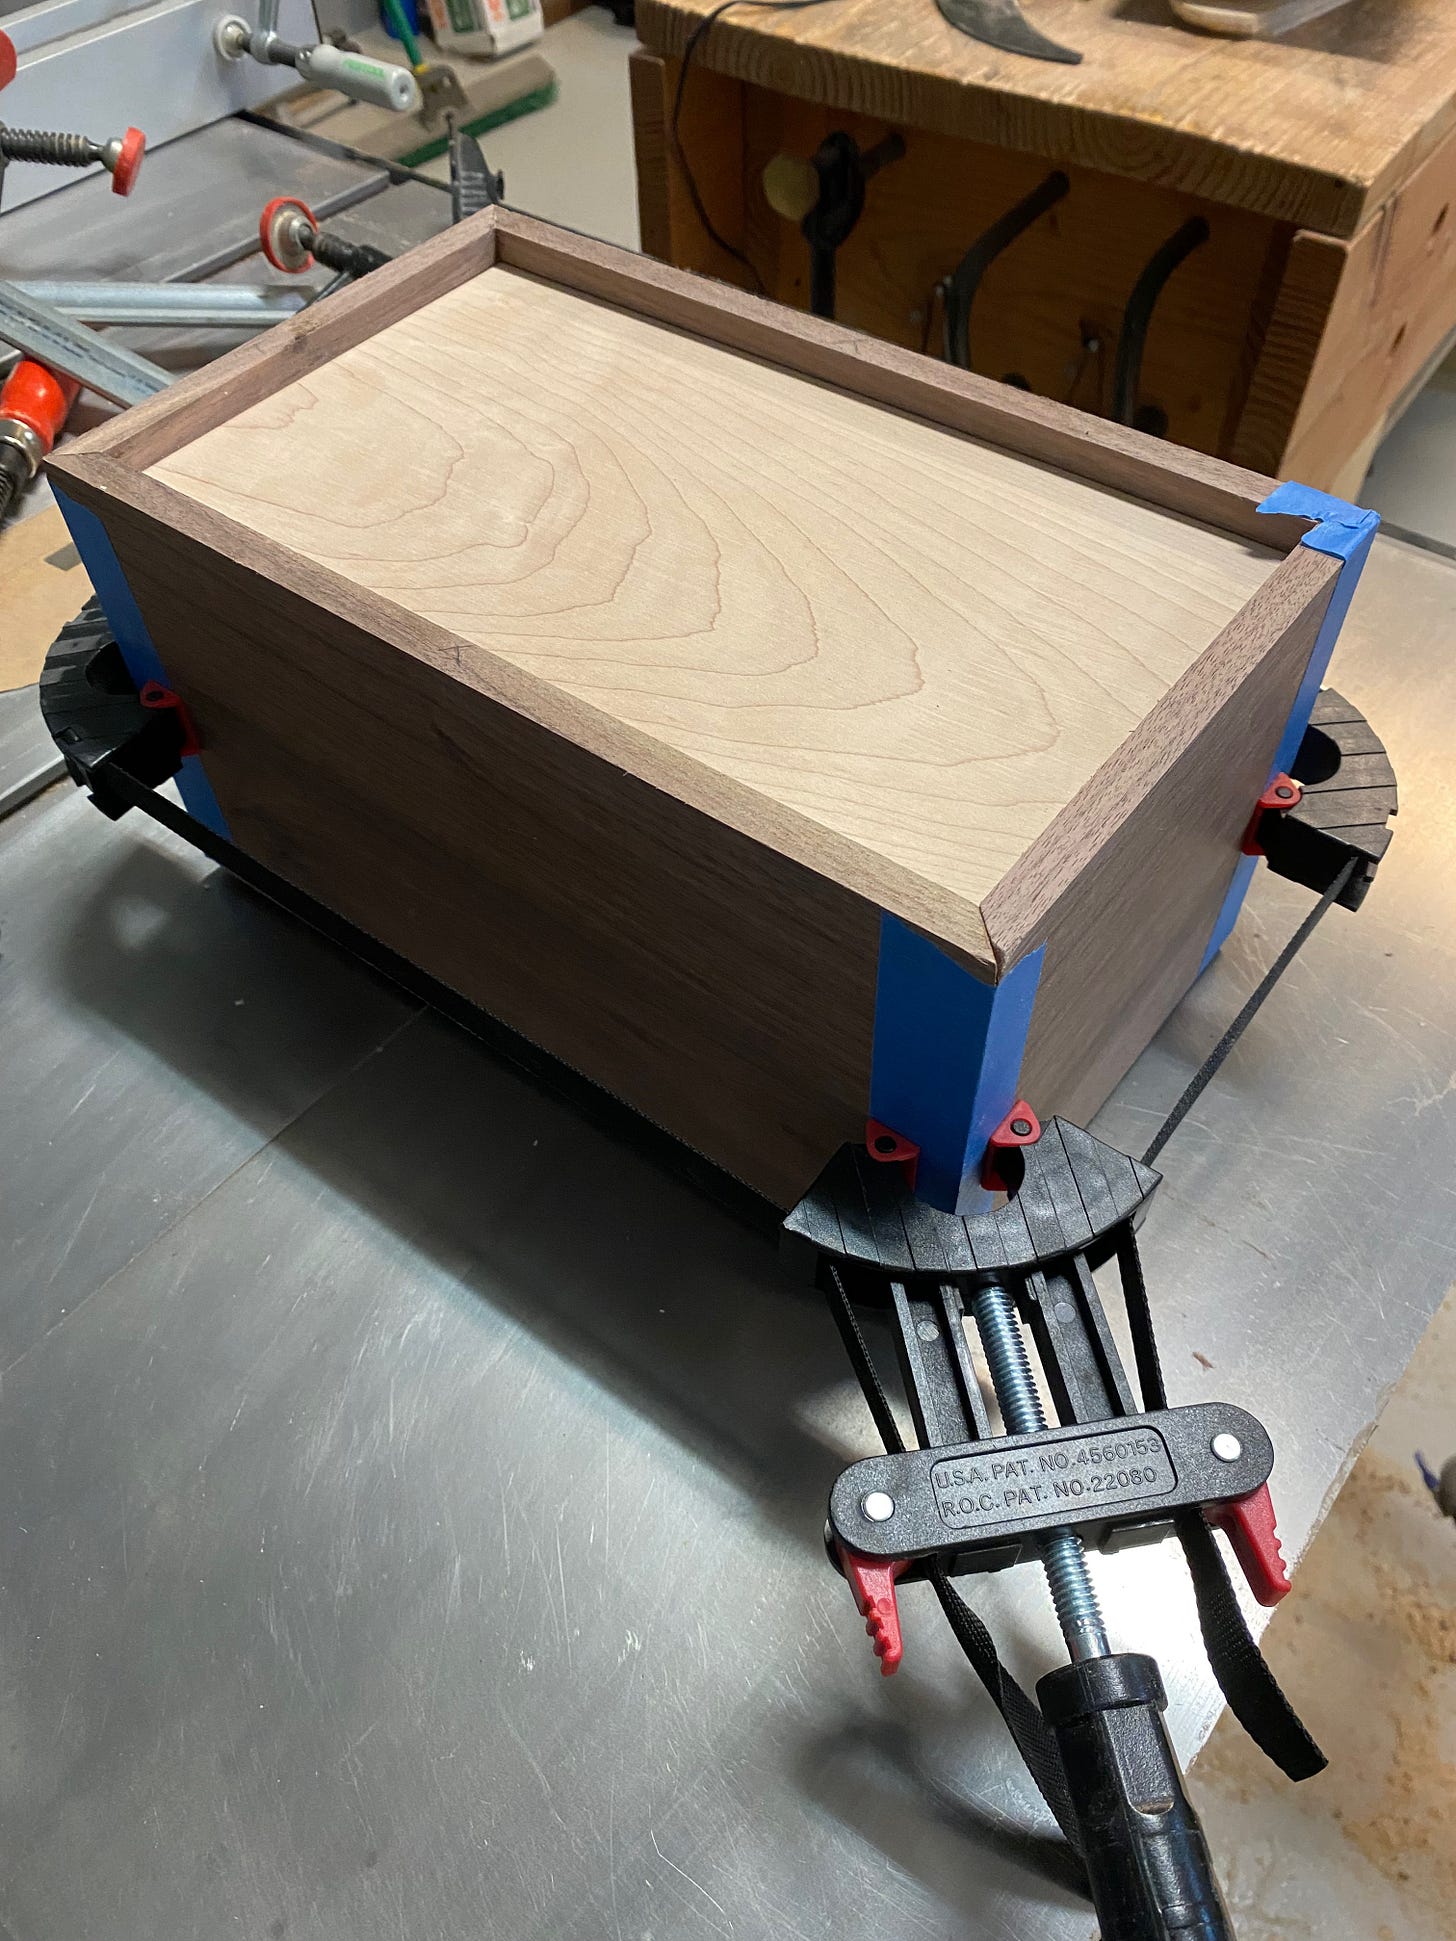
It was time for the moment of truth. I lined up the four sides, slipped in the maple planks and taped all the corners. It looked pretty, pretty good. So much so that I untaped the corners, applied glue and taped it all up again. I added a box clamp and checked that the corners were all square.
Stiffening the Spline
Once the glue was dry, I removed the clamp and tape. I now had a completely sealed box with walnut sides and a maple top and bottom. The box's corners, though, were just simple miters. These are not especially strong joints, especially for a box. Miter joints are what most picture frames use and you probably know how it easy it is to rack or destroy a picture frame with minimal force.
For that reason, I wanted to give the box more structural integrity and my solution this time was to add splines — three on each corner.
A spline is essentially a triangular biscuit that gets glued across the miter. Think of a spline (imperfect analogy alert!) like the rope in a game of tug-of-war. Without the rope, it's easy for the two teams to pull away from each other (I mean there's nothing holding them together!). But with both teams holding onto the rope, the rope binds the teams together and keeps them from pulling apart.
To do this, I needed to make cuts across the mitered corners and I also needed thin pieces of wood (in this case maple) that would fit snugly and fully into those cuts. For the first task, I constructed a plywood jig so that I could securely hold the box at a 45-degree angle to the table. This involved precise angle-finding, creative cutting, and careful gluing and nailing in order to get the jig just right.
Once I had the jig constructed and tested, I set the box in place, raised a single dado blade (dado blades make flat-bottomed cuts, whereas most standard blades make angle-bottom cuts, which isn't good for when you want a perfectly square groove) and sliced into the corner of the box, careful not to cut all the way through the miter.
It looked good, so I made the remaining 11 cuts. All was well.
Next I needed to slice off pieces of maple to insert into the cuts I just made. To do this, I set some maple scrap on the table saw and sliced off s ⅛-inch biscuit and tested its fit. It was a touch loose, so I adjusted the saw and tried again. Once I had the perfect thickness, I sliced off maple biscuits like I was working a deli counter and making someone a salami sandwich.
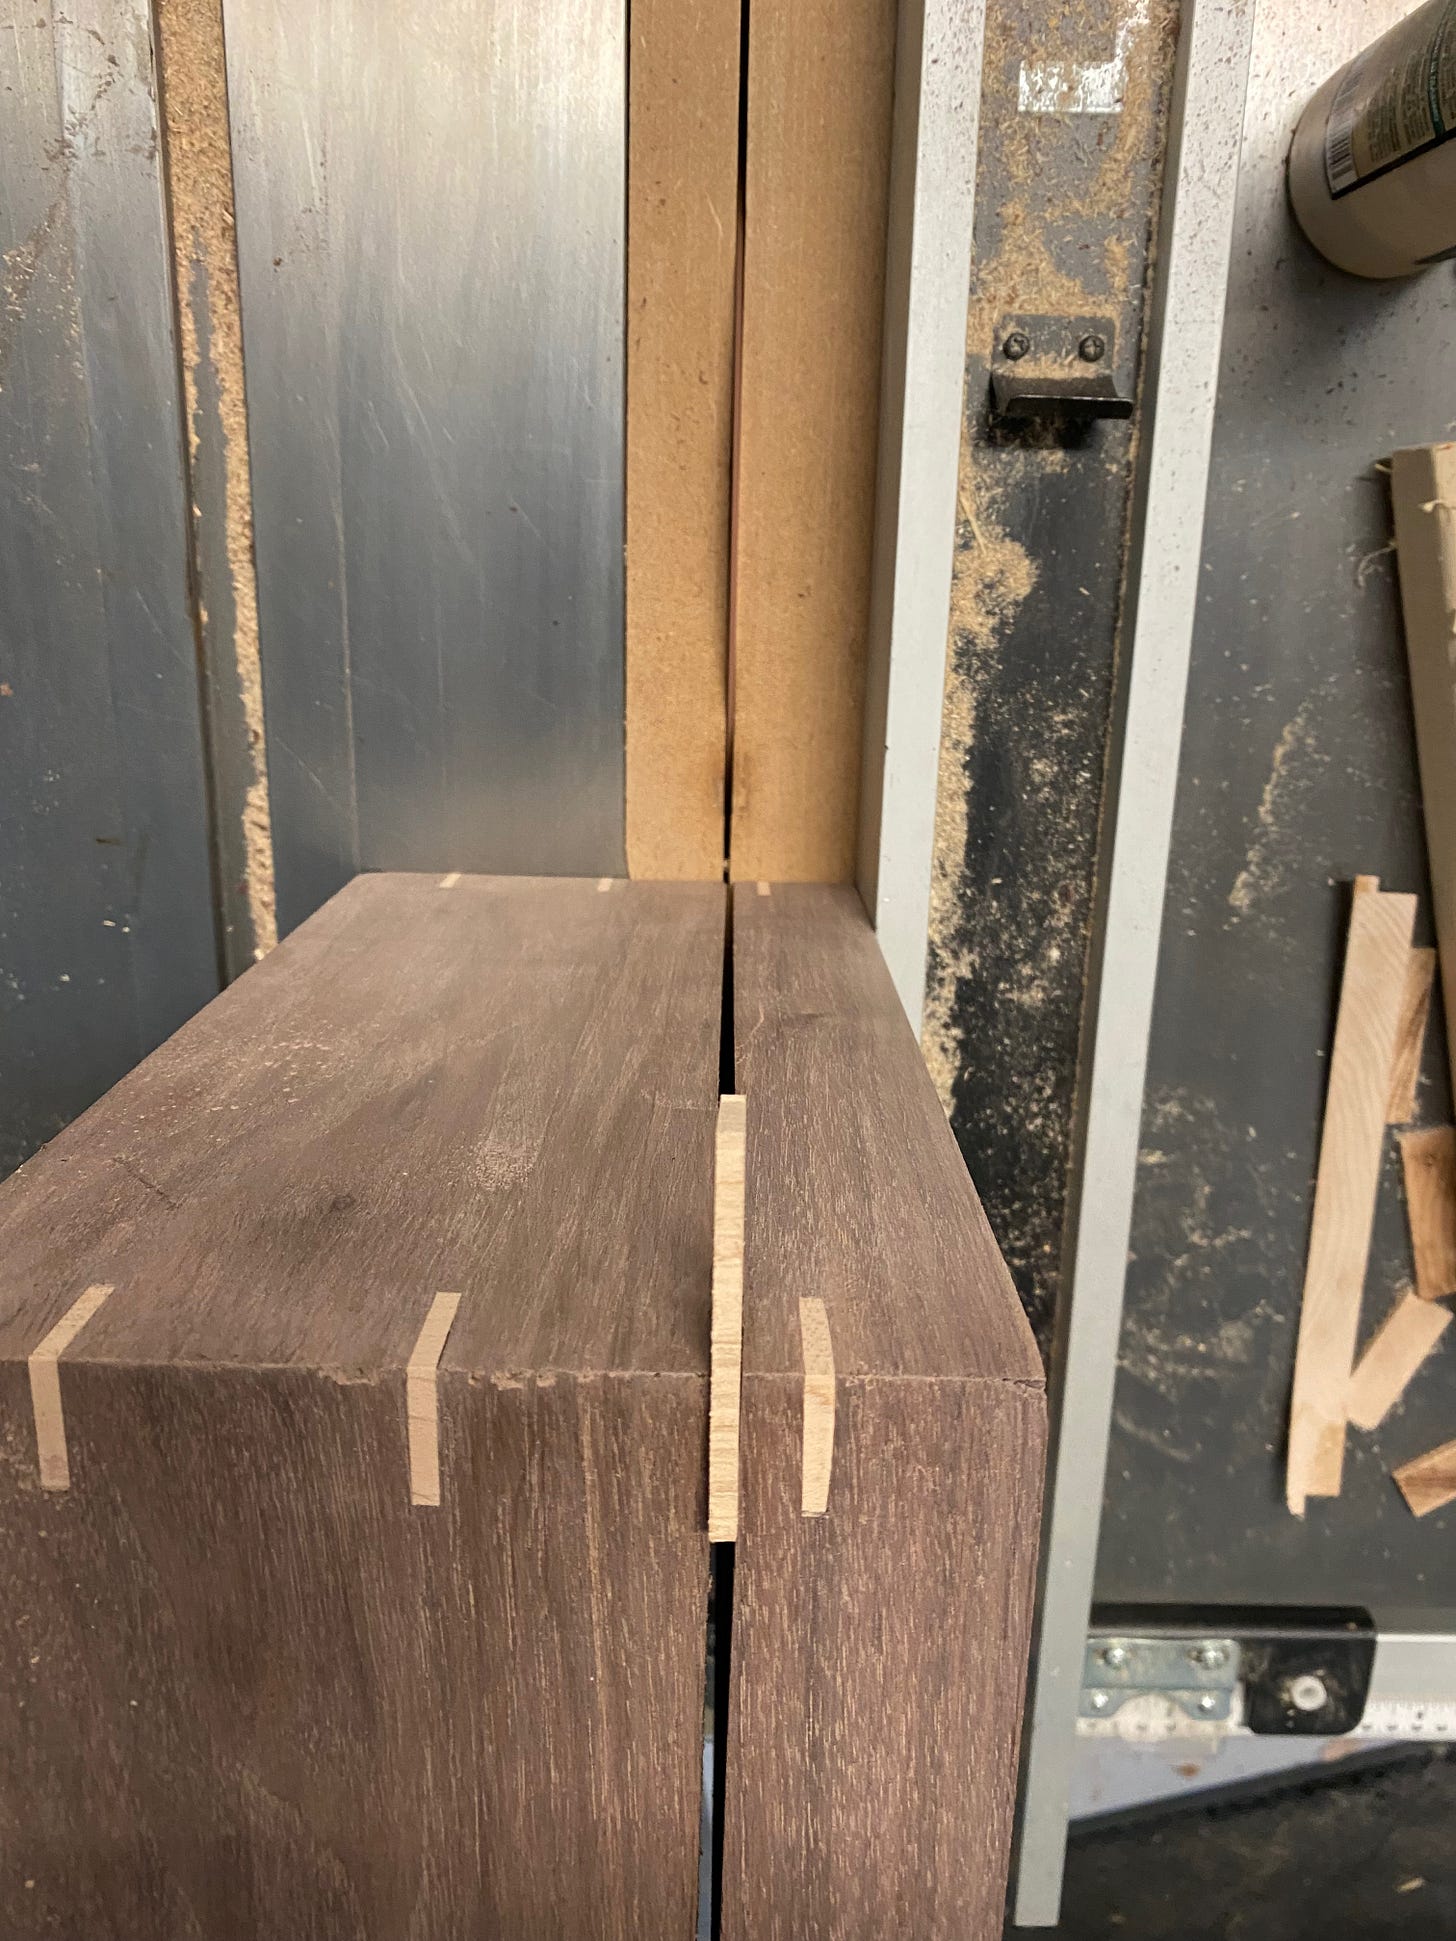
With the cuts and biscuits made, it was time to glue them into place. I dabbed some glue into the splines, inserted the biscuits and tapped them into place. Each biscuit stuck out at the corners like the ears of the RCA-Victrola dogs. (Bonus points if you know the dogs' names. They're... ready? Nipper and Chipper.)
Once the glue dried, I then took my trusty Japanese pull saw, applied some masking tape to its blade to prevent scuffs and scratches, and sliced off each spline ear. Pretty, pretty, pretty good.
Still, as a box went, this box was not terribly useful; it was more of a six-sided sealed container. The next task was to slice off the top.
Taking the Top Off
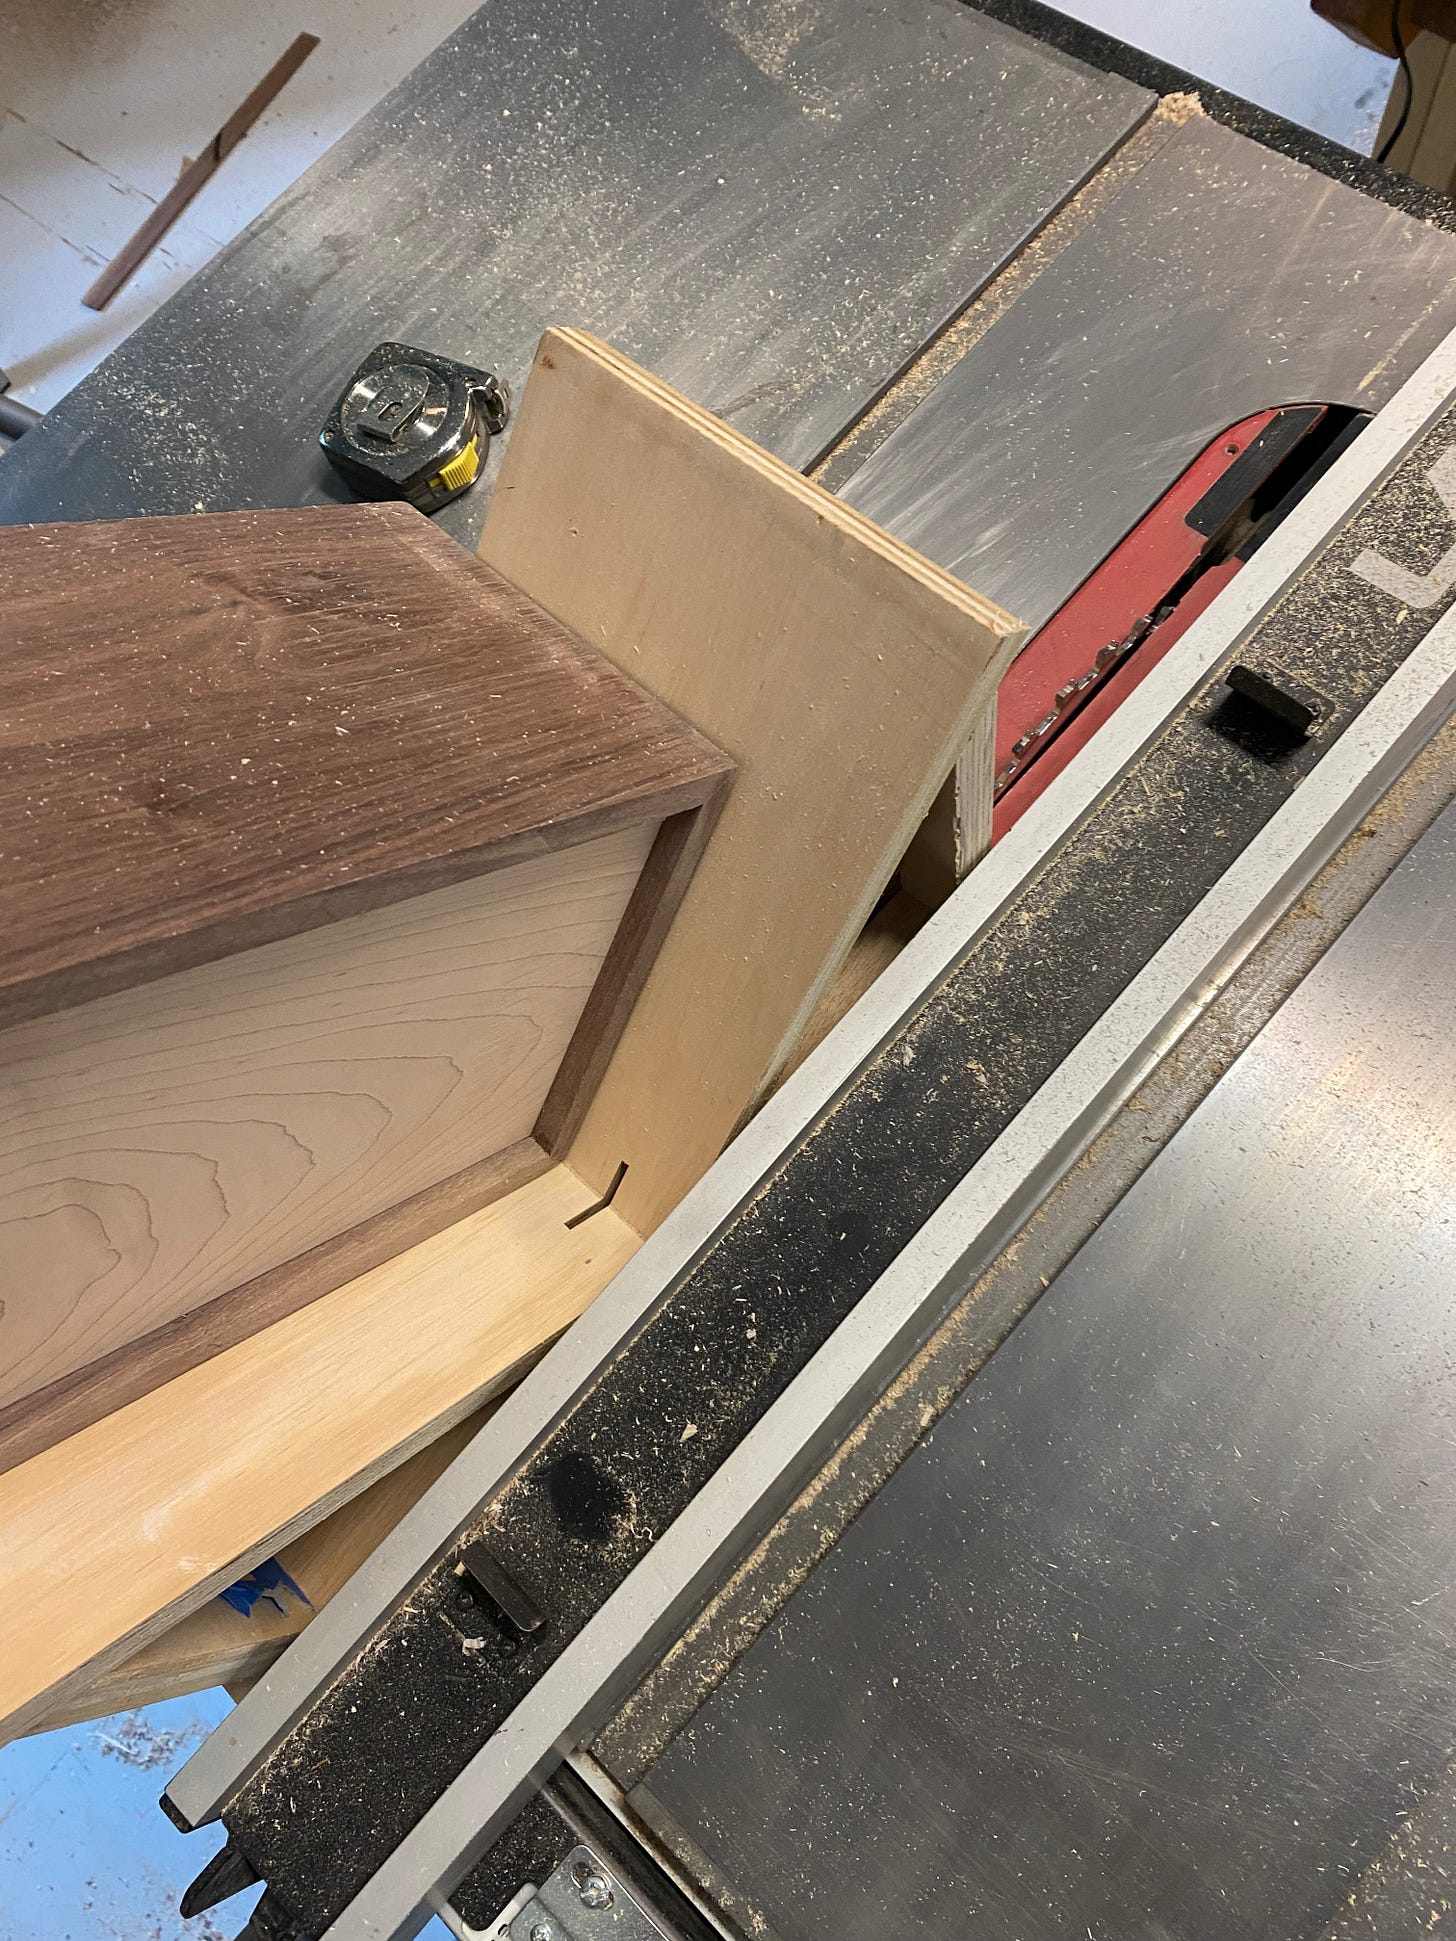
To create the box lid, I set the table saw so that the blade would run through the sides. However, I needed to be careful because as I turn the box from side to side, the previously cut portions would torque, creating the likelihood that the last cut would not line up with the first. To address this, I temporarily inserted chips that were the same thickness of the blade in order to eat up the blade kerf and ensure proper alignment.
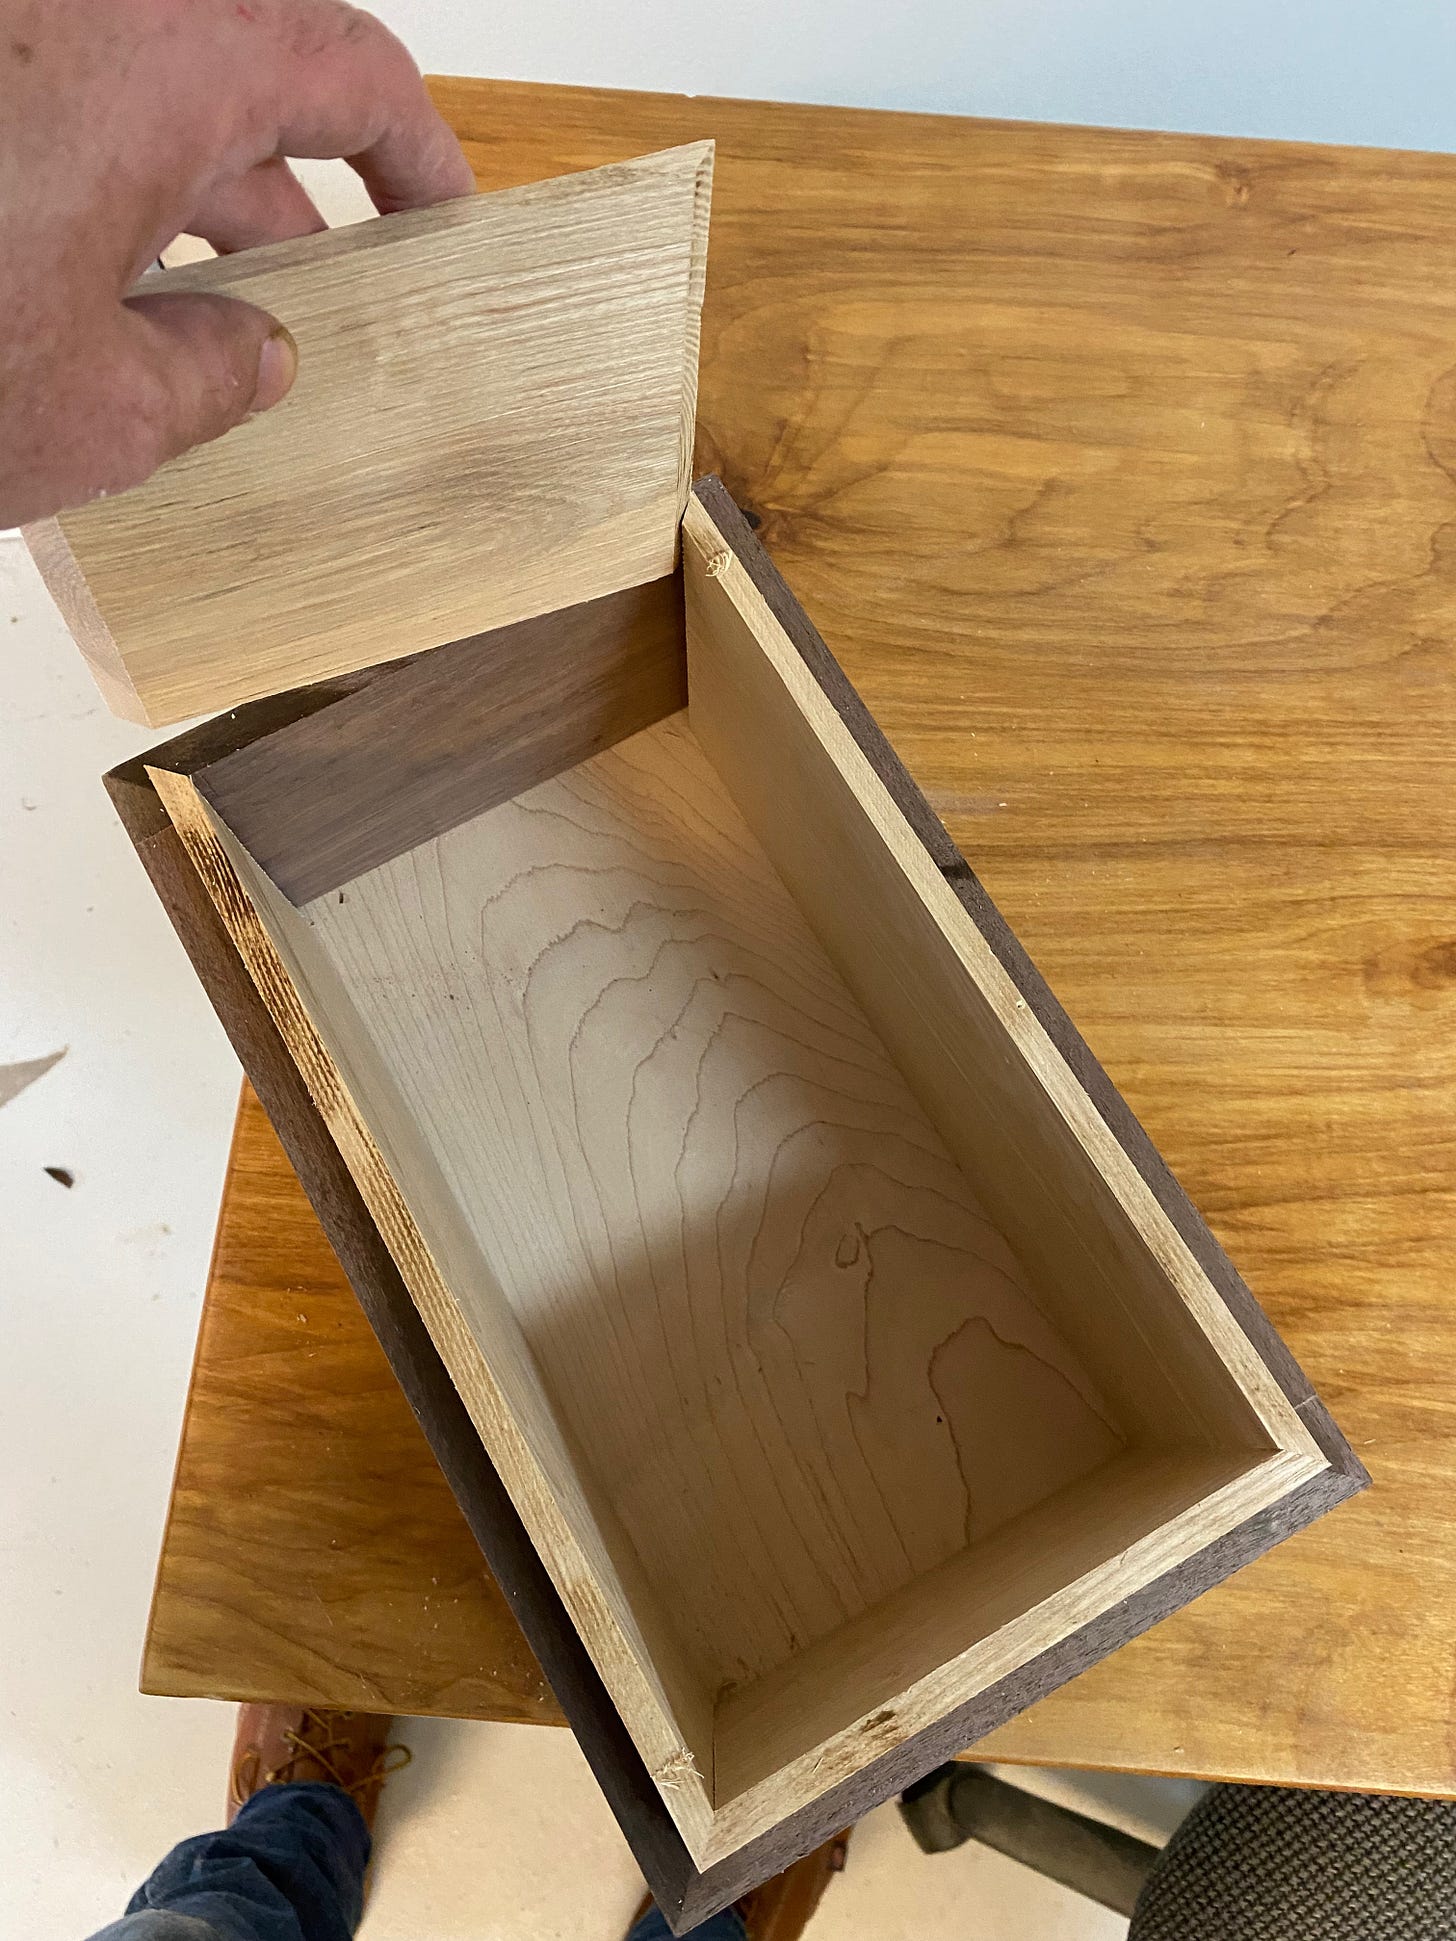
After I freed the top, it was time to add a liner to the inside of the box. Doing so is what would allow the top to sit on the box and be held in place. The liners would extend half an inch or so above the sides of the box, allowing the top to slide down over the liner.
I had selected a few more pieces of maple for this task, but I mis-measured them and realized too late that the boards weren't wide enough to actually extend beyond the box sides. (And if they didn't extend beyond the sides, there would be nothing to keep the top in place.)
Looking around the shop, I spotted a piece of oak that looked like it was just the right width, thickness and had enough length to cover both sides and both ends. Jackpot.
I re-sawed the oak, planed and squared the pieces and cut them to size with miter joints on the corners. They fit perfectly inside the box and created the exact fit I was seeking. I glued them in place.
The Finish Line
The box was now fully constructed and all that remained was signing the piece and then sanding and applying a finish. I grabbed my Dremel and a grinding bit. I flipped the box over and started carving "HATCHMADE 2022" into the bottom. The thing about that, though, is I have terrible handwriting in the best of times. And using a Dremel on wood is not what you might call "ideal circumstances." Let's just say the results weren't ideal.
With the brand in place, I assiduously sanded every surface, nook and crevice until the box was silky smooth. I wiped it down and decided that shellack would make a nice finish for this piece. I've read that shellack can work really nicely with walnut, so it seemed like the right move. I brushed on the first coat and almost immediately regretted my choice. The shellack was amber-colored and imparted a tone I didn't like. Shellack also sits on the wood rather than penetrating it. That can be fine for certain situations, but in this case it just looked wrong.
My only recourse was to wait for the box to dry and then sand the shellack away. That was easy enough on the various sides, but the corners were far trickier. Using a combination of acetone and sanding sticks, I was able to get much if not all of the corner shellack.
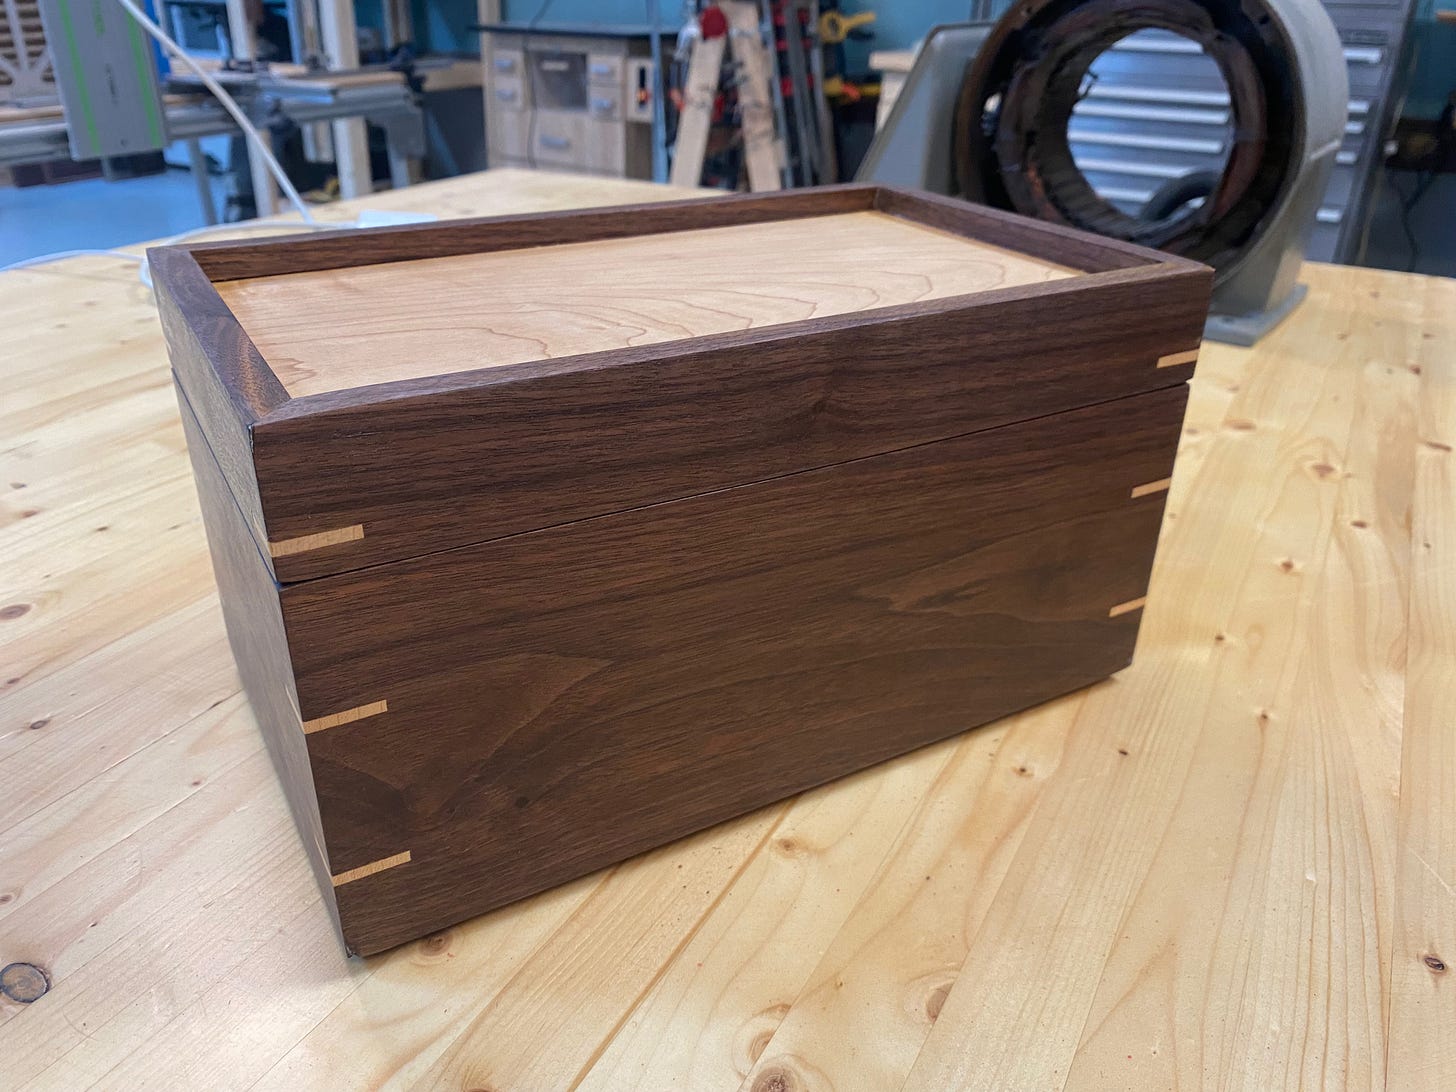
Nevertheless, with the signature in place and much shellack removed as I could manage, I reached for a can of tung oil, which is the same finish I used on the mantle. The nice thing about tung oil is that it penetrates the wood, maintains its natural color, and over time hardens to create a protective layer, though I've also read it can give walnut an unappealing ash-gray look over time. I guess we'll find out. Meanwhile, I applied one coat, let the oil sink in and then wiped away the excess. After 24 hours, I gave the surface a light high-grit sanding, cleaned the wood and applied another coat. After four coats, the box was finally done.
My niece seems happy with the results and I resisted pointing out its many flaws. Wait, no, they're not flaws. They're "the hands of the artist." They're "learning artifacts." That's what they are!


