Taking Shelter
One of the ways we got lucky with this house was all the stuff that was left behind — a smoker, many planks of hardwood lumber, lawn and garden equipment, and at least eight (maybe more?) cords of seasoned firewood.
The firewood was lovingly stacked in six long rows — four on an upper field and two near our back patio. The wood is heavy oak and birch and has been drying for several years under the protection of heavy tarps.
But, as appreciative as I was for this bounty of firewood, I didn't love where it was stacked — especially the wood by the back patio. It was a bit of an eyesore and sat right in the middle of what would otherwise have been an open area. I decided that what we needed was a true woodshed where the firewood could be properly stacked and protected. I wanted it to remain easy to access, but also not in the middle of the back yard. Project time.
To start, I looked around for good woodshed designs and settled on this one from the EPA. It seemed pretty simple to make and not too expensive. I figured I could knock it out in a day.
With the design in hand, I scouted areas where I thought the woodshed should sit. I knew I wanted it accessible, but also off to the side. I didn't want to put it on a slope. I didn't want it to block a view. I didn't want it too close to other structures, lest it invite termites. For a time, I thought I'd put it out front on the side of the driveway, tucked behind a forsythia. But Cyn talked me out of that idea.
Eventually we decided it would fit nicely near the chicken coop behind the garage. It was a mostly flat area that wouldn't be too visible, nor too far. I laid out some markers to get an idea of the footprint and decided that yes, it would work just perfectly.
I made a quick trip to Home Depot to pick up supplies — materials have definitely gotten more expensive since that EPA flier was made — and returned ready to build.
It was a beautiful autumn Sunday, so I tuned into the audio feed of the Browns game and got to work.
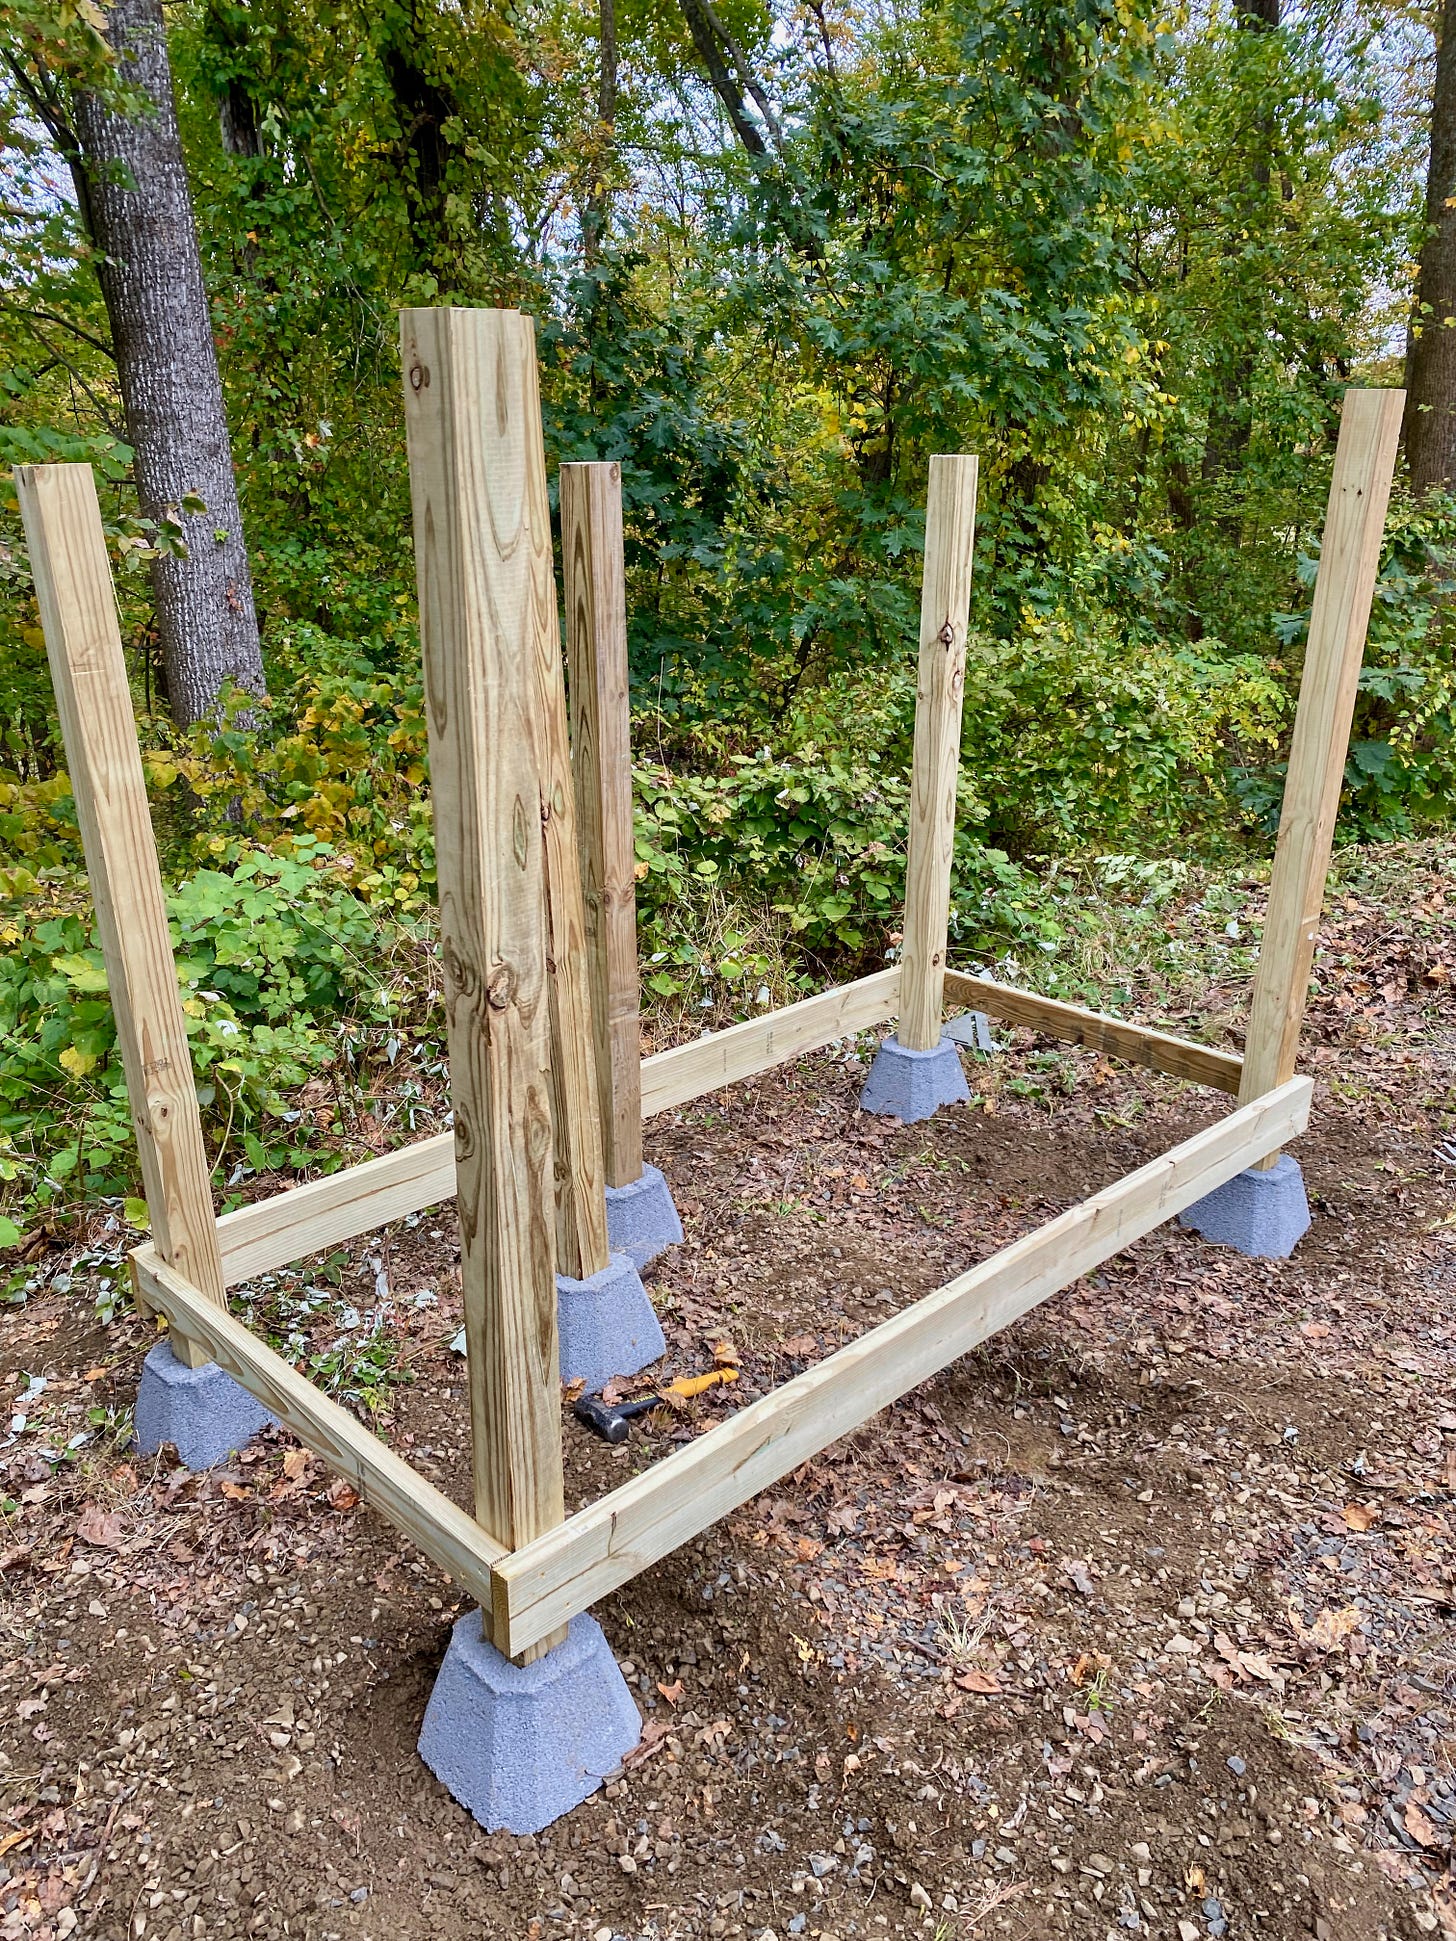
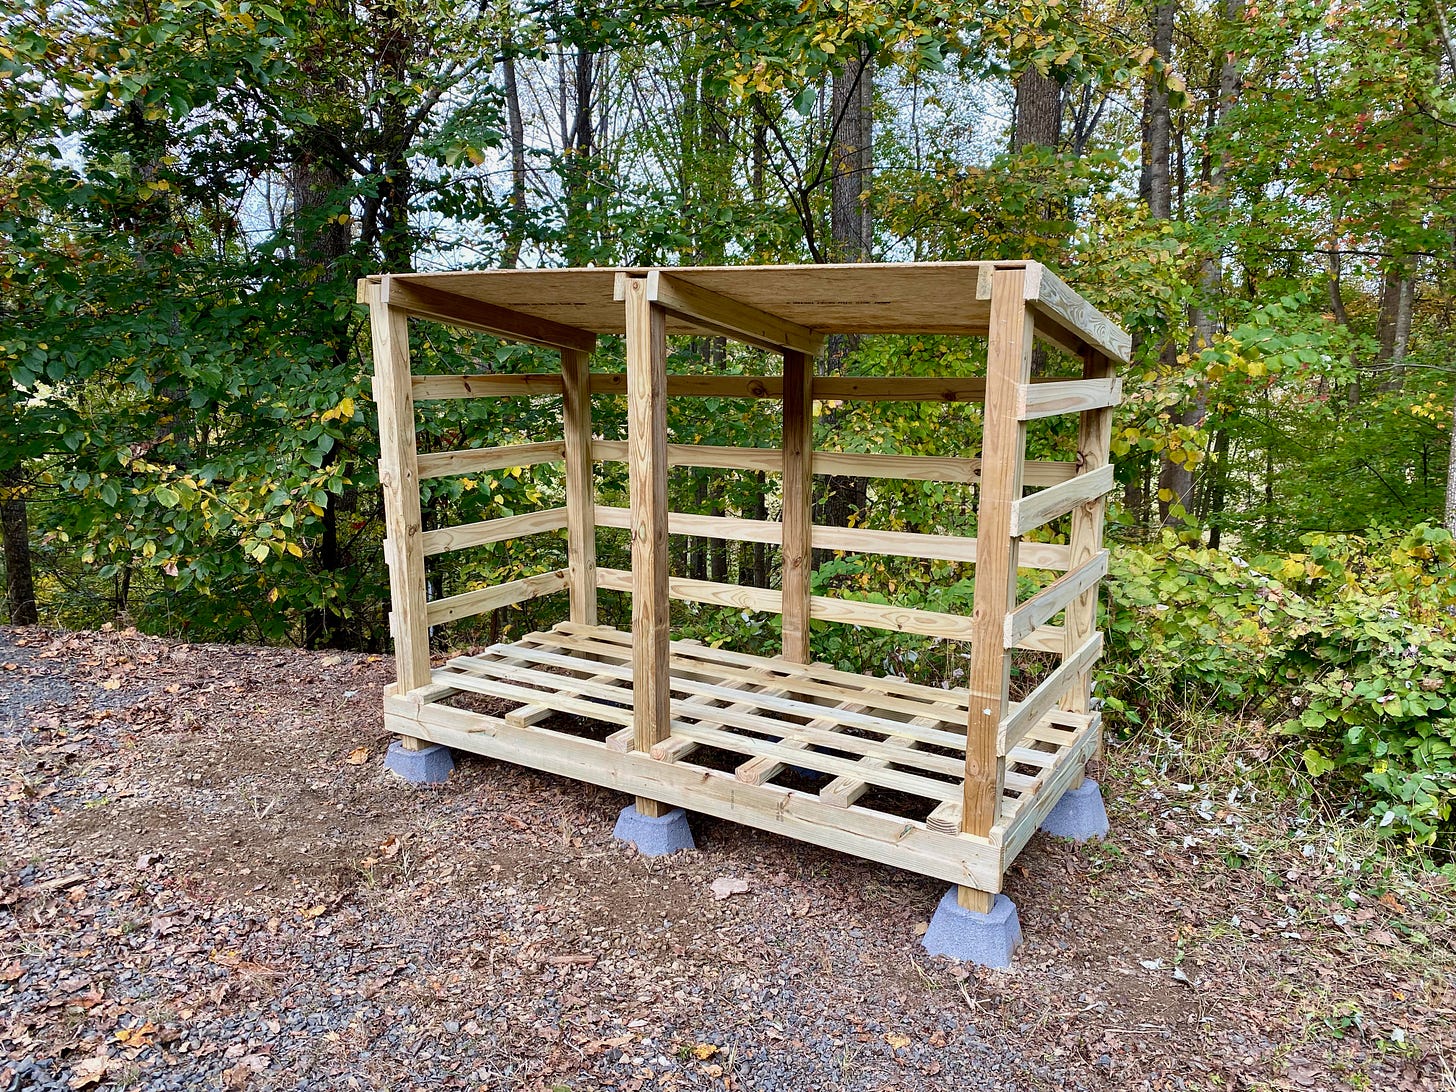
To start, I placed concrete footers at their approximate locations and with a four-foot level, realized that what looked to be flat land was actually surprisingly sloped. With a shovel and a trowel, I dug into the gravel base until the footers were all level with each other. Using one of the 8-foot boards, I then adjusted the positions of the footers until they were all exactly in the correct spots. (Or so I thought. Only later would I realize I slightly miscalculated their positions.)
The footers are designed to support 4x4 posts standing vertically in the footer's recesses, so I drove posts into each footer until they were firmly in place. What I forgot to do was to cut the rear posts slightly shorter than the front ones so that the woodshed roof would pitch backwards to carry rainwater away. Once again, only later did I realize that oversight. However, I wasn't too hard on myself — based on the radio play-by-play, I was making many fewer mistakes than the Browns were.
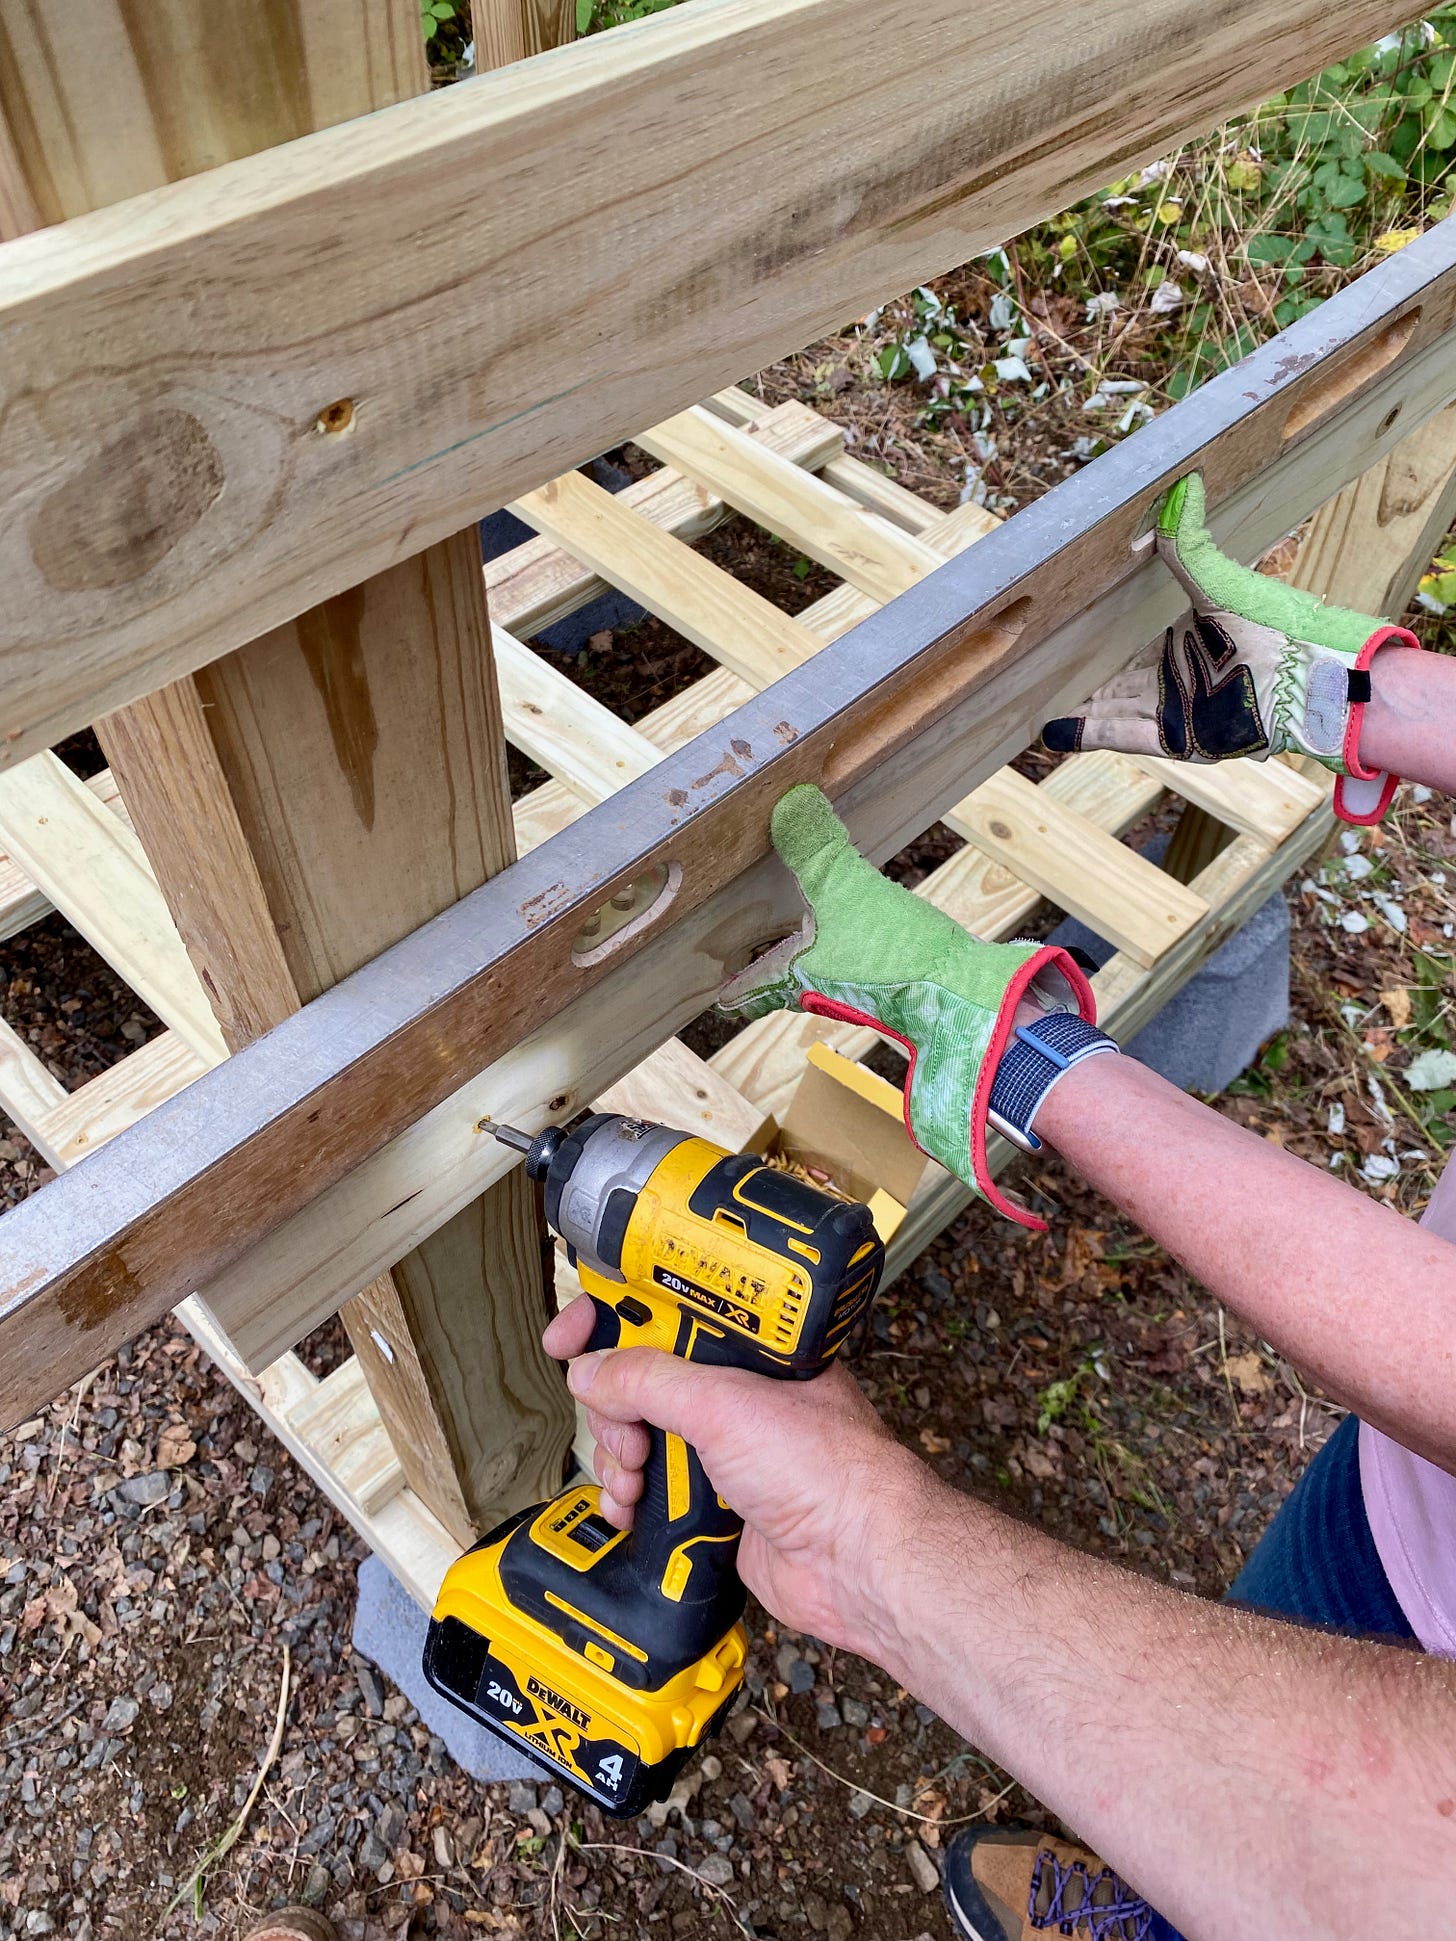
With the posts in place, I then screwed 2x6 boards to the posts to create the bottom frame, ensuring that they they were level all the way around the shed. Thankfully Cyn was able to help me hold pieces and keep everything level. The help, the weather, and the project were all going perfectly. The only thing not in keeping with the happy day were the Browns, who were characteristically losing in the most mind-numbing fashion.
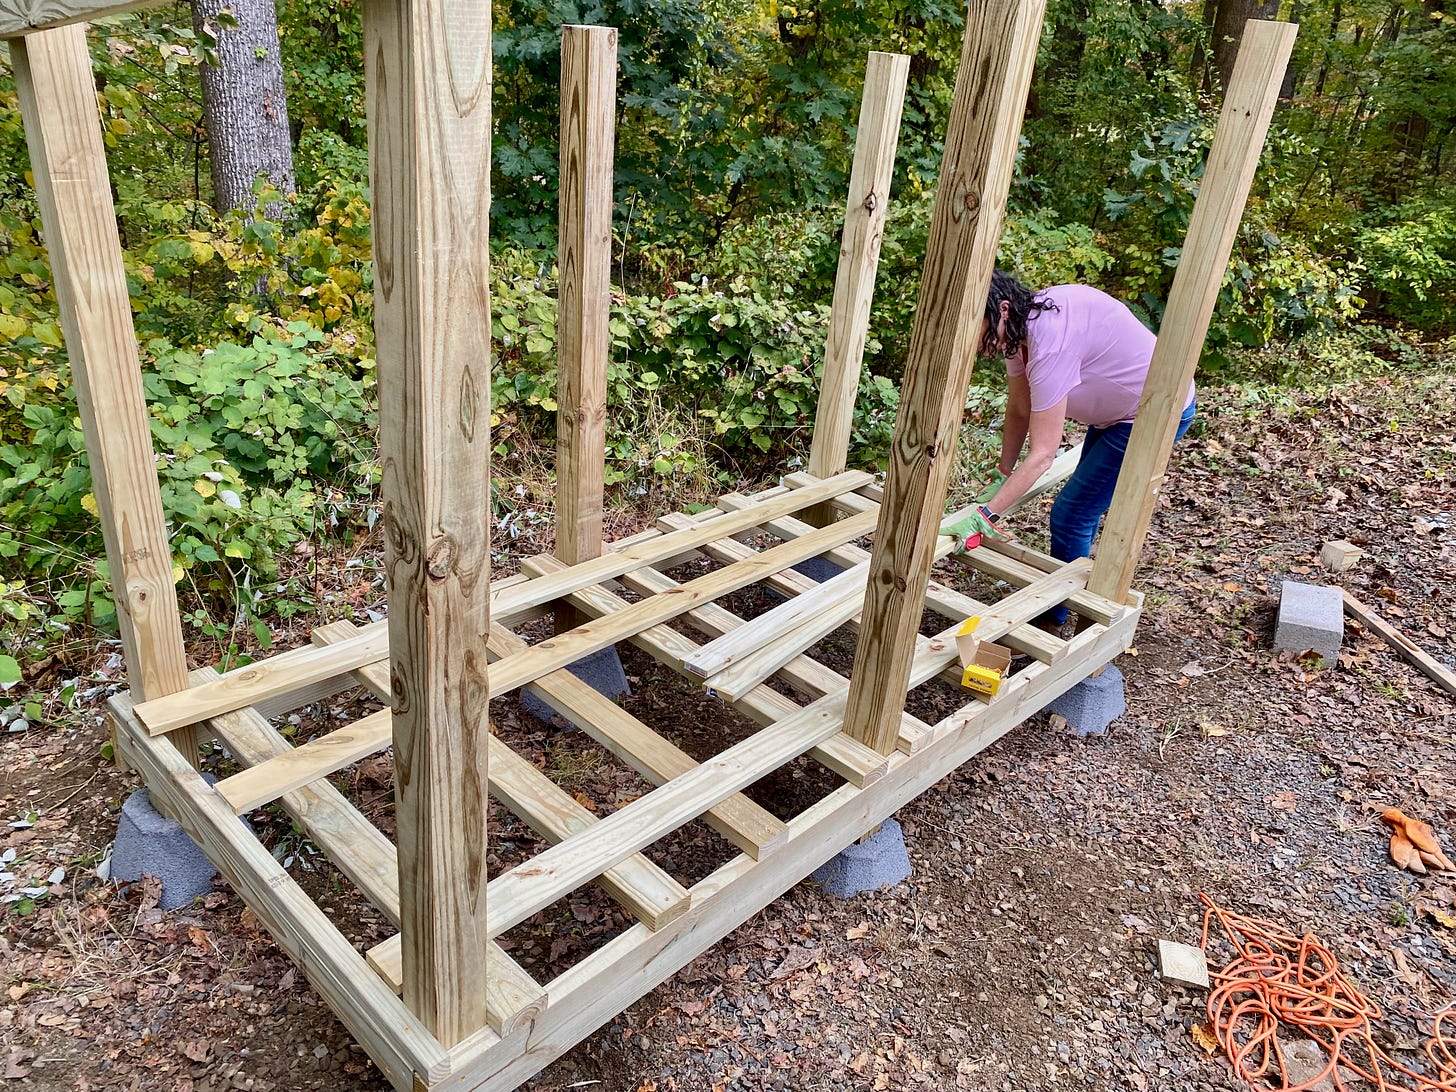
With the frame in place, I laid nine 2x4s front to back. It was at this point I realized I had positioned the posts a little too far apart. I should have ensured they were inset enough to allow for a 2x4 on each end to lie flat between the post and the end of the frame. Since I didn't leave enough room for that, I ripped one of the 2x4s in half lengthwise and patted myself on the back for my extraordinary cleverness.
Once the 2x4s were screwed into place, I screwed down 1x4 planks across the 2x4s to create the lattice-style floor.
Now it was time to add the side pieces — 1x4s up each side and the rear, spaced apart to let air flow. I marked their positions and Cyn helped me keep everything level and evenly spaced. Within a few minutes, the sides were attached and the Browns had made another soul-destroying play.
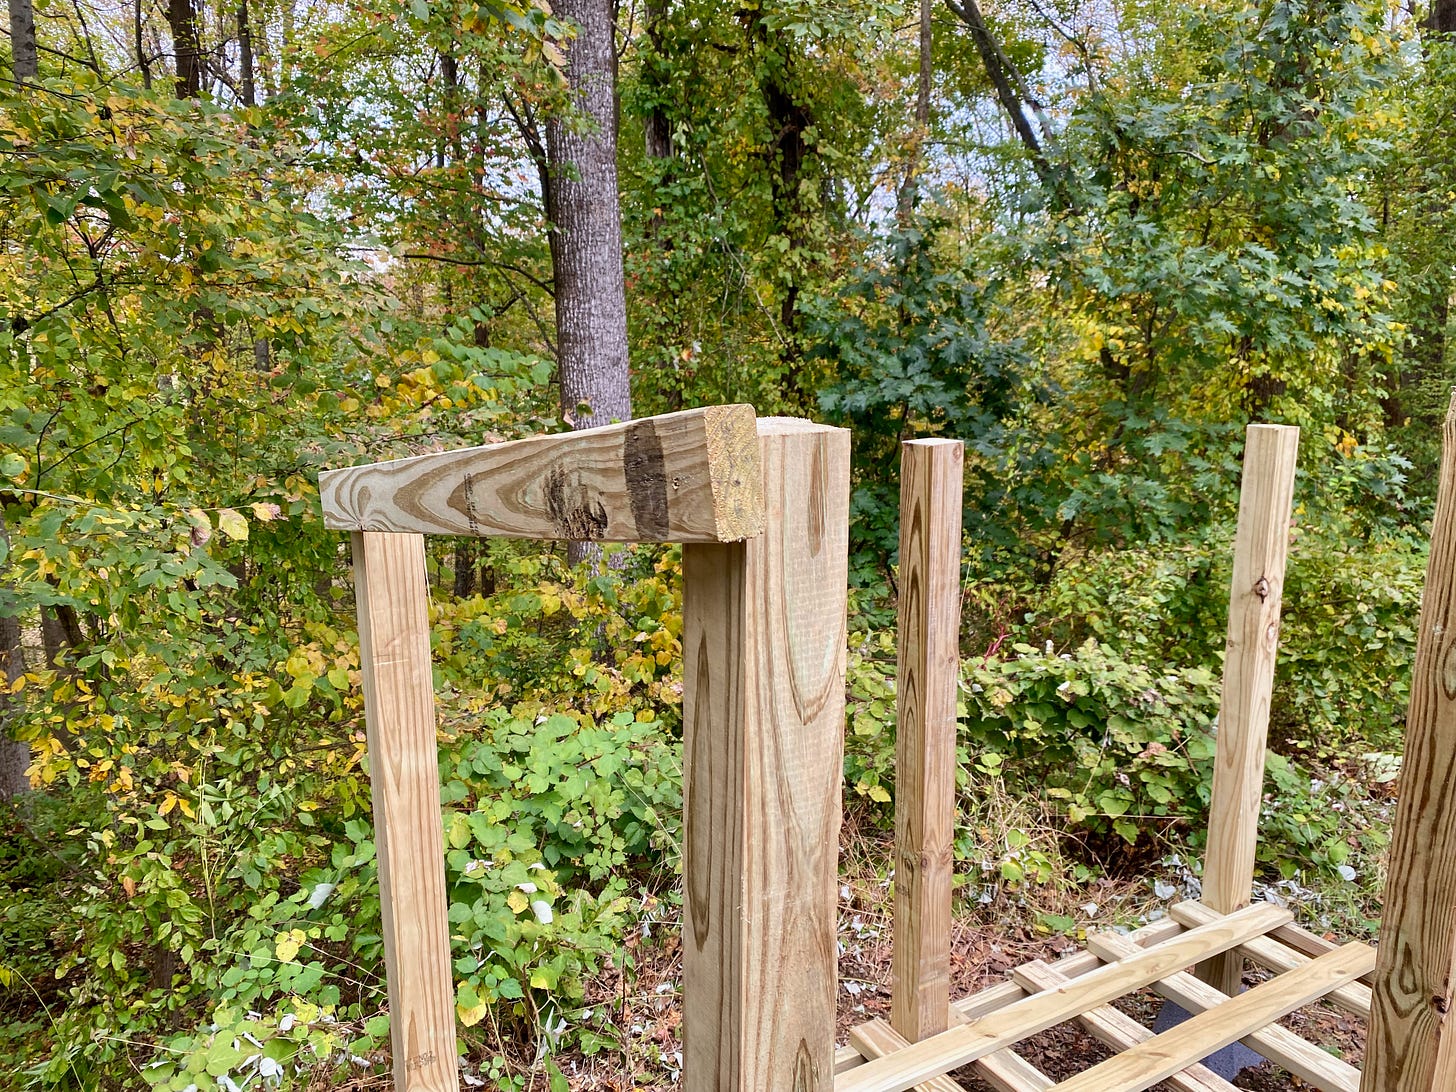
Next it was time to put up the roof, which came in the form of a 4x8 sheet of OSB plywood — specifically made to sheath buildings. The OSB rests on 2x4 rafters that themselves are screwed into the posts. It was at this point, that I realized the Browns weren't the only ones making inexplicable mental errors. As previously mentioned, I realized I had failed to shorten the rear posts to allow the roof to have the proper pitch. And of course it was too late to take them down and cut them now.
So, I pulled out a circular saw and carefully cut them in place. To my surprise and delight, I managed to make the cuts without screwing up or injuring myself.
Now that the posts were the proper height, I screwed in the roof joists and then heaved the sheathing up top.
It was at this point that I realized my earlier self-congratulations were premature. Because the sheathing was 8 feet wide, that meant that the way I had placed the footers and posts caused the rafters to extend beyond 8 feet. In other words, I hade made the woodshed slightly too wide for the roof.
While not ideal, it also wasn't a dealbreaker. It just meant there would be a small gap between the roof and the end rafters. It's not like the structure is intended to be (nor should it be) waterproof. It's just meant to keep the wood from being soaked through. In fact, decent airflow is critical to ensuring firewood is dried and seasoned.
And just as I overcame my mistakes, the Browns appeared to be overcoming theirs and were on the cusp of snatching victory from the jaws of defeat. Could we both have winning Sundays?
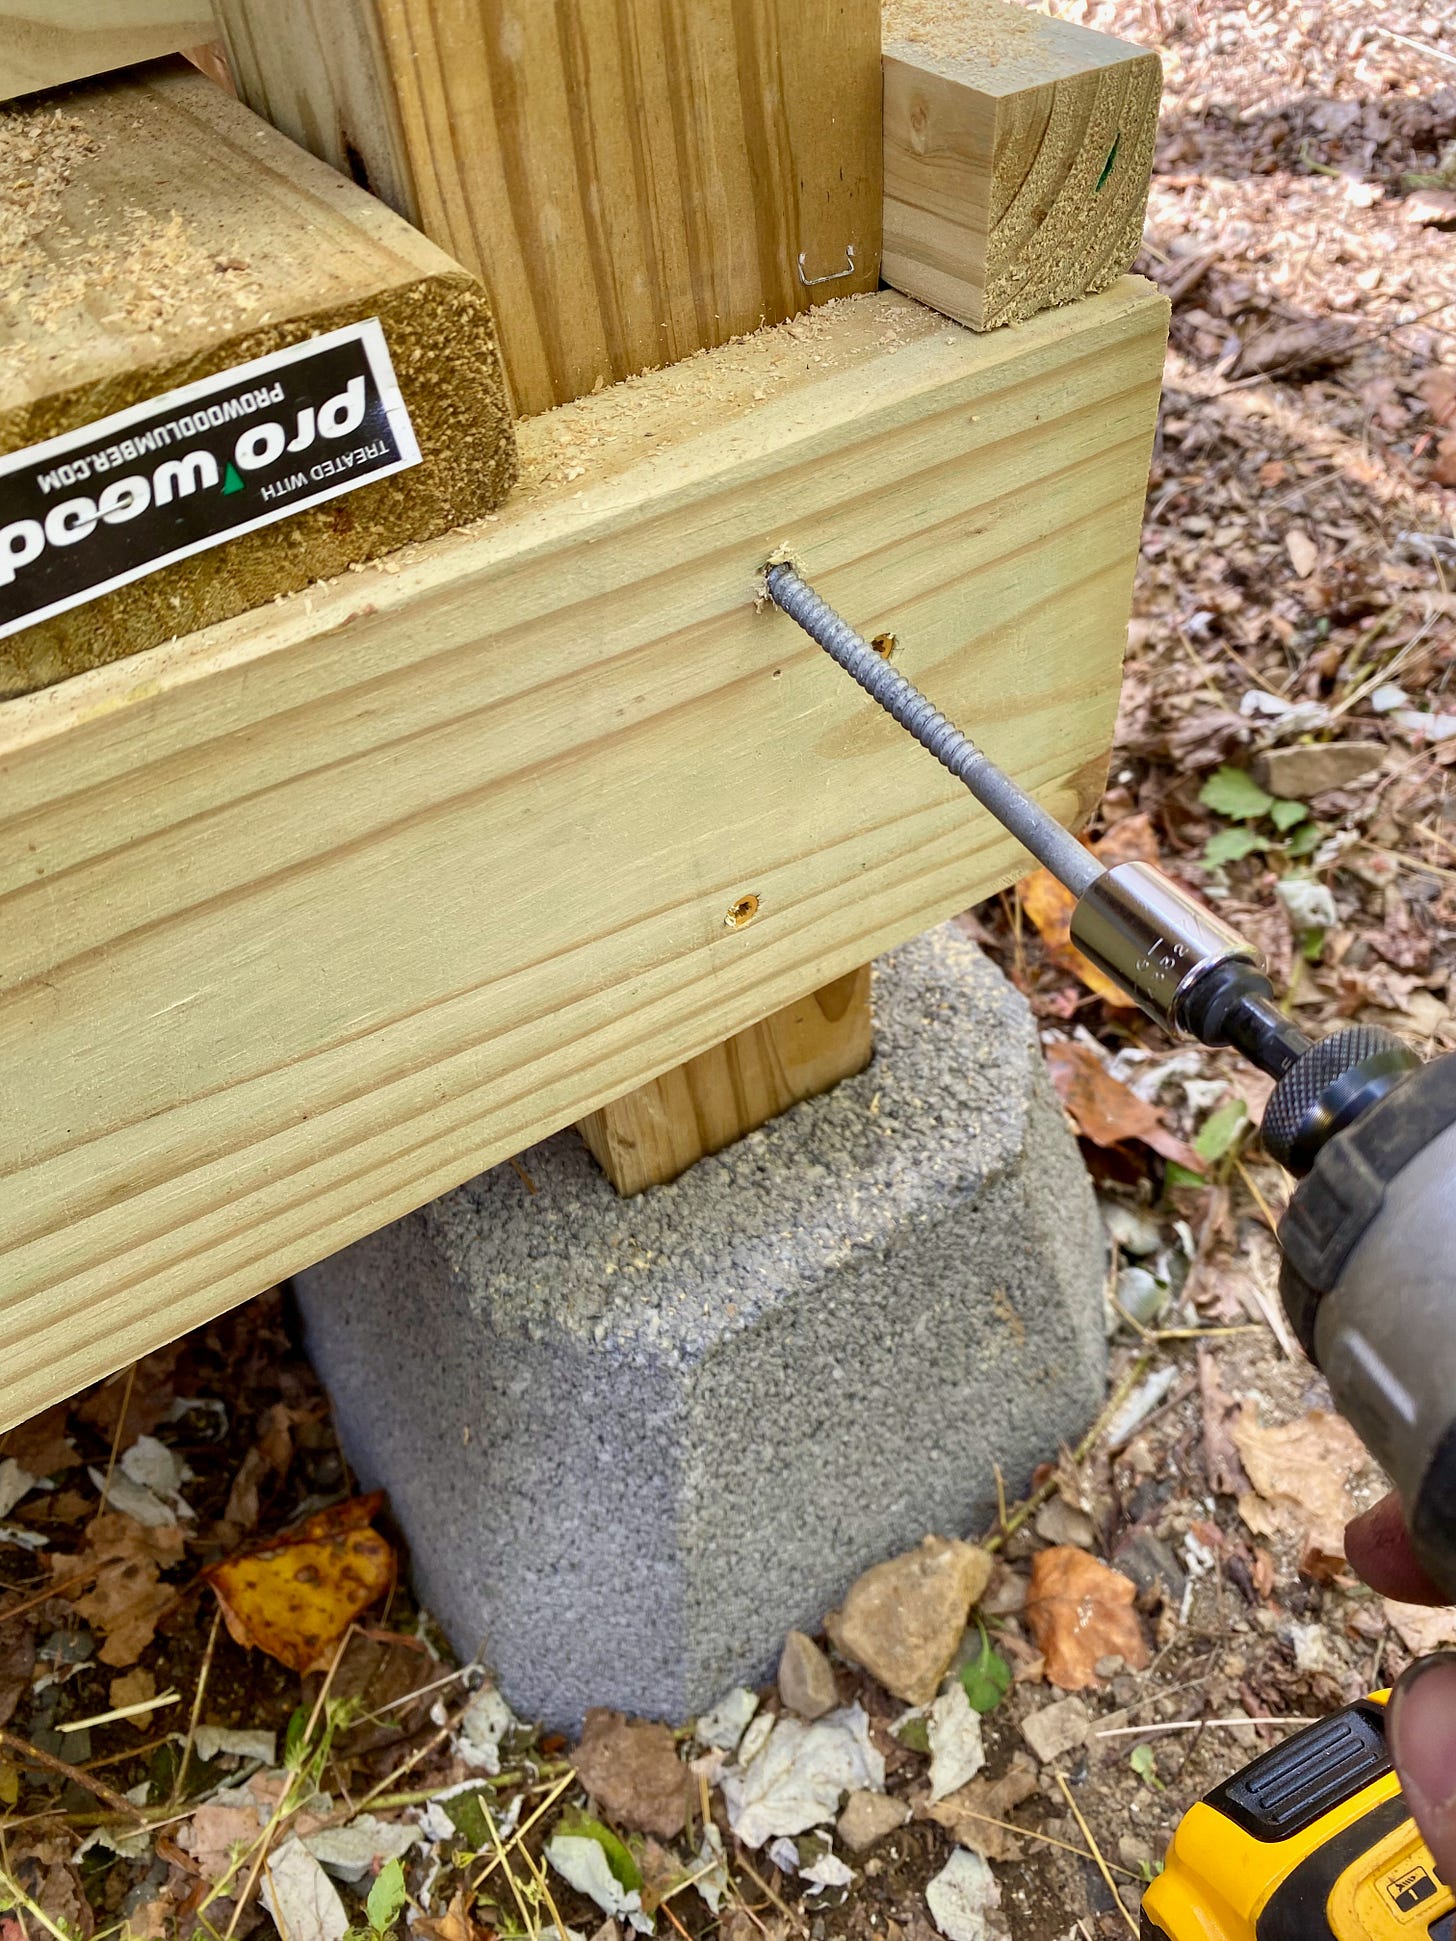
As the game's final minutes wound down, I screwed down the sheathing and then returned to the frame at the bottom of the posts and screwed in lag bolts to give the frame the proper support that deck screws couldn't provide.
The final construction task, then, was to apply a coat of rubberized sealant to the OSB. I grabbed a cheap brush and roller and got to applying the thick black goo. The sticky tar would help keep the OSB from rotting, which was more than could be said for the game. As I finished applying the sealant, the Browns sealed their loss with play that can only be described as "insulting." Naturally.
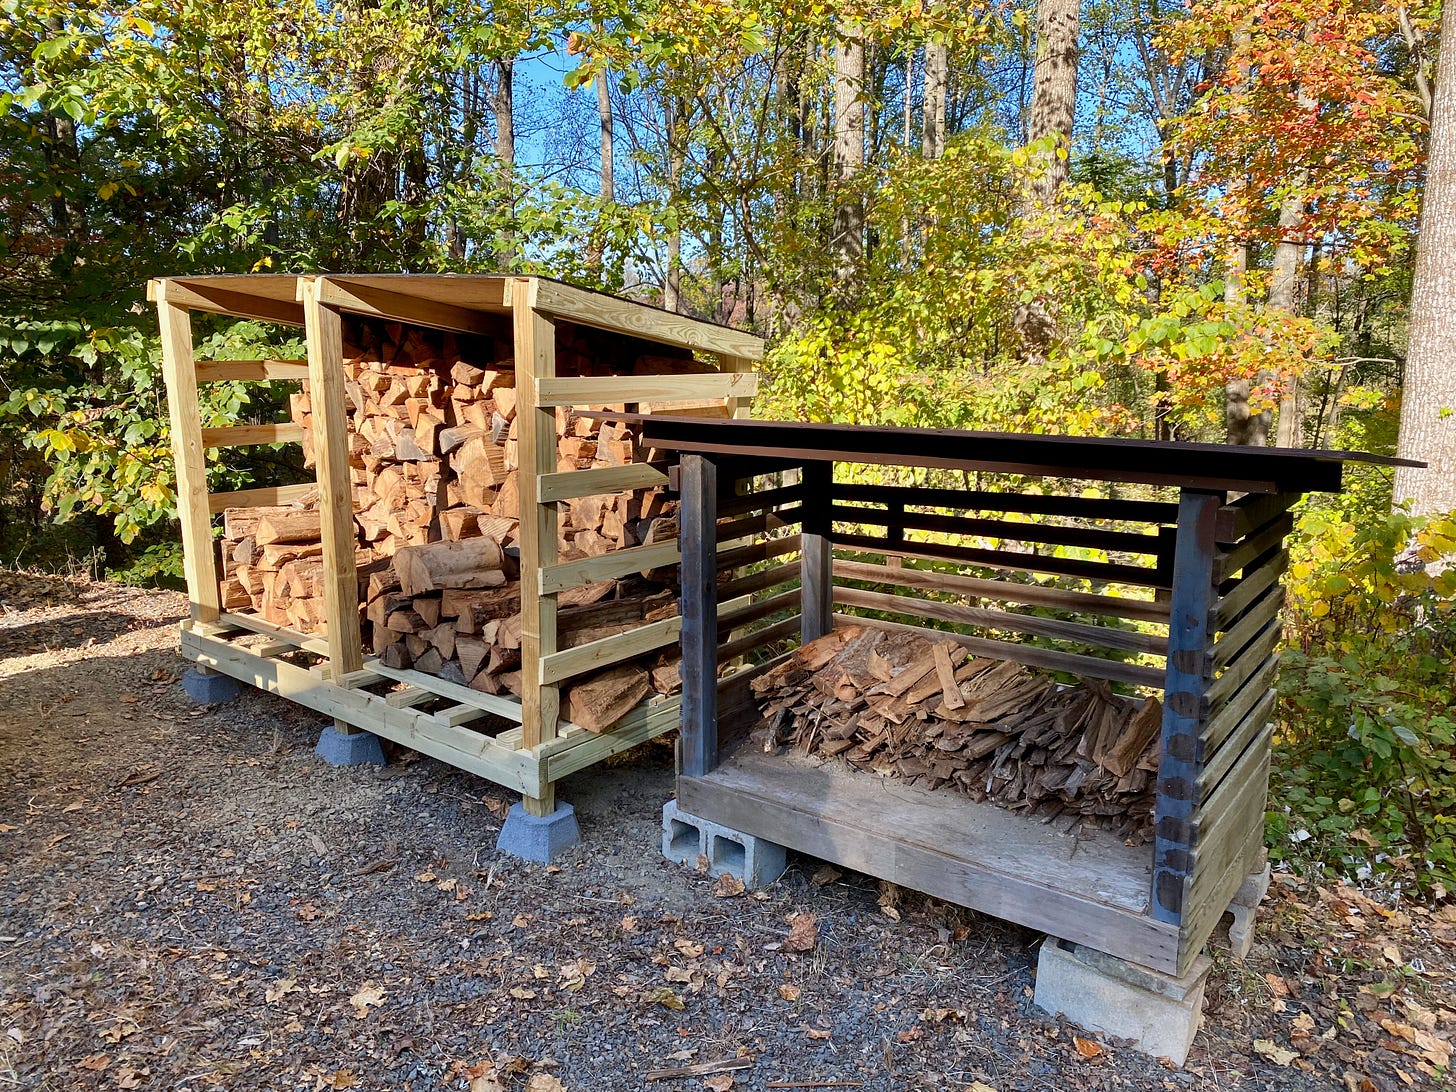
With the woodshed complete, all that was left was to load it up with wood. Over the next few evenings, I loaded up my tractor wagon with firewood and re-stacked it in the shed. I also moved a smaller, similar woodshed from elsewhere on the property and sited it next to the newly built one. As I filled the big one with logs, I filled the smaller one with kindling.
The shed was able to accommodate the remaining wood that was stacked in the middle of the yard, which I was pleased to see gone. We still have seven or so cords of wood stacked elsewhere, but in time it will all make its way to the shed and then the fireplace, where, like dreams of successful Browns seasons, it'll turn to ash.


