Softening the Hardscape
As previously described, I'm incredibly lucky to have a large shop on our property in the form of a four-bay garage. However, being a four-bay garage, it sits as a rather large and imposing structure at the top of our driveway. It's not exactly inviting.
In an attempt to rectify this, I decided what was needed were some wooden planters filled with colorful flowers. This would soften the brown and brick façade and also give me a relatively quick and easy weekend project to work on.
As I described my idea to Cyn, she sent me an Etsy store link to some cedar planters that were just what I had in mind. Cedar is a great wood for this type of project — rot resistant, smells great and looks just right. For the size I had in mind — about three feet tall — the price was a few pennies shy of $200 and I was looking to place five of them. A thousand bucks seemed a bit much, so I decided to steal take inspiration from the maker and build my own.
I decided I wanted each box to stand 36 inches tall and sit about 14 inches wide. Assuming I could use 1x4 planks, I calculated that I'd need nine 12-foot boards to make one planter.
I'm lucky enough to have a very nice and not terribly busy Home Depot just 10 minutes up the road from where we live, but unfortunately, it does not sell cedar planks. But where there's a Home Depot, there's usually a Lowe's and lucky me, the a Lowe's farther up the road does have cedar in stock. So on a recent weekend morning, I drove over and picked up the nine planks as well as some exterior screws.
Using a combination of arithmetic, trigonometry, algebra, calculus, geometry, and string theory, I calculated that for each side of my three-foot-tall box, I could cut a 12-foot board into four three-foot pieces. One plank, one side. Boom! Four planks and I had all four sides cut. Boom4!!!!
With those side pieces cut, I needed a way to turn them into a single panel. To do that, I cut four 12-inch boards and ripped them in half. That made eight 1x1 (roughly) "sticks" I could use as cross braces.
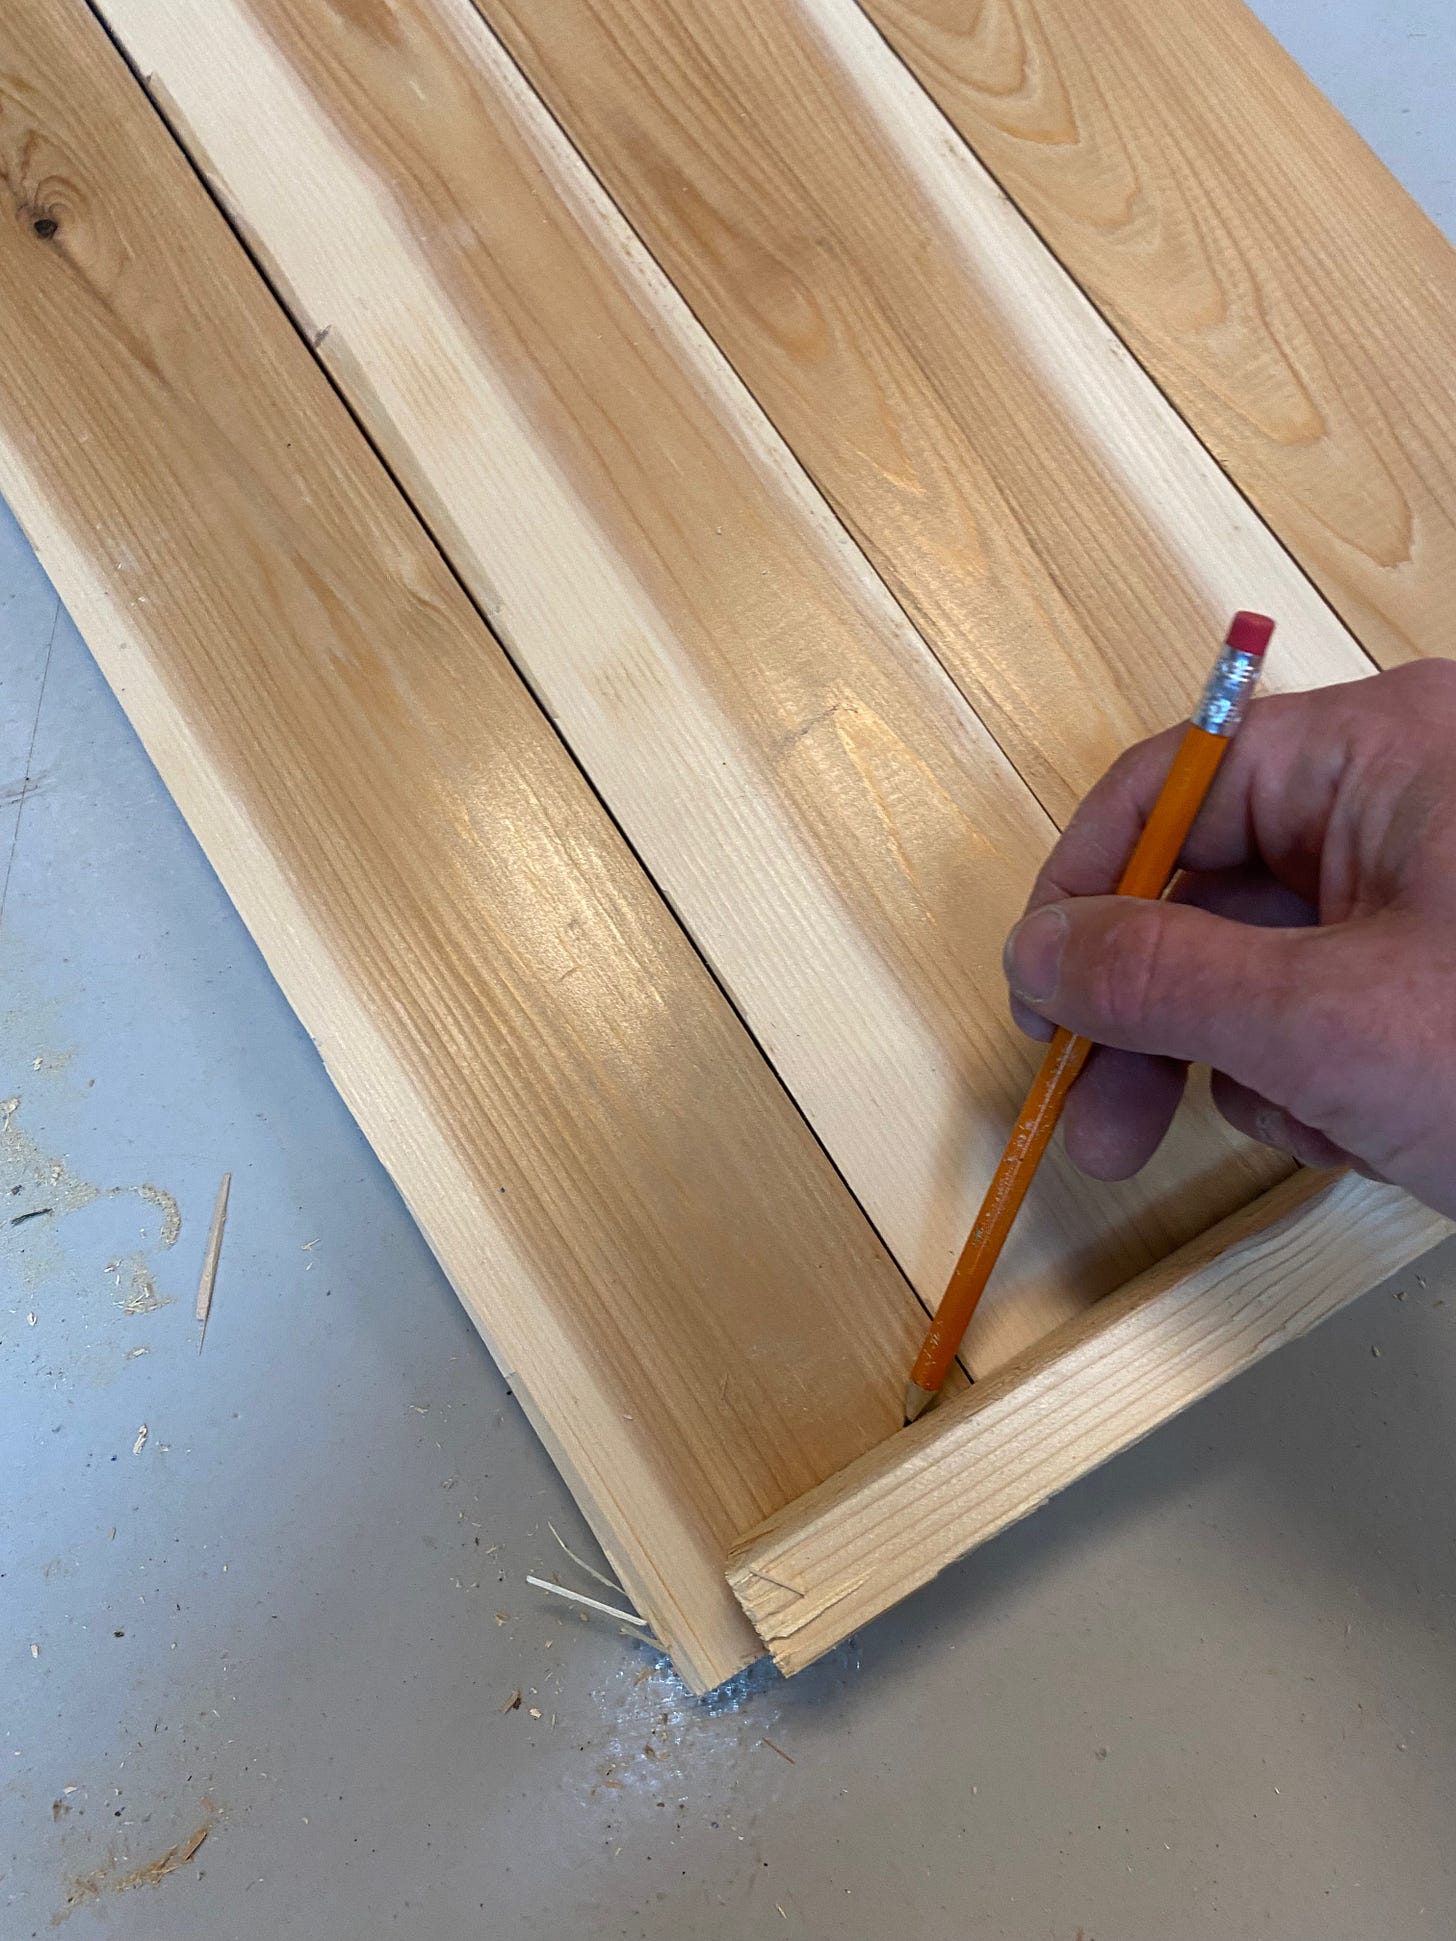
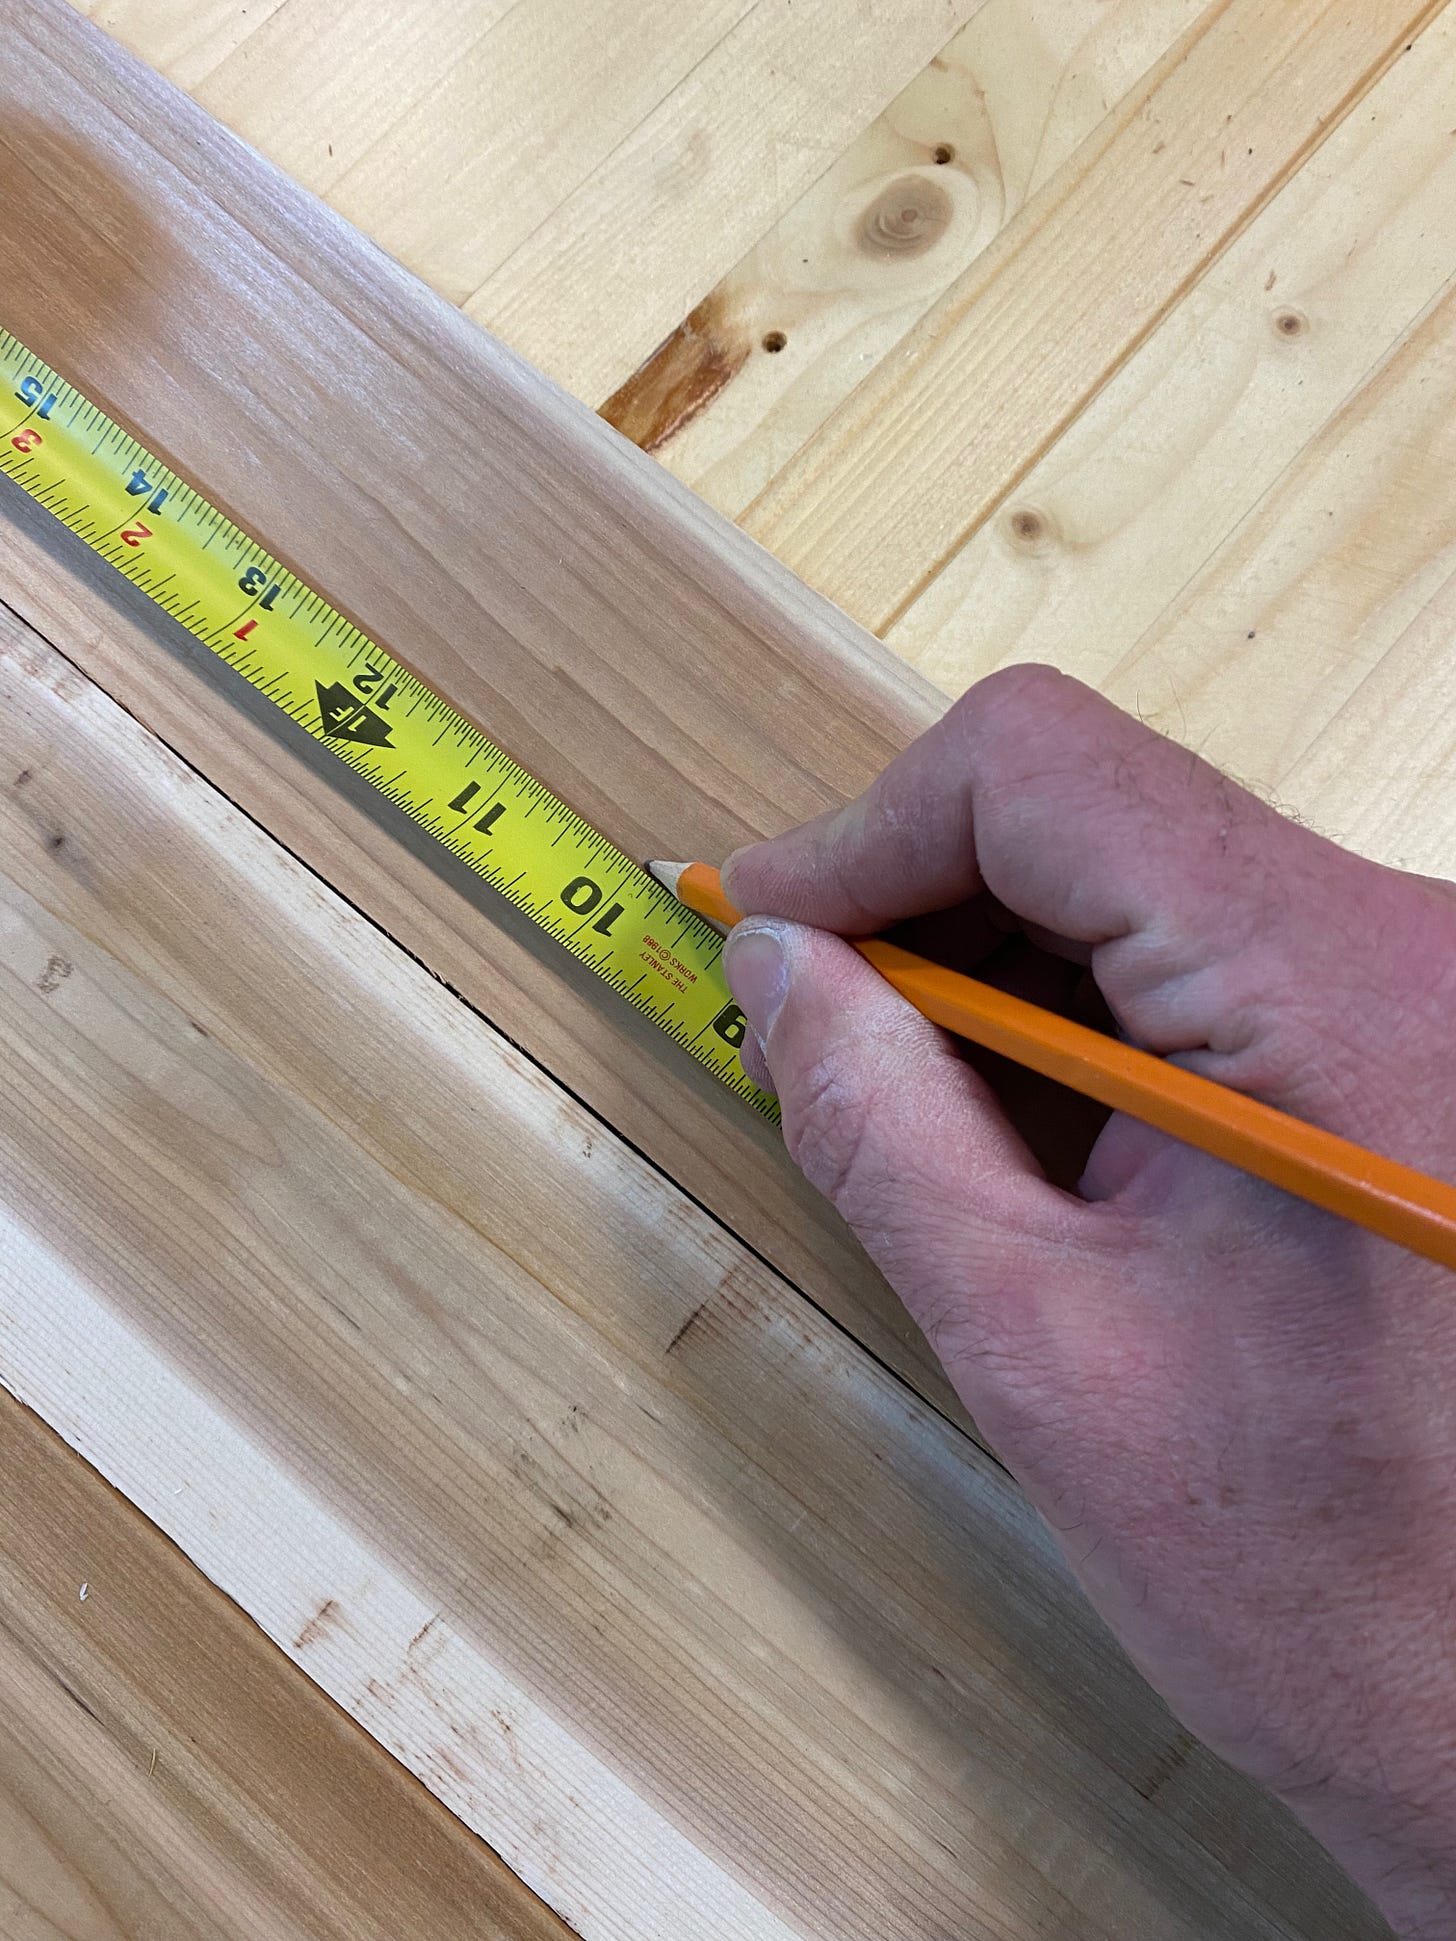
One cross brace I set a plank's thickness from the panel's bottom and the other I set 10 inches from the top. Not only would these hold the panels together, but they'd also serve as cleats for the bottom and as the "shelf" upon which the plants would rest.
The cedar boards had one smooth side and one rough side. Given the rustic nature of the property, I decided to have the rough face facing outward, so I temporarily nailed the cross braces together and then followed up by screwing the planks to the cross pieces.
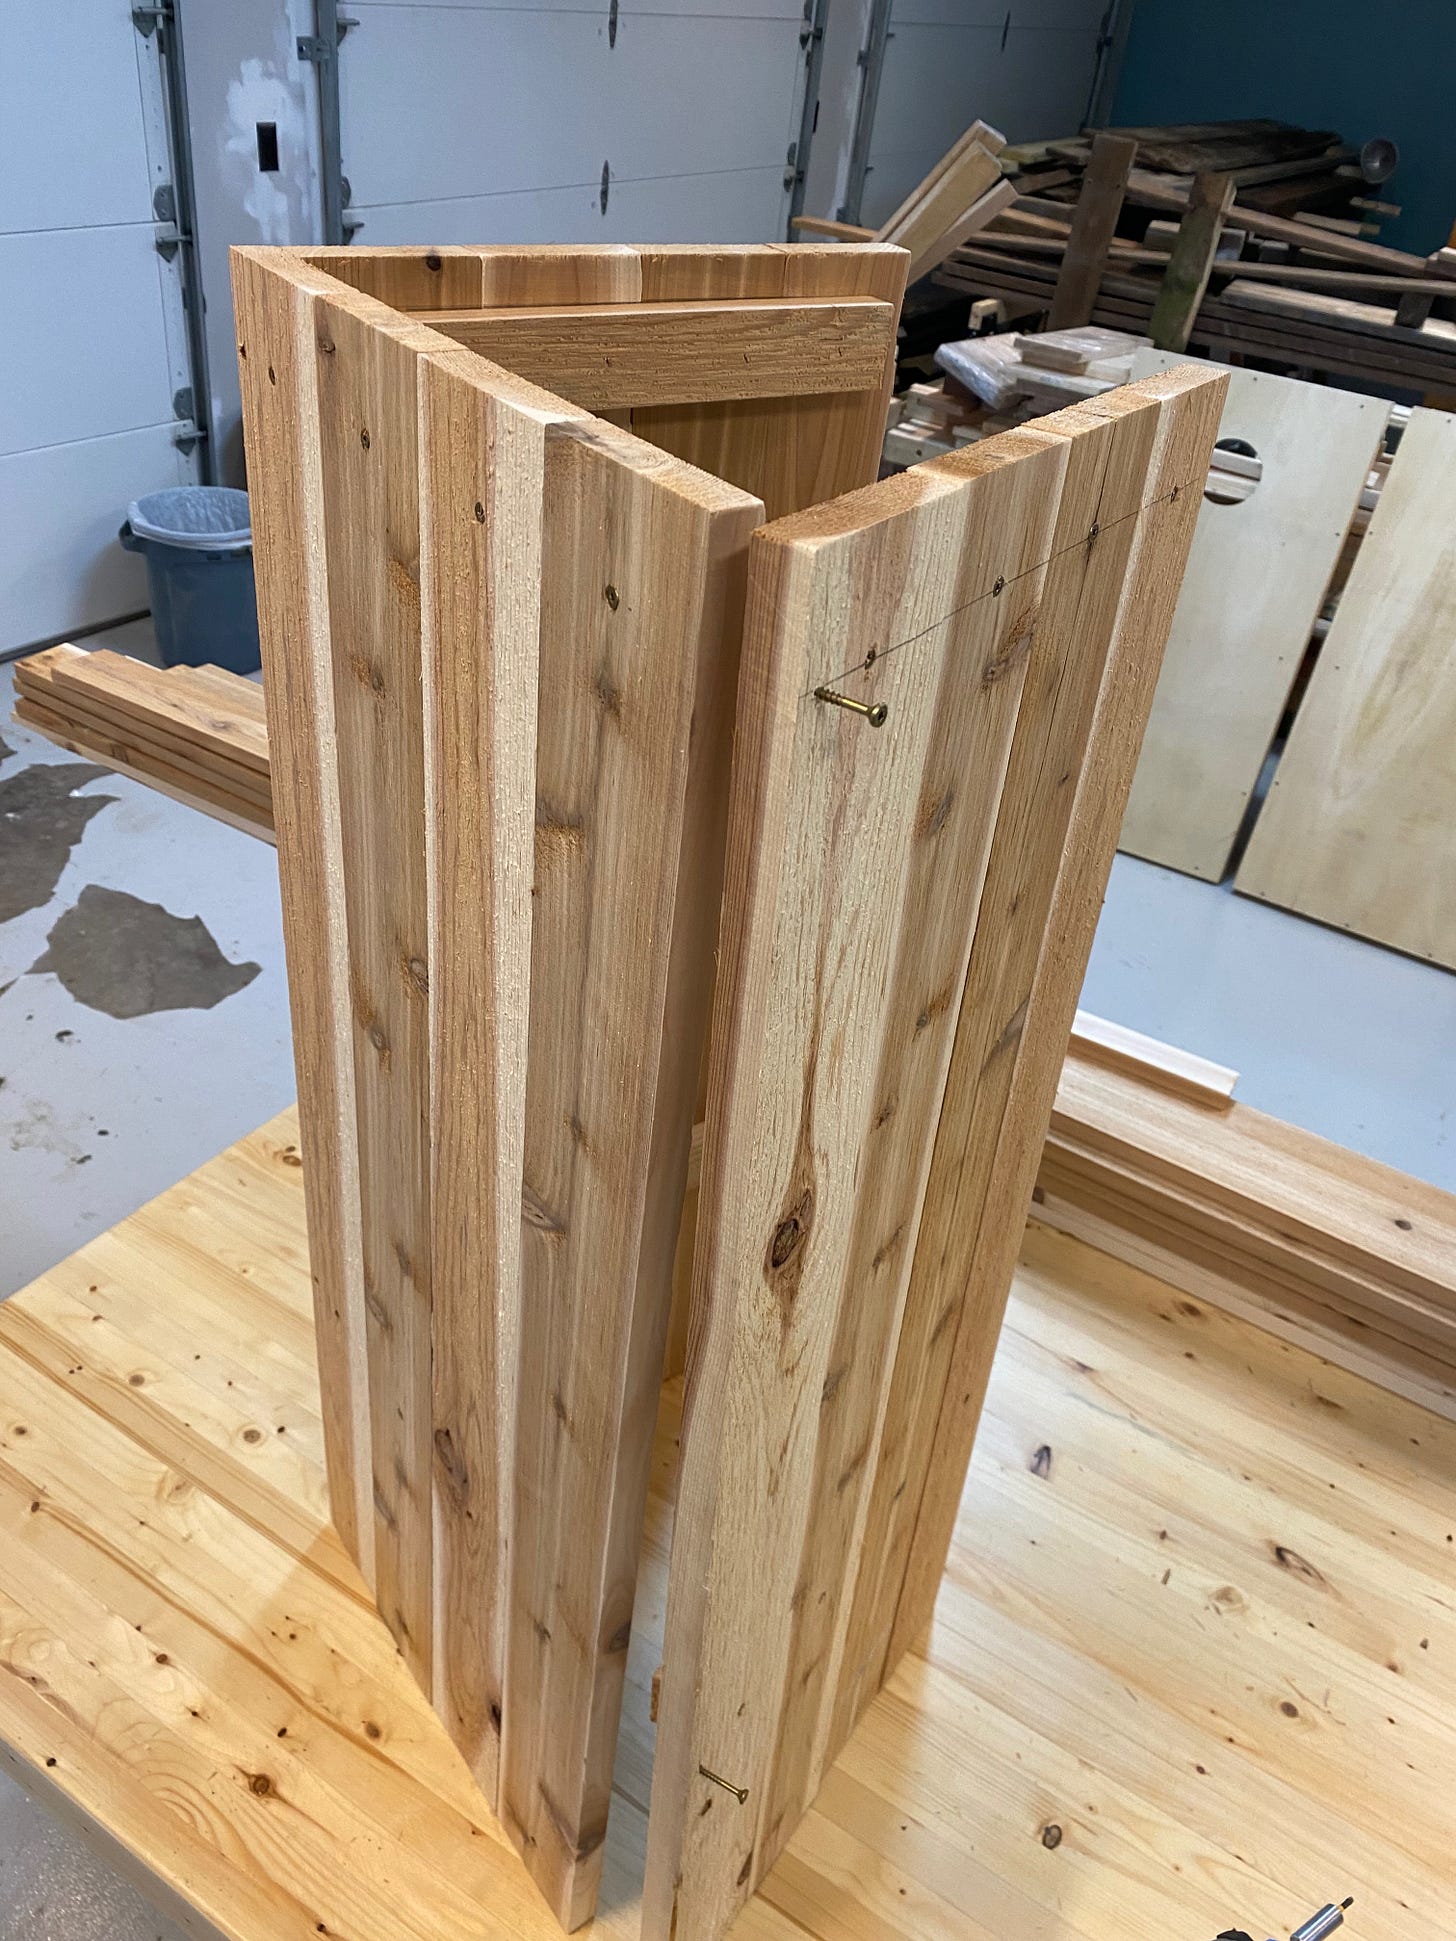
With each of the four sides complete, it was time to build the box. I stood the sides up and arranged them in a square. A few screws later and the bulk of the box was standing. Now it needed trim and innards.
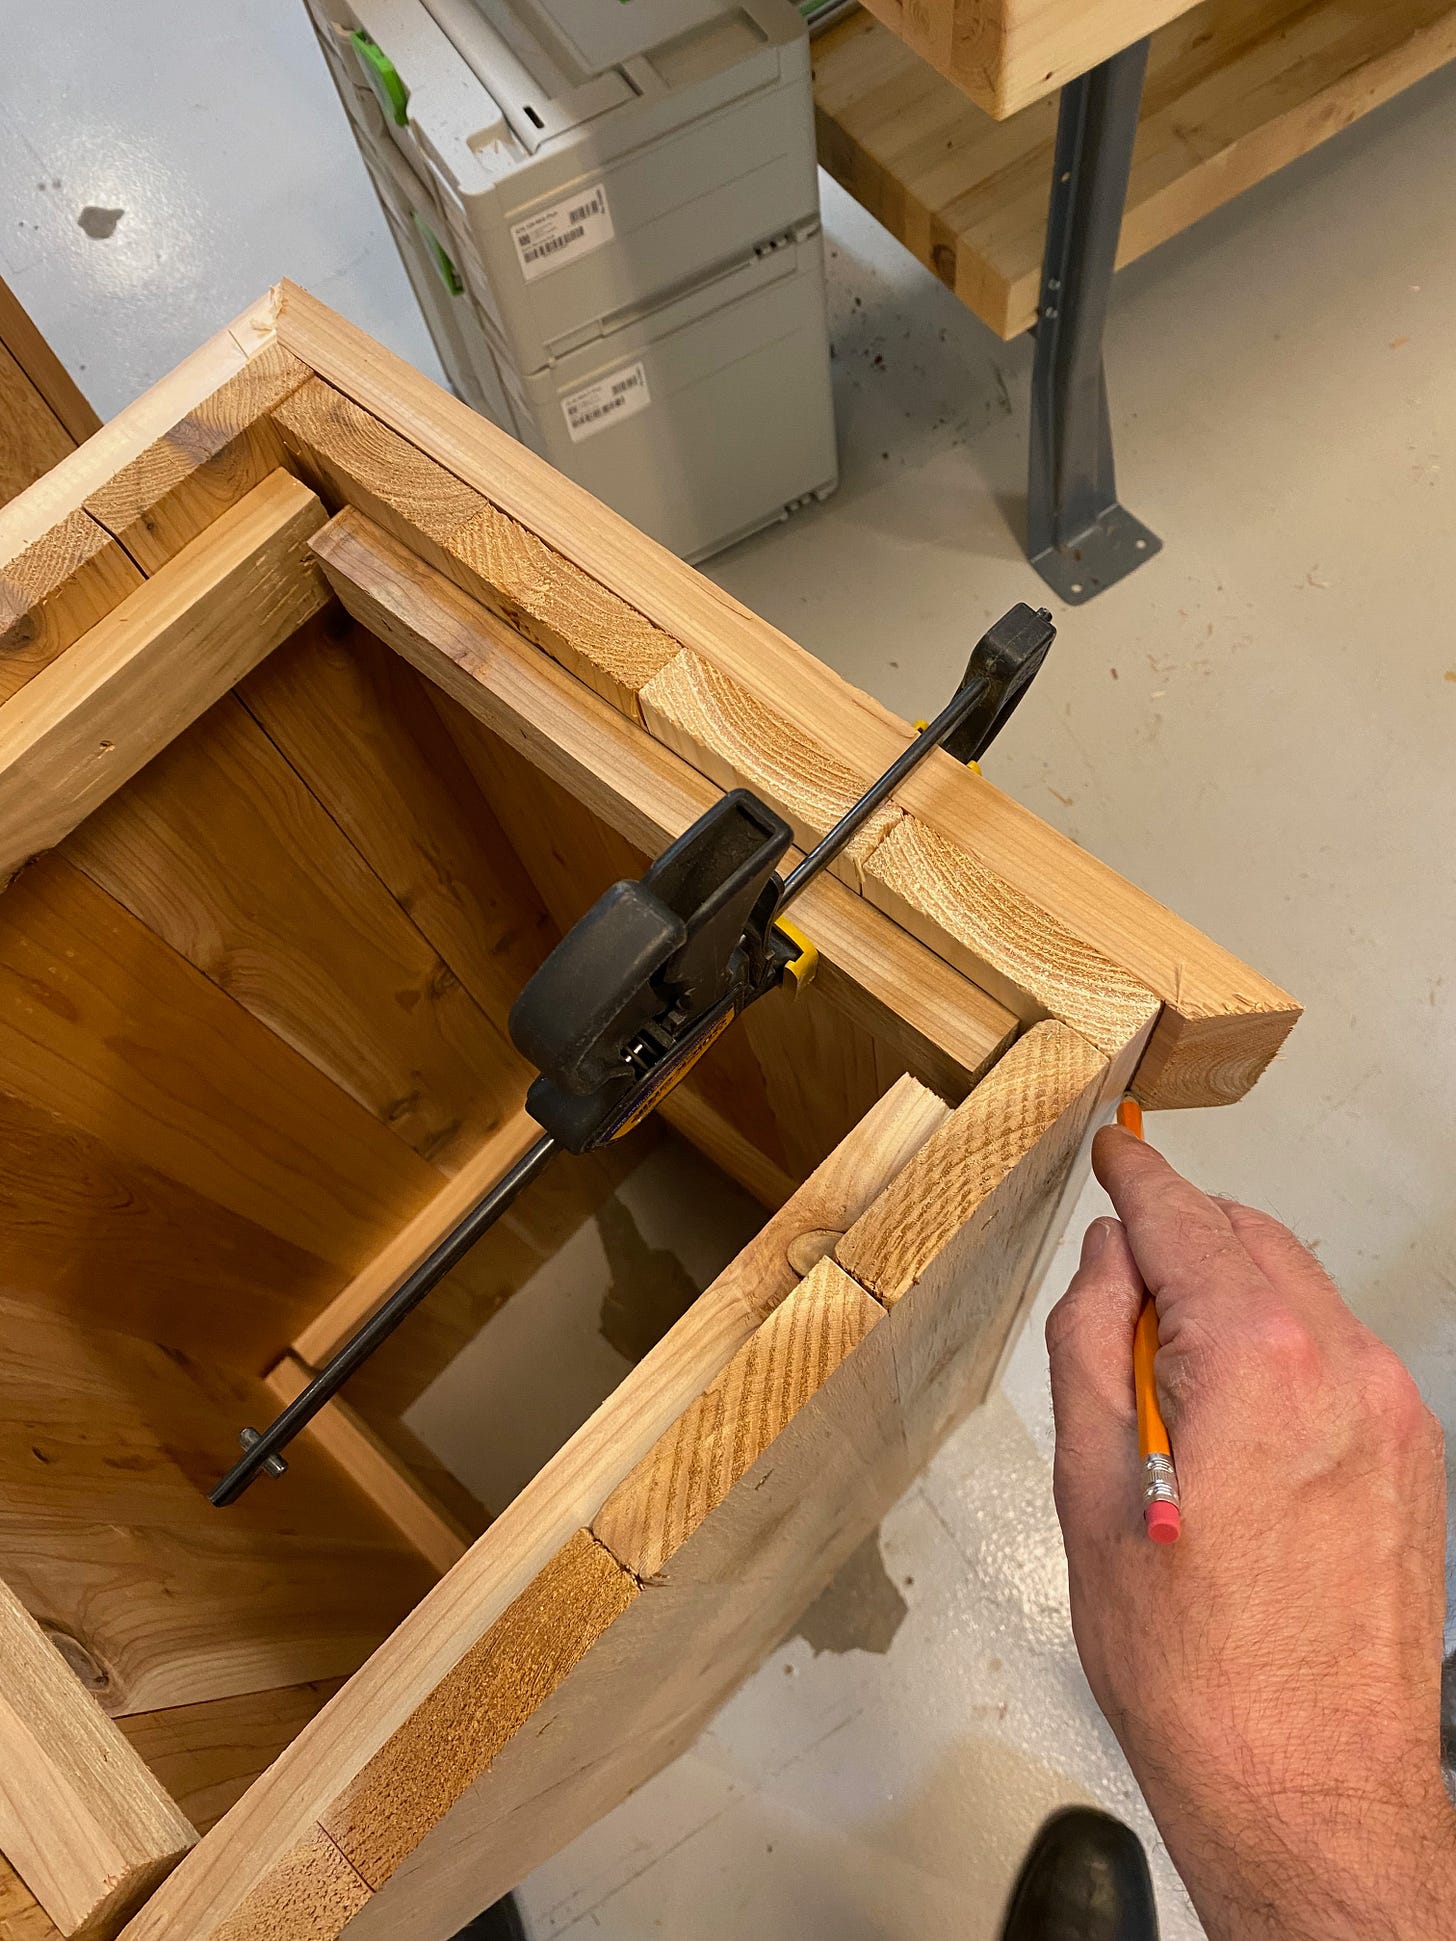
The trim was pretty straightforward. For the bottom, I mitered four pieces on the vertical and temporarily nailed them in place before using screws to firmly attach them to the box. Then I did the same thing for the top.
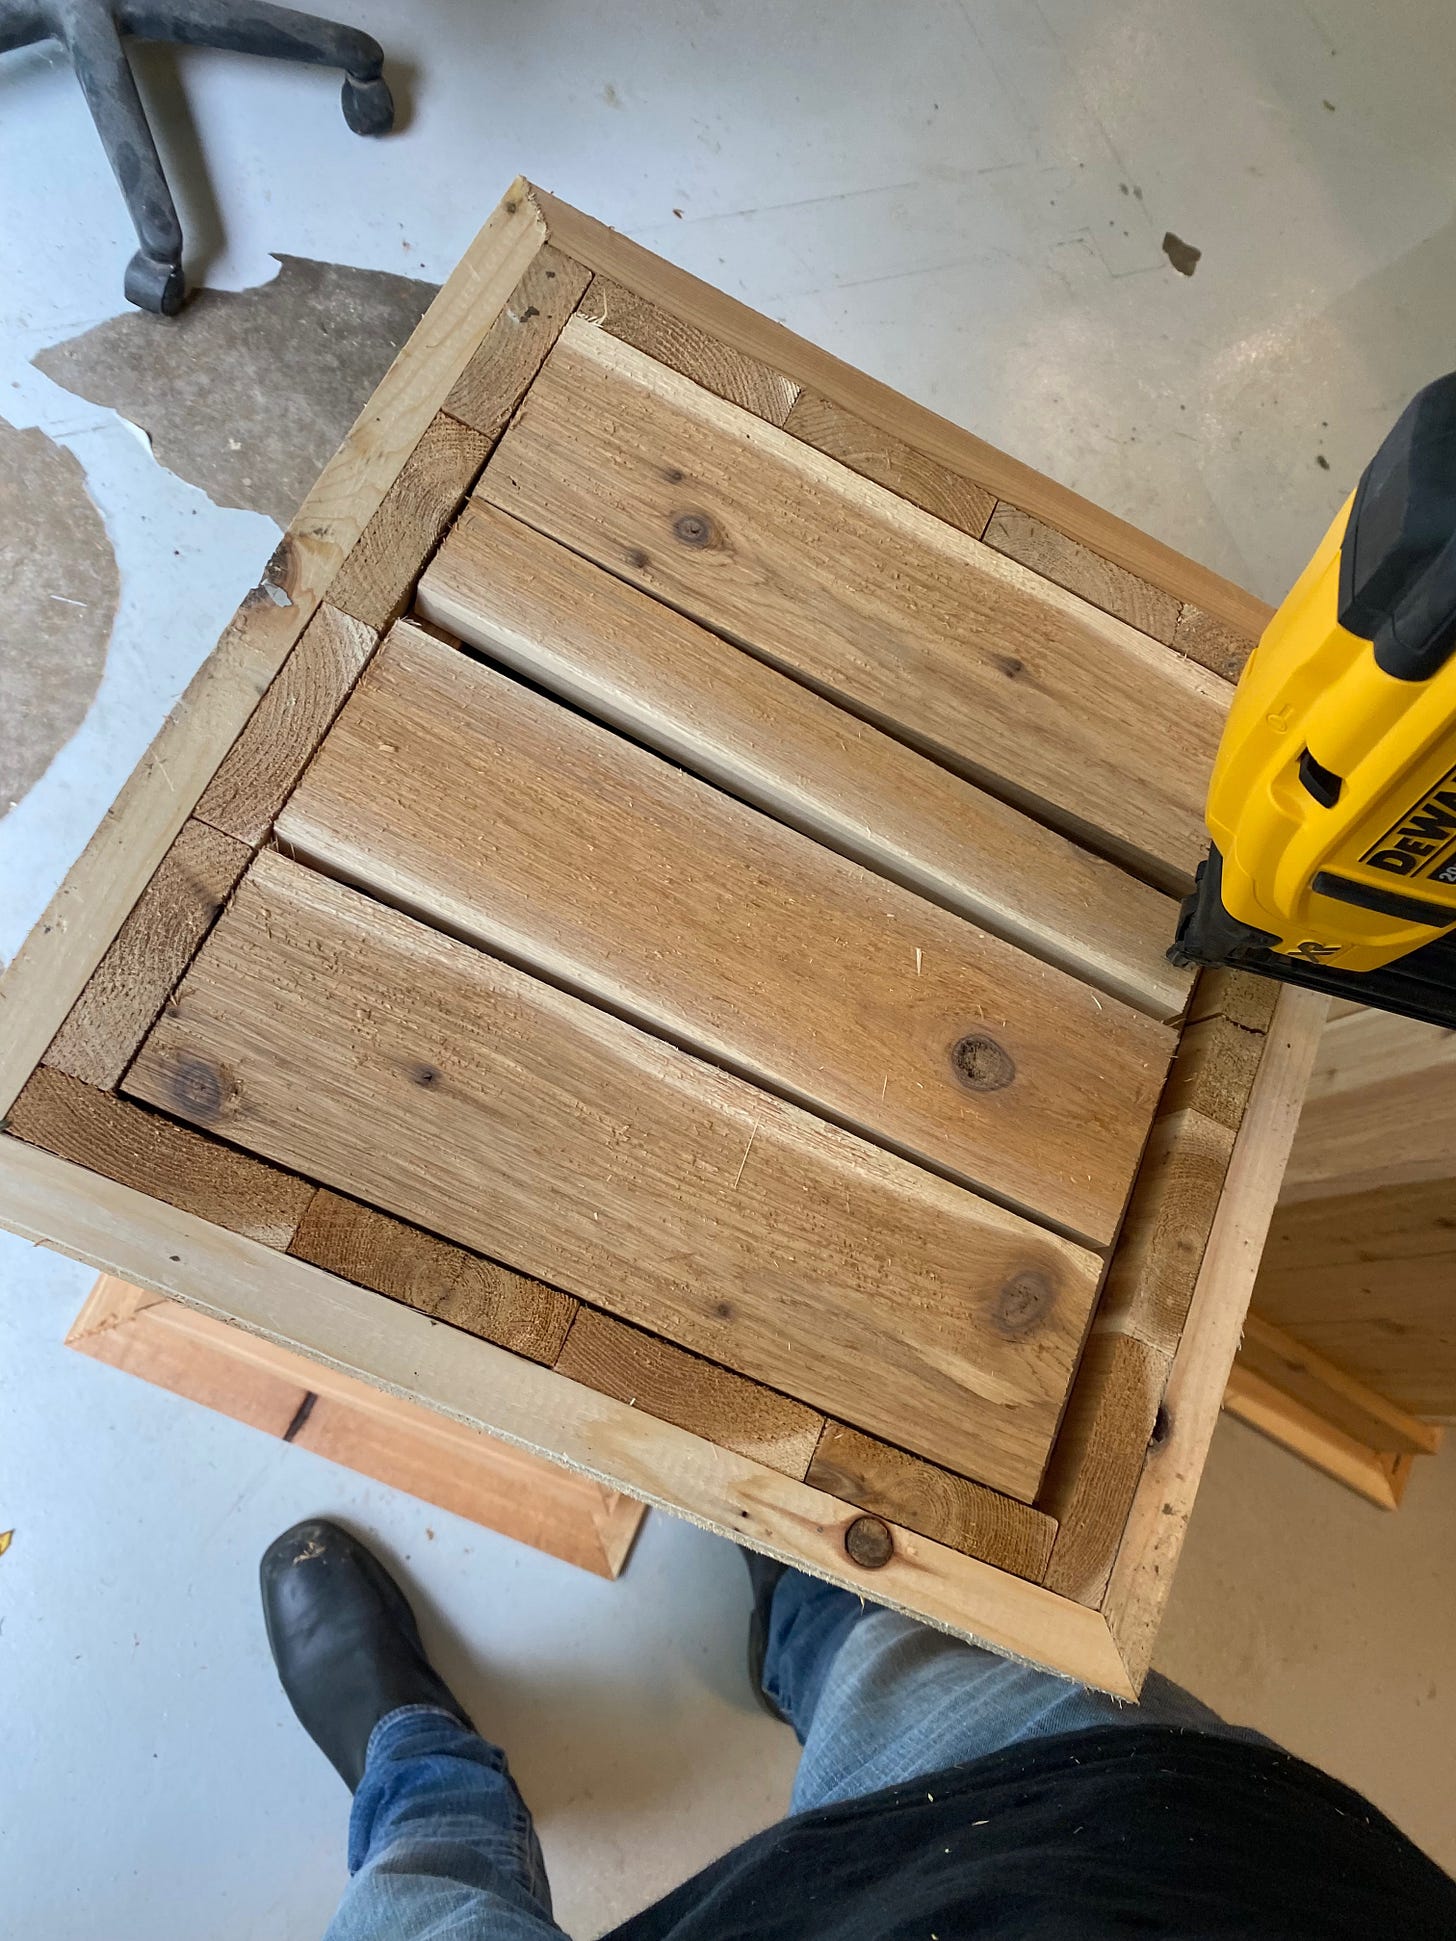
Then for the top, I mitered four more pieces, this time on the horizontal, and nailed-and-screwed in place. Finally, I cut a handful of pieces to attach to the inner cleats to serve as the box's bottom and the plant shelf. I didn't want those pieces to be tightly fit, but rather have a little space between them so air and water could freely flow. To do that, I had to rip a few more boards in half. I quickly nailed them in place and the planter was done.
The example Cyn had given me included a diagonal board across each face of the planter, which I considered adding, but then decided against for two reasons: one, I wasn't sure I liked it — or at least, wasn't sure I preferred it over the clean face; and two, that meant using at least two more boards, which at $18 a pop, wasn't nothing.
With the first planter — my prototype, basically — complete, I carried it to the front of the garage and set it in place. I plopped a flowing flowering plant in it and stepped back to take in the beauty.
It turned out I should have made the plant shelf a bit shallower — maybe six inches instead of 10. At the depth I made it, the plant sat awkwardly low. No worries: I grabbed a couple leftover 2x6 off cuts from an earlier project and set the plant on them. Perfect.
Now that I had one built, it was time to make the remaining four. The planter wound up using seven of the nine 12-foot boards I purchased. For the remaining four boxes, I'd need 28 more, minus the two I had on hand already. A quick trip to Lowe's and a few hours in the shop later, and all five were complete. Not a bad day's work.


