Shelves, Made to Order
A friend asked me to build him a set of shelves. I ended up making two sets. You know, for science. Read more about it.
It’s been hard to find much time in the shop this summer thanks to other chores and projects that have commanded my attention. But when a friend asked if I could make him some shelves to order, I was eager to oblige.
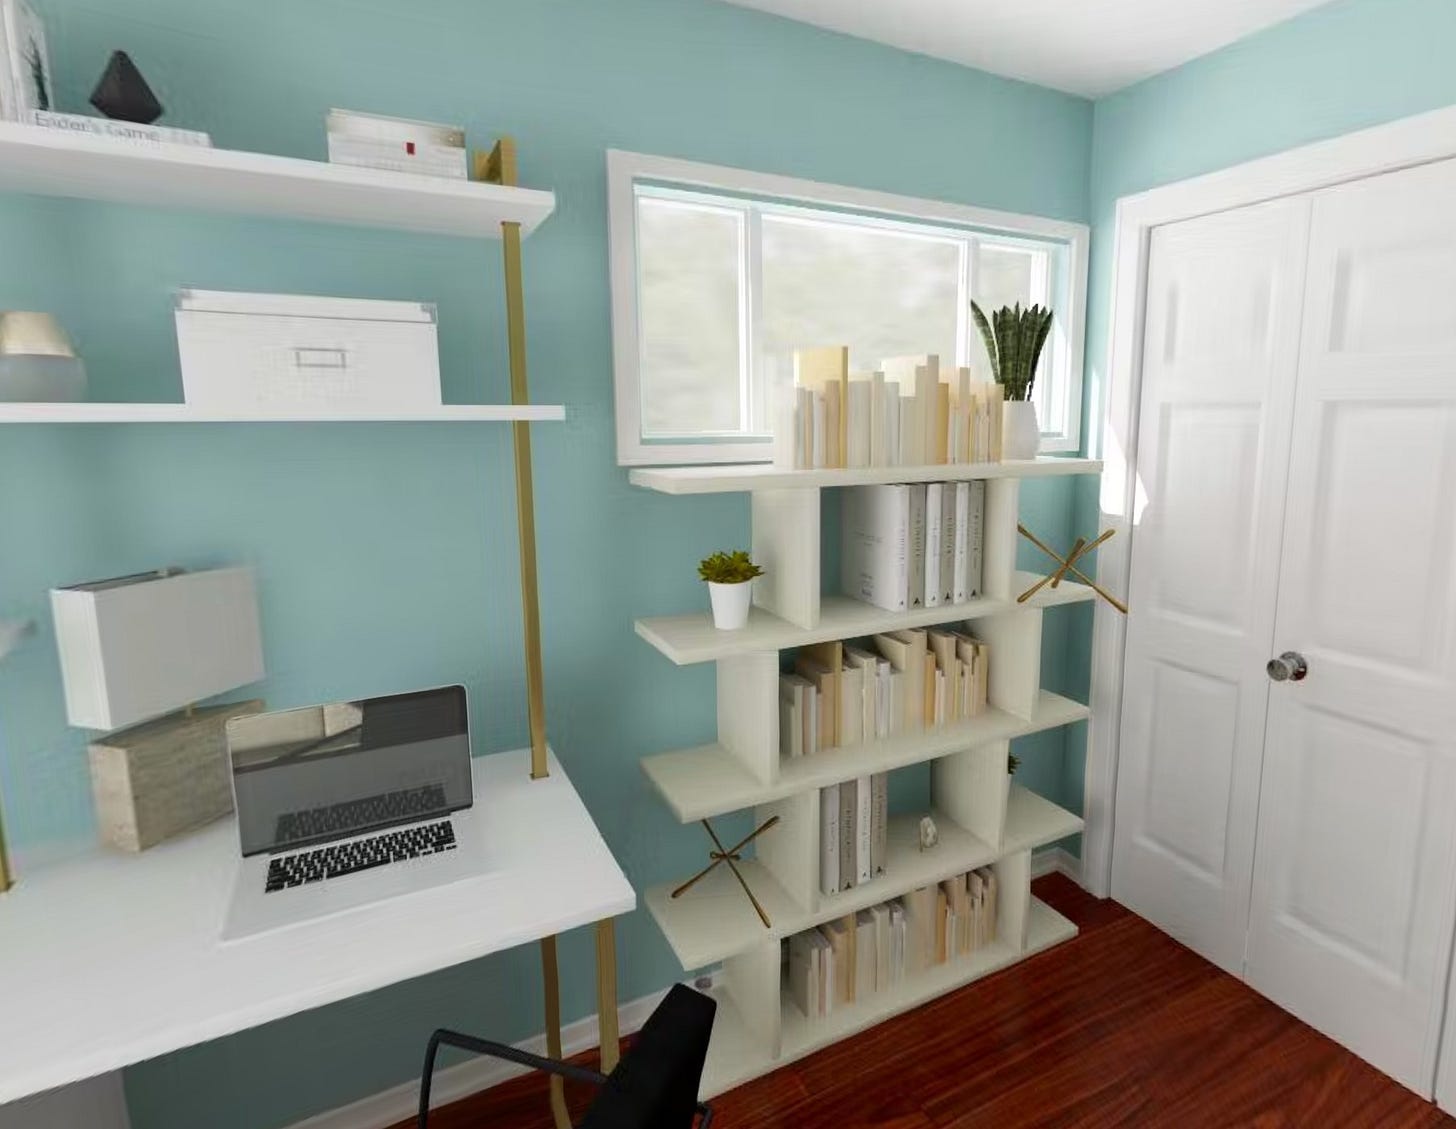
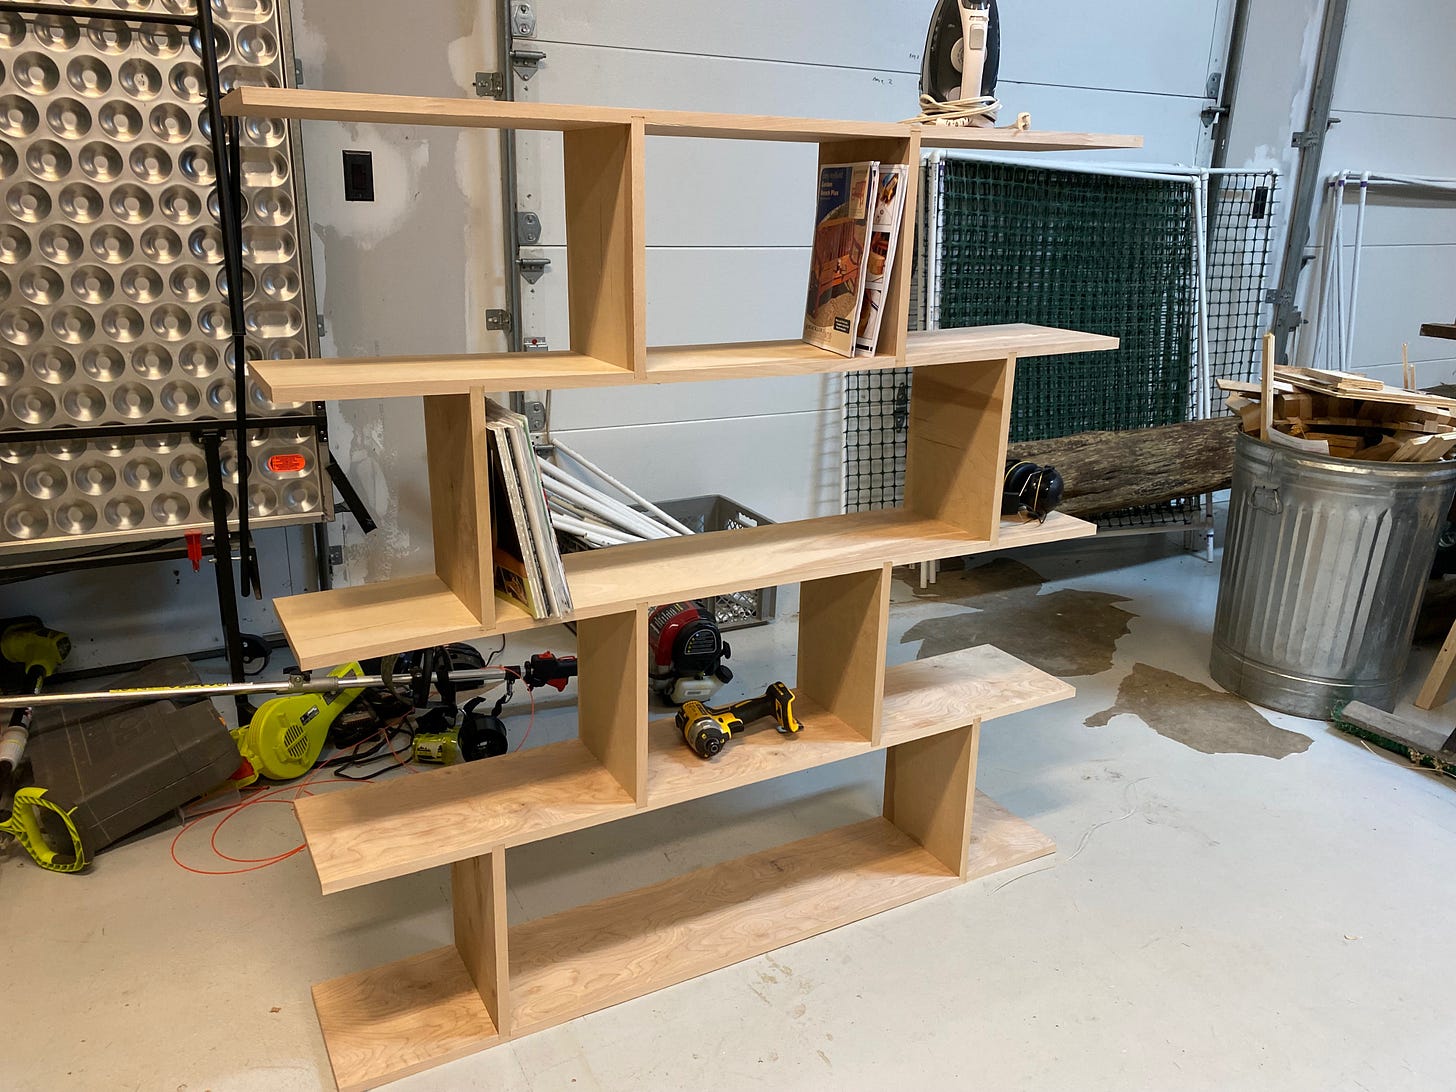
My friend knew exactly what he wanted. In fact, he sent me a 3D rendering of the shelves he had in mind and some dimensions: 54 inches tall, 54 inches wide, and an open back to allow for air flow from the HVAC vent.
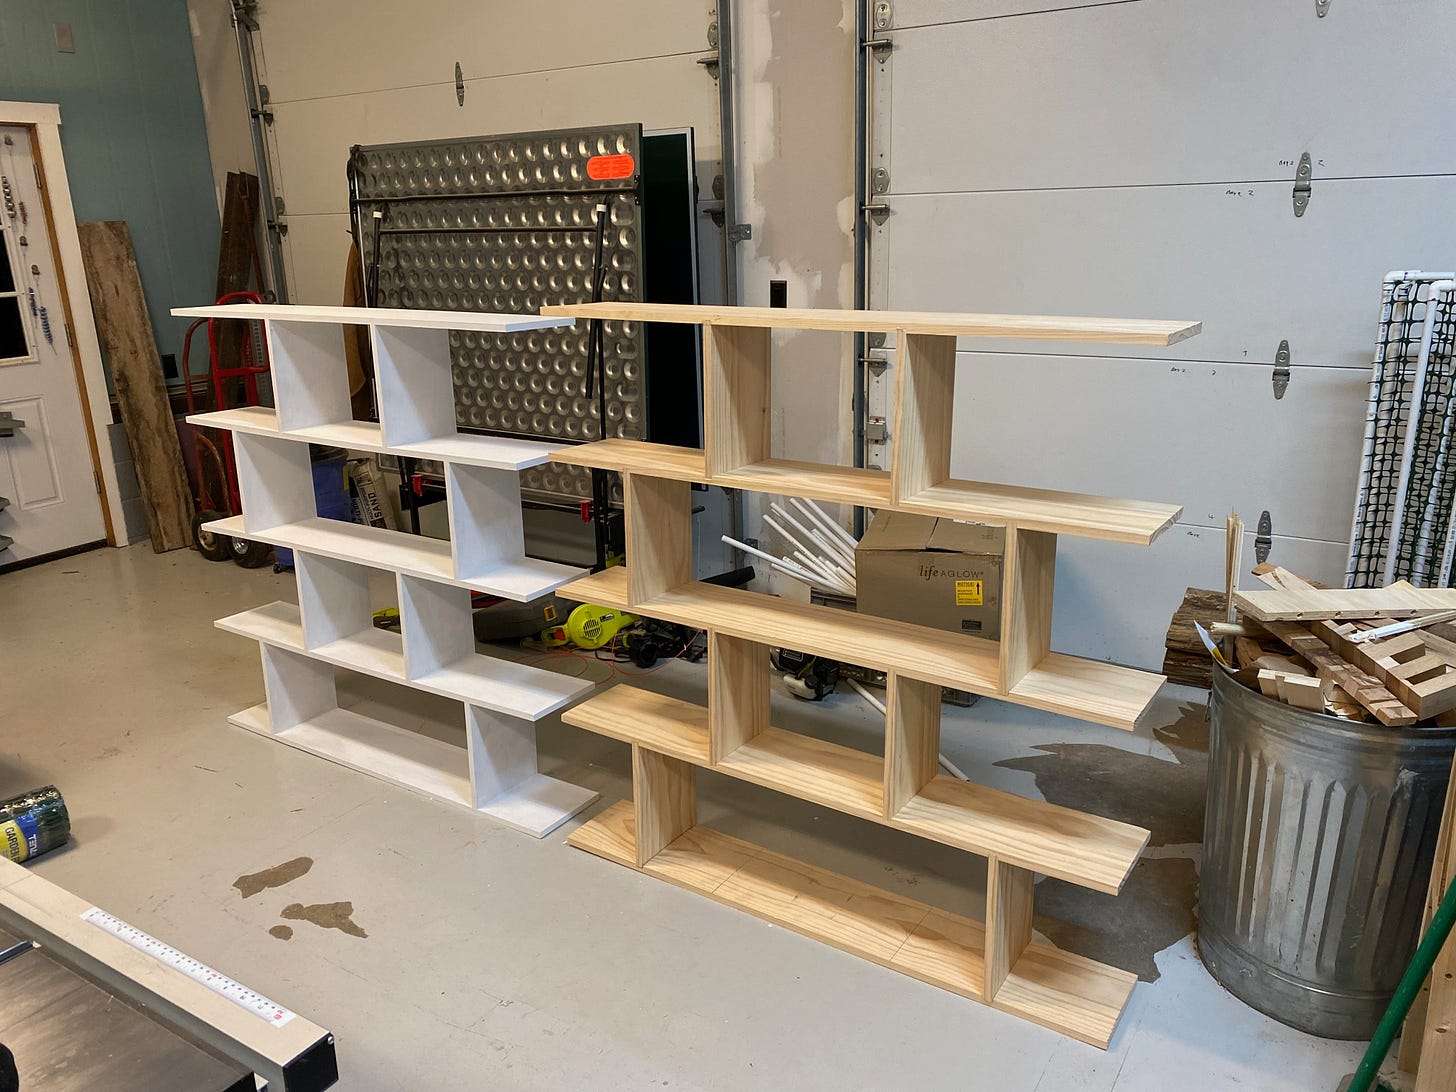
The design was straightforward and looked like something one might find in a Swedish furniture store. It featured five horizontal shelves with two dividers between each shelf. The dividers were offset at each level so that between the bottom and first shelf, the dividers were closer to the shelf ends. Then between the first and second shelf, the dividers were closer to the center of the shelves. Then between the third and fourth, the dividers were back towards the ends… and so on.
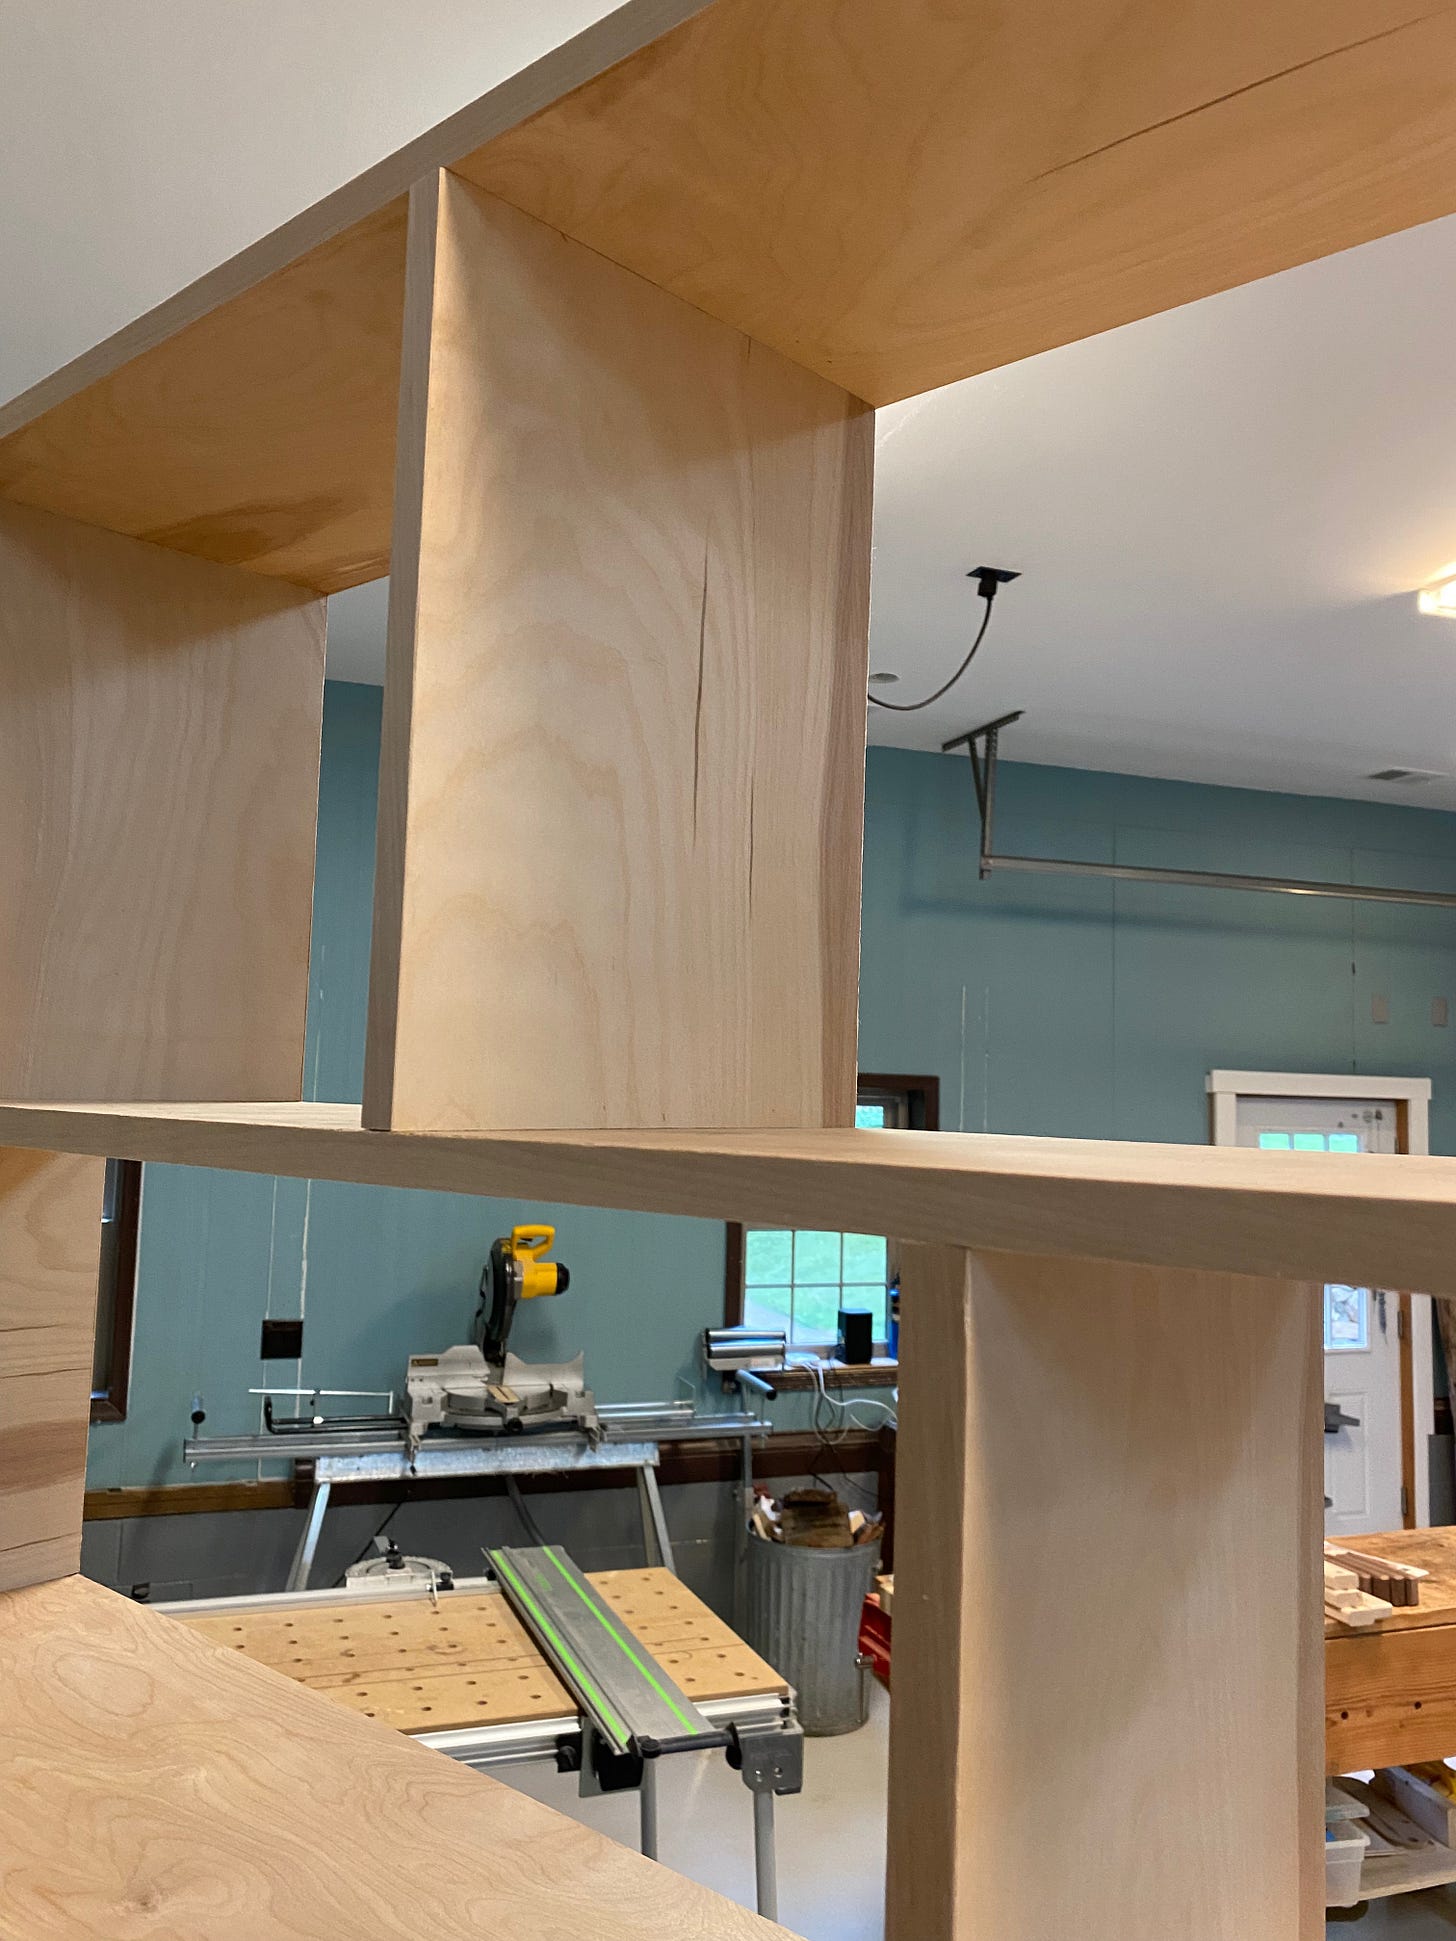
The key, I thought, was to figure out how best to attach the shelves to the dividers. I could screw everything together through butt joints, but that seemed both ugly and unlikely to be structurally sound. Pocket screws? Nah, that would offer even less structural strength. No, what I decided I needed to do was to glue the dividers into dadoes in the shelves. That should provide ample strength to hold everything together.
The other question I needed to answer was the choice of material. Since the shelves were destined to be painted, it didn’t seem sensible to use hardwood. That would be expensive and unnecessary. A hardwood plywood like Baltic birch seemed like a good option, but since the edges of the shelves and dividers would be exposed, I’d need to find a way to finish the edges and hide the laminate.
Another option was to use select pine boards. This could be a good compromise between plywood and hard wood. The biggest risk, I thought, was cupping or warping.
I wasn’t sure what would be structurally the strongest — plywood because of its laminated layers, or solid boards because of their, well, solidness.
After much contemplation, I decided the Baltic birch plywood was the best answer. Using an online cut list optimizer tool, I calculated that I could use one sheet of plywood to make the five 54-inch shelves and eight 13-inch dividers if they were all 9-½ inches wide. That should result in the 54-inch by 54-inch set of shelves I was tasked with building.
Cutting the Plywood
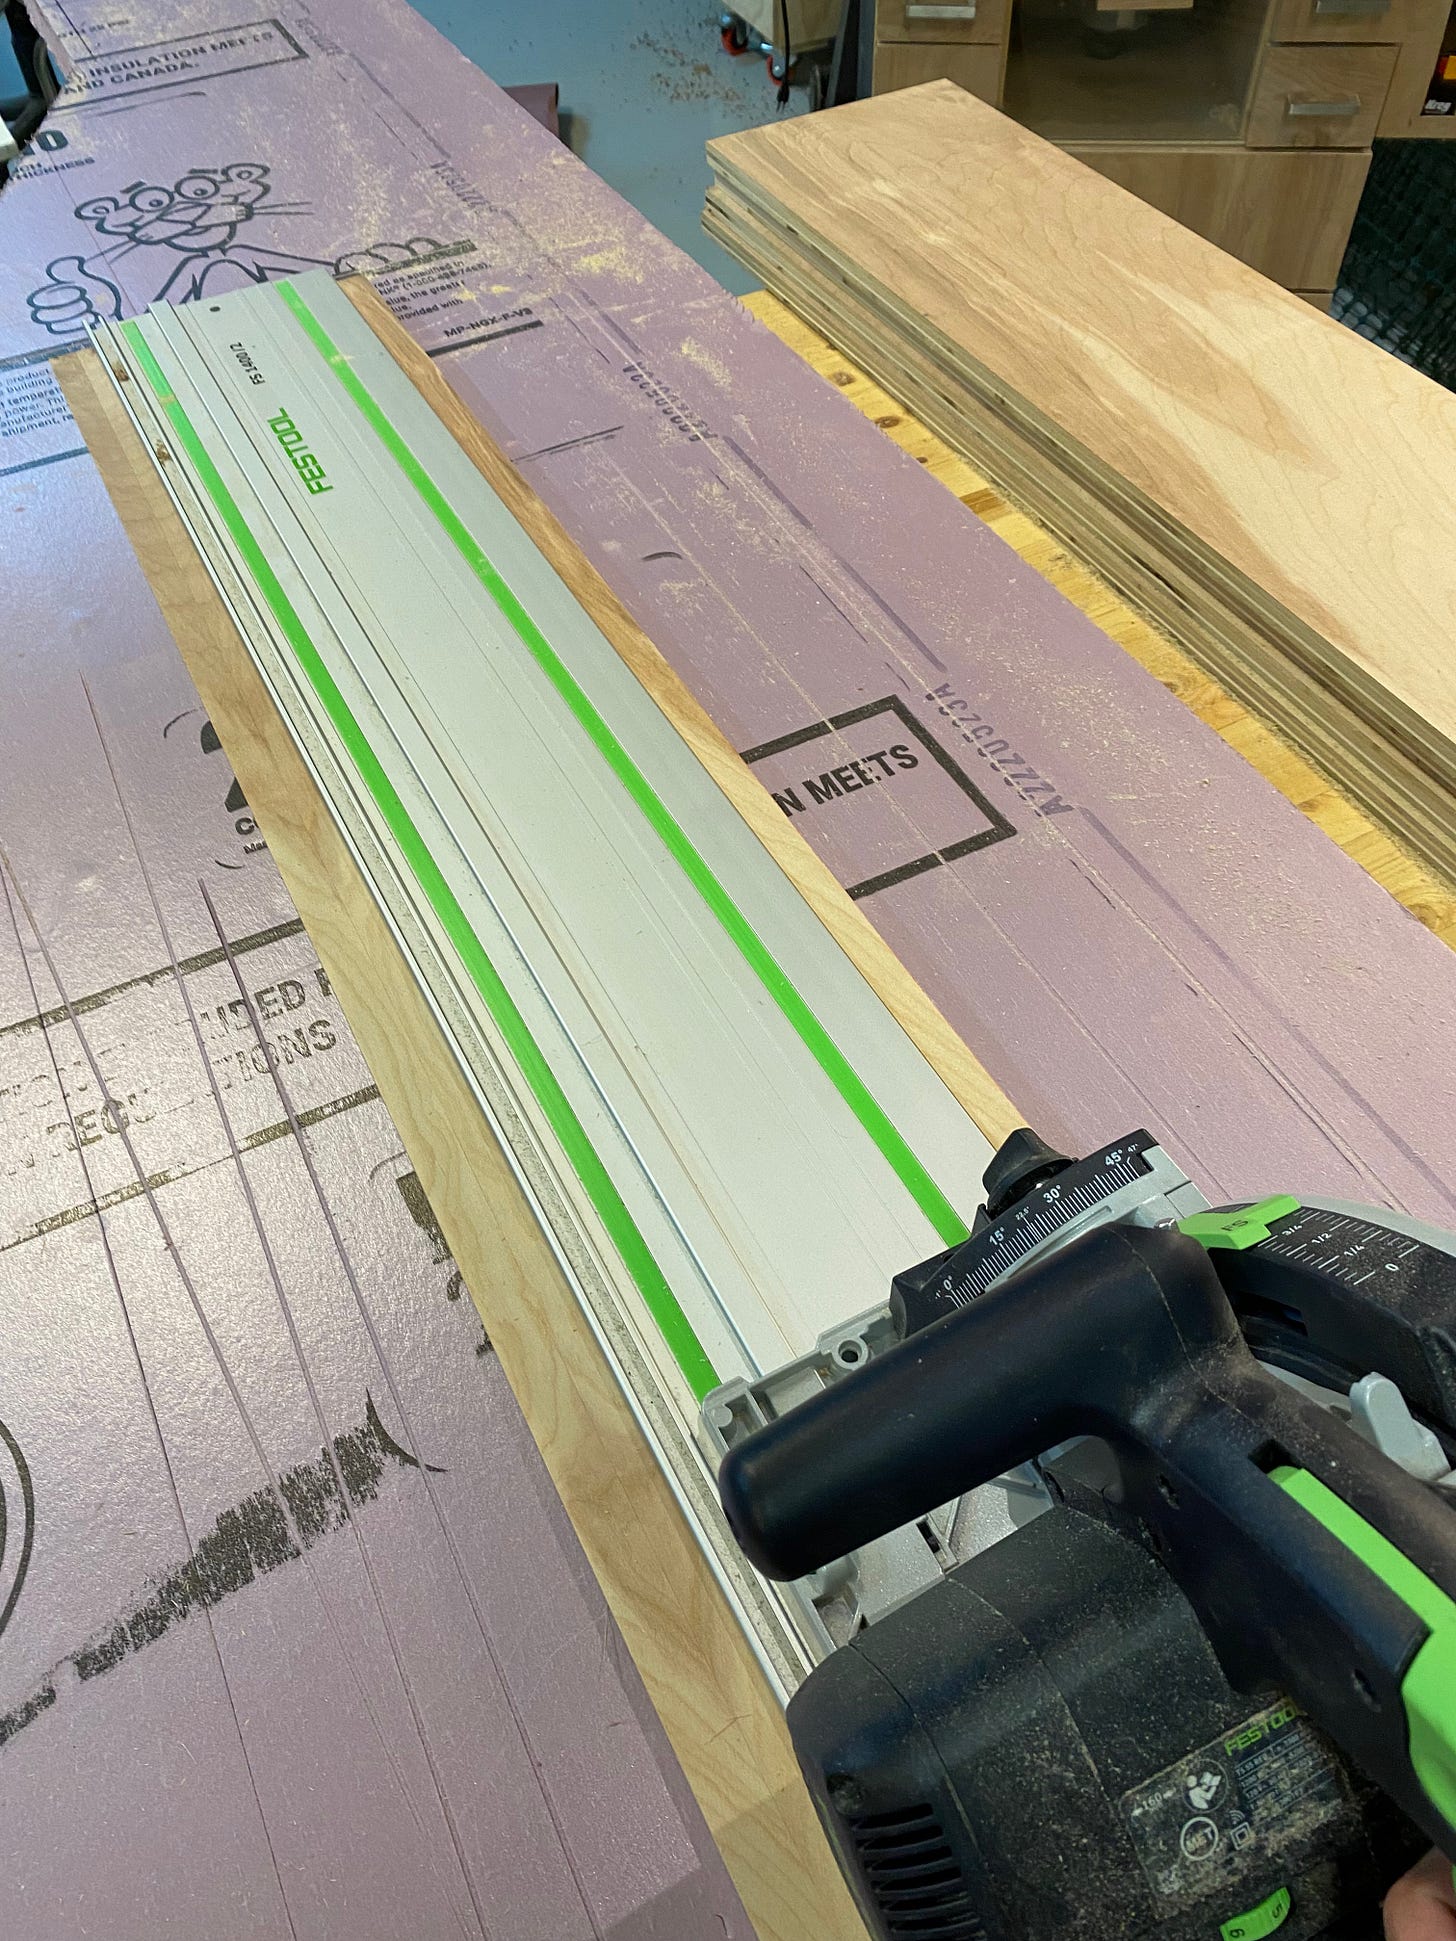
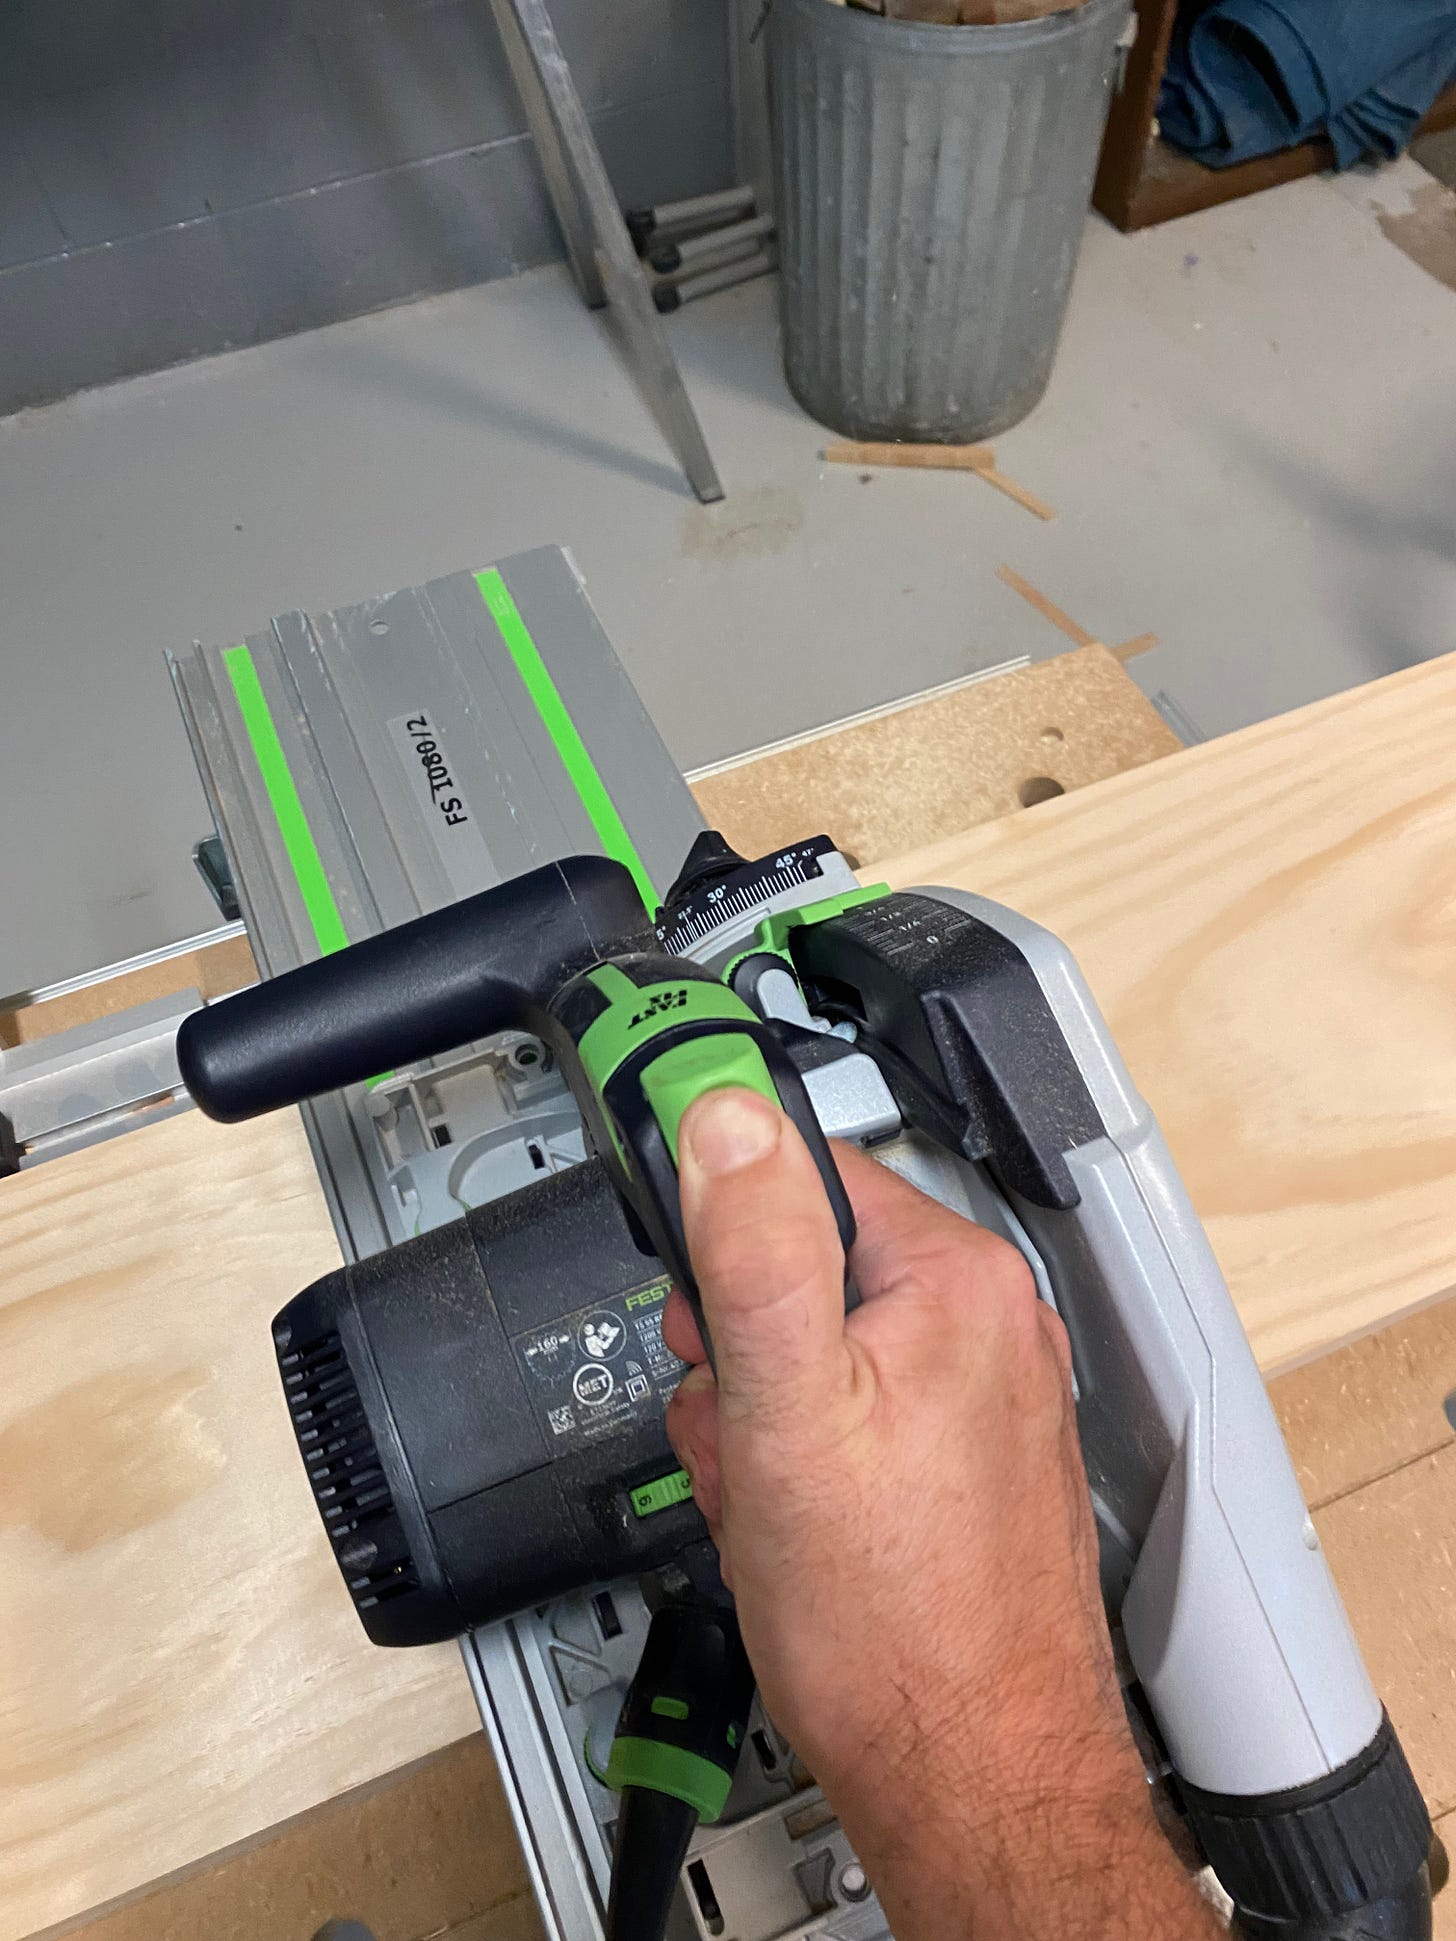
To get started, I laid the plywood on a foam panel and broke out the track saw. I quickly cut all of the pieces and dry fit them together to demonstrate how the shelves would look. It was exactly as planned.
At first I thought the next step would be to cut dadoes into the shelves, but I realized that if I wanted to hide the laminate edges of the plywood, I needed to deal with that first. To do so, I headed to my local Rockler woodworking store and bought two rolls of edge banding and some associated tools to trim it.
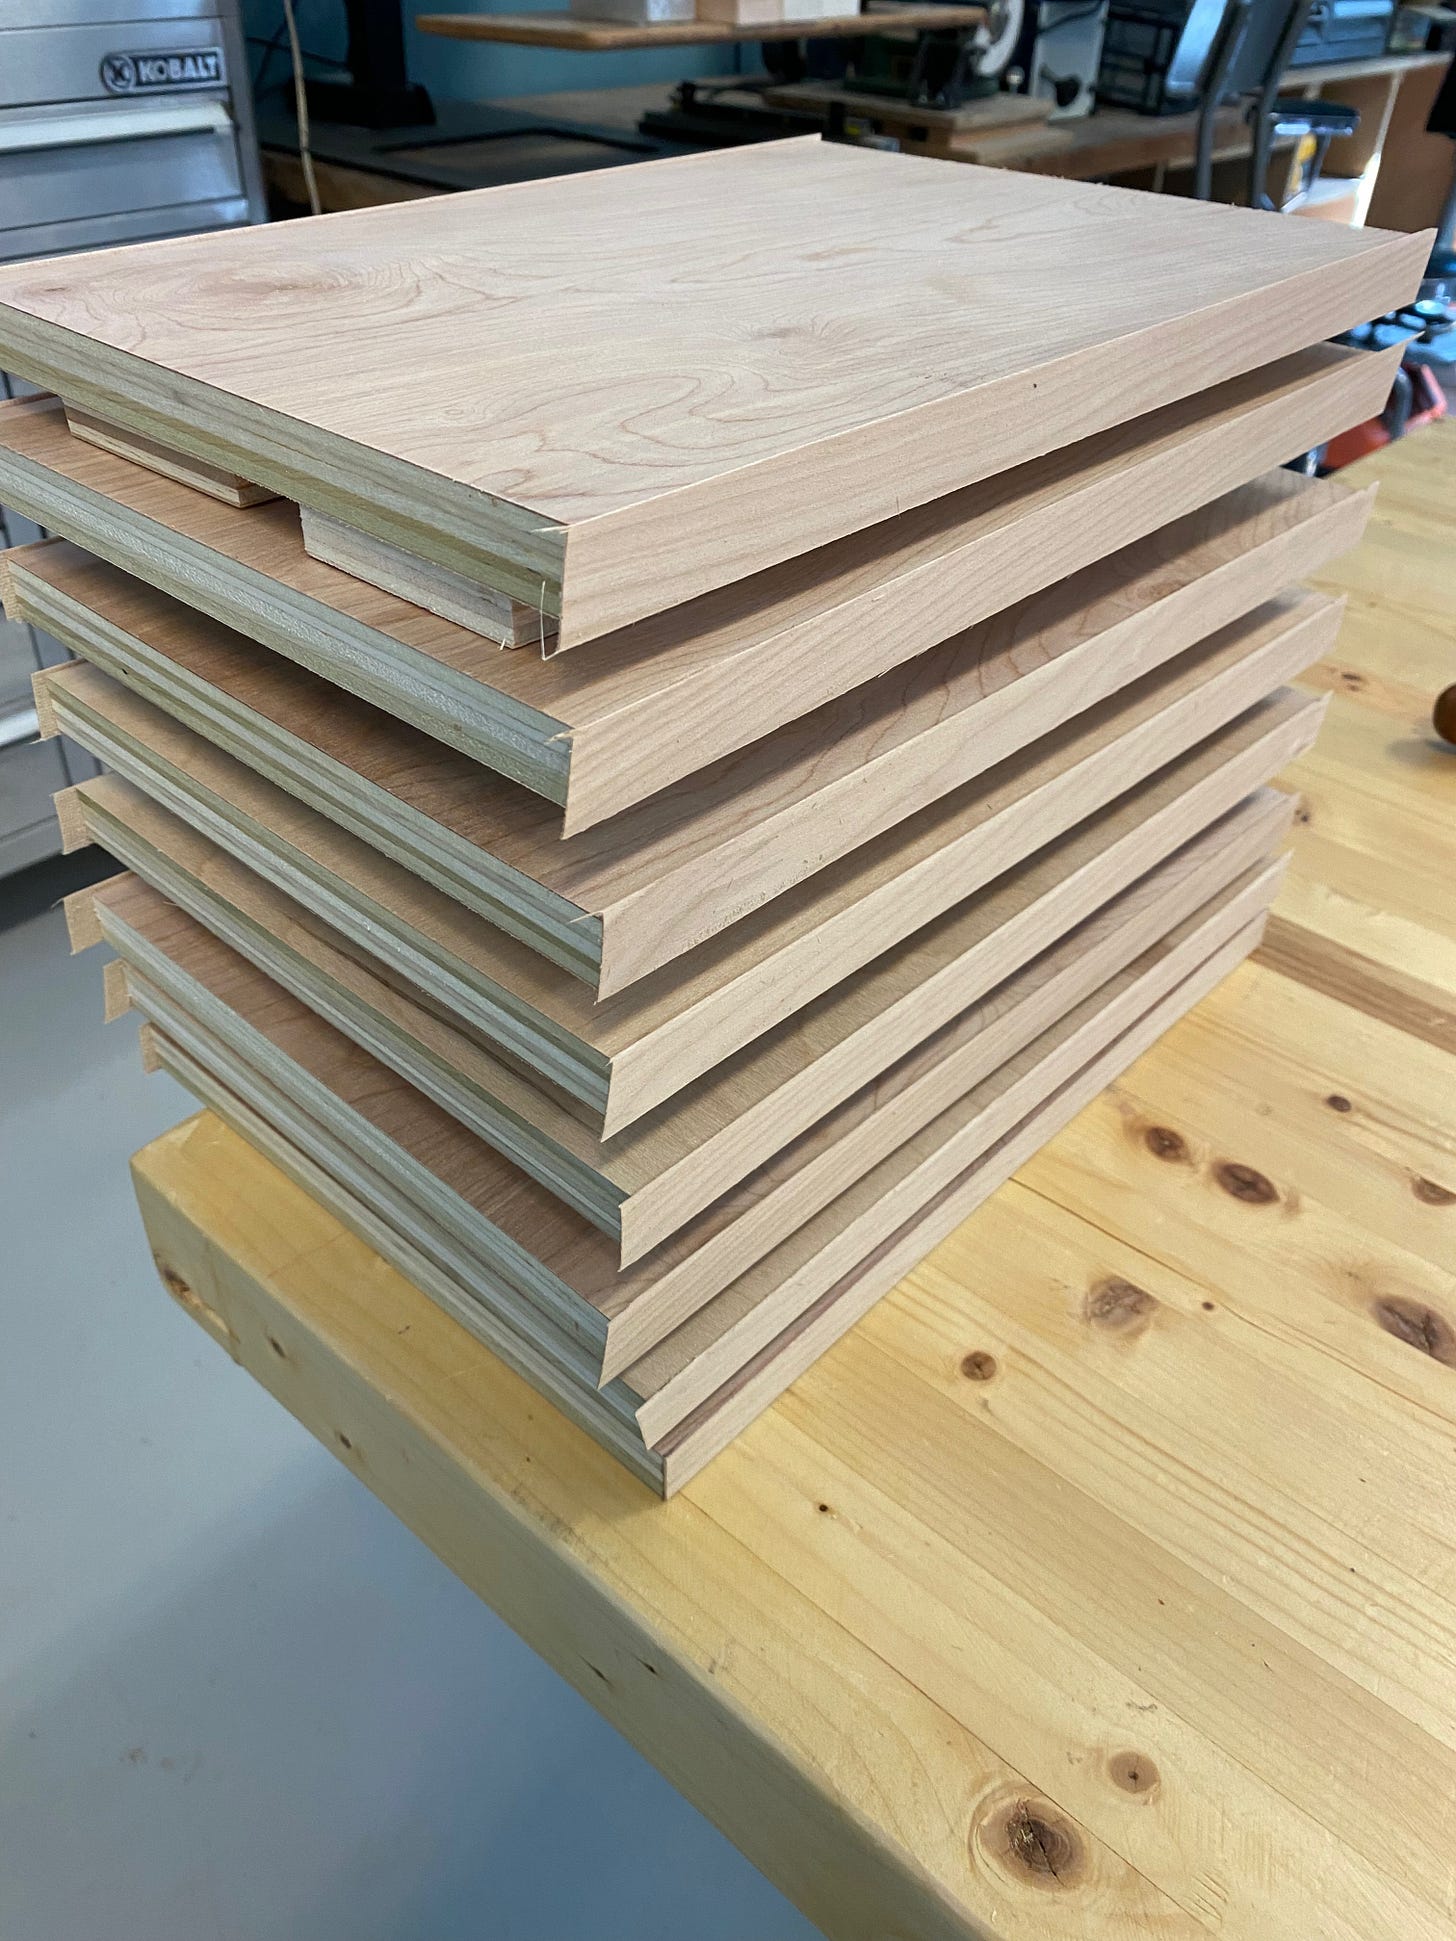
In the shop, I cut strips of banding and ironed it to the wood. Once the banding cooled and the glue dried, I trimmed each piece and continued around the boards until all four edges of all 13 pieces were finished.
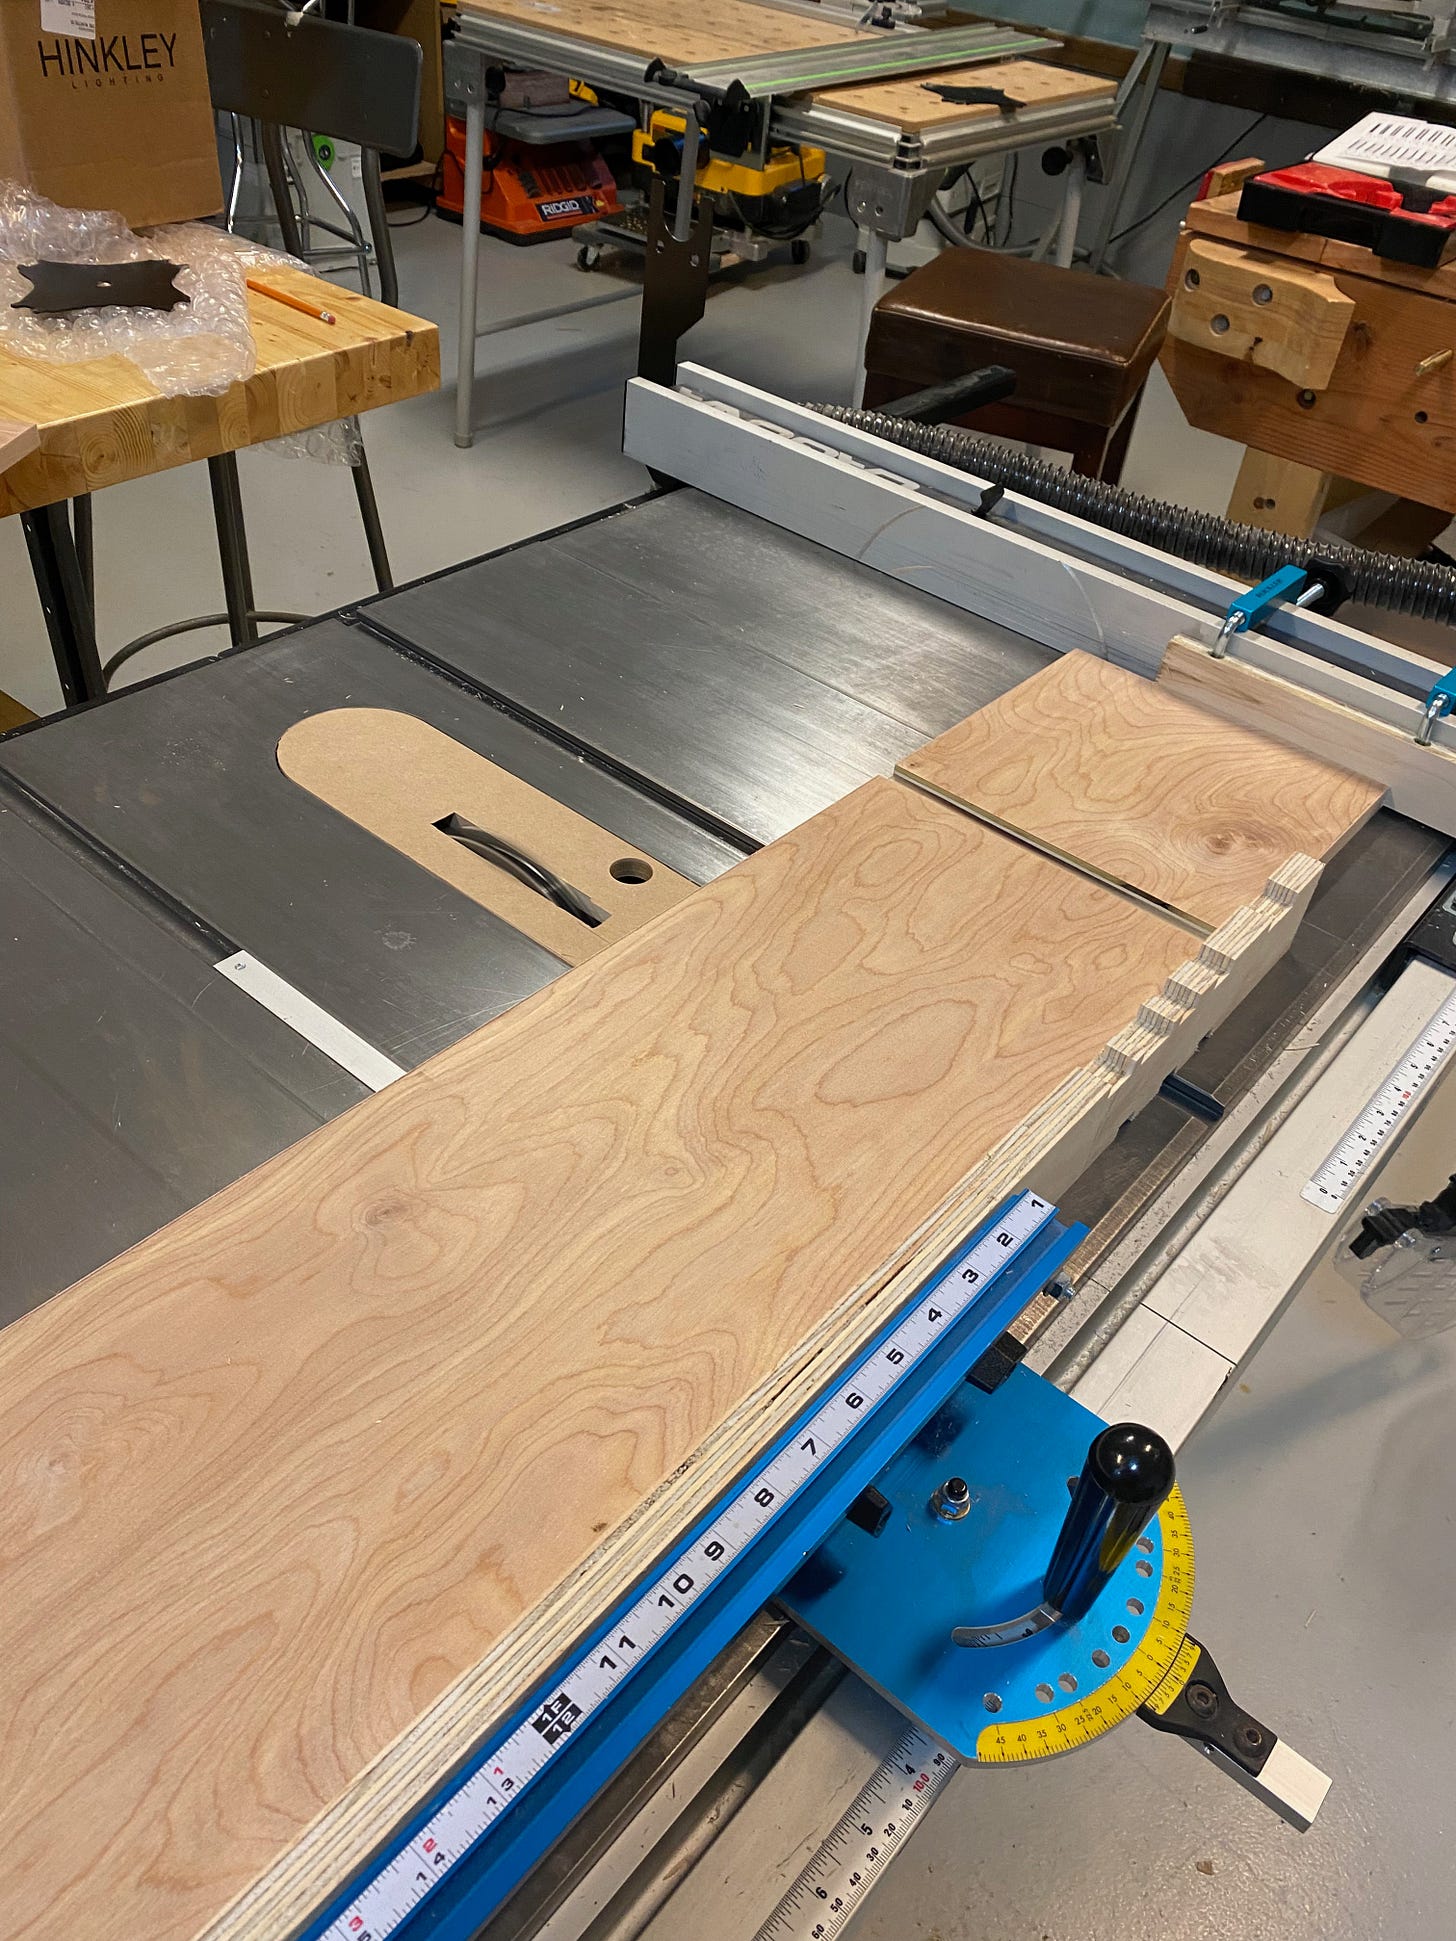
With the banding in place, it was time to cut the dadoes. I measured and marked the boards so that the dividers would either be nine or 18 inches in from the ends. I set the dado blades on the table saw to match the thickness of the dividers and ran a test piece to make sure the fit was tight and the depth was correct.
My method for cutting the dadoes was to use a miter guide to push the shelf through the blades. In addition, I planned to put a piece of scrap wood behind the shelf so that the blade wouldn’t tear out the the back of the cut and destroy the banding.
I also wanted to set a stop that I could push the shelf against so that every shelf had the dadoes in the same spot. This was important because the dividers should stand perpendicular to the shelves. The key to that is making sure the dadoes align with each other.
It’s important to know that you should not make cross cuts on a table saw in such a way that the off cut ends up trapped between the blade and the rip fence. That creates a dangerous condition where the off cut could end up binding the blade and potentially kicking back and causing an injury.
To address that, you should push the fence far away from the off cut. Now in this case, because I wasn’t cutting through the board — just cutting a dado into it — that’s less of a concern. Still, out of an abundance of caution, I decided to clamp a small piece of plywood to the rip fence to serve as a stop. This gave me the best of both worlds — a reliable stop but also space between the end of the shelf and the fence as it passed through the blades.
With everything set, I cut all of the nine-inch-inset dadoes. Then I reset the fence to cut the 18-inch-inset dadoes.
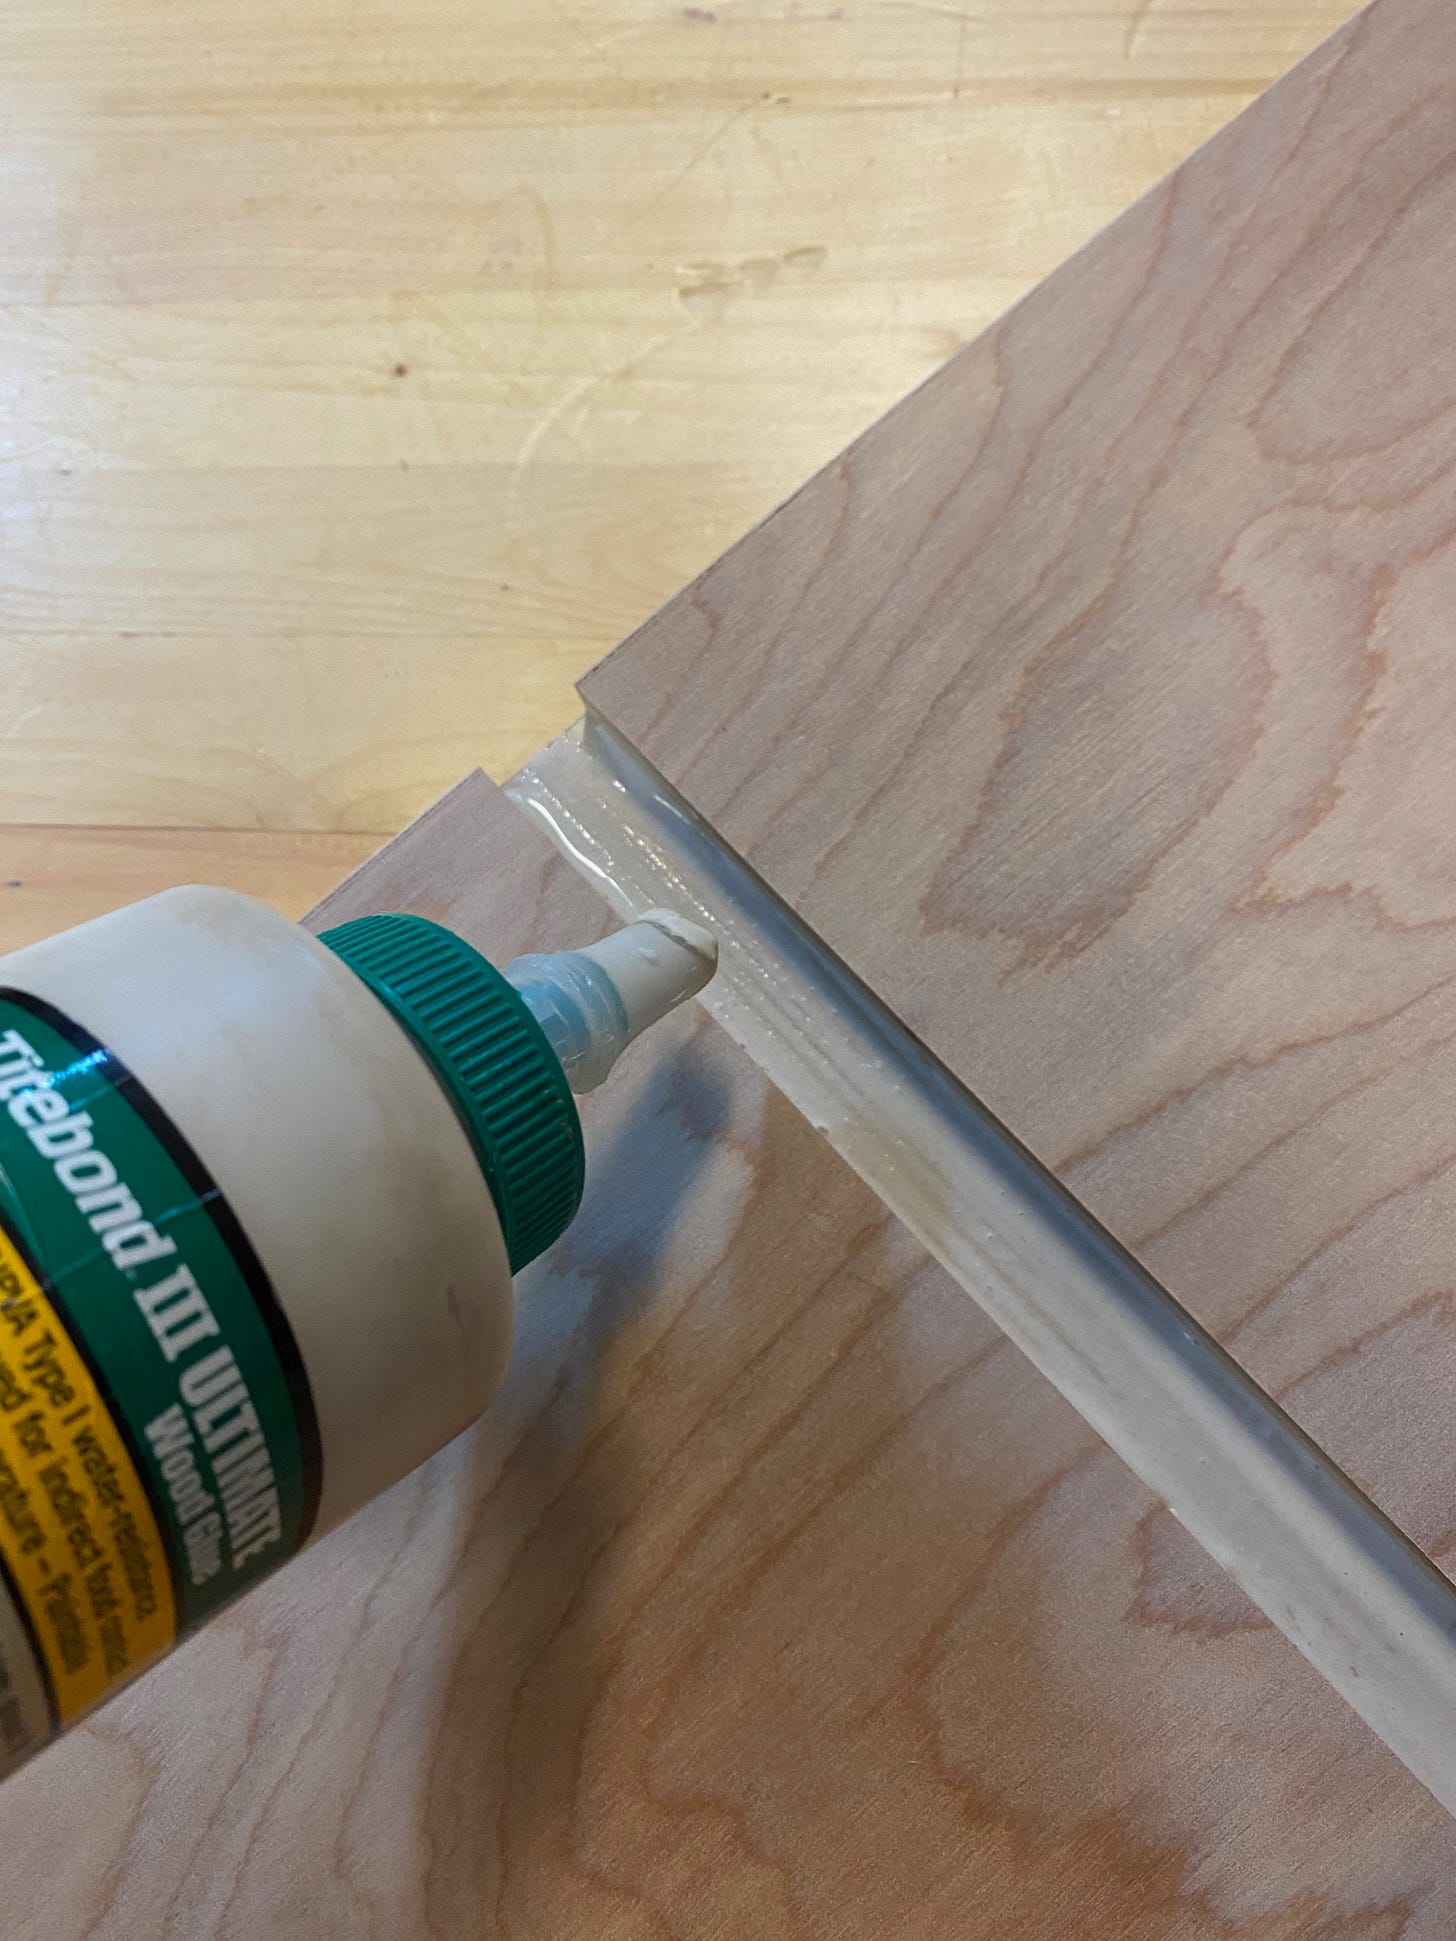
Now that all of the dadoes were cut, I was ready to assemble the entire unit. I grabbed my glue bottle and a nail gun and started setting the dividers into place. Within a few minutes, the entire unit was fully put together.
I grabbed my tape measure to make sure I hit my 54-inch mark and was dismayed to see the unit come in at just under 53 inches. Then I realized my mistake: I forgot to account for the fact that the dadoes would essentially “shorten” each divider from 13 inches to 12-¼ inches, which ended up shortening the entire unit.
All that remained was to paint the shelves, but before I did that, I noticed that the plywood shelves were flexing a bit more than I expected. Not to a worrisome level, but still more than I thought they would. And that got me thinking… would wood planks be any better? Why not find out?
So, I got into my truck and made a quick trip to Home Depot where I bought five eight-foot 1x10 pine select boards. I quickly cut them down to size with my track saw (though I made the 13-inch dividers slightly longer in order to get the full unit back to 54 inches).
Since the planks were solid pieces of wood, no banding was necessary, so I went back to the table saw and cut all of my dadoes. It was at this point that I realized I had made an error. I had completely overlooked that one of the boards I bought had a small cup in it. I should have gone back to Home Depot and gotten a fresh, flatter, straighter board, but my impatience got the better of me. So, I continued with my cuts.
With everything cut, I again grabbed my glue bottle and nail gun and put everything together. I put the cupped board on the bottom, believing the weight of the unit (especially once it was loaded down with books) would help flatten it.
Anyway I was ready to paint. I coated both in primer, sanded edges and corners, filled a few holes and gaps, and then applied the final semi-gloss coats.
With the two units side by side, I couldn’t see much difference between them. The pine shelves were slightly stiffer, but the plywood shelves were flatter and the edge banding looked better than the end-gran on the pine shelves. If one was “better” than the other, I couldn’t tell.
Actually, there was one way the plywood shelves were superior. Being 1-½ inches shorter than the pine shelves meant that they just barely fit into the bed of my truck, allowing me to deliver them to my friend. Any longer and there’s now way I could have gotten them to fit. I believe that’s what’s known as a “happy accident.” I’ll take it.
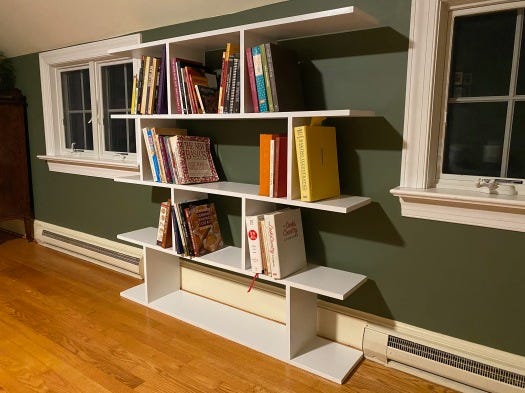
I wasn't sure what to do with the extra set of shelves. My niece and my brother both expressed interest, but since it was just a bit too big to fit easily into my truck, I decided just to set it up in our spare bedroom, It happened to fit perfectly between two windows and under the sloped ceiling. Consider it another "happy accident."


