Rotten Tomatoes (and moldy leaves)
One of my goals for this year is to have a garden that is so bountiful that it feeds not just my family during the summer, but also gives me produce to can and freeze for winter and for gifting.
That's probably overly optimistic, but one way I'm trying to give myself a chance is by working to create beautiful soil. And how does one build beautiful soil? The key is compost.
For the purposes of this post, which is mostly for the benefit of a single reader (you know who you are), I'll talk about two types of compost — the compost you can get with kitchen and other organic scraps, and the compost you get from leaves, which is known as "leaf mold."
Typical compost is usually a combination of nitrogen-rich organic material — grass clippings, banana peels, eggshells, potato skins, etc. — with carbon-rich material like leaves, straw, paper, coffee grounds and such. The organic material is commonly known as "greens," while the carbon-rich material is often referred to as "browns." (Not to be confused with the American football team of the same name, which can also be described as rotten and odoriferous, and will also, I hope, someday reward my patience and suffering.)
Anyway, you want to mix browns and greens in a ratio of around 3:1. During the summer, it can be hard to find sufficient brown material to balance out your greens. But remember, not only do fall leaves work well, but you can also use plain corrugated cardboard, paper, sawdust (but not sawdust from treated lumber or walnut — that is deadly to most plants), and even dryer lint.
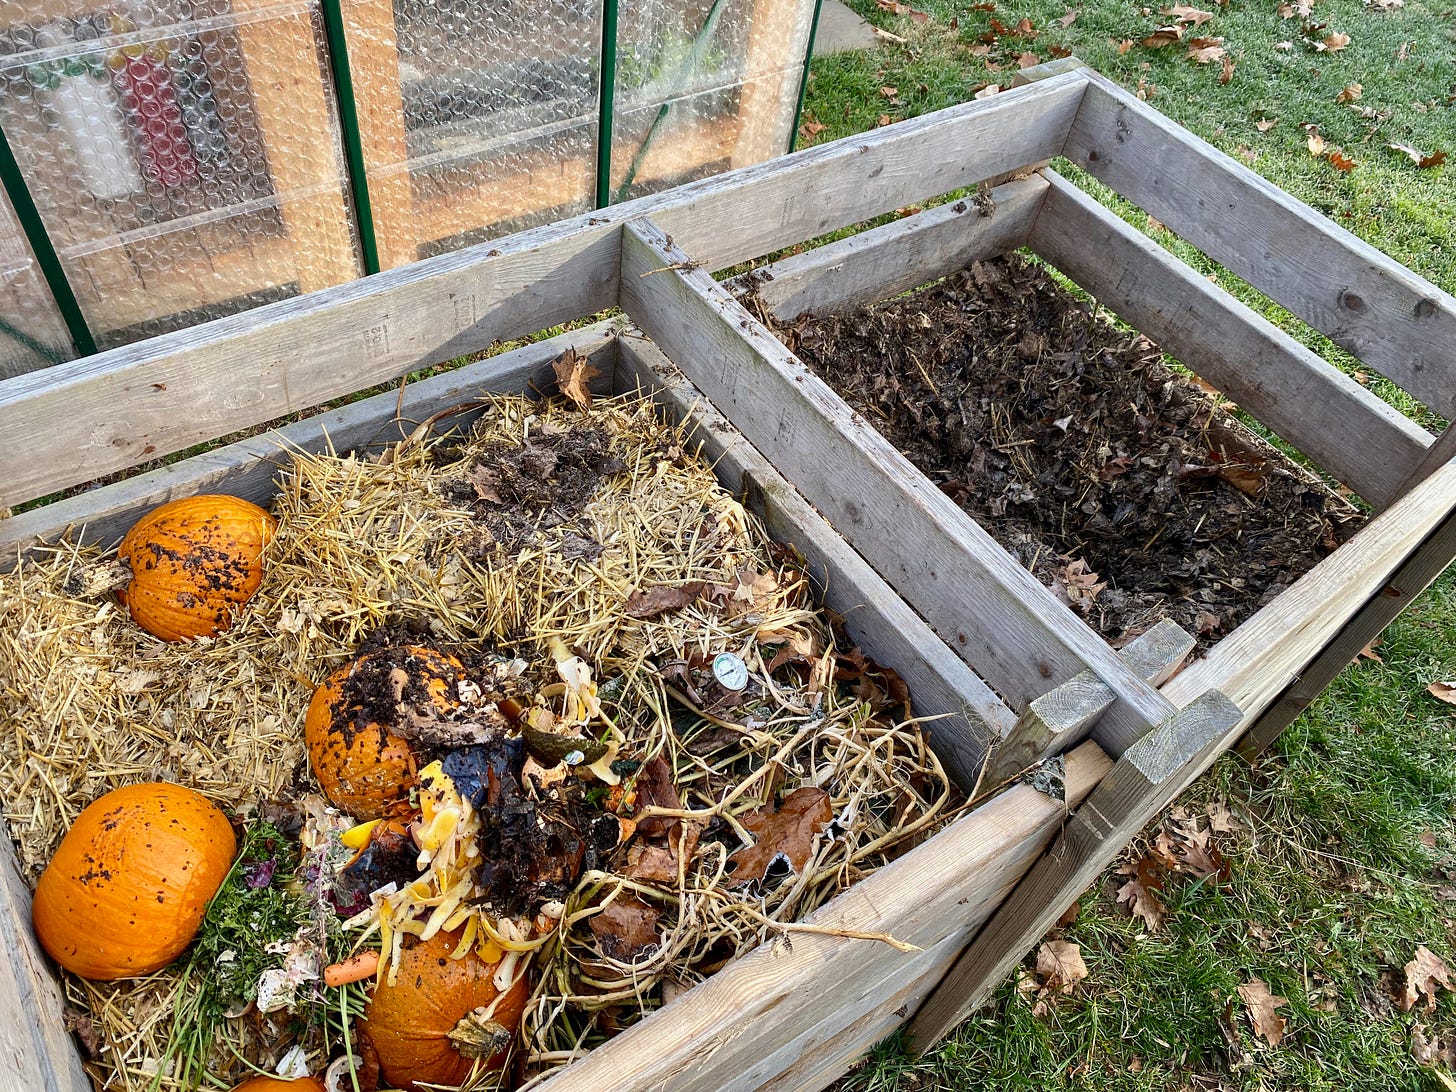
Ideally, you want to tear or cut up your browns and greens as much as possible, as that helps speed decomposition. And, as you mix the two together, you want to make sure the material is damp, though not soaking wet, and not so compacted as to prevent airflow. Use a pitchfork to fluff the material. Turning it over weekly will also help it along. I also like to use a compost thermometer to monitor the interior temperature of the pile.
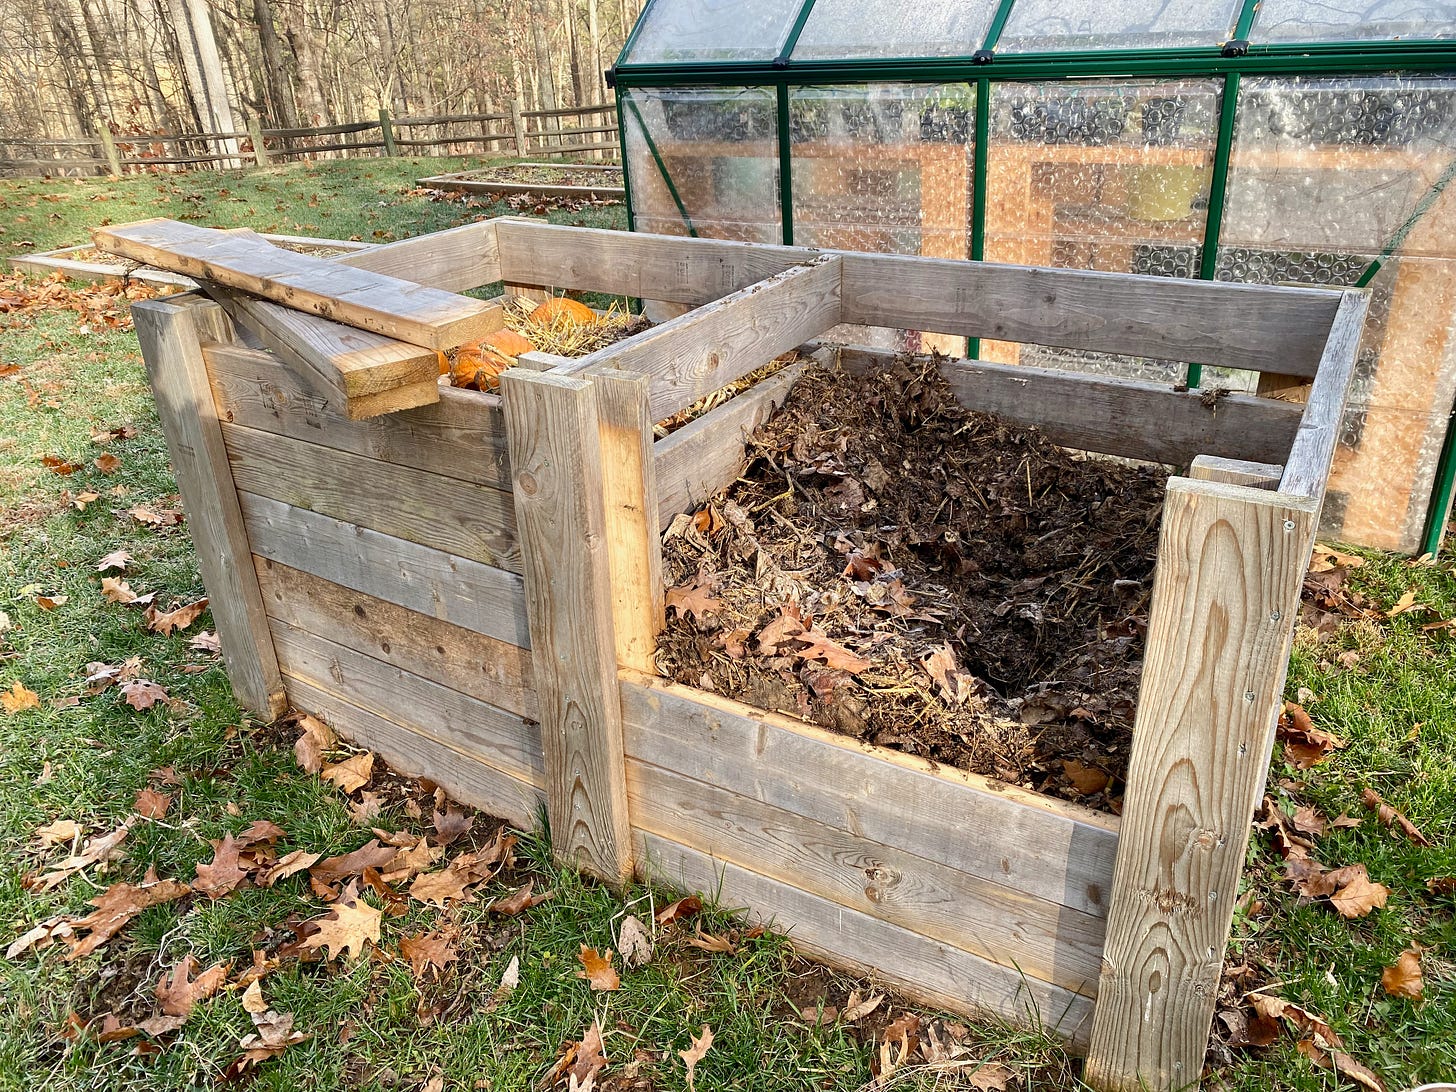
I built our compost bin out of some 2x4 and 2x6 lumber. Since this compost will be used on vegetable gadens, I stayed away from pressure-treated lumber and stuck with simple plain pine boards. In time they'll rot away, but that's ok.
I built a two-bay bin with a pretty straightforward design. The sides and the back are made of 2x6 boards evenly spaced a few inches apart and attached to vertical 2x6 boards. This creates roughly 3-foot wide, 3-foot-tall walls with gaps to allow air flow. On the front, I inset 2x4 boards about two inches behind the front posts. This creates a slot that addiitonal 2x6 boards can slide in to create a removable front "wall." This is useful because when it comes time to dig the compost out of the bin, I simply pull out the boards for access, and then return as the compost pile builds back up.
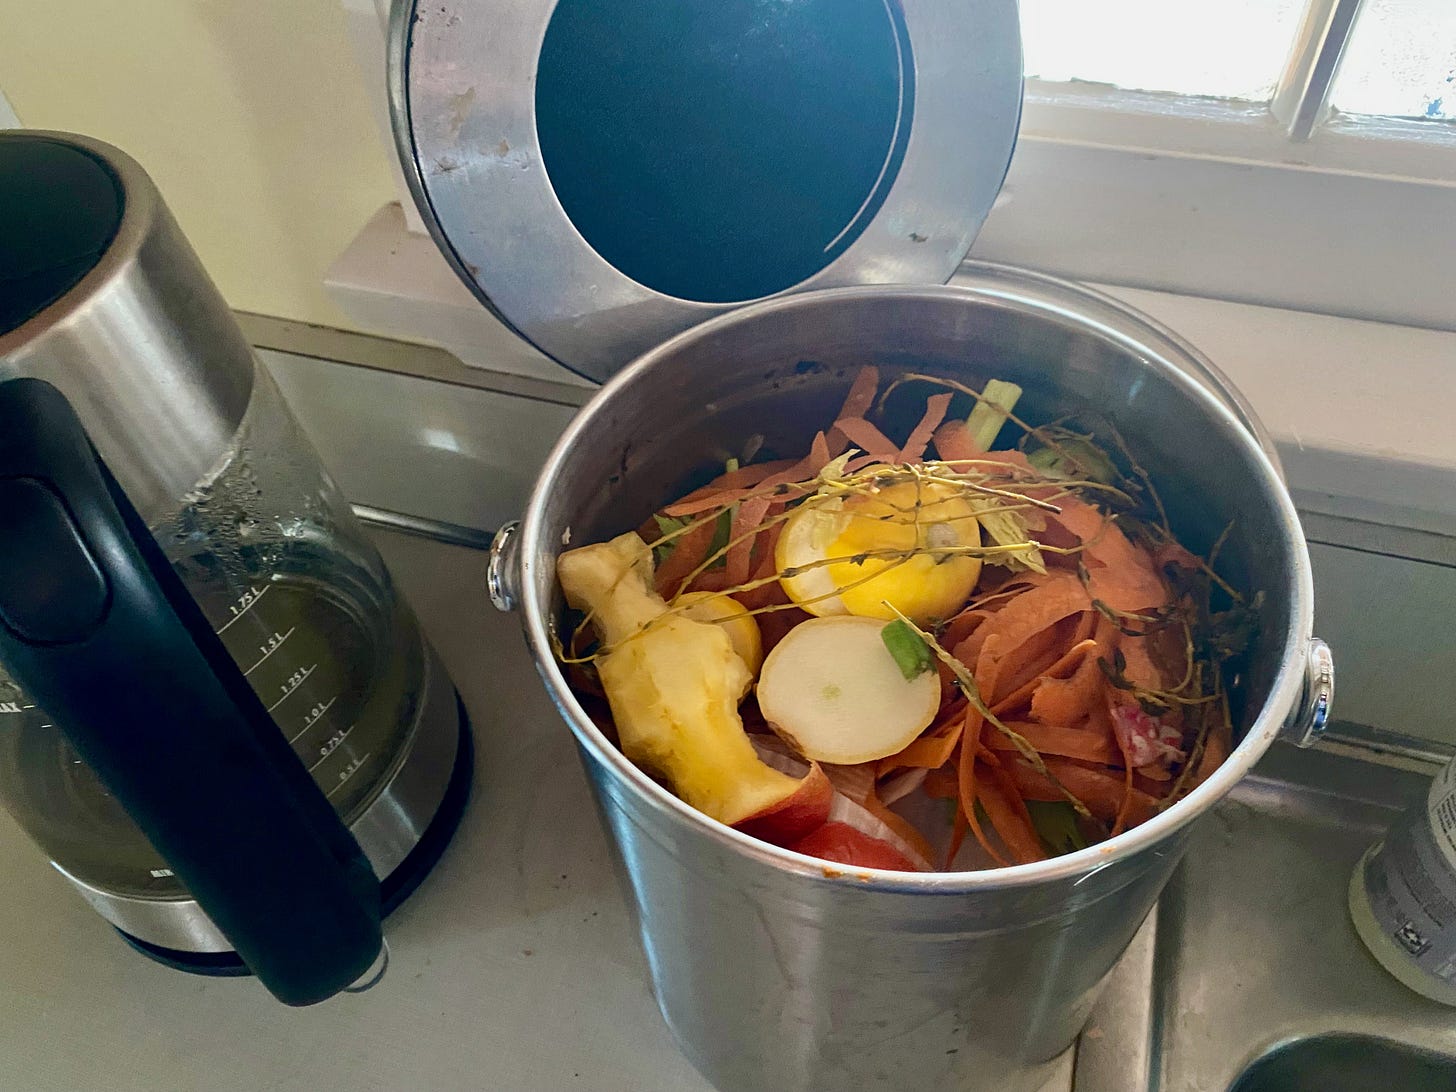
With the bins built, I started filling one side with kitchen scraps, weeds, garden plants (so long as they aren't diseased) and even buckets of cow manure I "borrowed" from the pastures next store. Then I added leaves, straw and manure from our chickens, sawdust from my shop (making sure not to use sawdust from walnut, which is poisonous, or pressure-treated wood), and stirred it all together. Sometimes I'd add compost starter just for good measure. I'd water, turn and monitor the interior temperature, getting irrationally excited when the thermometer showed the pile cooking at 120 degrees or more.
It wasn't long before one side was full and I started adding material to the other side. My hope was that by the time I cooked and then depleted one side, the other side would be ready for me to use, allowing me to alternate between the pile I'm building up and the pile I'm taking from. However, I can already tell that I'm adding material faster than I'm taking it away, so a second two-sided bin may soon be in order.
For the most part, the compost doesn't attract any critters — and avoiding attracting critters is among the reasons (along with bacterial concerns) gardeners should not add meat or dairy to the compost bin (nor waste from cats or dogs, which is definitely a health hazard).
(I say "for the most part," because we did have a raccoon who discovered the joys of our compost bin and, perhaps more to his/her delight — the cornicupia of our greenhouse, which included a bottle of fish-based fertilizer. The masked bandit broke into our greenhouse and wreaked havoc, destroying a multitude of plants, ripping open the fertilizer, and spreading compost scraps all over the yard. It was a crime of passion, I know, but it still warranted action. The next day we set out a trap lined with cat food and by morning we had the felon in custody. It's illegal to trap and trasport wildlife in Virginia, so I'll say no more other than the raccoon was unharmed and I think is living out its life in a very pleasant setting. It has not bothered us since.)
Generally, wihin 2-3 months, well-maintained and well-ratioed compost will be ready to add to the garden. I did find that moving the bin to a sunny location helped speed things along compared to when it was in a shadier spot. I suppose that makes sense -- the sun is the source of life, after all.
Leaf Mold Gold
The other compost worth noting is leaf mold. Leaf mold is a fantastic soil conditioner and in some respects, far easier to make than compost. However, it also takes far longer.
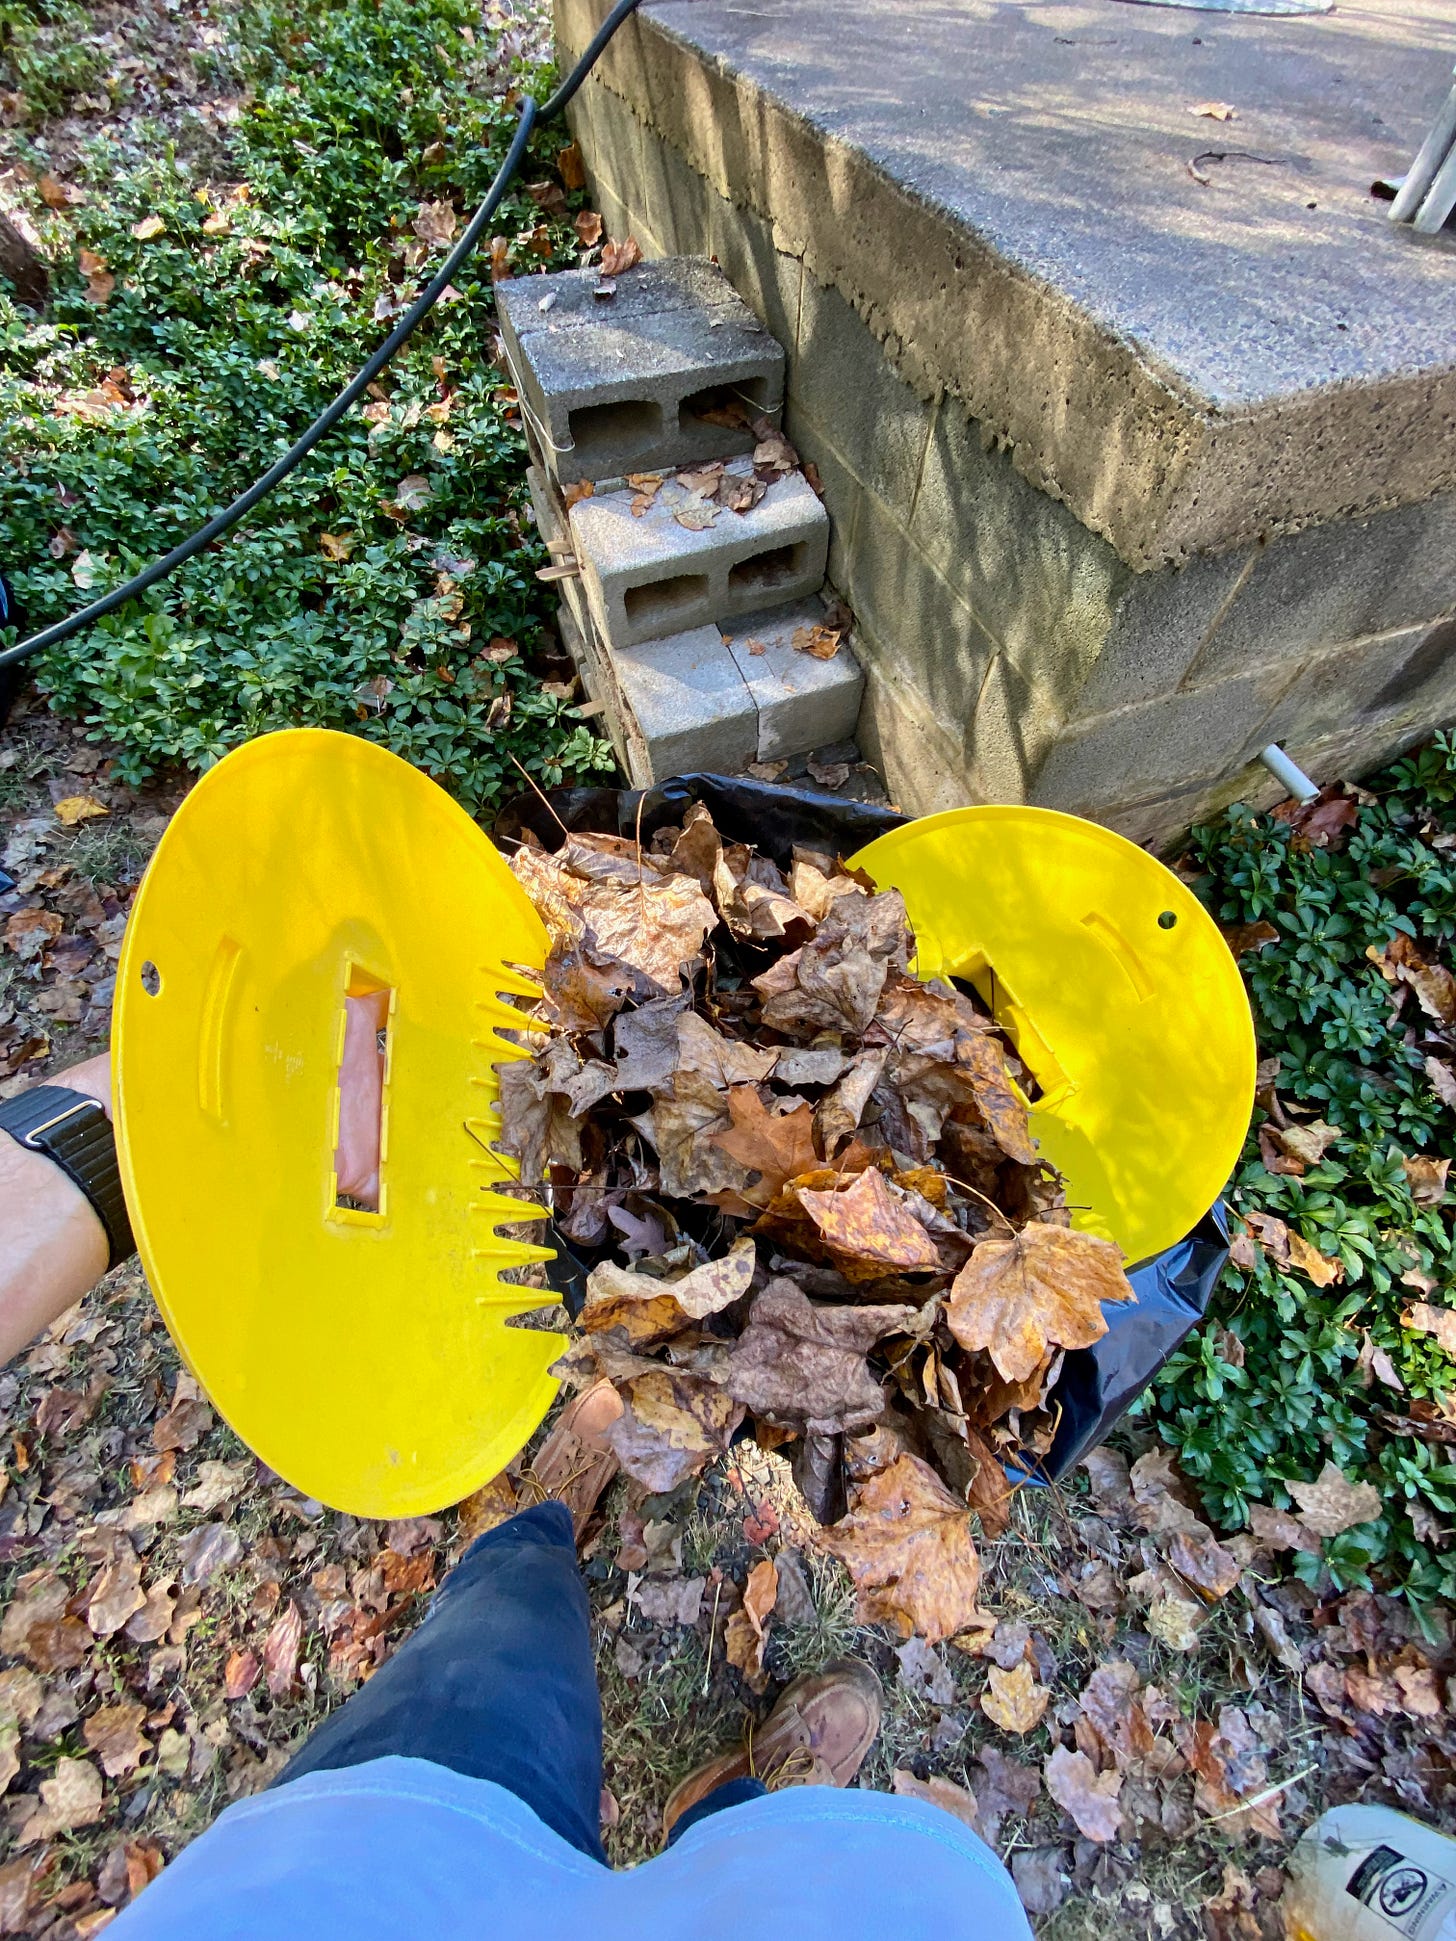
There are two main approaches to making leaf mold. Both start with gathering up your autumn leaves. If you're able to cut them up, say using a lawn mower, that is a fanastic thing to do as it will help them break down more quickly than if they are left whole.
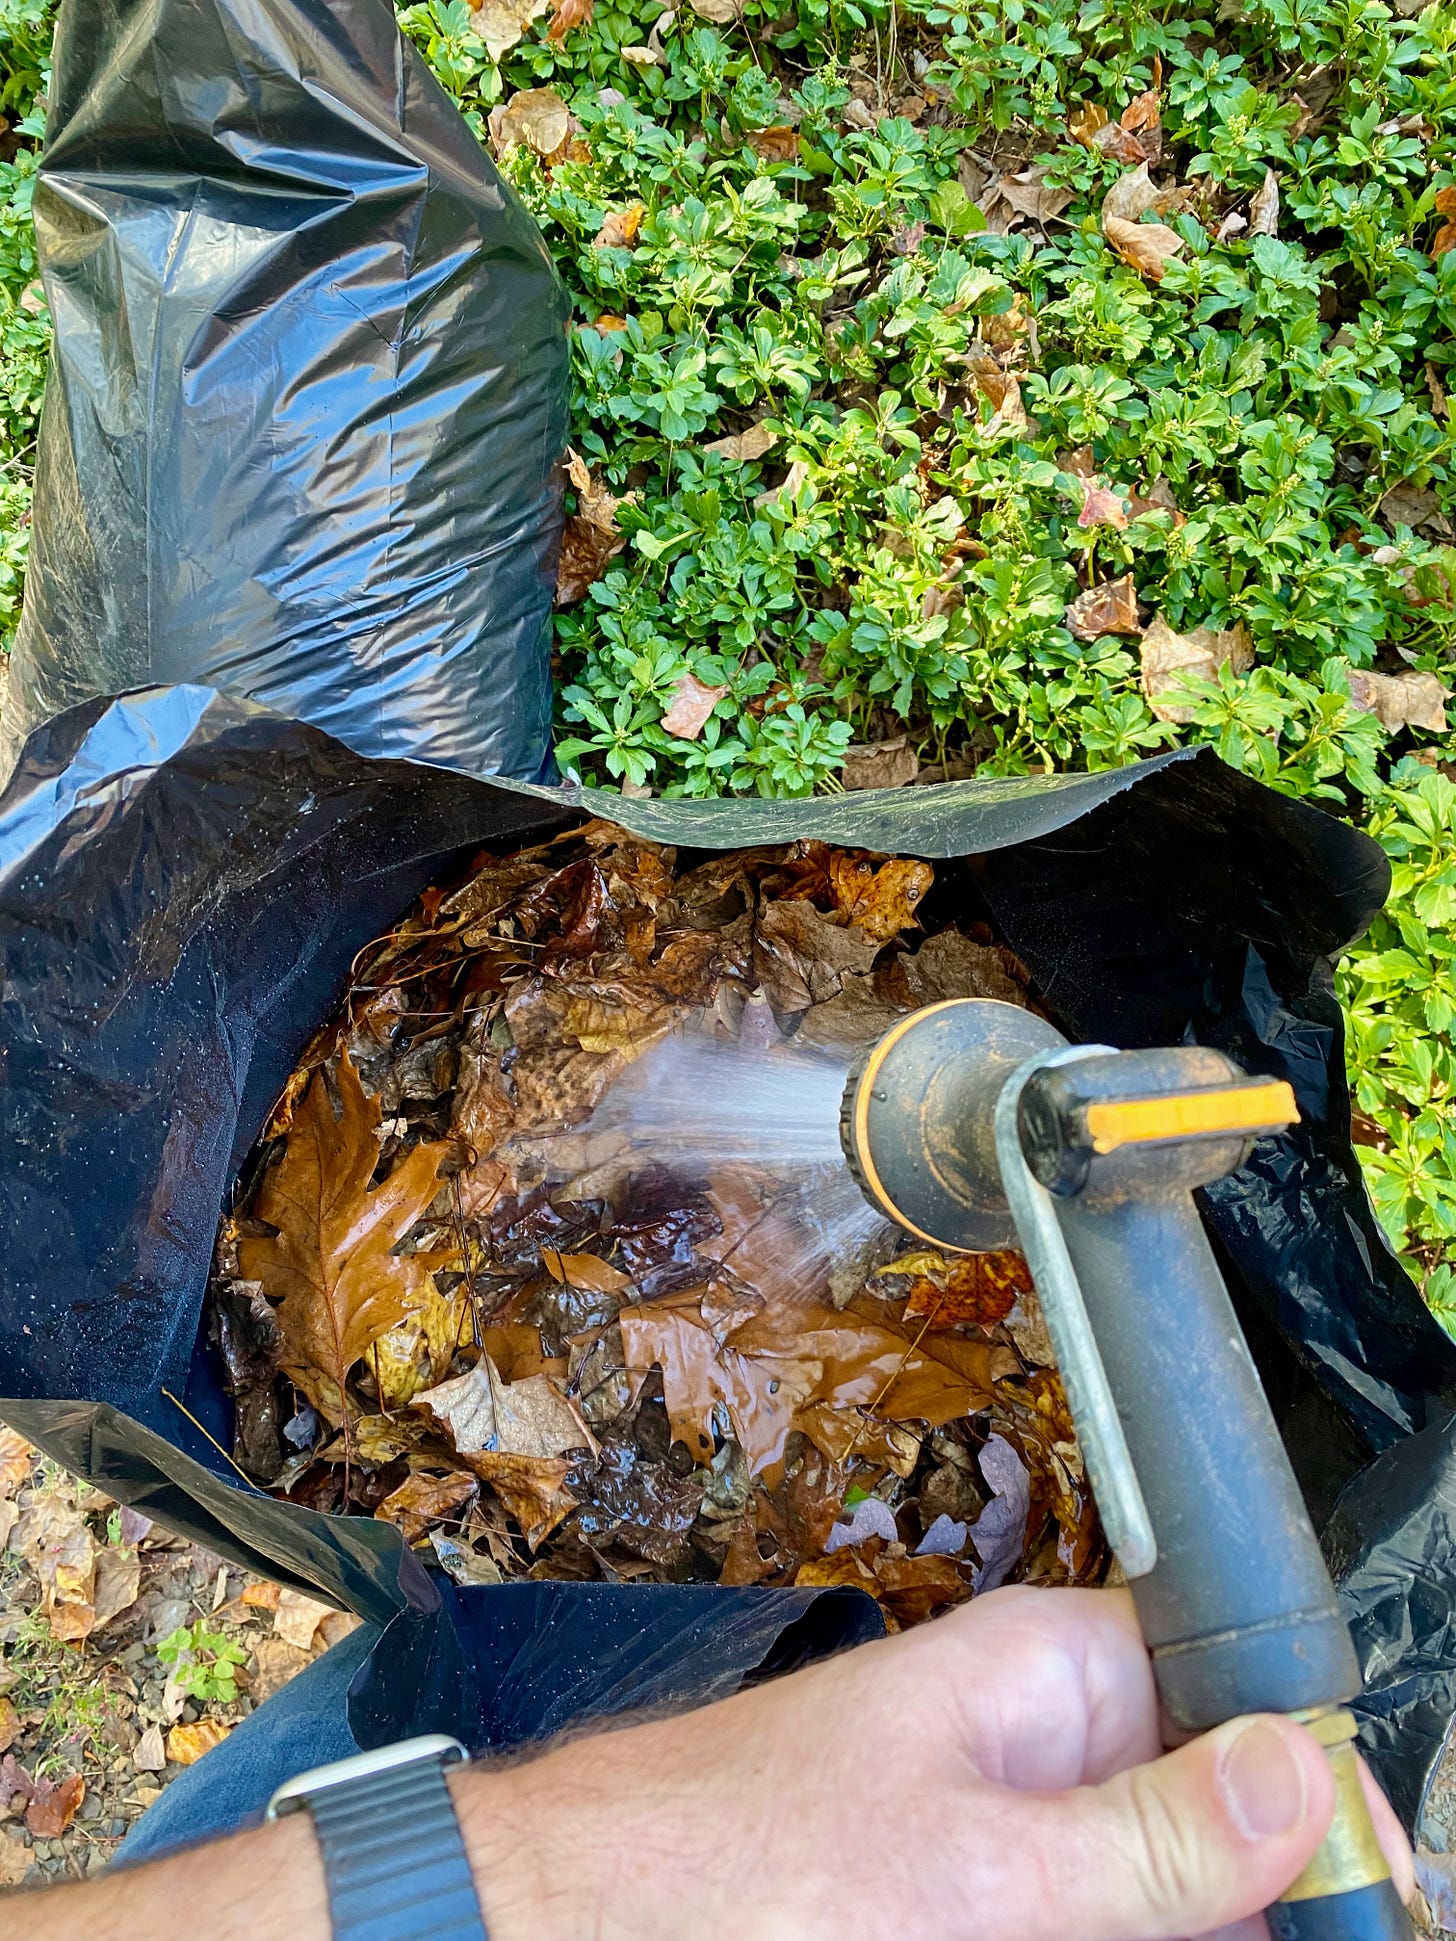
Once you've gathered your leaves, you have two options. One option is to simply stuff them into a large black plastic garbage bag. Fill it up as much as you can without compressing them too much. You want a a full bag, not a brick of cocaine.
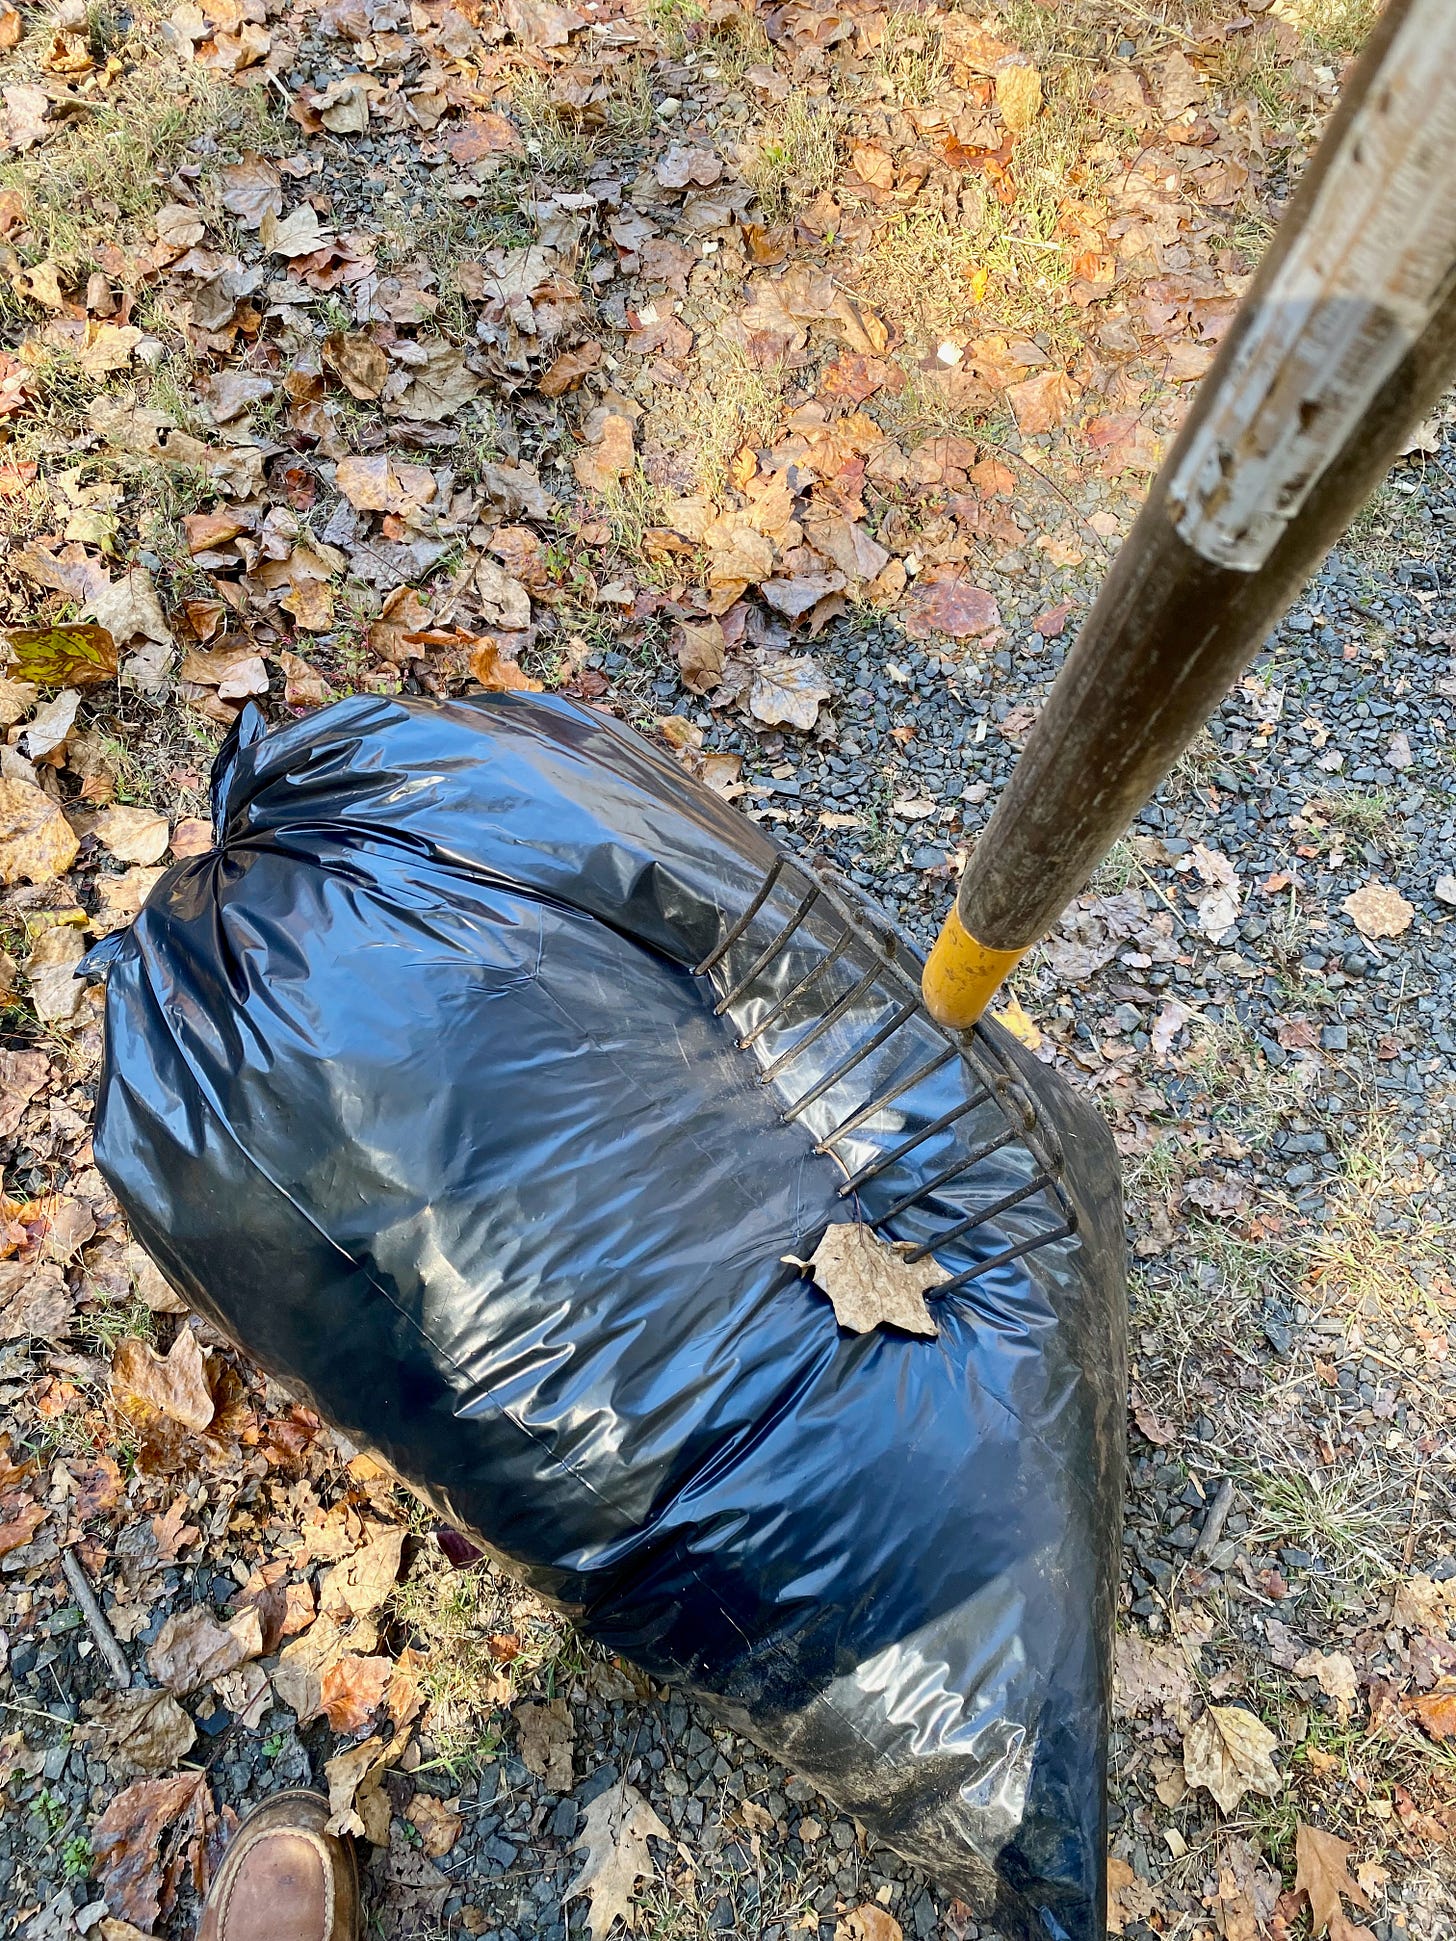
After the bag is full, grab your garden hose and give the leaves a thorough soaking. Wet leaves will decompose much faster than dry leaves. Tie the bag off and then grab your pitch fork and stab it several times. This is therapuetic for you and it also will help air flow. Water will drain out and that's ok. Finally, put the bag somewhere you can let it sit for a while. A long while. Like a year. Or two. After then, open the bag and be proud of the black gold you've made. Incorporate it into your garden soil and your plants will thank you. And then you can eat them in return.
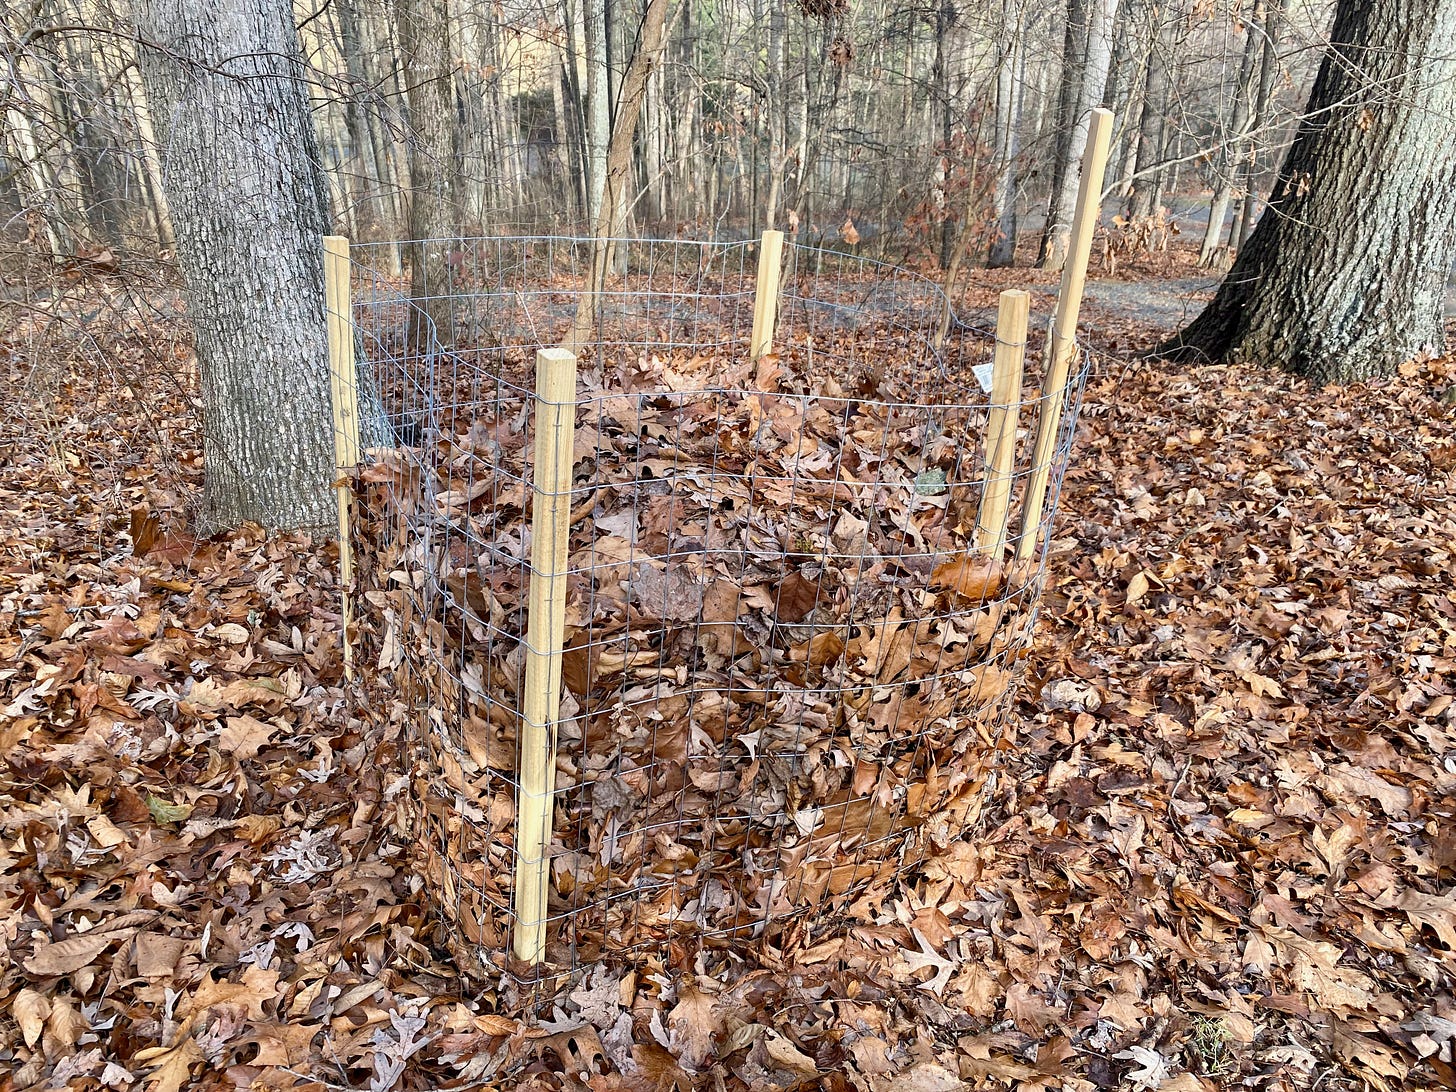
The other way of making leaf mold is to build a bin. This bit is a bit simpler than the compost bin. It should be about 3-feet cubed (or larger) and can be made simply with four wooden posts pounded into the ground. Attach wire fencing to each post, but don't attach the end of the fence back to the first post. Instead, use a fifth post for the end so that you can swing that side open, like a gate, when you want to dig out the leaf mold later.
Fill the bins with leaves — again, shredded leaves are ideal, as they'll break down faster — but avoid compressing them down. You want some air to be able to flow through the pile. Wet the leaves, if they aren't already damp, in order to encourage the bacteria to do their magic. And then… wait. And wait. Again, a year or two later, you'll have beautifully crumbly material to add to your garden.
(You might find that a few days or weeks after you pile up your leaves, they've settled considerably. At this point, it's totally fine to add more leaves to top off the bin.)
Gardening is obviously not a pastime for people who can't pass the marshmallow test — and not only because marshmallows don't grow on trees. It's a hobby that preaches patience. But the reward in making beautiful soil and growing delicious food is worth it. Plus, whatever you don't eat can go right into the next compost pile.


