

👋
It’s been more than a minute, so let’s get into it. After finishing the last of my basement built-ins, it was finally time to lay flooring. In a perfect world, I would have put down hydronic radiant heat and a wood floor, but that wasn’t in the cards. Not only would it have been expensive, but it would have raised the floor height too much. Instead, the best option, I came to realize, was LVP or luxury vinyl planking, so named because otherwise nobody would consider vinyl a luxury product.
I was skeptical of LVP. I tend to prefer natural materials and LVP is definitely not that. But it can withstand basement damp, should that occur, and I can install it myself, saving $1,000 or more. Plus, I was promised it would look good. I wasn’t so sure.
But before I could begin the flooring, I discovered — thanks to some bubbling paint — that one wall of the basement was not adequately waterproofed. That required hiring a crew to dig a trench on the outside wall, apply tar and plastic to the brick, and install a French drain and sump pump. So, already off to a pricey start.
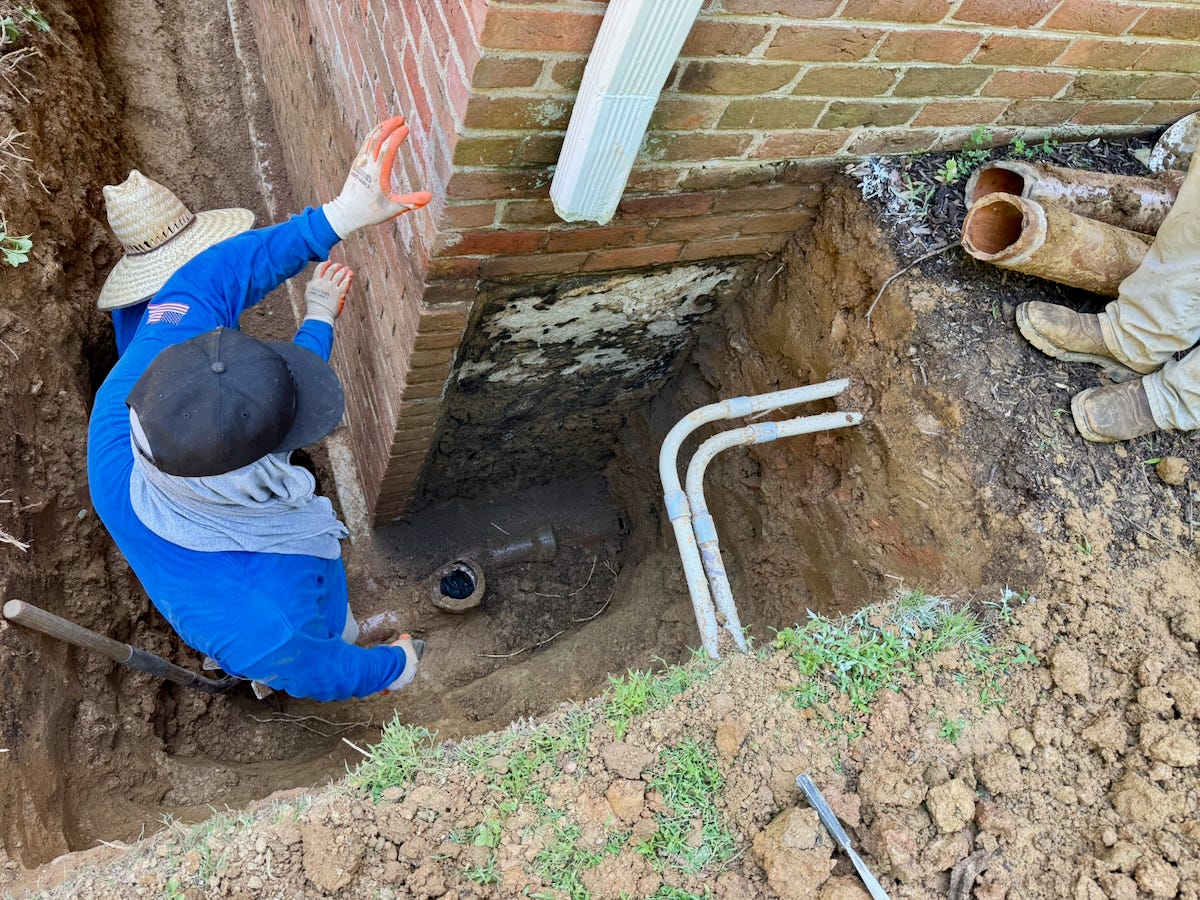
Once that was complete and the LVP arrived, I began my flooring adventure.
Step 1: Plan the layout
Once my flooring arrived,1 I was tempted to leap into action. But I have learned, repeatedly, slowly, and with great difficulty, that planning saves a lot of time, money, and hassle.
First, it helps to understand how LVP works. It’s basically a box of uniformly sized planks (in my case, each is about 6 inches by 48 inches) with a tongue on one long side and one short side, and grooves opposite. Each plank has one of 36 printed wood-grain patterns. On the bottom of each plank is a foam pad. The planks all snap together and “float” on the subfloor.
You want to stagger the end joints between rows and randomize the lengths and grain patterns, like you see in a standard wood floor. This means you start some runs with planks that are cut down. You also want to avoid very short planks or planks that end awkwardly on a corner. Thus, it is well worth taking a minute to figure out where joints will land throughout your room — at each end, where there are doorways, corners, or, as in my case, built-ins. If you do find awkward joints, just adjust your starting row’s width (by ripping the planks) until things line up nicely.
Lucky for me, the layout worked with full-width planks, so it was on to step two.
Step 2: A flat subfloor
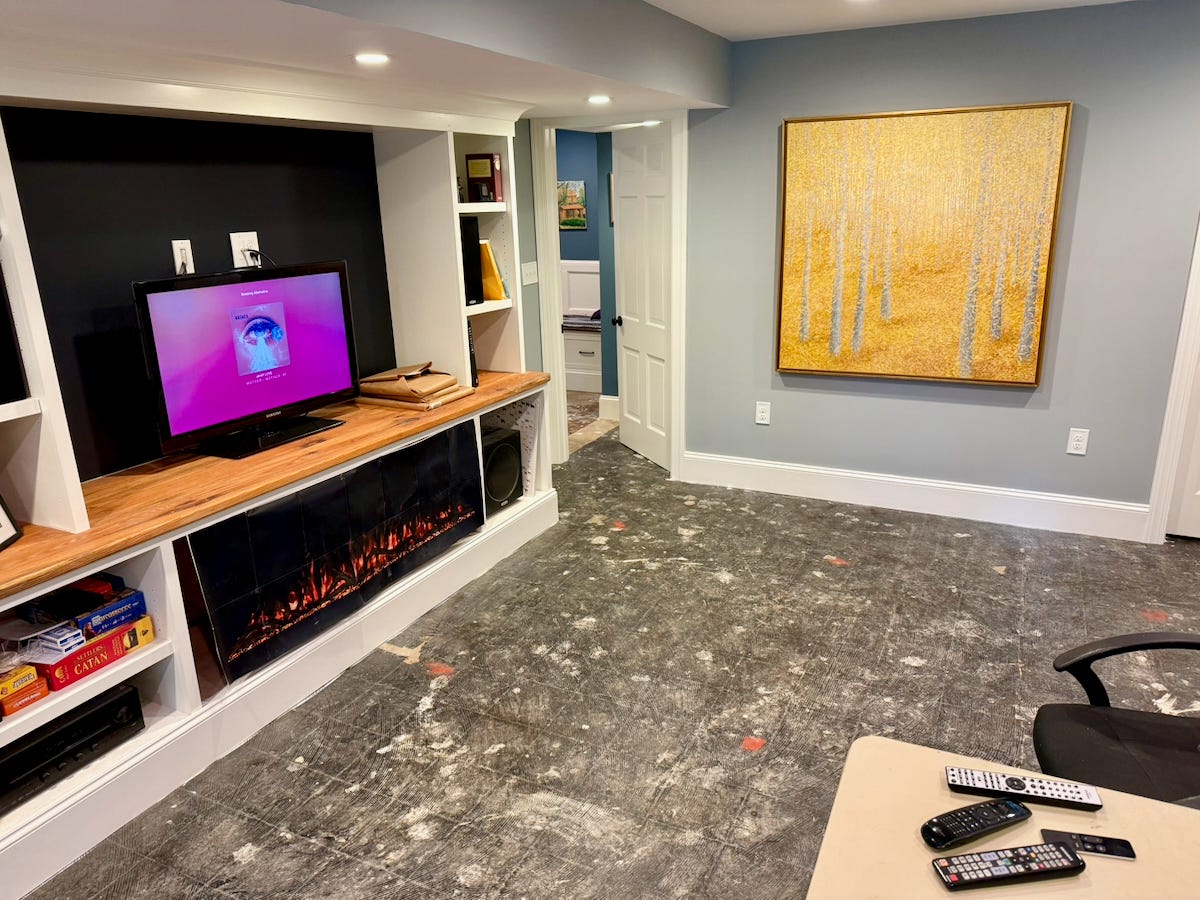
The next thing I needed to do was to make sure my concrete slab subfloor was perfectly flat and smooth. This was already mostly the case except for some blobs of joint compound, drips of paint, or residue from an old tile floor. Using a variety of scrapers, I did my best to pry off these bits and pieces. Had I not, people would feel them through the floor like the proverbial princess’s pea through her stack of mattresses. I also squeezed filler compound into a few divots for similar reasons. Then I dutifully (and repeatedly) swept and vacuumed to pick up any stray debris.
Step 3: Vapor barrier
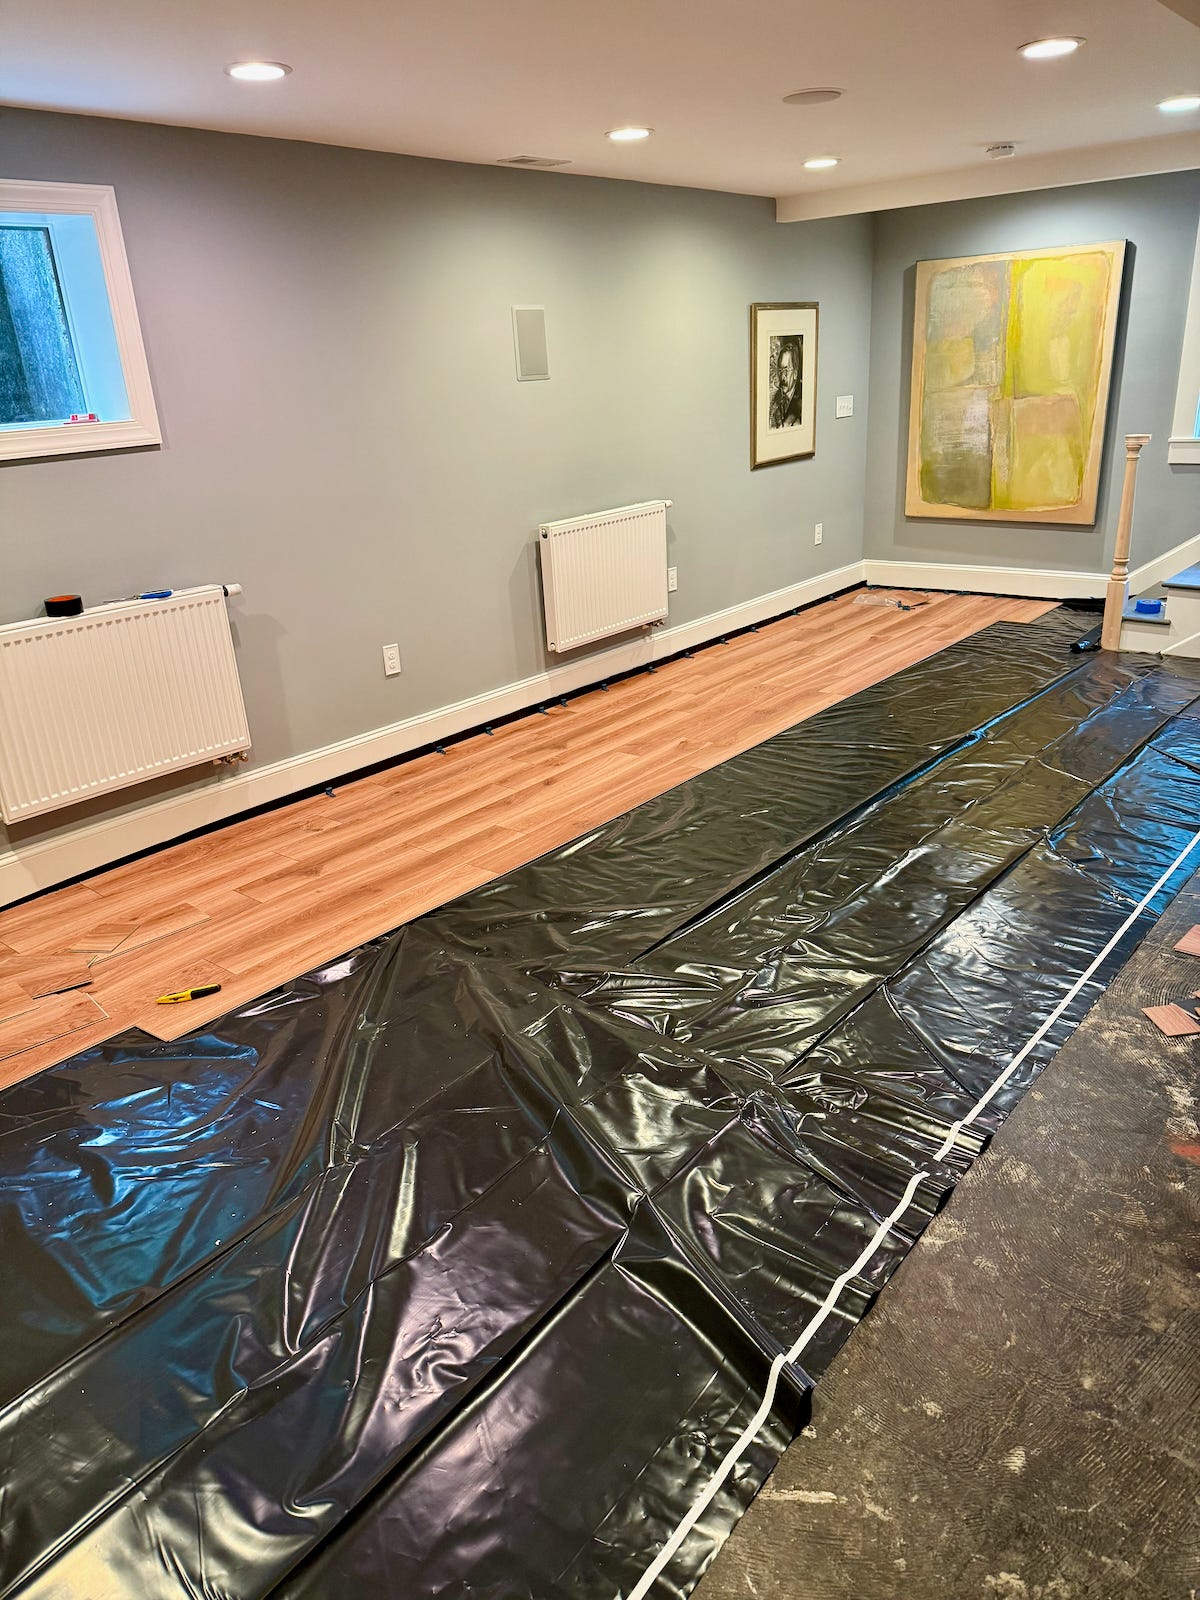
In theory, the concrete could wick up moisture, so the LVP manufacturer specifies laying down a 6-mil plastic sheet between the concrete and the planks. This keeps moisture from seeping into the LVP and, presumably, making it less luxurious. Here’s the thing, though: keeping a slick plastic sheet in place is no easy task, especially when you need to tape several together to cover the entire area. The best way I found to make this work was to a) wear socks and b) tape the edges to the baseboards.
Step 4: Lay planks
It was time to start dropping planks. I started in the rightmost corner of my basement at the base of my stairs — a highly visible corner. First I laid a short plank and then started clicking pieces together. Following the directions of the manufacturer, I also placed ¼-inch spacers between the planks and the wall to allow for the floating floor’s expansion and contraction. Keeping those spacers in place proved to be perhaps the most challenging part of the entire floor-laying process.
Also, despite there being 36 different grain patterns, there’s no guarantee how often the same design will repeat. So, I asked my sister to stand over me and point out when I was about to drop a plank with a design identical to one nearby. I’m glad I did, too, because she saved me multiple times.
You don’t need many tools to lay LVP. There’s a special tapping block that conforms to the planks’ tongues and grooves; a mallet with which to hit the tapping block; and a special pry bar to work with planks in tight spaces. Oh, and knee pads. I can’t overstate the importance of knee pads.
Step 5: Cuts
There’s definitely a method to clicking the planks together. Lift, slide, drop, push, tap, click. Once you get the hang of it, things go fairly quickly. Be careful, though — it doesn’t take much to crack or chip a plank and ruin it.
The one thing that did slow me down was constantly getting up and taking planks to the shop to cut them. I also used a jigsaw to fit planks around door frames and an oscillating saw to undercut trim for planks to slide under.
Plenty of YouTube videos (this is an especially good one) suggest scoring and snapping the planks or even using a guillotine to chop them, but I found both of those methods left me with chipped planks. Cutting on a miter saw was much cleaner, if slower.
Finishing
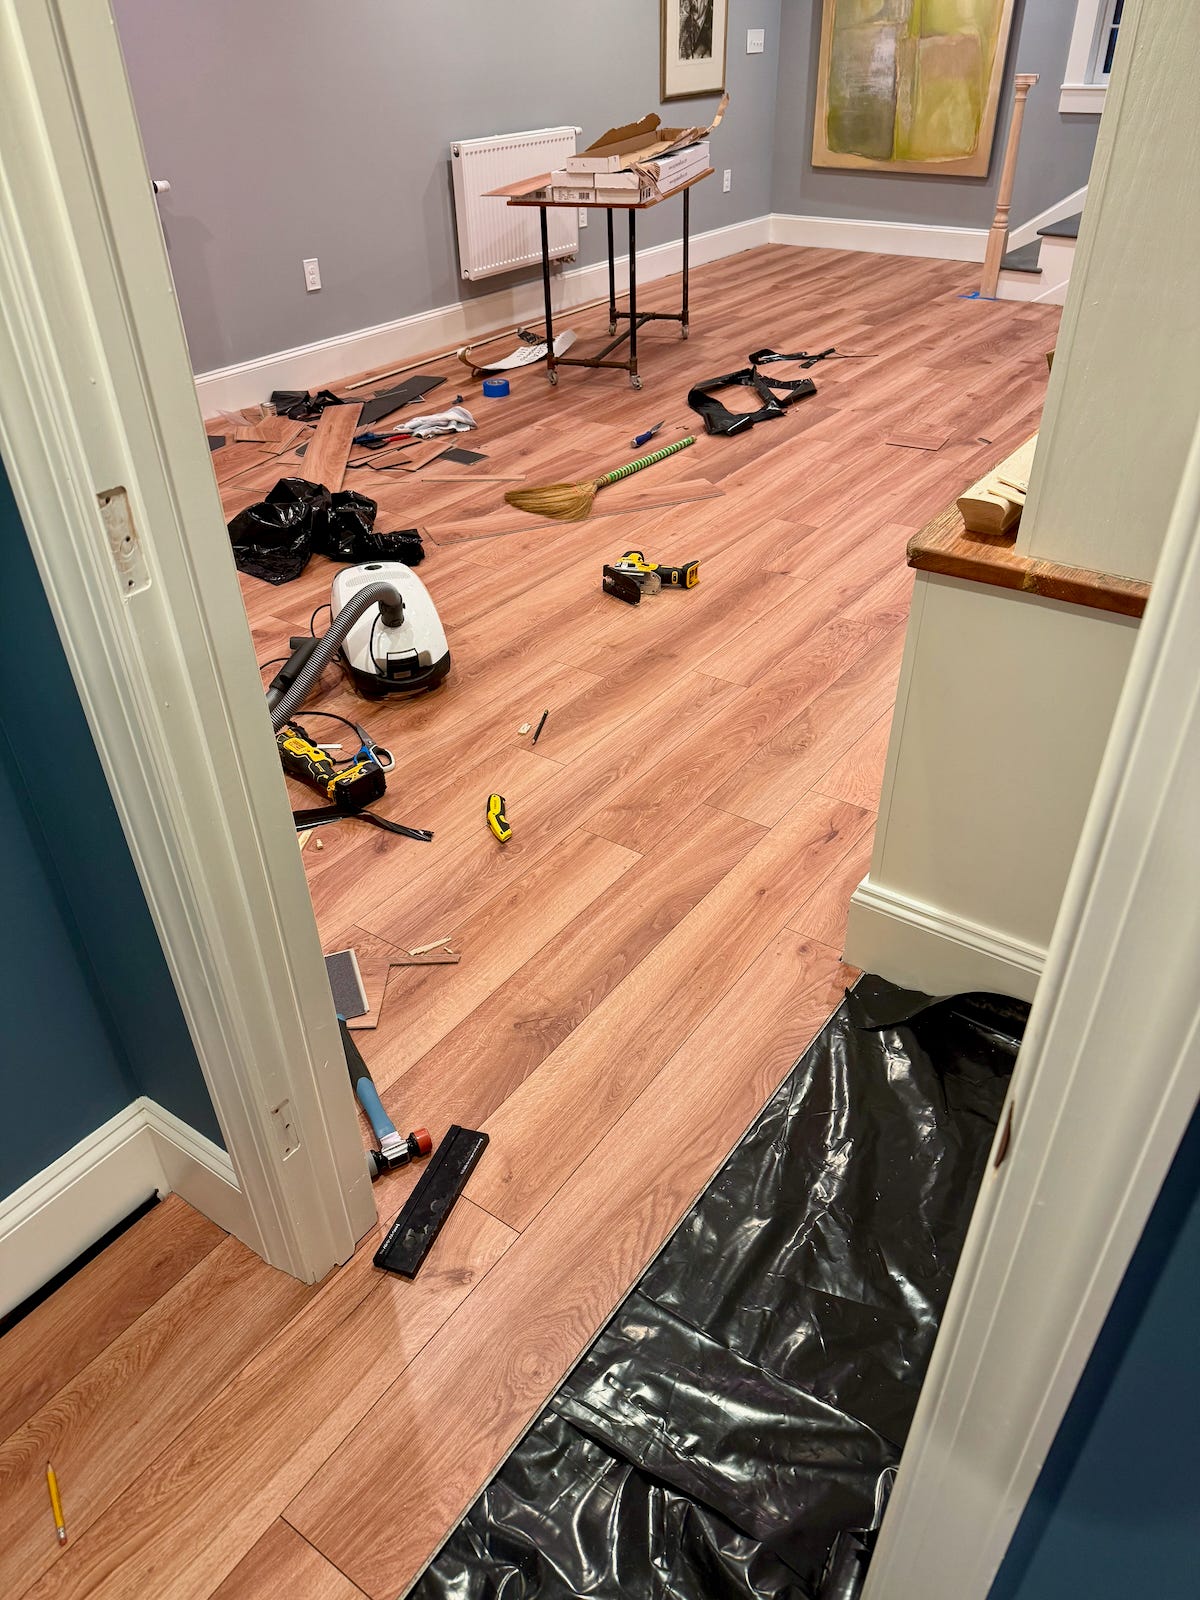
After two days,2 I had the floor down. At two points where the LVP transitions back to the concrete subfloor, I used construction adhesive to set thresholds. Then it was time for shoe molding.
Typical shoe molding is ½-inch by ¾-inch, with the wider portion on the wall and the narrower portion on the floor. However, even though my floor was supposed to be spaced exactly ¼-inch off the wall thanks to those troublesome spacers, it wasn’t. In some cases, the floor was too close (walls aren’t perfectly straight, you know) and in other spots, it wasn’t close enough. In fact, the gaps in some spots were half an inch or more, which meant the shoe molding wouldn’t quite cover those gaps.


To address the spots where the floor was too close to the wall, I used an oscillating multitool and a piece of ¼-inch plywood as a spacing guide to trim away some of the LVP. I was afraid that if I didn’t, the floor might buckle when expanding.
To solve the issue of the wider gaps, I switched to a larger shoe molding — ¾-inch quarter-round — which comfortably covered all of the gaps.
I carefully cut the shoe molding miters and returns into the walls, painted everything, and then called it finished.
Despite my initial skepticism, I’m quite pleased with the results. The floor looks better than I expected, and installation was straightforward, troublesome spacers aside. We’ll see how well it wears over time — will it chip, scratch, warp, or buckle? — but maybe LVP really is more luxurious than I gave it credit for.
I ordered my flooring from Miller Carpets in Warrenton, VA, and they were great. It’s nice working with local businesses instead of big box stores. I recommend it.
That’s not exactly true. I got almost all of it done, but I ended up needing some additional planks, which took a few weeks to arrive. And when they did, they were all broken. So then it was a few weeks to get those replaced. But once I did, it was just a few minutes to finally finish the job.
You did better than Abraham Lincoln, who had mallets toward none.