Plane Stupid
One of the things I like about woodworking is that it requires thinking and planning ahead. I spend as much time, if not more time, thinking about a project than I spend in the shop working on it. How am I going to make that cut? In what order should I do these steps? It forces me to slow down and be patient, two of my weaker qualities.
In fact, there's no easier way to screw something up — or damage something or someone than "rushing it" or "forcing it." And really, if you think about it, both of those — rushing and forcing — are really just manifestations of being impatient.
That impatience is pretty much the story of me and my planer. It all began at the end of November 2020 when I decided that a nice planer was exactly what my shop needed next. (A planer, for those who might not know, is a machine that cuts boards to a uniform thickness and makes opposite sides parallel. Imagine a board that is flat on one side and rough on the other. Passing the piece through the planer will shave off the rough side until it is smooth and the board is a uniform thickness.) Having decided I needed one, I drove out to the store and asked to buy one.
"I'm sorry, but that guy," the clerk said pointing to a flanneled gentleman wheeling a large yellow box out the door, "just bought the last one."
Damn.
"I can check our other locations," the clerk said, beginning to type into his computer. "Oh yes, there's a store about 30 minutes from here and they have a couple in stock. Want me to have them hold it for you?"
Well, of course I did and I drove straight over there and bought it. I remember the date — Nov. 29 — because the very next day, I got a mailer from the store advertising the very same planer as part of a December package deal with $150 worth of additional goodies. If only I had waited two freaking days! This was the start of my impatient relationship with this planer.
I guess I could have returned it, but I was busy and anyway, I made good use of the planer straight away. Still, I've regretted not bothering to try and get the deal. That was lesson one.
Lesson 2
Over the following year, I made ample use of the machine, but found that it constantly tripped the breaker in our old house. I could reduce the likelihood of this by taking very slight passes — and more of them — but that was slow and annoying. I didn't have the patience for that, so I'd try to skim off 1/32 or 1/16 of an inch and halfway through the board, the circuit would flip and the power went out. I'd raise the planer, pull out the board, reset the circuit and start again. To be clear, this was not faster than taking slighter cuts. If only I would stop trying to rush it.
Now I'm set up in my spacious new shop with a dedicated breaker for the planer. Still, the planer just didn't seem have the power to cut through boards it once did. The breaker still flipped. The machine would still get bogged down. I'd push boards through, but that was forcing it. Not a good idea. Then I realized I hadn't ever changed the knives.
Let's take a brief moment to explain how the planer is constructed. Essentially there is a flat bed with four posts in each corner. Riding on those posts is the planer mechanism, which includes the cutter head and a pair of rollers. As a board is inserted into the planer, the rollers pull it through while the cutter head, consisting of three knives, shaves away the top of the board. To remove more material, you turn a crank to lower the mechanism. To remove less material, you raise the mechanism.
I opened the unit and sure enough, the knives looked like they'd have difficulty slicing through warm butter, let along walnut or maple, they were so dull and nicked.
Conveniently, the knives on this unit are double-sided, so simply by rotating each knife around, I was able to instantly rejuvenate the machine to its original state. I closed up the unit and started planing.
Oh my, it was incredible. What once had been torturous became sublime. I sent 12-inch-wide, eight-foot-long planks and they came out the other side looking like they had been touched by the Lord Norm Abram himself. Giddiness ensued.
Why hadn't I done this before? Clearly I had been suffering from dull knives for a while. If only I had stopped and taken the time to swap them, I could have saved so much hassle. Impatience strikes again.
Lesson 3
Alas, the golden moment of sharp knives and smooth wood didn't last. The project I was engaged in, which I'll write about later, had me sending old construction 2x4s through the planer. And though I had checked for screws and nails, I apparently didn't do a thorough enough job because less than 30 minutes after turning the knives, I ran right into a buried screw.
Cheese and crackers. Mother trucker. God Bless America. Aw, hell. MOTHER FUCKER!
Let's just say a buried screw is to a planer knife what a planer knife is to a human finger. That screw cut a chunk out of all three knives without so much as a "how do you do." From that point out, anything through the planer would see a ridge left behind where the screw gouged a chunk out of each knife. This really pissed me off.
Angry and bitter about my stupidity and impatience, I was about to swap out all three knives for an entirely new set — a $60 hit — when my dad helpfully suggested just swapping out one knife. It would take care of the "ridge" the other two would leave behind, and could save me having to replace all three. It was a smart suggestion and I immediately embraced it.
I was back in business. Now I carefully checked every piece of wood to make sure there were no hidden screws or nails. I had learned my lesson.
Unfortunately, more lessons lurked around the corner.
Lesson 4
A few days later, I was working on a project that will be a gift for a relative. (More on this later.) As I put it through the planer, I noticed the wood chips were not being cleared out by the fan and dust collector.
I immediately stopped and cleared it out before continuing on, because I had learned my lesson, right? Right?
No, of course not. Impatient to make progress, I simply kept going. And as I did so, I noticed the planer was getting increasingly difficult to adjust. In fact, it got to the point where it was just about impossible.
And did that bring me to my senses? Did I stop then? Certainly not! I kept pushing! Kept forcing! Then, on the very next pass, the planer took a huge chunk out of the piece of wood I was planing. Something was definitely wrong. By that I mean the planer was fucked up. But also, clearly I have a brain cloud.
I took out the wood, swearing at my stupidity and tried to raise the planer. It wouldn't budge. Crap.
I gave the machine — and my temper — a couple of days to cool off. When I came back to it, I slowly worked the crank to raise the machine. Normally I'm able to raise and lower it with ease. Now it took all my strength to crank it up.
In retrospect, I should have stopped there and sent the machine out for repair. But, being the impatient arrogant fool I am, I continued on. I determined that the gears were clogged and that I needed to disassemble the machine in order to clean it out.
So, I got out my impact driver and started the dissection.
As I pulled the pieces apart, I was able to more clearly see how the entire machine worked, which was cool. I discovered the exhaust fan was completely clogged; I cleared it out. I cleaned and oiled the chains and reset the chain tensioners. I vacuumed out sawdust. This puppy was going to be back up and running in no time.
I probably should have taken the time to photograph the machine as I took it apart, noting exactly which screws went where, but I didn't. By now you know why.
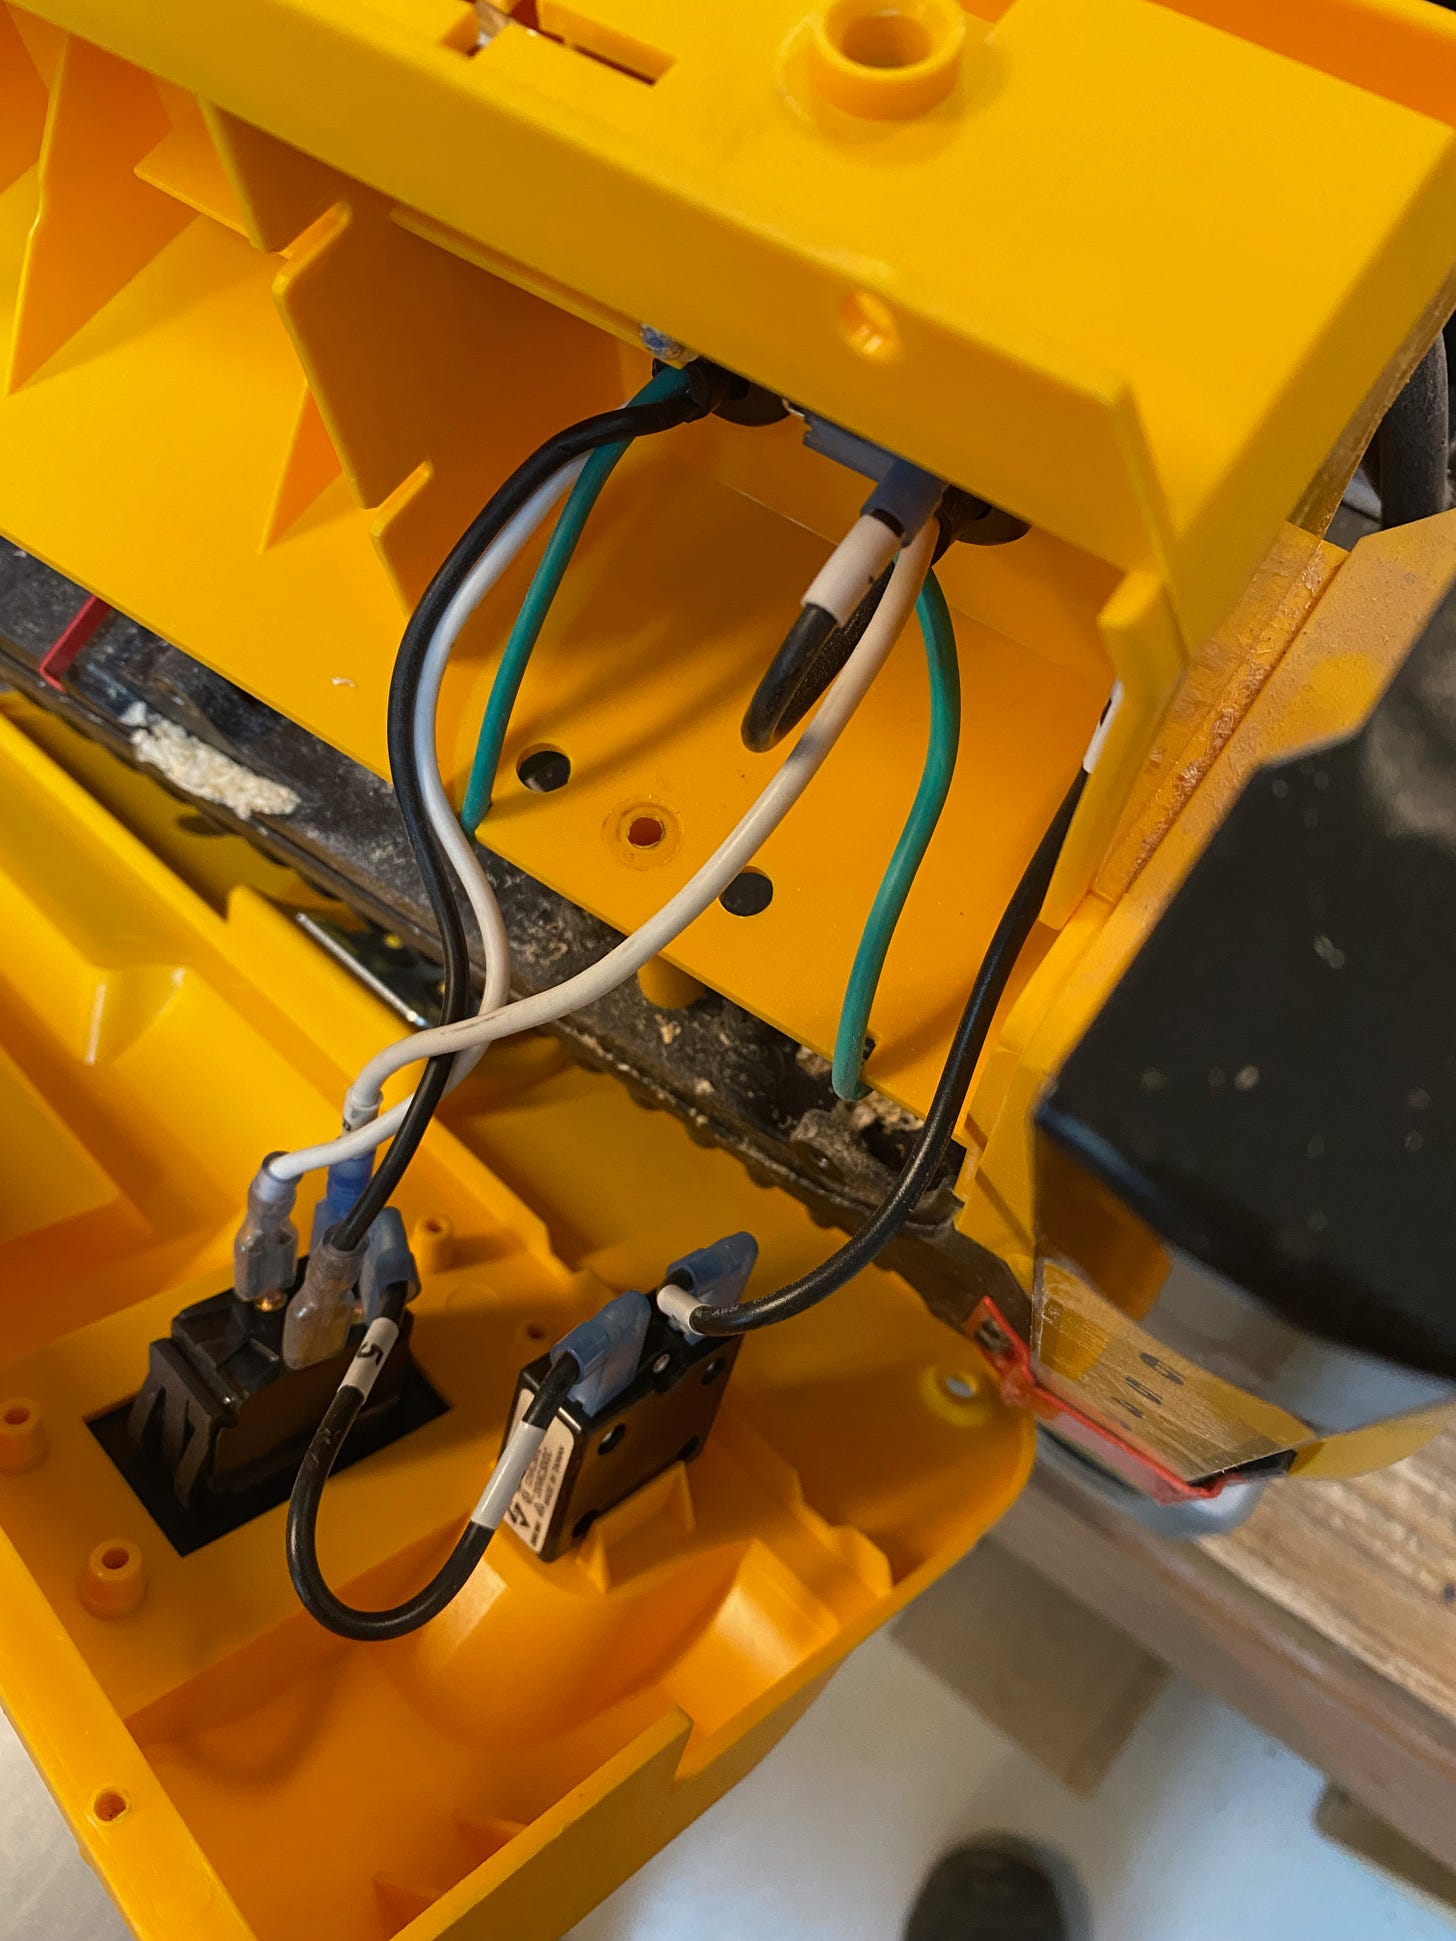
Eventually, it was all clean and time to reassemble. Miraculously, I hadn't lost any parts or inadvertently kicked them across the floor. Everything went back from whence it came. (I did strip one electrical grounding screw that I had to drill out and replace, but that was a relatively minor hiccup.)
I lifted the top unit onto the four posts and turned the crank to lower it. It traveled smoothly and I congratulated myself on my brilliance. Then it stopped and wouldn't budge. I couldn't understand why. My brilliance dimmed.
After an hour of perplexmxent, I turned to the web. Eventually I landed on this video:
https://www.youtube.com/watch?v=cWF2XSVl3Dc
My initial reaction to this video was more on the WTF end of the spectrum, thanks to the eyebrow-raising wardrobe, but it turned out to perfectly explain my problem and how to fix it.
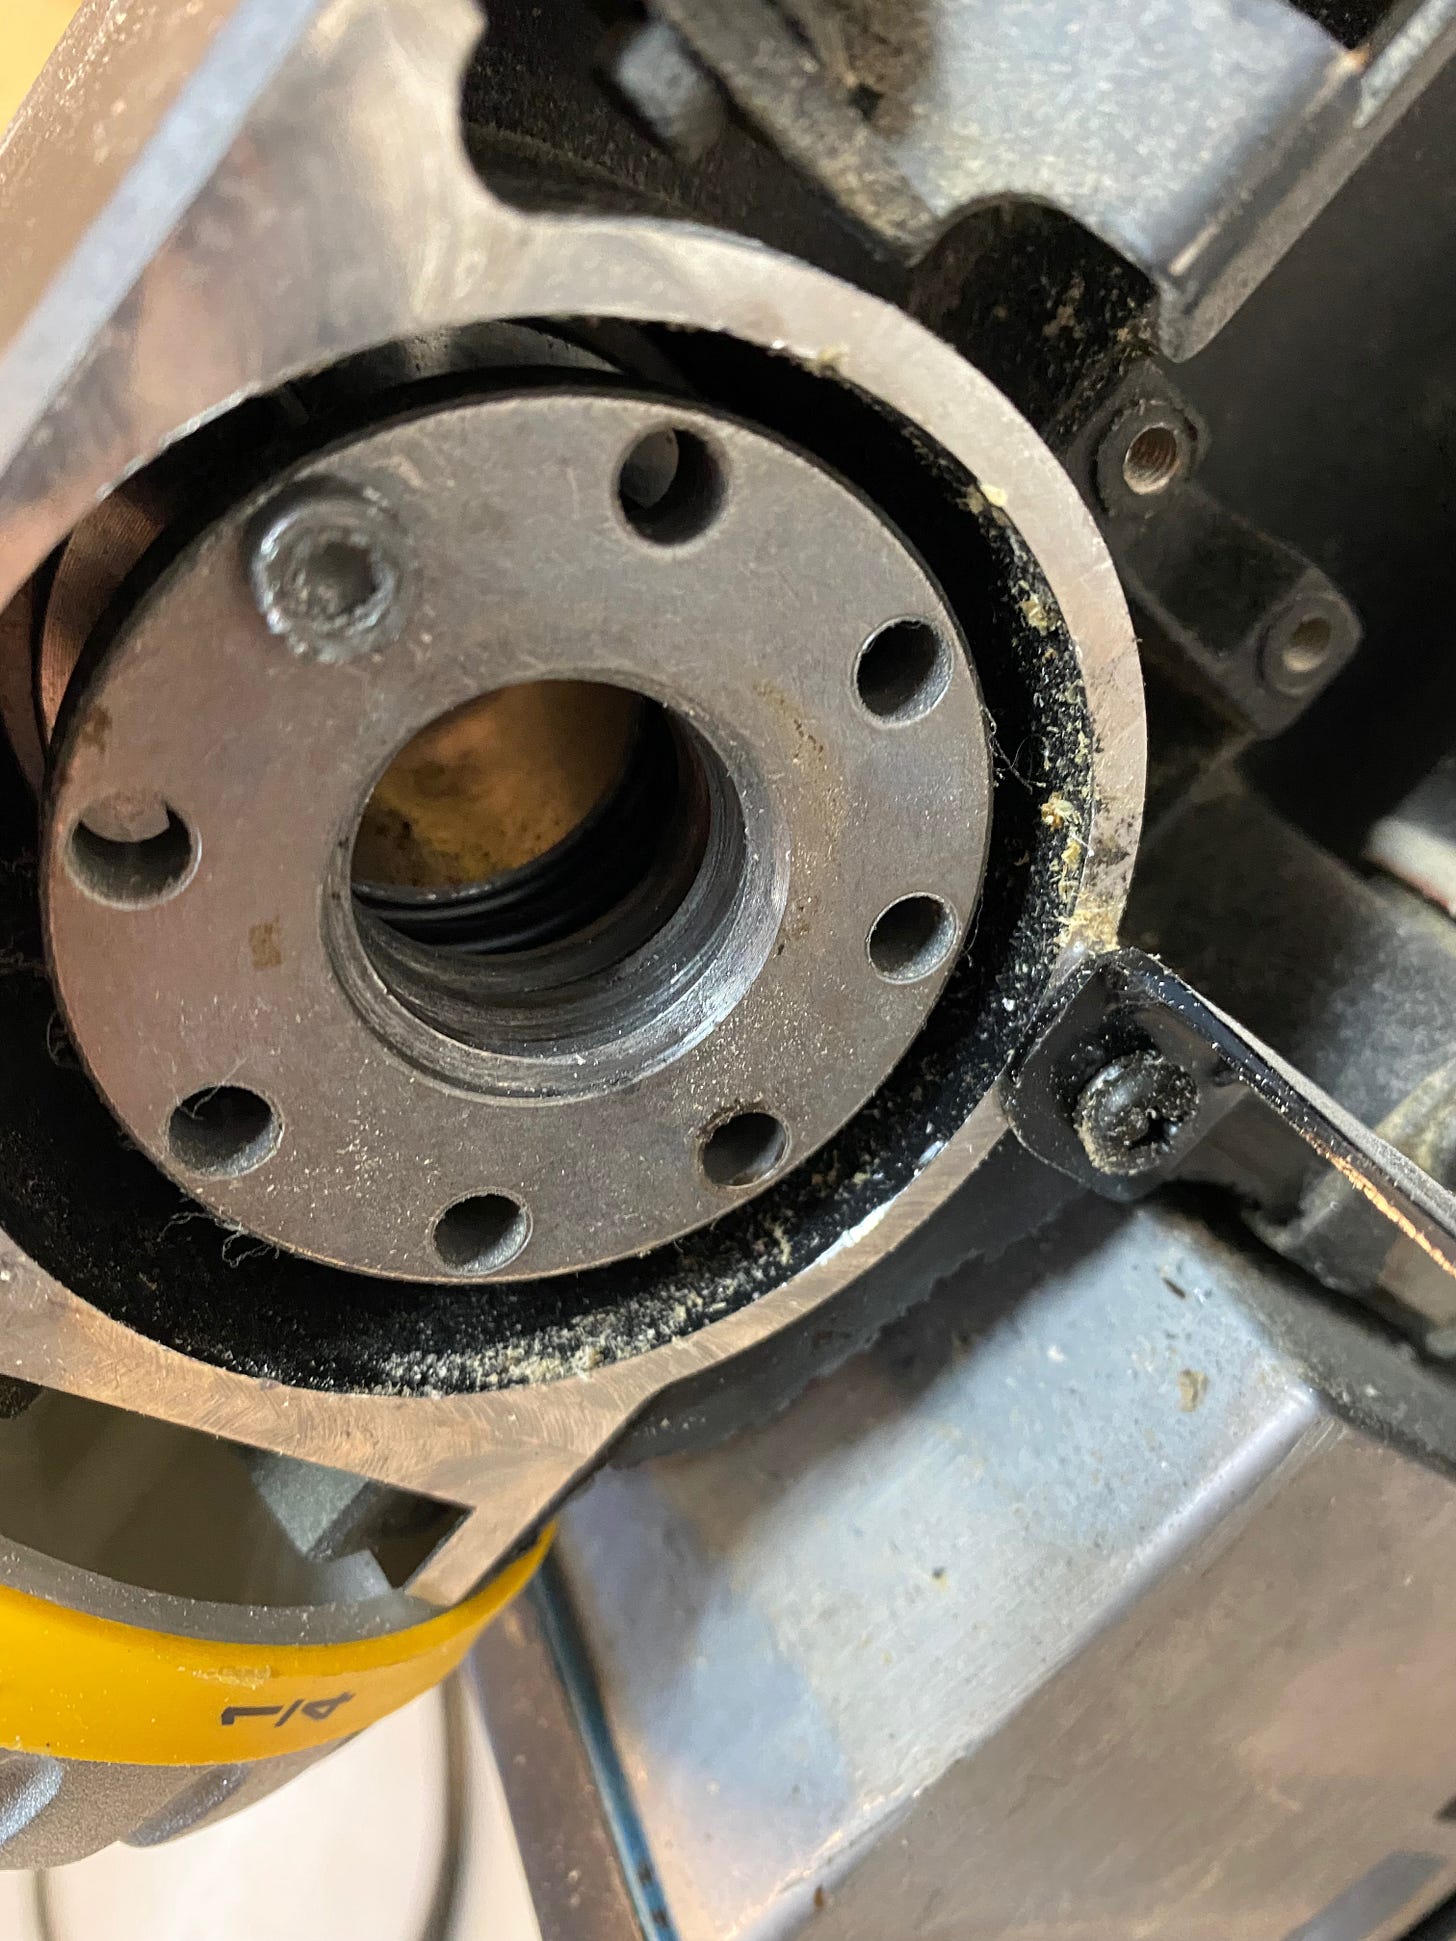
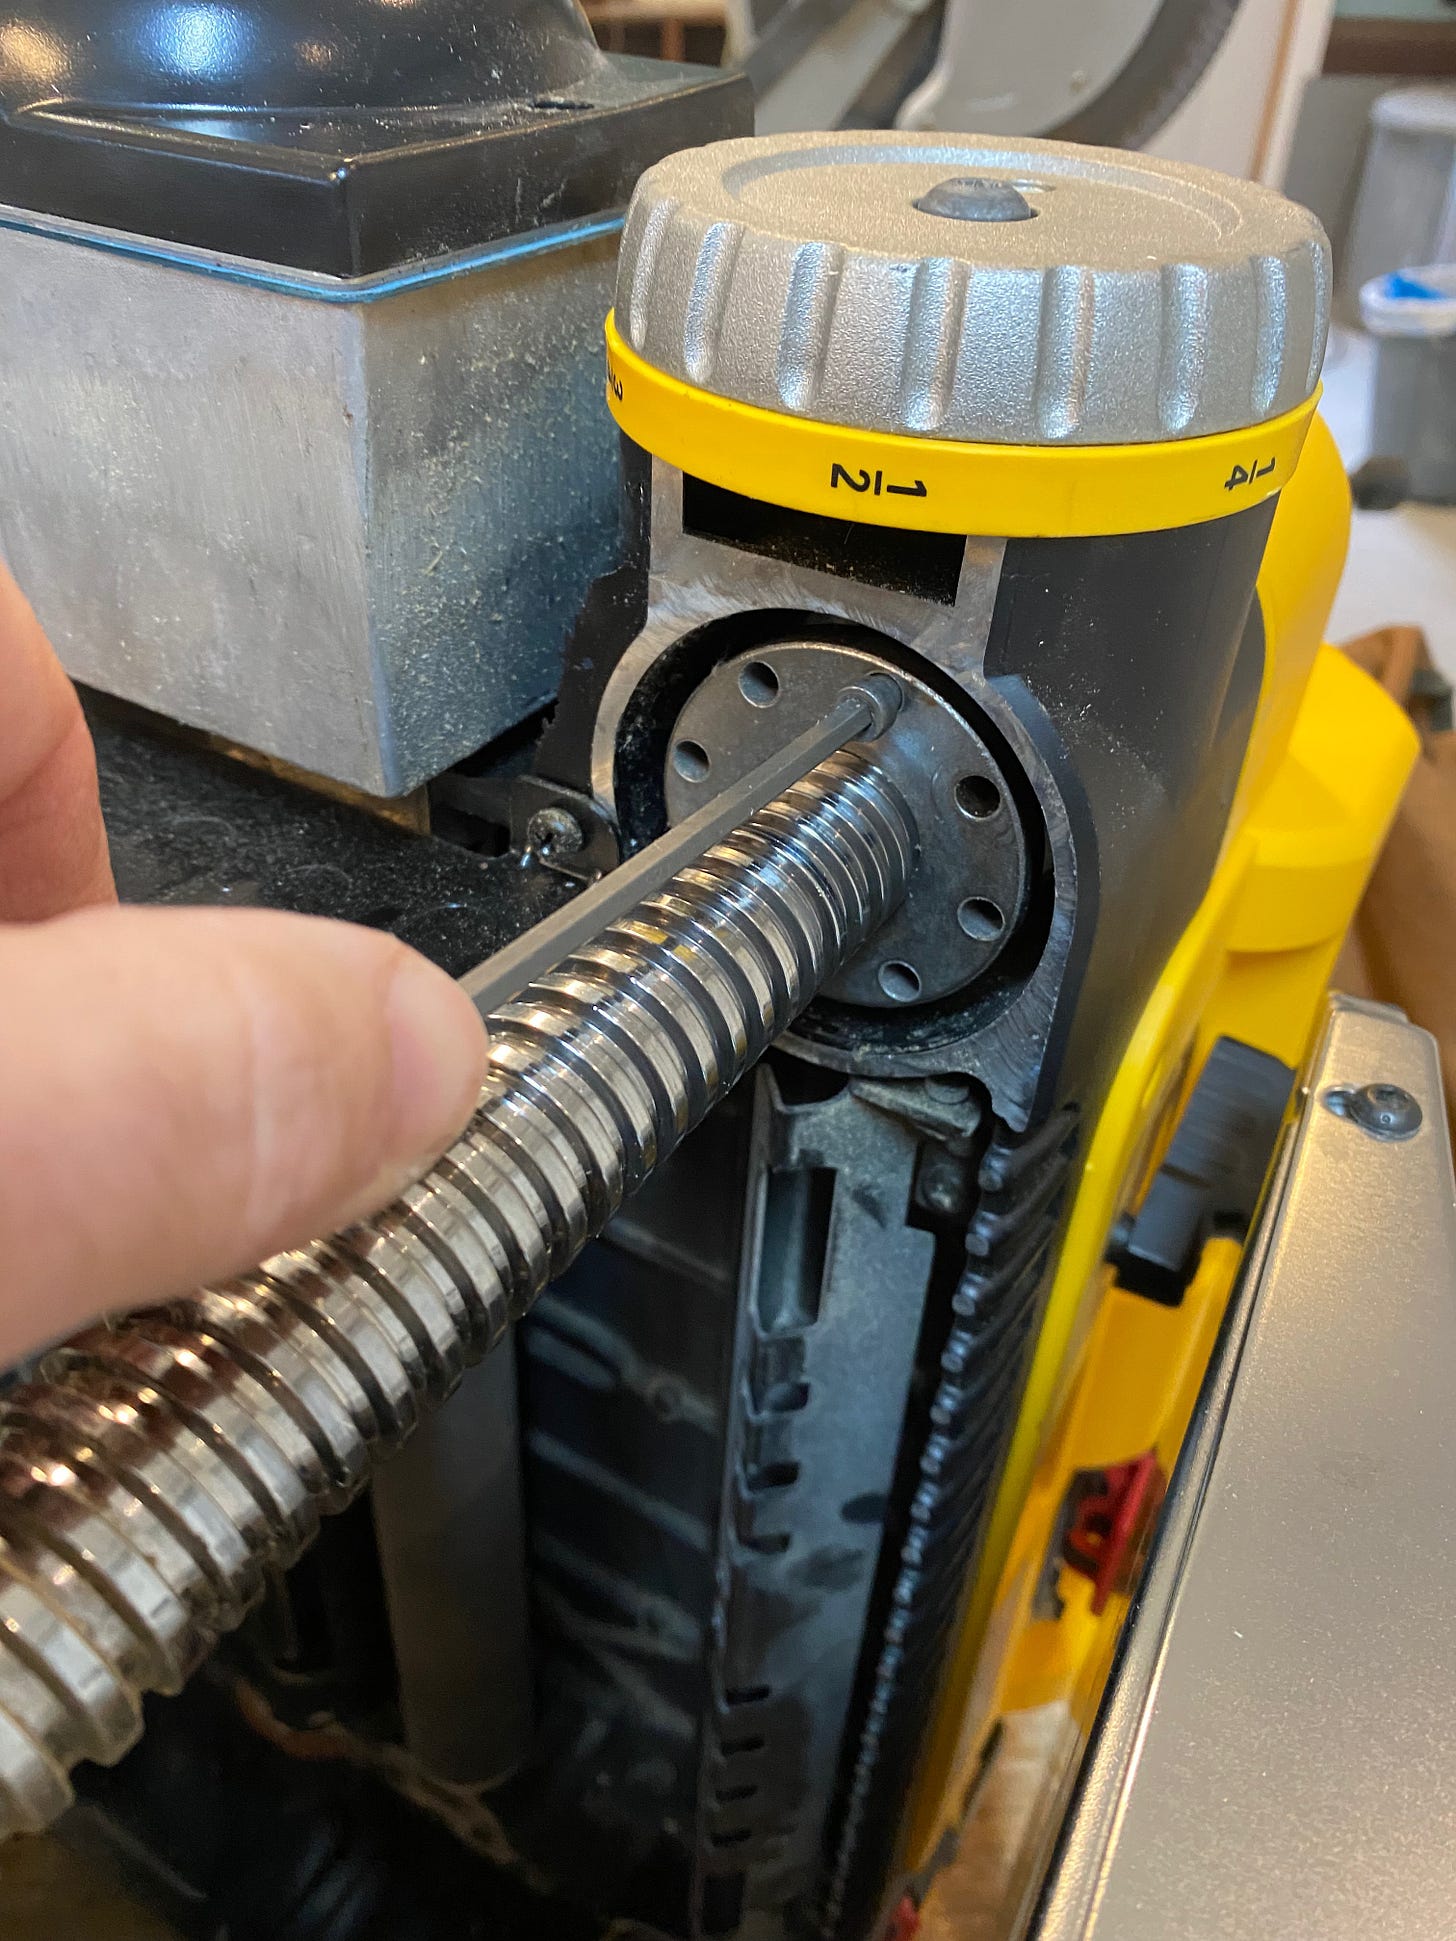
Essentially, the planer mechanism — the part that rides on the four posts — has two nuts per post. The nuts are bolted together with a spring between them to provide tension. This tension helps keep the planer locked in place as it runs.
What I realized after watching the above video was that the two nuts in each corner were out of thread alignment with each other. The solution was to separate the nuts from each other, thread the lower ones onto the posts, then lower the mechanism onto the posts using just the upper nuts. Once everything was back on the posts, then you could align them and bolt them back together. Ok, got it. No problem.
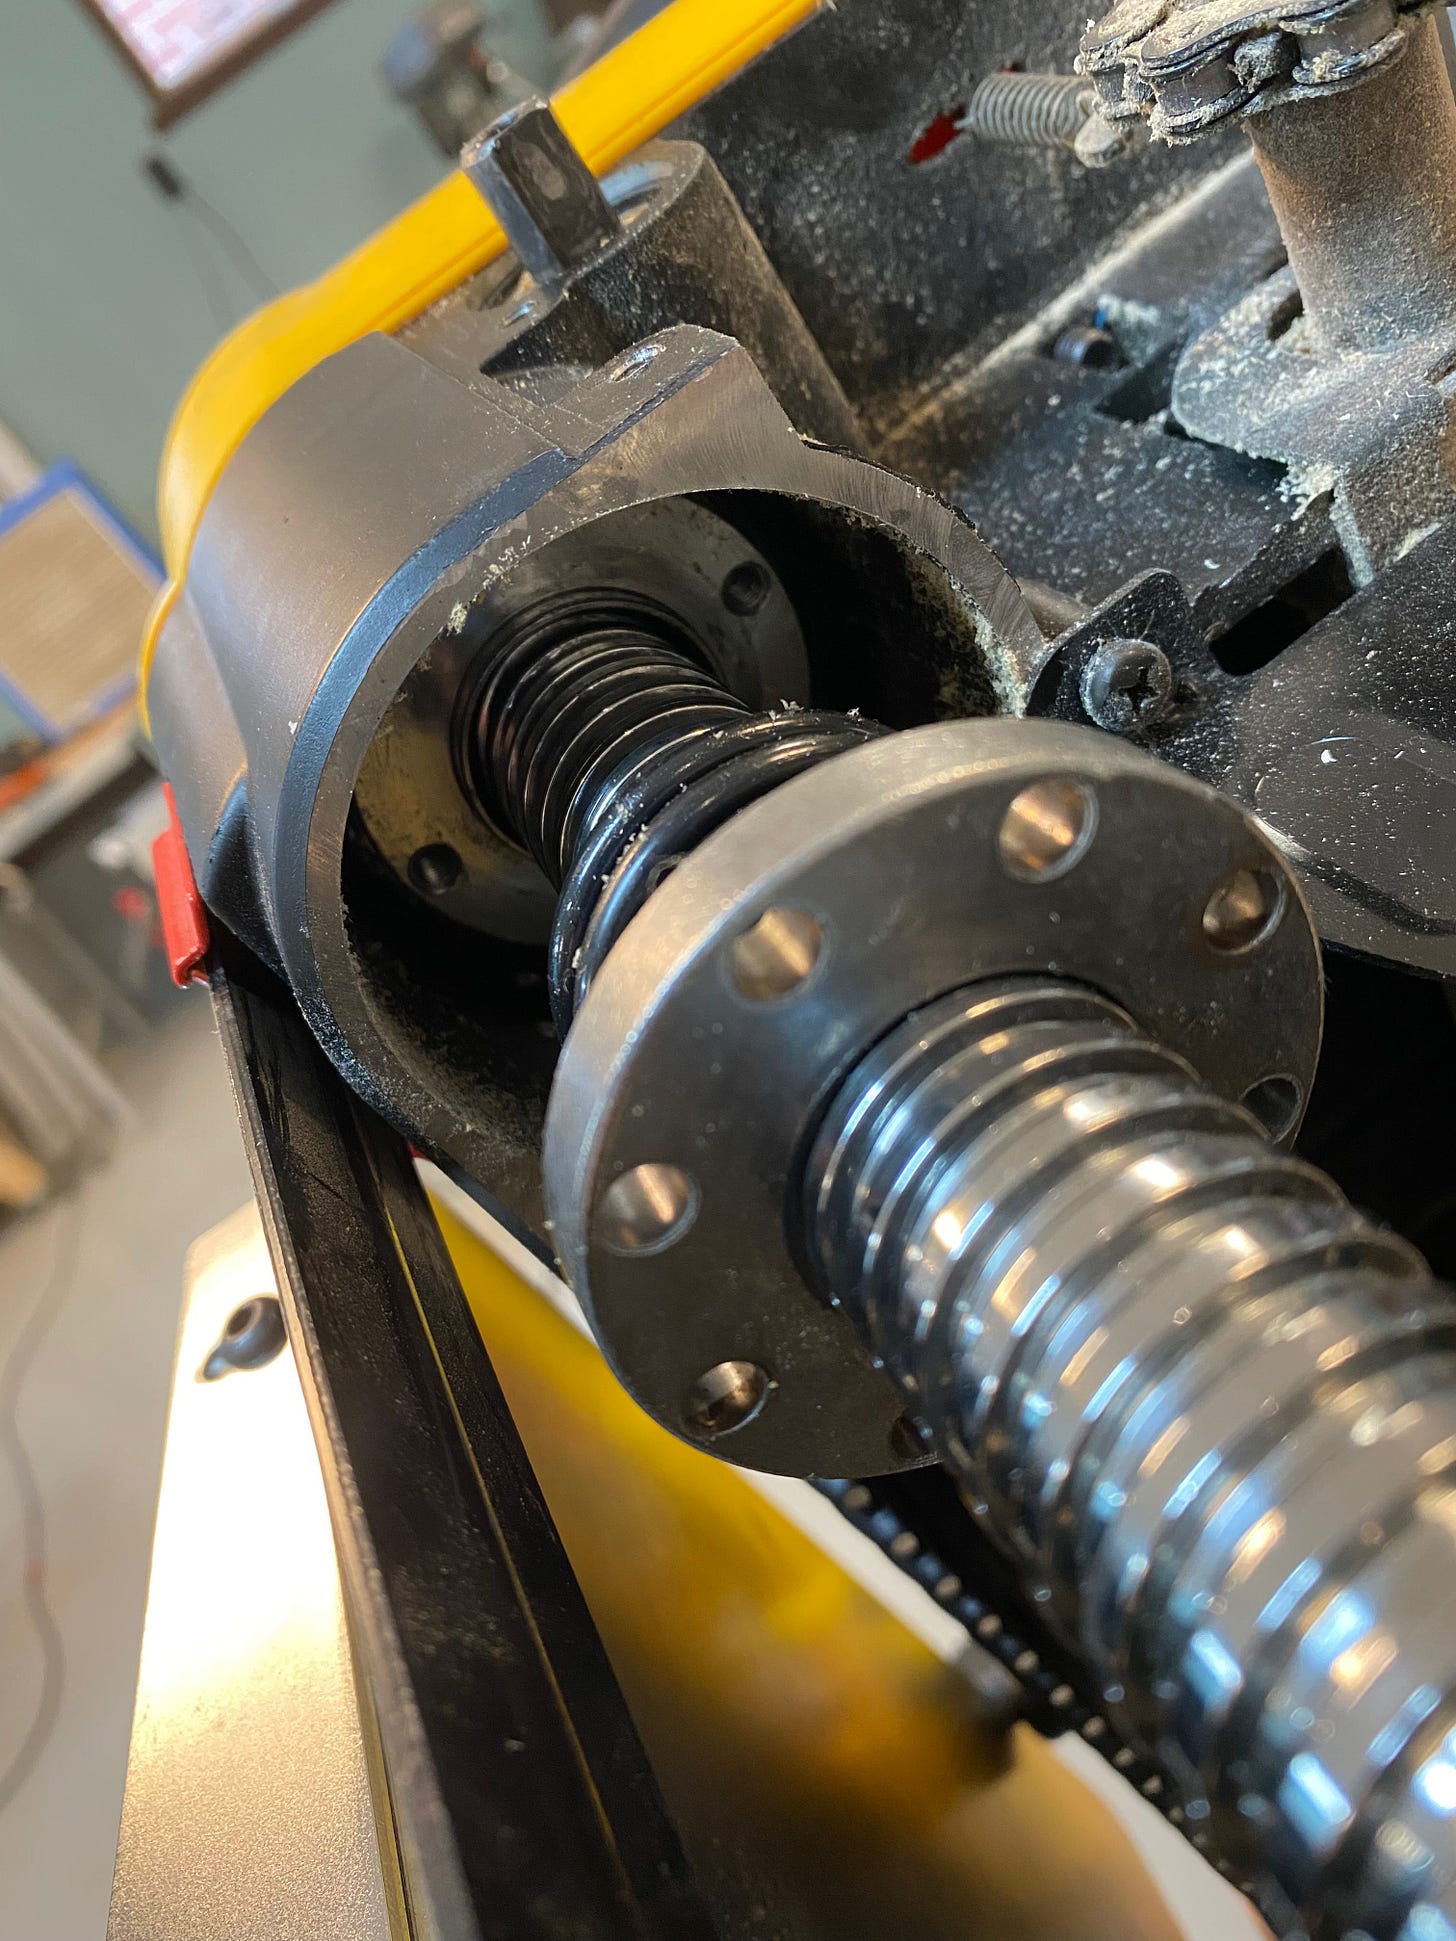
Next step, then, was to remove the two screws holding the lower and upper nuts in each corner. I got out my trusty hex keys and discovered none of them fit. Of course.
Lesson 5
By now, I was smart enough not to force it and to do it the right way.
KIDDING. No, I gave into my impatience and fucked things up even more. I decided that a Torx bit would be close enough to the hex bits and that would allow me to unscrew the screws and fix this thing once and for all.
In truth, that did work. For 7 of the 8 screws. One of them, however, ended up getting stripped. Now I was hosed.
To remove this stripped screw, I had to go to Home Depot and buy extraction bits, which quickly solved my immediate problem. Screw removed.
To move forward, I threaded the lower nuts, loaded the springs, and lowered the upper mechanism into place. All I need now was to turn the lower nuts back into place, setting the correct tension, and then re-screw them to the upper nuts.
The problem was, I didn't want to re-use the stripped screw. I wanted to replace it. Alas, this isn't some ordinary off-the-shelf screw. No, it's a super special screw.
Finally, I was going to take it slow and do things the right way. I'd order replacement screws and wait until they arrived. I placed my order at ereplacementparts.com and waited for delivery.
After an interminable five days of not being able to use my planer, I finally received my new screws. I ripped open the package and poured the screws into my hand. Immediately I saw they were the wrong ones.
Goddammit.
I went back to ereplacements.com and looked again. It turned out the screws I need can't be purchased. At least, they can't be purchased individually. They come only as part of a $160 part kit. Because of course they do.
That was unacceptable to me, so I scoured the web for other options, including seeing if I could buy a broken planer on craigslist or eBay and just raid it for parts. Alas, no luck.
Finally, I decided to throw caution to the wind and re-use the stripped screw. After all, it wasn't completely stripped, and certainly not in the direction of tightening it.
So that's what I did. According to tank top guy, the lower nuts should be "tensioned" to about 5mm above the base of the upper case, so that's what I did.
Finally, with the entire unit reassembled, it was time to calibrate it. After all, the planer works only if the cutting head is exactly the same distance from the bed all the way across the machine.
To do this, I used a wooden level that is exactly the same thickness at all points and inserted it into the planer. I lowered the planer until it was barely above the level and then moved the level across the bed. As I moved the level, I could see more light shine through, indicating the mechanism was out of level.
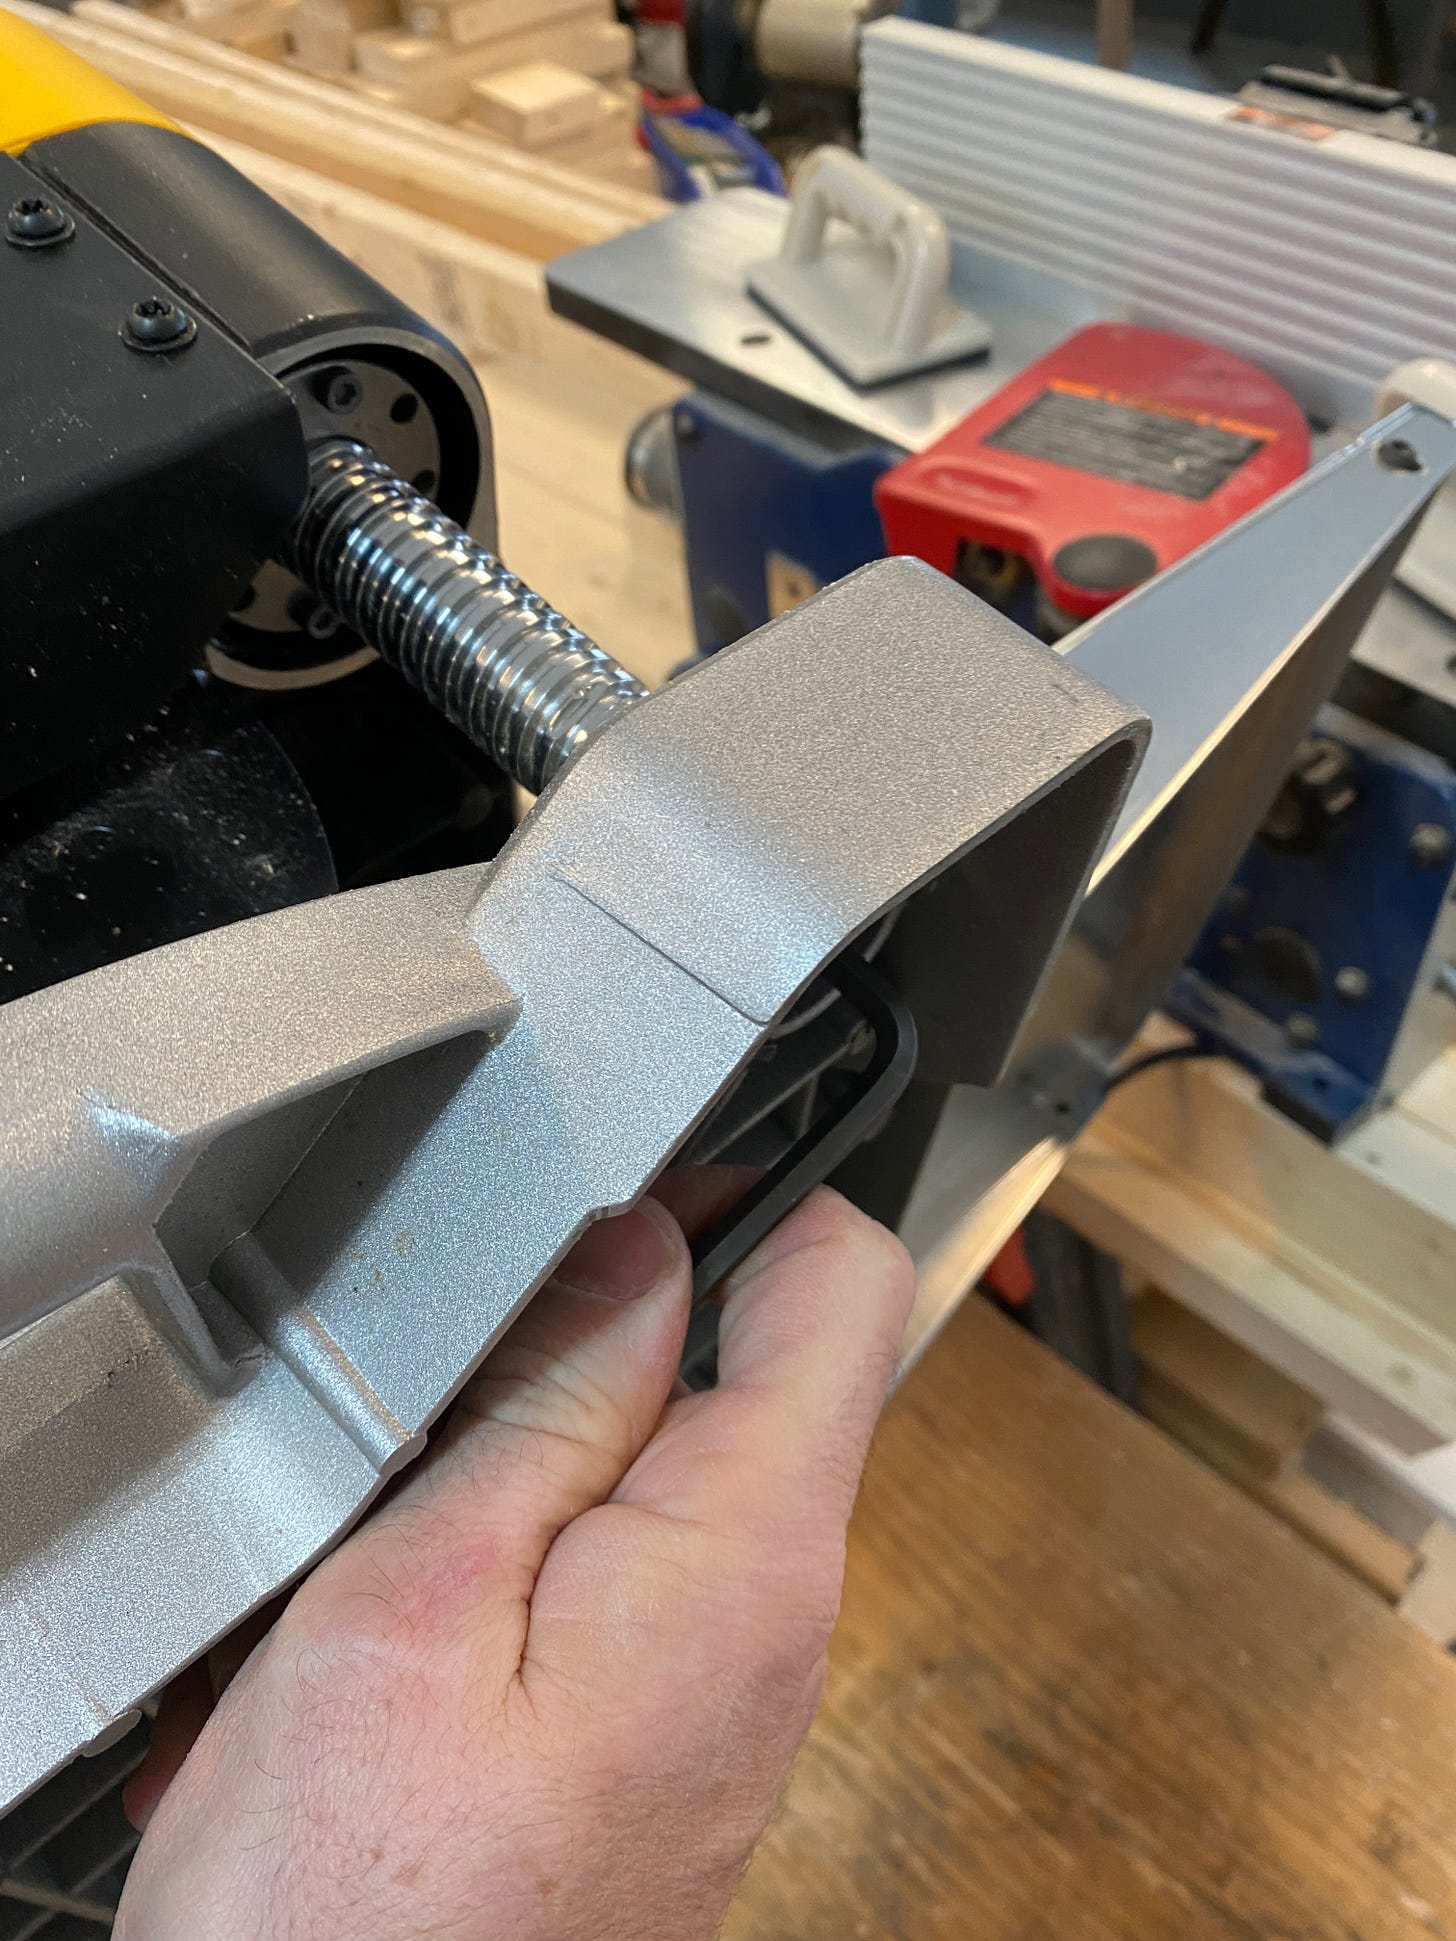
To fix this, I had to turn the posts on the high side ever so slightly, which had the effect of lowering the carriage on that side. With a large wrench and a hex key, I adjusted the posts and checked the level again. It still was off, so I adjusted more. Finally, it appeared to be spot-on.
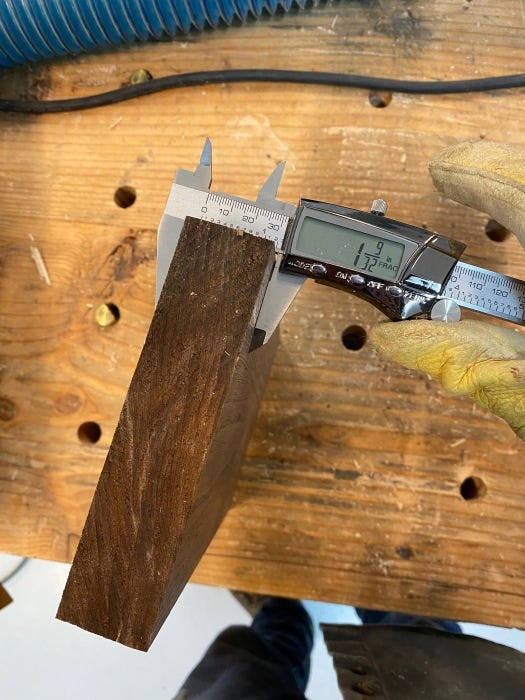
Once I had it calibrated, it was time for one final test. I ran a piece of walnut through the planer several times and checked to see if it was of uniform thickness. It was.
After several weeks, I was finally back in business. I'm a little worried about the stripped screw and I'll keep searching for a replacement, but for now, at least, the planer is back up and working and I'm able to proceed with several projects that had been left in limbo.
I also learned my lesson. It only took five tries.


