Mudroom, Chapter 3: Installation
In part three of our mudroom cabinet saga, we learn how to install cabinetry and mostly get it right.
(This is the third in a multipart series. If you have't already, read part two here.)
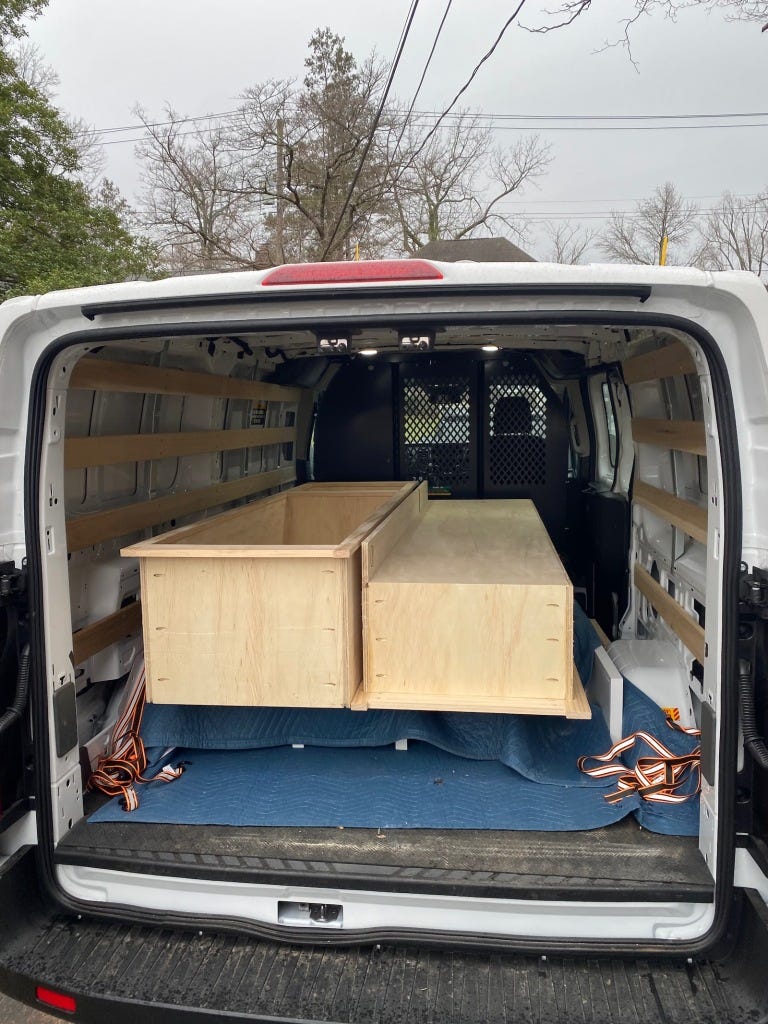
The big boxes we had made in my shop were ready to be transported to my friend’s house. Conveniently, that’s when I realized they were too big to fit into my truck — at least if I wanted to take more than one at a time. And since my friend lives almost an hour away, taking them individually would require four two-hour round trips. No thanks. Instead, we rented a cargo van, loaded the goods into it, and schlepped the boxes and a bunch of tools to his house. The moment of truth was upon us.
To start the installation process, we first needed to remove the existing baseboard trim. We carefully pried it off and stored it in his basement for (we hoped) future re-use once the cabinetry was in place. Then it was time to see if we had measured things correctly. We unloaded the cabinets and risers. I set the risers in place and we carried in the first cabinet. Man it looked big. Too big. This wasn’t going to fit. We screwed up. Royally.
Only we didn’t. We set the fist box on the riser and pushed it into place. Voila! It fit perfectly. Then we did the same with the next cabinet and it, too, fit just right.
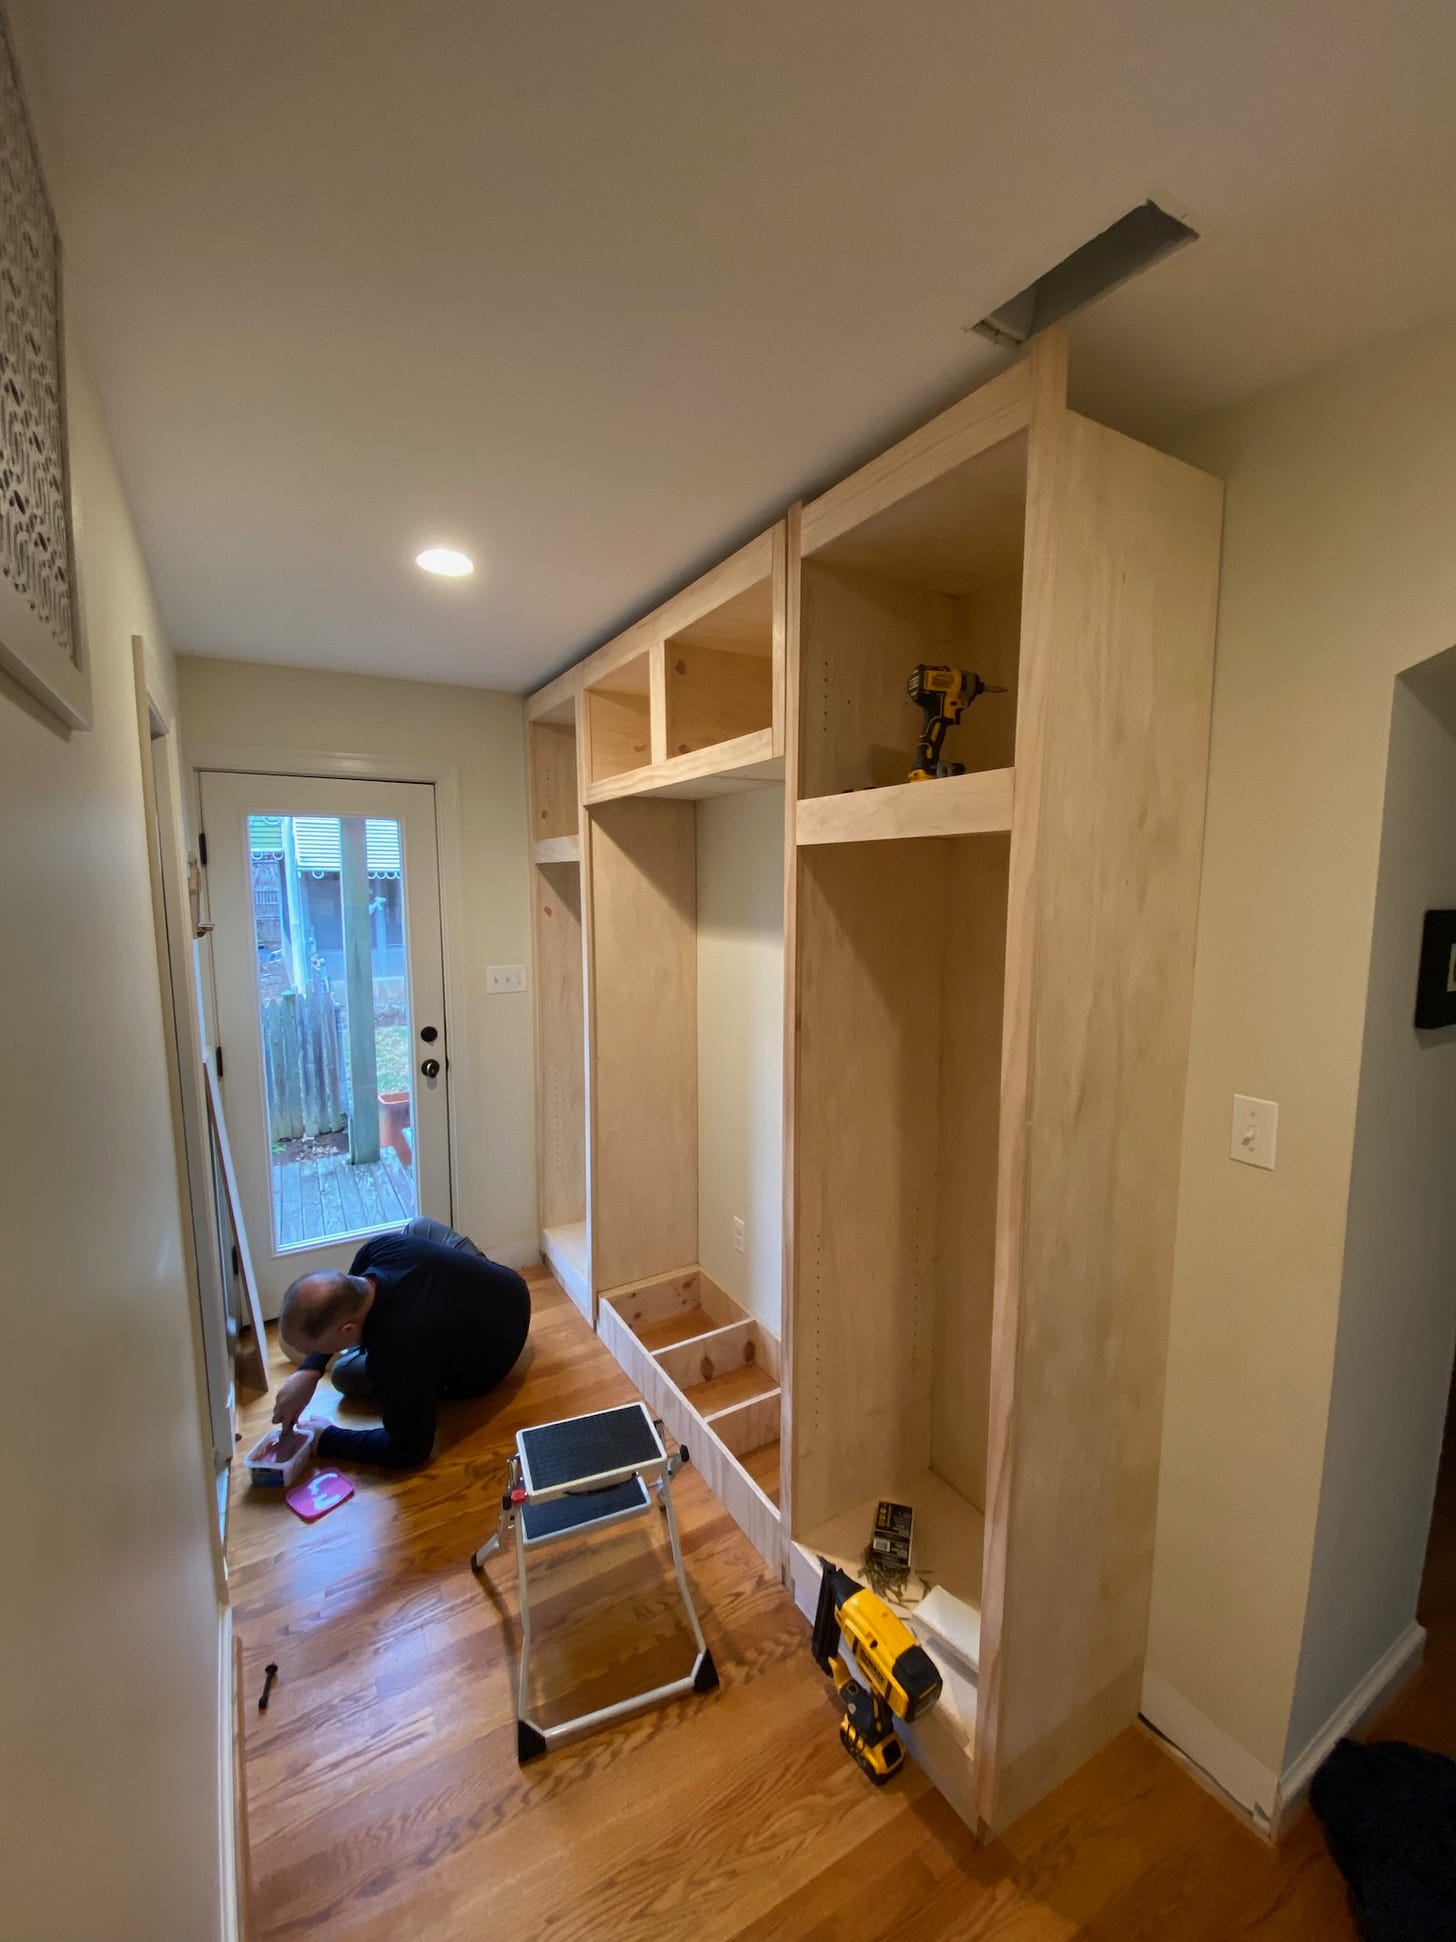
Relieved that the boxes fit as designed, it was time to screw them into place. We tapped the wall to locate the studs and then drove a couple of screws through the first box into wall and studs behind. With the first box in position, we could move on to the second box. Actually, the second and third box, since we had previously joined those two together and covered with a single face frame. This box (or these boxes) formed the “over” cabinet above the bench. They needed to be screwed into the first box through the sides as well as into the wall behind them. However, because the face frames stick out beyond the box sides, we needed to add a filler pad to fill the gap between the units. In retrospect, we probably shouldn’t have added the face frames until after the cabinets were installed. I think. Or maybe we should have done them differently. In any event, we were where we were, so we just had to figure it out.
With my friend holding the middle box in position, I slid in a couple pieces of plywood, screwed the two units together, and screwed the rear of the middle box into the wall and studs. The face frames were pretty well aligned, if not perfectly so.
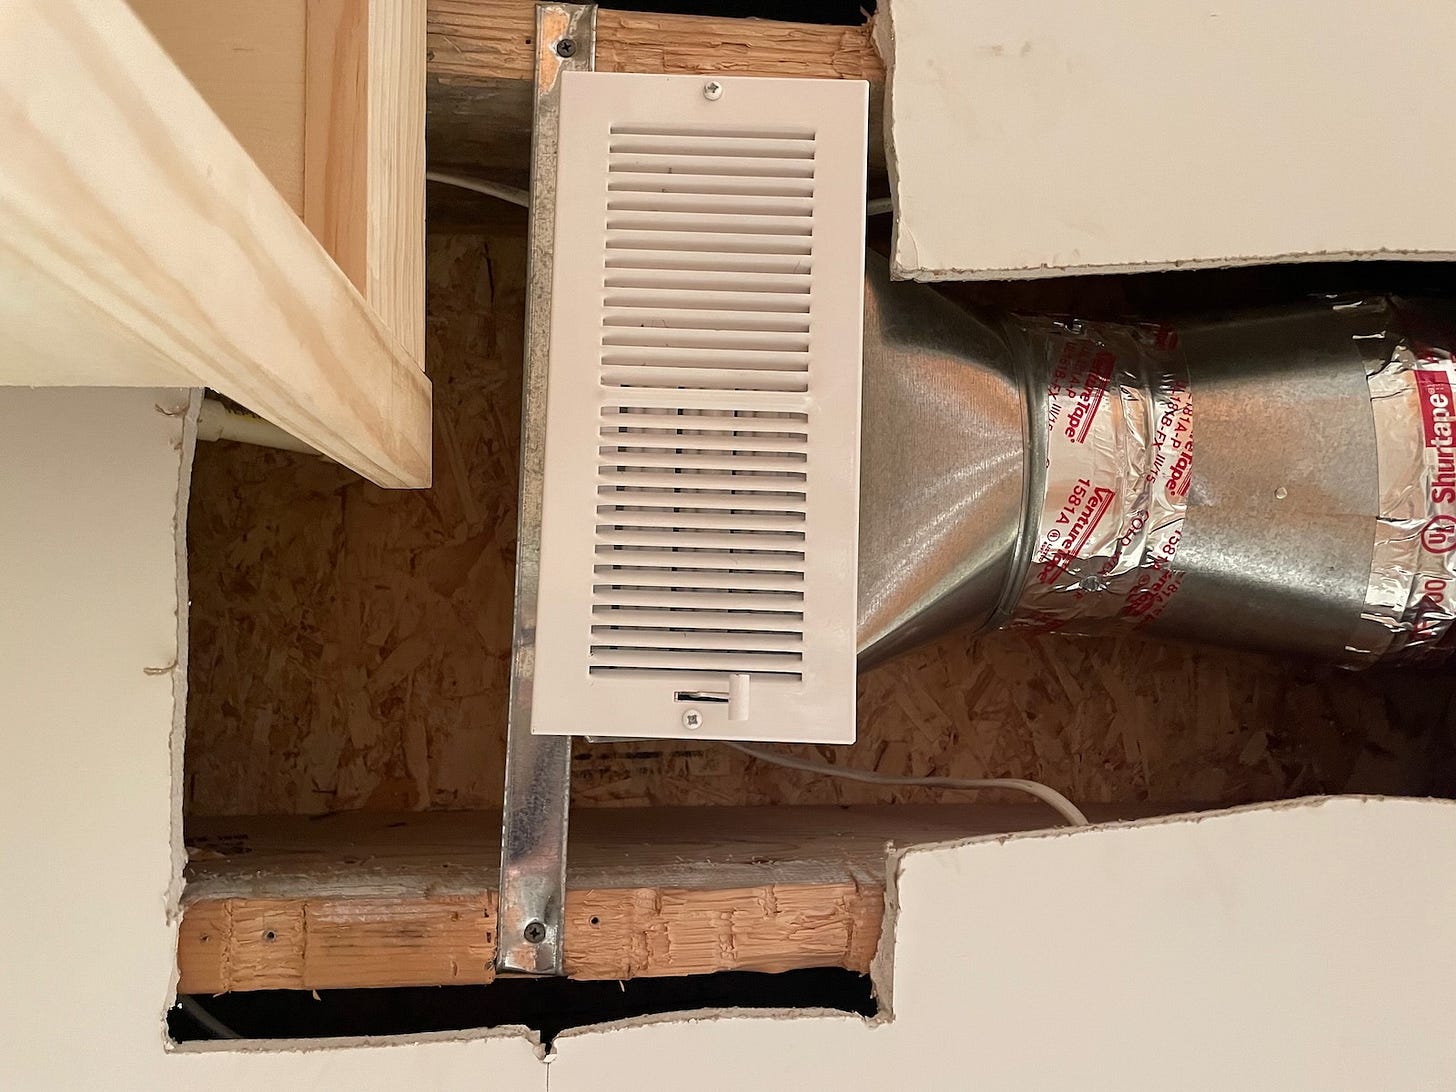
The last box — another floor-to-ceiling unit — was ready to be put into place when we looked up and saw a problem: an air vent in the ceiling was smack dab in the middle of where this unit would go. That meant that before we could lock this third box in place, my friend would have to relocate the vent — a job that would be a day in itself. So, weleft the final box unattached until that work could be complete. Short day.
Seating Available
Over the next few weeks, on his own, my friend moved the vent and patched the ceiling. It was an element of this project I was happy to be uninvolved in — I hate drywall dust. He did great work and once it was complete, it was time to get back to work.
We permanently attached the fourth and final cabinet box. Then we turned our attention to the center seating section.
The center seating section of this built-in unit is intended to be a bench with cabinetry (the aforementioned second and third boxes) overhead and storage underneath. My friend specified that a pretty arch would help define the space and match interior passage arches elsewhere in the house.
To make the arch, my friend created a cardboard template based on the other archways. Earlier, using the bandsaw and sander back in the shop, I used the template to create the piece of arch trim, leaving it purposely long so we could cut it to fit on site.
Standing in front of the unit, we held up the arch, marked the center point and the cut lines on the two edges. With a miter saw, we shortened the piece and slid it into place. It fit perfectly. To attach it, I cut a few pocket hole slots in the backsides of the arch and then glued and screwed it in place.
Trim and Siding
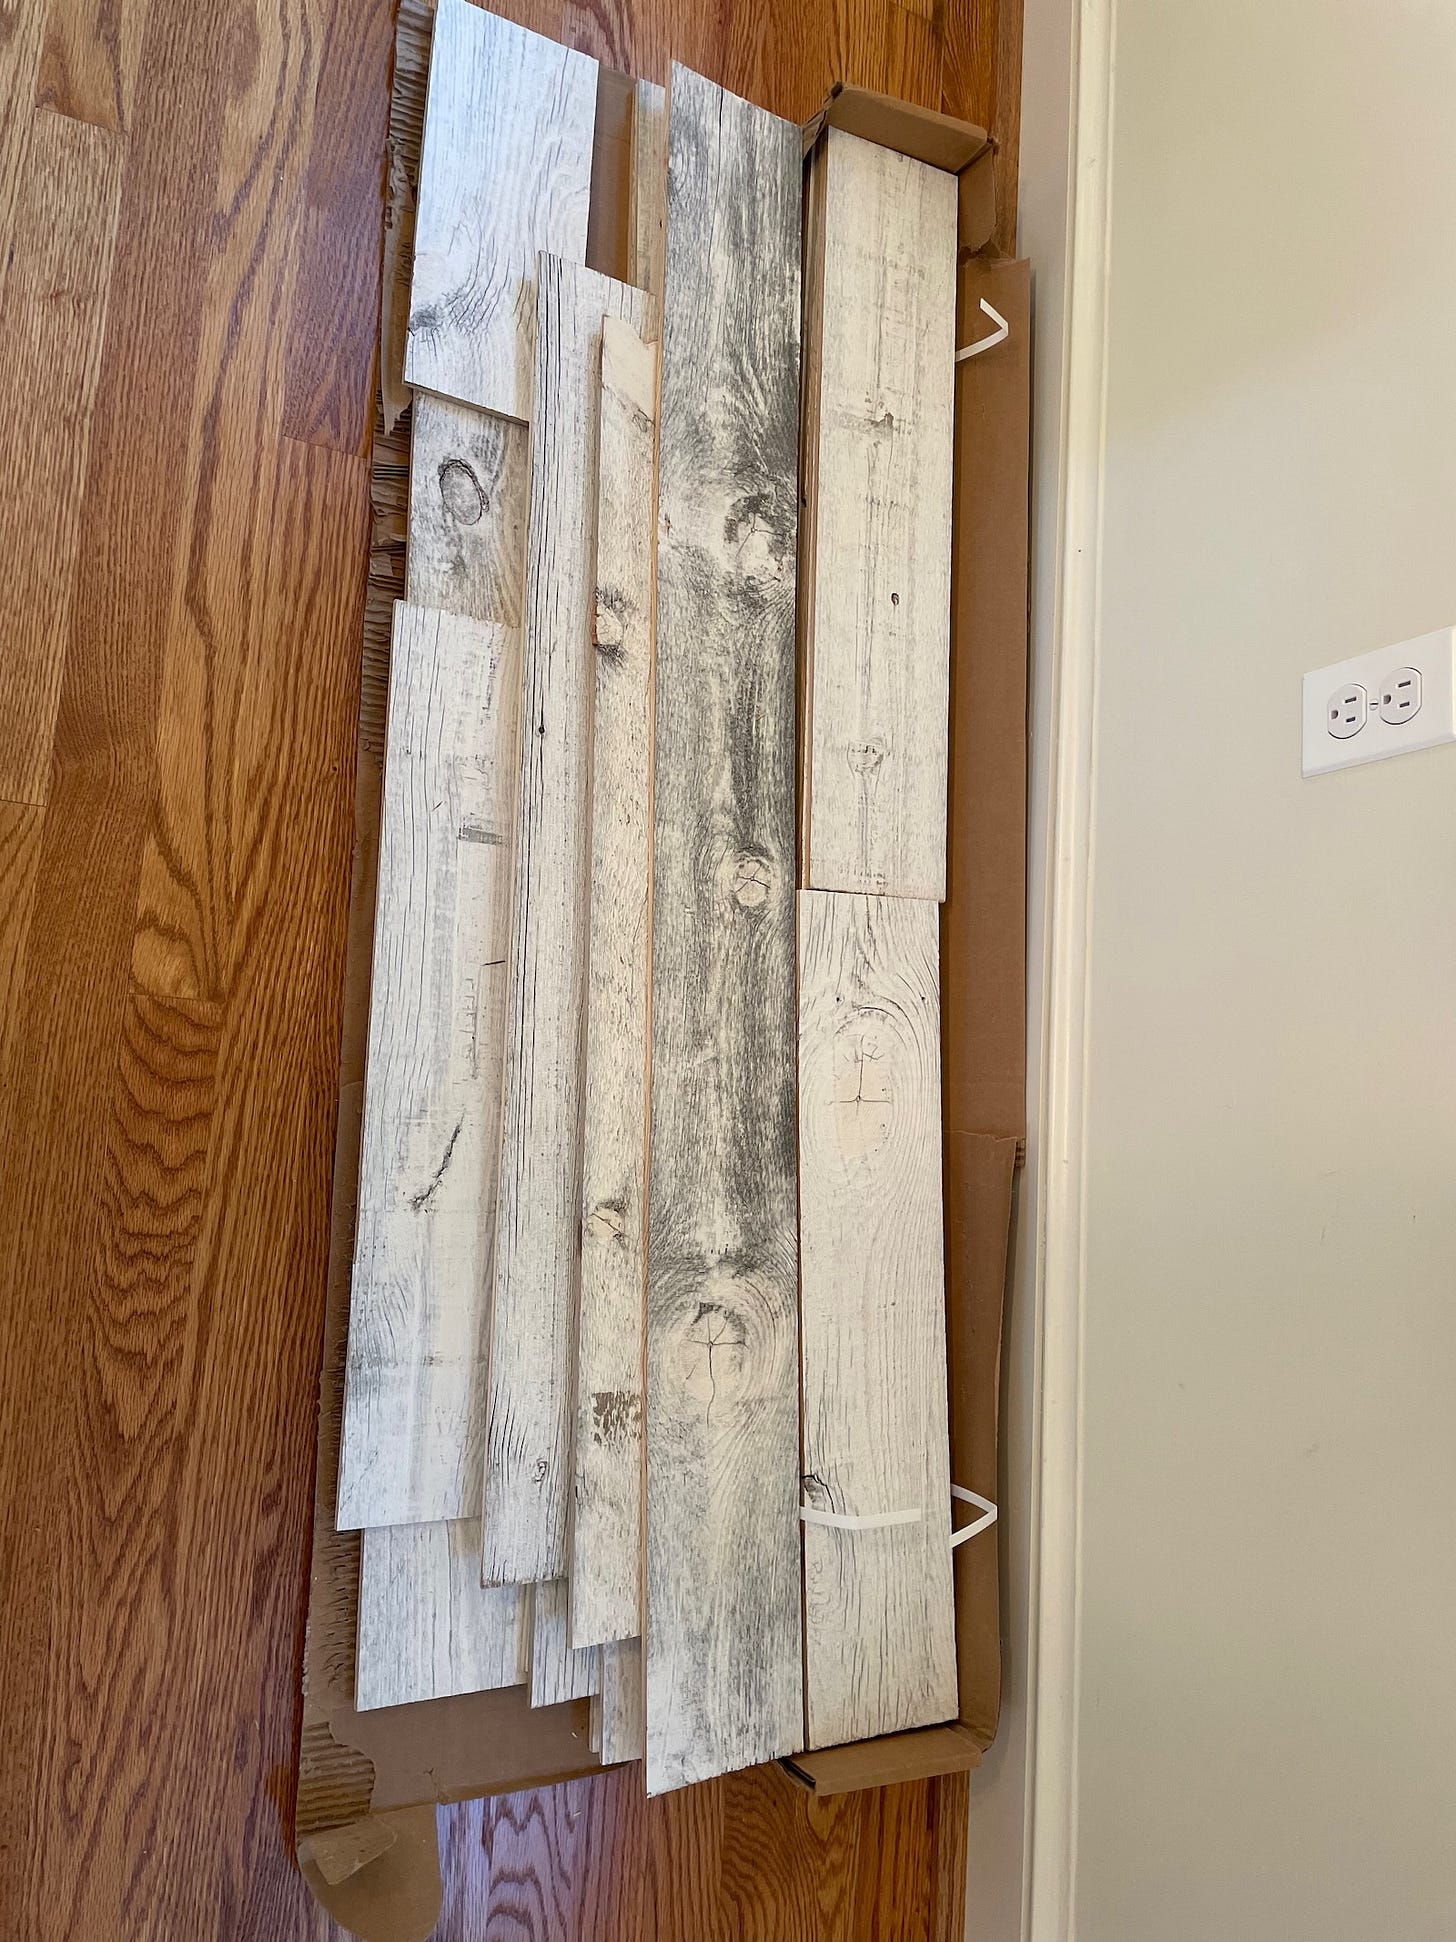
For the wall behind the bench, my friend bought weathered barn siding. As luck would have it, it was perfectly sized for the space. Using some brad nails and construction adhesive, we quickly “tiled” up the wall with the barn boards. Things were starting to come together.
We also added some trim to the side of the fourth cabinet box to match the look of the doors. In order to maintain the proportions of the trim, back in the shop I had pre-ripped the piece that would tuck behind the faceframe, which was ¾-inch thick. Had I not ripped the trim down by that amount, it would have appeared to be ¾-inch too wide. The rest of the trim we were able to cut to length at my friend's house.
For the bench itself, my friend planned to buy a weathered/distressed piece of oak to match his kitchen island. But, we still needed to build out the base of the bench. To do that, we cut several pieces of plywood to serve as supports and face-glued them to the cabinets on each side. A couple of additional plywood pieces, face-glued together, served as a center support. Then a piece of plywood laid across the three supports formed the bench itself. This created a pair of open cabinets under the seat, which we finished off with another face frame. Unlike the other cabinets, which would be covered with doors, this would be open, which my friend would later fill with appropriately sized baskets. All that remained to finish the bech was to add the oak seat, which we’d deal with later.
My friend also purchased a HomeKit-enabled LED lighting tape to illuminate the seating area. We plugged the strip into an outlet under the bench and loosely wrapped the tape around the opening of the seating area. The color and intensity of the light is controllable by my friend through his phone. He made it glow blue, then red, then purple. Lighting the seating area from within gave it a lovely soft glow.
Minding the Gaps
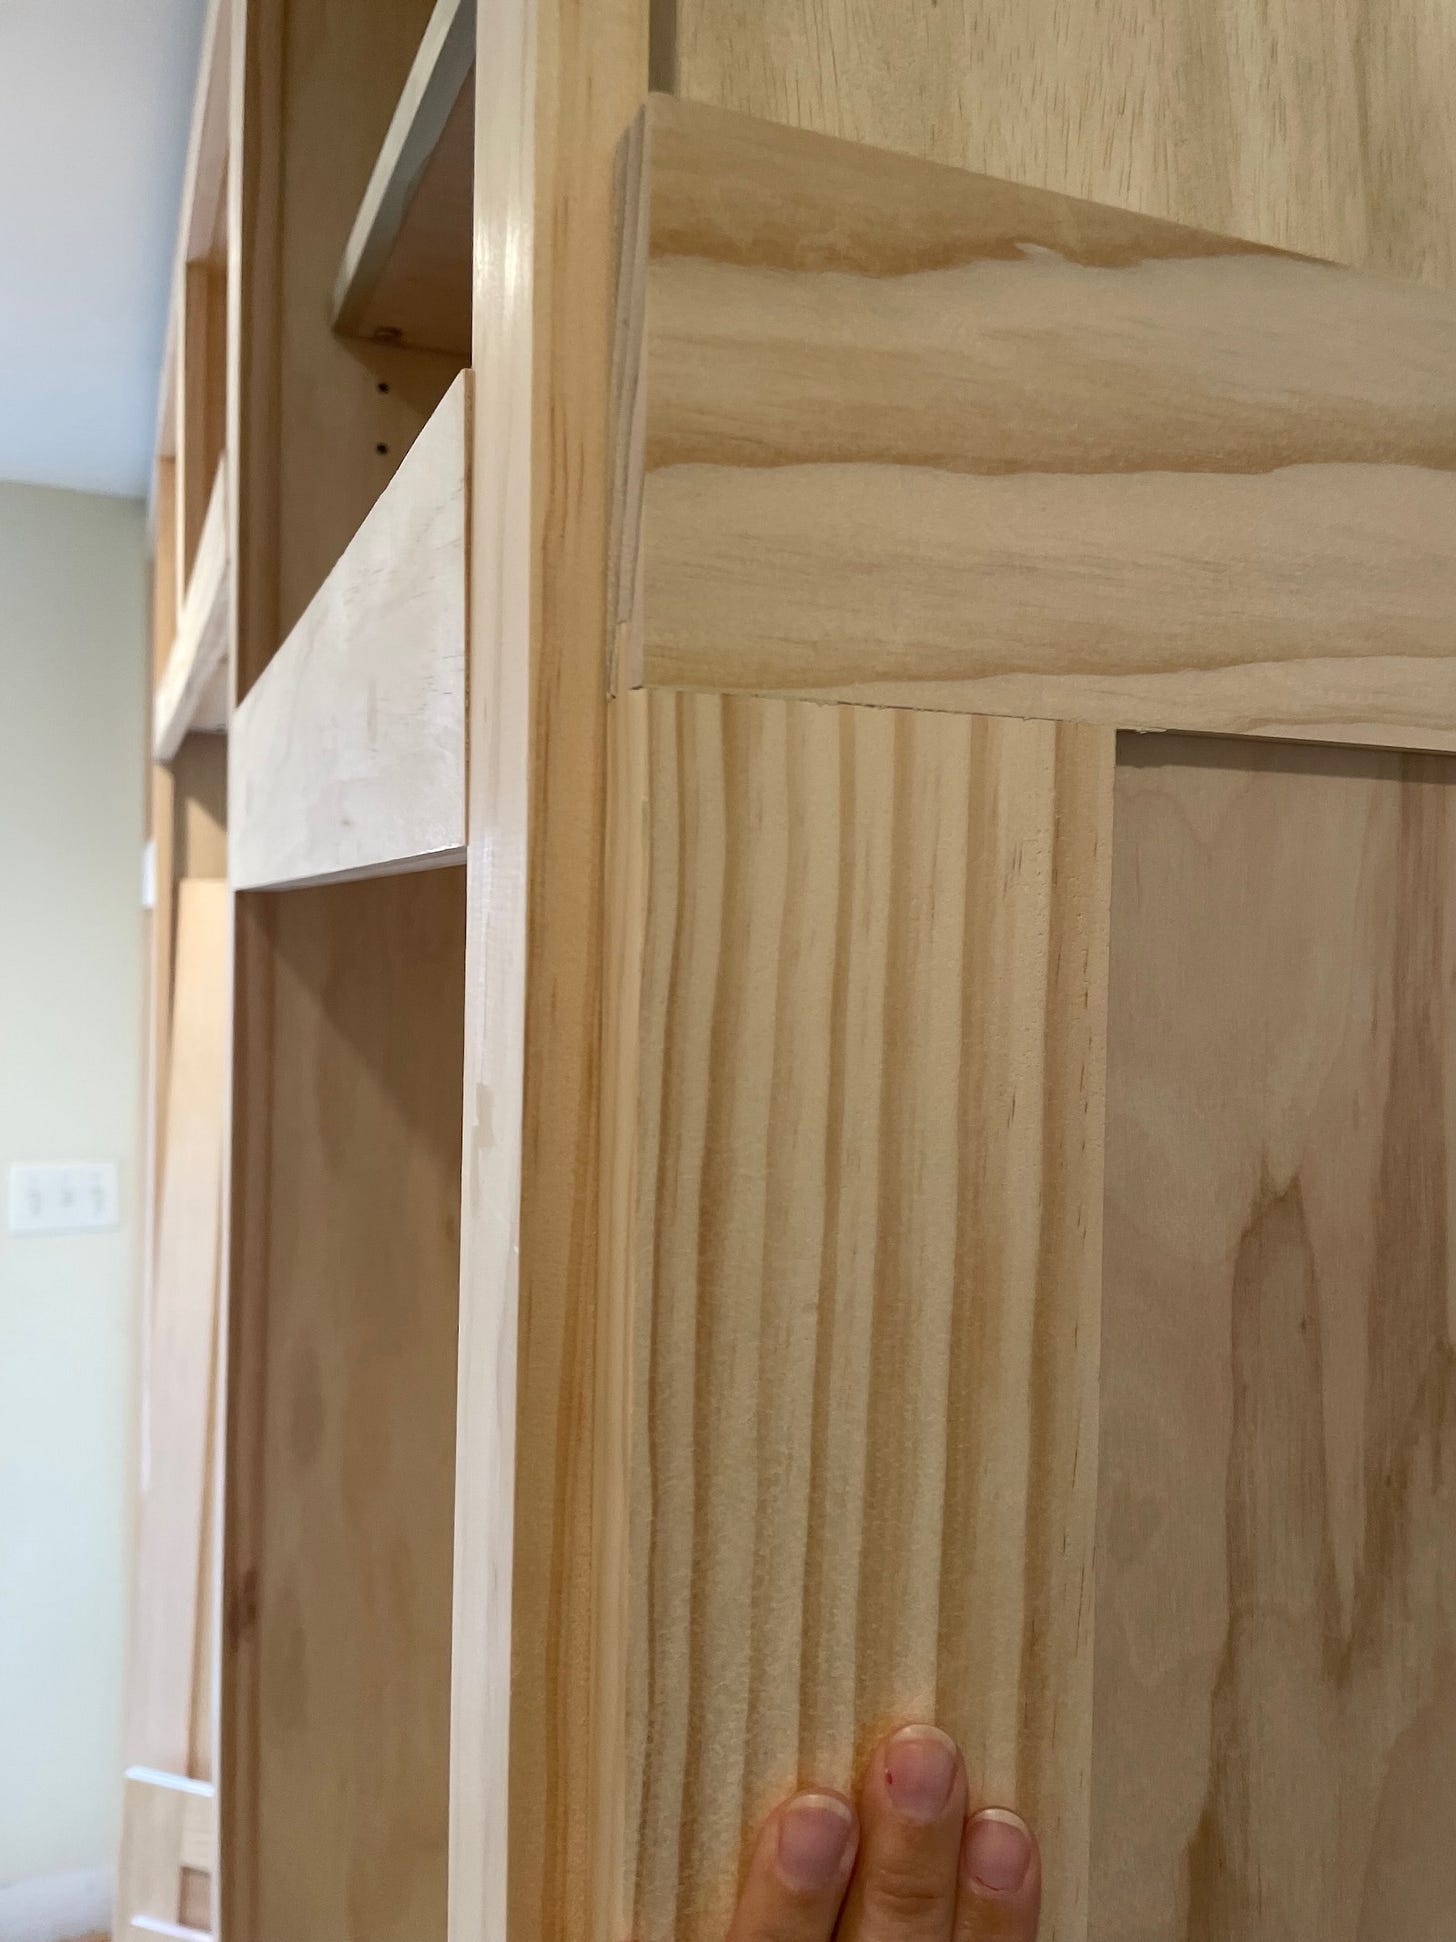
Nobody would confuse us with professionals, but we were pretty proud of the work we did. But, let’s be honest — it wasn’t perfect. The most pressing concern was a few gaps and misalignments with the box’s face frames. The best solution to hiding these flaws would be liberal application of wood filler followed by ample sanding. This was another part of the project that I was happy to leave to my friend. It was also the lead-in to the next step, which was to prime everything for painting. This would be a good time to do it, since our next phase would be adding the crown molding, baseboards, and hanging the doors. But that’s for next time.


