Mudroom, Chapter 2: Doors and Trim
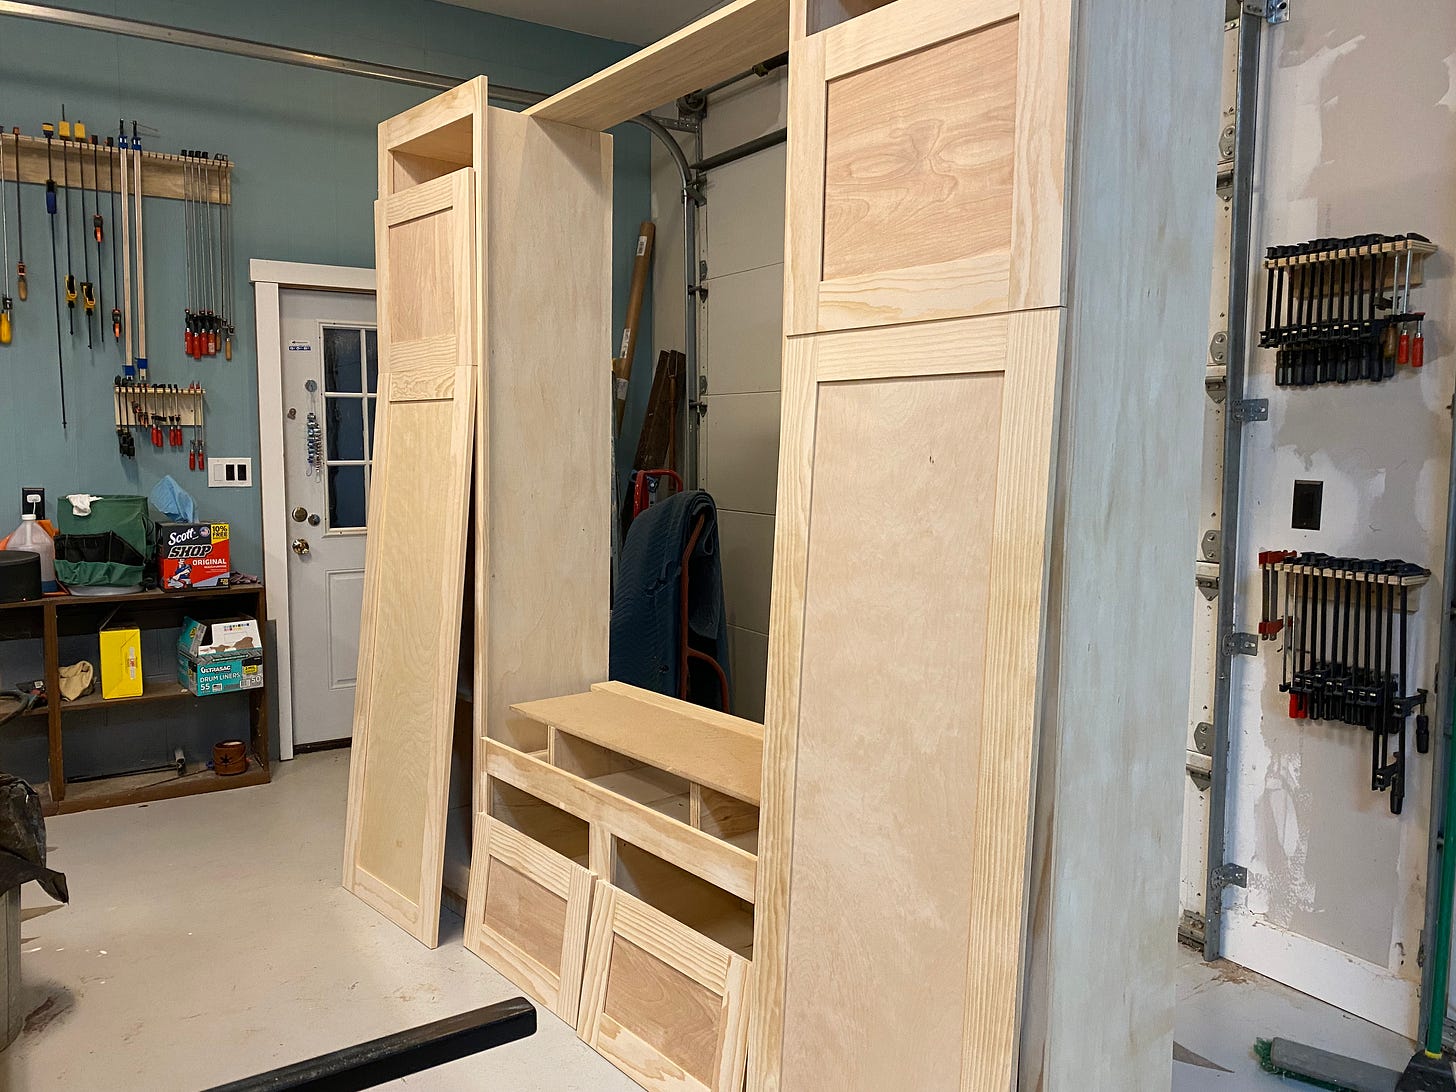
We rejoin this projet already in progress. Last we heard, the boxes had been made. Now it was time to add trim and make the doors.
(This is the second in a multipart series. If you haven't already, read part 1.)
Last year, a friend of mine reached out to ask if I could help him with some built-in mudroom cabinetry with a sitting bench. Having never done a project like that, I immediately said yes. I mean, what could possibly go wrong?
He’s a super-talented designer and artist, so he already had detailed schematics drawn up. All we had to do was cut some wood to fit. I knew enough from watching This Old House and reading woodworking magazines to know that step one was building some big boxes. And that we did. Now it was time to make the face frames, shelves, add pin holes, and build the doors. I felt confident that we could do these things without too much trouble. I should have known better, though, because the very first thing I did in this step was to screw up.
I figured I should add the shelf pin holes first, since I wouldn’t be able to do that once the face frames were in place. So I grabbed my handy Kreg shelf pin jig, set it in place and started drilling. The jig is terrific because it ensures each pin is just where you want//need it and each hole is perfectly aligned and spaced.
Of course, that assumes the user is doing it right. And stupid me, I wasn’t. Instead of placing the jig on the side of the cabinet, I placed it on the back of the cabinet. In other words, I was drilling holes into the back, not into the sides. What a dummy.
After I swore a few times, I figured the fix for this would be to cut a piece of ¼-inch plywood and face—glue it to the back of the cabinet. That would cover the holes and nobody would be the wiser (except for readers of this blog, which actually doesn’t change the fact that nobody would be the wiser).
Once I covered up my error, literally, I proceeded to correctly use the jig and cut the rest of the pin holes in the shelves.
Next, I made risers for the cabinets to sit on. The reason for this is several-fold. First, the cabinets are to appear built-in, so they need to have baseboards and crown moulding running around them. To do that, we need spacers above and below the actual cabinetry for that trim to attach to.
Second, risers make installation easier. Trying to maneuver the entire cabinet as one object into position would be super difficult if not impossible. Using risers makes it easier to tilt the cabinet into place without scraping the ceiling.
The risers were easily built with scrap plywood and pocket hole jigs and came together quickly.
Face It
For the face frames, I turned to premium pine boards — 1x4’s mostly. My vision was for thinner stiles (the vertical pieces) and thicker rails. So, I ripped some of the 1x4’s down to 1x3’s and then cut the pieces to length. Using glue and pocket screws, I built the frames into single units.
Once the glue on the frames was dry, I took them to the boxes and attached them with glue and brad nails. What I didn’t do — and I should have done — was to better measure and make level and plumb the frames. By failing to do this, I make it more likely that there would be some gaps or misalignment when it came time to install the boxes. Oops.
I also realized a bit too late that my face frames were going to widen the overall cabinet such that they would now be too wide for the space. In other words, if the boxes were all sitting against each other, the entire unit would fit as designed. But because the face frames push the boxes apart from each other a little, that made the entire until about 4 inches too wide.
At this point, the frames were already attached to the boxes, so I was in a bit of a jam. To fix the problem, I used my handy track saw to cut about an inch off each edge. This brought the entire unit down by about three inches and saved the day. It would be nice, though, if I stopped making such stupid errors.
Open the Door
With the face frames in place and properly sized, it was time to turn to door construction. The doors were to be a Shaker-style flat panel. To do this properly, I wanted to make it all tongue-and-goove.
That meant cutting door rails and stiles with grooves for the panels to sit in, and tenons for the rails so they could slot into the stile grooves.
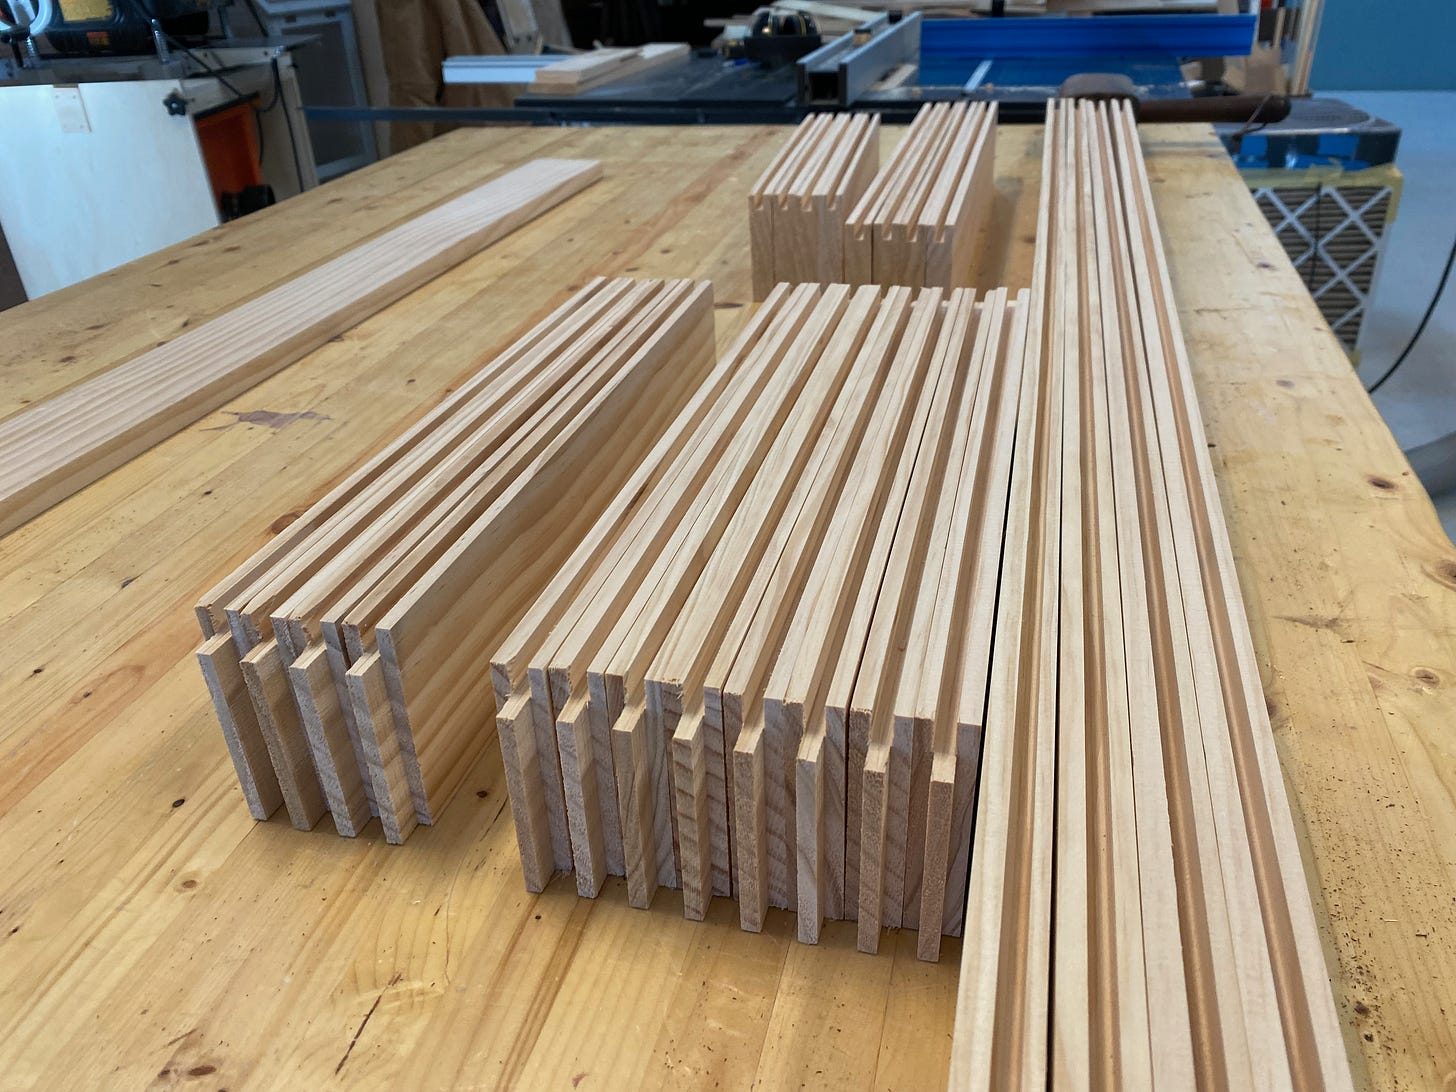
We measured and cut pieces of pine 1x4s and then ran the rails and stiles over a dado stack to cut the grooves. We then cut “shoulders” on each rail so they could sit tightly (and hopefully, flush) in the stiles.
We cut all the pieces and laid them out.
As we fit together the rails, stiles and panels, things seem to fit fairly well. Then I noticed the panels were too small. Somehow I had mis-measured them and they were all narrower than they should have been. Indeed, they were probably ½-inch too narrow, which meant that not only did they slide too much in the grooves, but they actually slid so much, they showed gaps in the doors. Yet another Josh screw up! But, it was easily fixed by cutting new panels. Once we did that, everything fit together quite nicely and we glued them up.
Not So Shelf-less
To round out this phase of the project, I also needed to make the shelves. To do this, I cut pieces of plywood a little smaller than the cabinet space (in order to leave room for the pins) and added a strip of 1x1 pine to the fronts. This strip would serve two purposes: first, to strengthen the shelf and keep it from sagging; and second, to hide the edge of the plywood.
With the pin holes, shelves, risers, face frames and doors now complete, we were ready to move on to installation. And that’s next time.


