Have a Seat
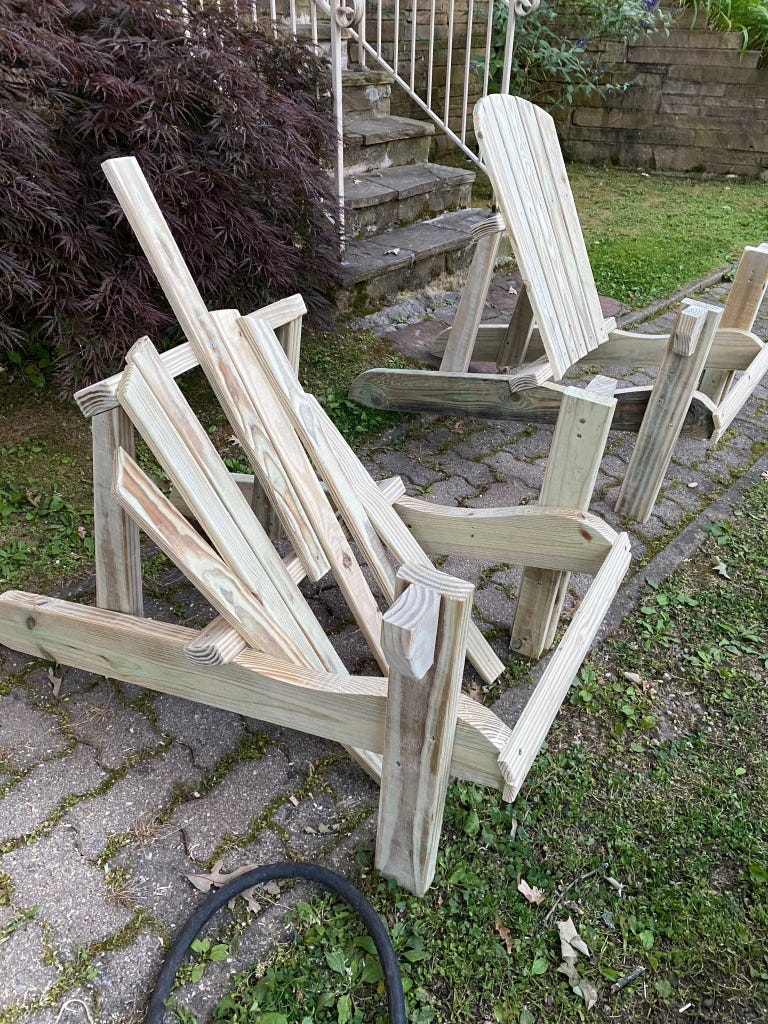
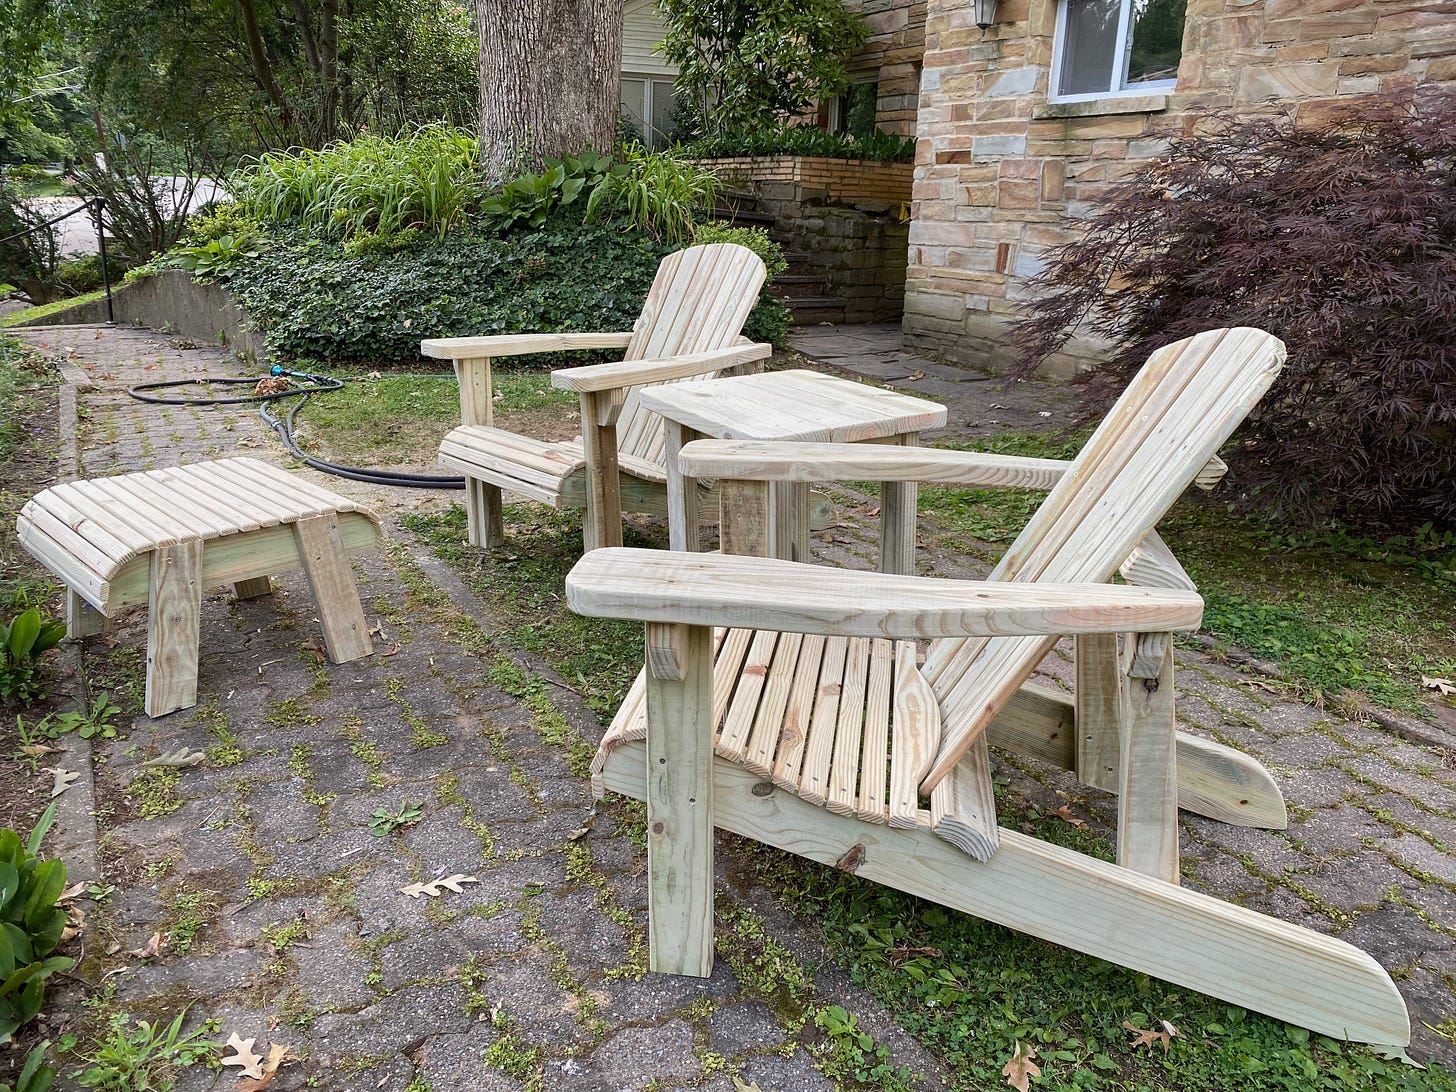
This weekend I made another set of Adirondack furniture — two chairs, an ottoman (I should have made two) — and a table. These are fun to make, but time-consuming, as I'll describe below. By the way, folks have inquired about buying them and I'm happy to say that yes, I will make them to order for purchase. With current lumber prices, the cost for pressure-treated versions of the chair is $275 and for the ottoman and table, $125 each. (Cedar versions are $425 and $250, respectively, due to the cost of materials.) All screws are high-quality outdoor stainless steel. Delivery is included for local drop-off; small fee if I have to go outside my neighborhood. If you're interested, you can reach me at hatchmade@icloud.com. I make them upon order, so turn-around time varies depending on the calendar, but you can expect them to take 3 to 4 weeks.
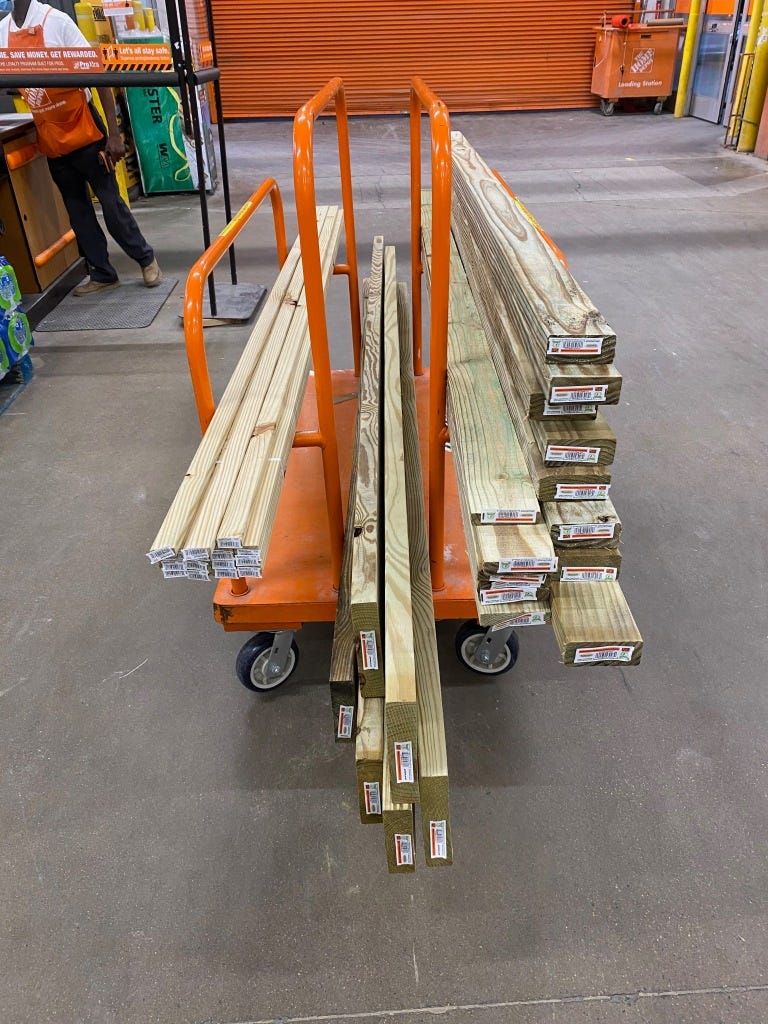
So, what goes into making these things? It starts, of course, with a trip to the lumber yard or home center. To save on the number of rip cuts I need to make and to eliminate planing, I select a variety of widths and thicknesses, getting a selection of 1x2s, 1x4s, 2x4s, 2x6s and 2x8s.
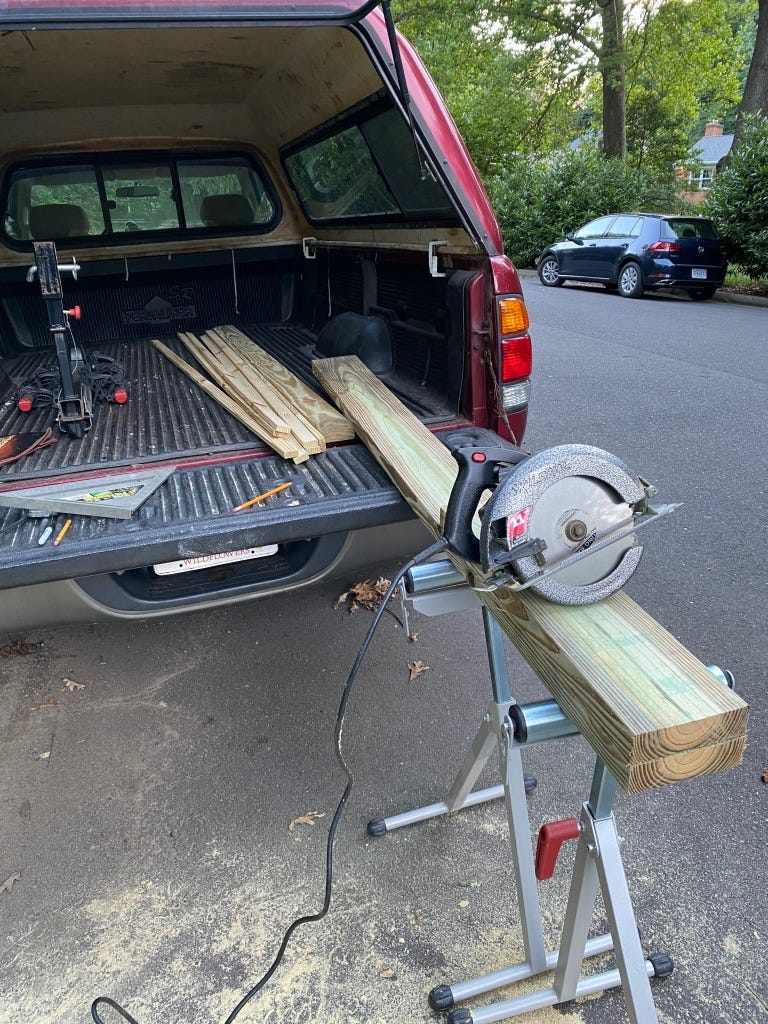
It used to be that the boards would need to be cut down to fit into my car, but I recently bought a 21-year-old pickup truck with an 8-foot bed, and now it's easy to just toss them in the back and drive home. It's amazing what a difference little things like that make.
After getting the boards home, the next step is to cut them down. I don't have a chop/miter saw yet, mostly due to a lack of space in my shop and not wanting to spend the money on the overly expensive saw I keep dreaming about. So for now, I just use a speed square and a circular saw off the back of the truck bed. It works well enough.
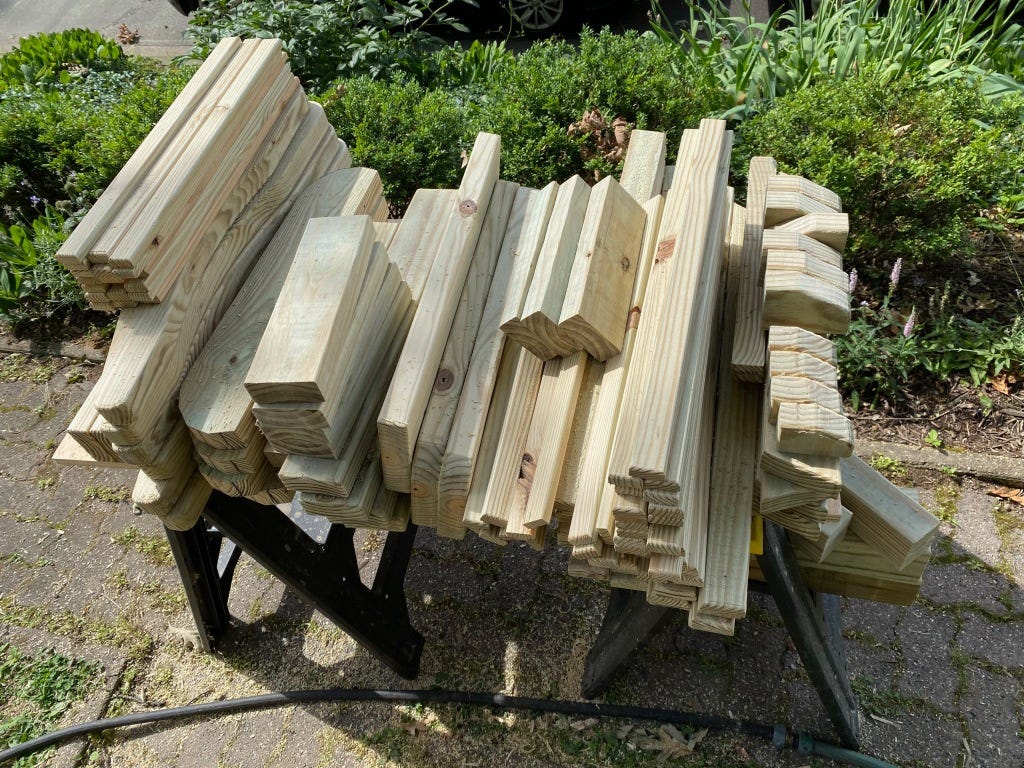
Once I get the lumber rough cut to size, I organize them according to the various pieces that are needed for the chairs, ottoman and tables. There are something like 35 differently sized pieces to make the chair, ottoman and table, with more than 80 individual pieces across those three objects. Finding room in my shop to lay them out and group them together is tricky.

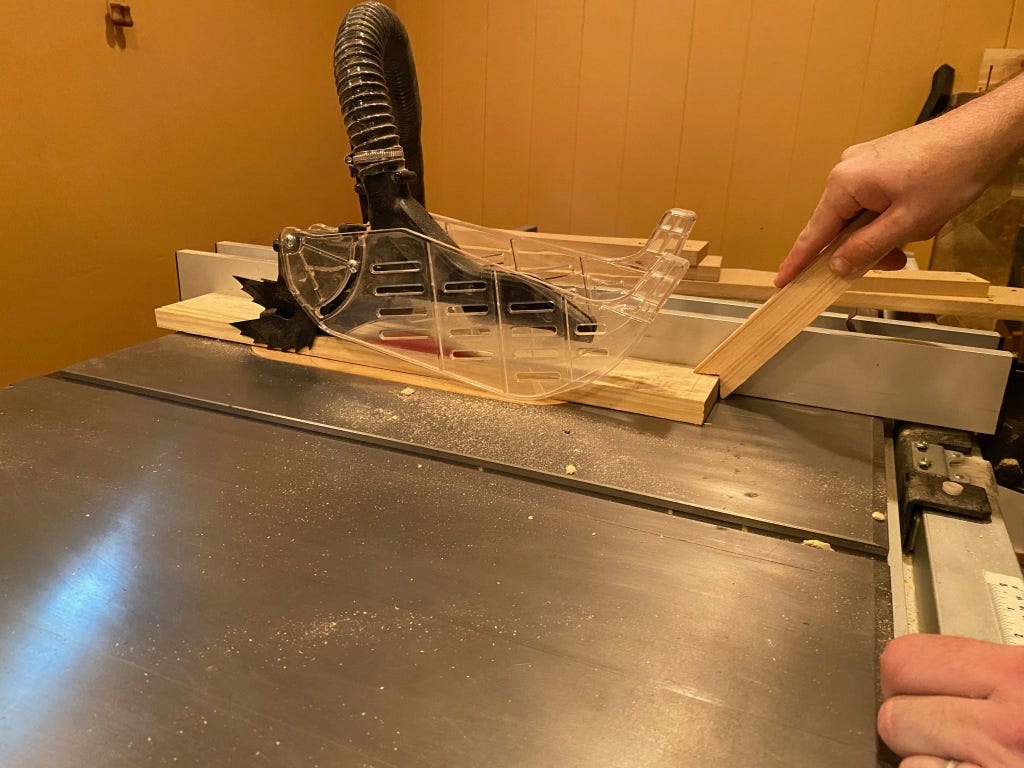
Once I have the pieces rough cut and organized, it's time to cross- and rip cut them to exact size, which I do with a combination of a table saw and a track saw.
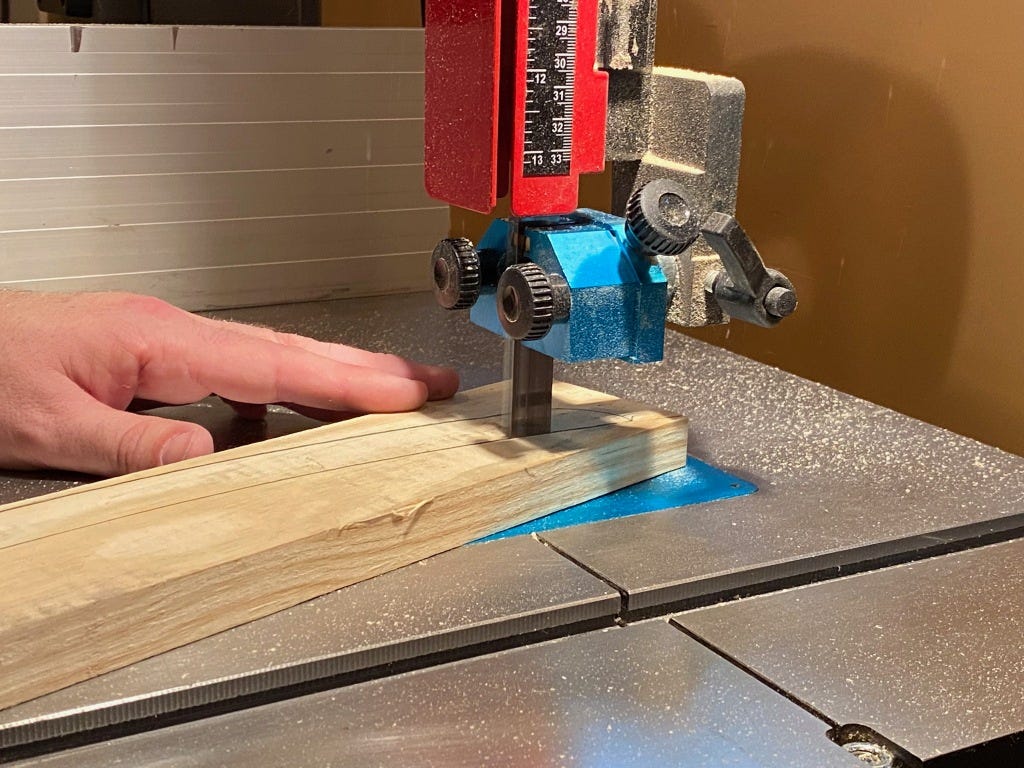
The next step is to trim the shaped pieces according to templates I had previously made. After transferring a line from the template to the workpiece, I take the workpiece to the bandsaw and cut as close to the line as possible. The more carefully (and slower) you take the step, the easier future steps are. It's tedious, though, especially with so many pieces to cut.
Once the pieces are all cut, it's time to trim them on the router. To do this, I first have to attach the templates to the workpieces and outfit the router with a trim bit. A trim bit has straight knives that run up the bit and are topped with a bearing that is even with the knives. That way, when you run the workpiece and attached template along the bit, the bearing runs along the template and the knives cut waste away from the workpiece, leaving it exactly in line with the template.
This works great, but if you try to cut away too much wood, you can bog down the router and/or cause the wood to tear out or splinter and ruin the edge. That's why the closer you can cut the piece to the template to start, the better.
Some of the pieces, like the one above, using 1-½-thick stock. When I then trimmed ¾-inch stock, I forgot to lower the bit and managed to gouge my template. Damn it. Lesson learned.
After trimming, the next step is to round over the edges of various pieces. So, I swapped out the bit for a ¼-inch round over bit and proceeded.
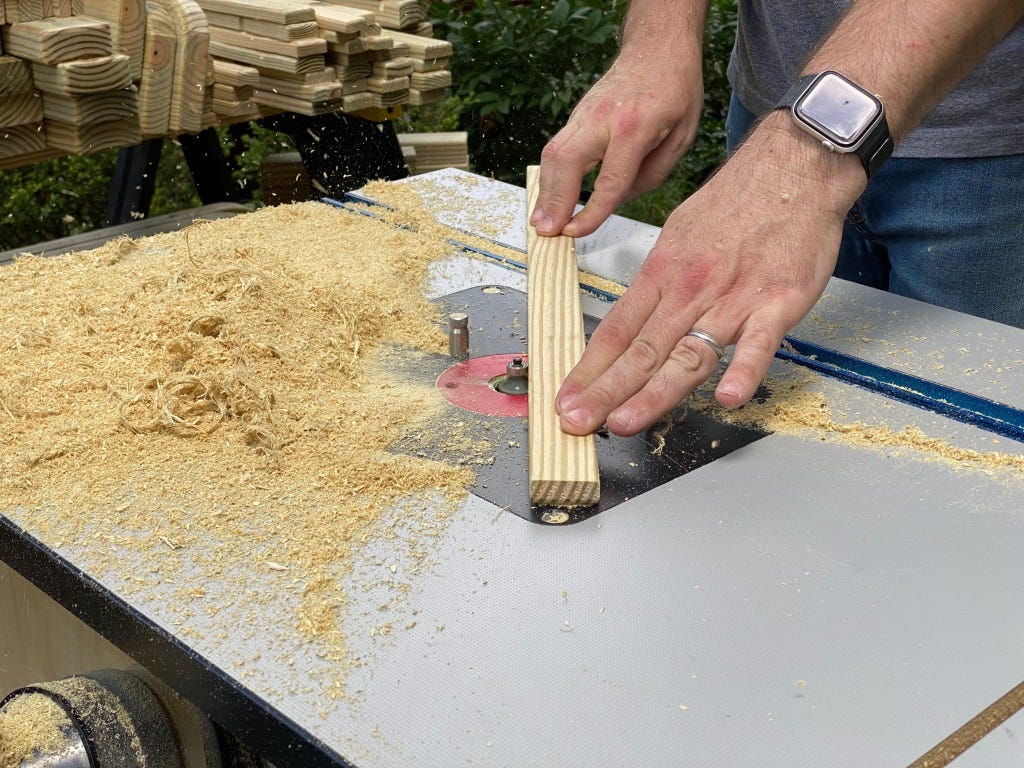
Before I can start screwing pieces together, I want to give them all a good sanding. Every. Piece. Every. Side. Oof.

Finally, all of the pieces are ready. Now I just have to remember which pieces are which and then I can turn to the actual construction process.
Finally it's time to build. Careful measurements (though I make more mistakes than I care to admit), pilot holes and driving screws is all that stands between a pile of lumber and a place to sit.
I really like the square-drive screws I use for these chairs. They are made from high-quality outdoor stainless steel, but I especially like the square drives, which aside from not stripping very easily, also look pretty cool.
Once the final screws are in, the furniture is done. Being made from pressure-treated lumber means they have to dry for several months before applying any kind of stain or water sealant. (They can also be painted, but you have to use a special primer for pressure-treated lumber.) Personally, I think a tinted water sealant looks best.
All in all, it's a good bit of work. It probably takes about 20-25 hours from heading to the lumber yard to sitting in a finished chair and putting my feet up. It's definitely not going to replace my full-time job, but it's an enjoyable hobby. As mentioned before, if you're interested in ordering some for your porch or deck, email me at hatchmade@icloud.com.


