Greenhouse Part III — Cedar Run
A day-long errand sets up a week of work
One of the reasons I didn’t get as much done on the greenhouse last weekend as I wanted to was because I spent most of Saturday driving to West Virginia on a greenhouse-related errand. Although I built the greenhouse frame out of pine 2x4s and 2x6s, that’s not good for anything subject to the elements. For all of the exterior trim, I wanted to use cedar — a mix of 2x4s, 1x6s, and siding.
Unfortunately, few lumber yards or home centers near me stock much cedar, and those that do are closed on weekends. What to do?
My answer? Drive 150 miles to a Menards in West Virginia (and 150 miles back) to pick up a boat truck load of cedar. So that’s what I did. (I do wish there was a Menards closer to me; it’s a great store.)
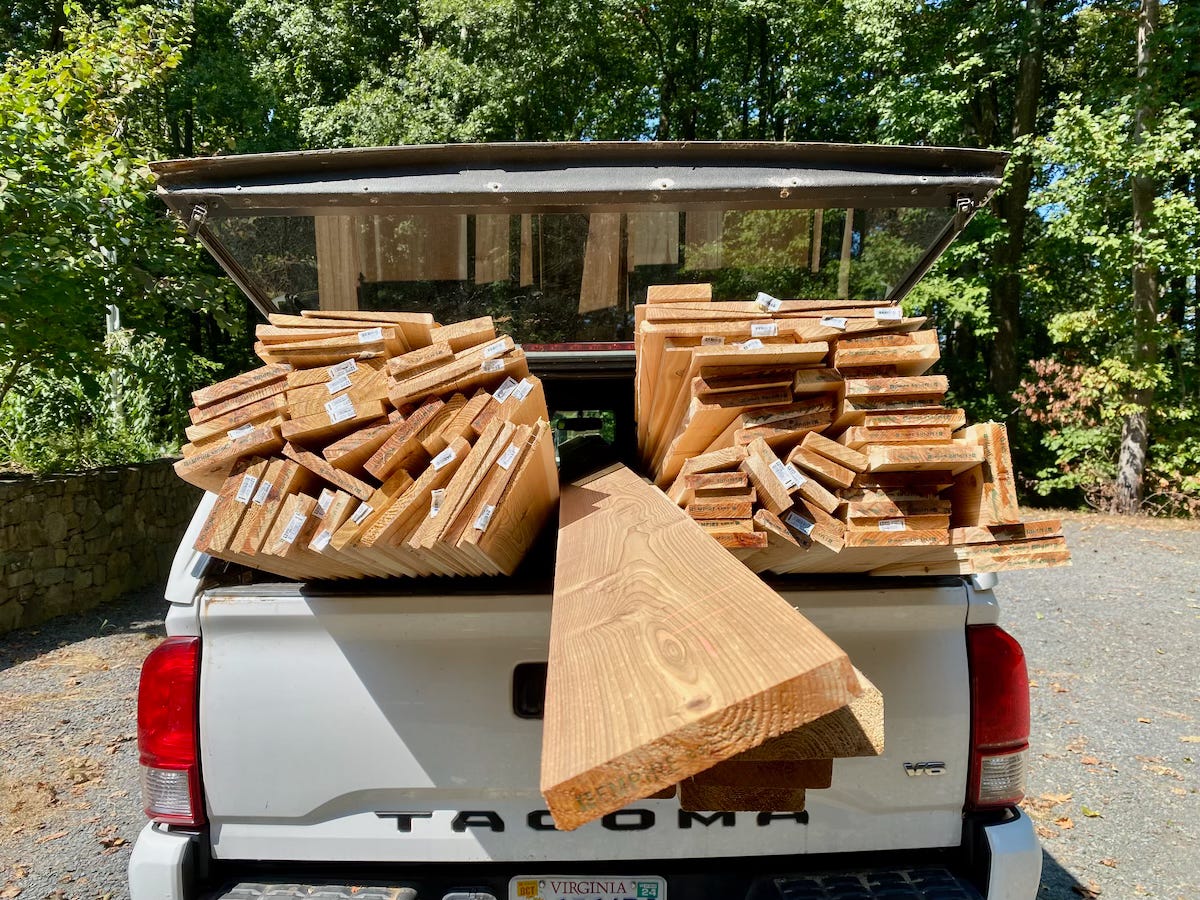
On the one hand, the journey totally made sense. I had the time and the inclination. Menards had the cedar. On the other hand, it ended up being a 9-hour day, including the two hours it took me at Menards to pick and load my haul. Oof.
But I don’t regret it. It allowed me to spend a couple hours each evening this past week continuing to do work. And I’m quite pleased with the progress.
Sizing Up the Siding
At Menards, I calculated what cedar I’d need — praying I’d gotten that right — and picked out dozens of boards, including several 16-foot-long pieces that had to run through my pickup bed and into the cab up against the windshield. I tied everything down with straps.
Once I got the cedar safely back home, the first step was to cut a few 2x4 pieces into 1-½-inch x 1-½-inch sticks to use as corner trim. These would act as “stops” for the beveled siding. They also served as “posts” for the sills I’d wrap around the greenhouse.
For those sills, I planned to start by cutting a small channel in the underside of the 2x4s. This would act as a drip edge to break water surface tension and help water drip off the board instead of running back to the greenhouse. Then I’d slice a five-degree bevel off the opposite face. This would give the top of the sill a downward slope to help water run away from the structure.
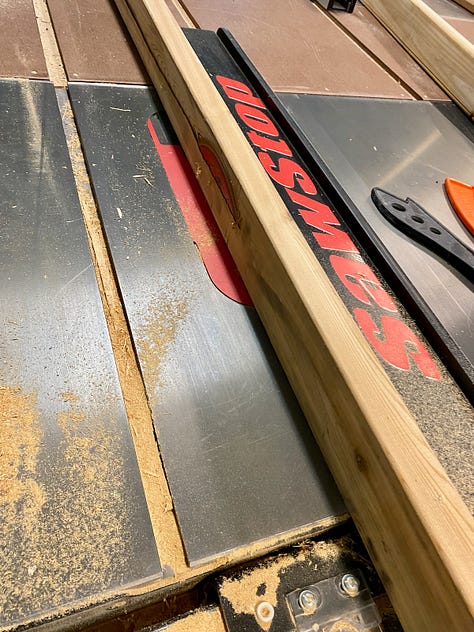

Because the long side of the greenhouse is 15 feet, I bought 16-foot boards so the sills could be one long piece. However, in my shop I discovered I couldn’t feed a 16-foot board through my table saw without it hitting a wall on the outfeed side.
I considered my options: disassemble my saws and move them? Use a handheld circular saw? Use my track saw? Cut the 16-foot boards in half and just do eight feet at a time?
None of the options were particularly attractive, but I decided that cutting my boards in half — as painful as that would be, since I purposely bought them long — was the safest and most reasonable path forward. The alternatives seemed too likely to result in a bad cut, ruining the sills and forcing me to drive back to Menards for more material.
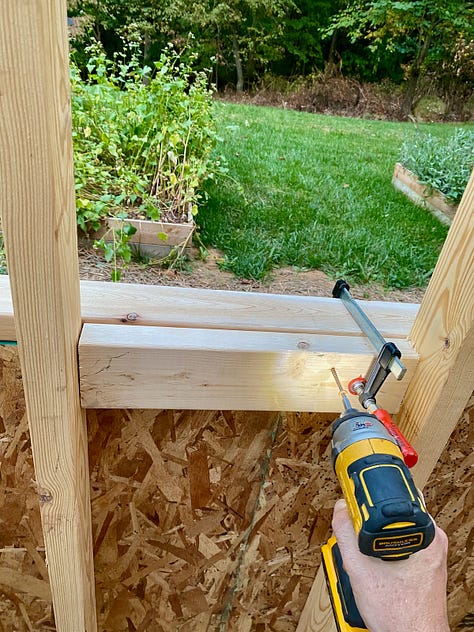
So I cut the 16-foot boards in half on a 45-degree angle known as a scarf cut. Then I ran the boards through the saw to cut the drip edges and the bevels. Once everything was cut, I carried the pieces to the greenhouse. To hold the sills in place, I added blocking between the studs, screwing them in place. Then I screwed the sills into the blocking from the inside, being sure to keep the sills level.
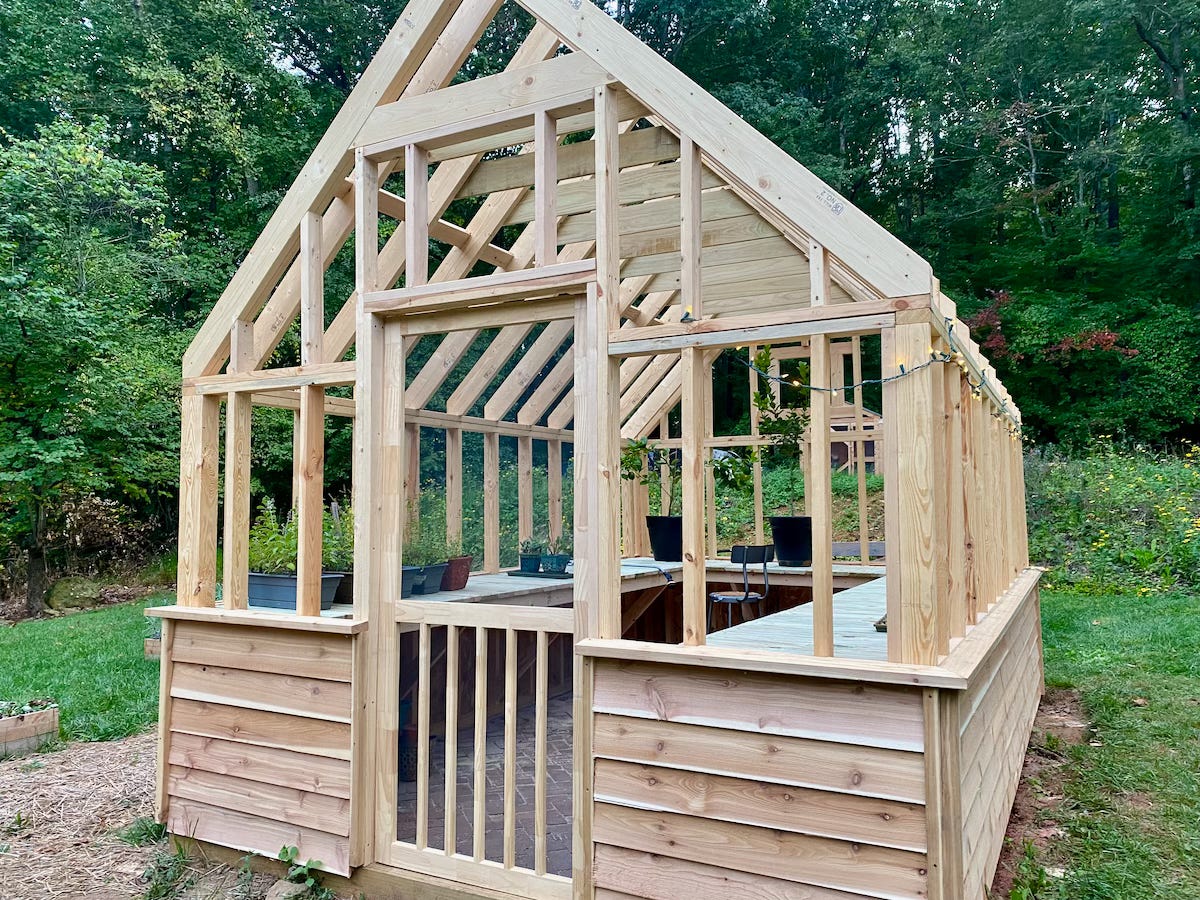
With the sills in place, I turned to the siding. I bought eight-foot boards of 6-½-inch beveled cedar siding. For each side, I started at the bottom and worked my way up, making cuts as necessary and ensuring that no two seams landed on top of each other.
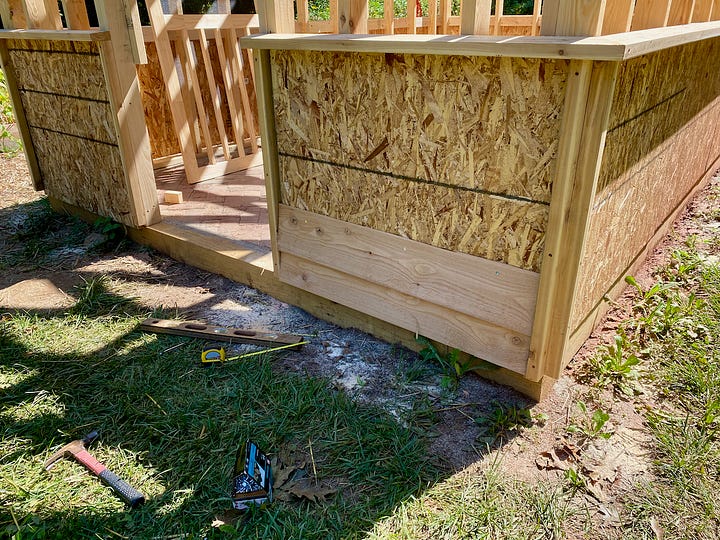
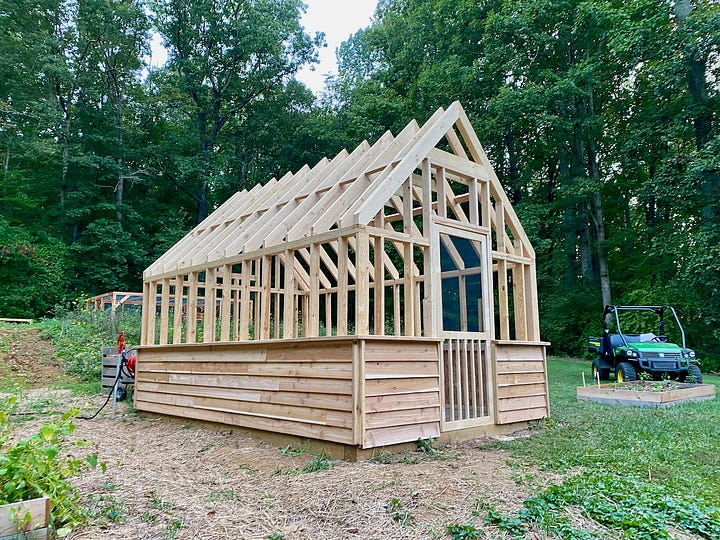
I had calculated that I needed 35 boards, but as I worked my way around the structure, I realized I really needed 36. Or maybe even 37. As I got to the final side, I nervously measured and discovered to my relief that I had actually brought home 36 pieces (sorry, Menards, I owe you for one) and that by being extra careful, it was just enough. In the end, I had two tiny offcuts to spare.
With the sill and siding on, the exterior of the greenhouse was as complete as I could get until my polycarbonate panels arrive.
Turning Inward
By this past weekend, over the course of several evenings, I had gotten the siding installed and was now ready to focus on the inside of the greenhouse. The big question I’ve been wrestling with is whether or not to insulate the bottom part of the structure, and if so, how. At one point, I decided I’d use fiberglass rolls — you know, the pink stuff with the Pink Panther marketing — but then I got worried that it’d get wet from watering plants. Maybe spraying closed-cell foam would be better? I can buy kits from the home center and this seemed like a smart, if somewhat pricey, way to go. I picked up a kit —the only one the home center had in stock — and brought it home, along with all the necessary protective gear.
I got out the kit and started reading the instructions and was all ready to go when I realized it was missing the nozzle. Without it, the kit was useless. Argh!
So I returned the kit and contemplated my next move. Maybe I’d leave it uninsulated for now and instead work on building the bench. So that’s what I did.
My plan was to build a single U-shaped bench. To do this, I’d attach 2x4s to the studs to serve as a rear bracket. From those, I’d attach several “stretchers” that would connect to 2x4s that would serve as the front of the U. I’d also add several support brackets running diagonally from the underside of the front to the studs.
With my wife helping, I got all of the supports and brackets screwed in. Then I added a few more stretchers and other pieces for additional support.
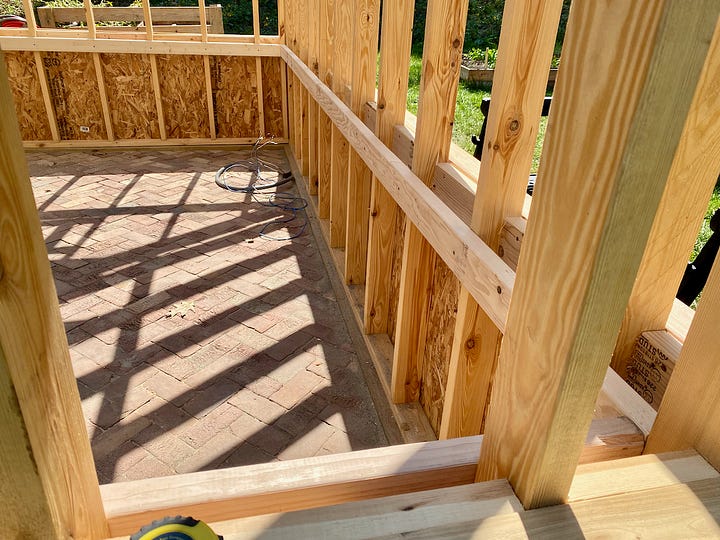

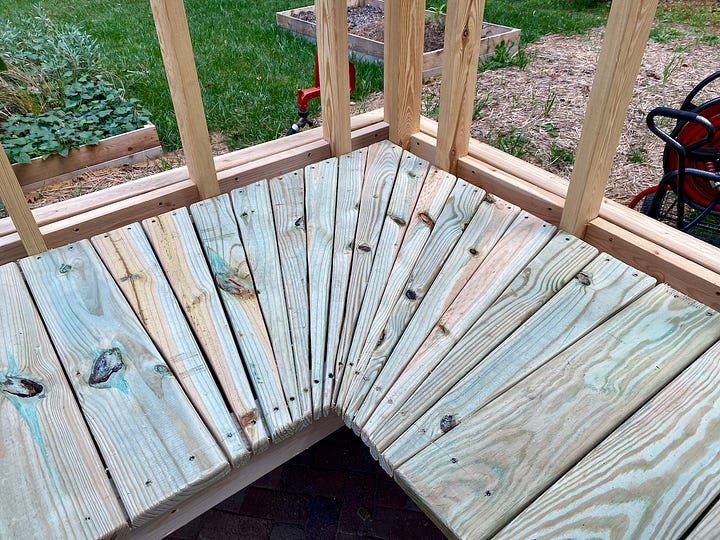
For the top, I used 1-¼ x 5-½-inch pressure treated decking. I cut the pieces to length, rounded over the ends with the router, and screwed them in place, making sure to mark screw locations to keep everything looking lined up and symmetrical.
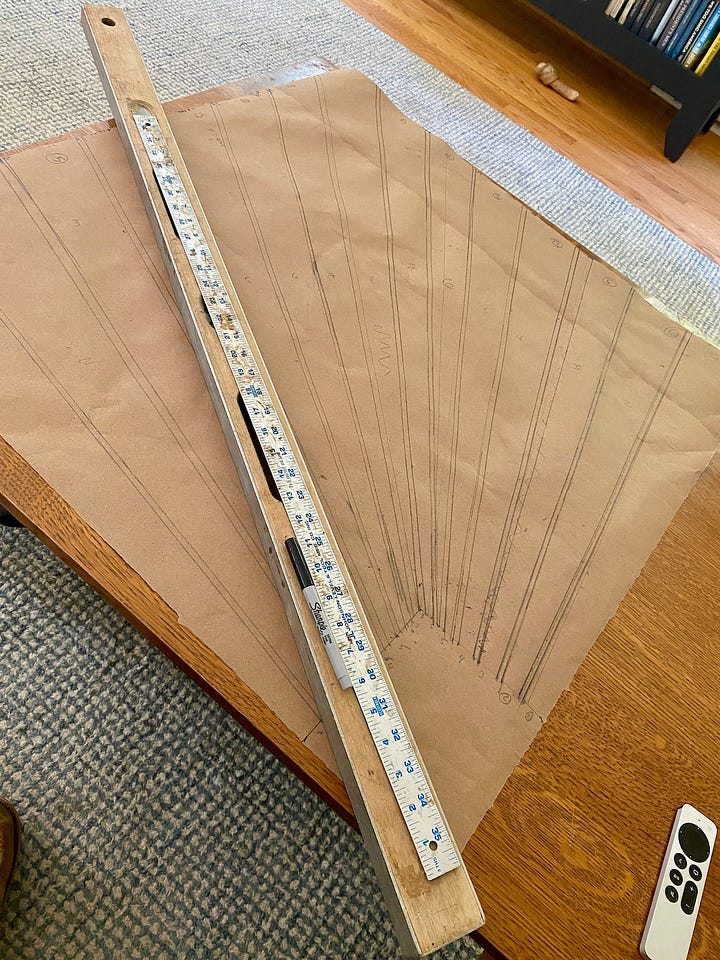
That was all pretty easy for the straight sections, but for the two corners, I decided to make things a little harder on myself. I wanted the corners to look like an unfolded paper fan, sweeping around the bend. To do this, I cut a piece of construction paper to fit the open space and then with a pencil and straight edge, drew out how the pieces should be shaped.
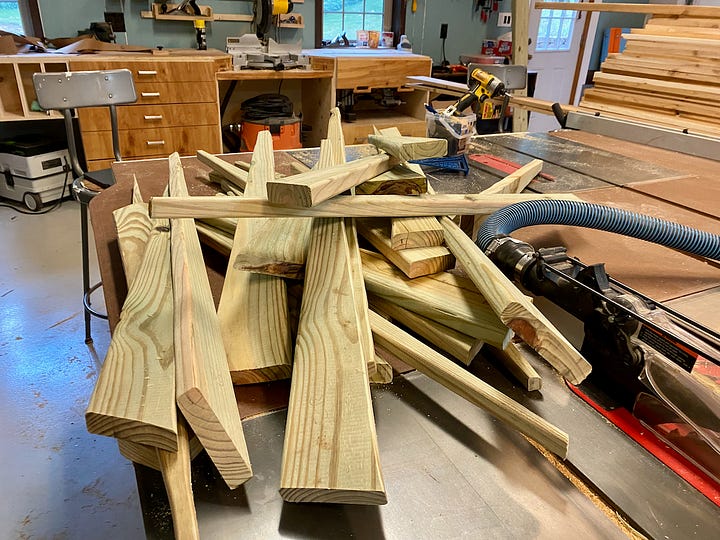
Back in my shop, I cut the paper to create templates for each piece and then transferred the templates to the wood. I should have used a circular saw or my track saw to cut the pieces to keep all the lines straight, but for some reason I used my bandsaw instead, which meant some of the straight cuts weren’t quite as straight as I might have liked.
Anyway, after cutting them out and rounding over the sharp edges — all of which took considerably more time than I expected — I brought the pieces up to the greenhouse and set them in place. They fit remarkably well, if not perfectly. I screwed them down and found myself pretty pleased with the results. With a jig saw and a router, I trimmed and rounded over the edges a bit more — again, not perfect, but not terrible for a greenhouse.

With the bench in place, I re-wired the electrical outlet and ethernet jack and added some temporary fairy lights. I brought up some of the outdoor plants that had been sitting on our patio and sat them on the bench.
Then I pulled up a chair, took out my laptop, and wrote this blog post from the greenhouse.
I’m probably on a construction pause until the polycarbonate panels arrive. Once they do — hopefully in a week or so — it should be pretty quick to install them and add the final trim. There will be a few more things after that, but I’m excited to see this project getting close to finished.


Great Craftsmanship. Pretty impressive tool collection too. I'd love the see the finished product. Especially how you installed the poly panels and trim. Great work!