Getting busy with basement built-ins
With inspections approved, it's time to start the fun stuff
Earlier this summer, I finished all of the basement rough-in electrical and plumbing and was ready for the rough-in inspection. I wasn’t particularly concerned about the work the electrician or plumber had done, but I was a wee bit nervous about the work I had done — namely the wall framing, PEX tubing, and fire blocking.
But, in the five minutes the inspector reviewed my handiwork, he made it clear everything met with his approval. “Looks good; you can insulate now,” he said as he walked back to his county-issued Ford SUV, which was still warm from when he arrived just moments earlier.
Rather than being relieved, however, I was actually slightly alarmed.
Had he looked closely at what I, a complete novice and bumbling fool, had done? Was he sure I had done it correctly? Wasn’t he going to save me from myself?
He didn’t even run the pressure test on the PEX tubing I installed. He just asked me if I had done the test. I had, of course. Several times. But, you know, it’d be nice if he’d seen it too. Just to make sure I wasn’t missing something or hallucinating.
But, I guess if he was happy, I should be happy.
So I insulated. R-13 in the ceiling. R-19 along the outside walls. Fiberglass in my forearms. Foam around the PEX. Rock wool everywhere else. The effect was immediate. Not only did the basement more easily hold a steady temperature, but it significantly dampened noise from the rooms above.
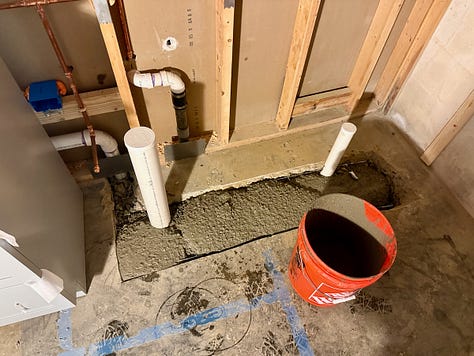
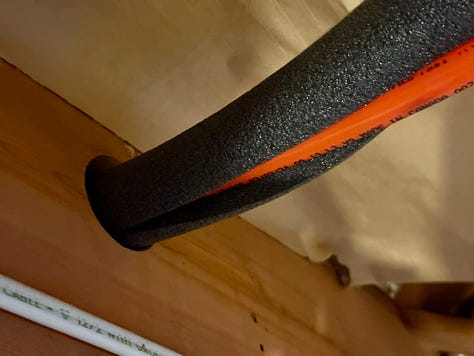
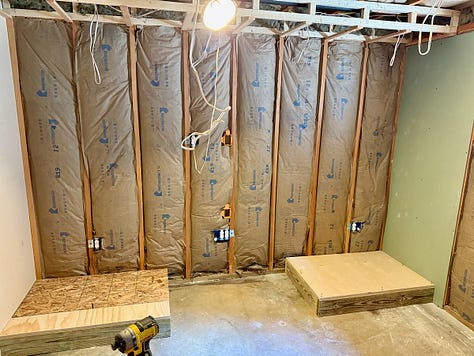
I called for another inspection. This one was even shorter. “OK,” he said as he walked the basement like a model struts across the catwalk — quickly down and back and out. “Call when you’re all finished.”
All finished! Was the end really in sight?
No, not really. But the next step was definitely at hand.
The Desk
My plans for the basement include two built-in units: a desk and an entertainment center. The former will stretch along one wall in my office with drawers, cabinet doors, bookshelves, and of course, a desktop. I measured and drew and sketched and had a pretty good idea of what I wanted.
Even with the measurements and sketches in hand, I was nervous about what I had in mind. I wished I could build a prototype, maybe out of cardboard. But that wasn’t feasible. Maybe I could build a 3D model in SketchUp or something? I tried that and I have to say, building 3D models in SketchUp is not in my wheelhouse.
Then I had a realization: could ChatGPT make a render for me?
OMG. Yes. It. Could.
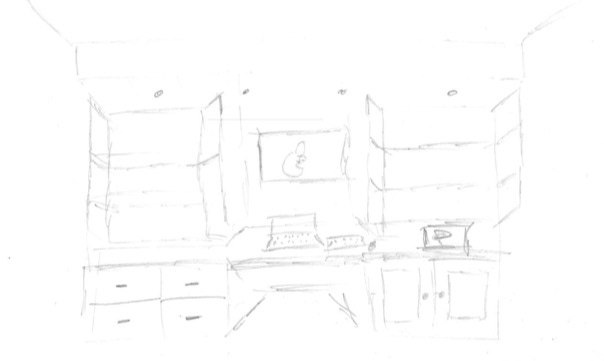
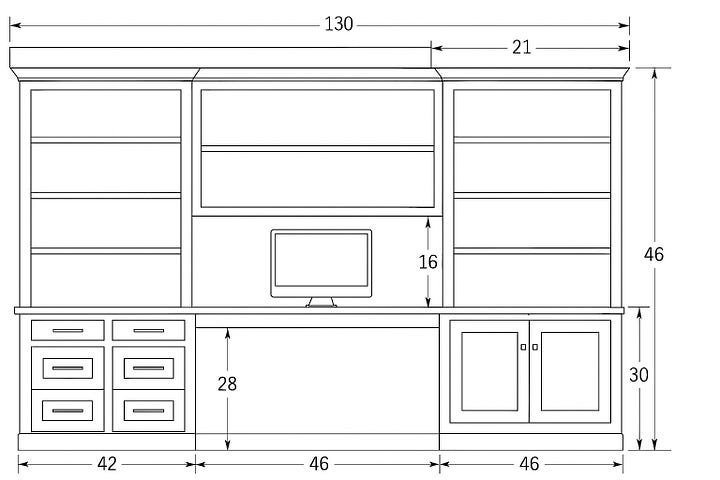
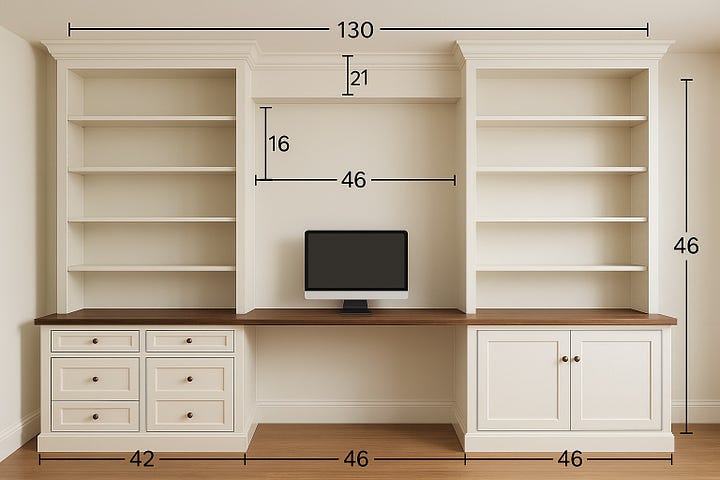
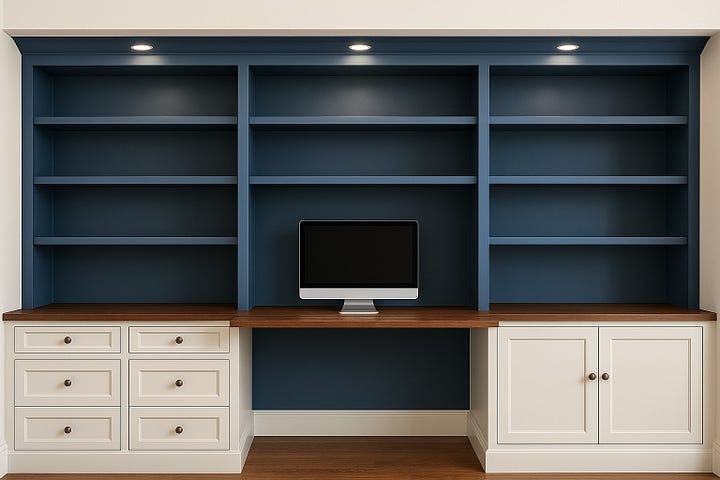
Even though these weren’t perfect renders, they had me feeling pretty good about what I had in mind. Now it was time to start building.
Making Boxes
My first step was to build platforms upon which the two end cabinets would sit. I built them out of pressure-treated 2x6s, since they’d be sitting on concrete and could, conceivably, wick up moisture.
The cabinets themselves I built out of ¾” plywood. For the left cabinet, which would have drawers, I added vertical and horizontal pieces to separate the drawers. For the right cabinet, which would have shelves and doors, I added peg holes to support the shelves, and a vertical piece to separate the two doors.
Both cabinets (and the middle section, which I covered with its own piece of plywood) threatened to cover up power outlets. To deal with that, I cut openings in the box backs and center board to be perfectly aligned with the outlets. Then, across the tops, I added two braces, making sure to bring one forward from the back to leave room for pop-up power outlets. More on that in a future post.
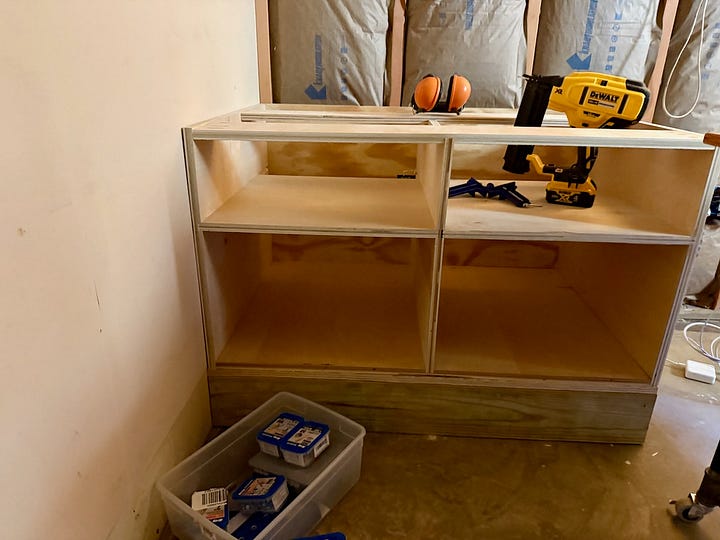
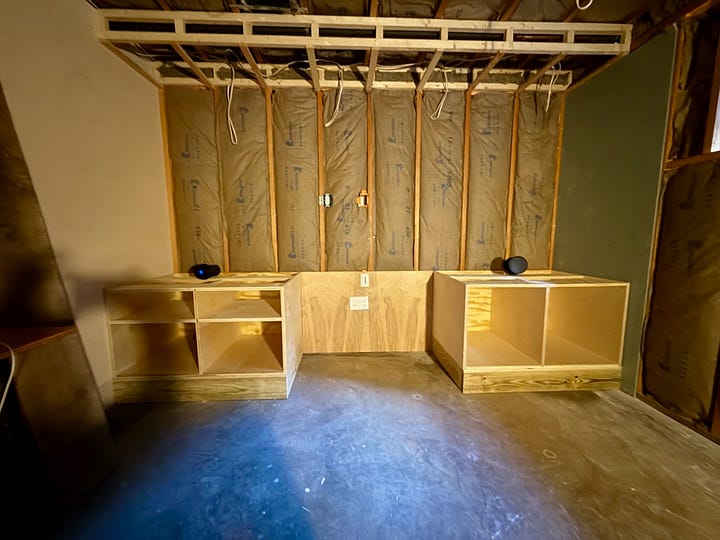
Once done, I screwed them in place against the studs and into the bottom platforms.
For the upper cabinets, I built three more boxes, only without bottoms, as these boxes would sit directly on the desktop. I also added peg holes to support future shelves. However, I couldn’t install these upper boxes until I had the desktop in place.
And I couldn’t install the desktop until I took care of a few more details with the base cabinets while I still had access to them from the top. I needed to make and install face frames to cover the plywood edges. I needed to install drawer slides. And I needed to paint them.
For the face frames, I was trying to decide between 1.5-inch wide frames or 2.5-inch wide frames. I decided to build one of each and see how they’d look.
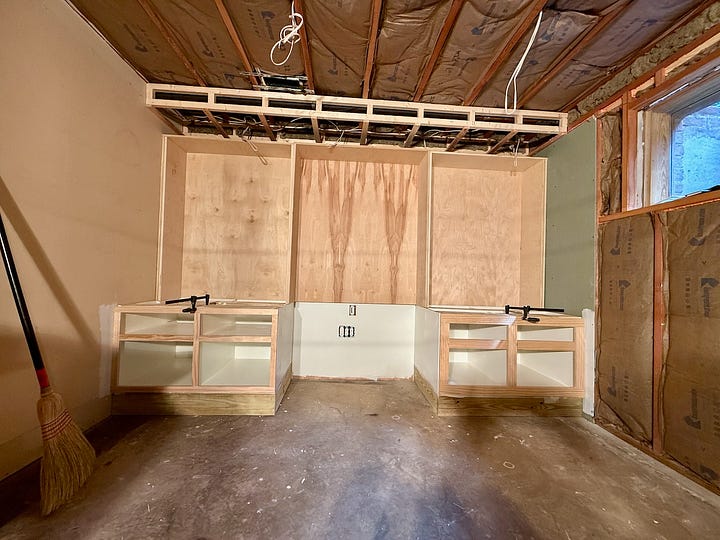
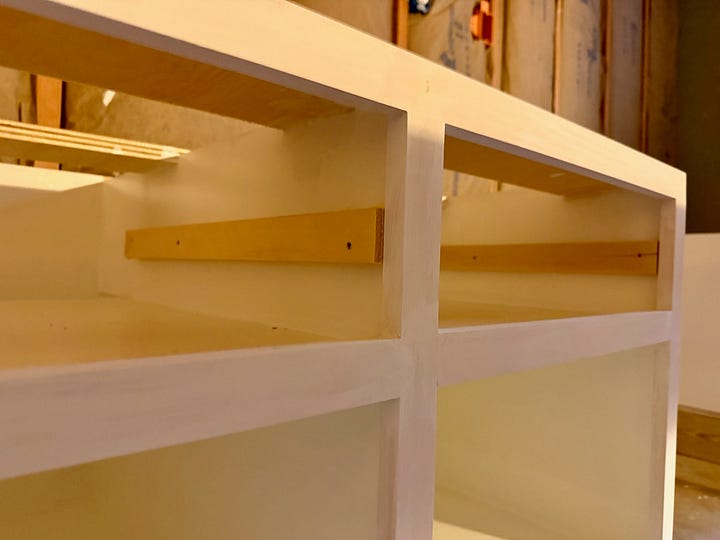
Once I did so, it became clear that the 2.5-inch frames were too wide. So, 1.5 inches it would be. I built and installed them, which then allowed me to install the drawer slides. The reason I had to wait for the face frames to be in first was because I needed to know how much to pad out the drawer slides so they could clear the frames.
Now, finally, I was ready to install the desktop. That’s next time.


So cool!!! I'm so glad we got to see it in person-- before the inspections!