
For the Bird(houses)

Over the past few weeks, I've been busy working on a wide variety of projects, including rebuilding small engine carburetors, taking down fencing, building garden plots, creating a wildflower field, replacing a well pump, and minor auto repairs, among other things.
It's one of the "other things" I'm writing about today: building and hanging birdhouses. A dozen of them, actually, from small chickadee abodes to huge owl boxes. They're fun to build, relatively easy, relatively cheap and provide joy for years. Building them is the easy part. The hard part is mounting them high enough on trees. But that's nothing a little cleverness can't solve.
To be frank, one of the nice things about building a birdhouse is that the birds aren't overly fussy about fit and finish — though they are demanding about other things, like hole size and box orientation/placement. This makes the houses fun to make because you can make quick progress and don't need to worry about it being perfect.
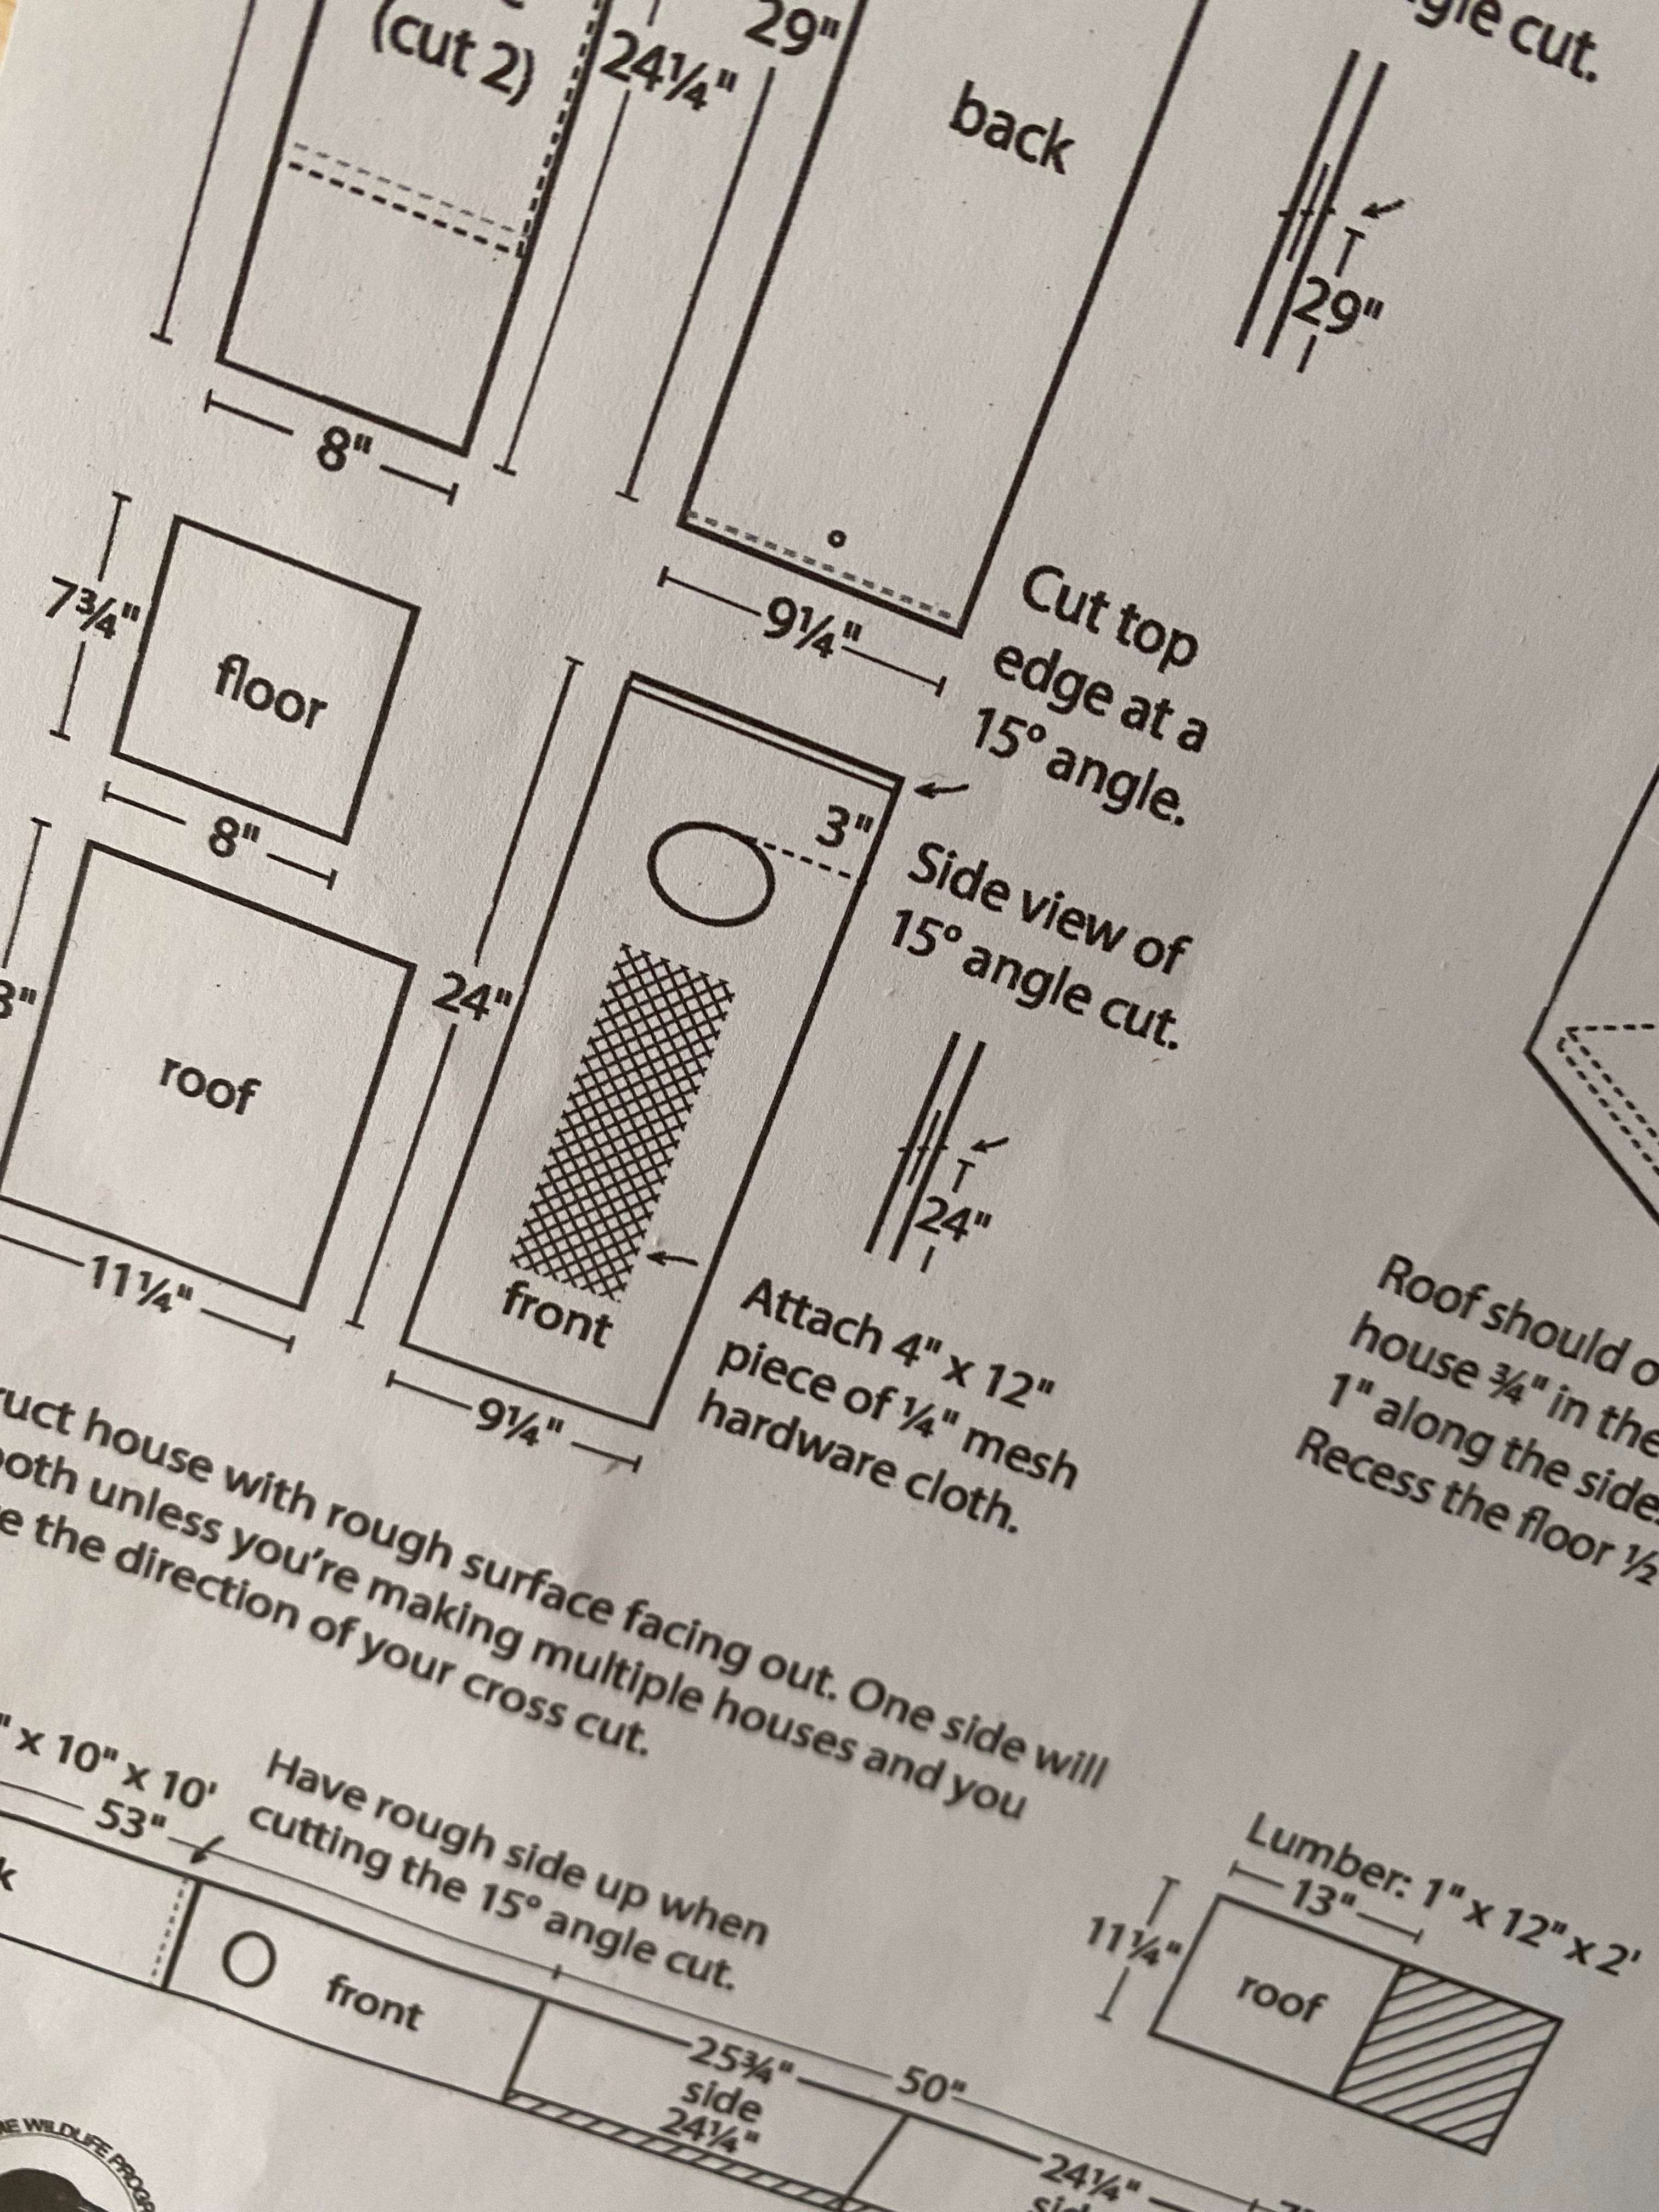
To start, I downloaded plans from the Cornell Lab of Ornithology's NestWatch site. They have dozens of plans with clear instructions. To be clear, the benefit of the plans is less "how do I build a bird house" and more "how do I build a bird house specific to a given species." That's because birds have certain needs, like hole size and shape. Ultimately, I chose seven plans based on the birds in our area and what my wife is interested in attracting:
I headed to Home Depot to pick up supplies and back in the shop, started cutting wood to size. I ended up with enough material to make two bluebird boxes, three chickadee boxes, two barn owl boxes, two barred owl boxes, and one each for a hooded merganser, a pileated woodpecker and a kestrel.
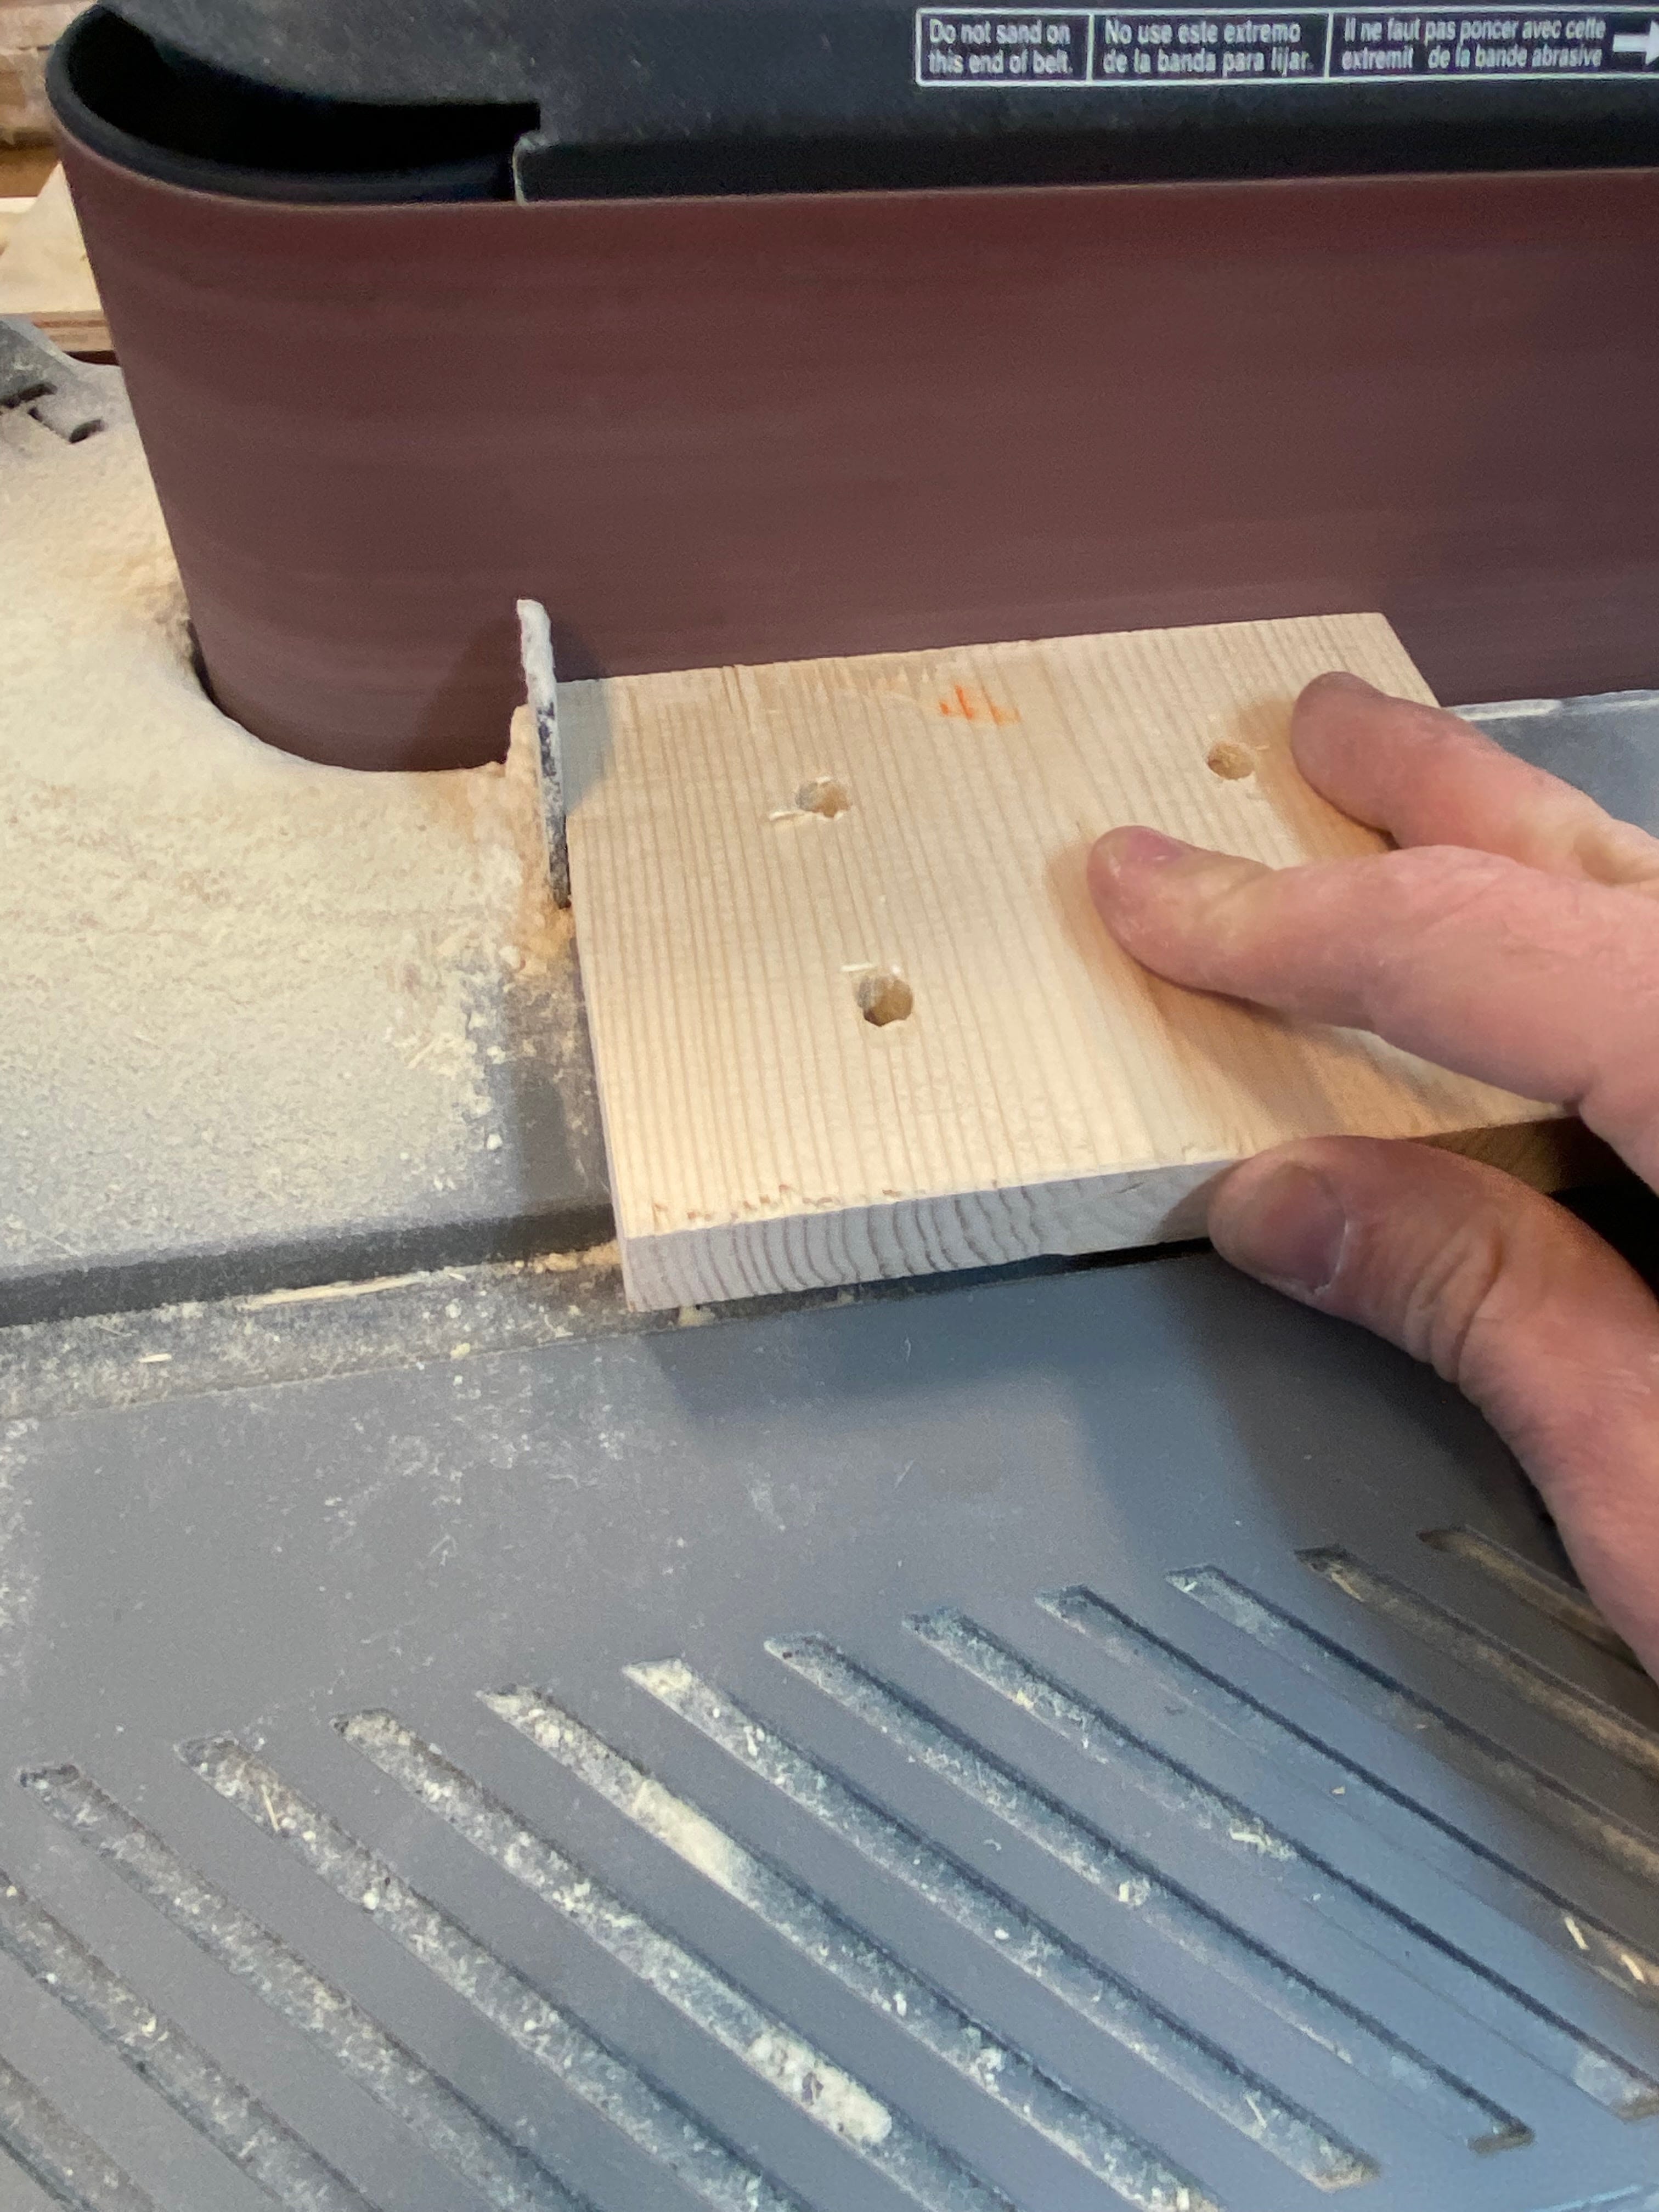
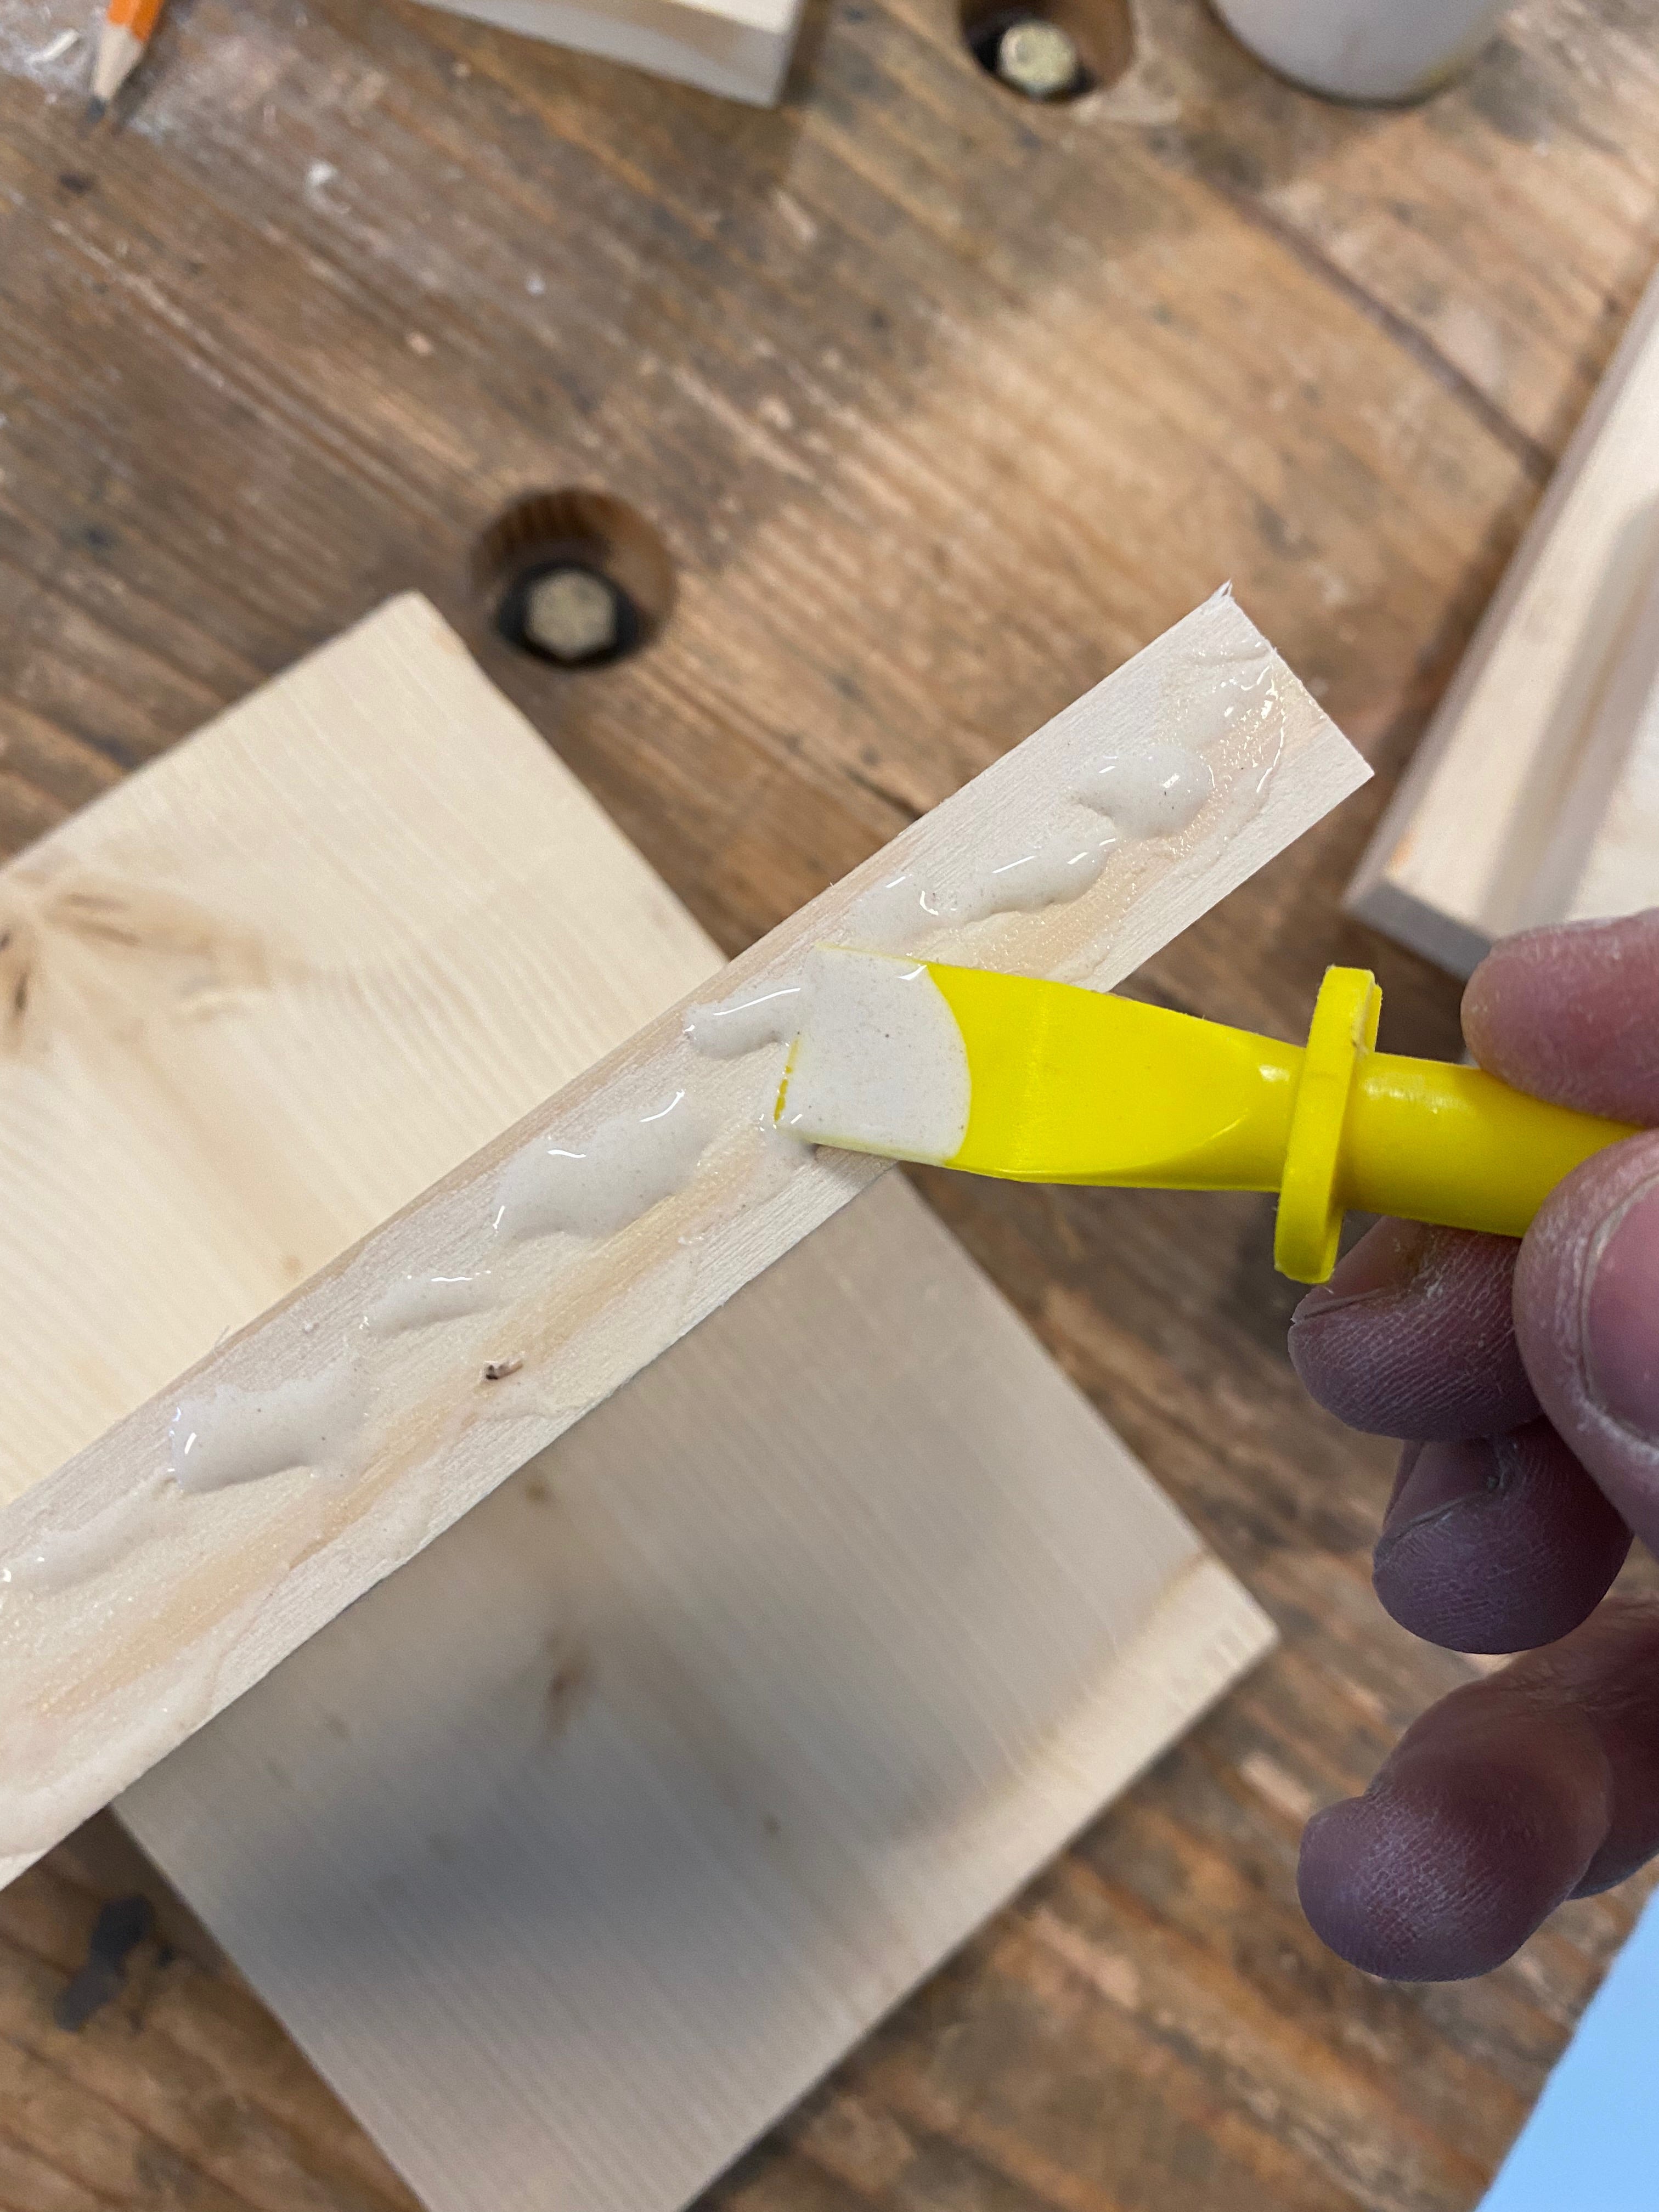
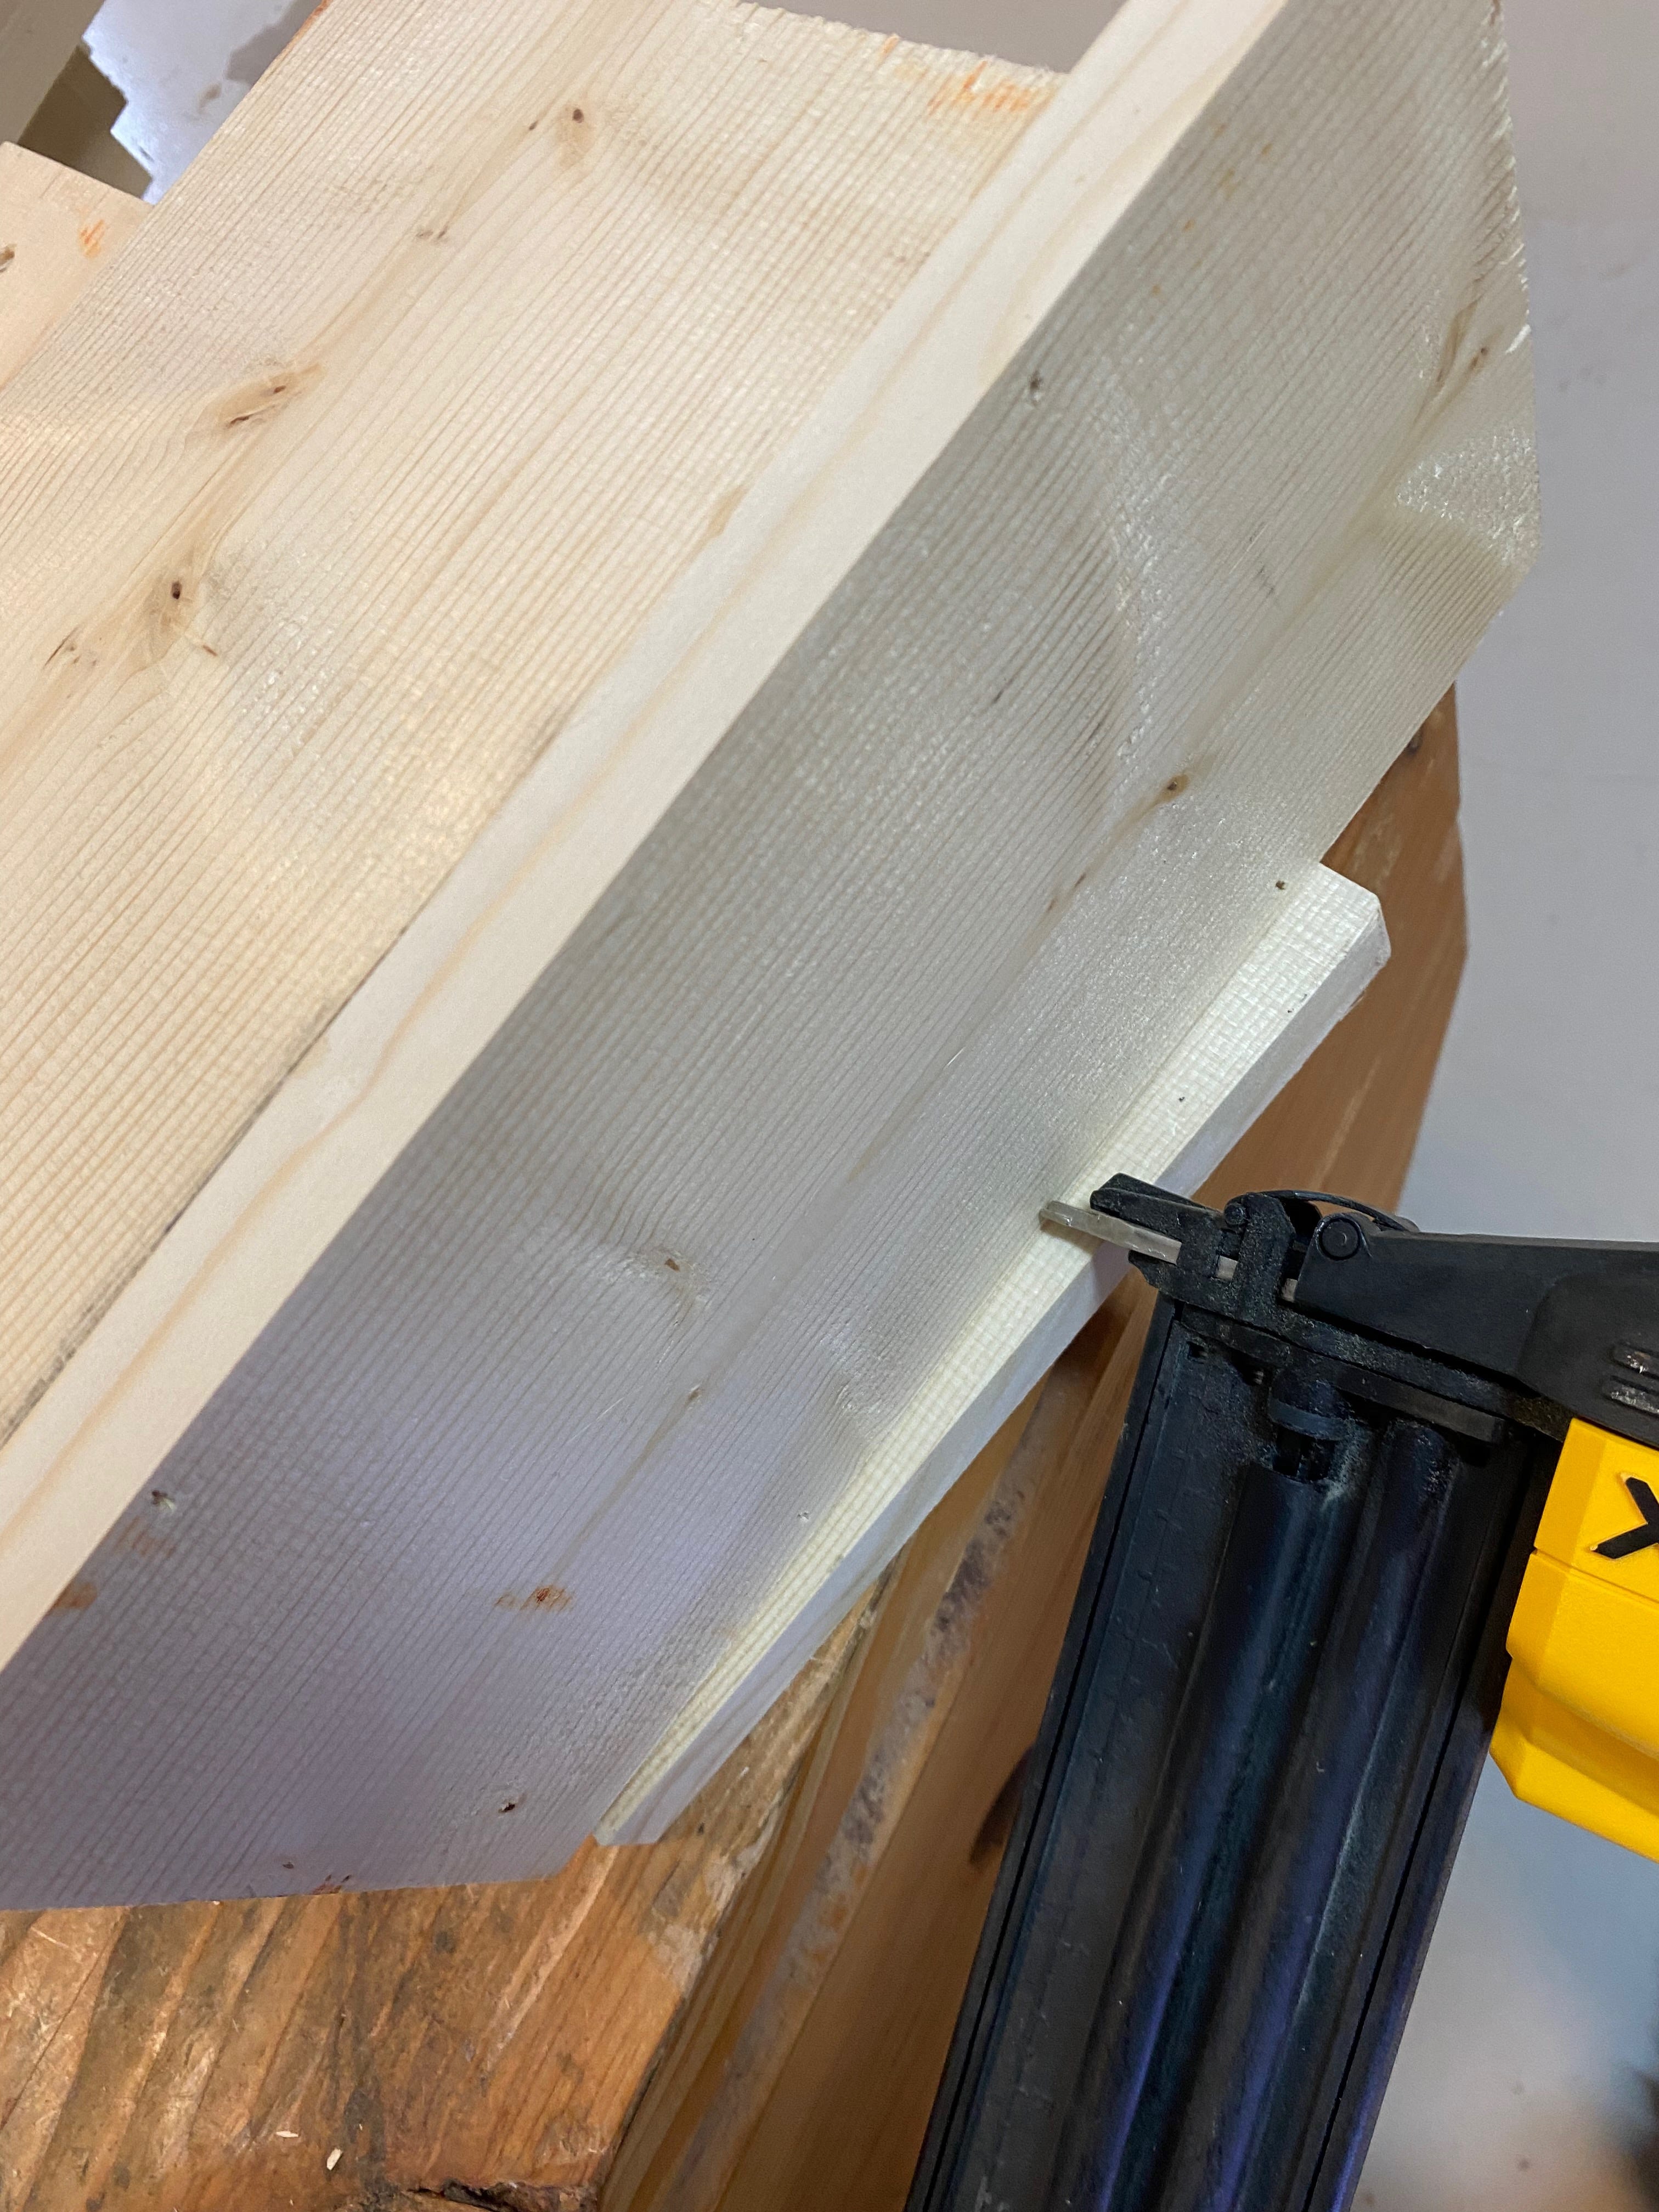
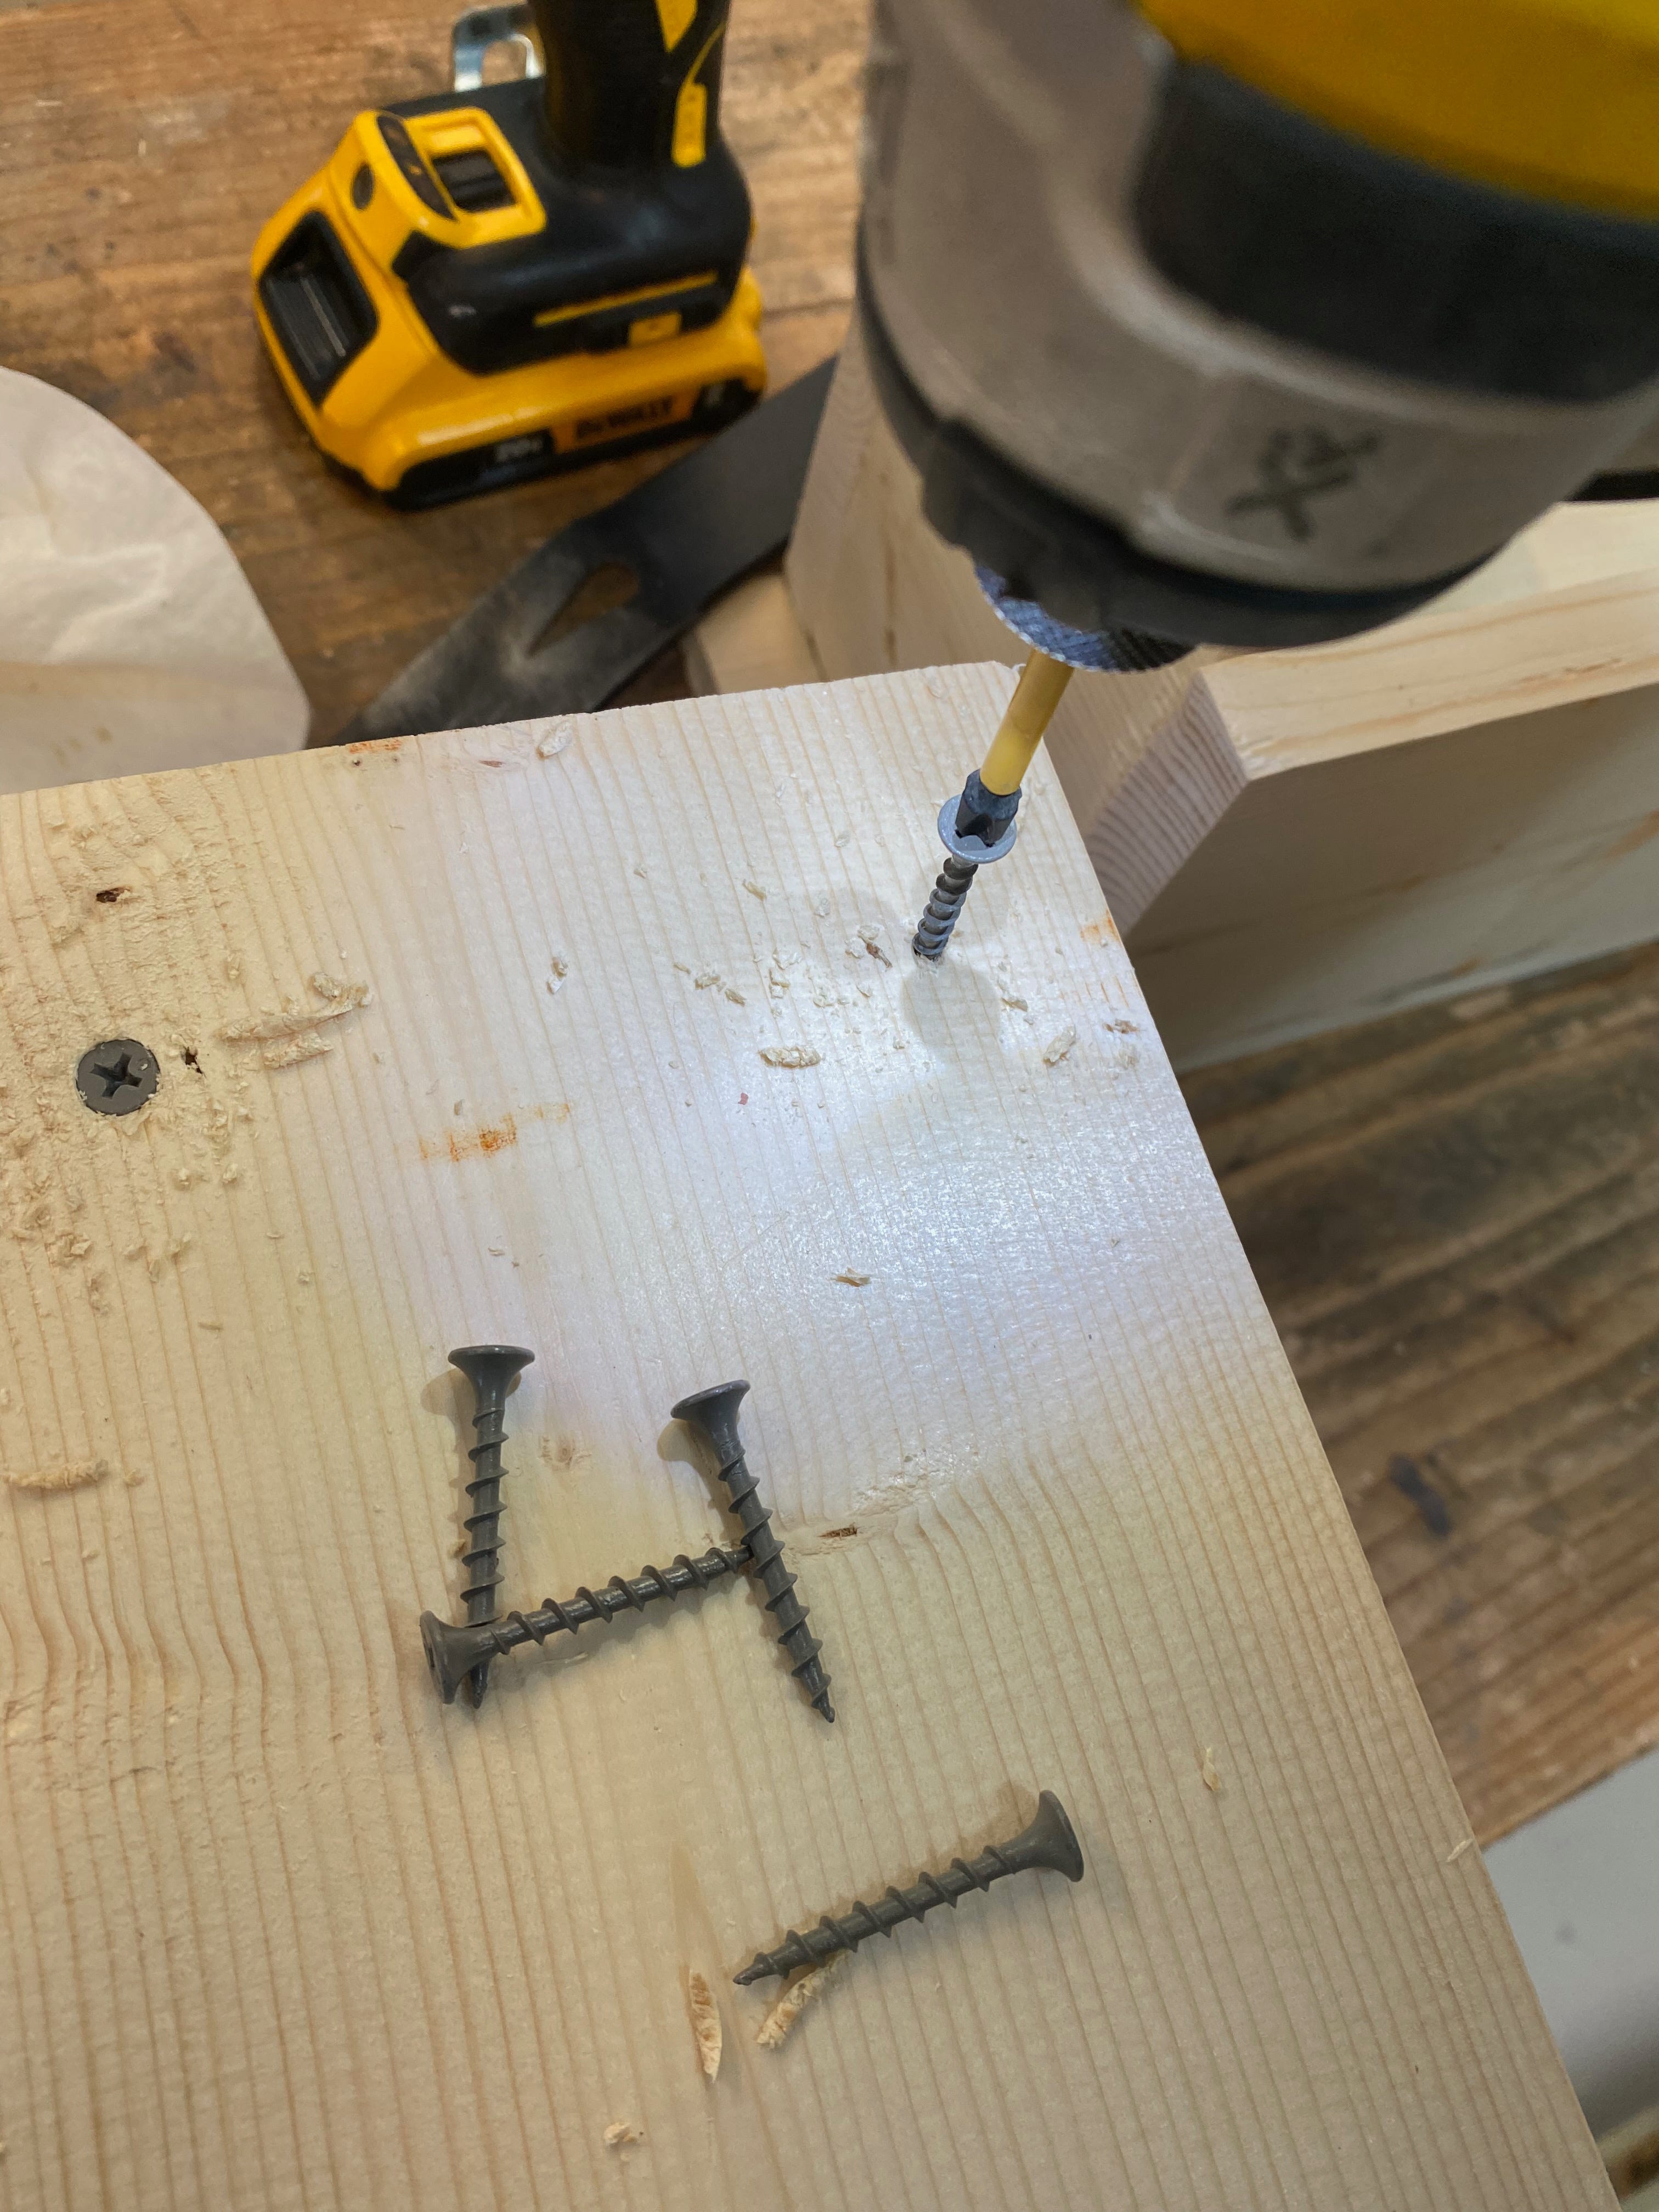
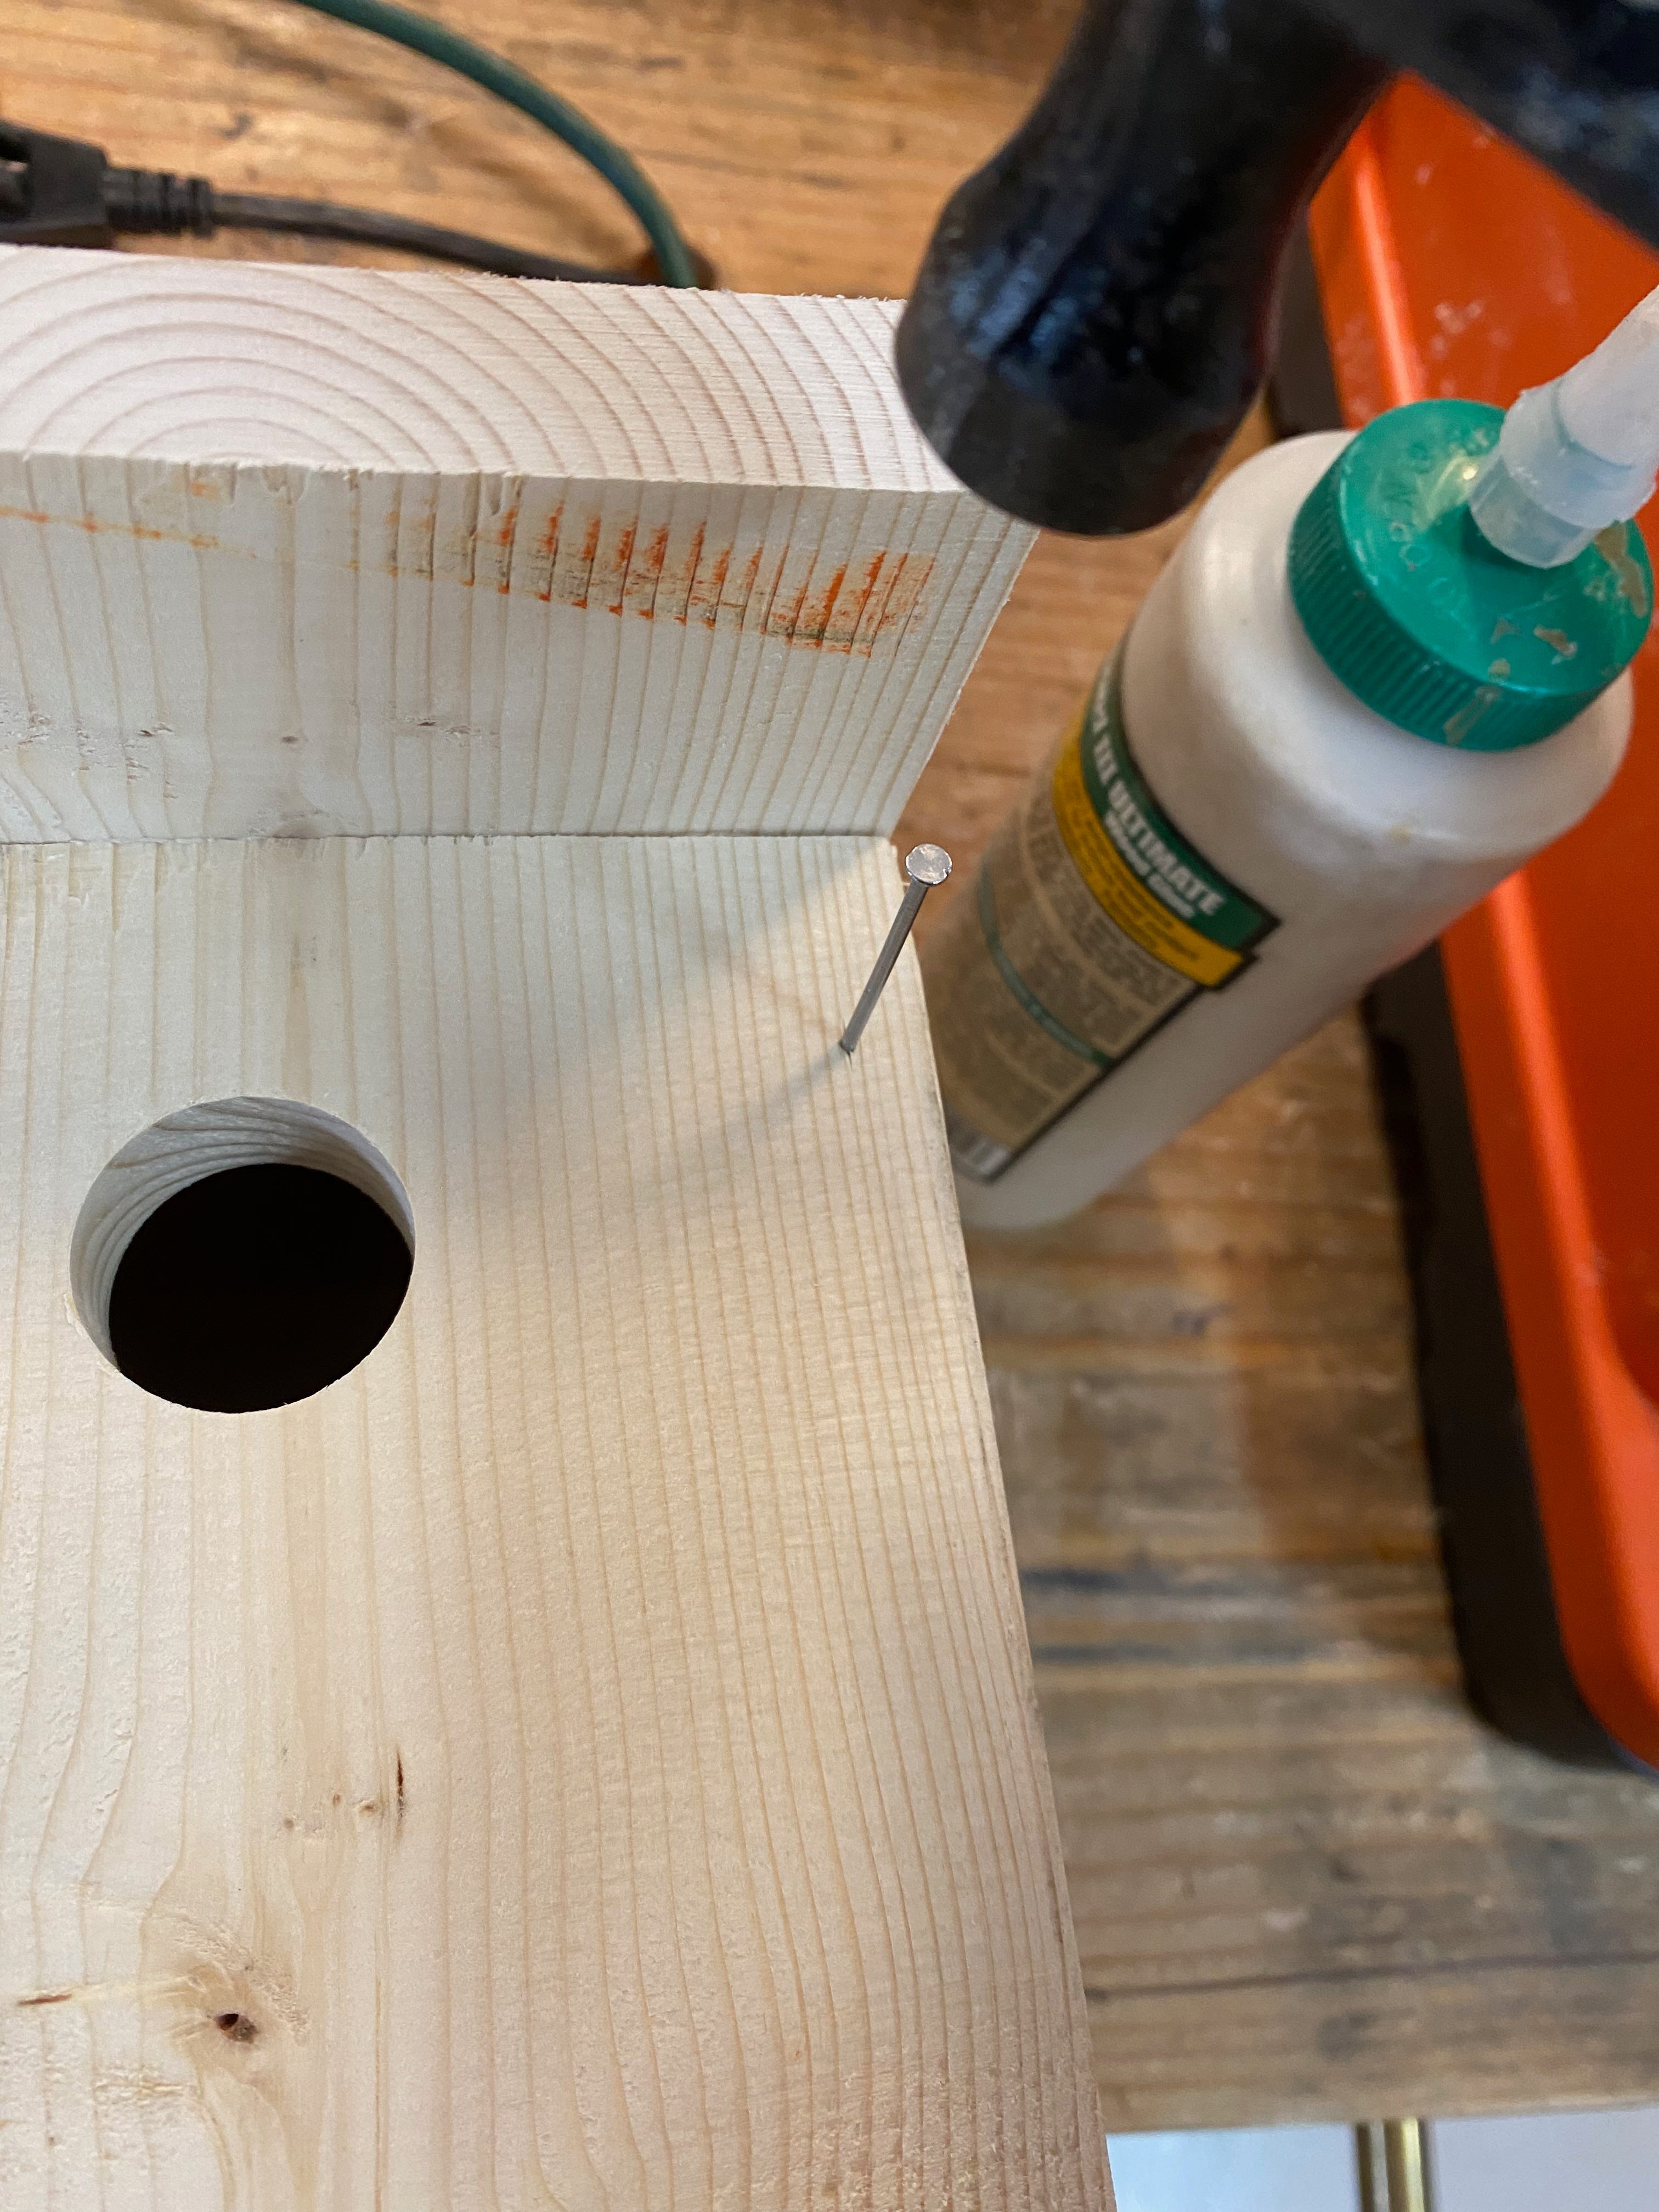
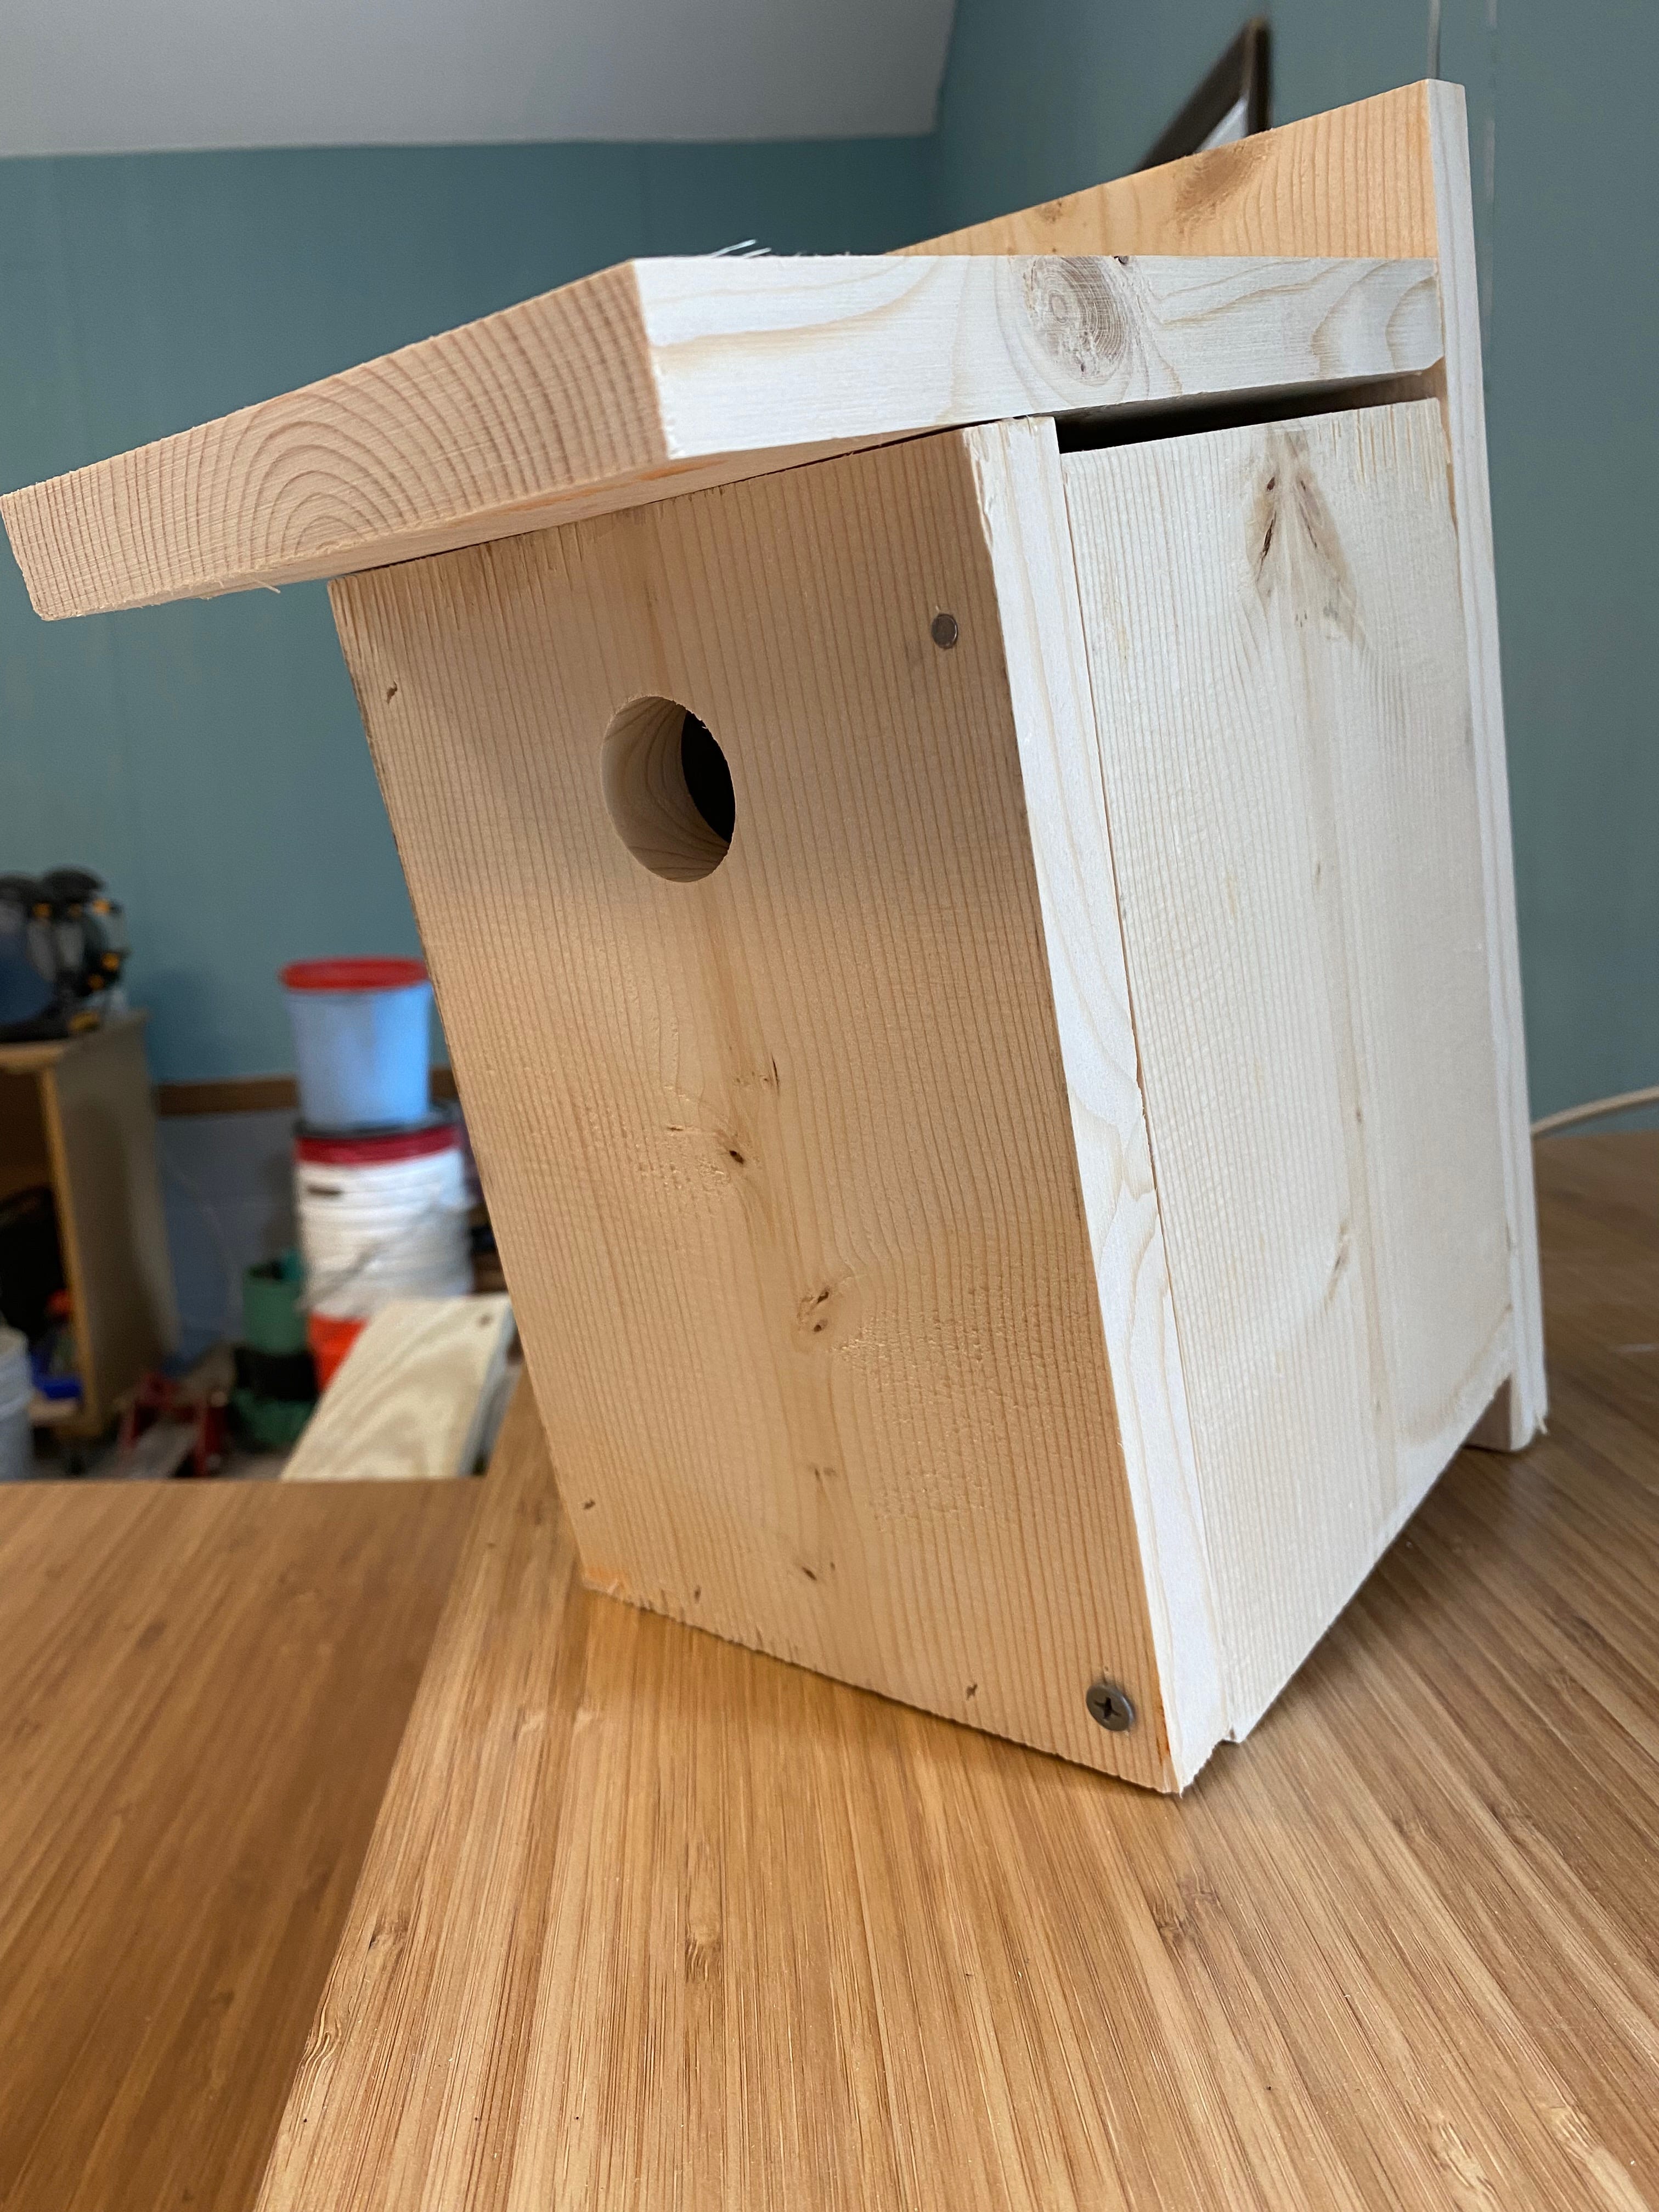
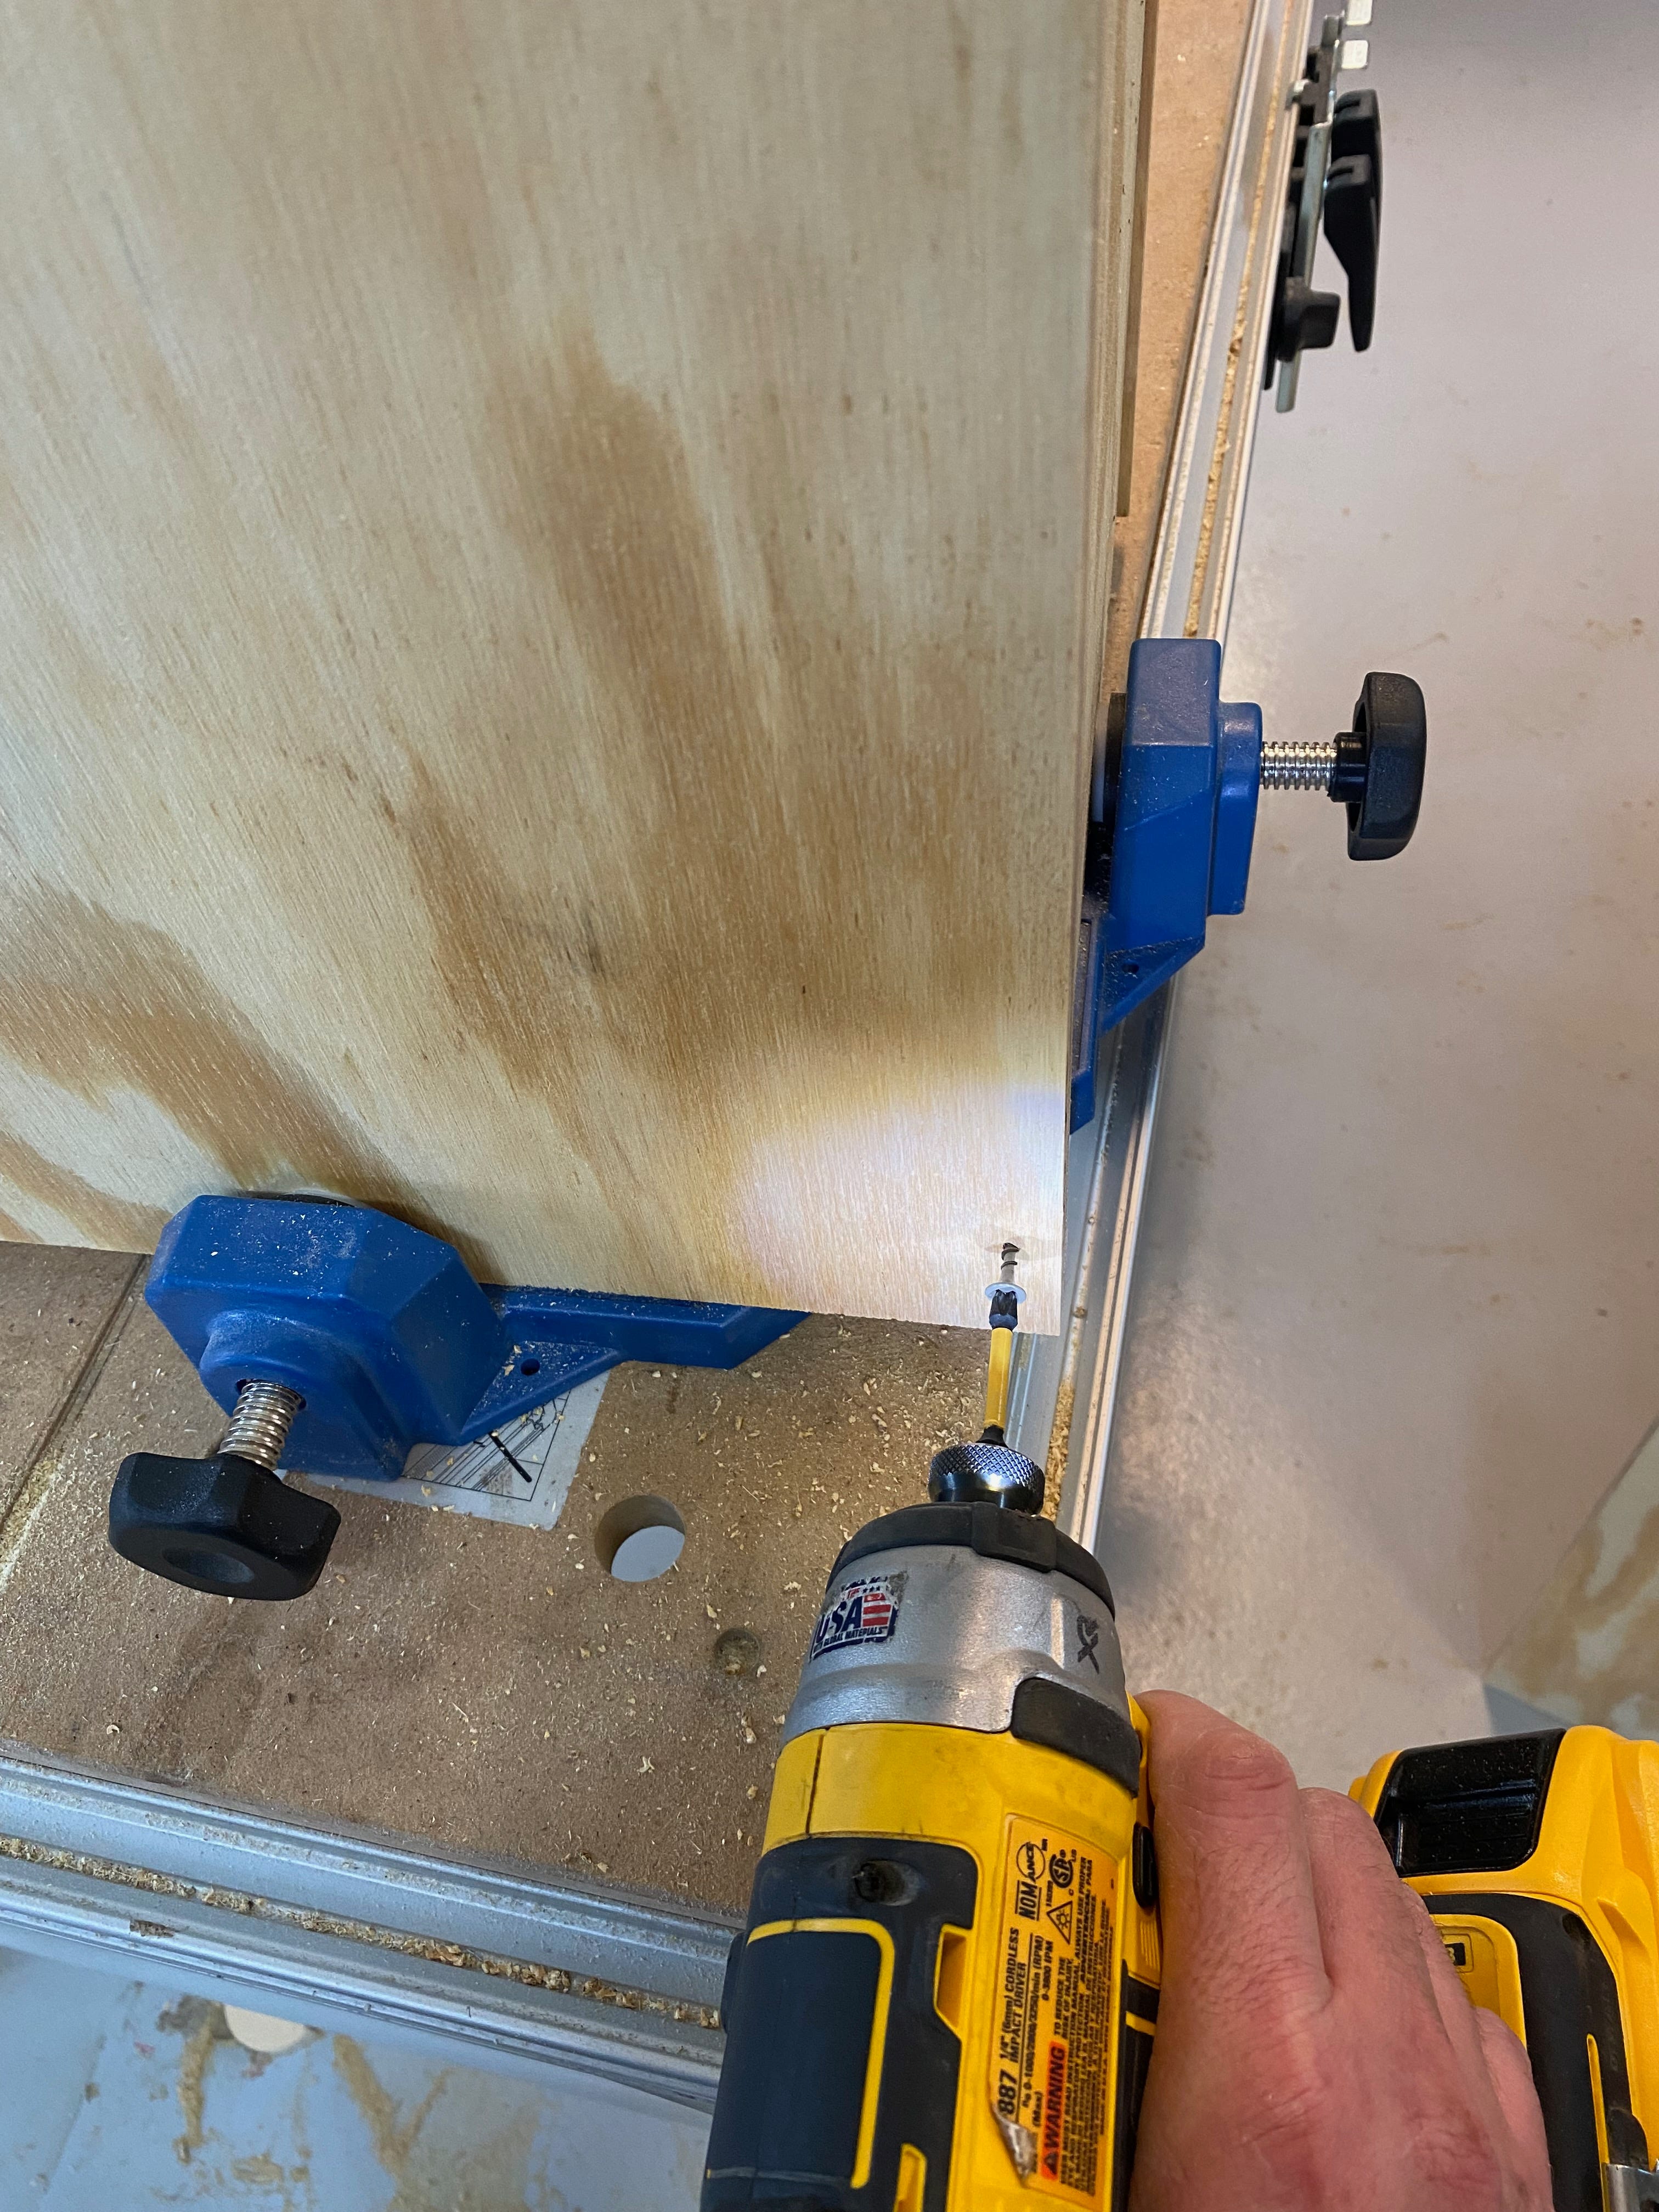
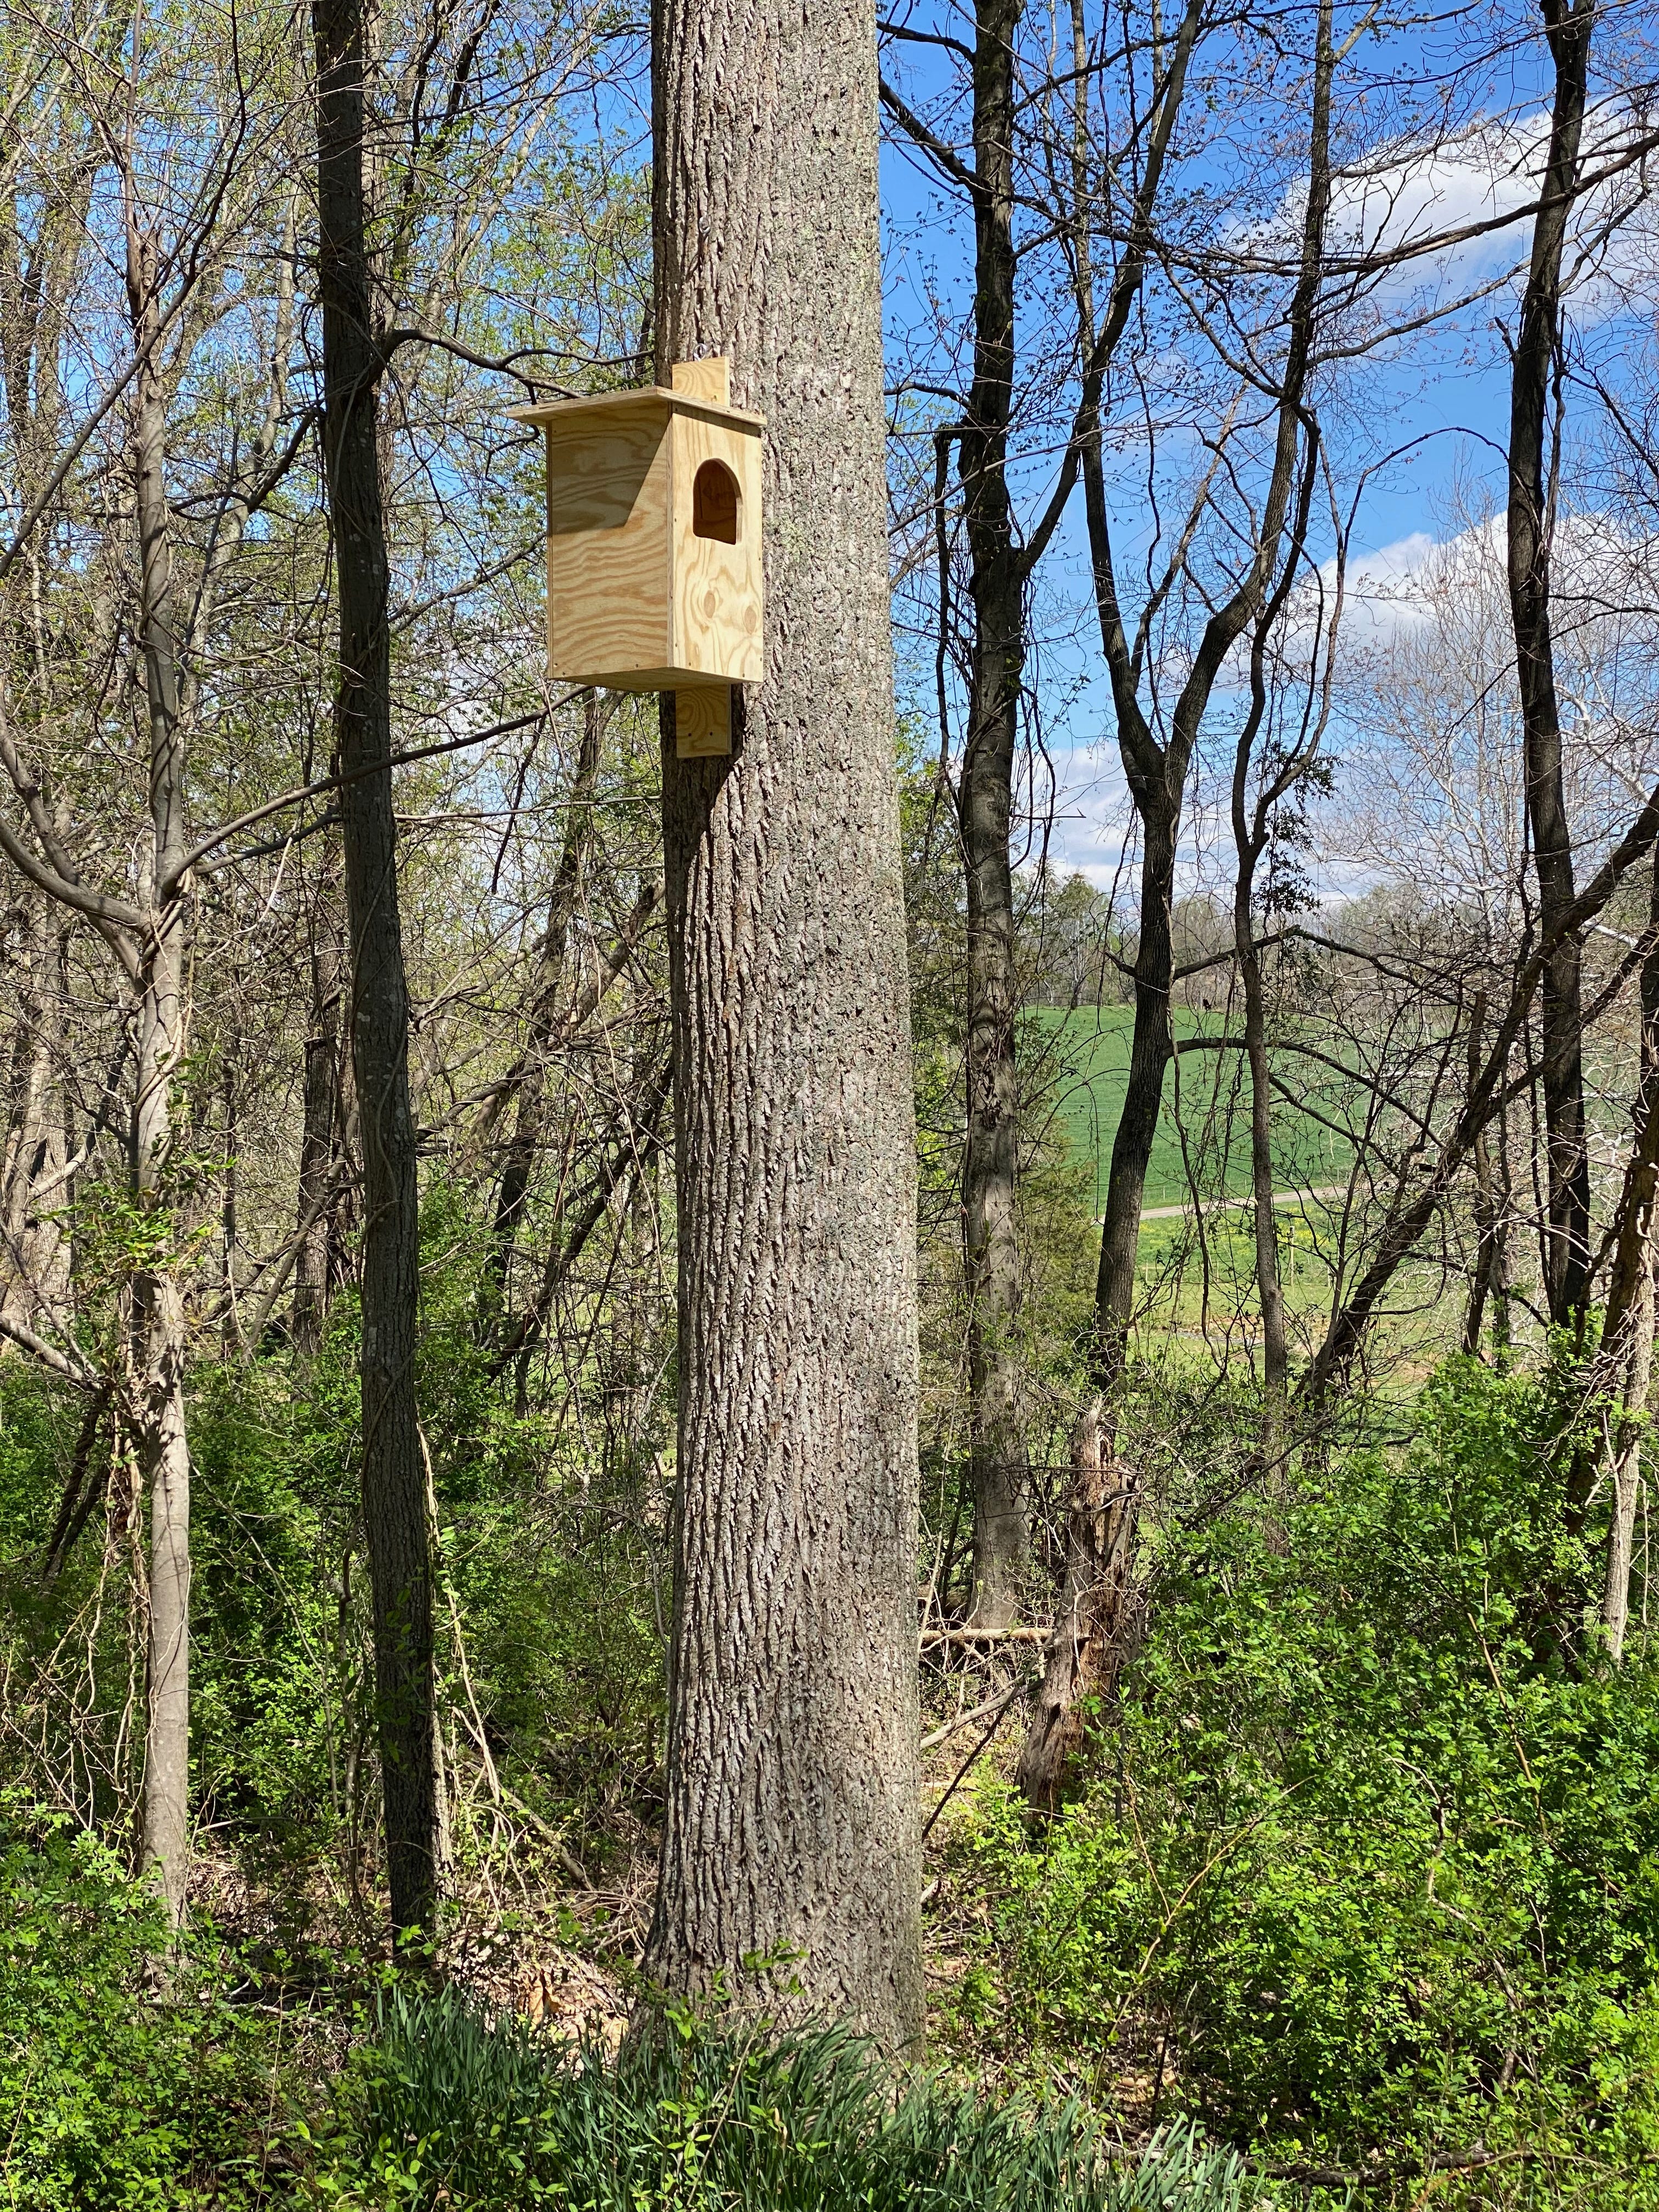
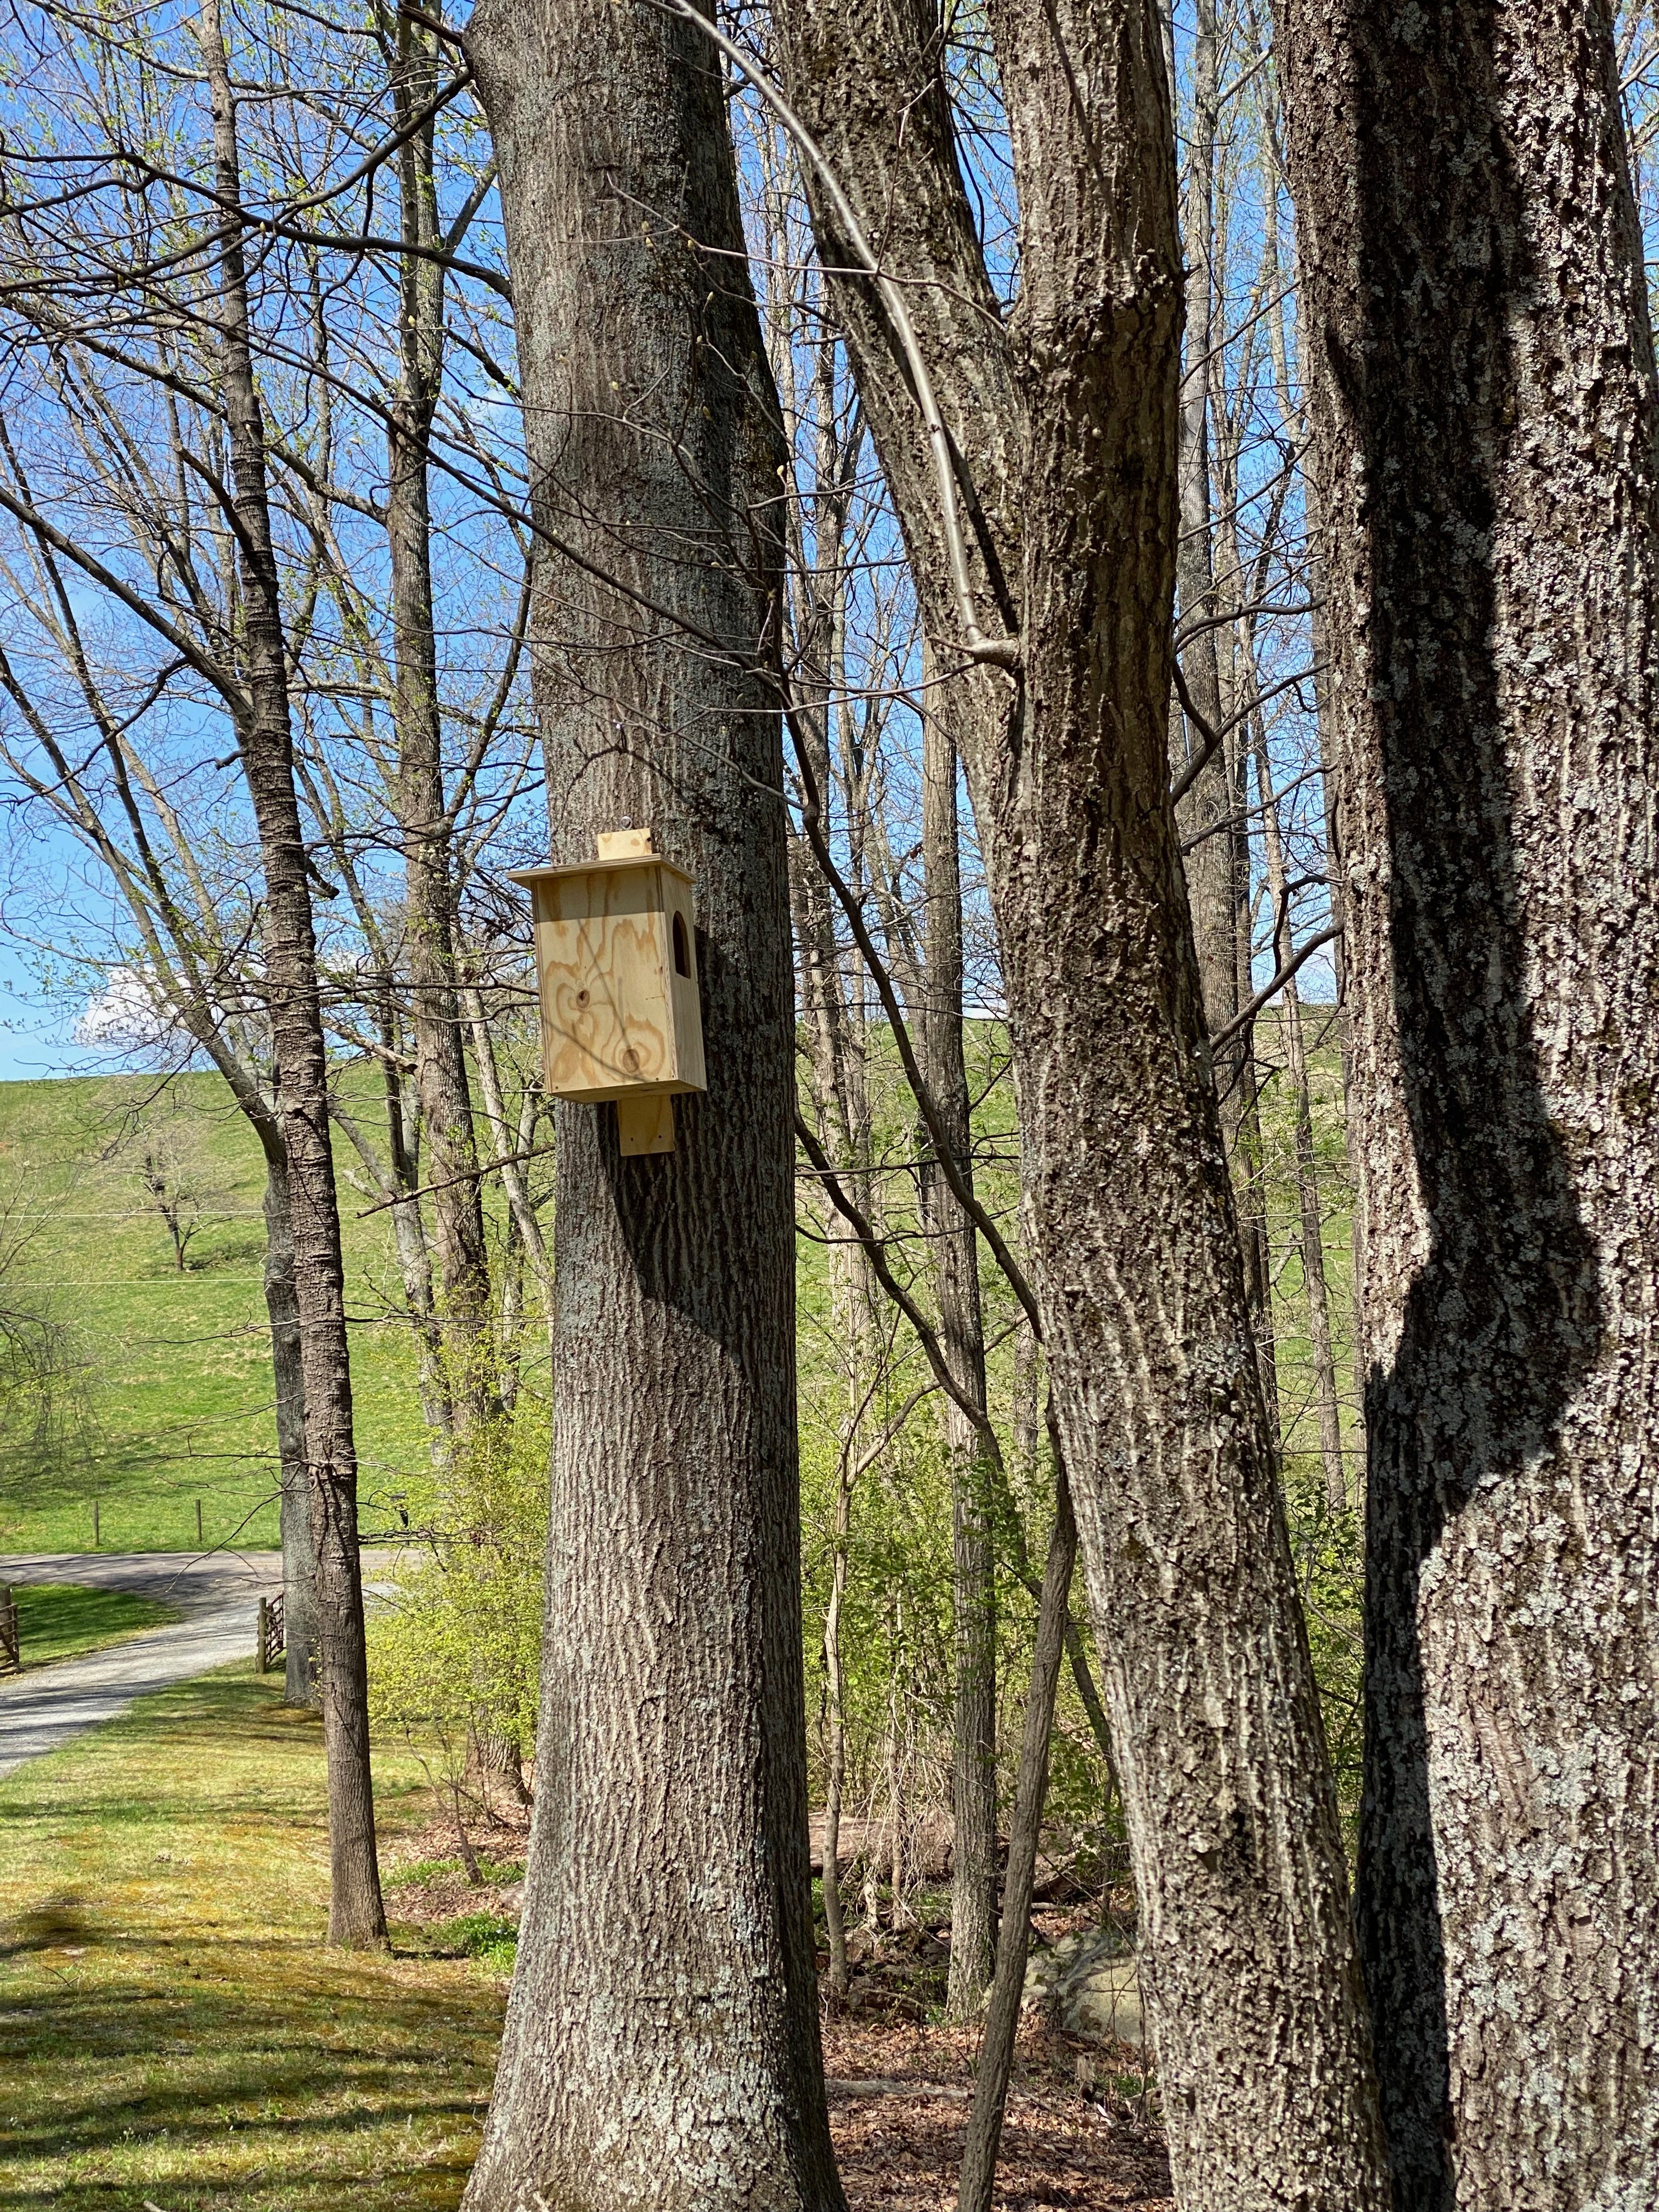
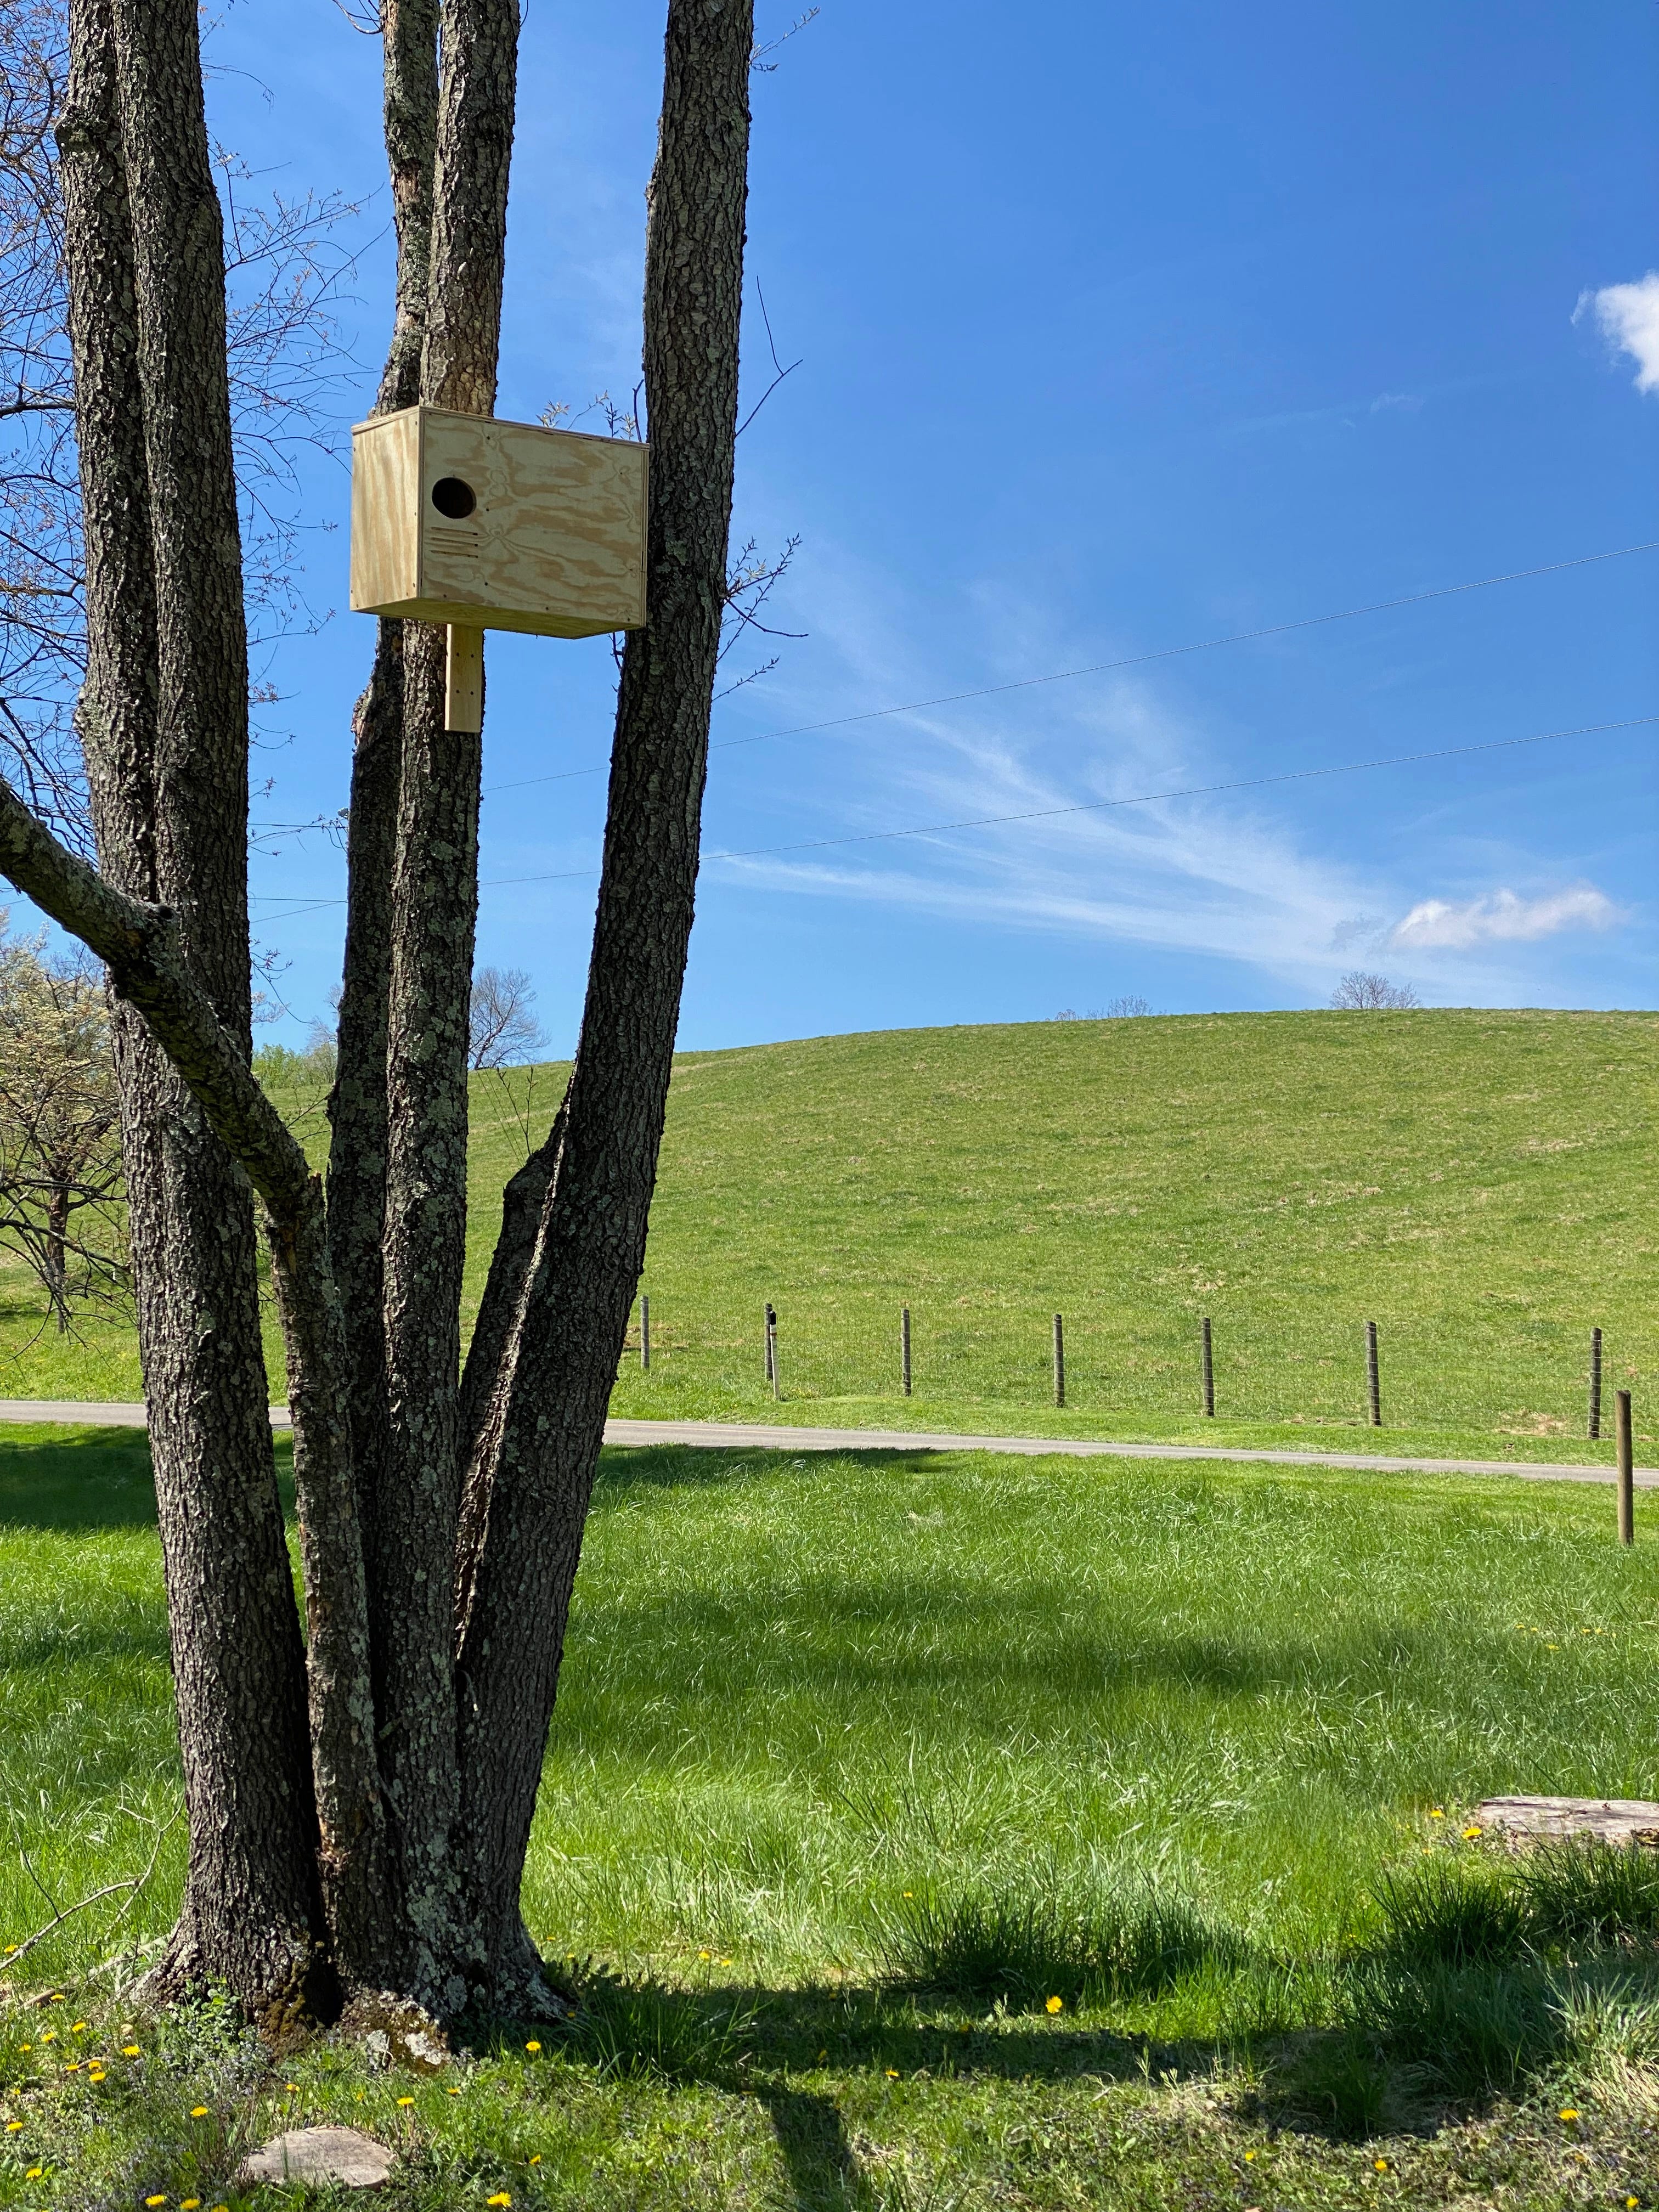
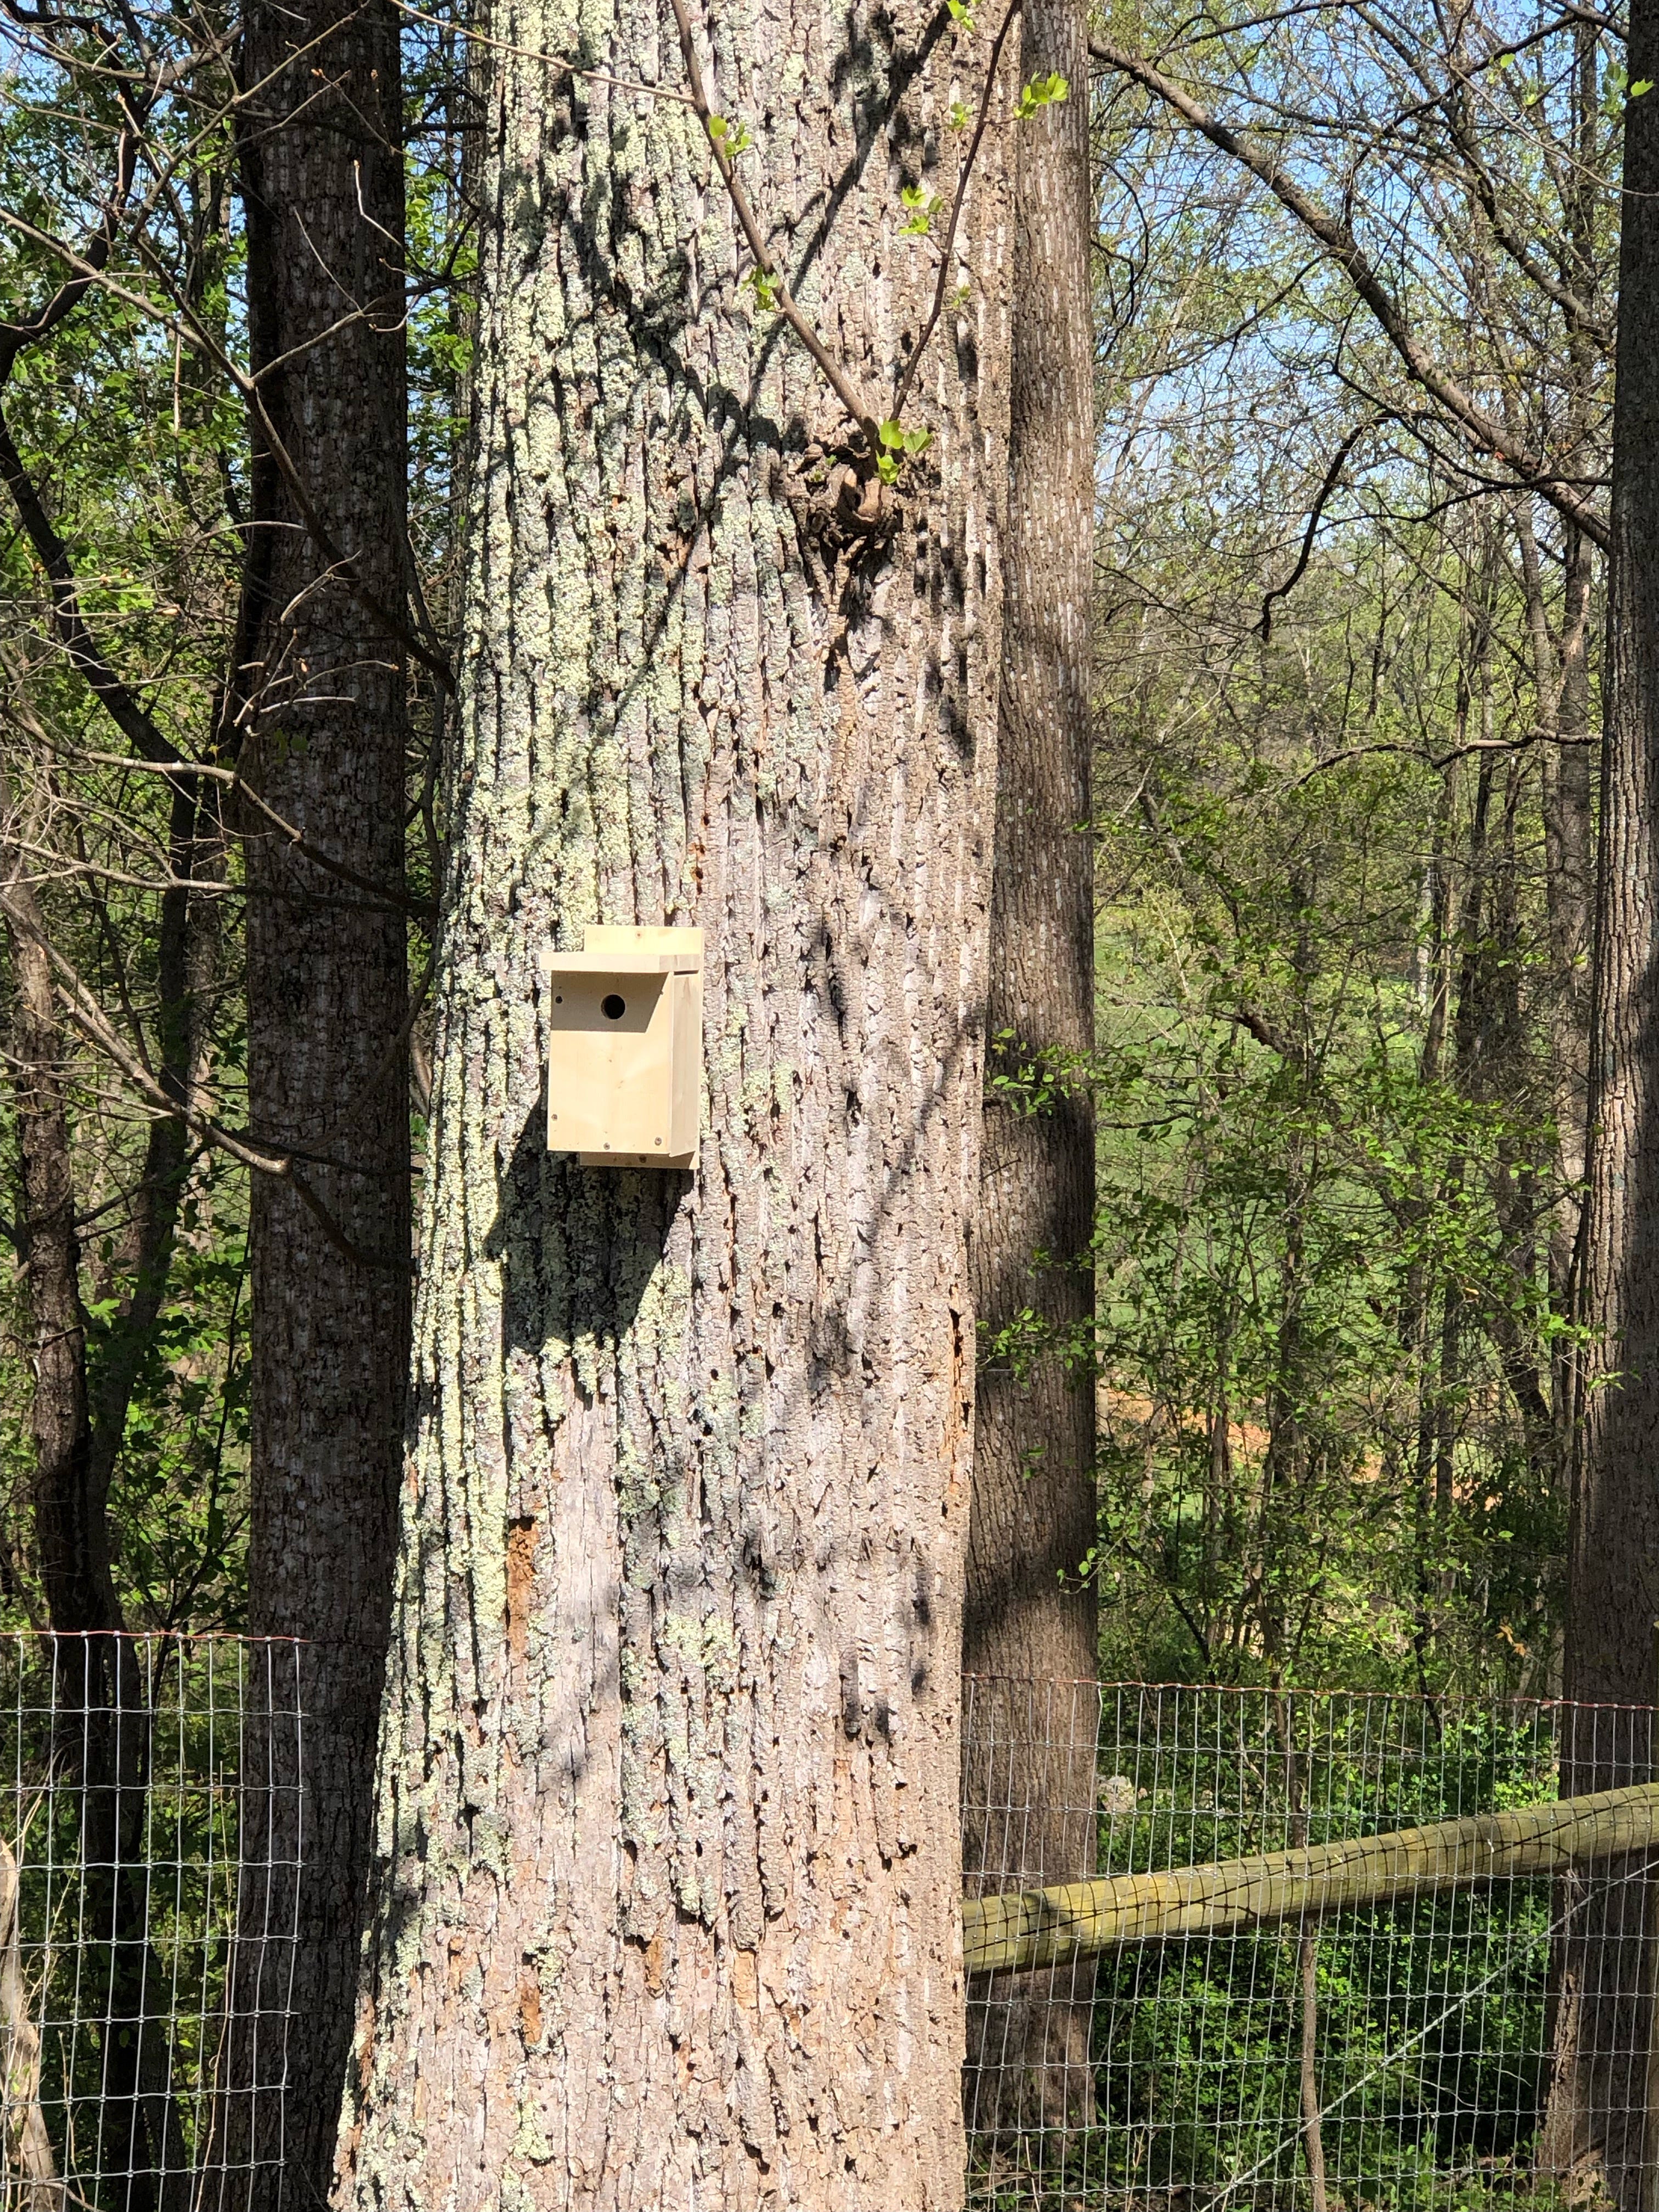
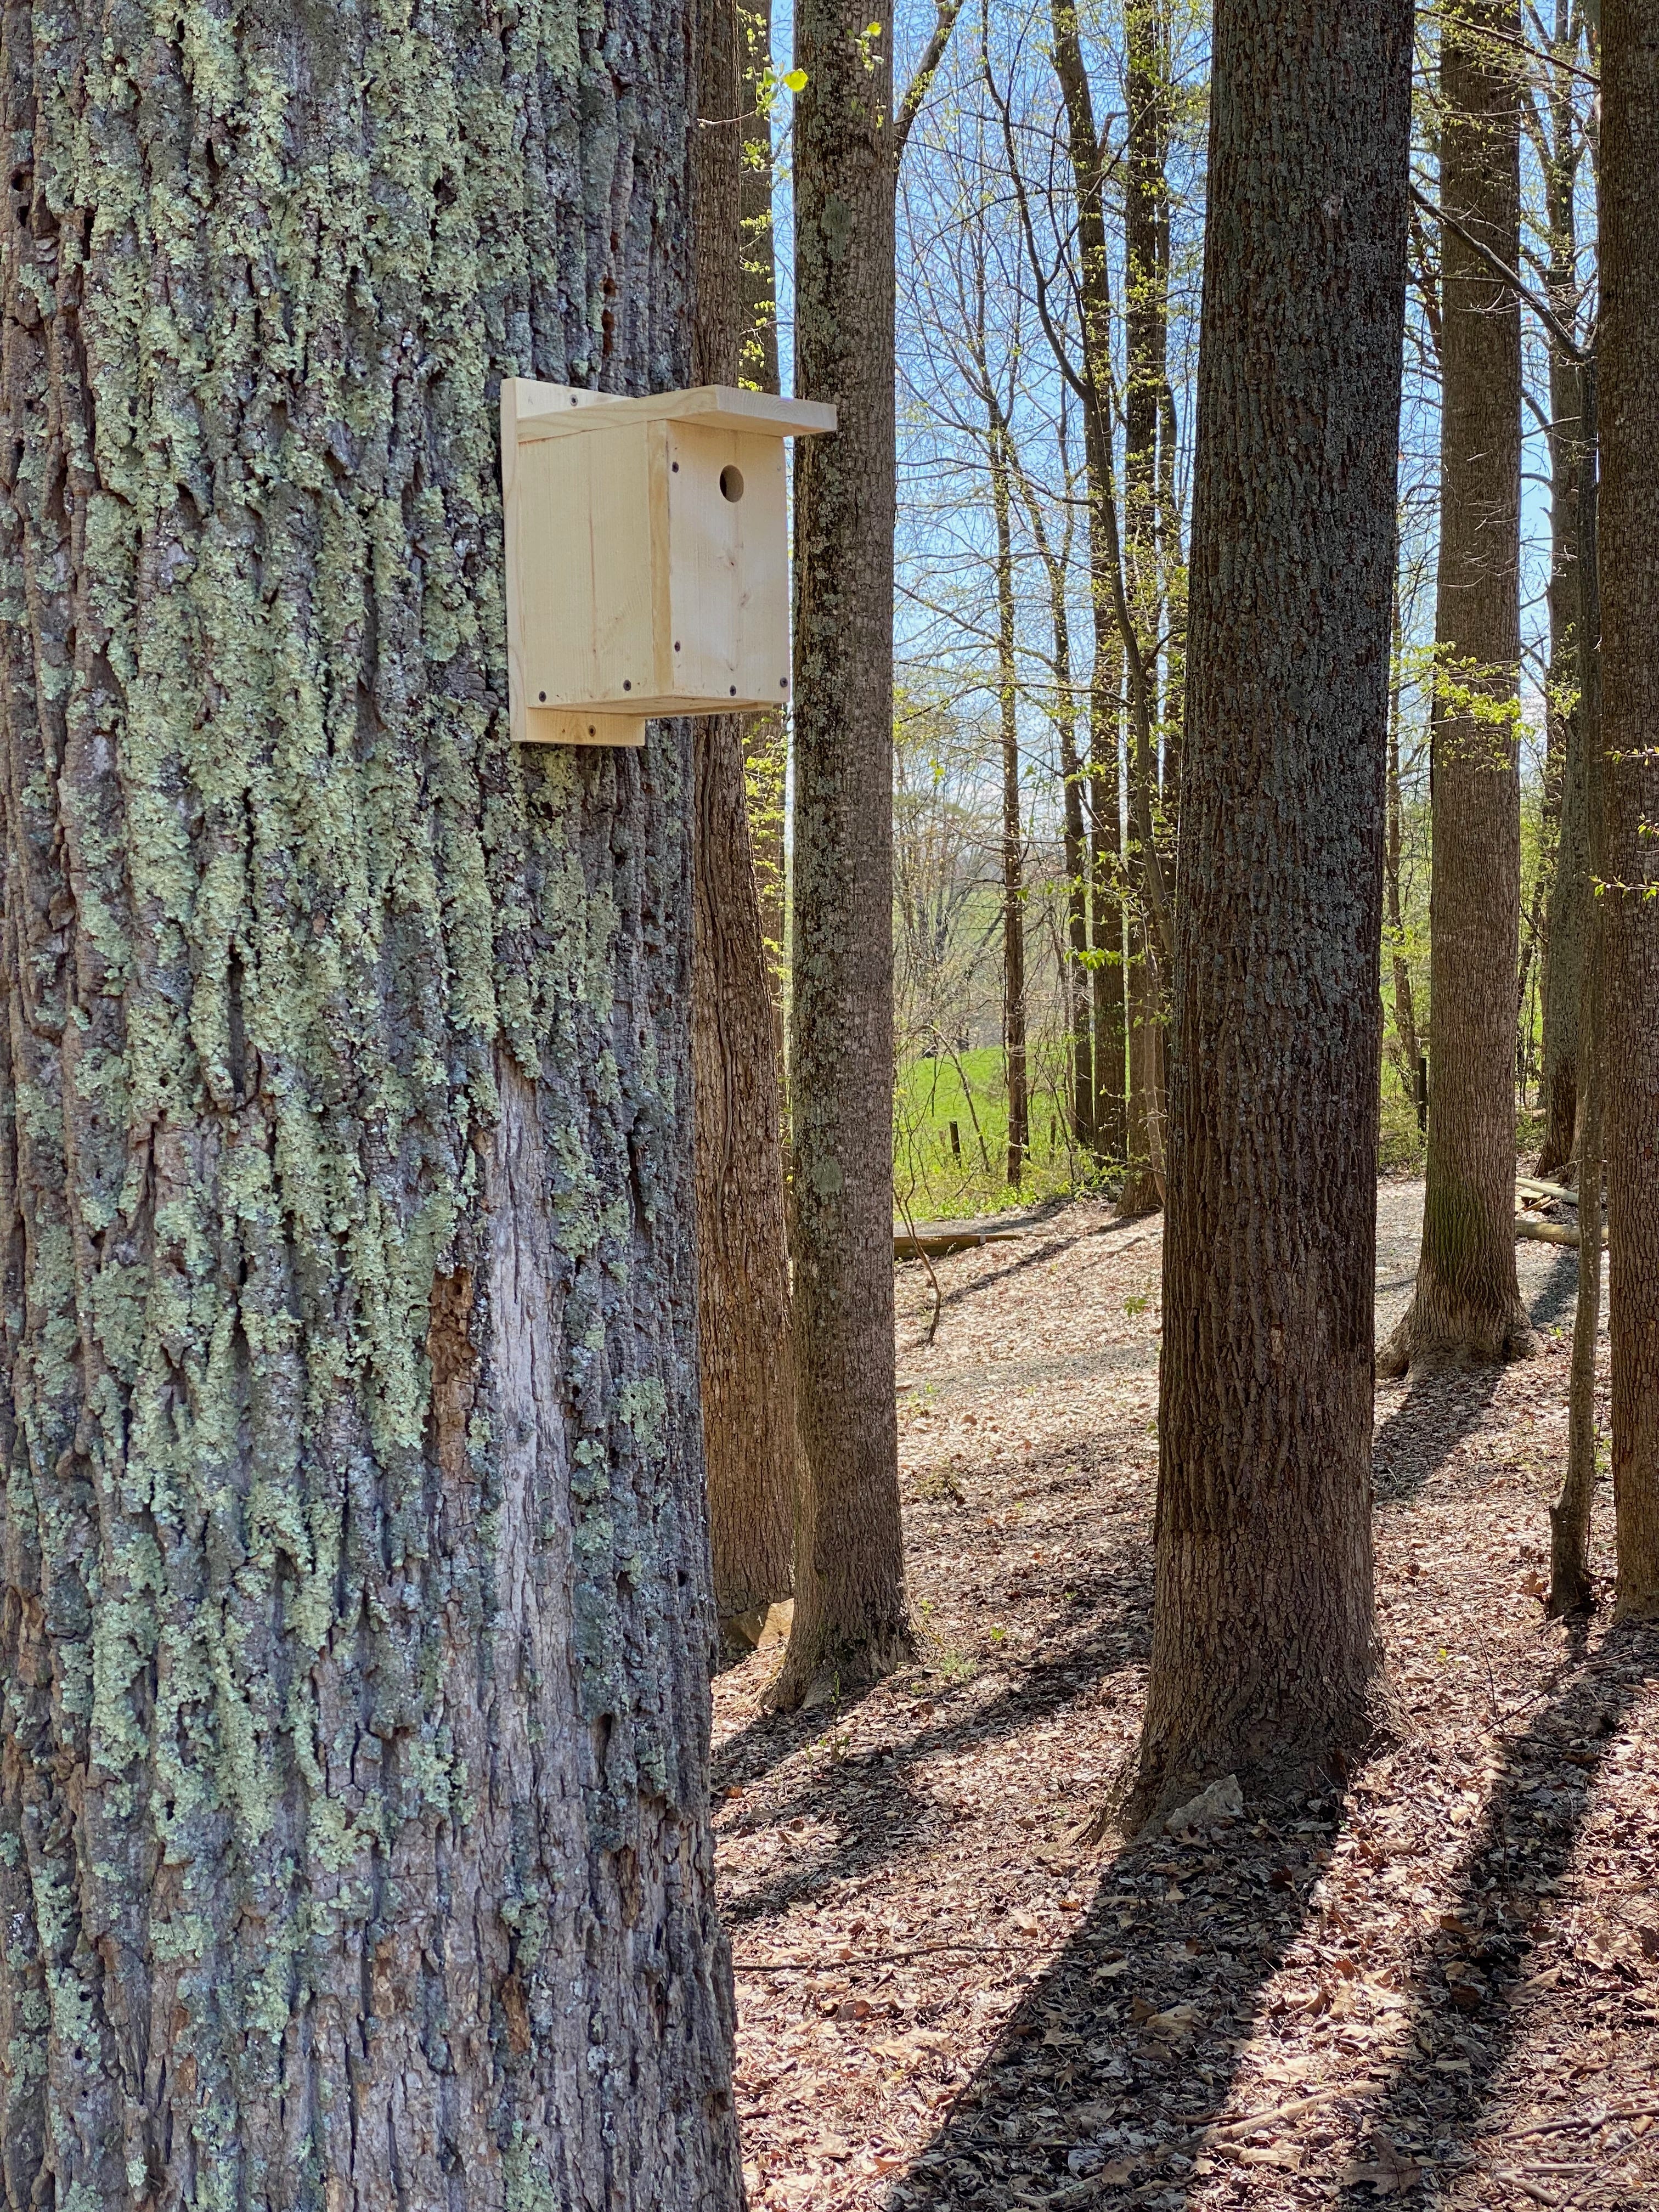
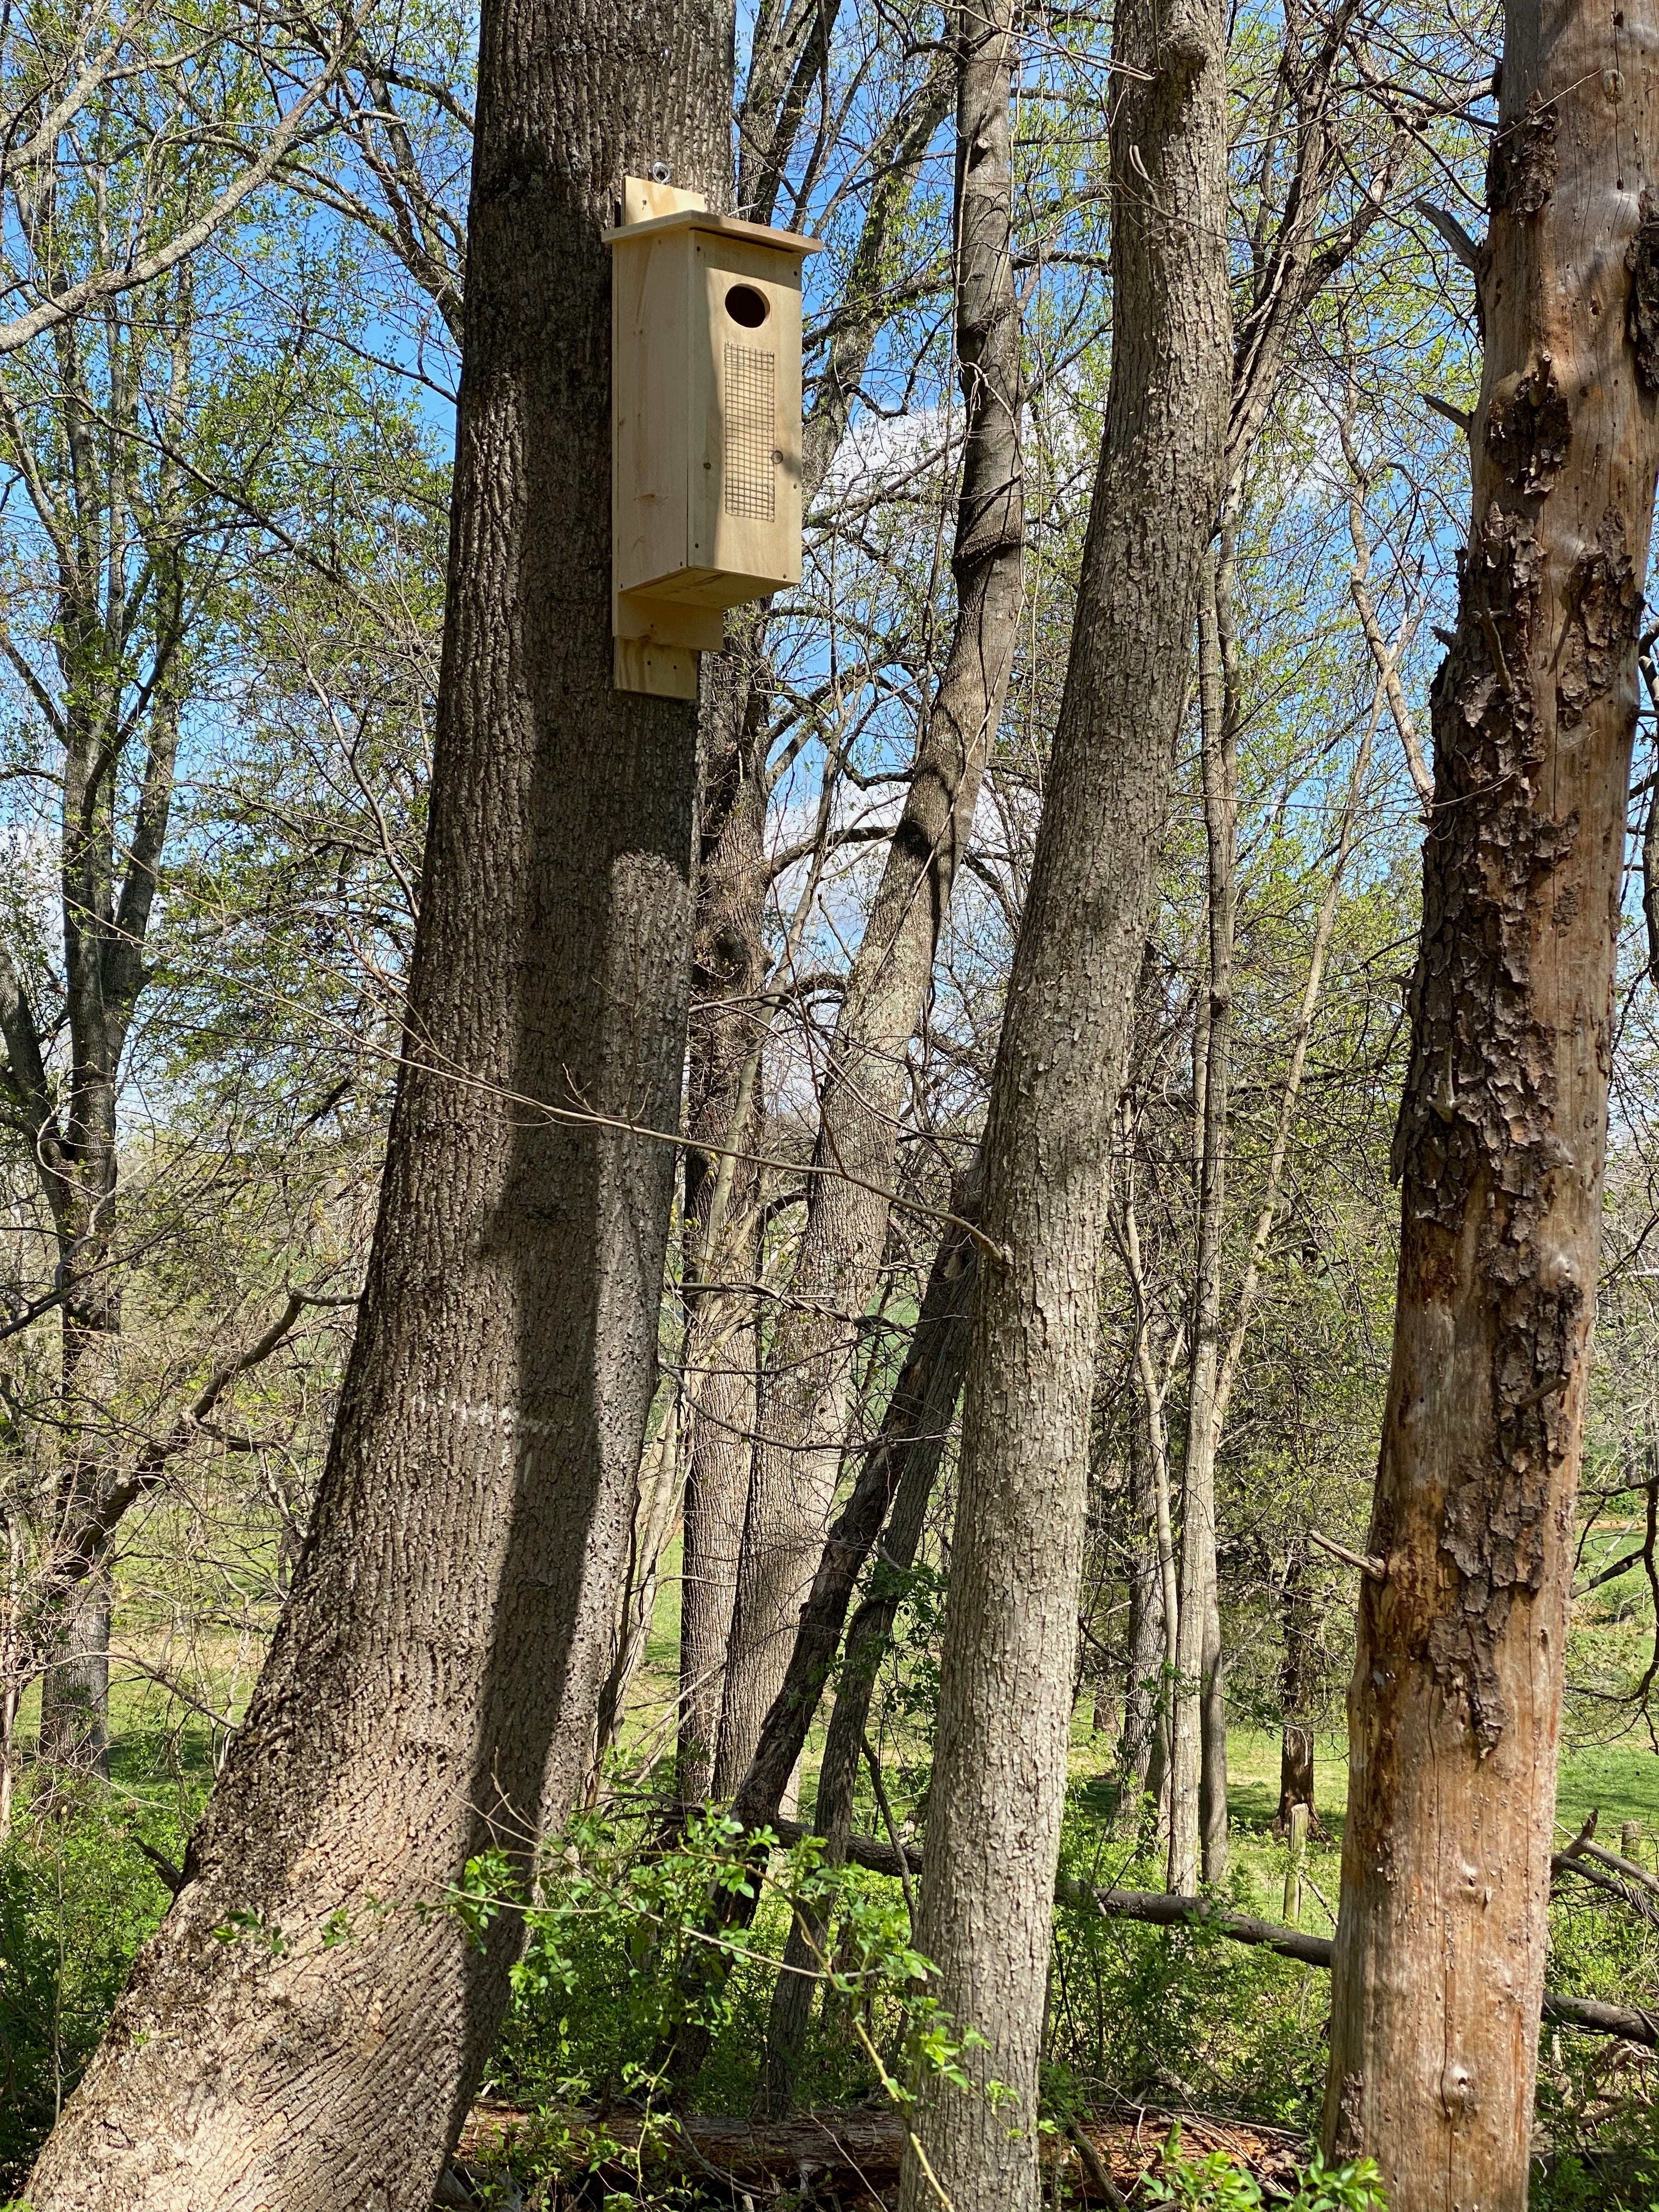
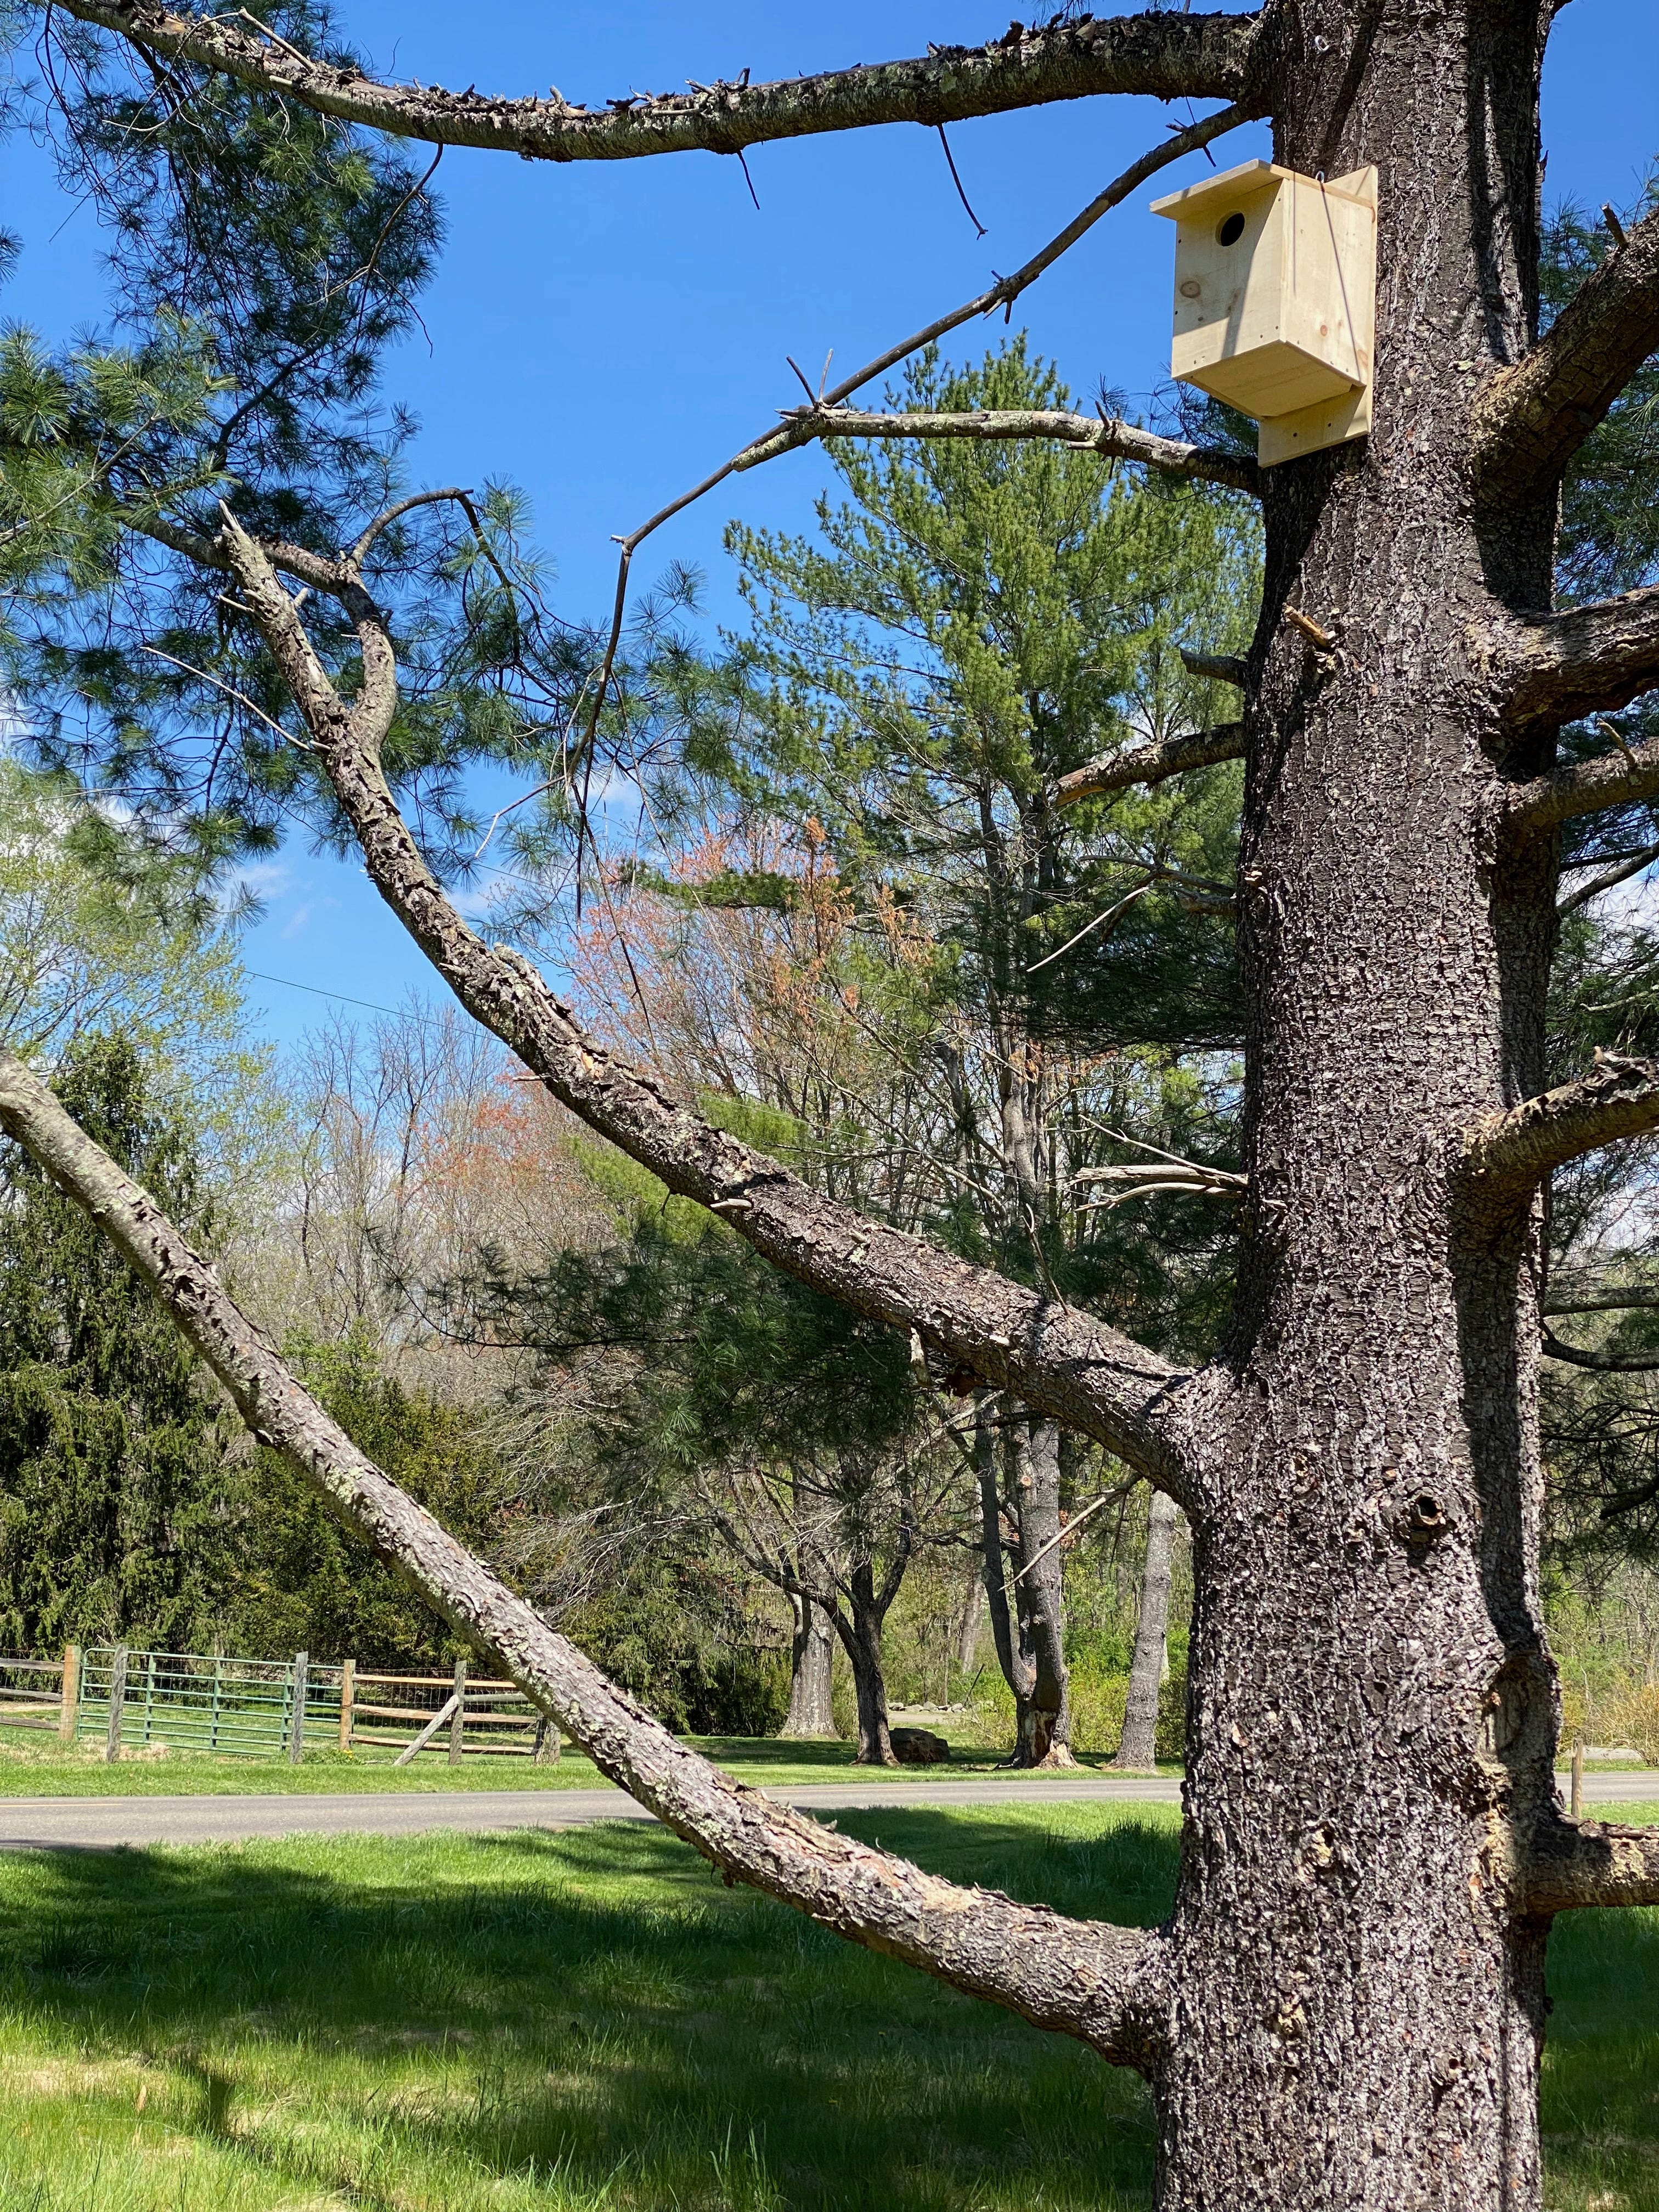
With the exception of the barn owl boxes, all of the birdhouses follow a similar design pattern. The floor has air-flow/drainage holes in it. The front has a hole sized specifically for the desired species (1-½ inches for eastern bluebirds, for example; 4 inches for pileated woodpeckers; oval shape for the hooded merganser; 7 inches for barred owls; etc.). A backing board has room for mounting screws above and below the box. And one side is made to swing open so that the box can be cleaned each season.
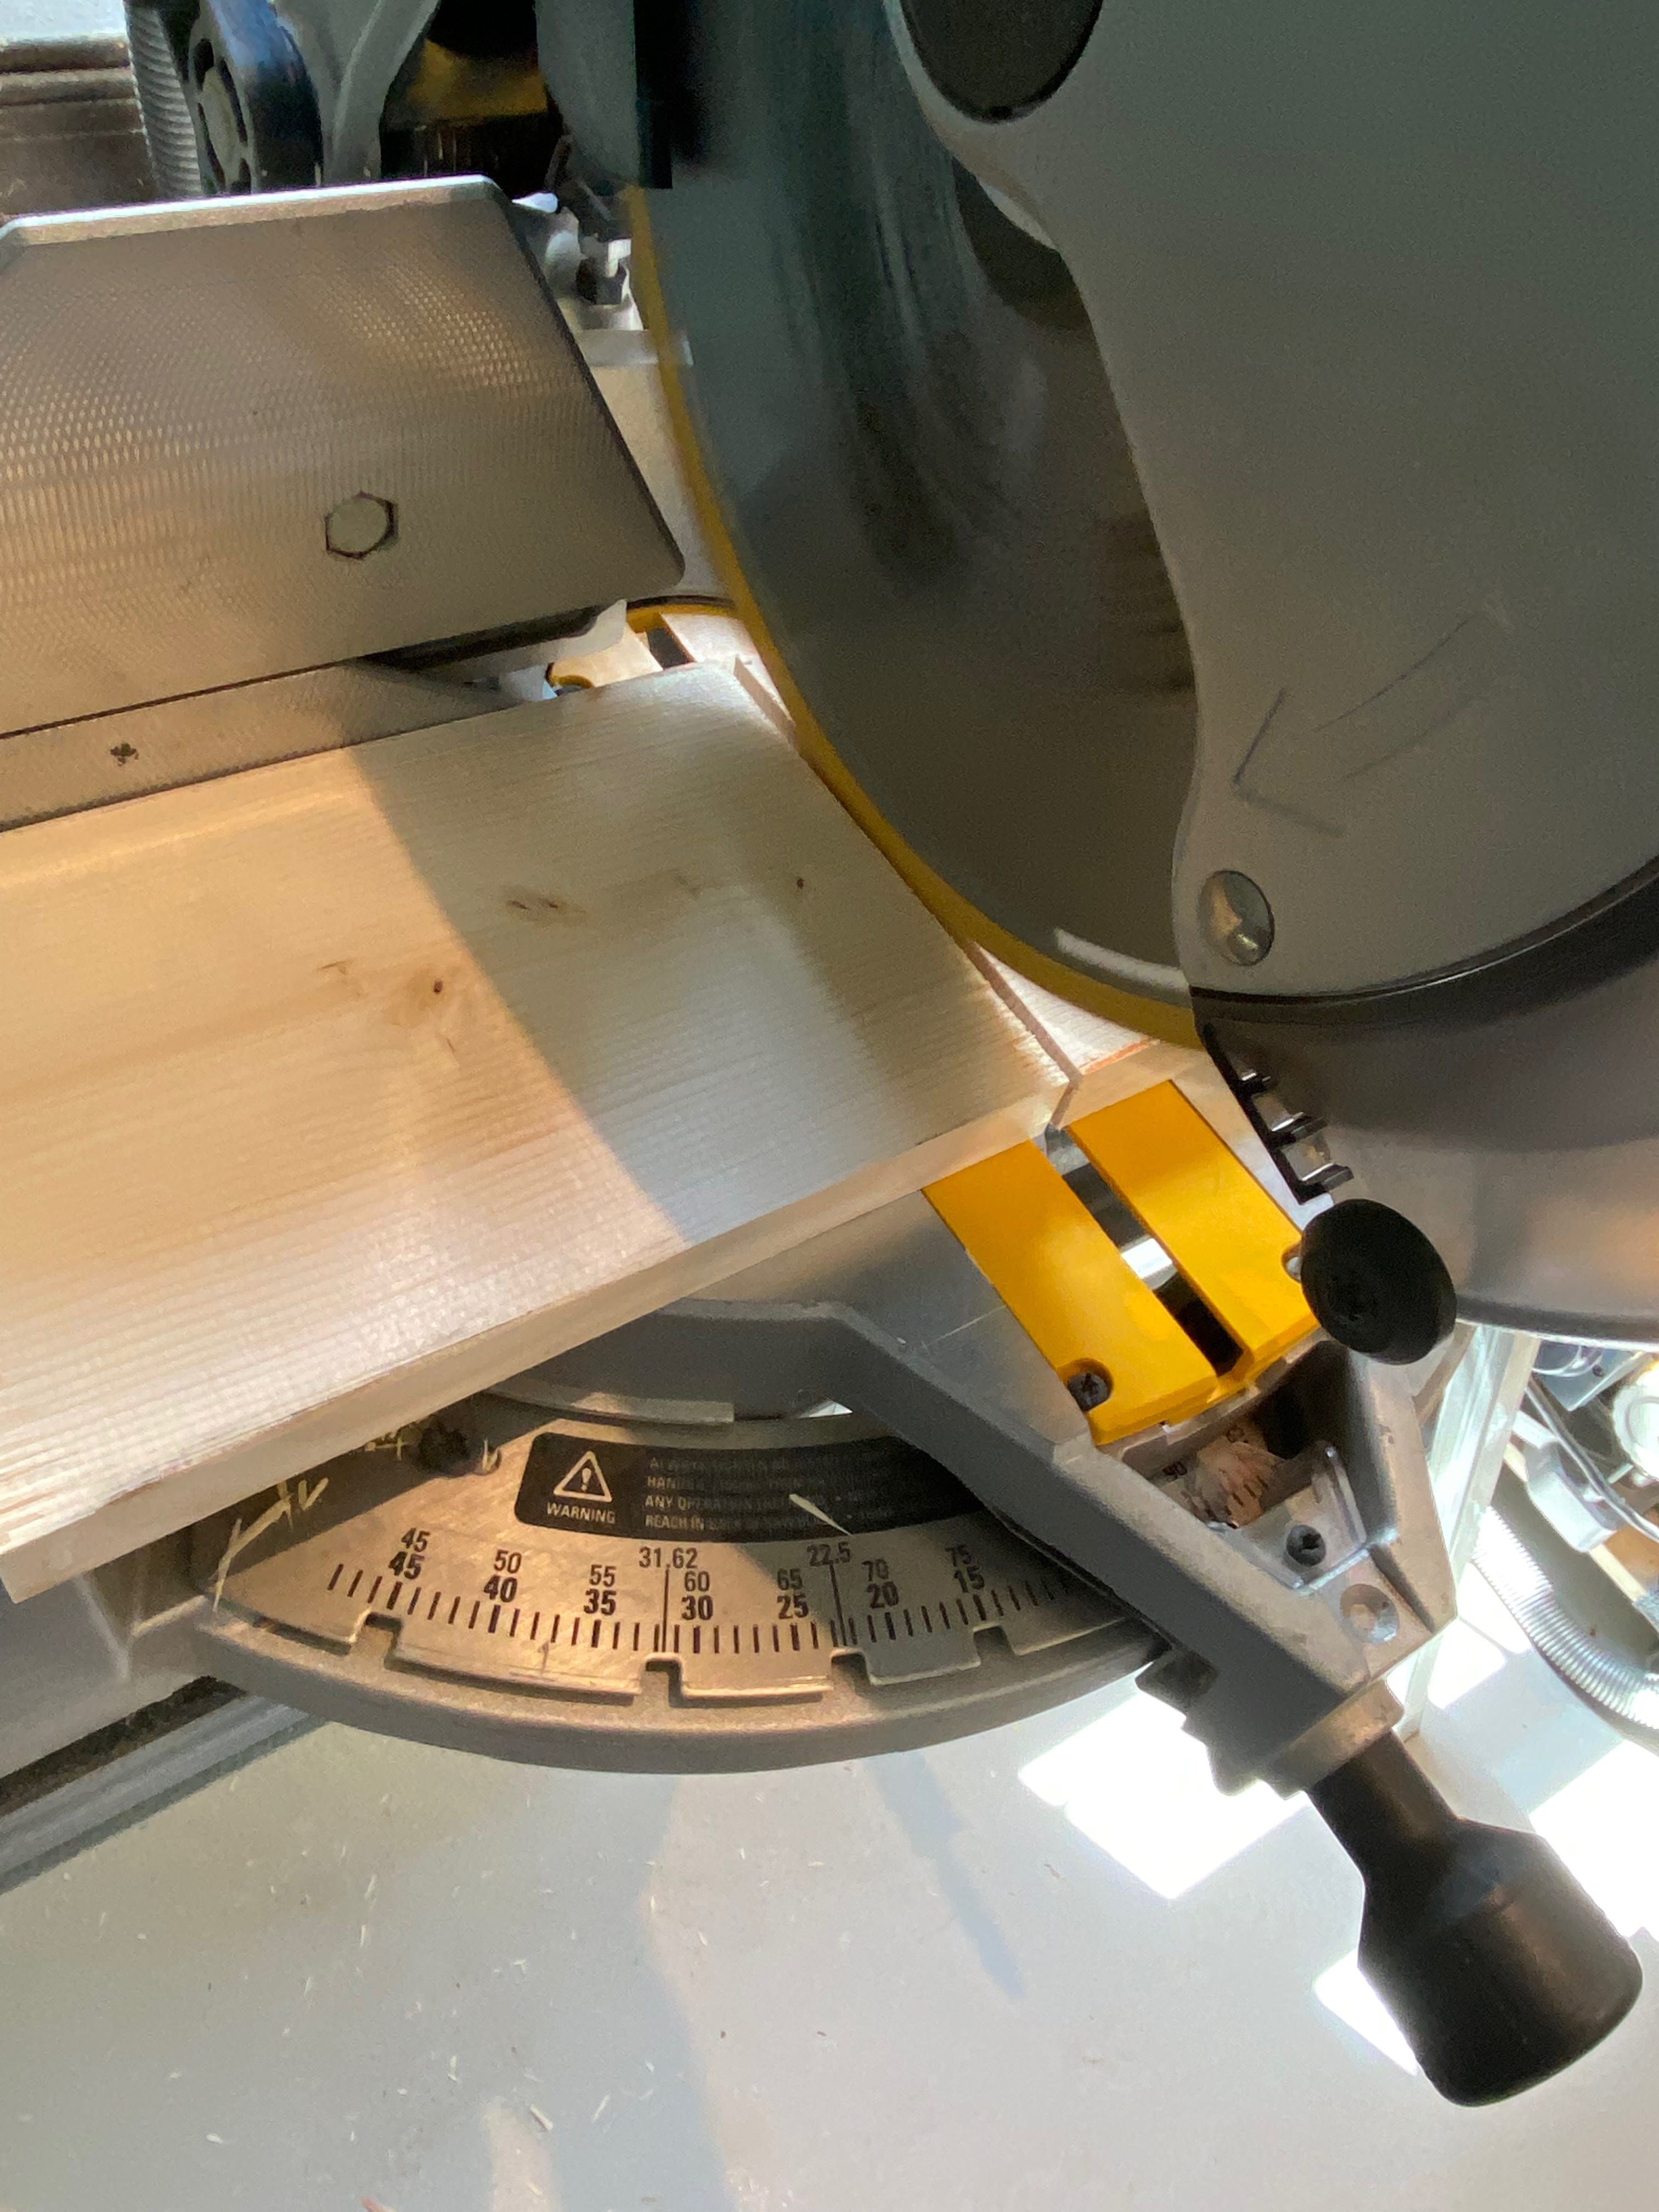
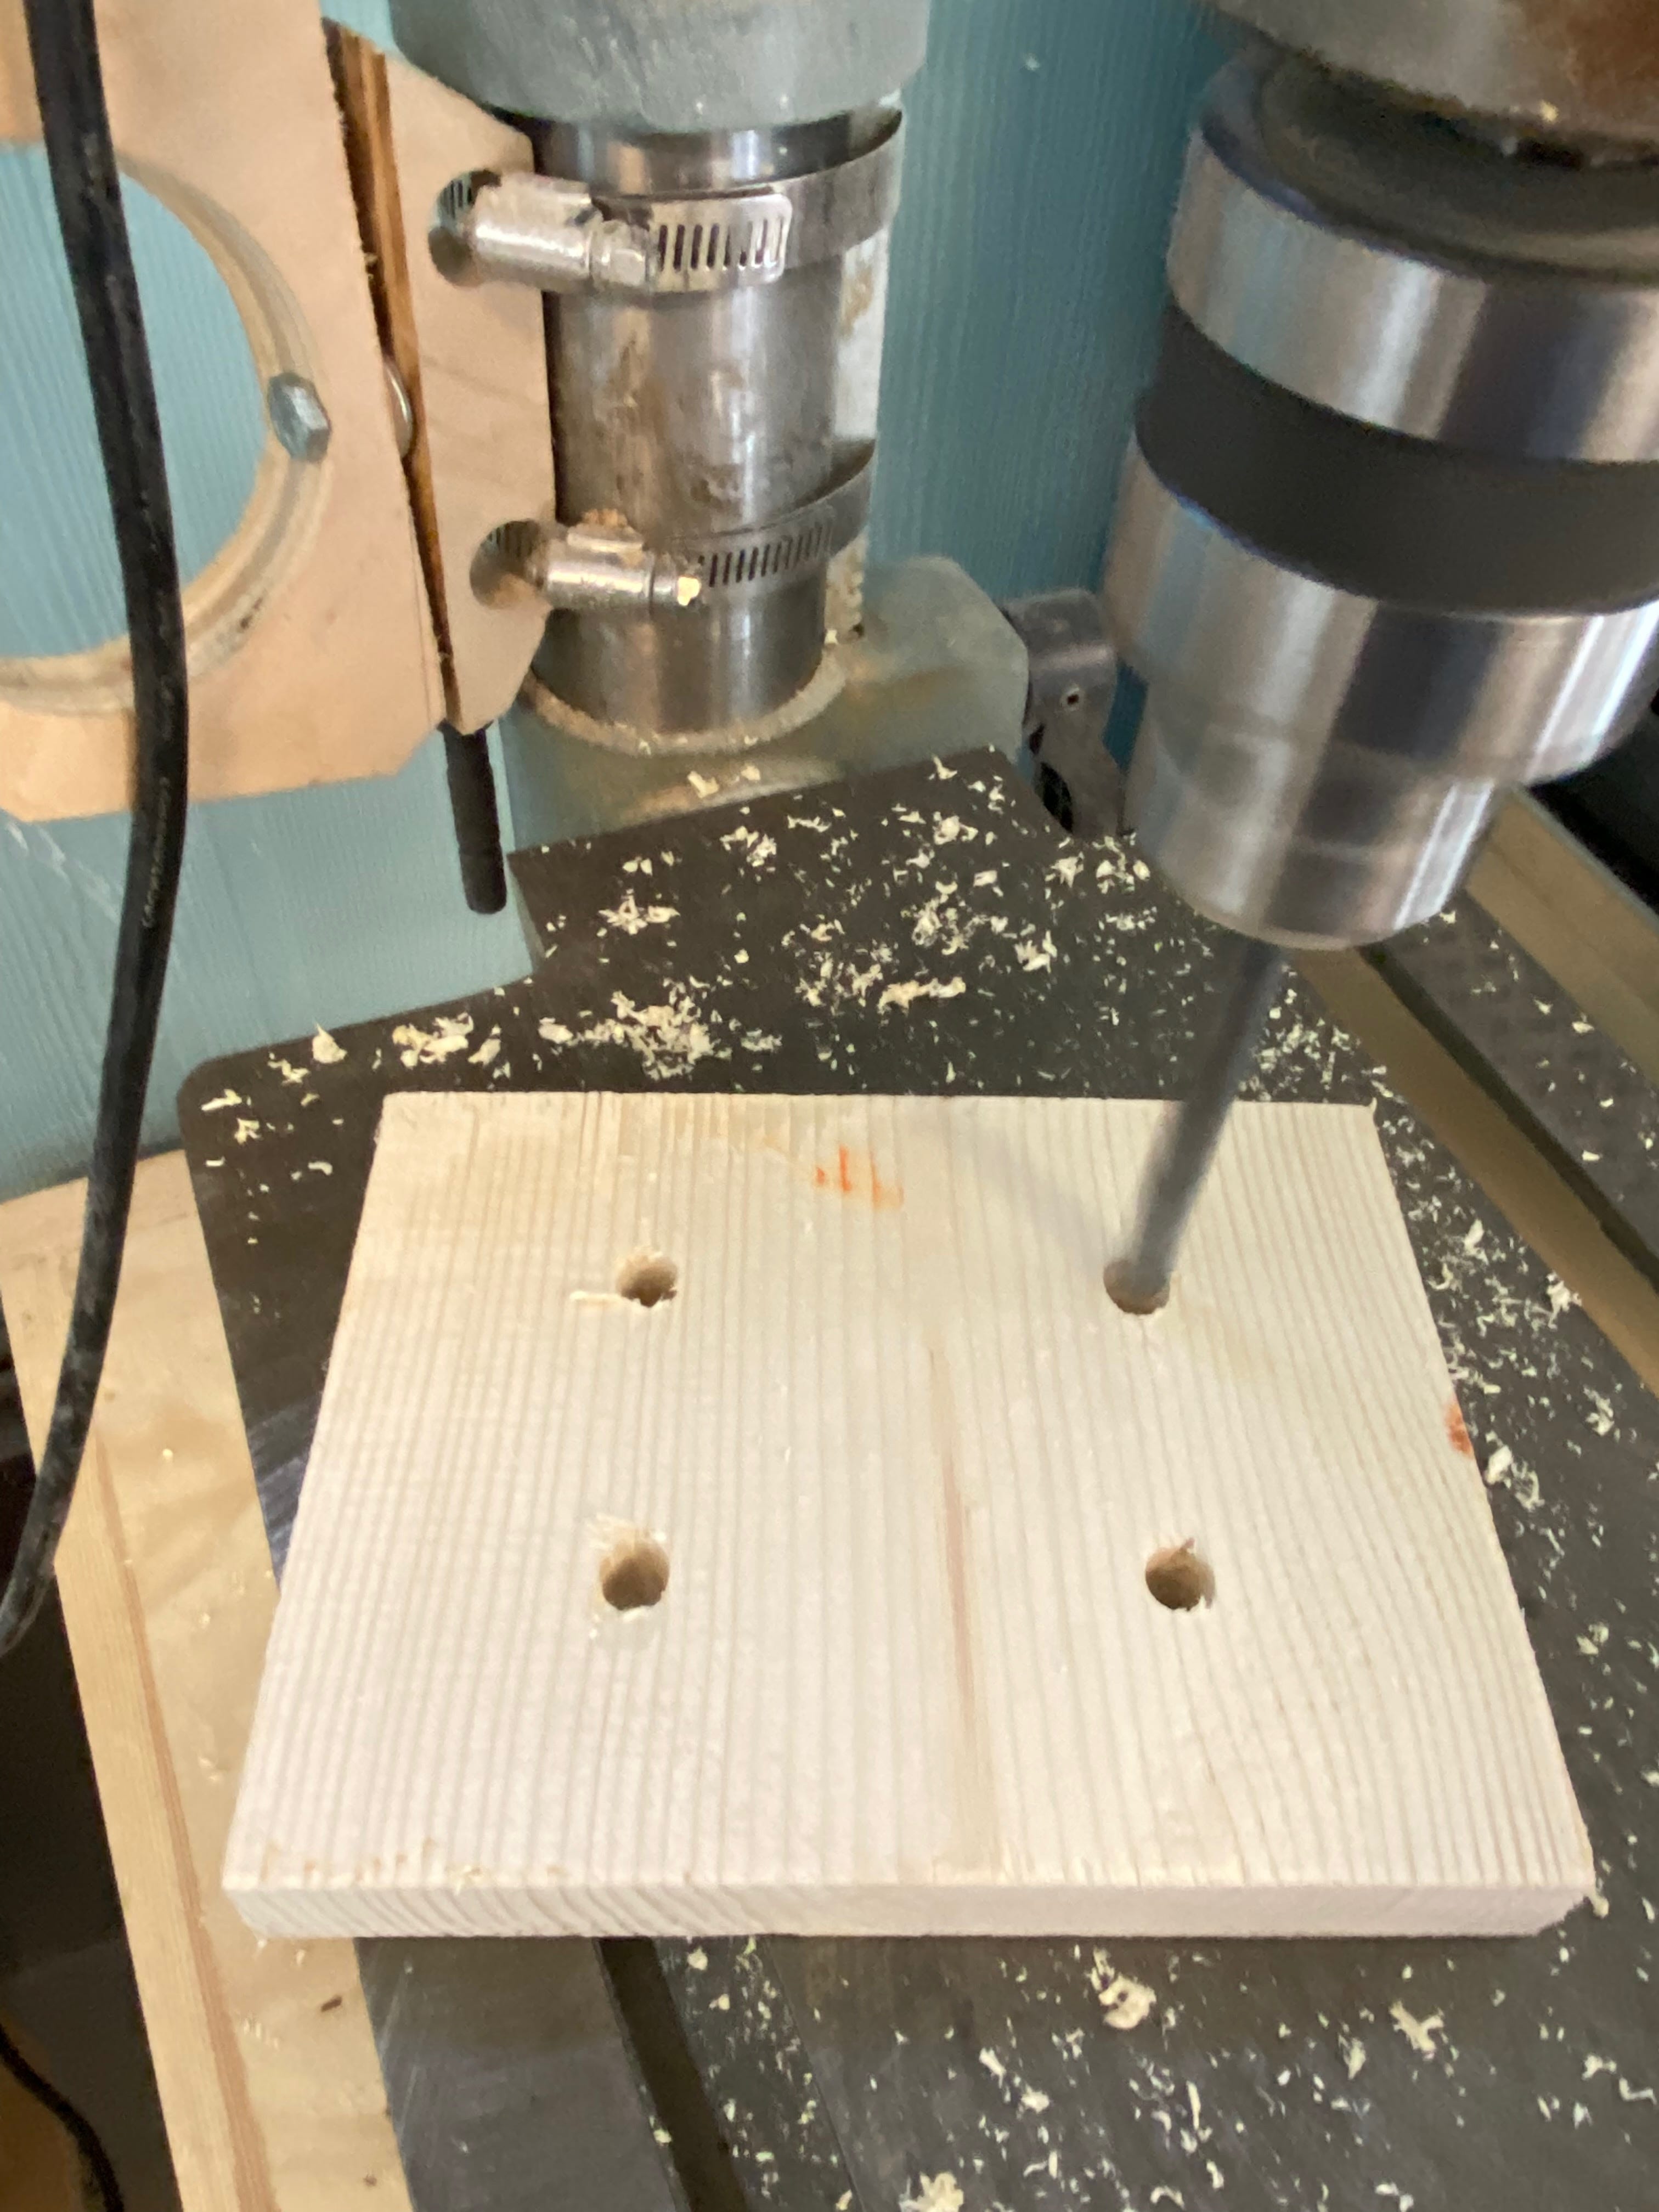
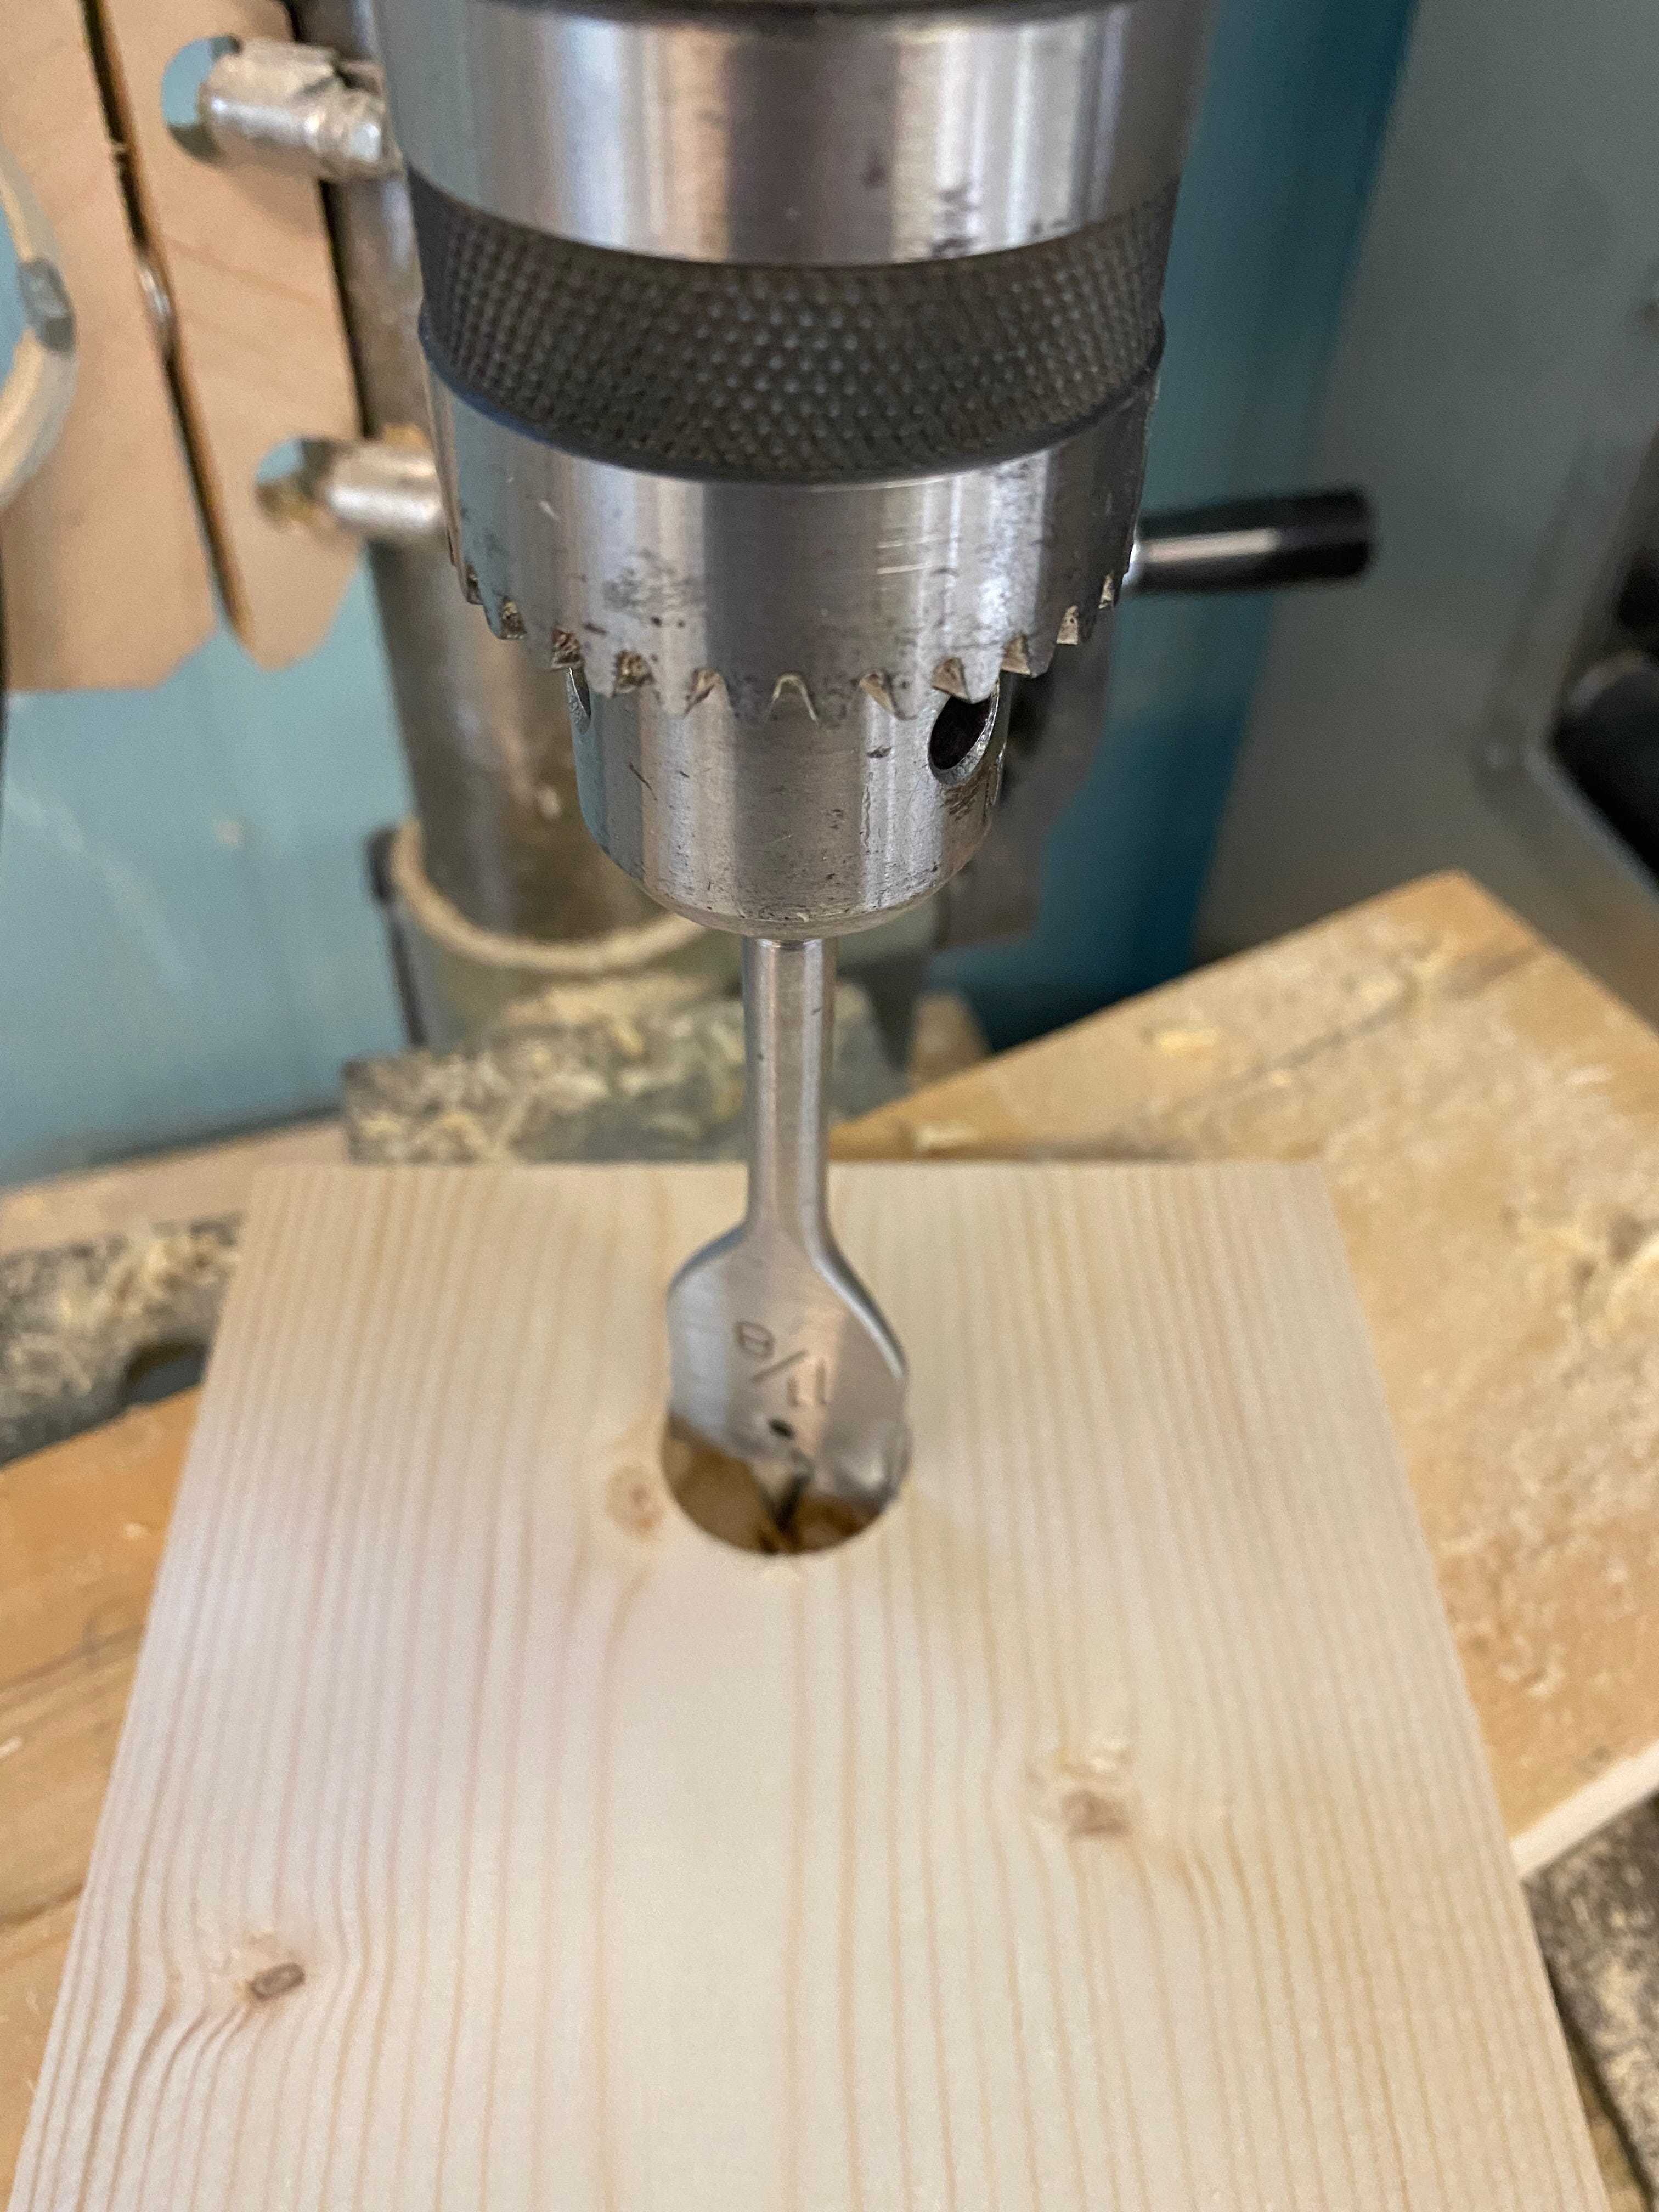
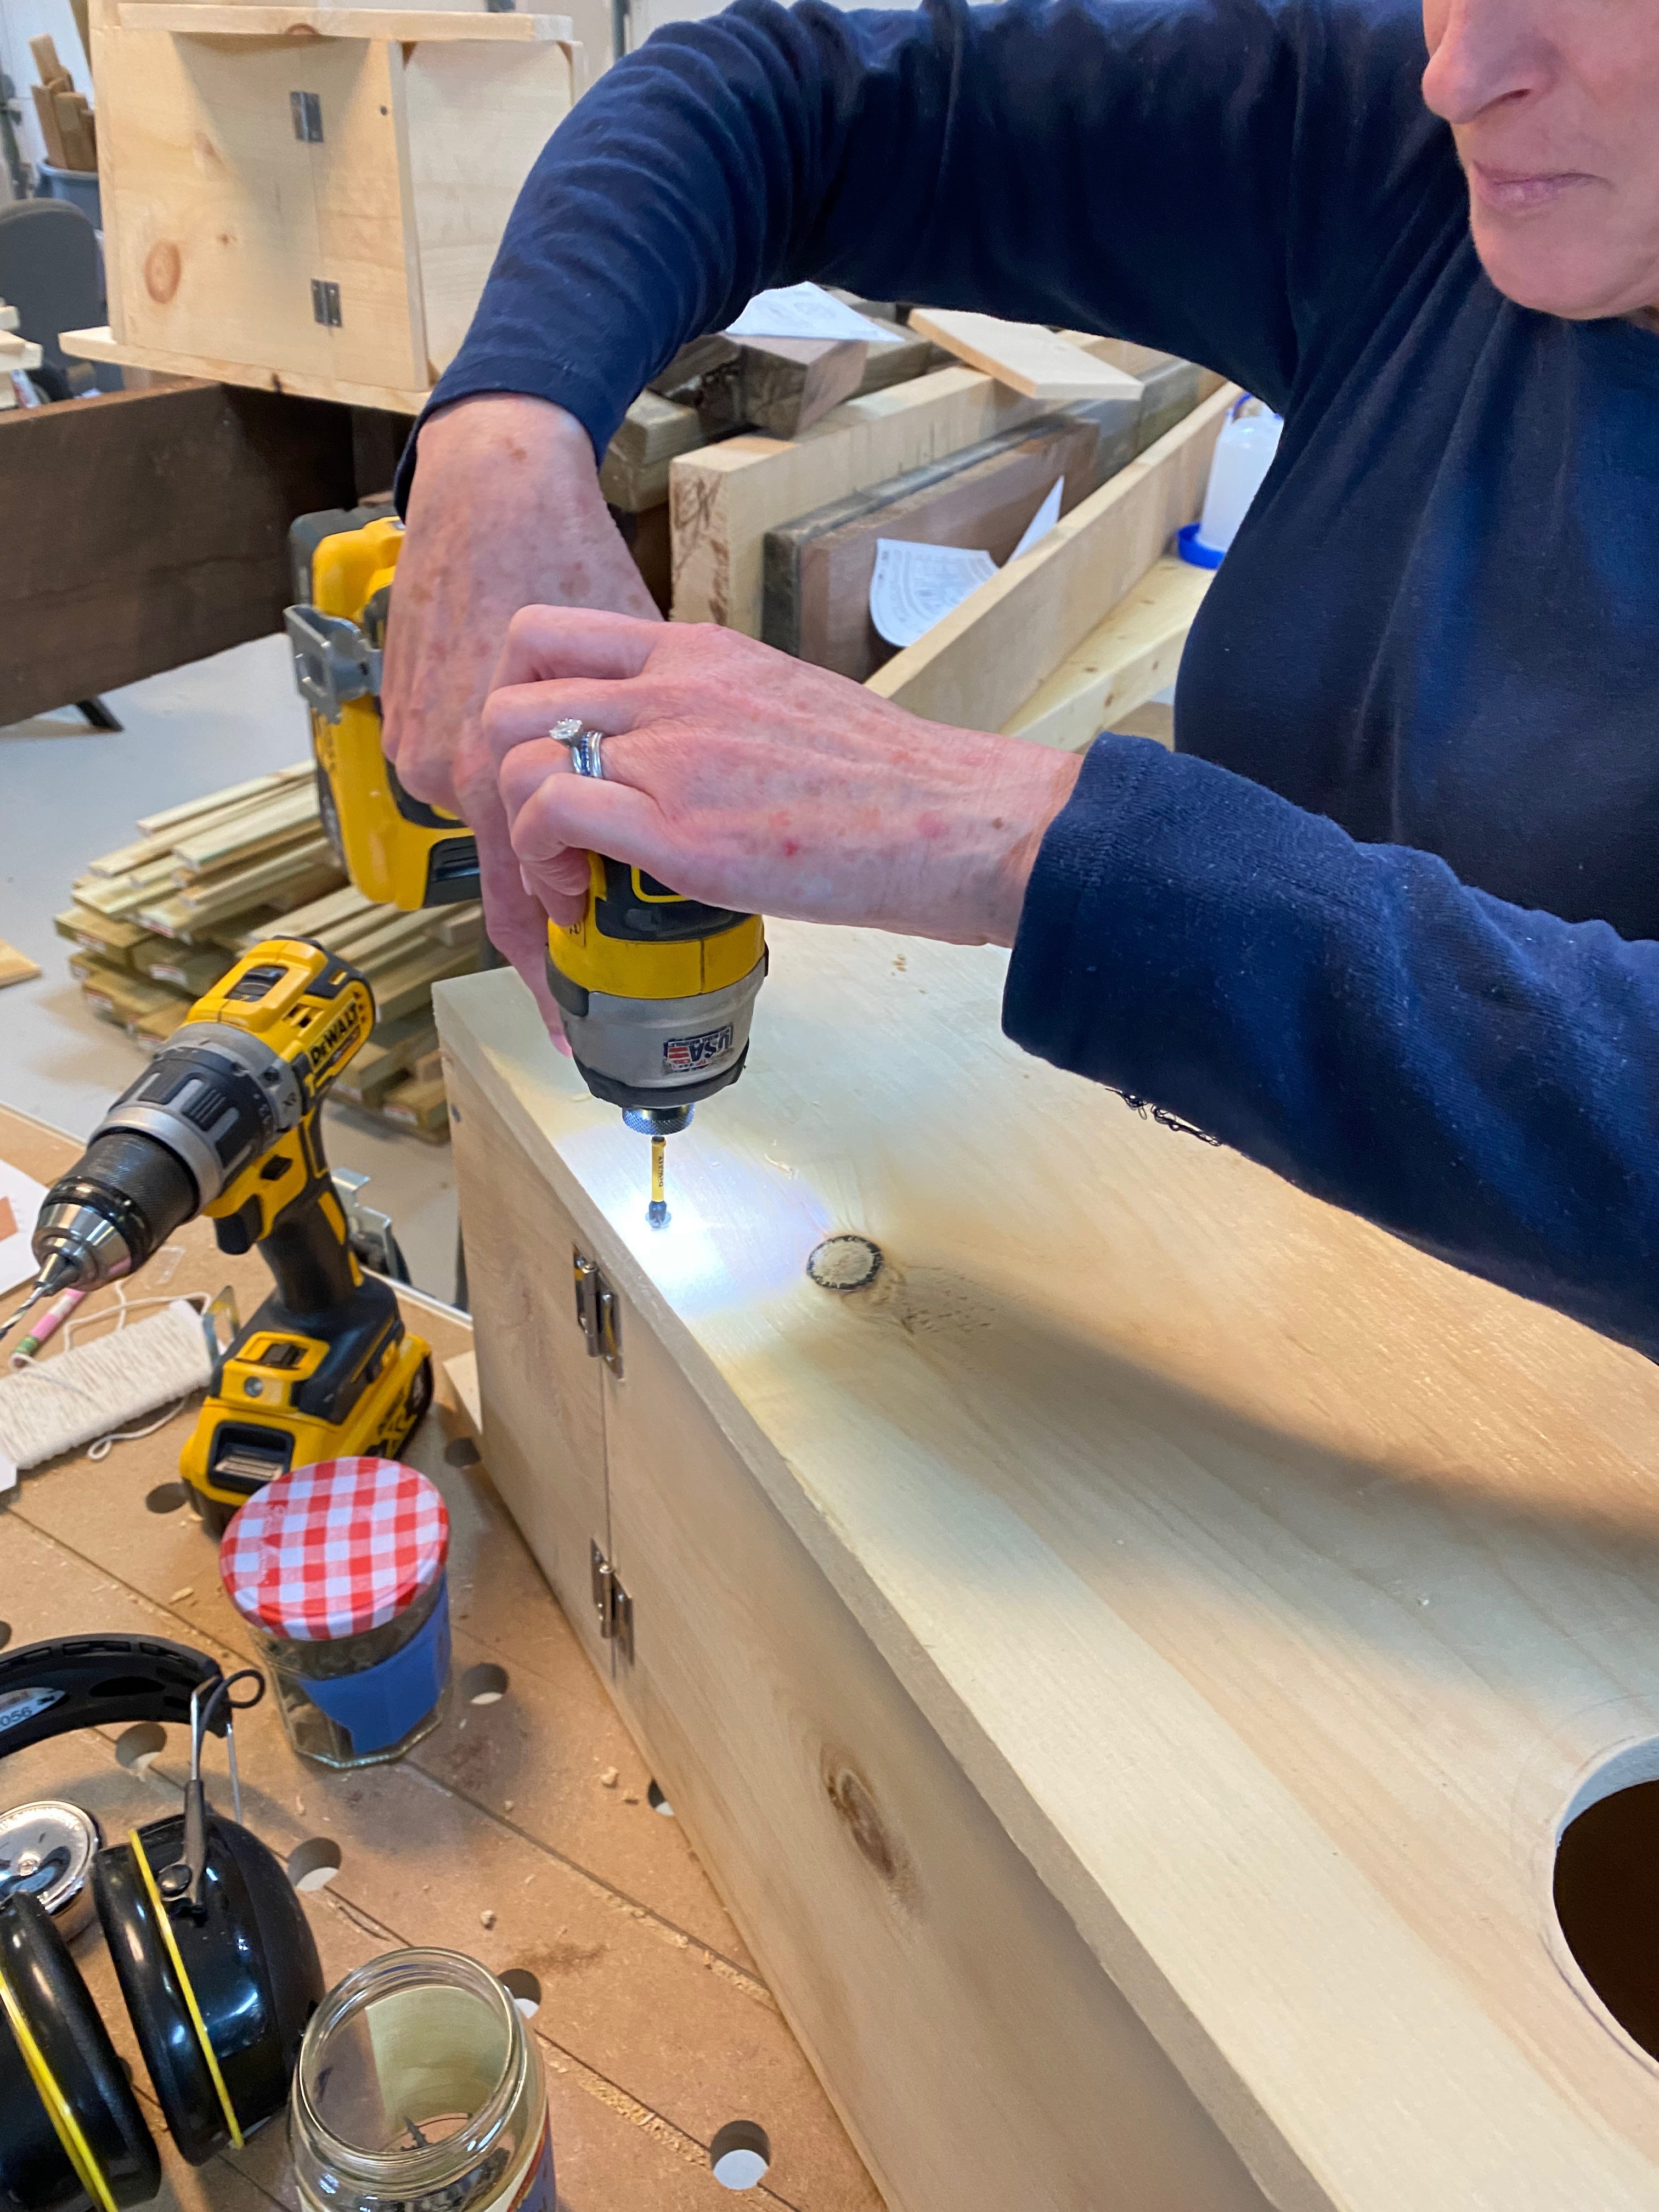
You can see, below, the general process from plans to cutting, drilling, sanding and assembling with glue, brad nails and screws, the final bird box.
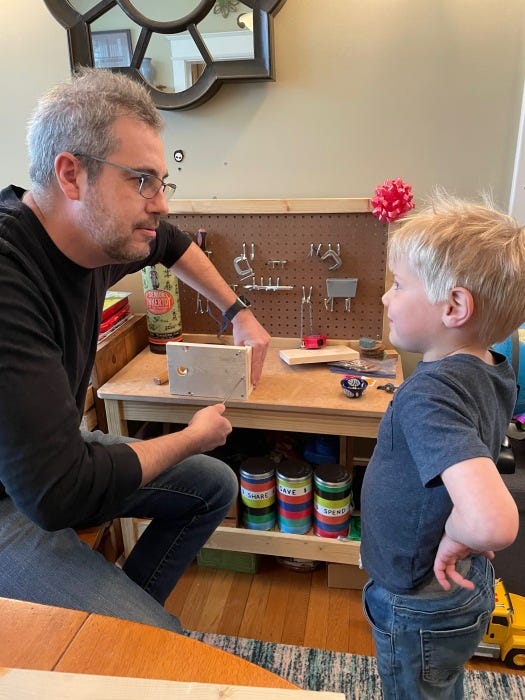
These boxes are so easy to make, in fact, that I put together a little kit for a friend's son (who is the proud owner of his own little workbench) that we built together with just a screwdriver and hammer.
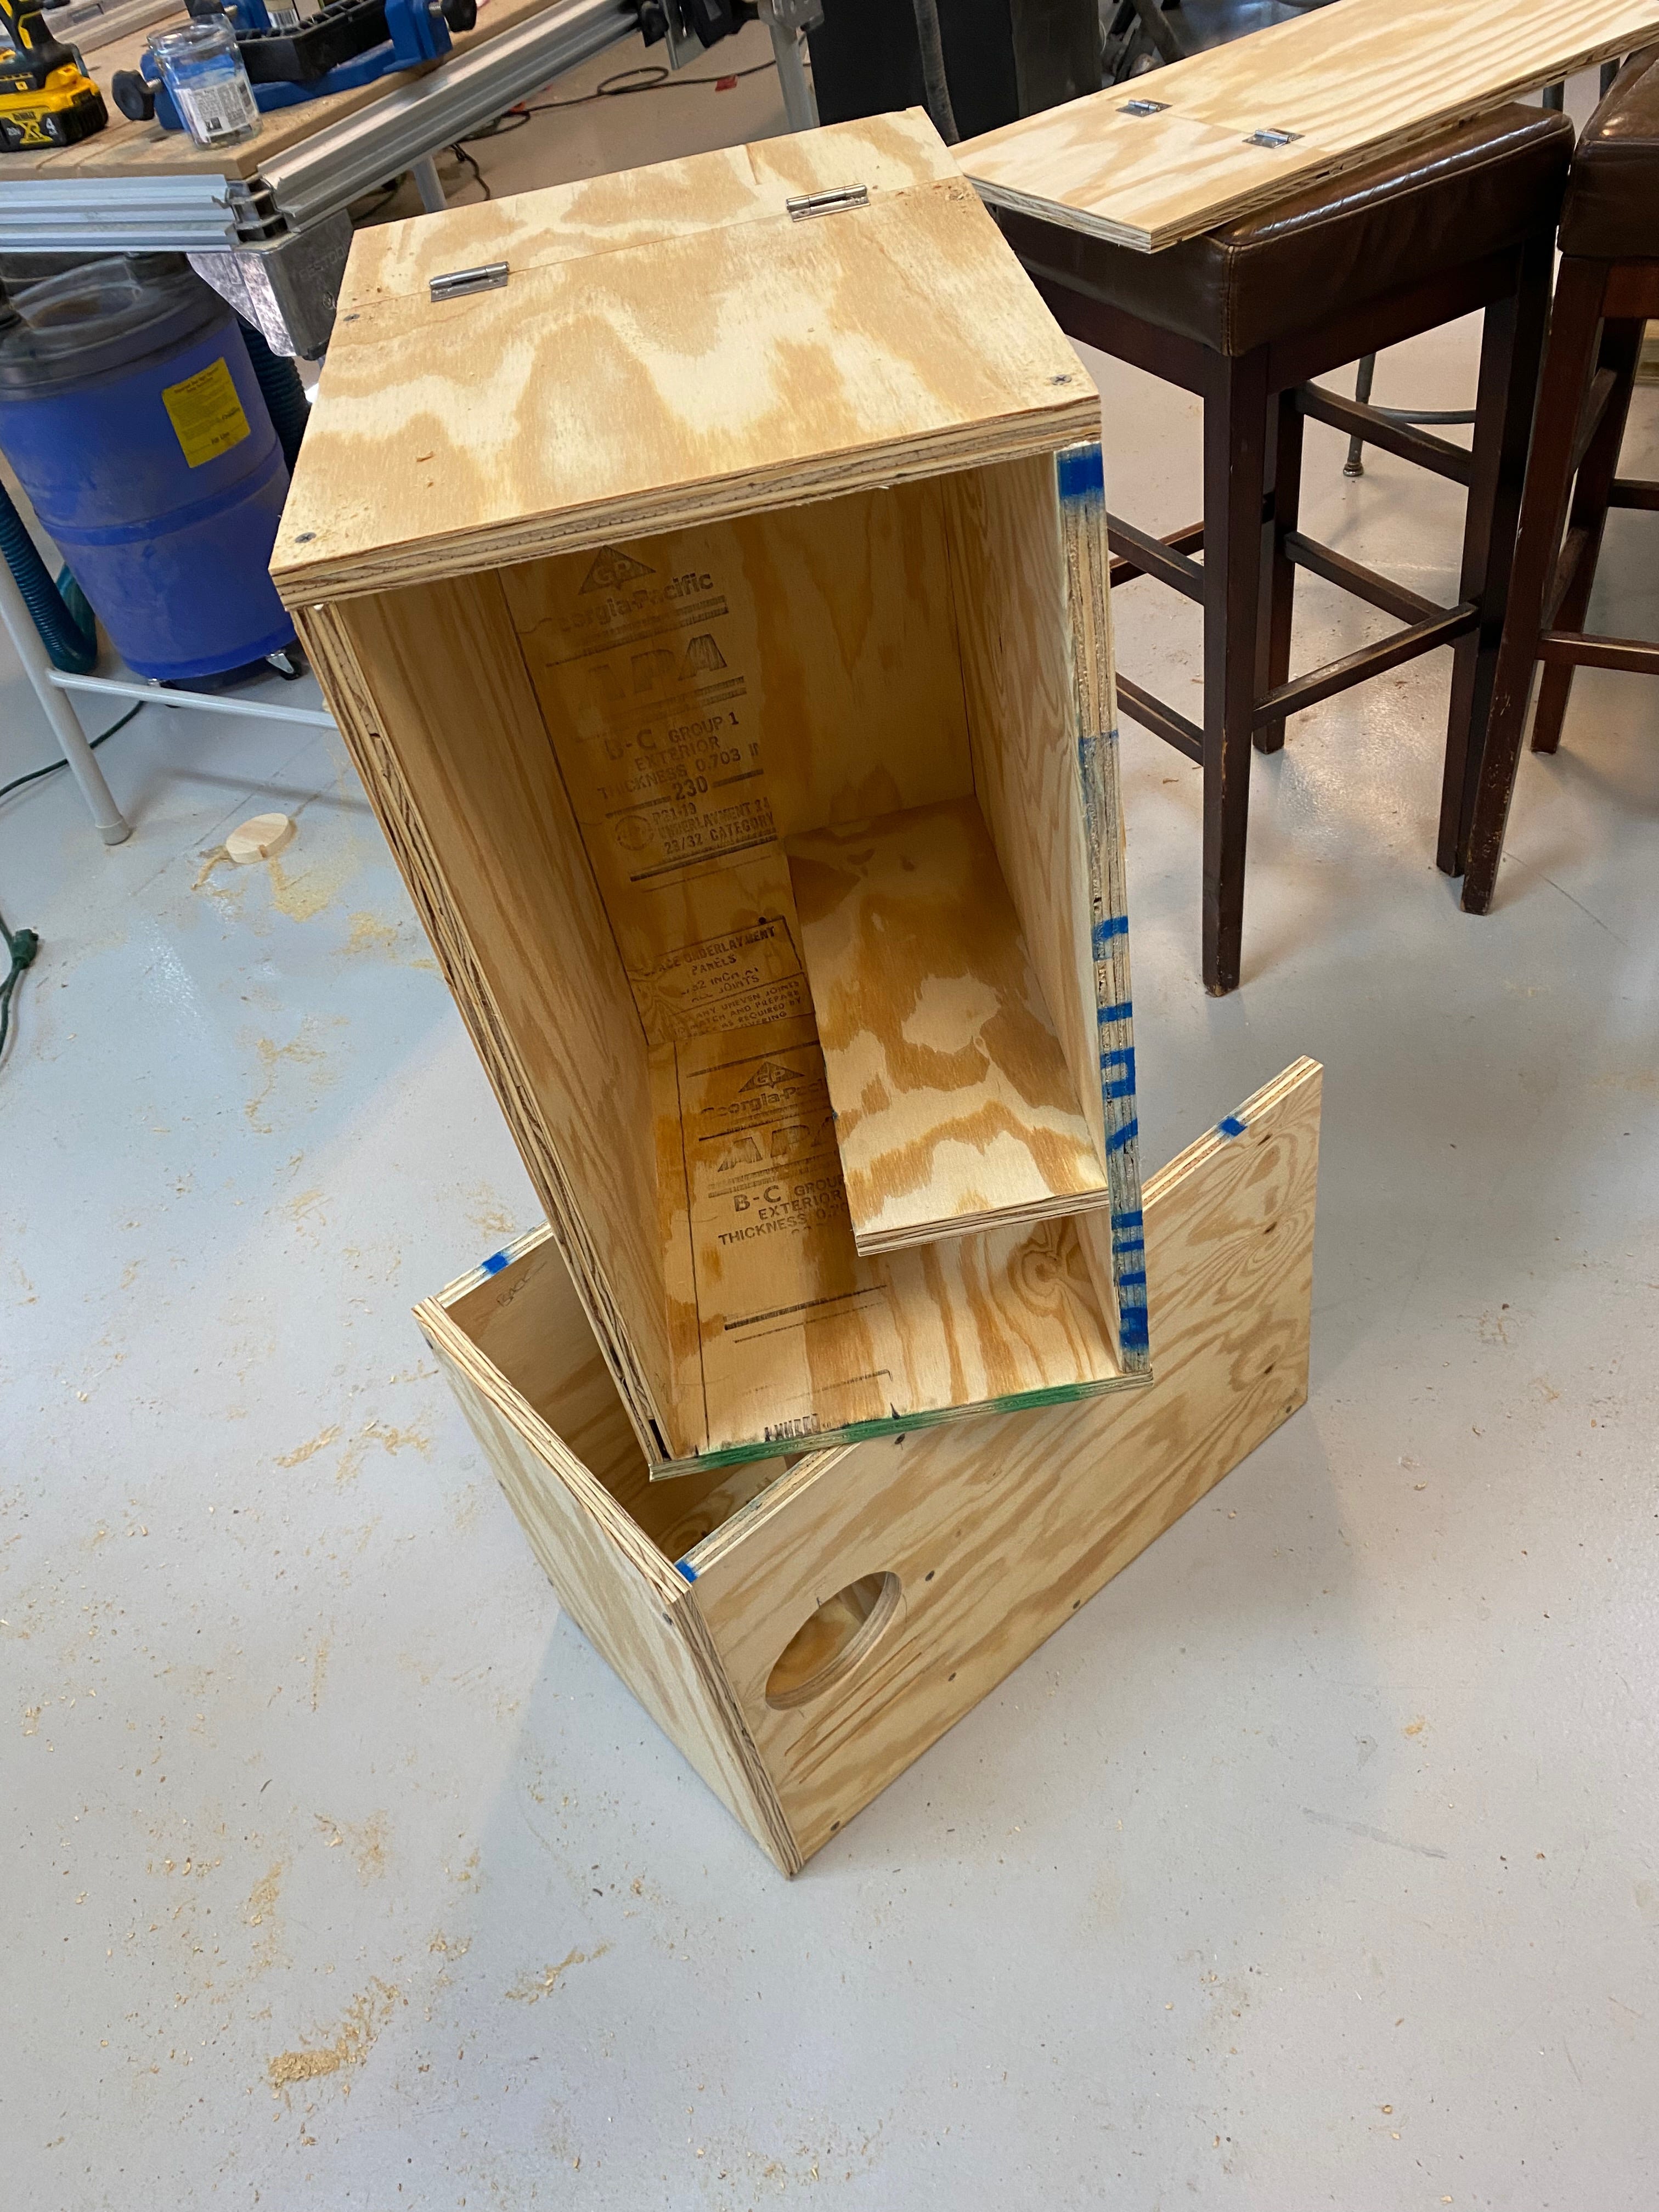
The process for making the barn owl box was a bit more involved, as it includes two doors (one on top and one on the side) as well as an oval entrance, talon grips and an interior divider.
For those boxes, I needed more hardware (hinges, for example) as well as a way to cut the oval hole. Doing that involved a return to 9th-grade geometry. I wanted the oval to be 3-½ inches high by 4-½-inches wide, so once I found my center point, I used a compass to draw small arcs where the top, bottom and sides of the oval would land.
Next, I needed to find the two foci around which I'd loop a string to draw the ellipse. The math for figuring out the foci is f^2 = a^2-b^2. In my case, that's 4.5 inches squared minus 3.5 inches squared, which results in the square of the distance between the focal points, or 8 inches. The square root of that is the distance between the two focal points — 2.8 inches. Half that, or 1.4 inches, is the distance from the center of the ellipse to each focal point. I tapped brad nails at those points.
Then I tied a string around the brads so that when the string is pulled taut, it would touch the arcs I had previously drawn. With that, I just took a pencil and drew my ellipse using the string as a guide. Finally, I drilled a starter hole and then used a jig saw to cut the oval. Voila!
The rest of the construction was straightforward, if more involved than the other birdhouses. The barn owl boxes include an internal divider — apparently barn owls do not accept studio/efficiency apartments and demand one-bedroom units instead. Thanks to some corner clamps and my wife's assistance, we made quick work of them and were ready to put them in the trees.
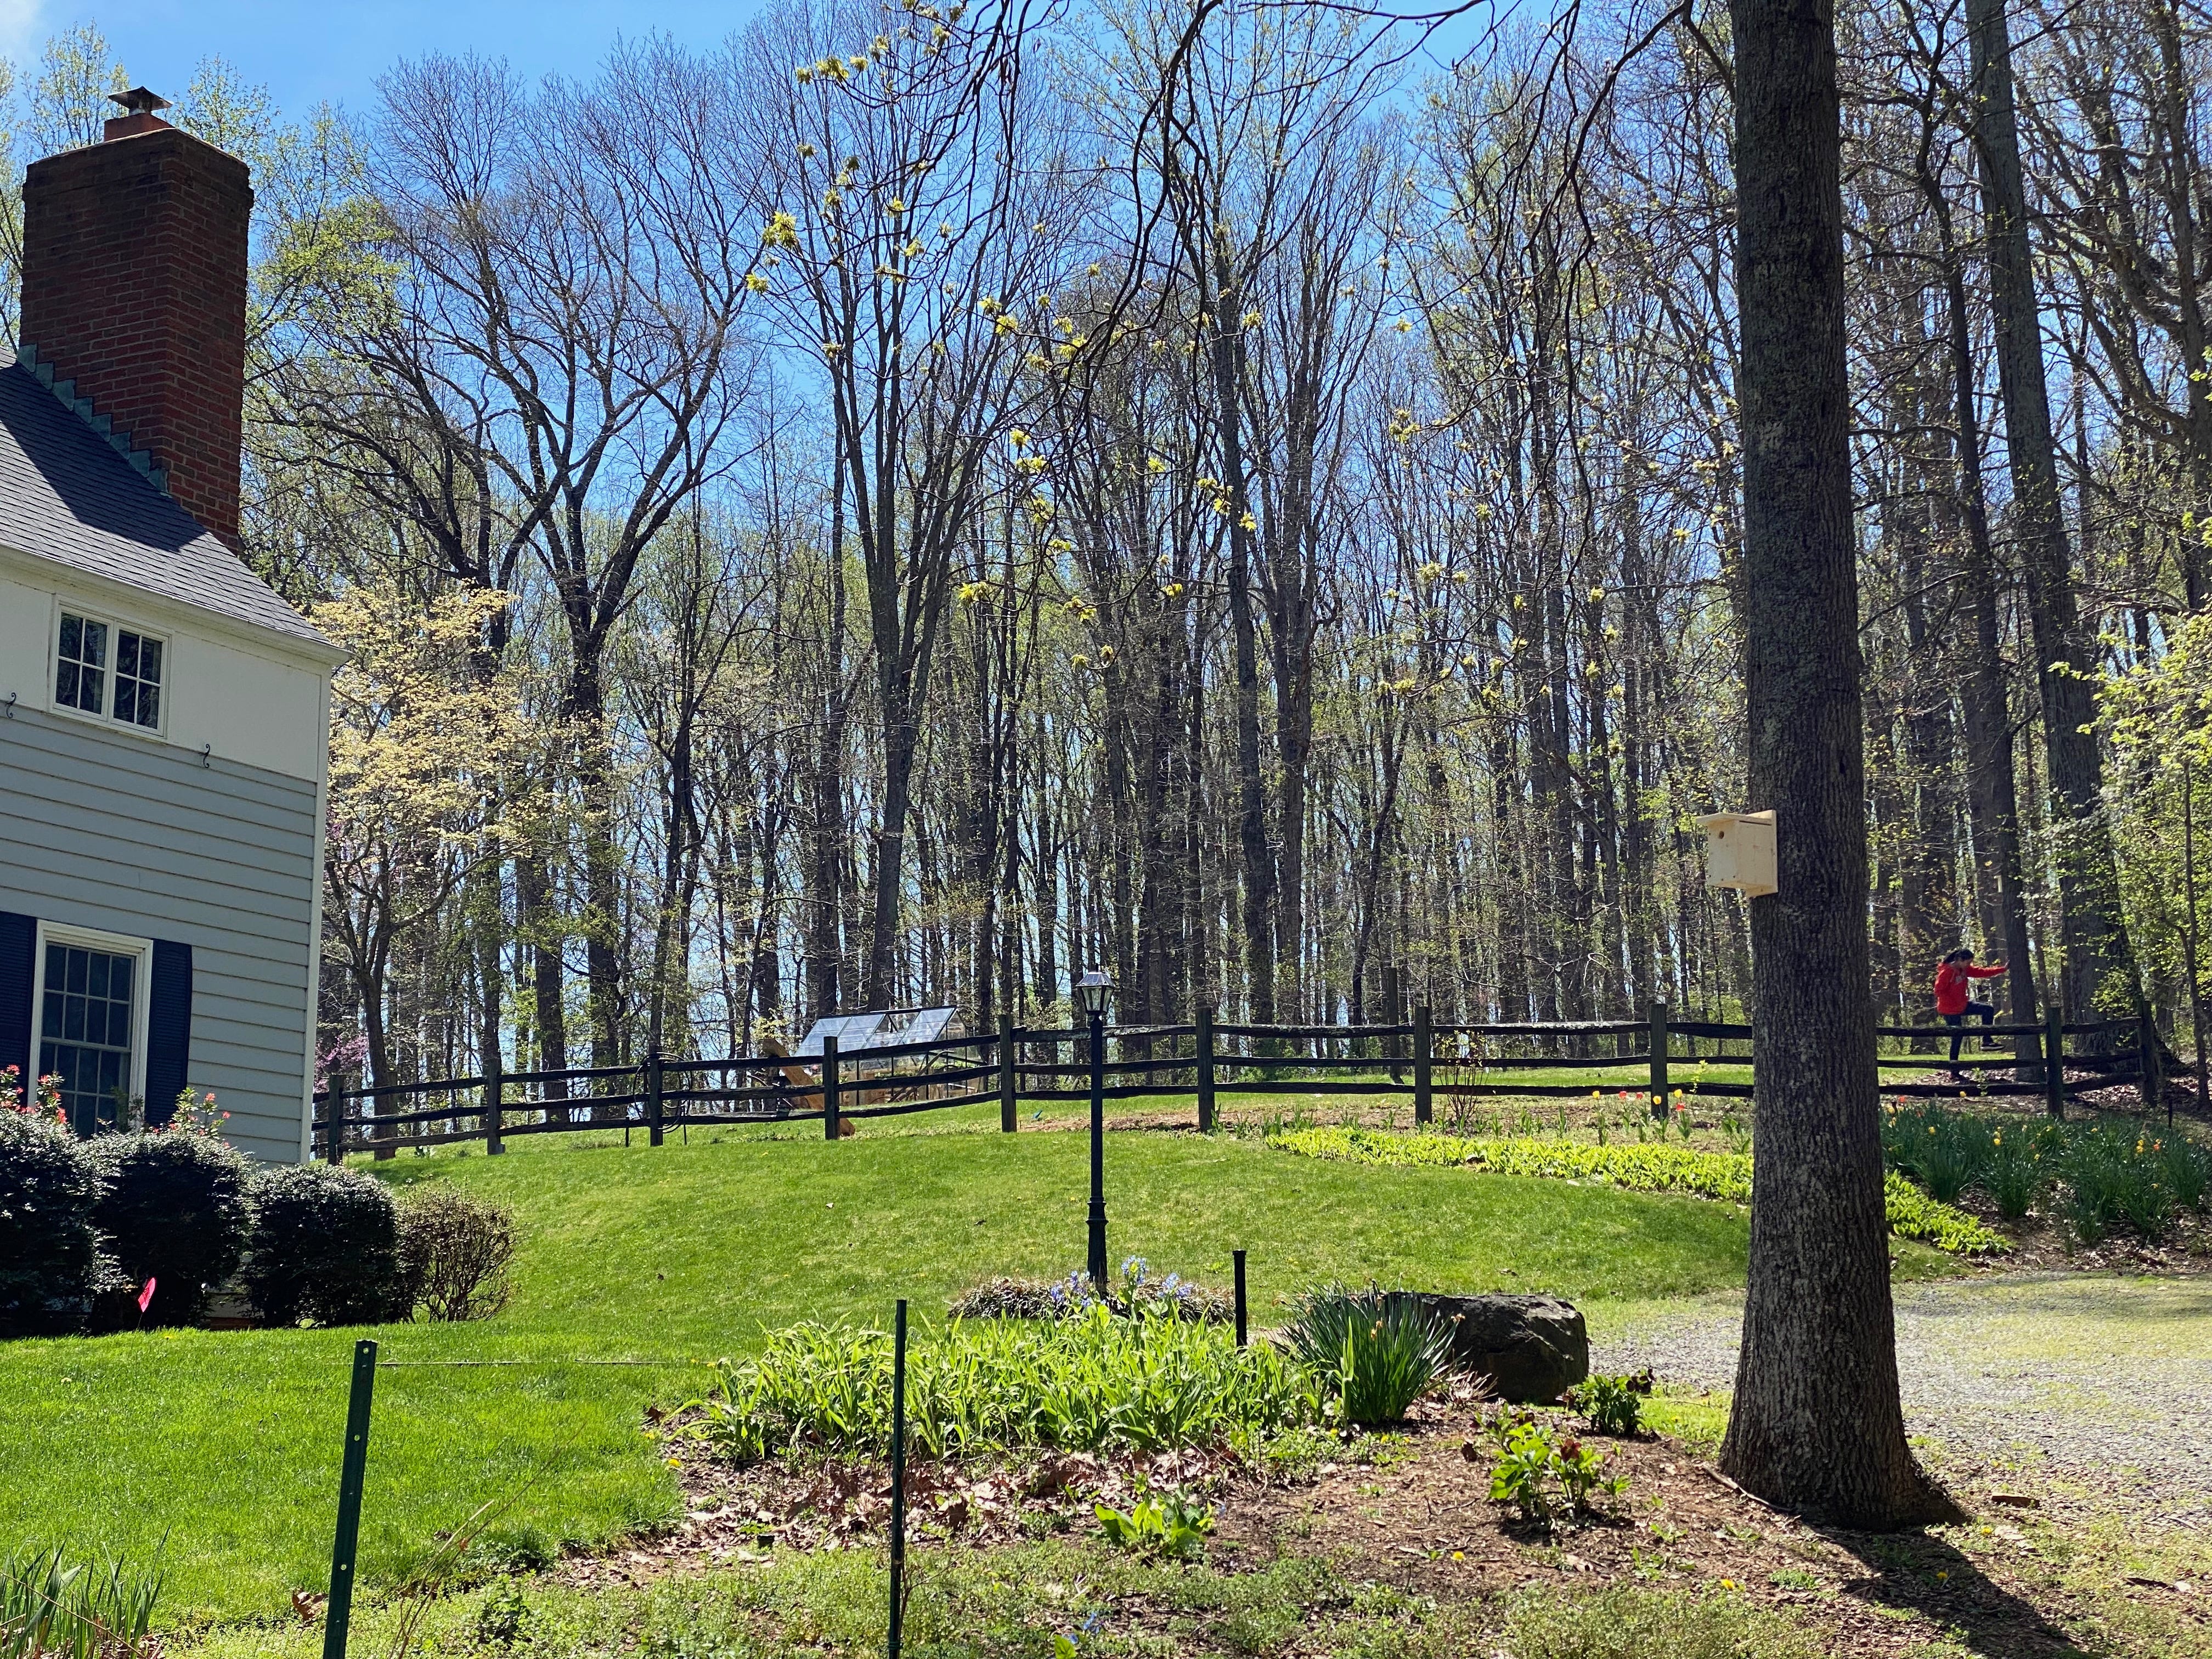
The chickadee boxes were easy to hang — they can be posted on a tree at little more than eye level. A few screws and bingo-bango, they're up.
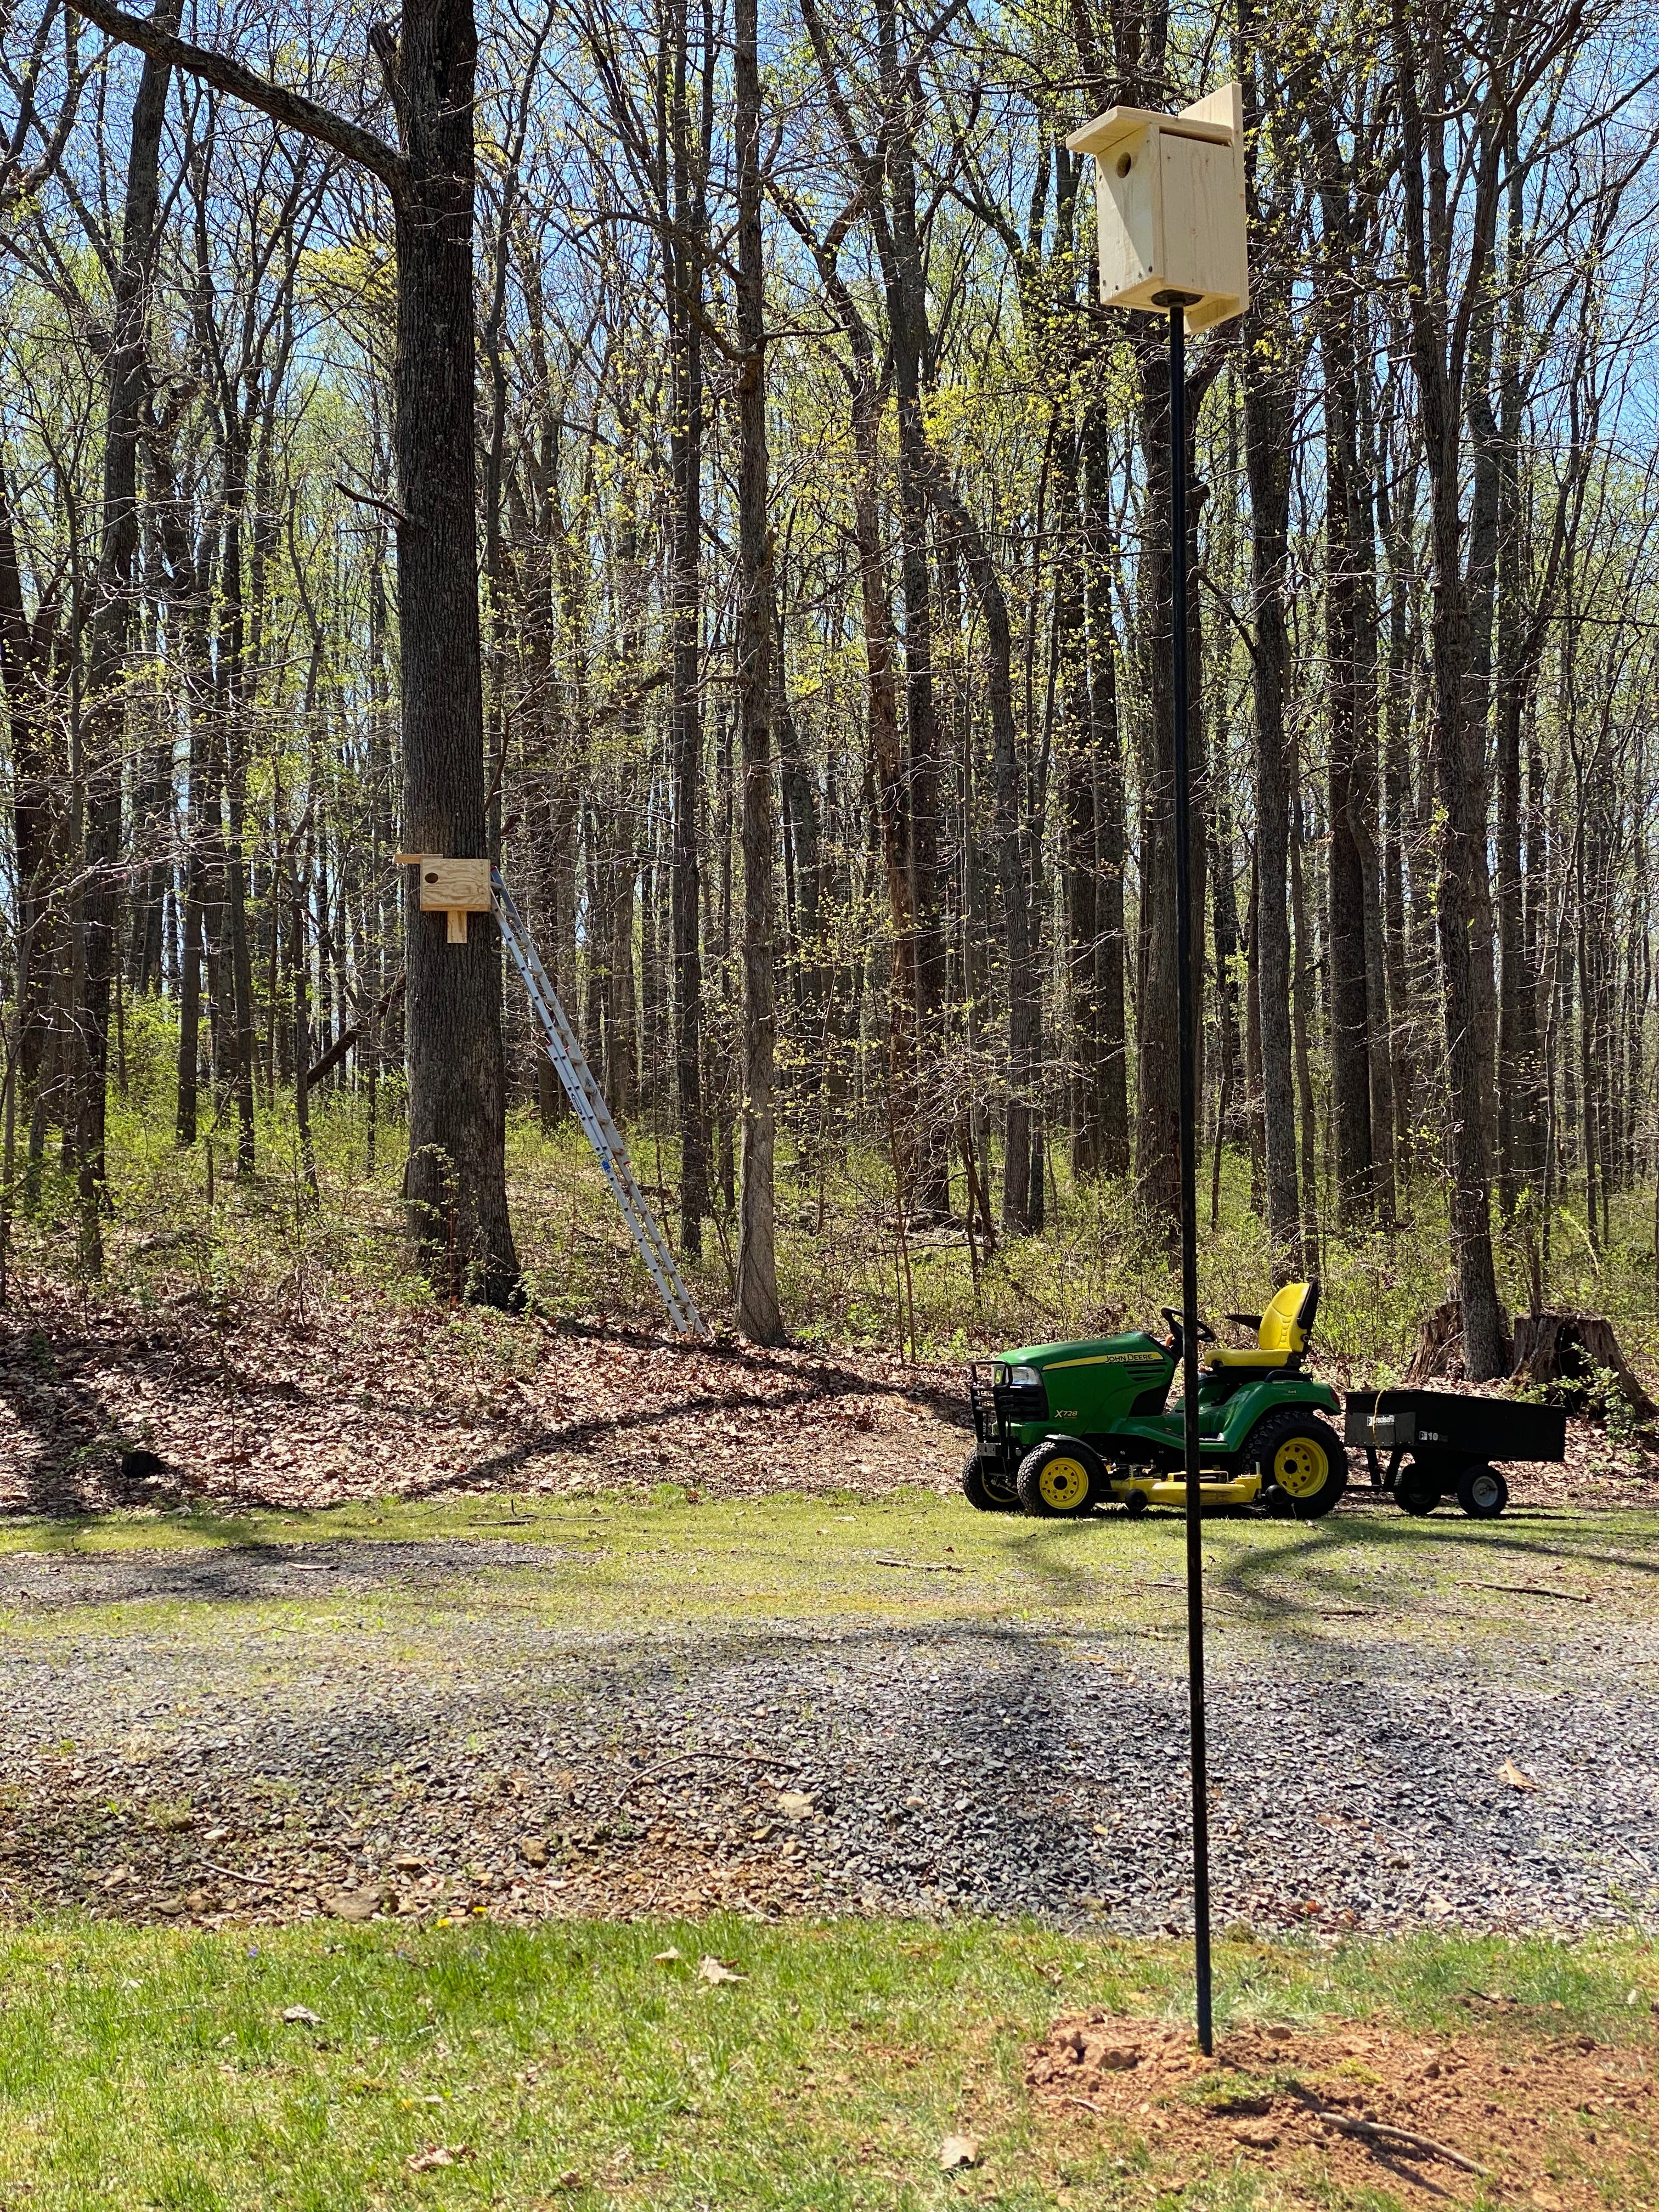
The bluebird boxes, on the other hand, do not go on trees. They are best mounted on poles in grassy fields. To do that, I took a 10-foot-long ½-inch-diameter steel pipe with threads on the ends, screwed one end into a block of pressure-treated wood, and the other into a flange I mounted on the bottom of the bluebird box. Then I dug a two-foot hole, set the pole in place, poured in a bucket of water and a bag of quick-setting concrete. After holding the pole (and checking for plumb) for about 10 minutes, I let it go and it remained upright while the concrete set. Once the concrete was dry, I backfilled the hole.
The rest of the boxes I needed to mount at least 12 feet high on various trees around the property. These boxes were big and heavy — the pileated woodpecker box is itself about three feet long and 40 pounds. I grabbed a ladder, leaned it up against a tree and clambered up. Holding the box in one hand and the ladder in the other, I used my nonexistent third hand to grab my cordless driver. M also nonexistent fourth hand helped hold things in place while I stored screws in my mouth and levitated in place.
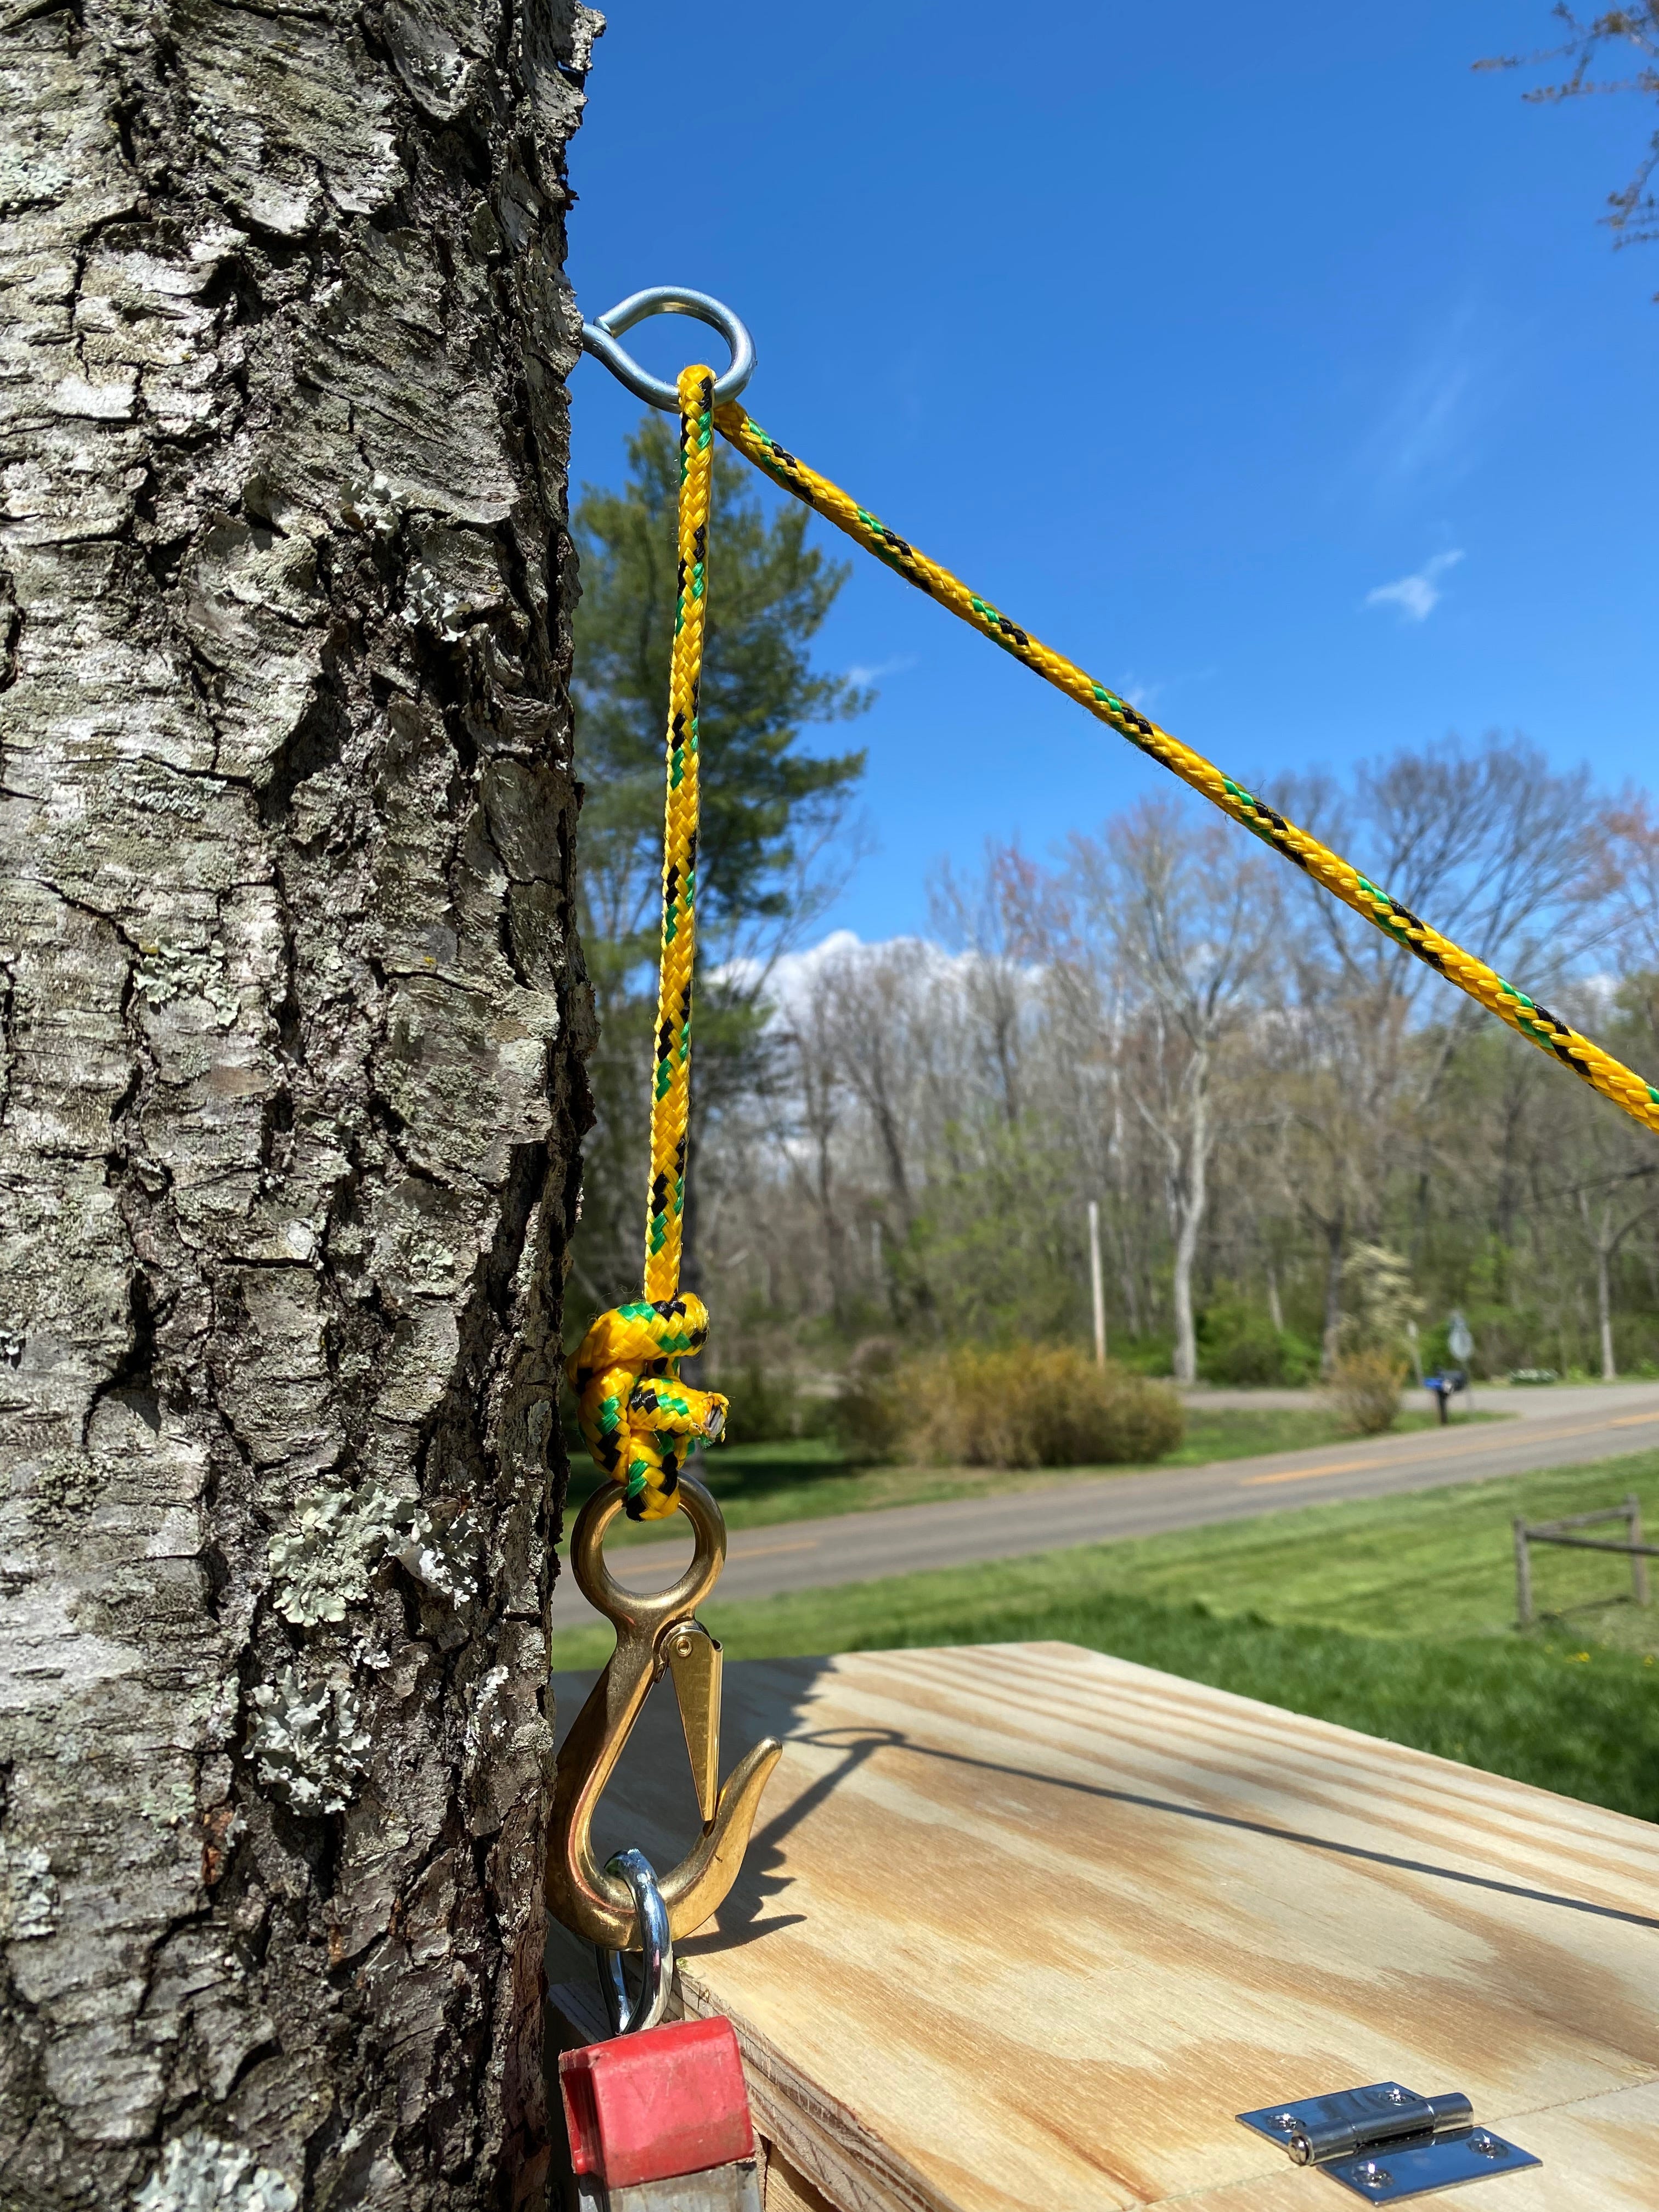
Clearly this was not going to work. I needed to find a better way — some sort of pulley system, perhaps. I channeled the spirit of longtime family friend Stan Gregory — an engineering genius — and came up with an idea.
First, I would screw an eye hook into the top of each box. Then I'd climb a ladder to screw another eye hook into the tree above where I wanted the bird box to hang. Through that eye I'd thread a rope that I'd hook to the box. I'd hoist the box into place, have my wife hold the line, and then screw the box into the tree. Then we'd unthread the rope and move on.
(Sidebar: to attach the rope to a hook, I needed to tie a knot. I don't know my knots very well, but the iPhone app Knots 3D is an incredible resource to find just the right knot for any situation and walks you thought how to make it. In my case, I ended up making a Two Half Hitch knot. Worked brilliantly.)
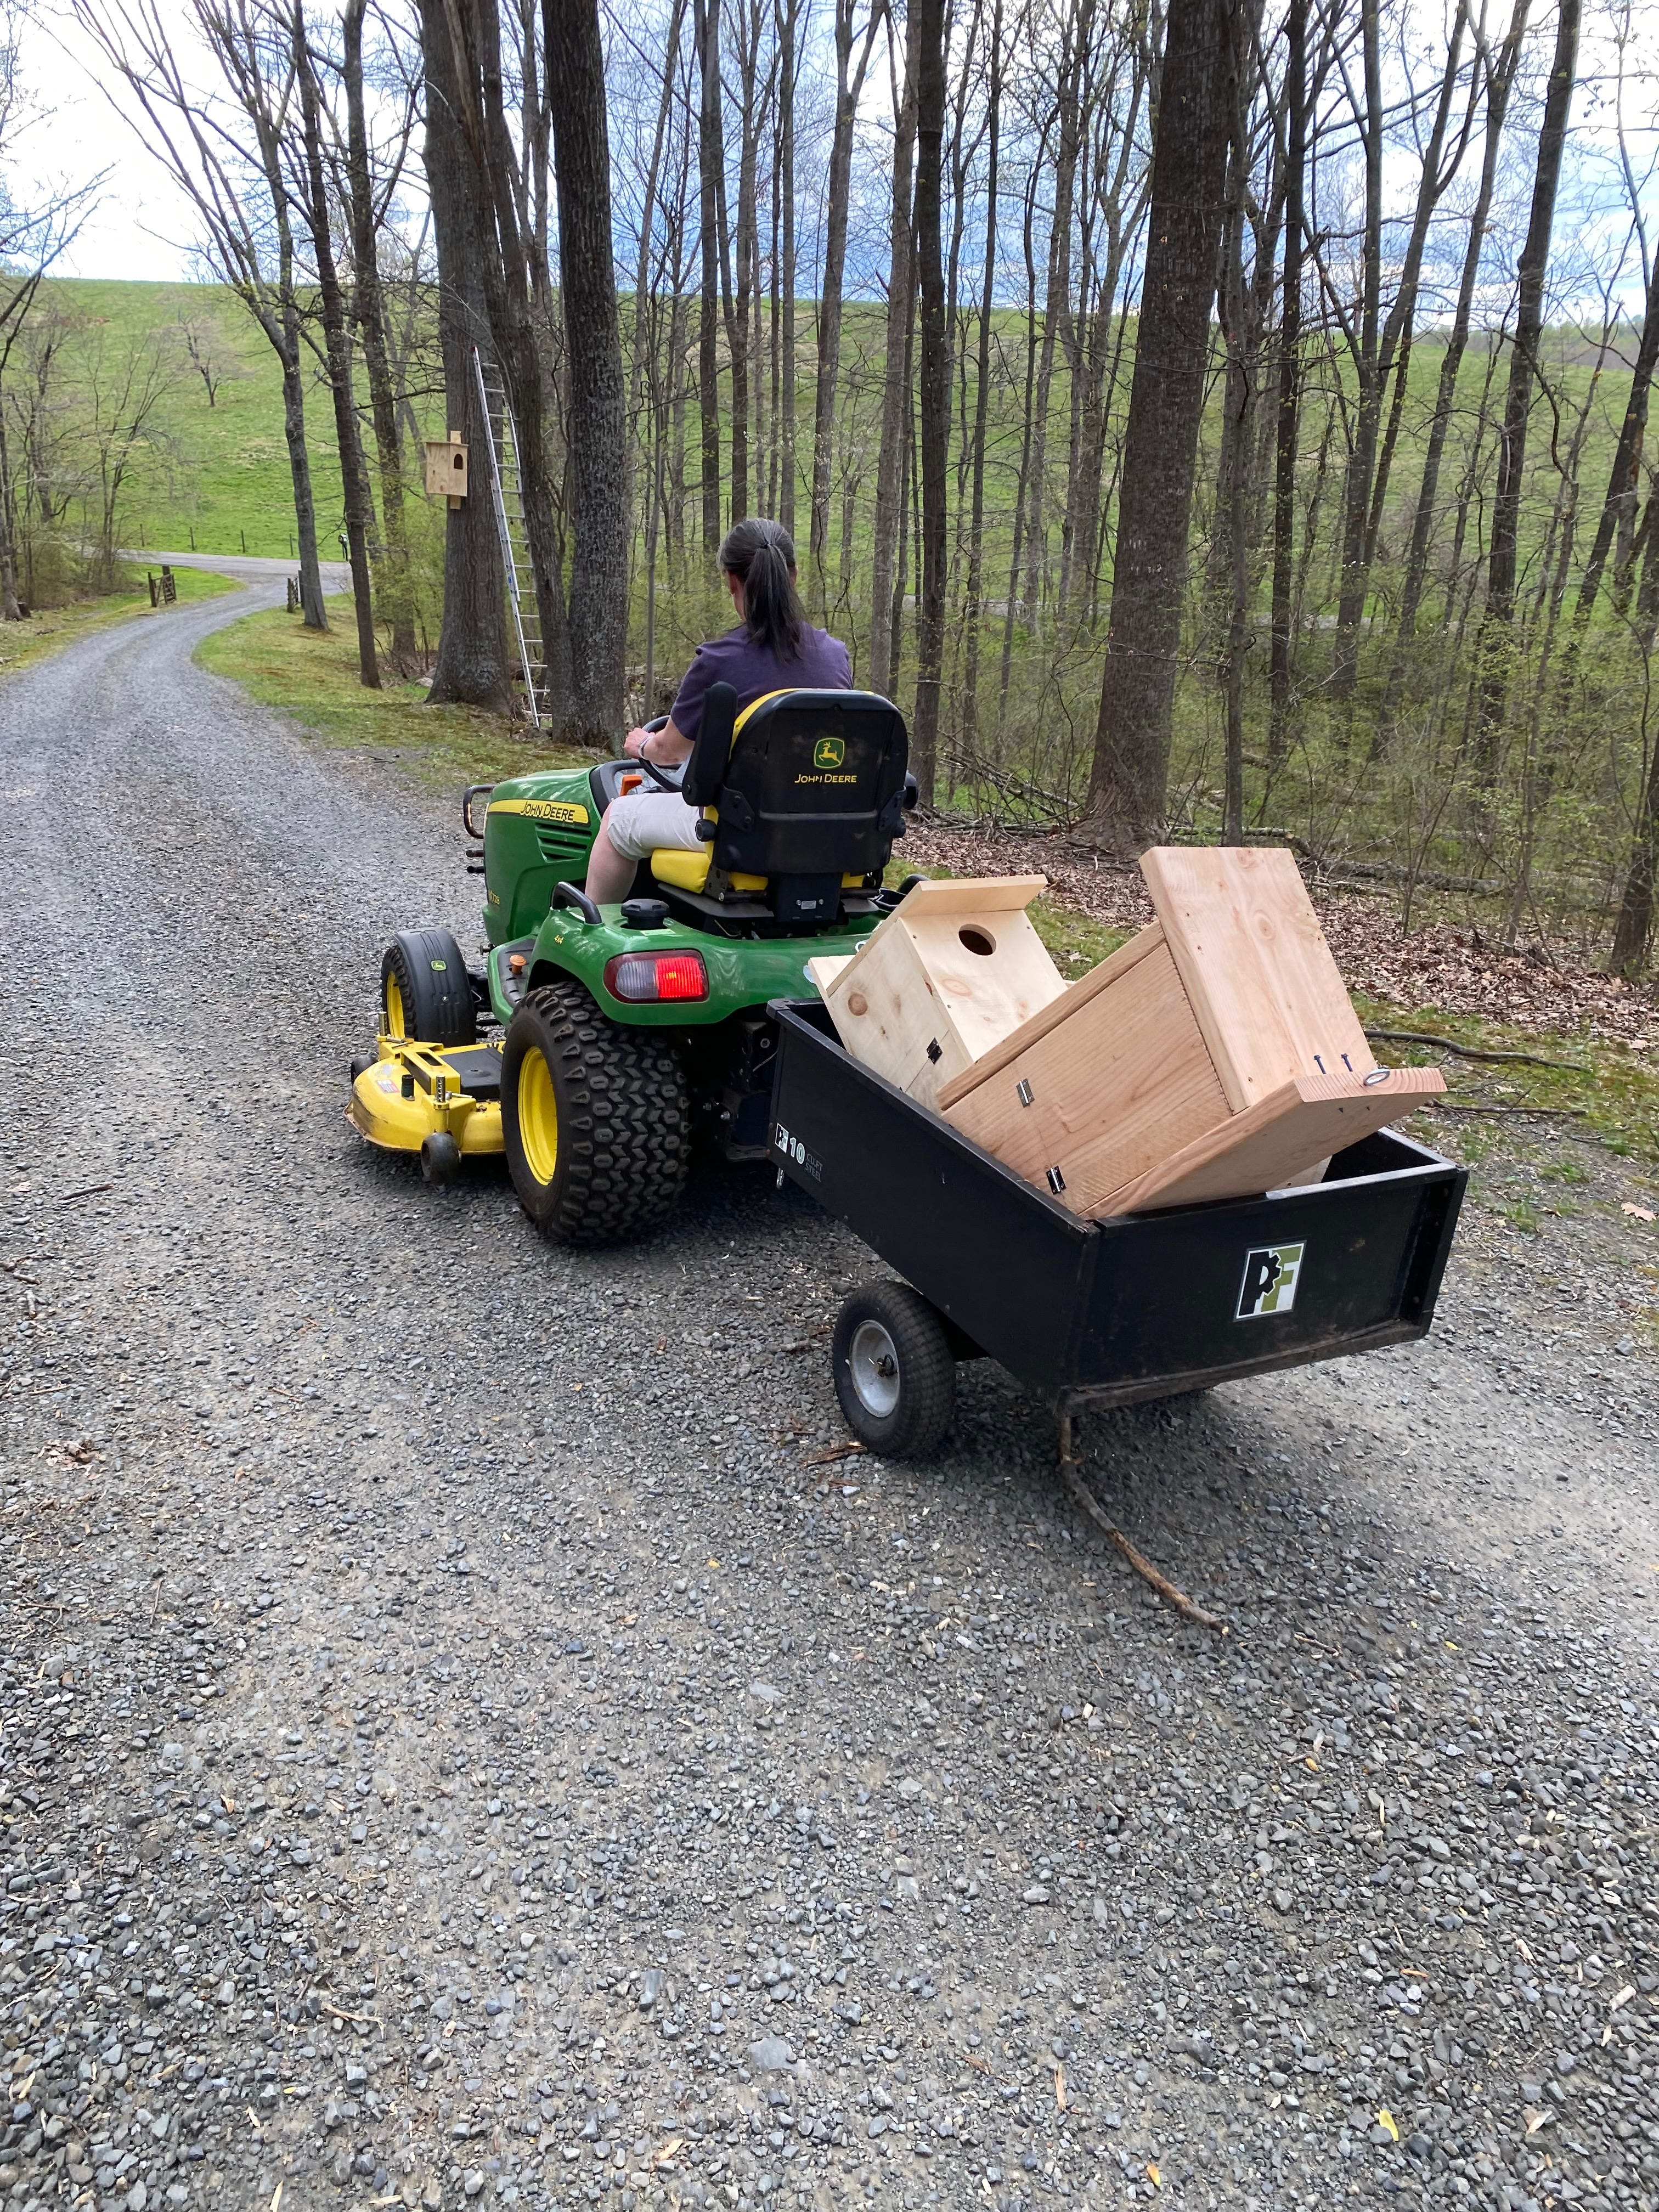
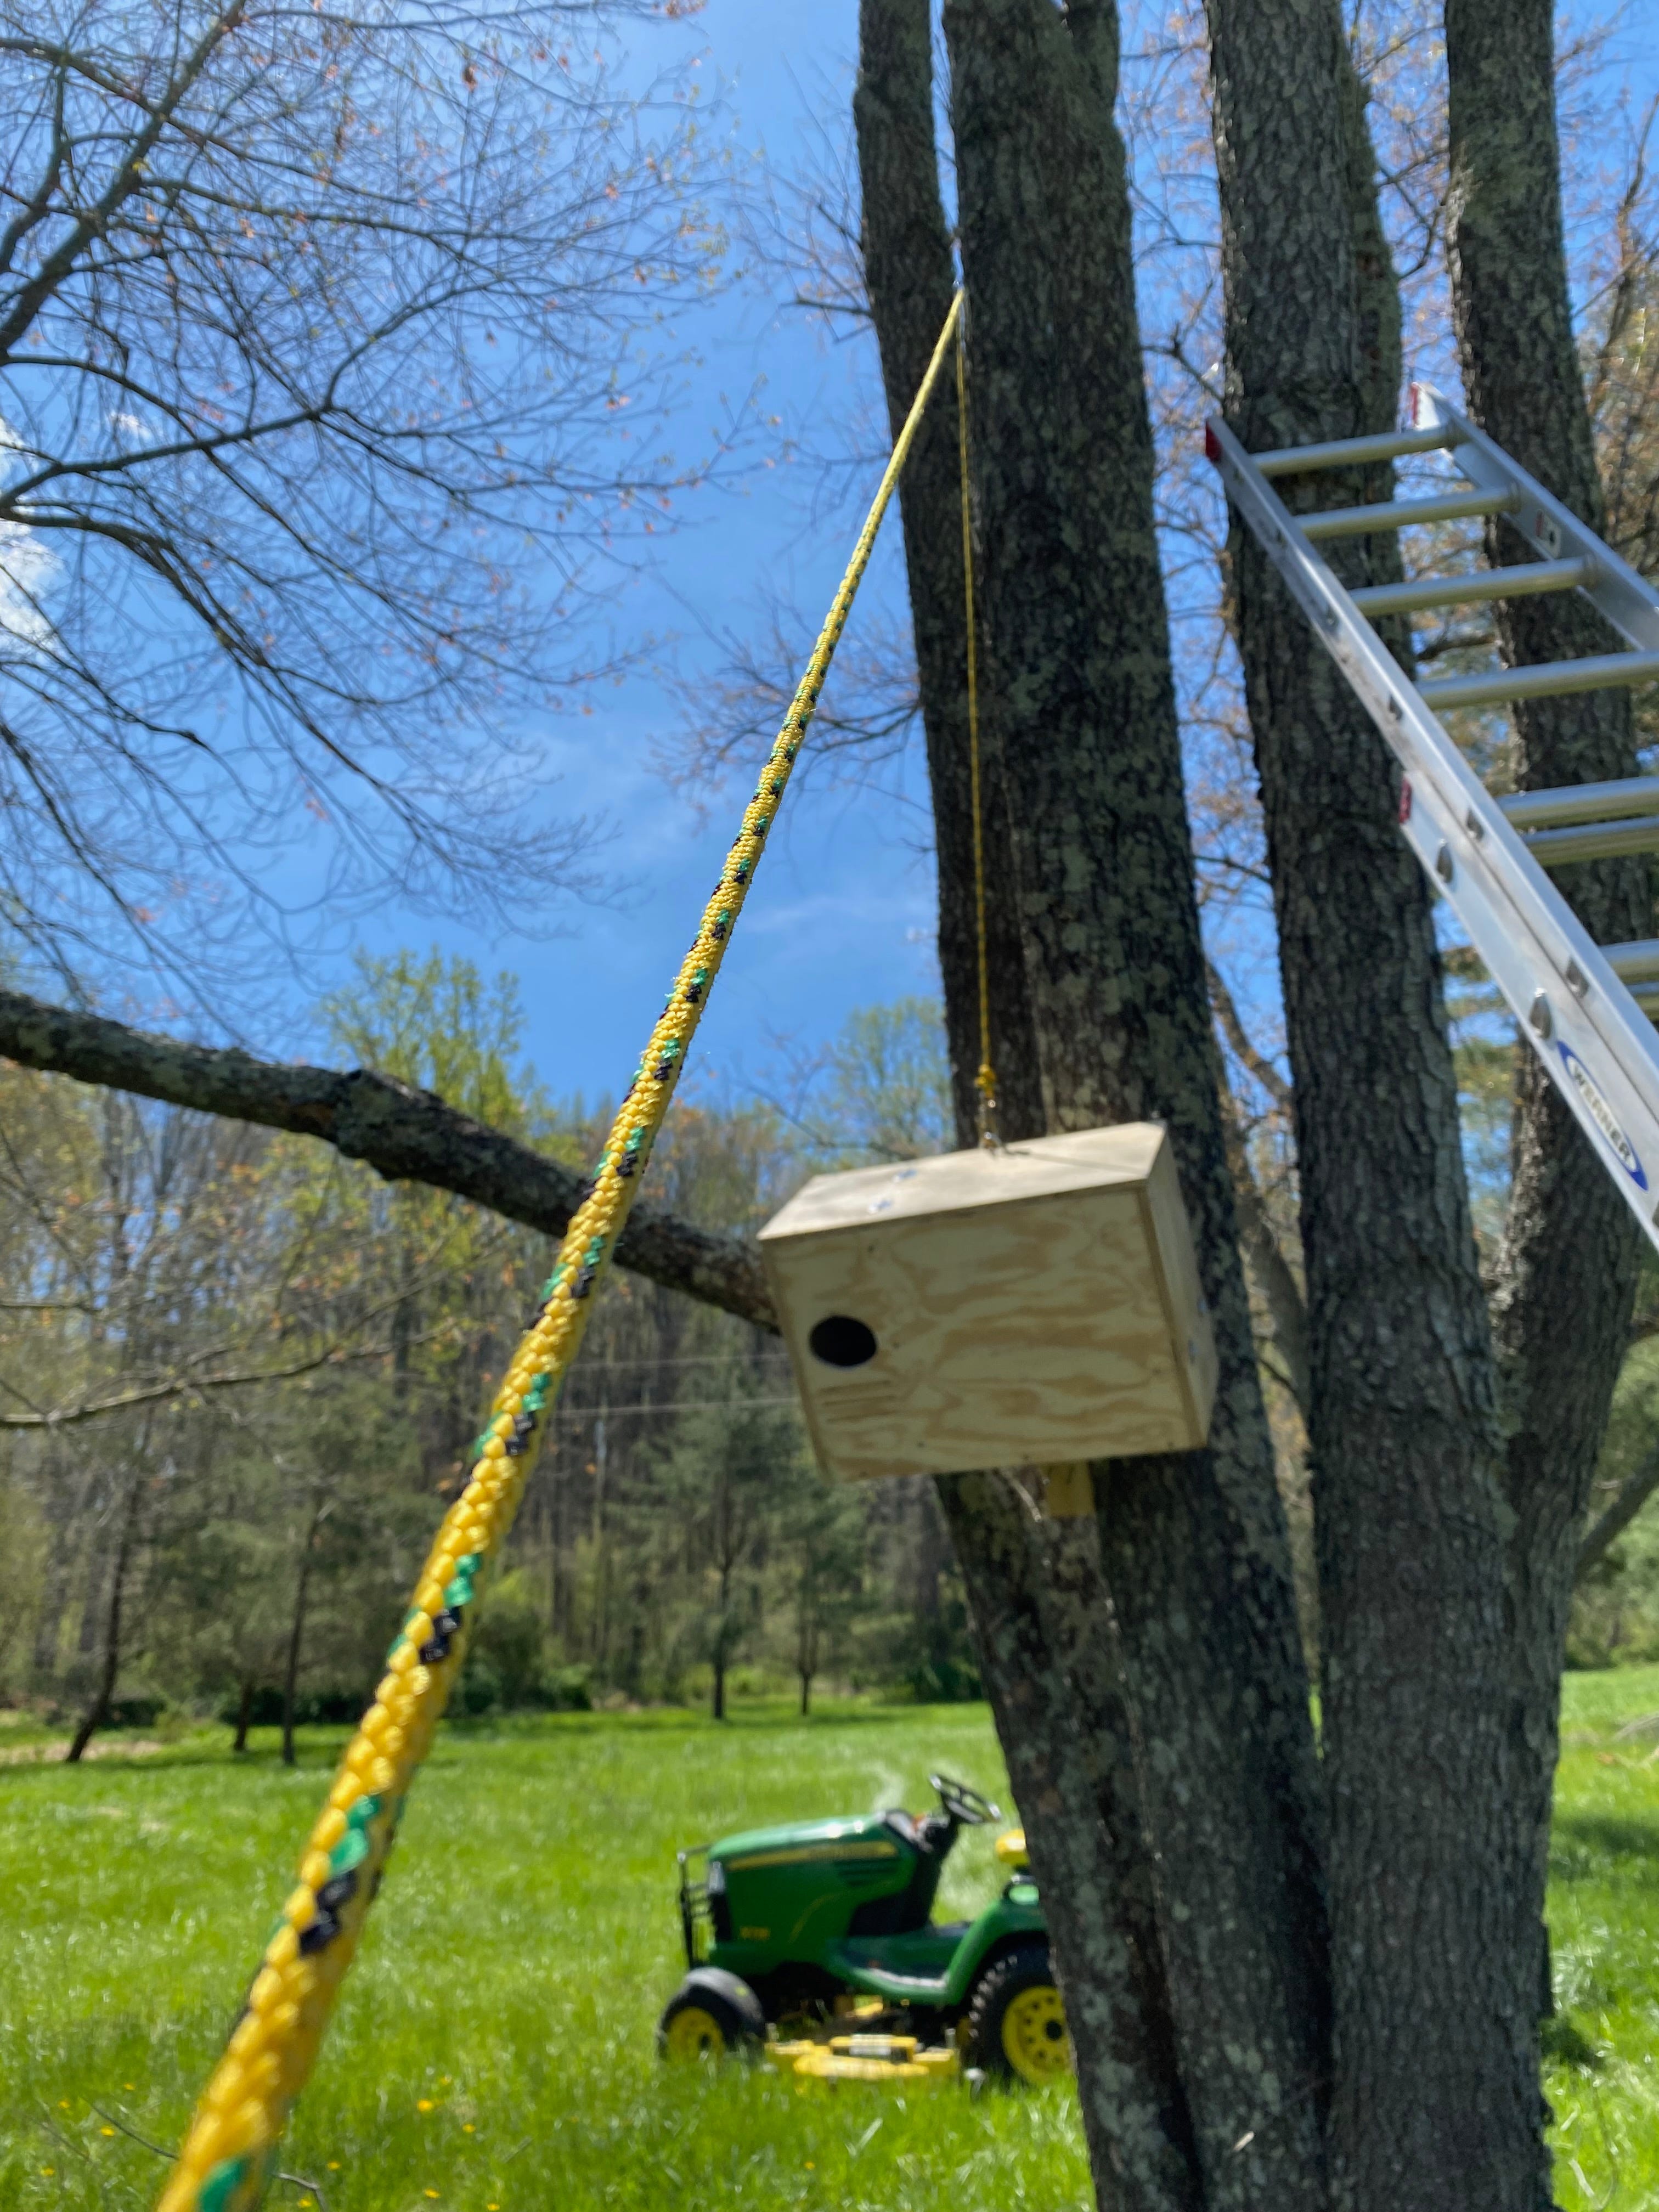
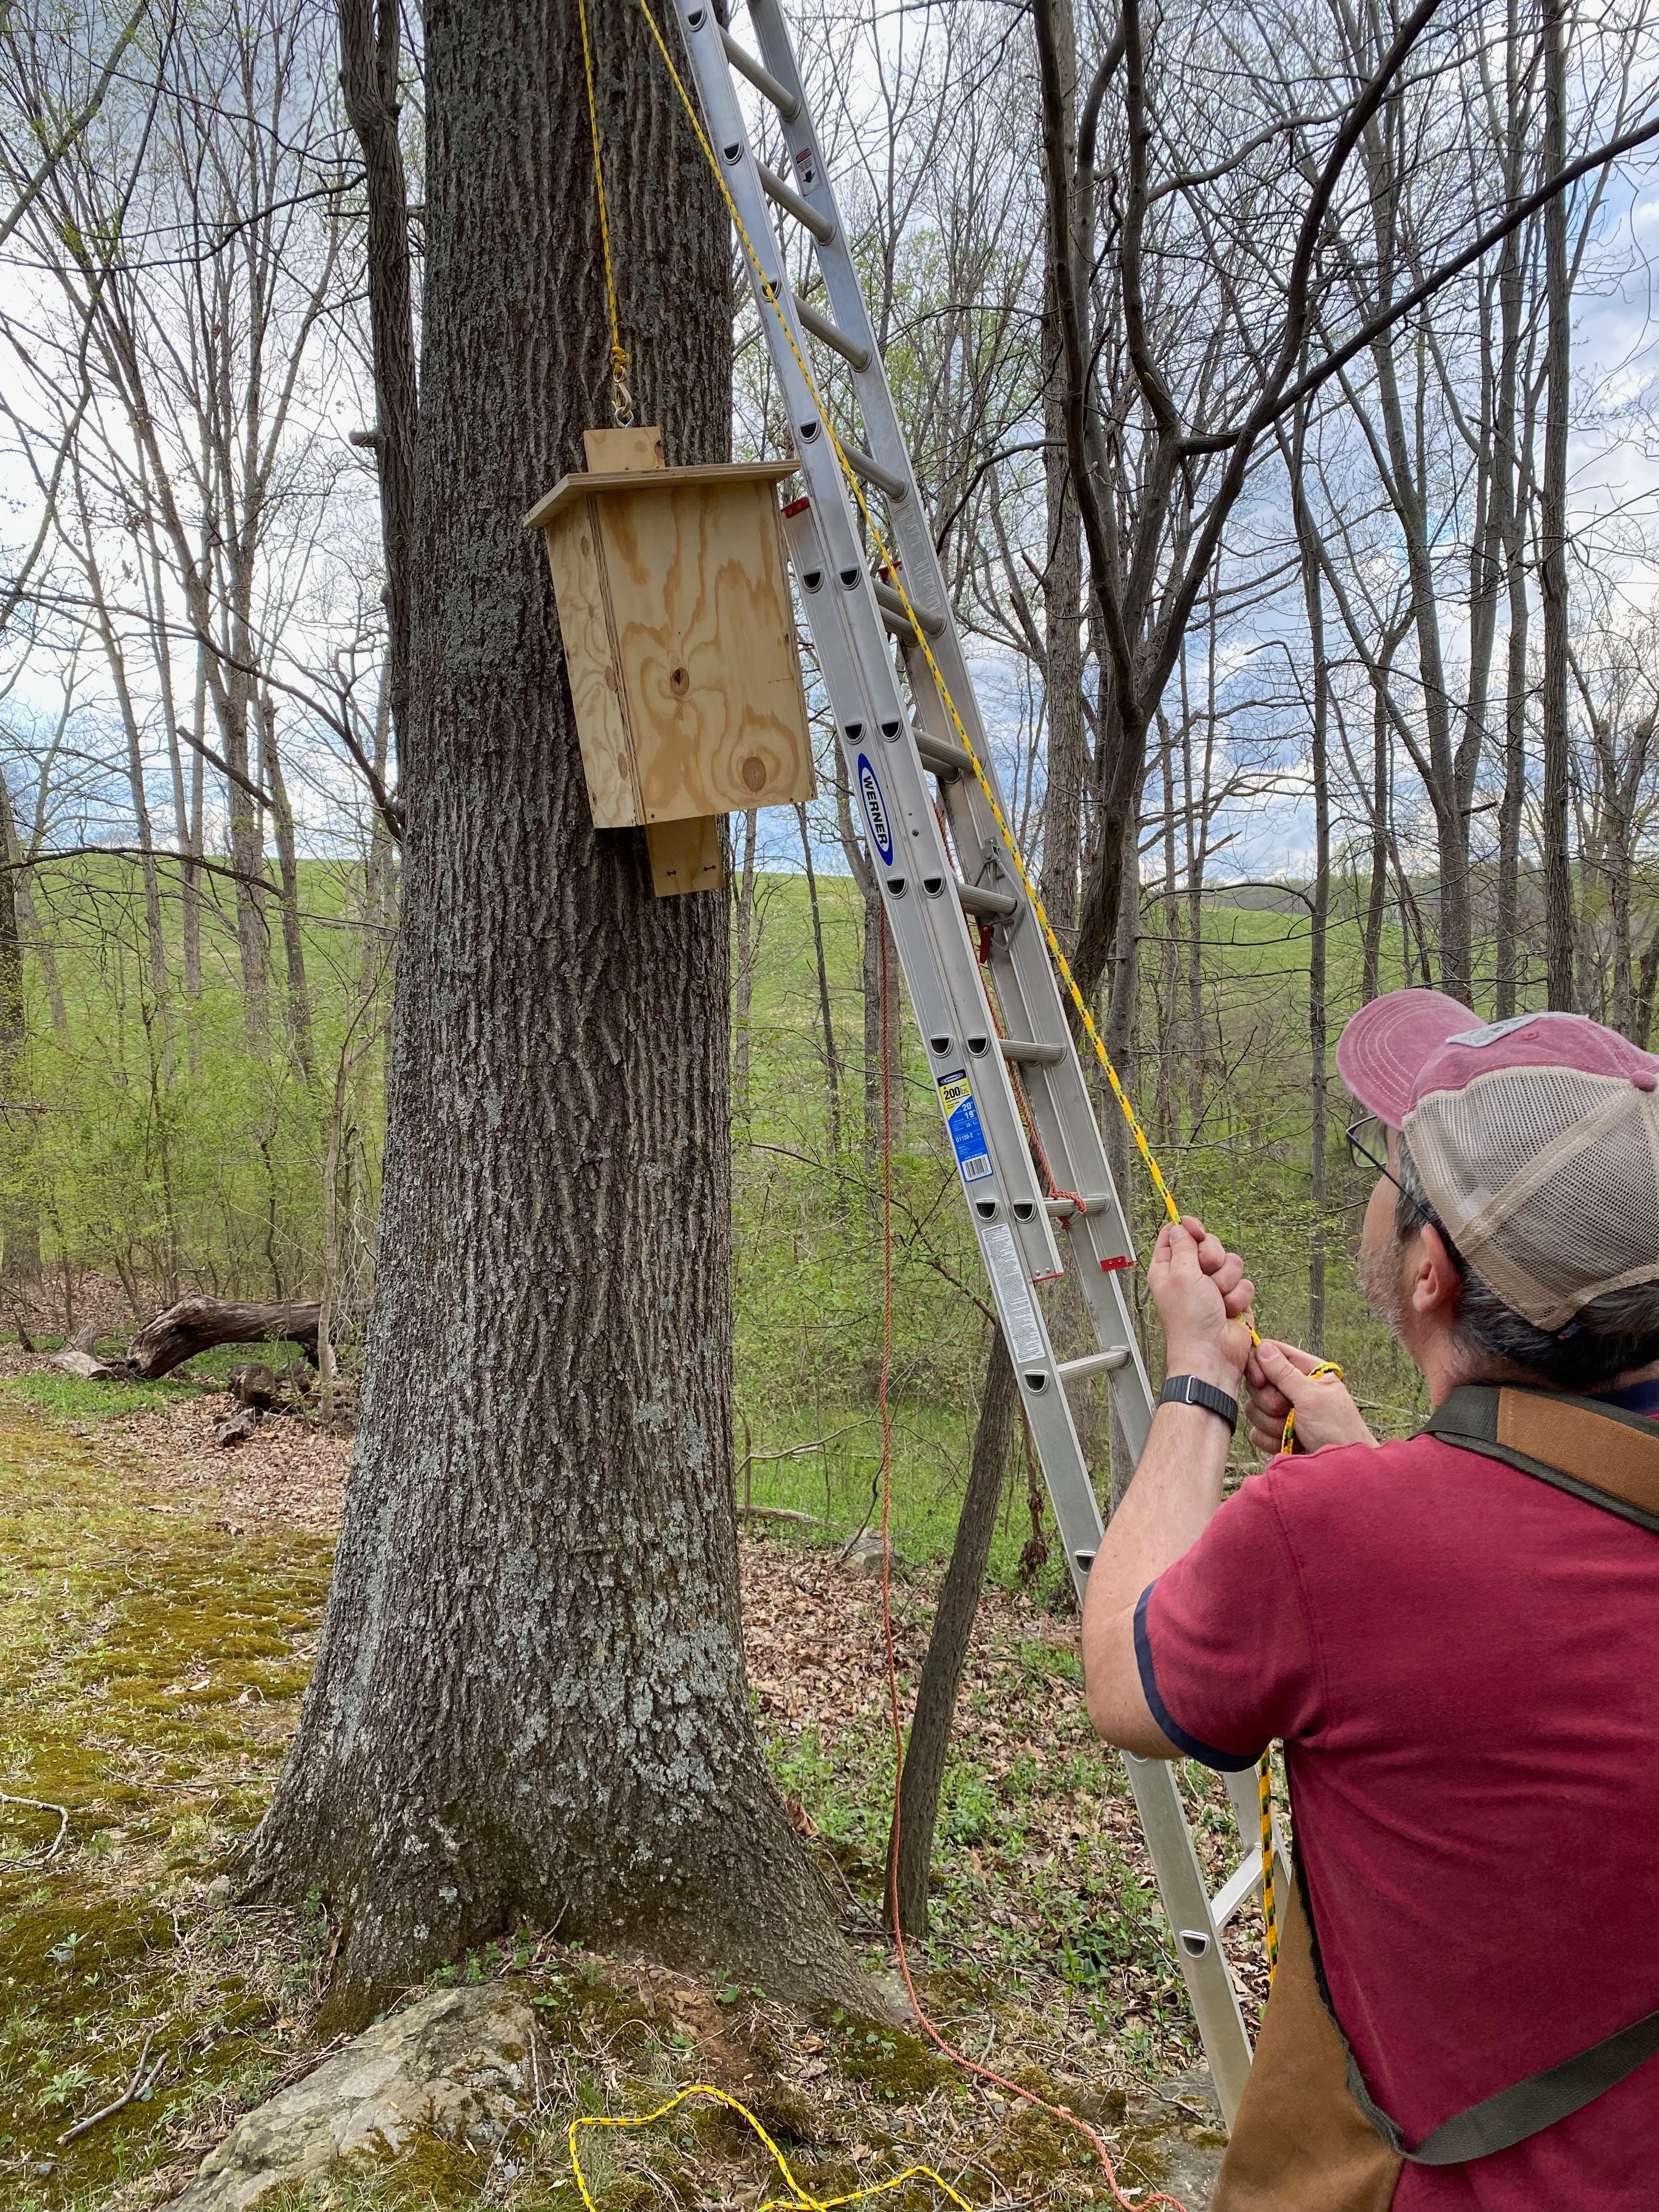
The plan worked. It was safe, quick, and effective. With my wife's help, we got the remaining seven bird boxes hung and mounted in just a couple of hours.
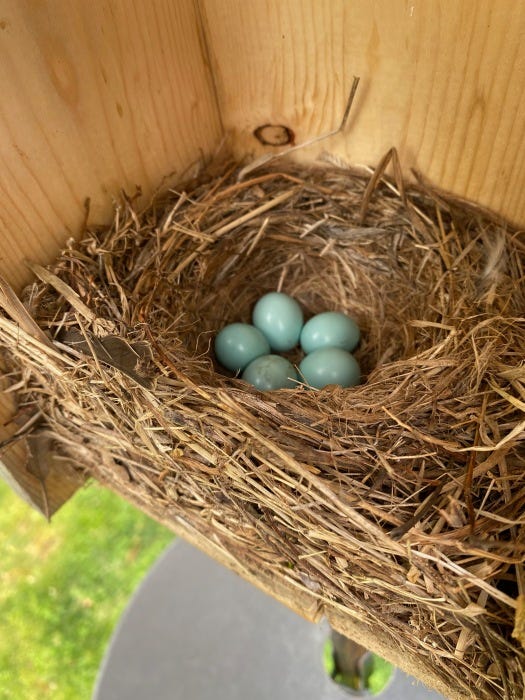
So when will we see activity in the boxes? I think the owls may take the longest. Some owls don't nest until January, so those boxes will likely remain empty until then. But in one of the new bluebird boxes, we already see evidence of nest-building. And in one of our pre-existing bird boxes, the birds have been quite busy indeed.
Happy nesting, my feathered friends. We look forward to being neighbors.