Fireplace Finishing Touches: Mantle Edition
A few weeks ago, I decided to update the appearance of our fireplace with whitewash. The results were great, but the change highlighted how deficient our mantle was. So on a recent Sunday, I decided to tackle the mantle and give the fireplace a proper finished look.
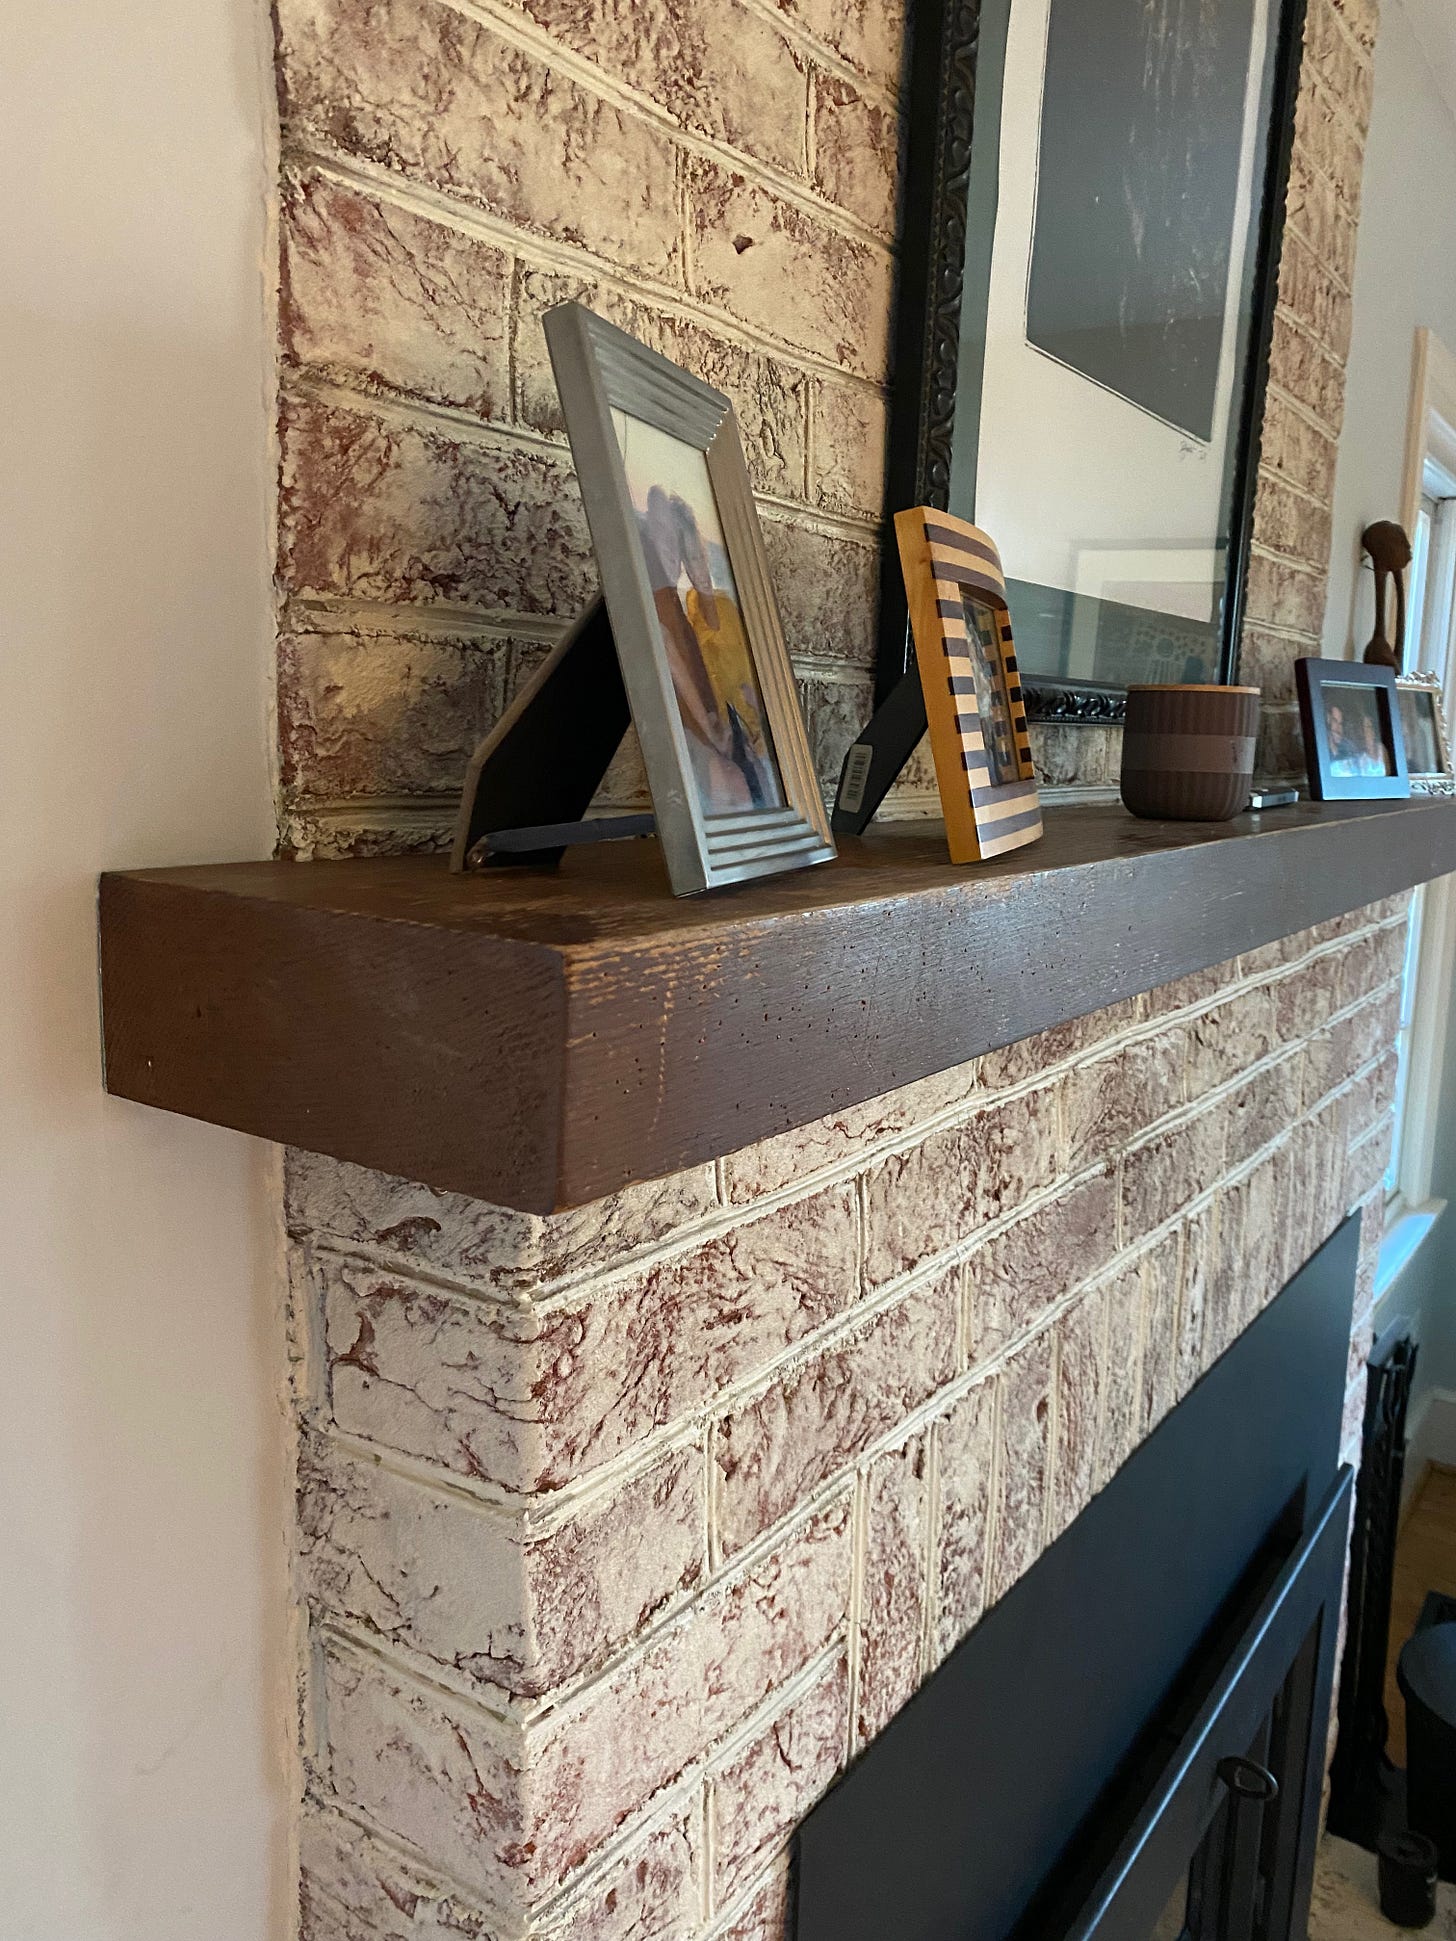
The original mantle was not particularly attractive... it looked to be something like Douglas fir painted brown, but with the paint wearing away. I guess you could call it "distressed," but that would imply a purposeful appearance.
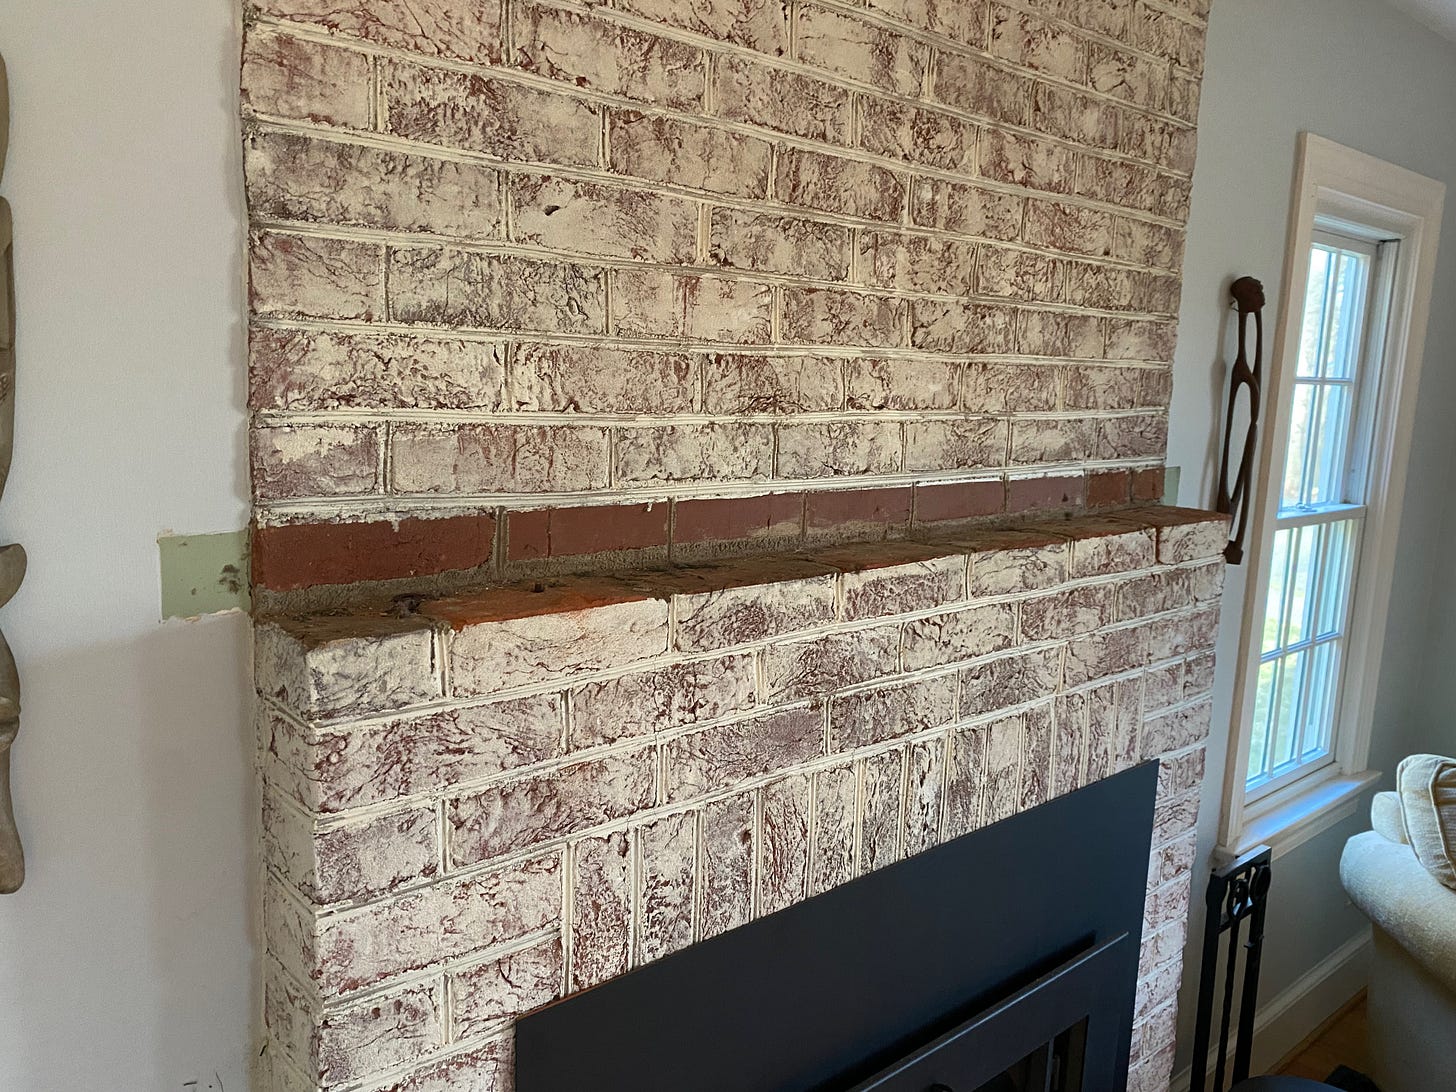
The first step in replacing the mantle was to remove the old one. I wasn't entirely sure how it was attached to the brick, but I guessed that it was attached on the bottom rather than through the wall. Using a heavy mallet, I tapped the mantle to see how it moved and sure enough, it lifted up off the brick. I then looked into the space between it and brick and could see two rods embedded in both the brick and the mantle.
Once I lifted the mantle enough, I grabbed my reciprocating saw and cut through the rods. Then the mantle lifted right off.
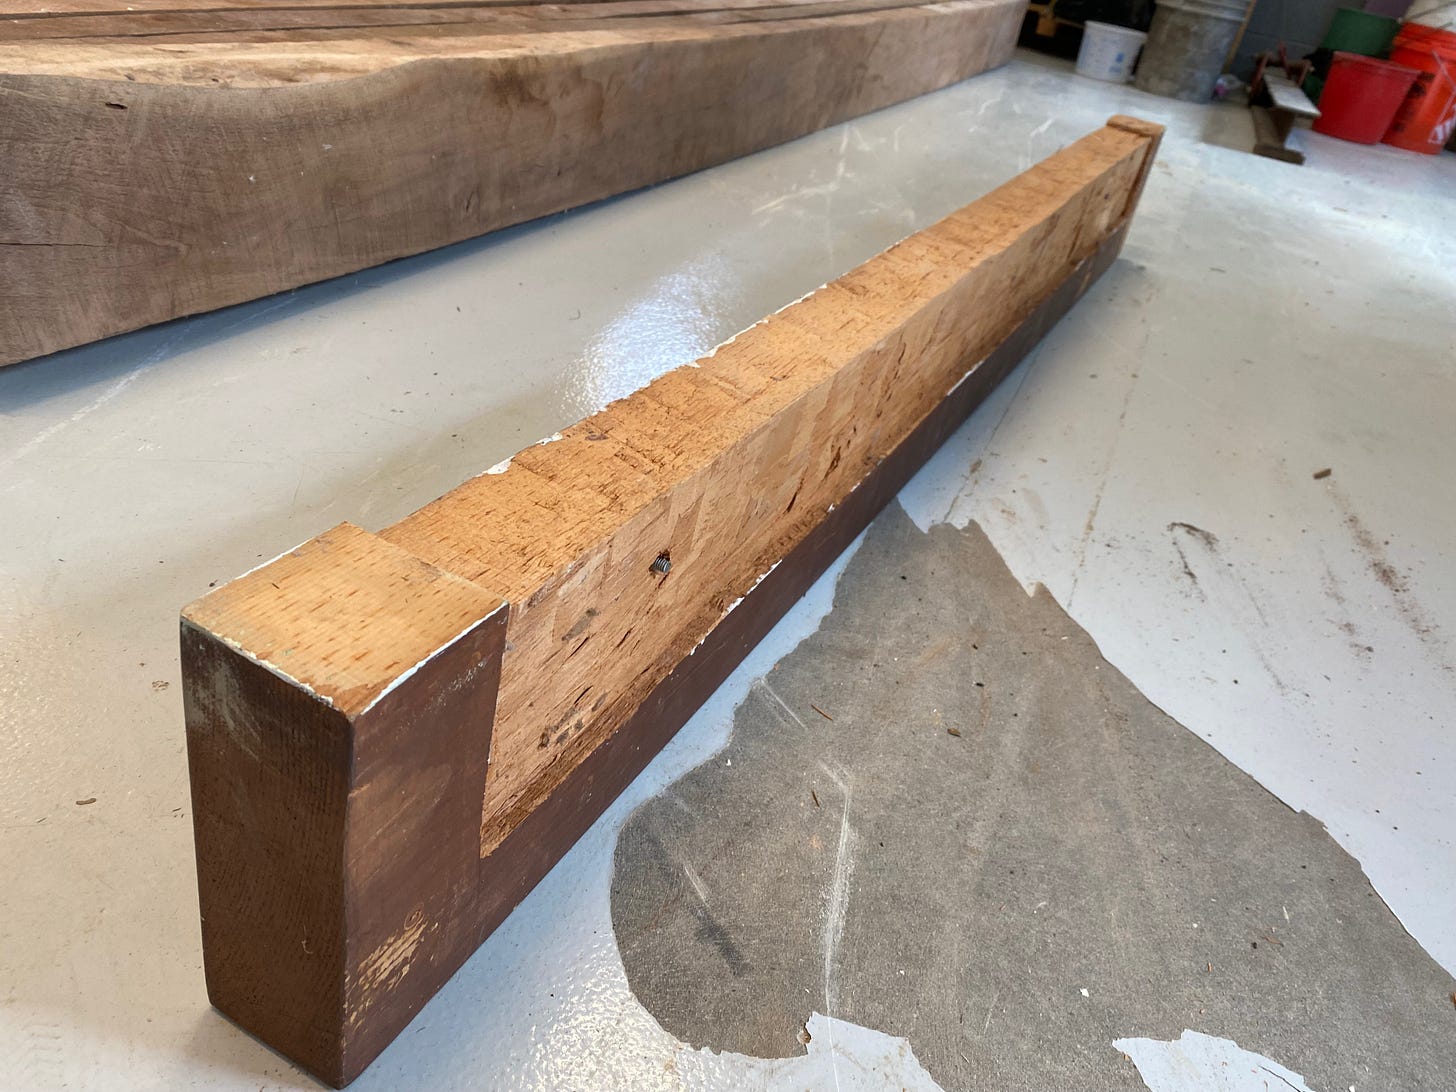
With the mantle removed, I re-painted sections of the wall and the brick to hide the old borders. And with the mantle itself, I could see relief cuts that allowed it to wrap around the brick, as well as where the metal rods connected the brick to the mantle itself.
The next step was to find a piece of wood to use to replace the one I just removed. Thanks to the generosity of the former owners, I had lots of wood to choose from. I found a three-inch thick, 10-foot-long plank of a heavy hardwood that looked promising. I wasn't sure of the species, thanks to the rough-sawn edges, but I was hopeful.
I took it to the miter saw and cut it slightly longer than the old mantle and was pleased to see the fresh cut revealed what I had hoped — the wood was black walnut.
Next, I sent the plank through the planer to smooth and flatten to the two sides. I intentionally left the piece longer than I needed because the board was so big and heavy, I knew sniping would be a problem; That's where the front and trailing ends of the board are planed slightly more deeply than the main part.
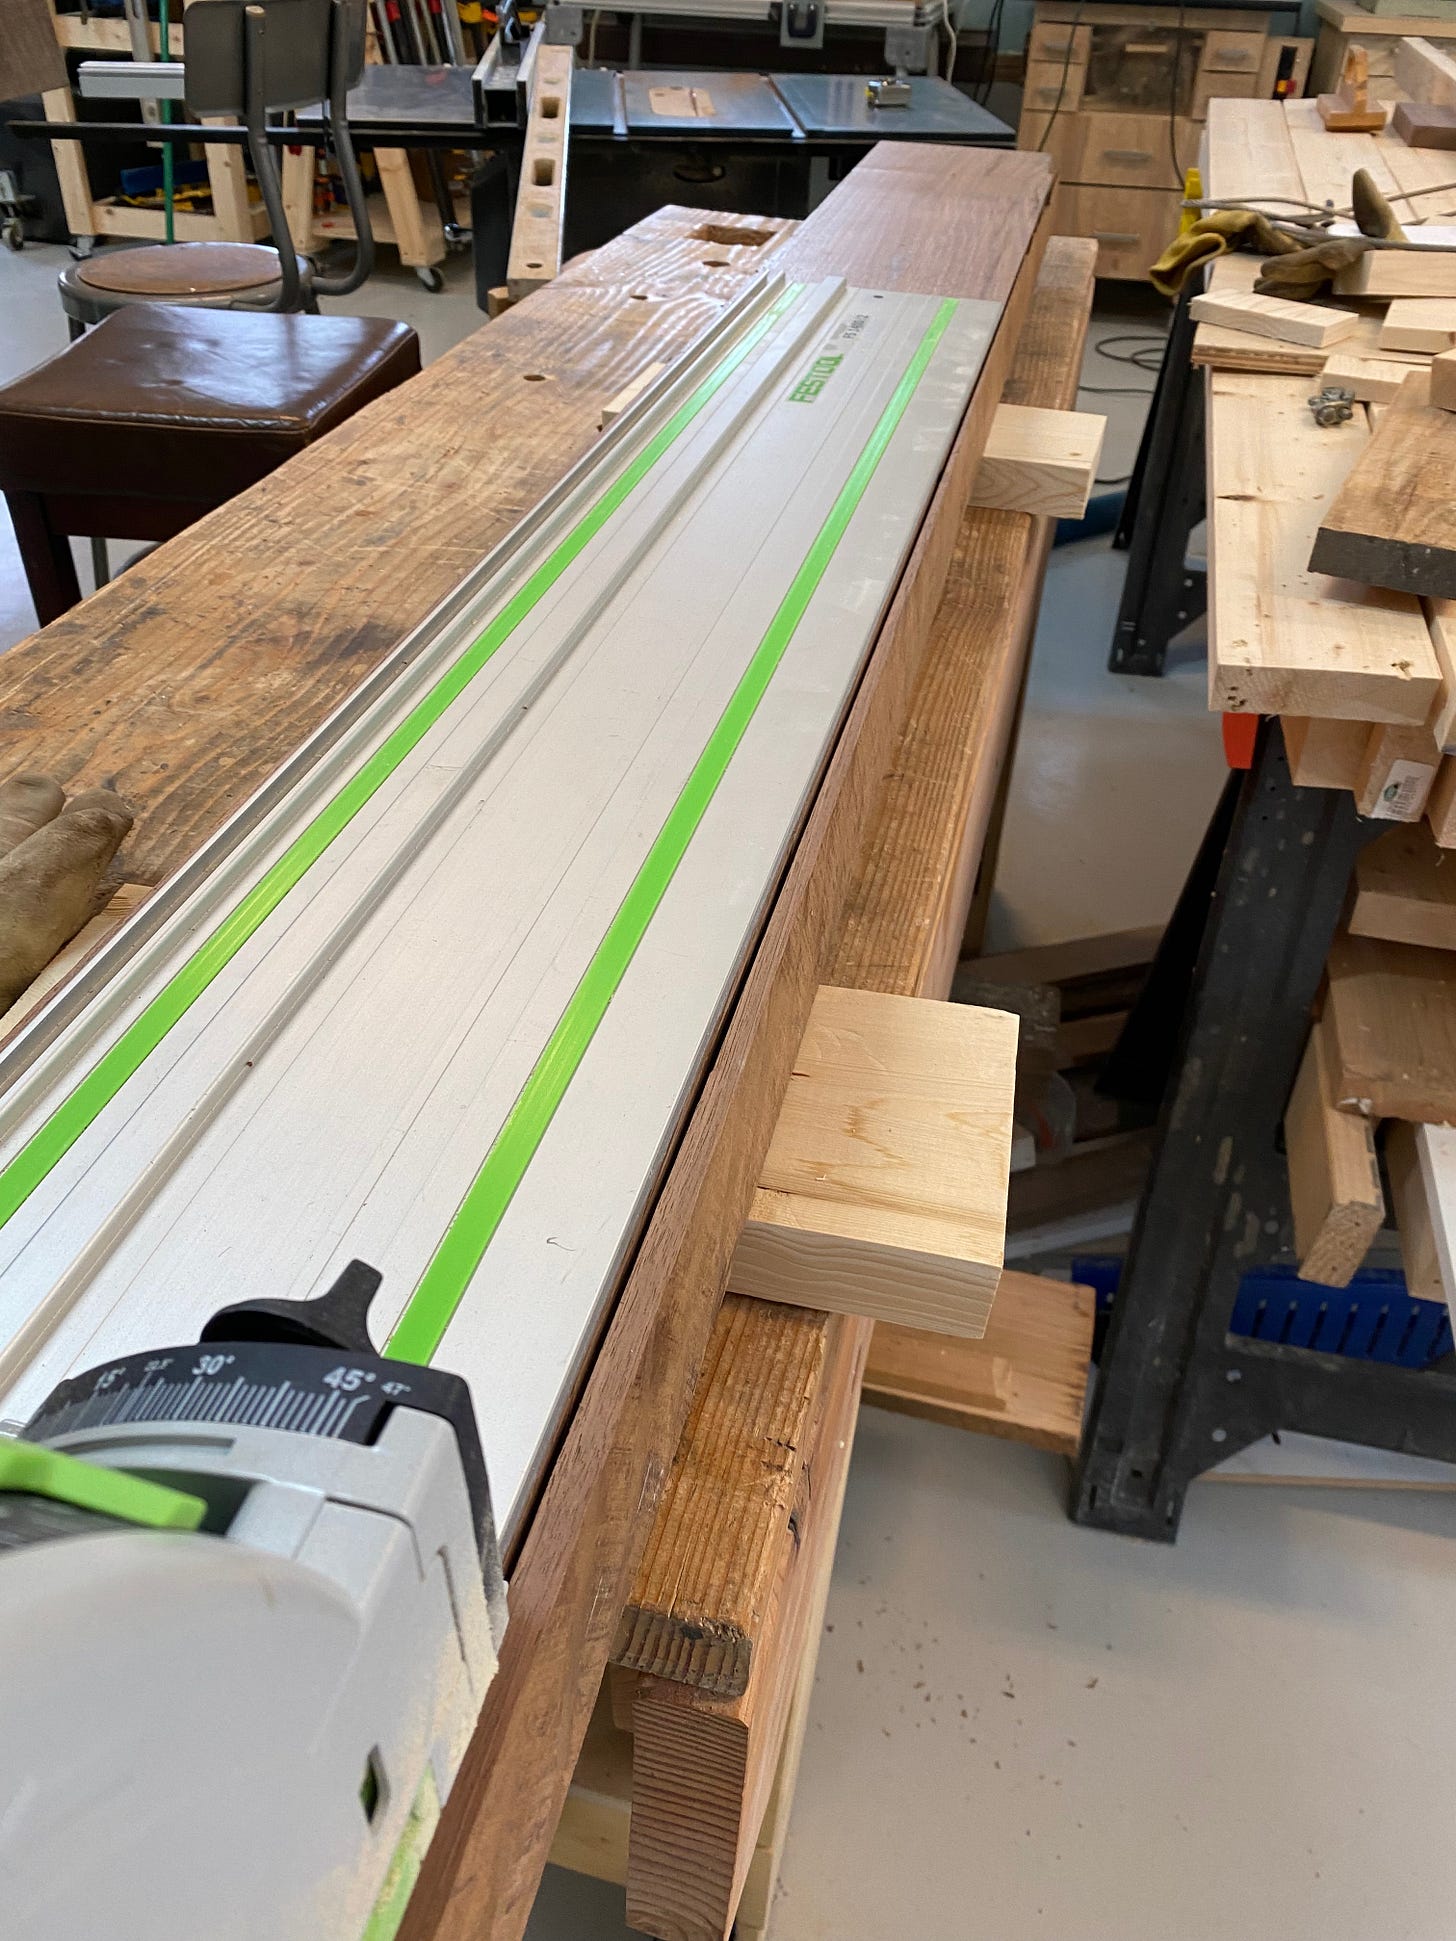
With the sides flattened, I now needed to square the edges. The best way I could think to do this was to use my track saw. Unfortunately, the saw blade isn't big enough to cut all the way through the plank, so I had to carefully cut one edge and then flip the board over and try to follow the same line.
Once I had one edge finished, straight and square to the sides, I cut the other edge on the table saw.
With the edge straight and square and the tops and bottoms flat, I went back to the miter saw and cut the piece to its final length.
So far, the process was pretty easy and straightforward. But now came the hard part. Because the mantle has to wrap around the brick, both on the ends and underneath, it was time for the hardest part of the endeavor — making the relief cuts.
This wouldn't have been so hard if the mantle was going onto something smooth and straight, but it wasn't. I wanted it to follow the contours of the brick.
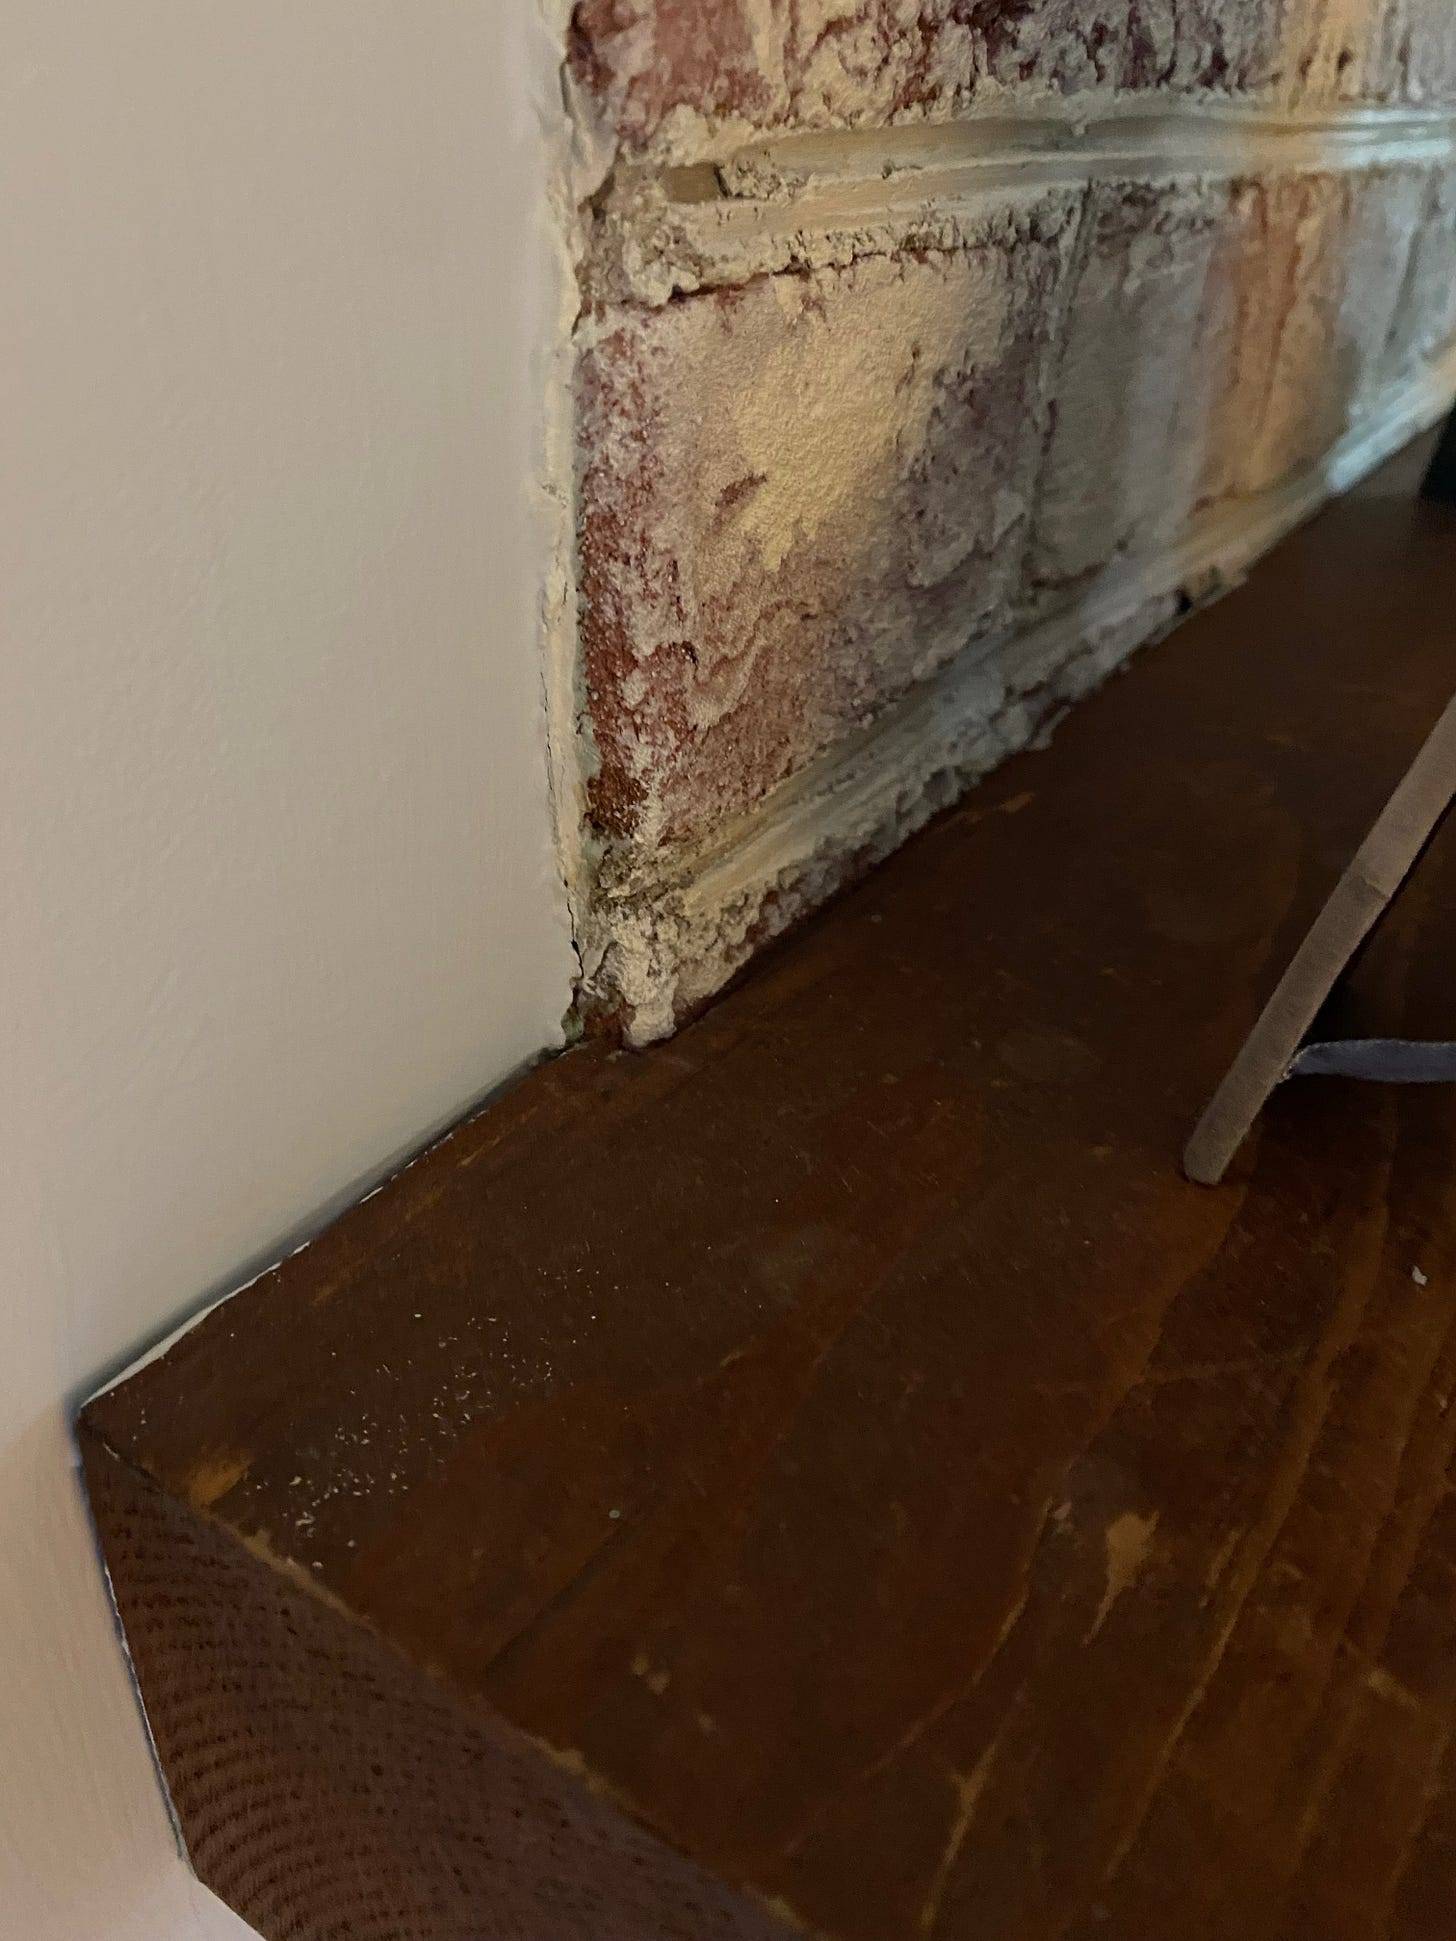
For the back edge, I scribed a pencil line on the wood and attempted to follow it on the bandsaw.
The results were good, if not great. The back cut mostly followed the brick's contours. I wasn't unhappy with the results, even if they weren't perfect.
Next came the truly challenging part: cutting the relief on the underside of the mantle. I used the old mantle to scribe the relief lines and then started using a router to cut away material. Soon, though, I realized the router was going to be problematic. Without a jig, I had no way of keeping the router at the right height as I cut material away. Every pass took away the material I needed to hold the base in place.
Furthermore, the router was getting difficult to manage, so I decided to put the power tool down and pick up some hand tools.
Using a chisel and mallet, I carved away material until I felt that I had come close to the same relief profile as the old mantle. Then I placed the mantle on the brick and noted where I needed to cut away more wood. I kept doing this until I had it just right — a process that took several hours and left my hands feeling like they had been run over by a truck.
When I finally had it right, I turned to sanding and finishing. I wasn't sure what finish to use, so I called my dad for advice. (He's building a boat and blogging about it. Read it.) He suggested Tung oil, as it would bring out the natural beauty of the walnut without making it darker than it naturally is.
As it happened, my dad was visiting a friend who is a fantastic woodworker and sculptor. My dad's friend agreed that the Tung oil would be nice, but also suggested I hand-carve the leading edge of the mantle. "You could have otters and Lilly pads," he suggested, vastly overestimating my skillset.
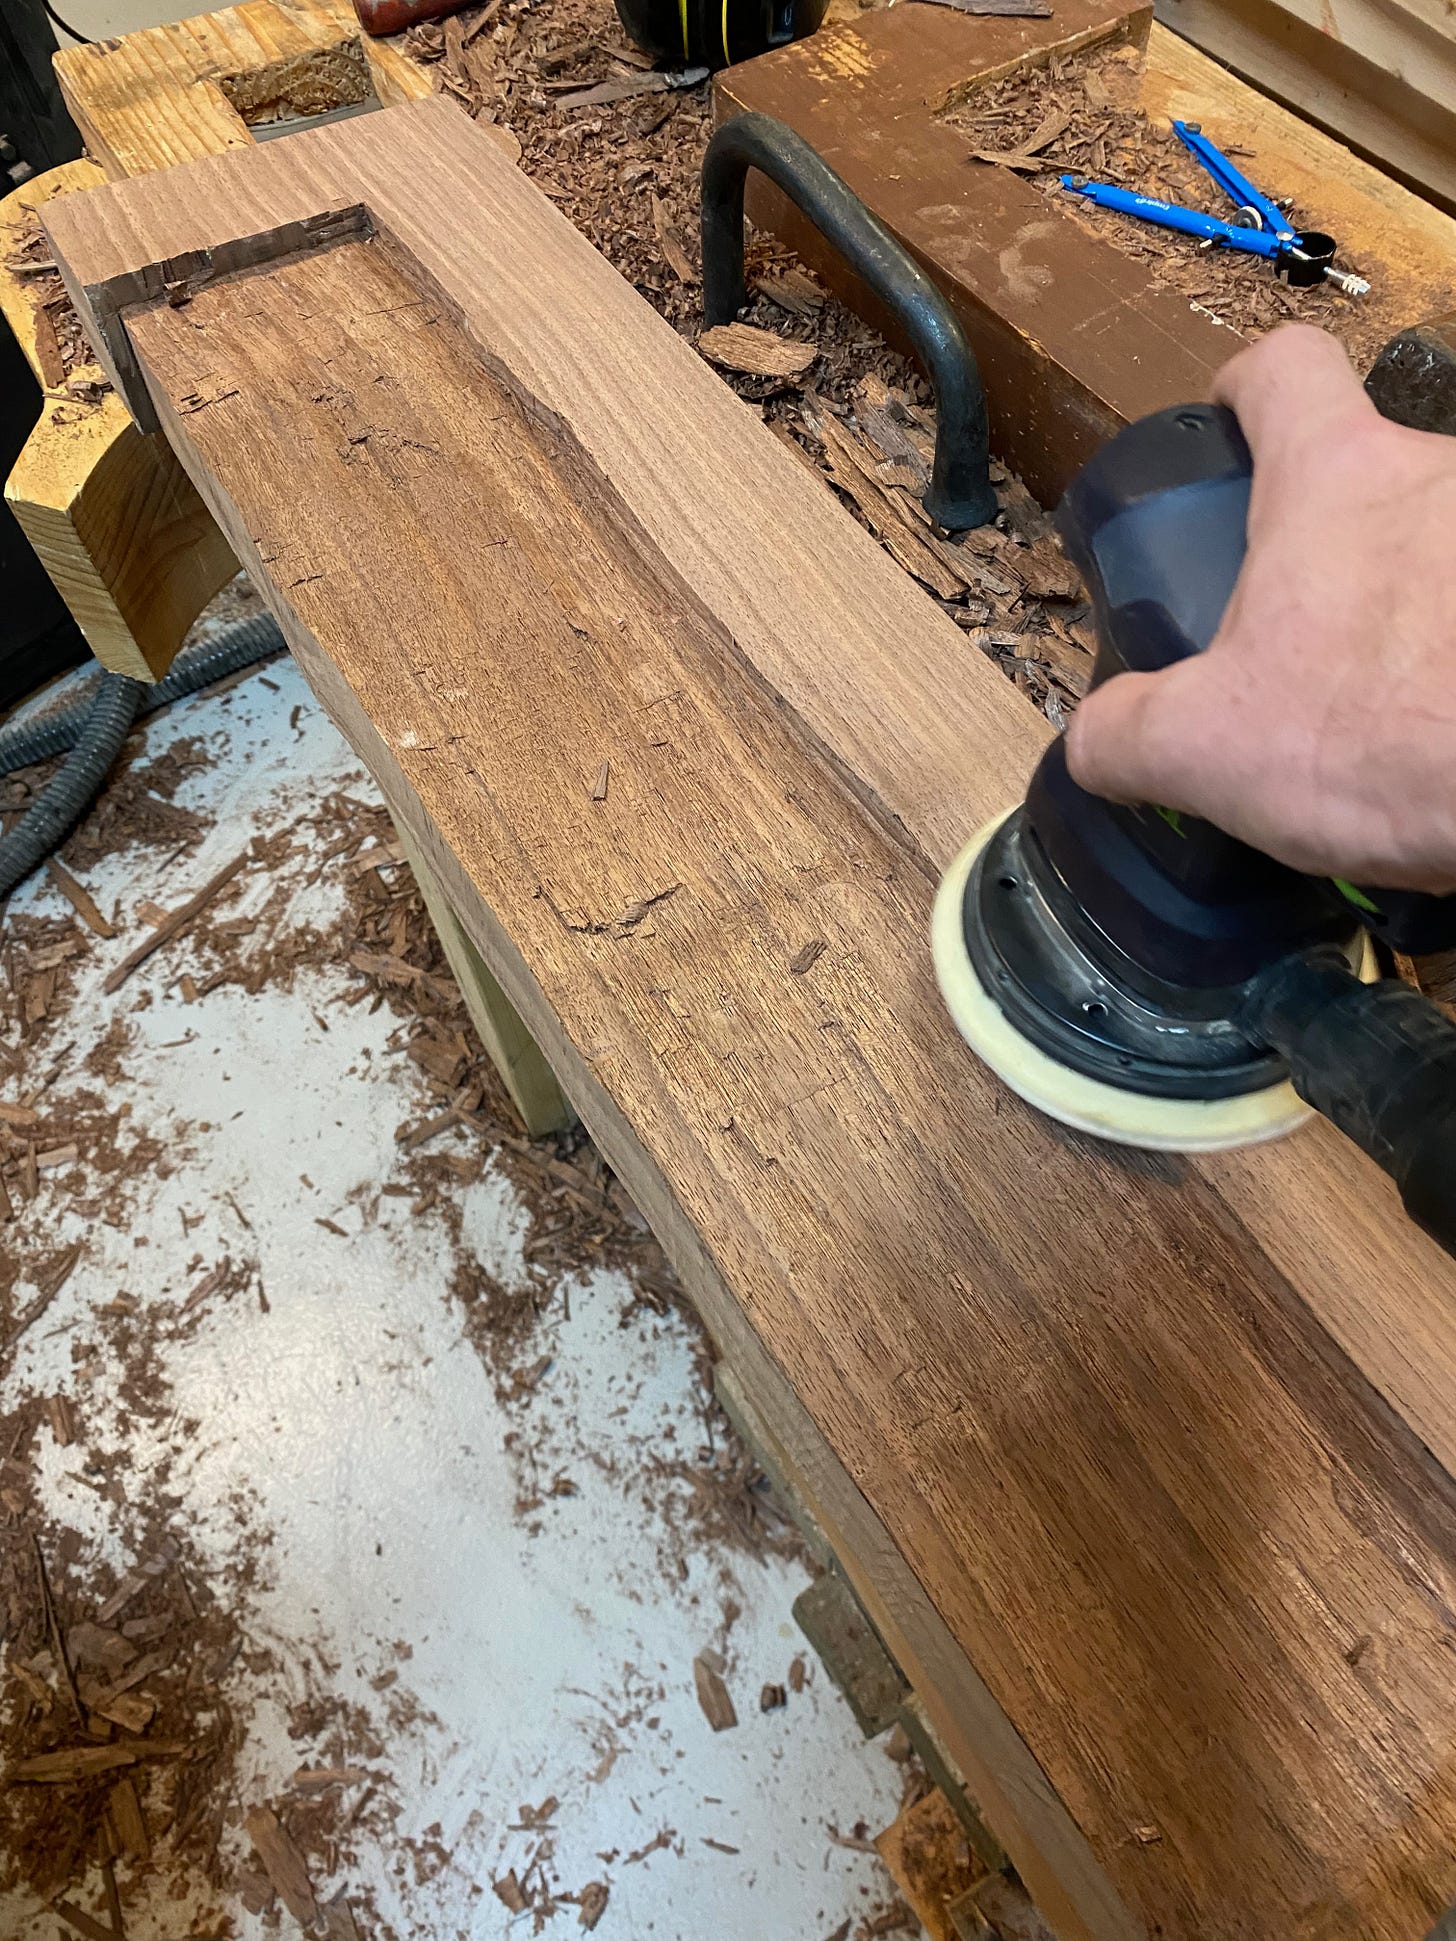
After copious sanding, I applied the first coat of Tung oil and the walnut sprung to life. Over the course of the week, I added two more coats with superfine sanding between them. Finally, the piece was ready to mount back in to place.
I was nervous about mounting the new mantle because I knew how easily I could screw it up. Misaligning the piece and it would be impossible to set it correctly. I'd either have to start over or stew for the rest of my life over the piece just not sitting right.
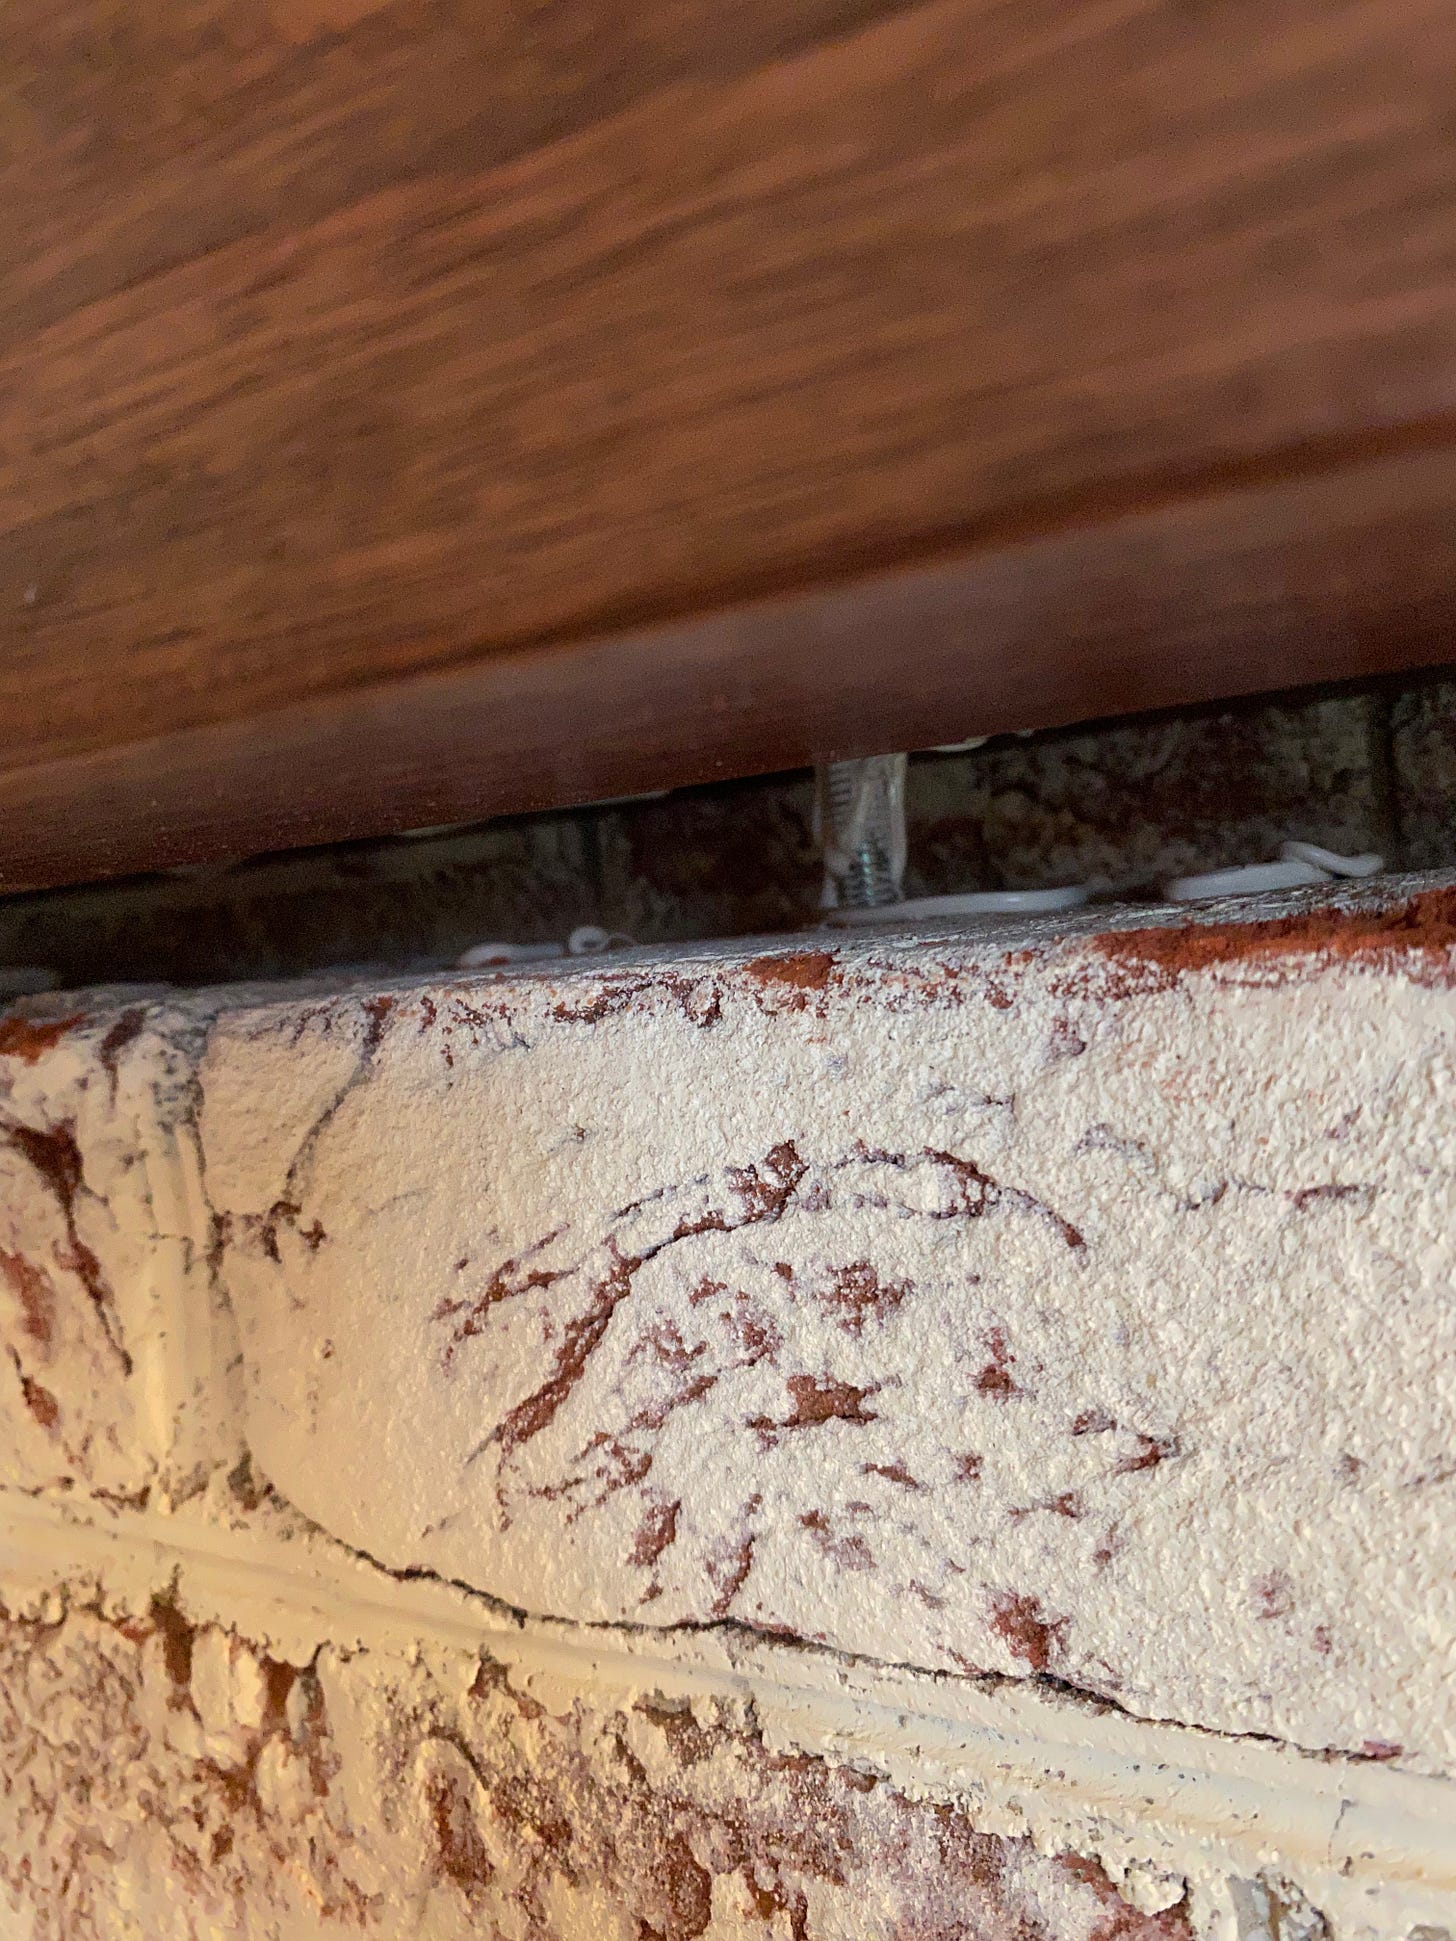
I started by drilling holes into the brick, squeezing construction adhesive into them, and then setting threaded rods into the adhesive.
On the ends of the rods, I dabbed some white paint and then set the mantle on the rods, pushed back against the wall. That left two white dots on the underside of the mantle, which marked where I needed to drill.
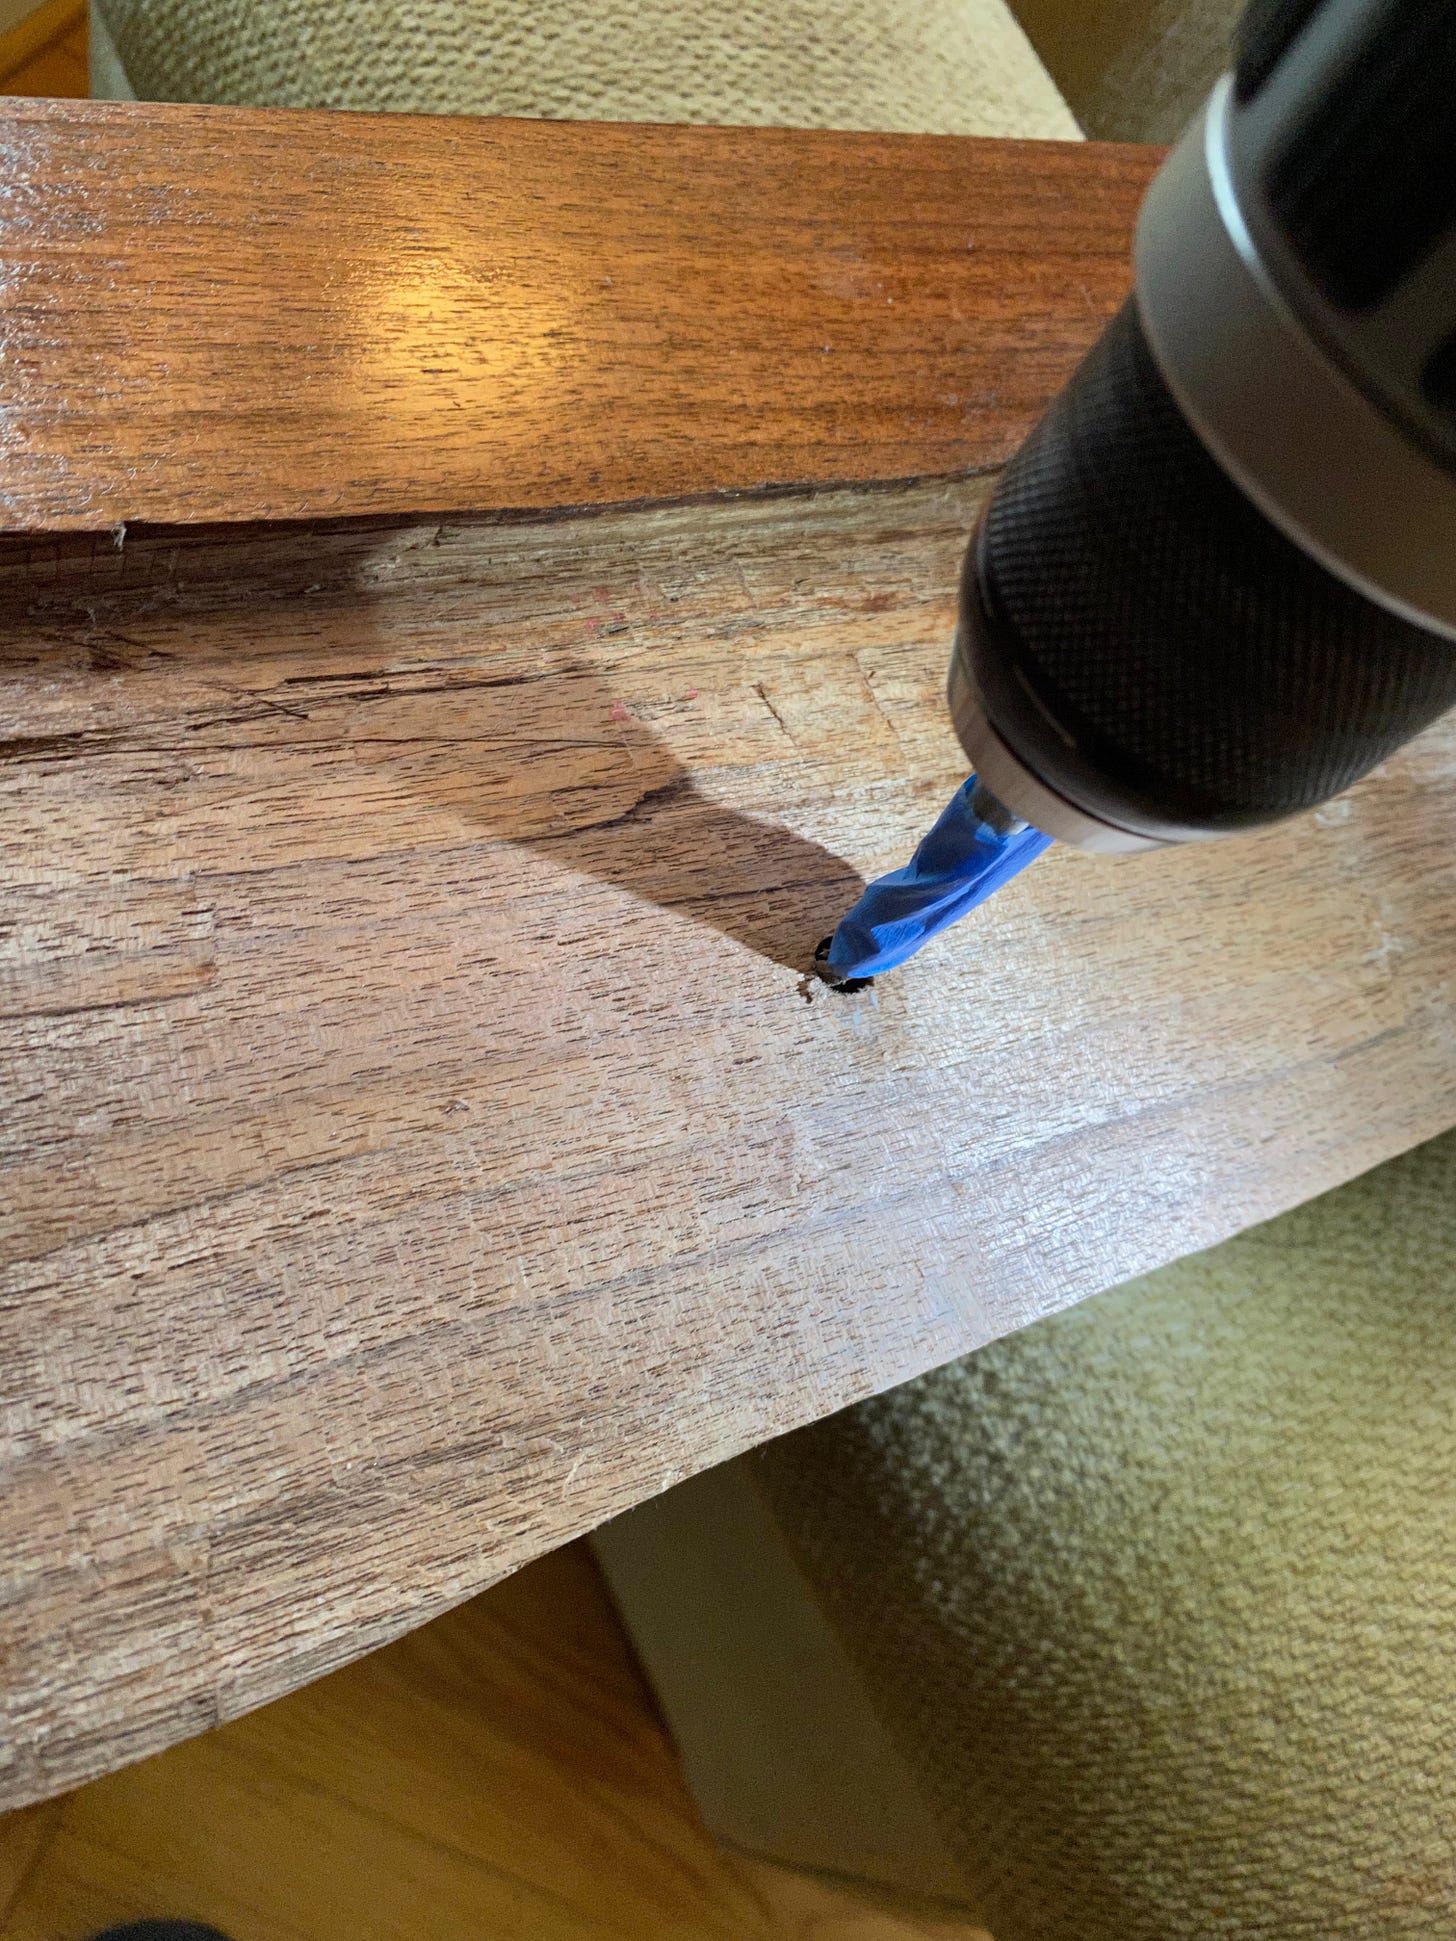
Carefully drilling into — but not through — the wood, I created the holes the rods should slide into. I filled the holes with construction adhesive and then squirted more adhesive all over the underside and backside of the mantle. Then the moment of truth. Would it fit?
As I slide the mantle down onto the rods and tapped it into place, I breathed a sigh of relief. It fit. Was it perfect? Of course not. Nothing I do is perfect. But, it was pretty good. Pretty, pretty, pretty good.
Also, it was very pretty.
And now the fireplace is done. Like actually done. I'm pretty pleased with the results, too.


