Duct, Duct, Goose
I'm the kind of guy who notices good ductwork and gets a little jealous. So when I had a chance to put ductwork and a centralized dust collector in my shop, I was probably a little too into it.
As I've been working on more and more projects in my shop, I've become increasingly annoyed by the mess — not to mention the health hazards — caused by sawdust. It's not like I've been letting machines just spew out dust willy nilly; I've been following the well-worn path of cheapniks everywhere by connecting a shop vacuum to my machines. But, shop vacuums really aren't made for this purpose and it's annoying (not to mention a tripping hazard) to move the vacuum to each machine as I work around the shop.
I guess you could say I had approached another one of those lines between adolescence and adulthood, like drinking amber liquids from cut-crystal glasses; hiring professional movers instead of begging friends for help; making beds after sleeping in them; preparing entire meals instead of opening a can of smoked oysters and a box of crackers. It was time, in other words, to be a man and install a central dust collection machine and permanent ductwork in my shop.
For the past few months, I have been both saving for such a plunge into adulthood and doing research on what system I should buy. I read online articles and reviews and zeroed in on the Laguna C|Flux 3 Dust Collector. It seemed to have all the features one would want — remote start, easy filter cleaning, easy bin removal, power — and I was excited to get it. I placed my order and though I was dismayed to see it would take three months to arrive, I knew that once it came, I'd be in hog heaven.
Of course the vacuum is just one component of a dust-collection system. One also needs ductwork, blast gates, connectors and hoses to make it fully operational. And as it turned out, that part of the system is way more complex than just snapping together some pipe.
Diving into Ductwork
My original concept was to put the dust collector in the center of my ductwork. That’s because the Laguna has a single eight-inch inlet split into three four-inch ports. I figured I’d use each port to run ductwork to machines in different directions: left, right and center (or more precisely, up and across the shop to a drop in the middle of the room). I’d use blast gates to shut off whichever sections weren’t in use.
But as I dug in, I discovered a world of static pressure, air flow, carrying velocity, delta P, air speed and more. Bigger ducts mean greater volume of air, but moving at a slower speed. Smaller ducts move less air, but faster. Long runs and multiple turns and ribbed hoses all add turbulence and reduce the effectiveness of the system. My head was spinning and I began to worry that since I didn't really know what I was doing, I would simply spend too much time and too much money on a system that was no real improvement over my Shop-Vac. It wasn’t just an academic concern — I read plenty of posts of other woodworkers who found themselves in that very position.
I explained all of this to my wife over dinners and in the car during errands. (“See, the volume of air increases exponentially as the diameter of the tube doubles, so maybe I should put a reducer at the inlet. But then the air volume might not be enough to keep the particulate suspended!”) Her enthusiasm for this project and her interest in the challenges I was trying to solve were never more evident than when she turned to me one evening and said, “please stop."
Looking for a more receptive and more helpful ear, I reached out to a friend and told him about my purchase and my thinking on the ductwork — and the challenges I was facing.
"Have you heard of Nordfab?" my friend asked. "It's what I see a lot of woodworkers online use. It's supposed to be really easy to put together and you can even take it apart and reconfigure it. And I think they'll even help you plan your system."
I hadn't heard of Nordfab, but it sounded interesting. "But I think it's pretty expensive," he added.
Of course it is. My friend is a good friend. He's a great friend, actually. But he has this habit of introducing me to expensive things I didn’t know about, but ended up craving. Cue Nordfab.
Although Nordfab has different kinds of ducting, the kind my friend suggested is known as “Quick-Fit Clamping” because instead of using screws or glue to hold the pieces together, it uses silicone O-rings and clamps. Among the benefits of this system is that it is easy to install and easy to take apart and re-configure.
So, I was intrigued. I emailed the company and I was quickly connected with Jay Kravetz, who promised to help me figure it all out.
(A quick note about Jay. He owns Marked Tree Woodworks and is a Nordfab dealer, meaning he helps design people’s dust collection systems and then sells the Nordfab pieces to make those designs a reality. He also makes beautiful charcuterie boards and cutting boards and custom furniture. And he’s an eminently nice guy.)
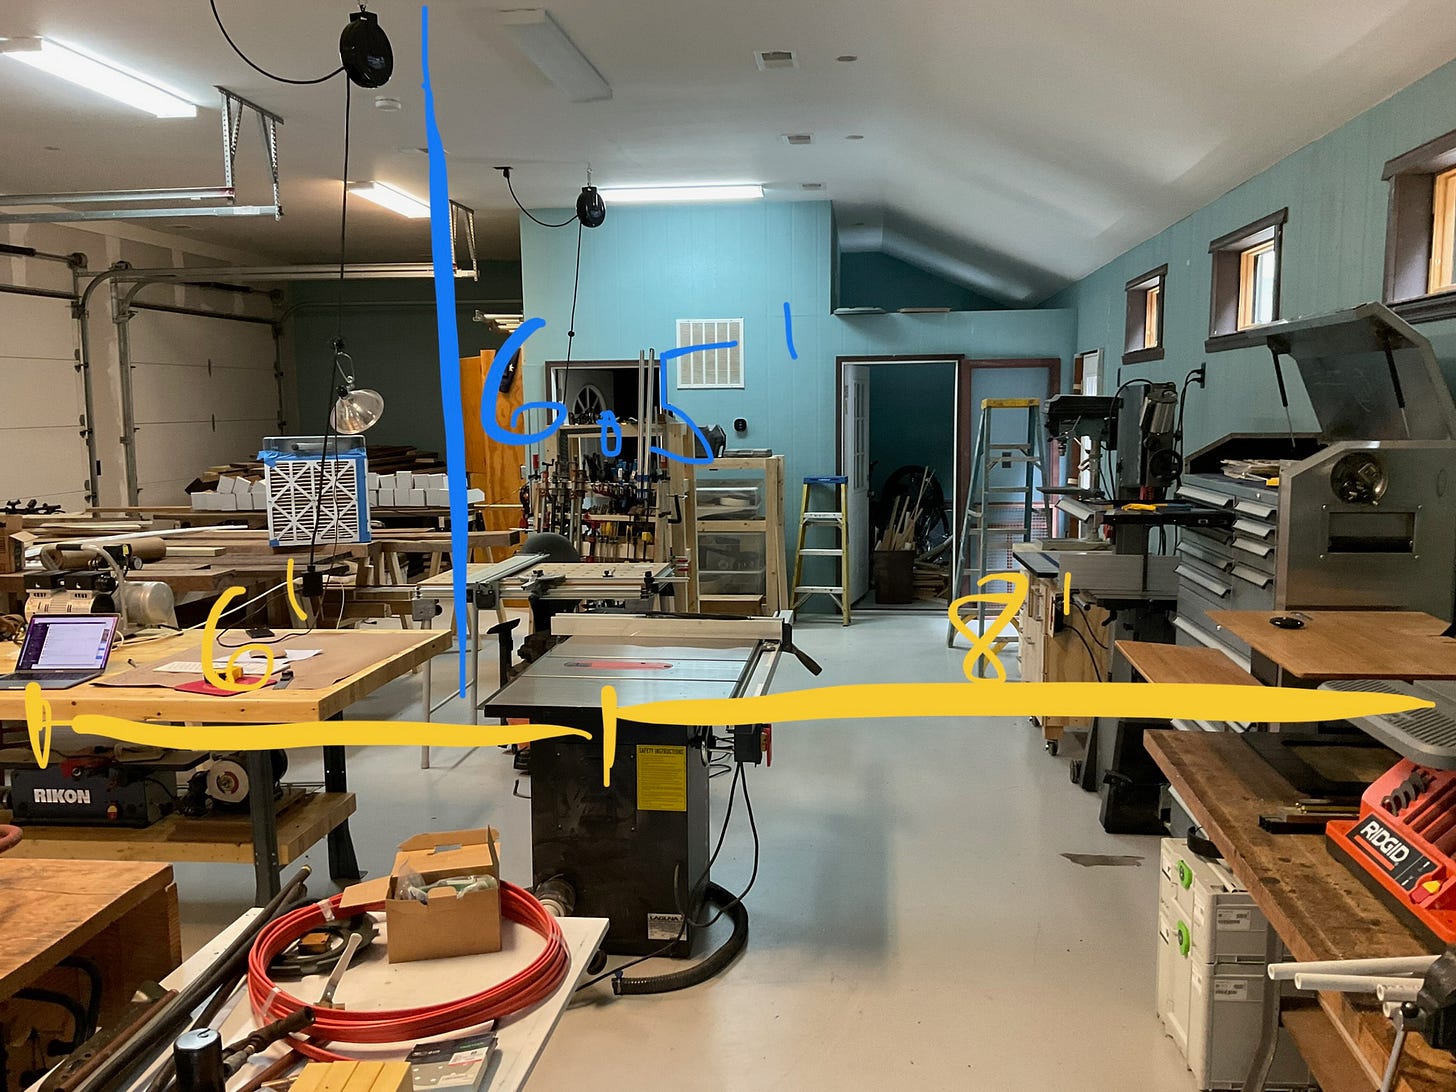
Jay had me send him a list of my tools, the dimensions of my shop, and a sketch of what I had in mind. Within 24 hours, he sent me back a CAD drawing that would have been my dream ducting. He figured out all of the specs — the static pressure and air flow and whatever — to ensure it would perform to expectations. It was marvelous, with drops to every machine. “How much would this cost?” I asked. When he told me, I nearly choked on my sawdust; It was multiple times what I had budgeted.
I told Jay I didn’t think I could afford what he had designed. I felt bad, as he clearly put some work into it, but it was just too much. I started to think about how I could build a similar system for less out of PVC. But, I soon found myself entangled in a world of varying specs and inner dimensions and outer dimensions and blast gates and elbows and connectors and more. I got the sense that trying to cobble together a system was unlikely to save me nearly as much as I wanted, nor perform as well as I needed.
Then Jay wrote back. “I think we can simplify your system and save you some money.” Music to my ears. We went back and forth and eventually decided that my one-man shop had no need for drops to every machine. I could easily use a flex hose to connect to and disconnect from nearby machines as needed. Furthermore, moving the dust collector from a central position to the end of the line would probably allow it to perform better and use less material. And if I just rearranged my shop a little bit, I could simplify and save even more. Furthermore, if I ever wanted to expand my system, I could easily do that too.
Jay also suggested changing dust collectors. Nothing against the Laguna, he said, but he thought a different vacuum could work better for my system and cost a little less. Better for less? Tell me more!
He recommended the Oneida Air Systems' Supercell. I read up on it and was pleasantly surprised to read rave reviews. And Jay was right — it seemed specifically designed for my kind of shop. I canceled the Laguna.
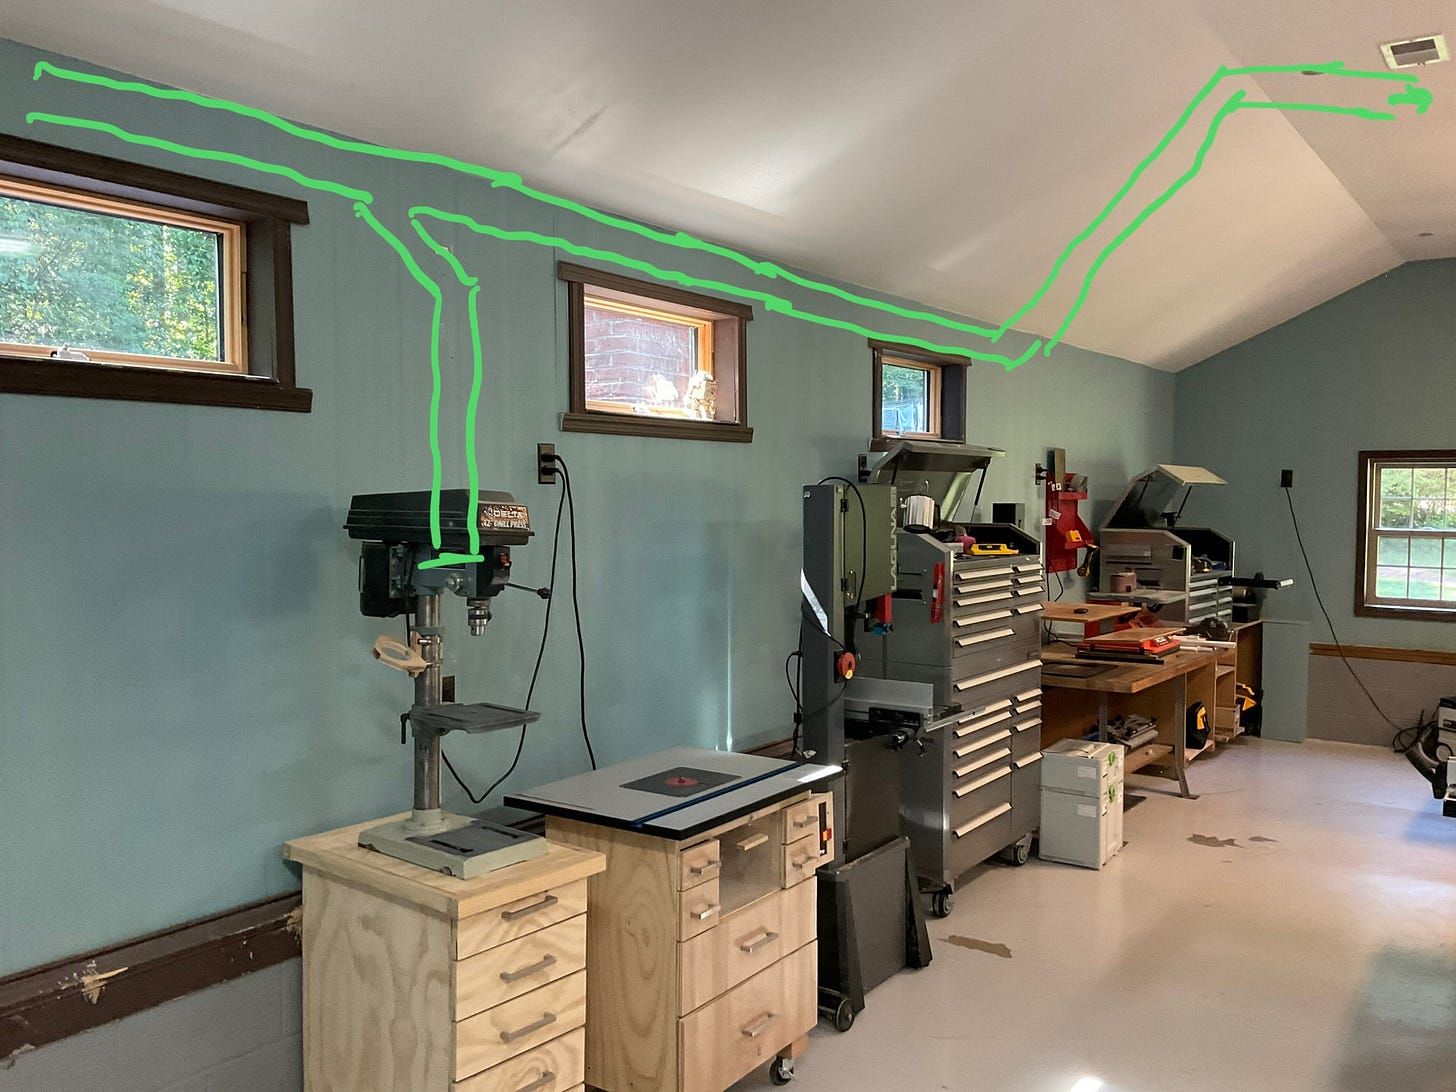
In the end, we reduced the number of drops from eight to two and cut the length of runs in half. The system needed fewer blast gates and fewer turns. It would actually yield better performance at a lower cost. It was a win all the way around. We also decided to stuff the dust collector into a side room so I could seal it off from the shop and hopefully isolate its noise.
Arrival and Assembly
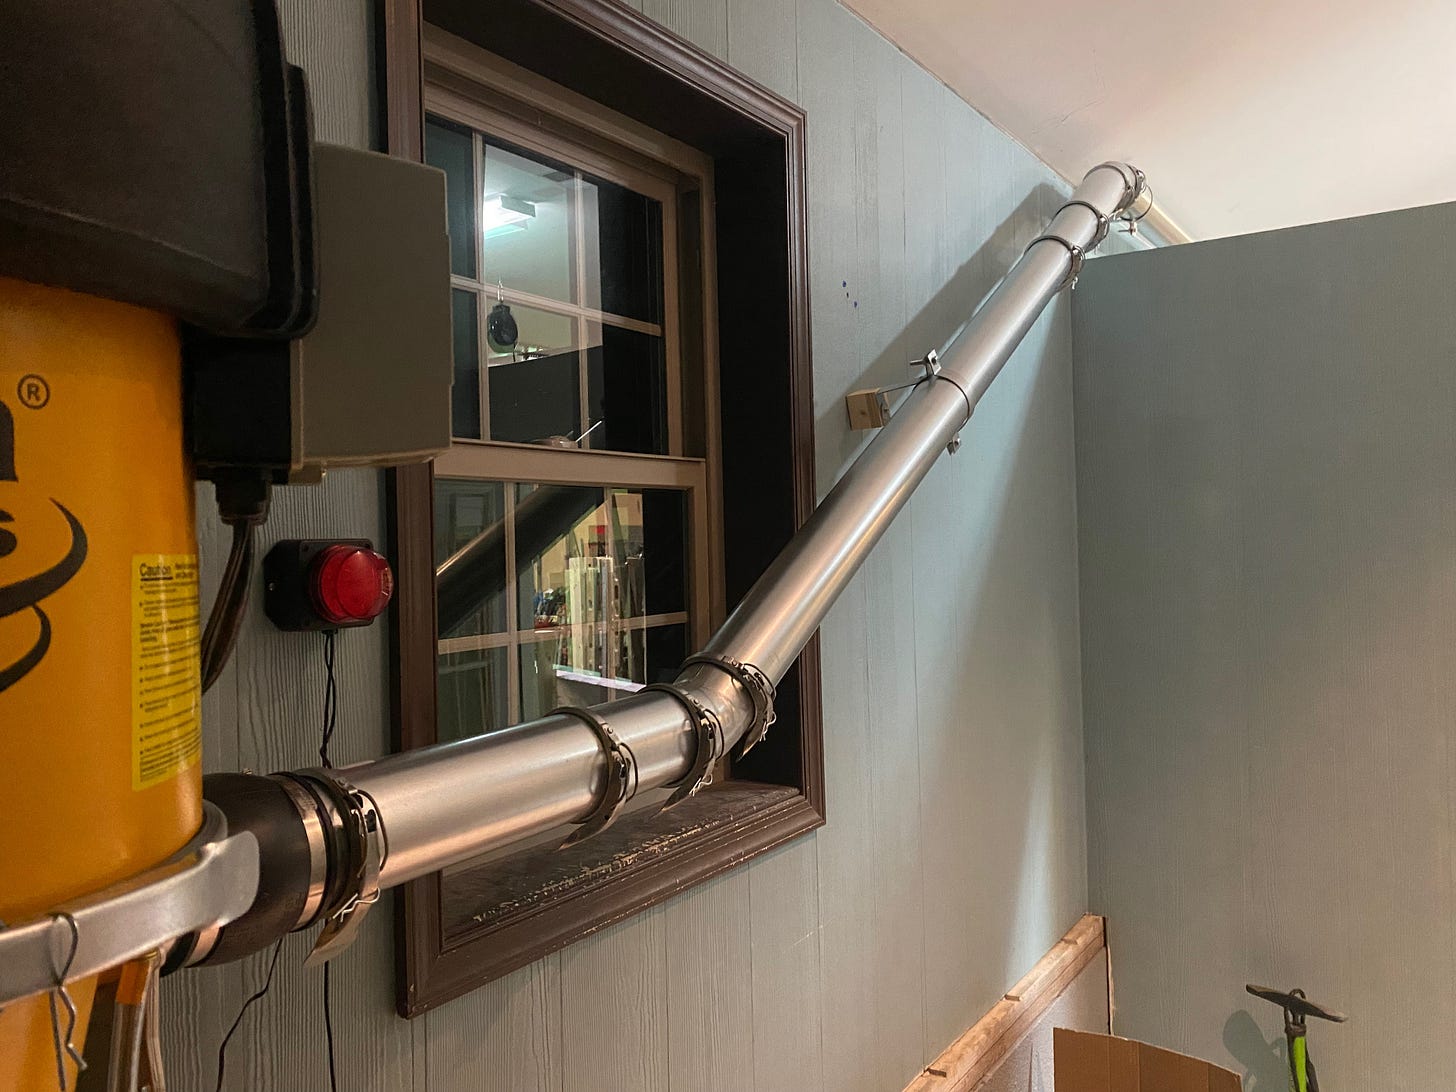
I placed my order with Jay and within a couple of days, the Supercell landed at my doorstep. It showed up in three large, well-packed boxes. Installation was pretty straightforward, thanks to clear directions and several YouTube walkthrough videos. After about 90 minutes, I had it hanging on the wall, ready for use.
Well, almost. The vacuum runs on 220 volts, so I also had to run a new heavy-duty line from the electric panel. Luckily, my shop’s electric panel has ample space for new breakers. I installed a new double-pole breaker, ran the line and connected it to a new 220 outlet I mounted on the wall.
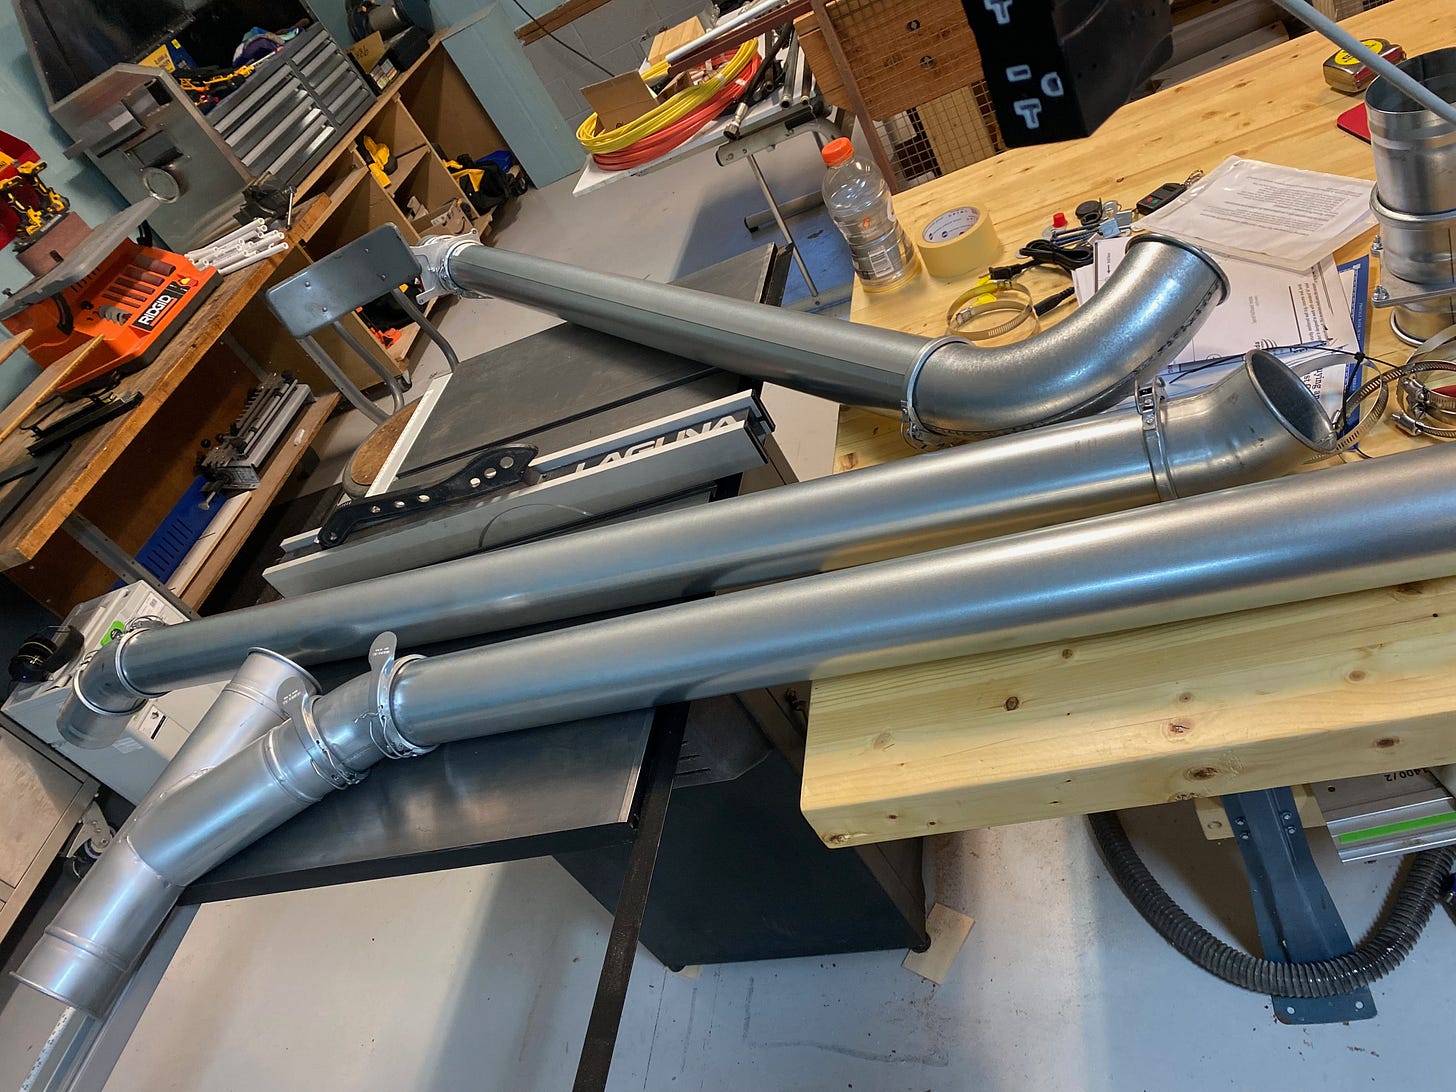
A few days later, the ductwork arrived. I ended up receiving nine six-foot lengths of four-inch pipe, two blast gates, two Y branches, an array of elbows, and a variety of other necessary components including clamps, adapter sleeves and hangers.
I took everything out of the boxes and started to lay it out on the floor. I could see how everything fit together and was excited to get started. I had also watched some YouTube videos on it, and so had a pretty understanding of what I needed to do.
Let me take a moment to explain in more detail how the system works: Each piece is a standard diameter and at each end of the piece, there is a lip or ring. To connect two pieces, you butt up the pieces and put a clamp over the two lips to hold them together. Thanks to a silicone gasket in the clamp, the joint is airtight.
Although all of the pieces clamp together, the pipes are all six feet long. Obviously that creates a problem. What happens if you need a four-foot section?
The answer is, you cut the pipe.
But wait, if you cut the pipe, you lose one of the ends. How can you connect that cut piece to other pieces? To do that, you use an adapter sleeve. These special pieces have slightly larger inside diameters but with standard lips on both ends. The larger interior diameter allows the sleeve to slide over one of the cut pieces of pipe, while the lip (the same size as the others) allows you to make a connection with other pieces. Meanwhile, another clamp and an O-ring are placed where the sleeve and cut pipe overlap in order to keep that connection air tight.
So, as my pipe laid on the floor, I started marking where I needed to make cuts in my precious, precious pipe. Considering the expense of the materials, I was nervous about getting anything wrong. Even though the adapter sleeves allow for several inches of margin, it would have been easy to make a costly mistake.
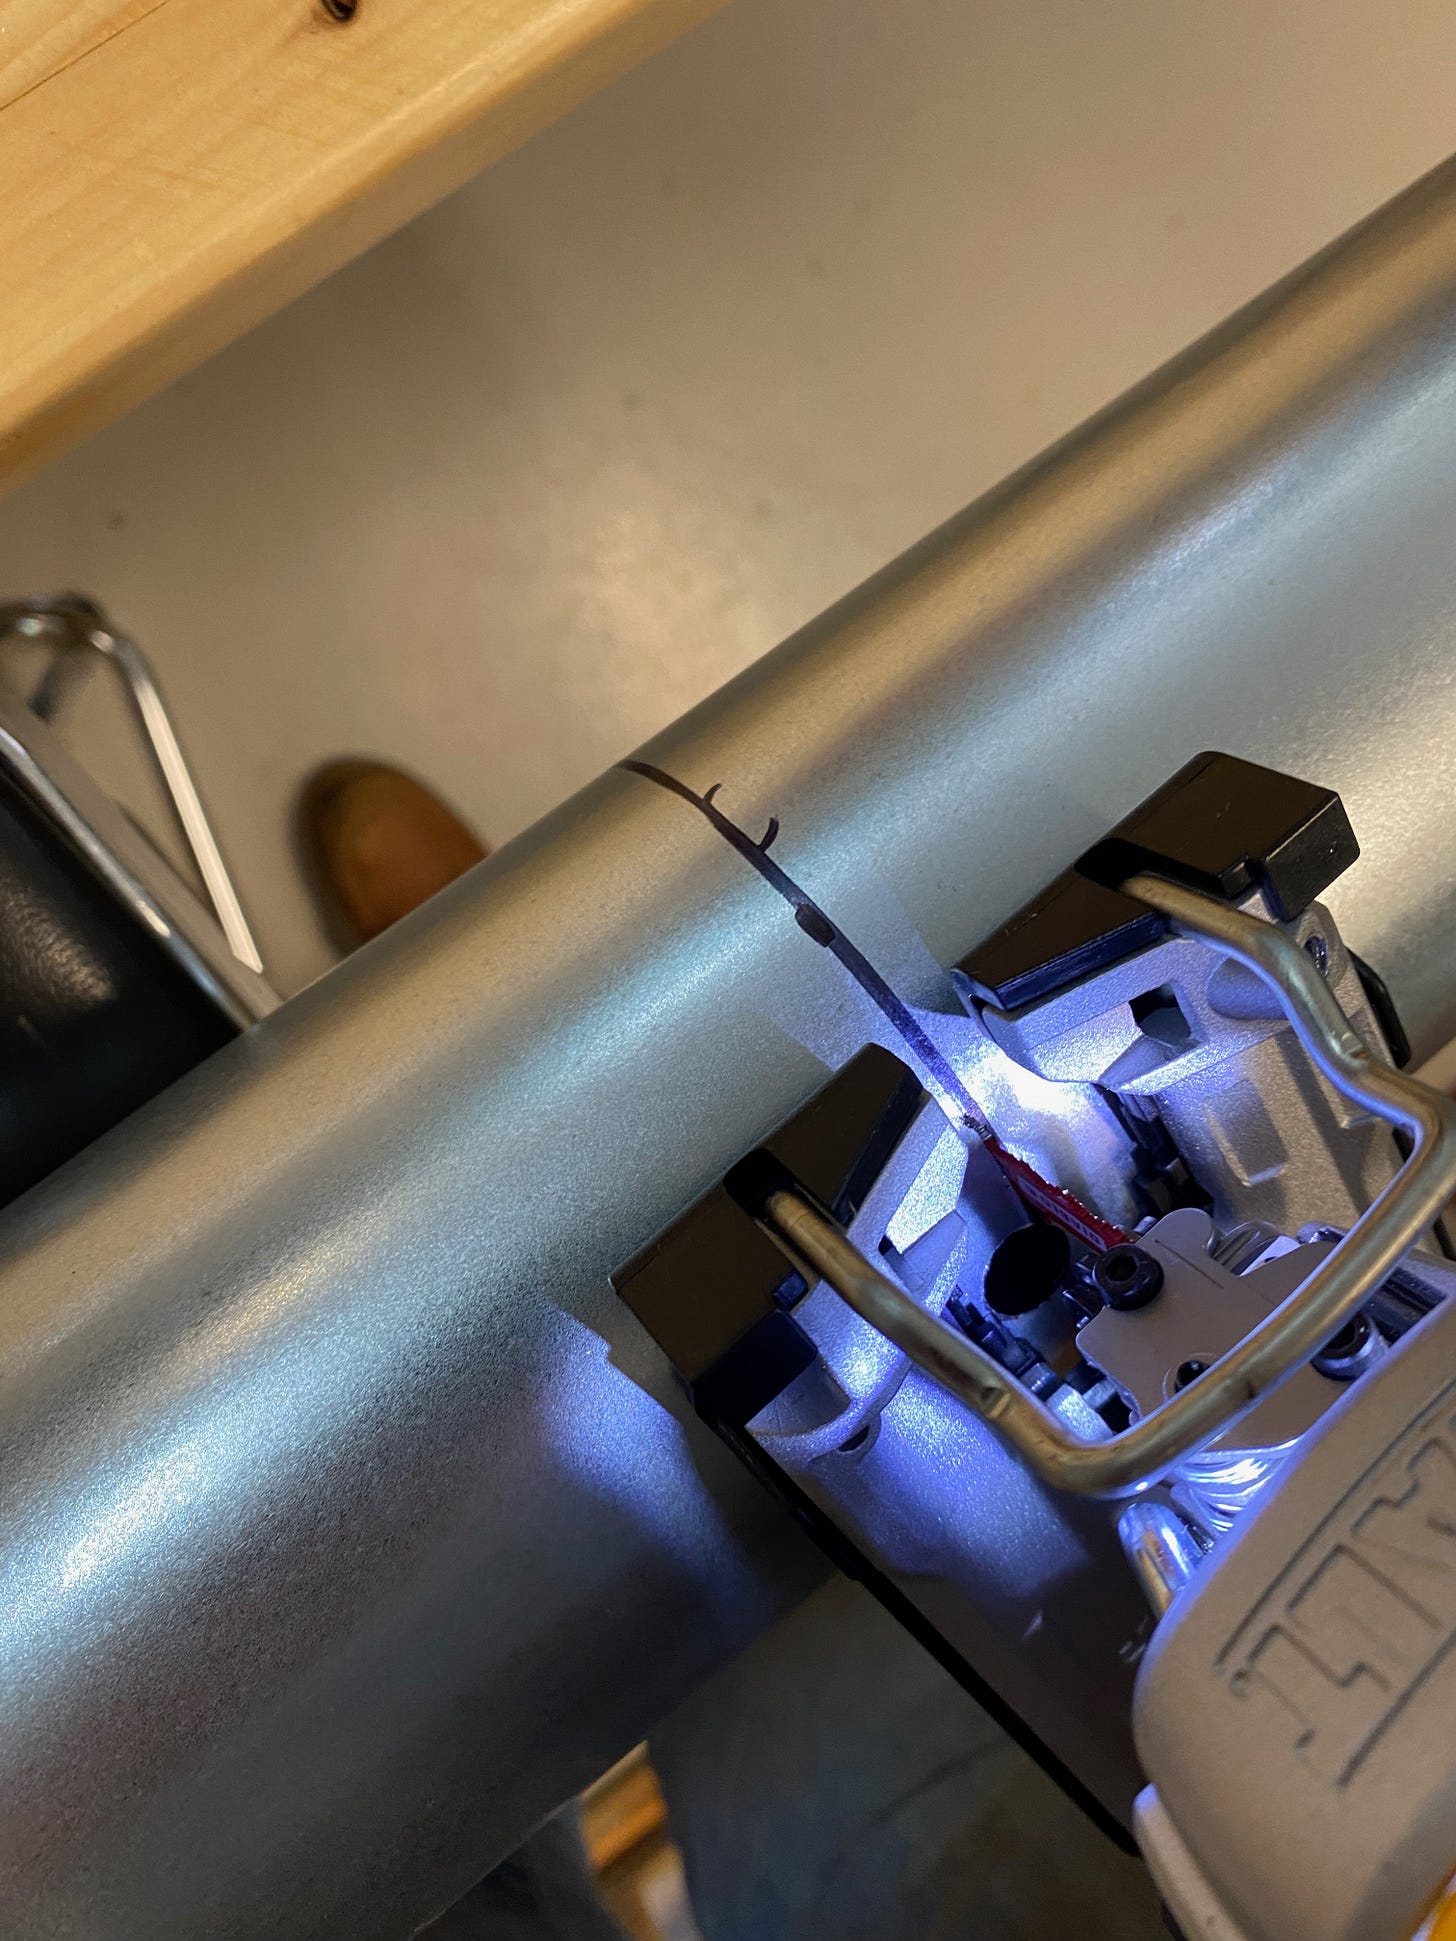
Using a drill, I punched a hole into a section of pipe and then with a jig saw, finished the cut. I gave it a quick filing to remove burrs and then clamped it to the dust collector, clamped on an adapter sleeve, and then clamped on an elbow. I was on my way.
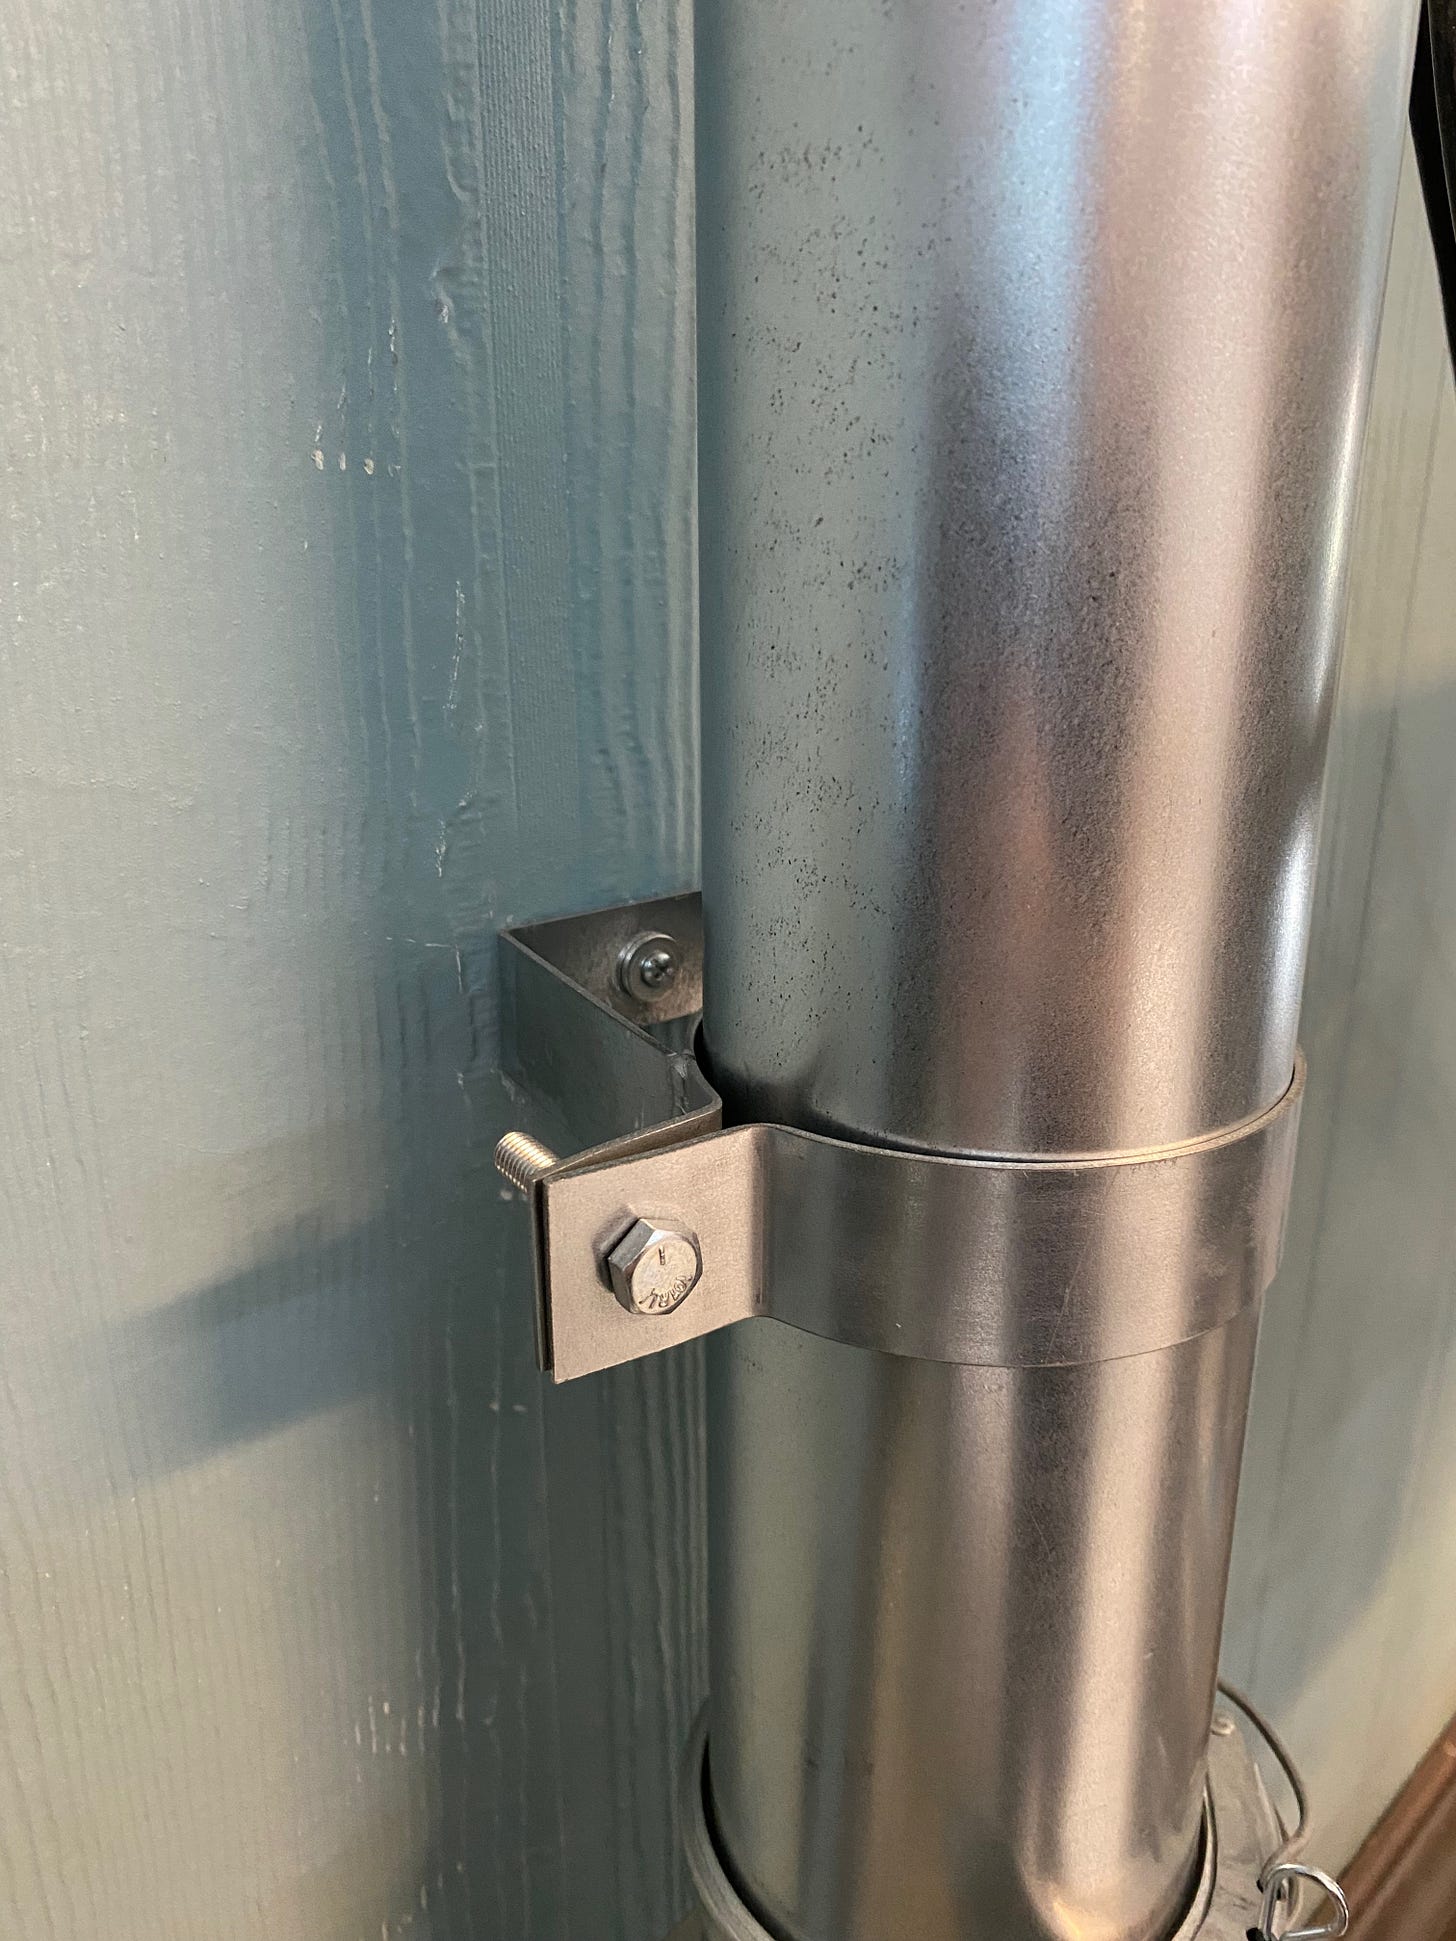
In addition to cutting and clamping pipe, I also needed to secure it to my shop wall and ceiling. For this, I used “HJ Hangers,” which are, obviously, named after me. (Or maybe it’s because they roughly resemble and H and a J. You decide.)
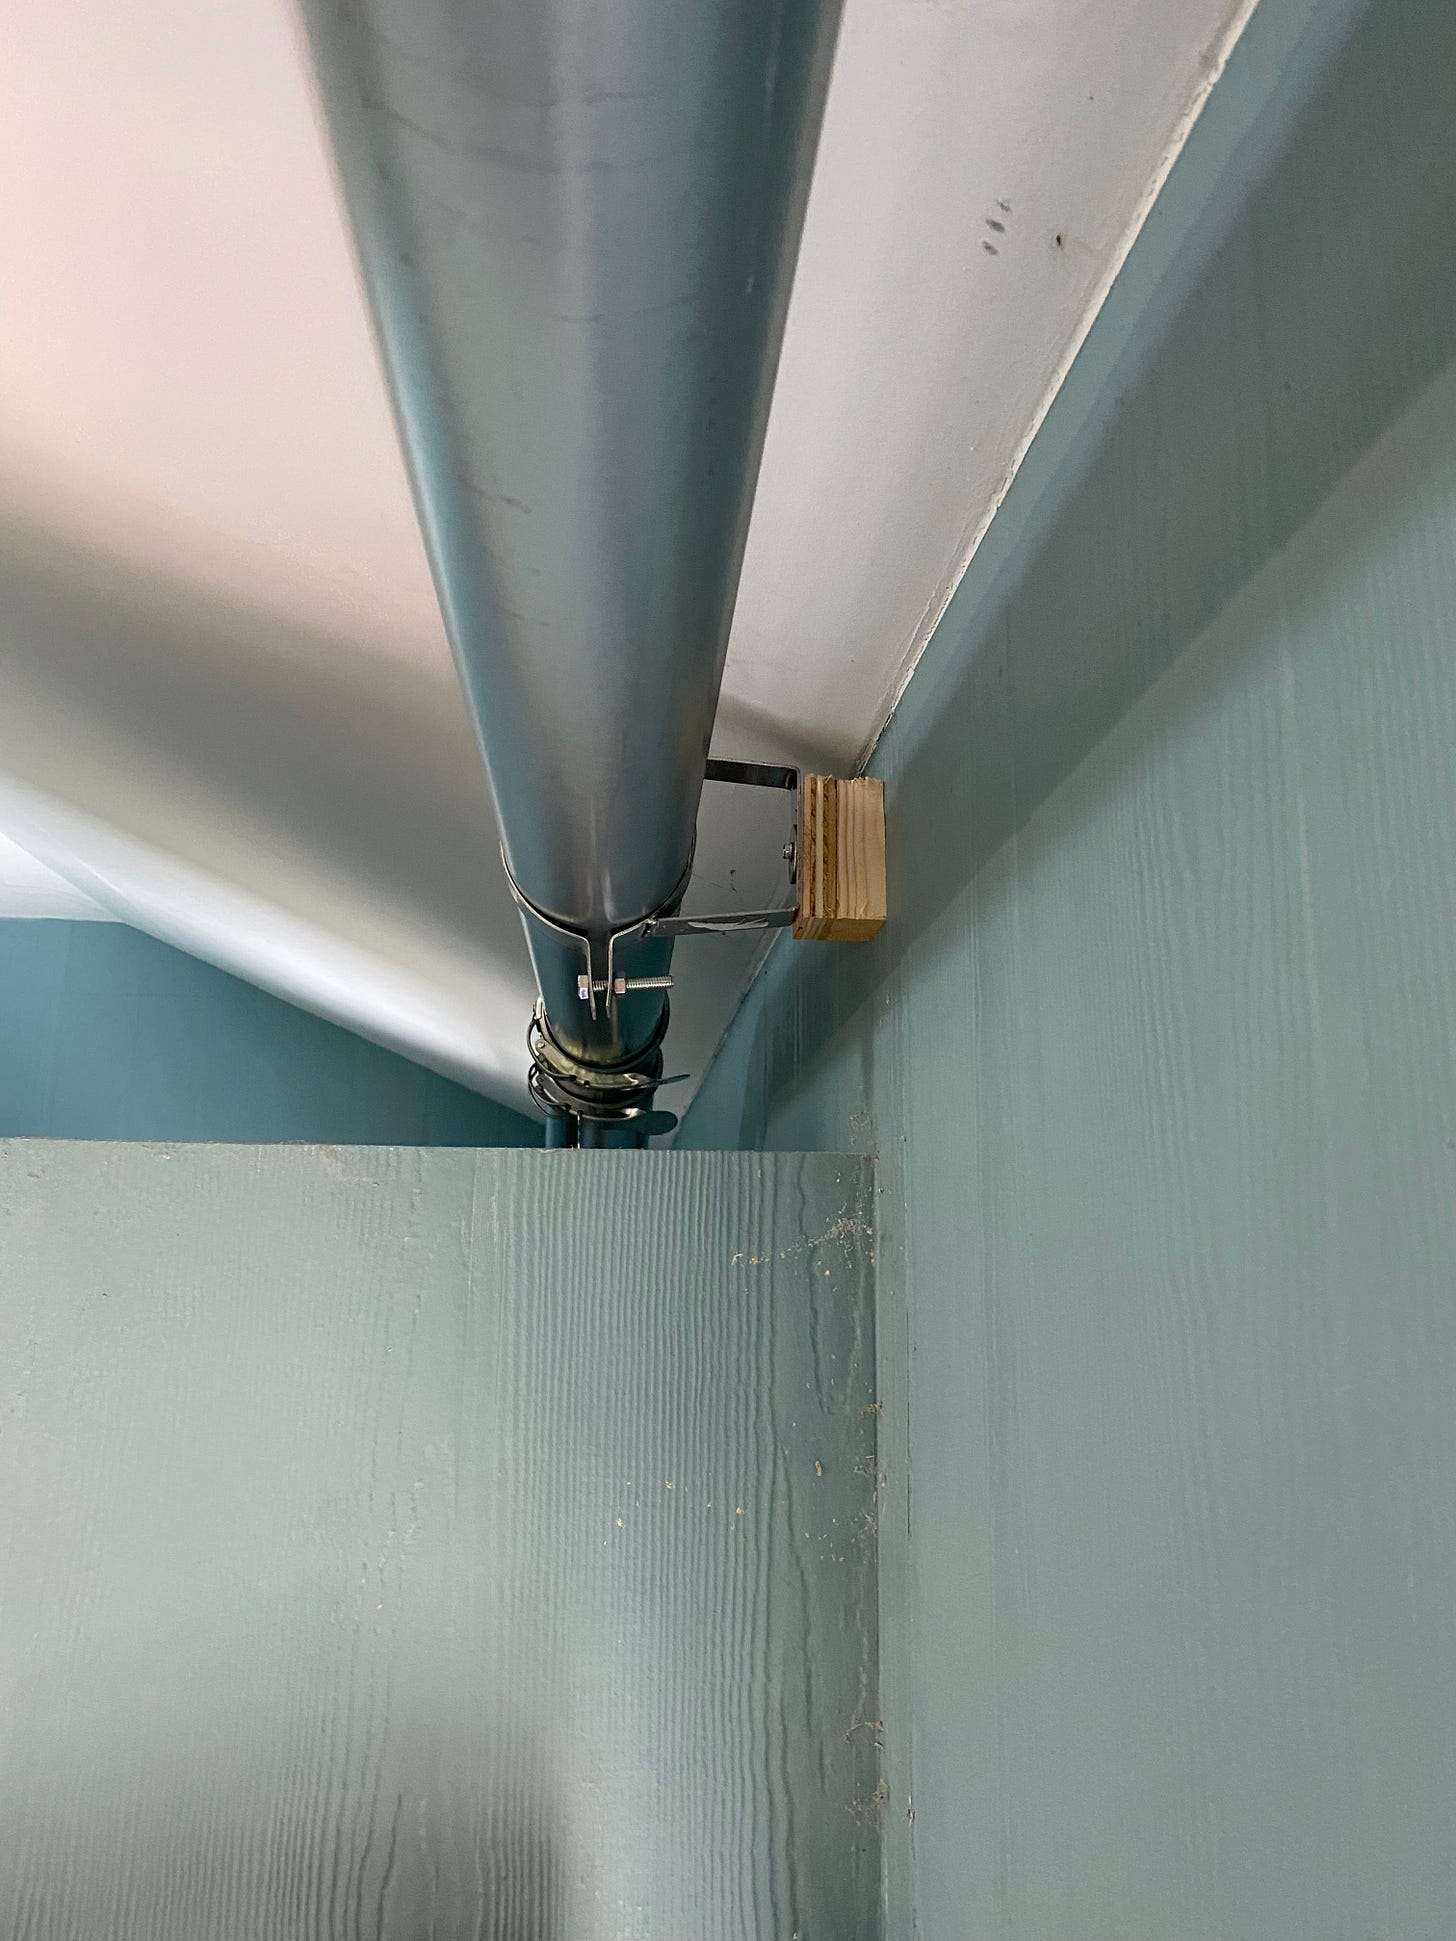
The design called for the ductwork to extend from the collector, run up and over a partial wall, and then stretch along my shop’s back wall where it would have a drop to several machines before turning up toward the ceiling. There it would climb up and across the ceiling about halfway into the shop where it would have its second and final drop over my main bench and table saw.
The hangers were tricky to mount because the brackets obscure their mounting holes, but eventually I was able to get them in place. I worked my way down the wall, mounting brackets and clamping ductwork until I had most of it assembled and hung.
One point required a little creative ducting — there’s an angled portion of the ceiling that demanded the duct curve in a non-standard angle. I used a 30-degree elbow, but it was a bit too acute to work. So I went off script and cut the elbow and married it with an adapter sleeve. Although certainly not Nordfab-approved, it worked and reduced the angle from 30 degrees to closer to 25, which kept the duct level instead of sending it on a downward slope.
Other than that, though, installation went smoothly and within a couple of hours, it was all in place.
Final Connections
With the collector and ductwork installed, it was time to make the final connections from the ductwork to the machines. To do this, I used short sections of a lightweight flex hose (the Supercell came with a 25-foot length of flex hose, but it was too heavy duty for my purposes) and connected them from the duct drops to Rockler Quick Change fittings.
Jay had suggested stashing the Supercell in a side room to try to isolate its noise, but that room is behind a partial wall. So to fully enclose it and try to contain the sound, I bought some stiff foam insulation and cut it to fit into the opening. (The leftover foam serves as a perfect base for cutting plywood with the track saw. Bonus!)
I also needed to install a new remote control for the Supercell so I could turn it on and off while working at my tools. (The original remote was defective; Oneida, living up to its reputation for stellar customer service, sent me a replacement right away.) And because I hid the Supercell in another room, I used a spare 20-foot length of wire as an antenna to increase its range.
And since the drop into the center of the room had little support from the ceiling, I used some metal corner bead to construct an erector-set-style bracket to try to give the drop more support.
Then, finally, the system was ready. I plugged the collector into the outlet. I opened the blast gates. I held the hose and the remote fob and pressed the green button.
Woosh! The vacuum roared to life. The hose tightened under the suction and the end lurched from my hand and onto my torso. I felt like I was being attacked by a giant straw. I quickly tapped the red button on the remote to turn off the machine. The hose dropped from my body and fell to the ground, leaving a four-inch hickey under my shirt.
I guess it works, I thought.
And indeed, it does work. It works fantastically well. The suction is incredible — so much so that I have to be careful not to leave small objects near the end of the hose when the machine is on. (It once nearly consumed my iPhone.) When hooked up to a machine, it captures most of the dust, leaving only small traces behind.
What does it say that I’m the kind of guy who gets excited by a powerful vacuum and well-designed ductwork? I don’t know, but I readily admit, I am that guy.


