Drawers, Doors, and Waiting for Drywall
Latest progress makes my desk usable, but it'll be a while before it is truly finished.
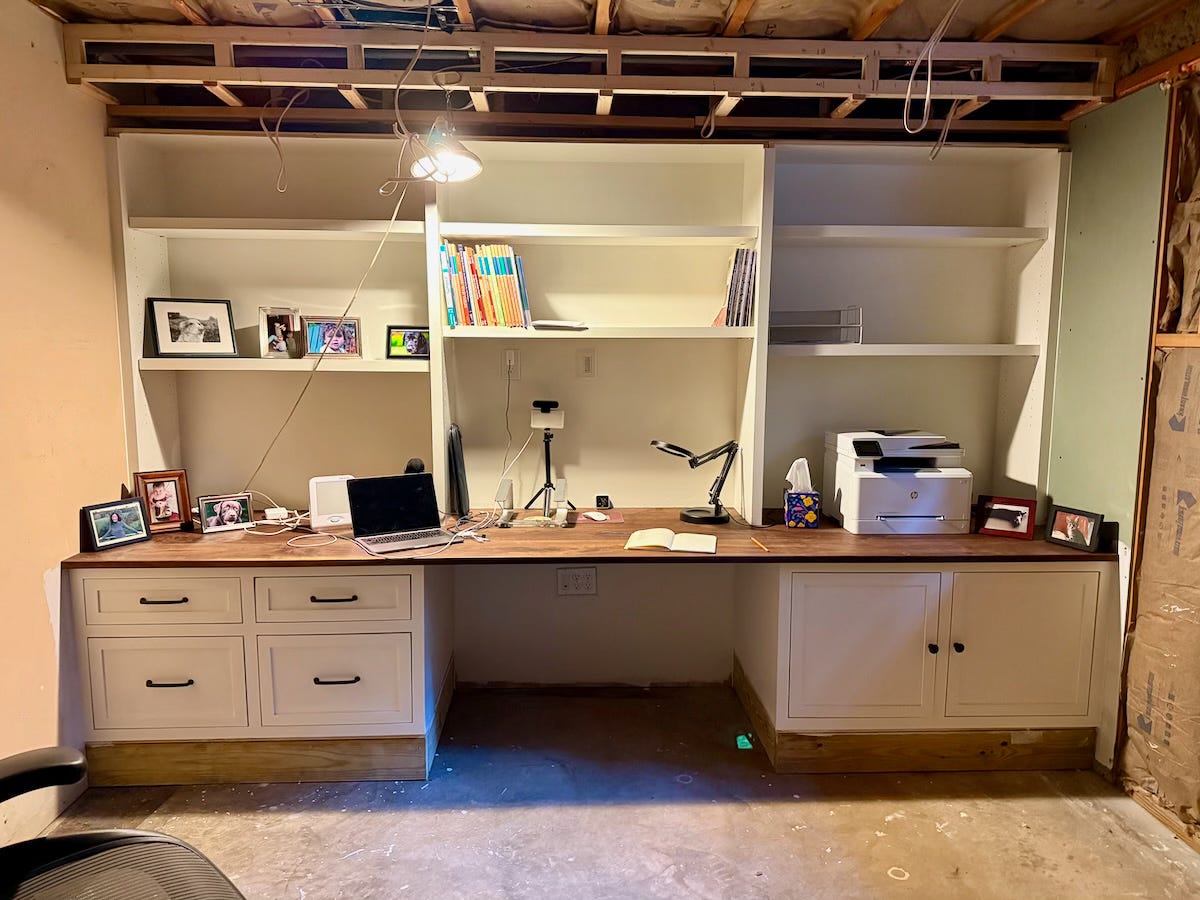
Not quite two months ago, I felt the wind at my back when I installed the black walnut desktop onto my office built-ins. It was a milestone and there was more in sight. I made a list of what I would do next: shelves; drawers; and doors.
List in hand, I got to work. For the shelves, I decided to use ¾-inch plywood with a solid wood front edge. However, I thought a shelf just ¾-inch thick would look (and feel) too flimsy. So, I laminated two ¾-inch pieces together to form a robust 1-½-inch slab. I cut them to size, glued them together, attached a piece of solid wood to the front edge, and coated them with paint. Once dried, I installed them with small shelf pins and immediately appreciated the transformative effect they had on the entire unit.
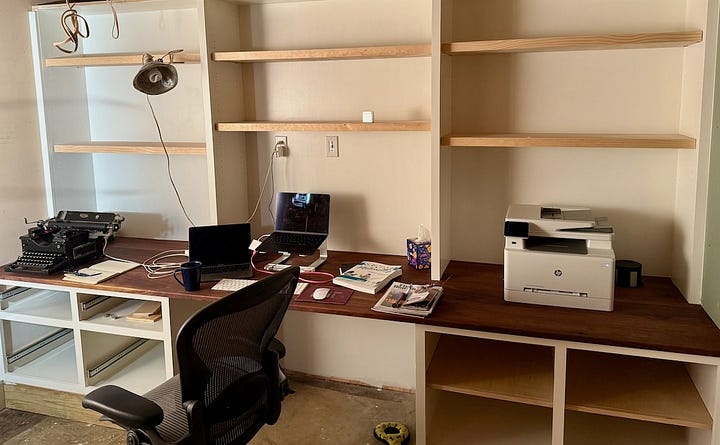
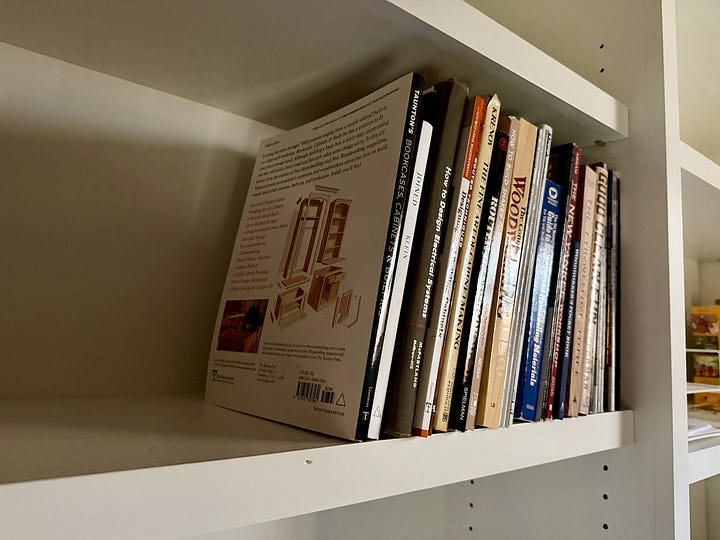
Next were the drawers. I found some nice old, long and very wide pine boards that the previous owner of the house had left behind. At about ¾-inch thick and straight as an arrow, they’d make perfect box sides for my drawers.
I used a router and dovetail jig to create the corner joinery. For the bottom, I cut a ¼-inch groove around all four pieces into which I slid ¼-inch pre-finished plywood. Then I used the router to round over all of the sharp edges.
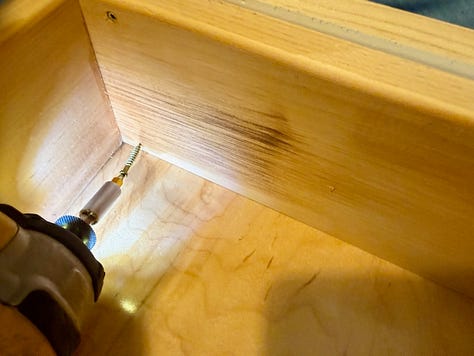
Whether because I’m really good or I’m really lucky (rarely either), the two bottom cabinets were perfectly sized to hold legal hanging file folders. In order to give the hanging folders something to, well, hang from, I drilled partial holes into the inside front and back of two drawers and sandwiched a steel rod between them.
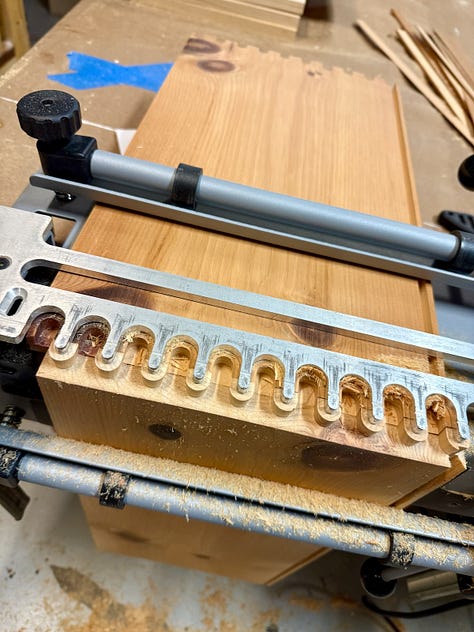
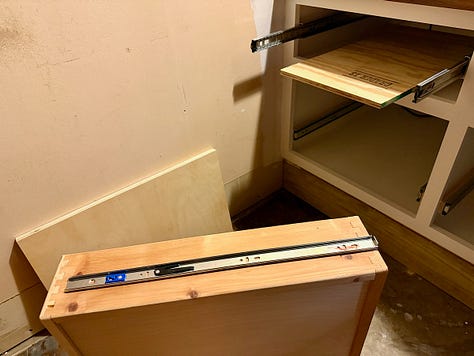
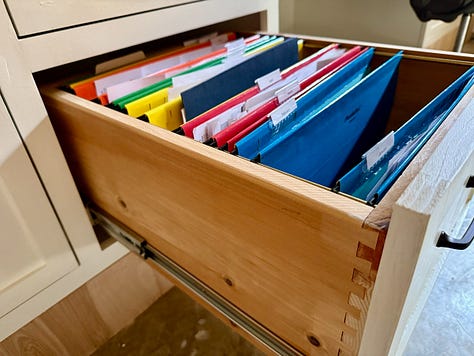
Installing the drawers required careful alignment of the drawer slides, which was especially tricky here because the left side of the left-most drawers were up against a wall. That meant I had to pull the drawer out in order to attach the rail, making precise measurements and markings critical.
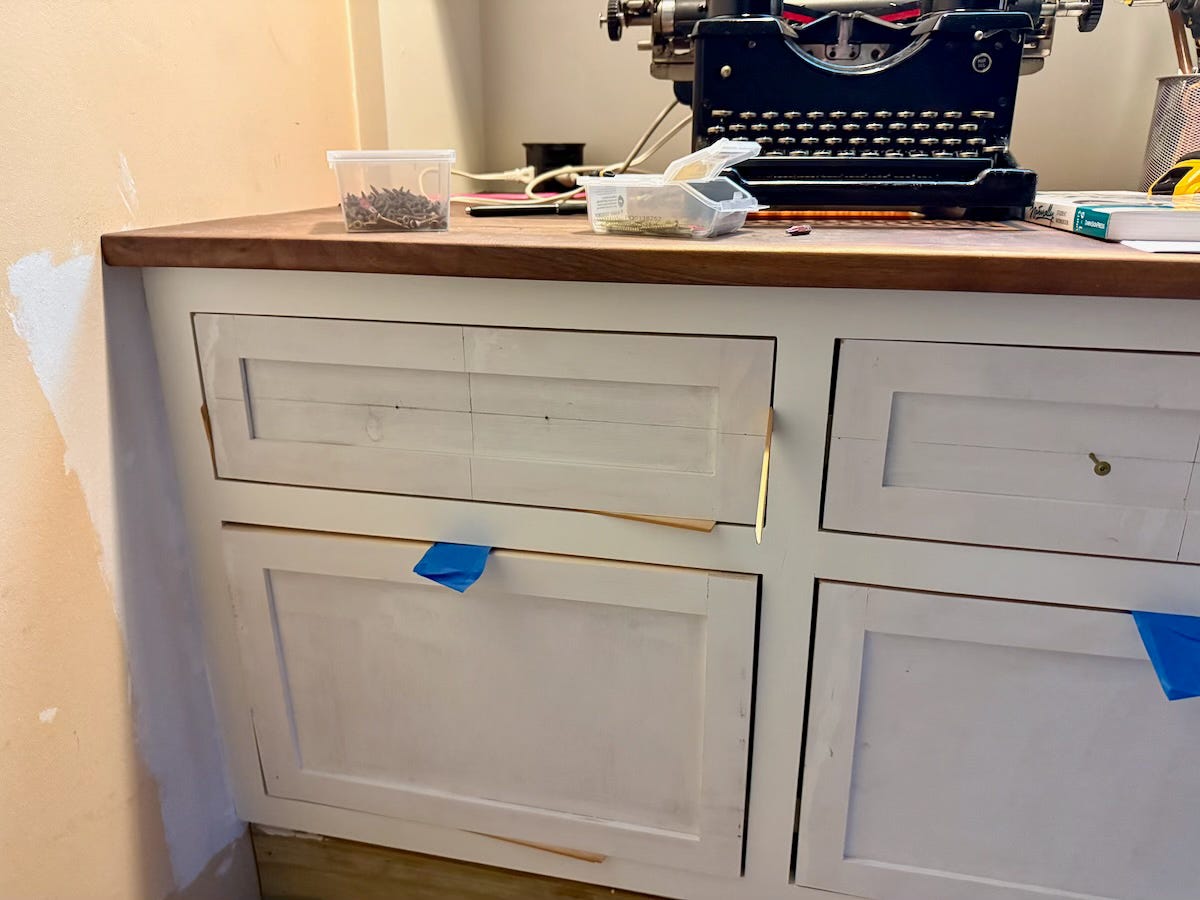
For the drawer faces — and the doors — I constructed Shaker-style panels out of 2x1 lumber and ¼-inch plywood, being sure to keep everything square. Because my drawer fronts and doors would sit flush with the face frames — that is, they’d be inset rather than overlaid on the frames — I also made sure to size them so that once installed, there would be a ⅛-inch gap around each piece. It would have been far easier if the drawers and doors sat on top of the face frame, but it looks so much nicer to have them inset.
After priming the drawer fronts and doors, it was time to install them. Despite my careful measurements, the pieces were all just a little too big for the openings. I took them back to the shop and shaved off a few sixteenths of an inch here and there. Eventually, I got everything to be right-sized.
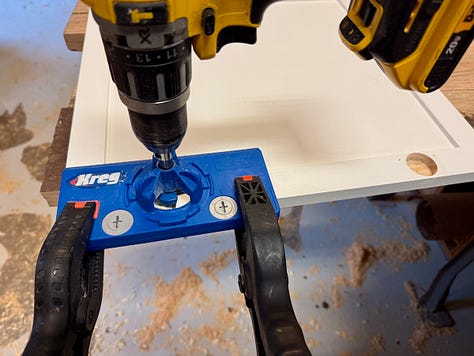
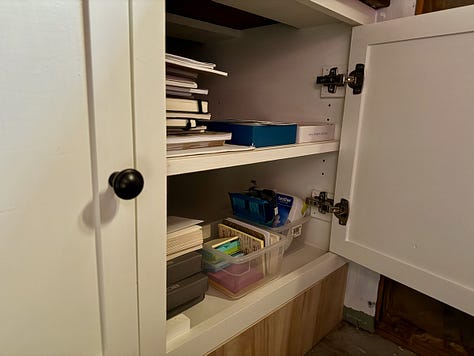
The key to installing the fronts and doors is to add small spacers around all of the sides; this keeps everything perfectly centered in the openings. The drawer faces screw directly to the drawers themselves, which is simple enough. The doors, however, use European-style concealed hinges. To make them work, I needed to mount the hinges to blocks inside the cabinet and I also needed to add “stop blocks” so the doors would close at the right spot. Once done, I gave all the new pieces two coats of paint.
For knobs and pulls, I wanted something that would match the walnut top. Shocked by some of the exorbitant prices I found online ($30 or more for a single pull), I ended up going with a much more economical option at Home Depot that I’m quite pleased with.
I would love to finish trimming out the unit with crown molding along the top and baseboards at the bottom, but that has to wait for drywall and flooring to be installed, which may be a while yet, alas.


That manual typewriter peeking out of one photo. Tell us about the typewriter
Amazing, Josh!