
Double Down on Bookshelves
The third time seems to be the charm with a set of open, Scandinavian-style bookshelves. Finally, I think, I came up with a design and process for getting them right.

It’s been quite a while since I’ve posted, so I’ve got some catching up to do. Let’s dive right in with a write-up on another “do-over” project: a set of modern bookshelves with spaced dividers. Will the third time be the charm?
As you might recall, this was a “special order” project from a friend who wanted some white bookshelves custom fit for a home office. I initially made two sets — one out of ¾-inch plywood and one out of prime pine solid wood, also ¾-inches thick. Both were constructed similarly, and both left a lot to be desired. Well, one thing in particular: strength. Both sets of shelves looked a little scrawny and both bowed under the heavy weight of full load of books.
Thinking about this problem one evening, it dawned on me how I should have designed and built the bookshelves. And once I realized what I should have done, I couldn’t stop thinking about it. Like those conversations where you wish you had said something different (a.k.a. most of my conversations), I wanted to go back in time and correct my embarrassing error. So that’s just what I did.
Double Down
What should I have done, you ask? The simple answer is, “double the plywood.” Instead of each shelf and divider being a single piece of ¾-inch ply, I should have face-glued two pieces and to make each shelf 1-½-inches thick. This, of course, would add considerable strength (and cost and weight), but it also created a new problem.
If you recall, the original plywood design used ¾-inch birch iron-on bands to cover the edges of the plywood. But such banding doesn’t exist for 1-½-inch widths (unless it does and I don’t know it). So I needed a new way to cover up the edges. The solution there was to use solid wood 2 x 2 lumber, which would also have the ancillary benefit of adding even more strength to each shelf. And, it would look better than the banding, too.
To get started, I cut up my plywood. Because the wood edging would add 3 inches to each shelf, that meant I could use smaller plywood pieces to achieve the same overall size as before. (That is, instead of cutting a shelf to be 9 inches across, it needed to be only 6 because each side would have a 1-½-inch piece of wood attached.) As a result, this new design didn’t use twice as much plywood as before… only about 50% more.
With the plywood cut, I face-glued all of the pieces, lining them up as best I could and clamping them tight. Once the glue dried, I cleaned each edge by running the thick planks through the table saw.


When it came time to cut the dadoes into the shelves, I was concerned about the best way to do it. With the first two units, I used the table saw and dado stack, but it was tricky because the long shelves were too easy to rack (or twist) and create uneven cuts. With these shelves being double-thick (and double the weight), I figured the chances of screwing up would be even higher. So I decided to use my router instead.
The challenge there, though, was to ensure the grooves lined up precisely. To do that, I made a cutting jig with some MDF (using one of the dividers to determine the precise groove width) and a spacing jig out of some plywood. The MDF jig would allow me to cut a precise groove. The spacing jig would ensure the groove would be properly placed.
Doubling up the shelf thickness was also helpful when it came to the dadoes. Before, the dadoes were cut only about ⅜-inch deep (halfway through the plywood), leaving just ⅜-inch for support. Now, the dadoes could be cut a little deeper — ½ inch — and leave more of the shelf — a full inch — for shelf support.


With the pieces all cut, I dry-fit them together and it looked strong, substantial and, frankly, much, much better. I took it apart, added glue, put it back together and clamped it tight.


Tight Miters
Doubling the plywood was the easy part. What was going to make or break this project was the trim that would cover the edges of the plywood. And that wasn’t going to be easy.
To do this right, the pieces of 2 x 2 pine needed to be carefully sized to run around each shelf with nice mitered corners, along with pieces to cover the edges of the dividers.


I started by cutting pieces slightly longer than each shelf and then carefully cutting them back until they were just the right length so that the miters landed right on the corners. Then I glued and nailed them into place. I worked around each of the five shelves. Then I did the same for the 20 divider edges, cutting them back until they fit snugly between each shelf.
Once they were in place, I filled in some holes and sanded a few places until it looked like one solid piece.
Rolling out the Paint
As with everything else on this project, I decided that my initial approach to painting the shelves was also flawed. Previously I had simply brushed the paint on, but with so many edges and vertical pieces, the inevitable drips were, in fact, inevitable.
This time, I decided to use a small roller and I was glad I did. The paint went on more smoothly, more quickly, and the finish was far superior. After an initial primer, I applied a first coat with the shelves right-side up; a second coat with the shelves flipped over (in order to make sure I adequately covered the tops and bottoms of the shelves; and a third coat with the shelves flipped back right-side up.


Until this point, I hadn’t told my friend that I was making him a new set of shelves, but now that it was ready for delivery, I broke the news to him. The old shelves were defective, I told him, and were being subjected to a manufacturer’s recall and replacement.
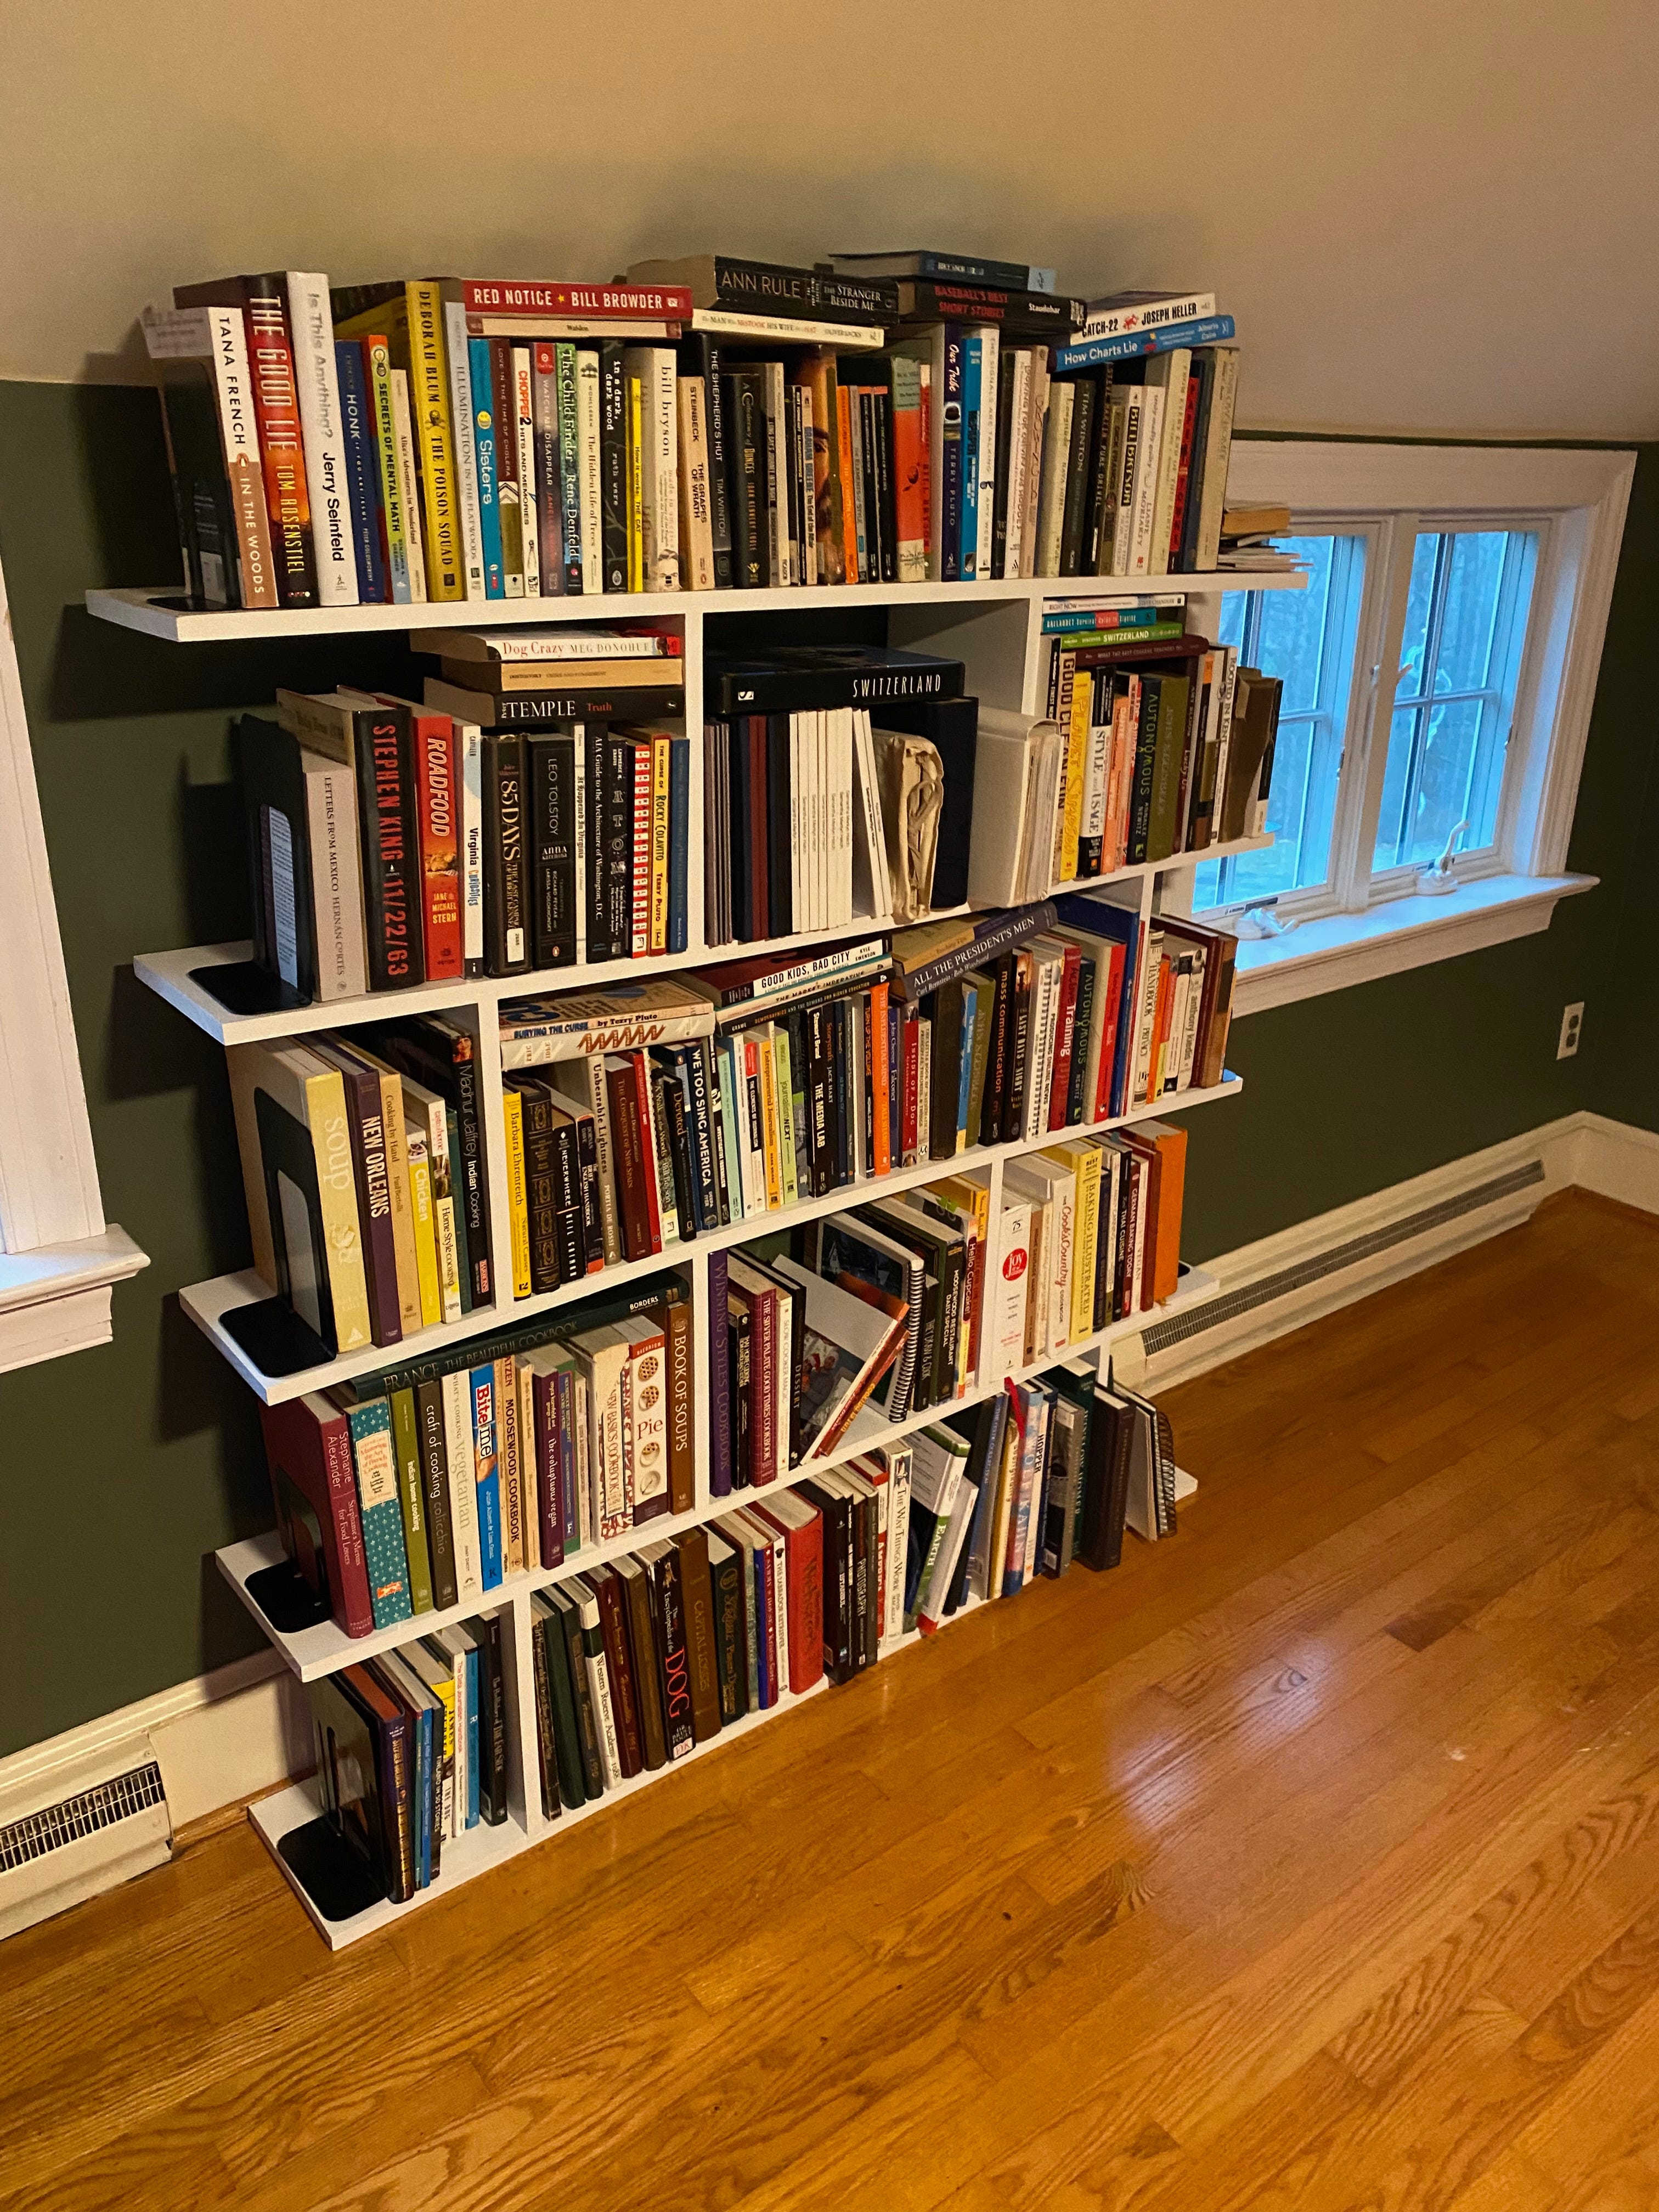
Reluctantly, he took everything off the old shelves and helped me swap units. With the new shelves in place, I immediately knew it was the right thing to do. The new ones looked — and worked — much, much better.
As for the old shelves? I now have both versions in my house. They are both sagging under the weight of their respective loads. Maybe one day I’ll replace them with this new model. At least now I know how to do it right.
