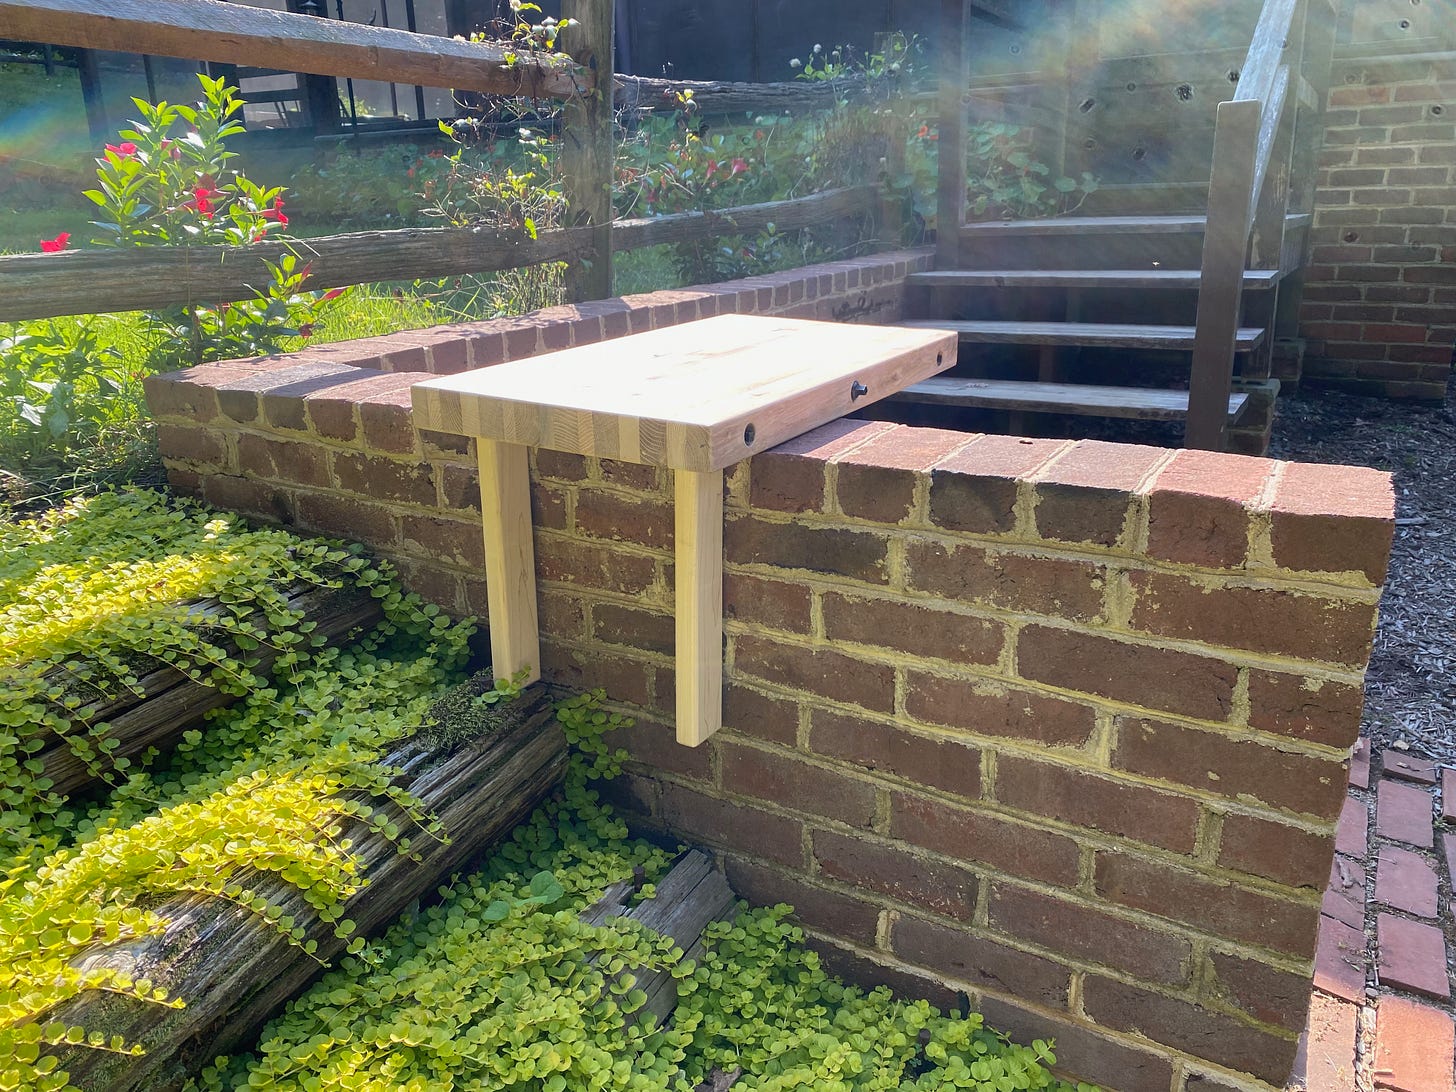
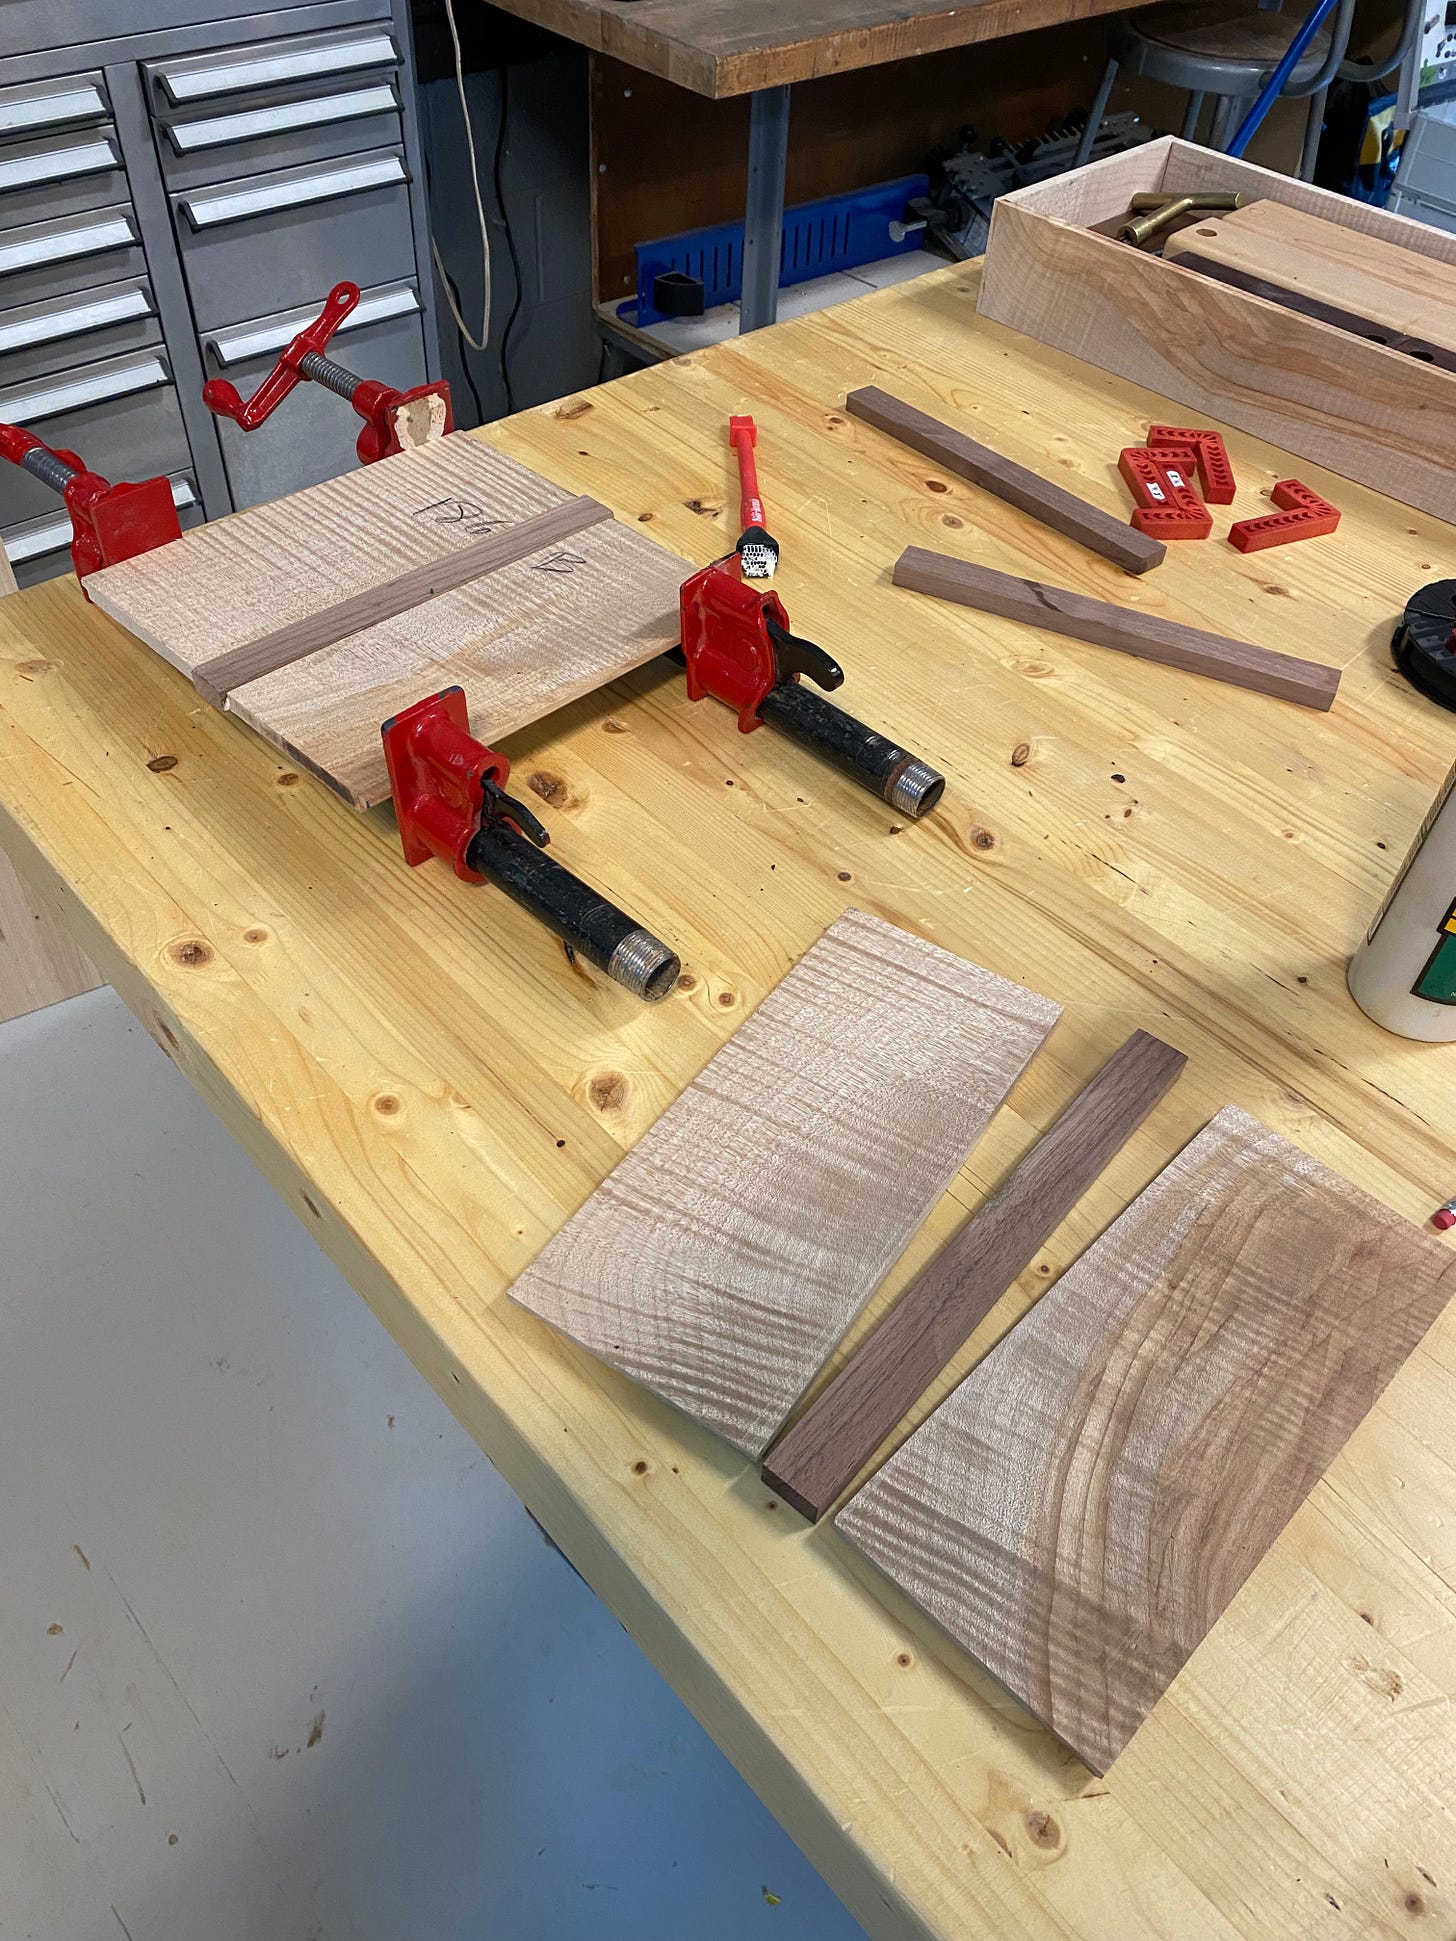
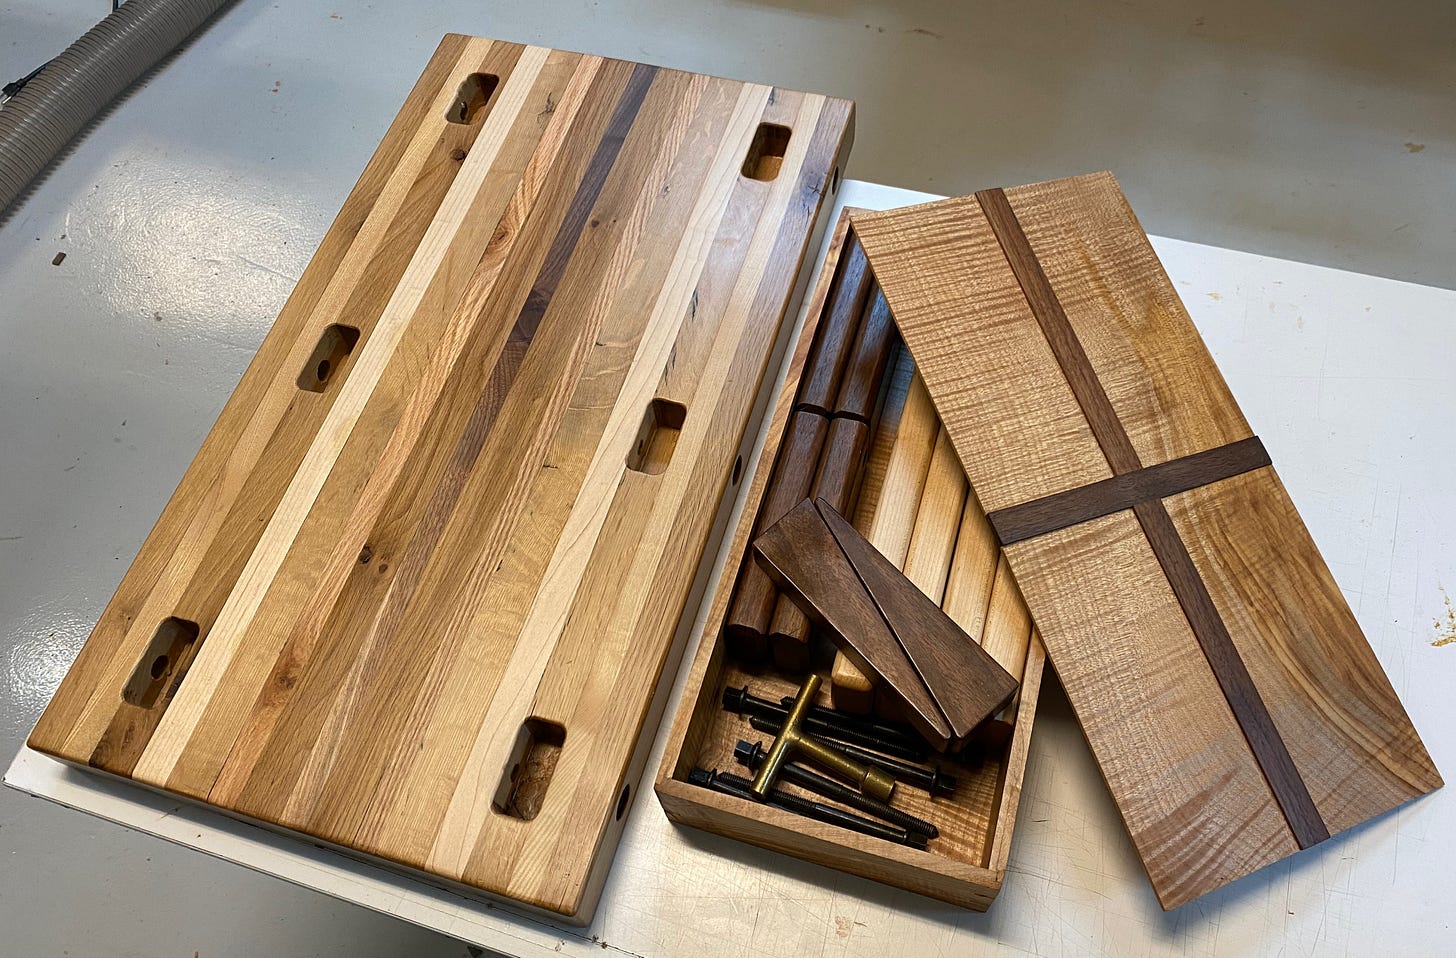
Custom Project: Balcony Tray
A friend emailed me that he wanted a cantilevered tray for his balcony. Simple enough, right? It turned out to be a somewhat complex project, but one that I think came out pretty well. Read on.
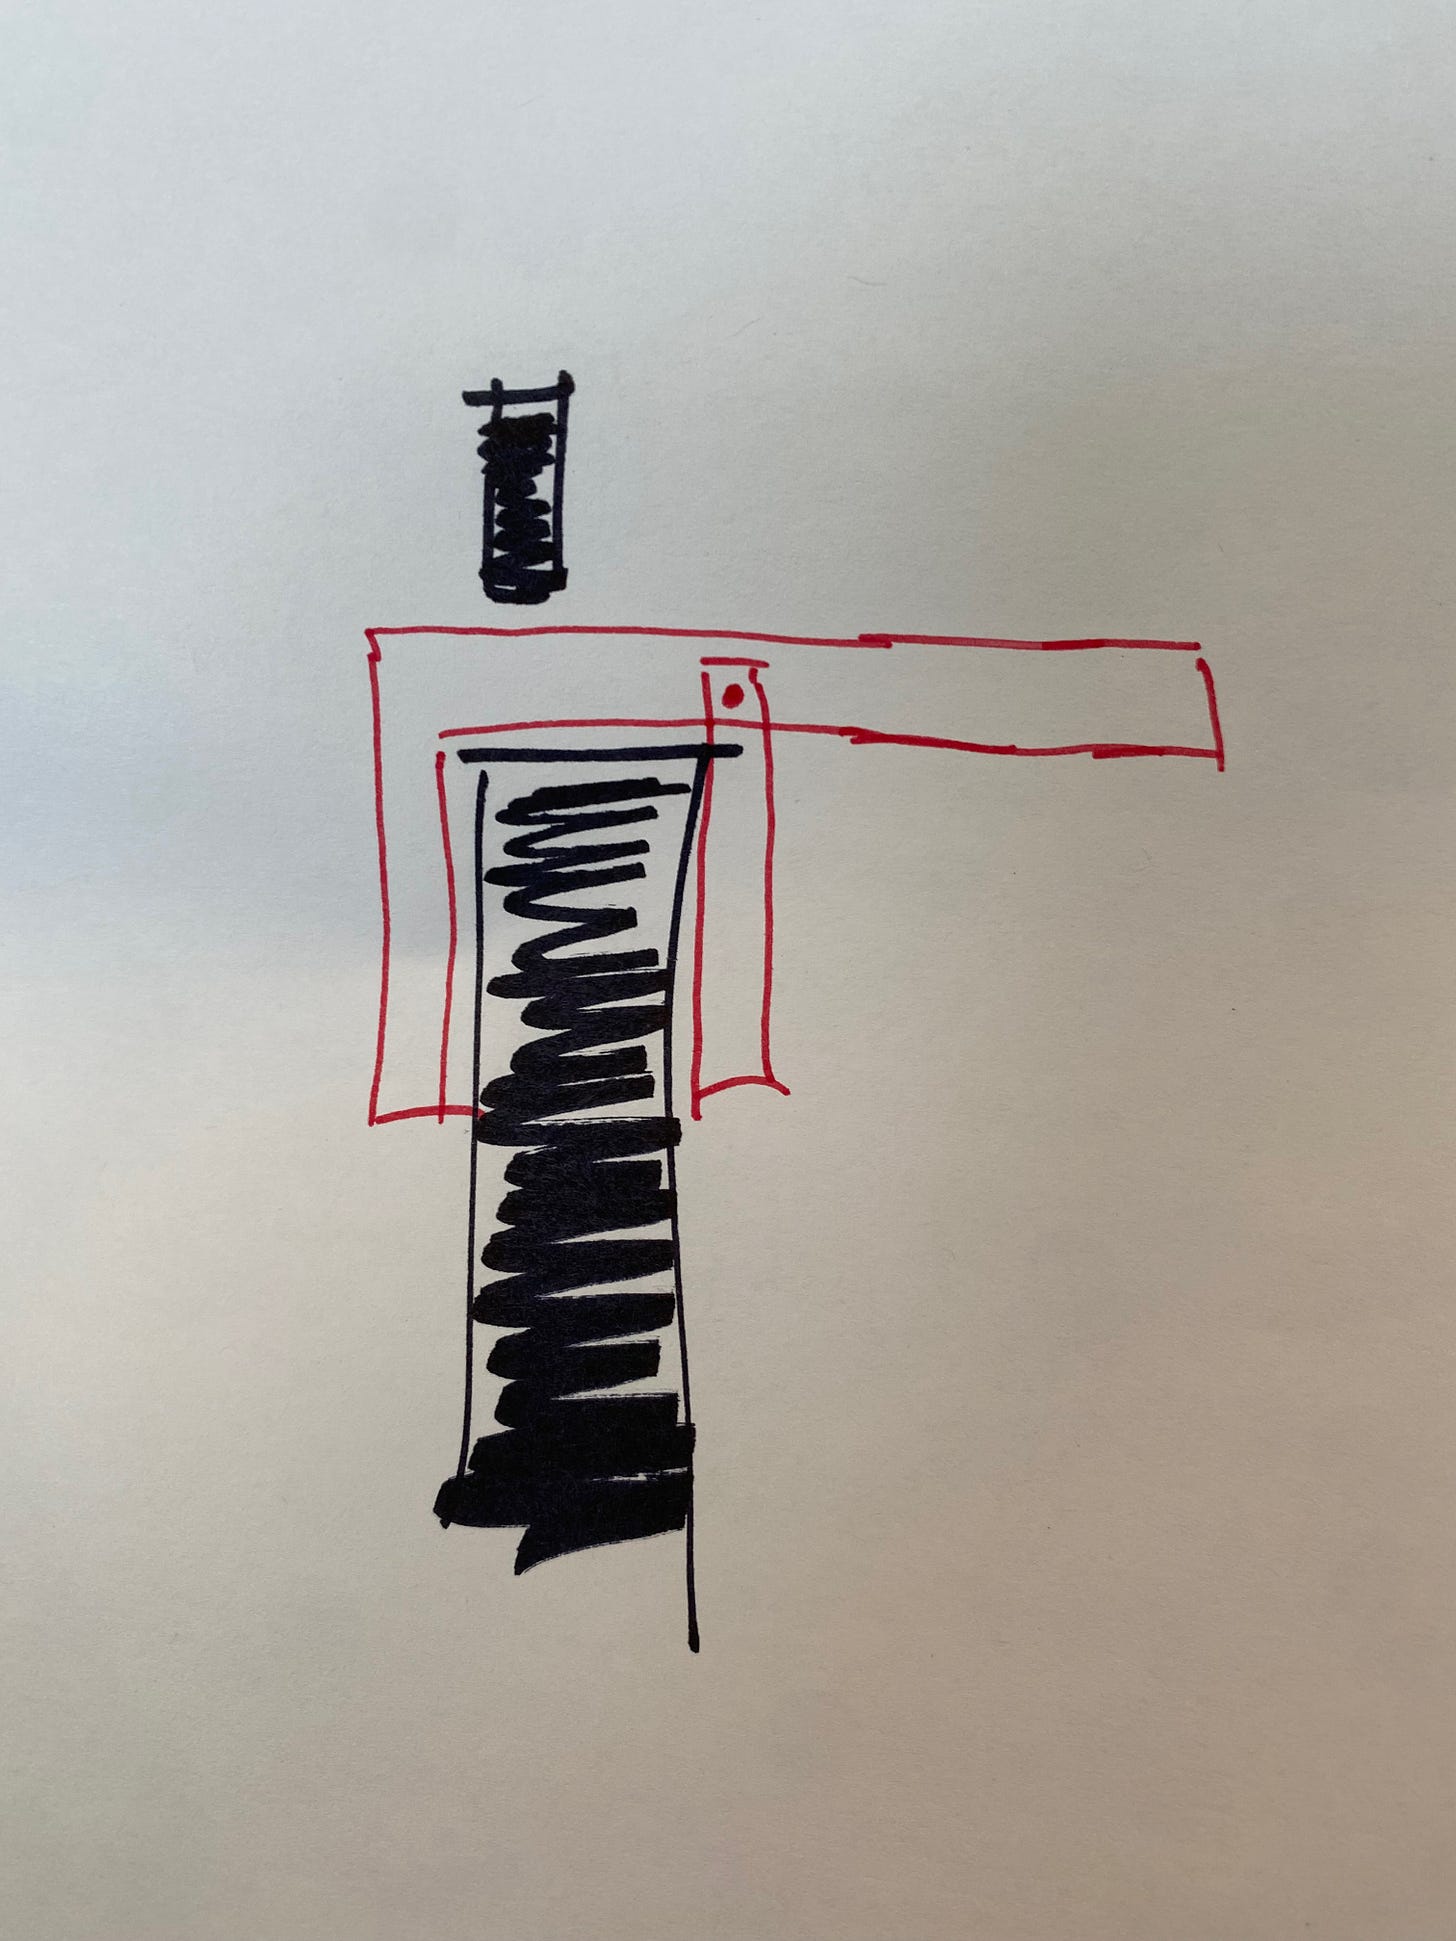
Not too long ago, I got a cryptic email from a work colleague. It read in part, "Take a look at this amateur drawing I did in 2 min. What do you think?"
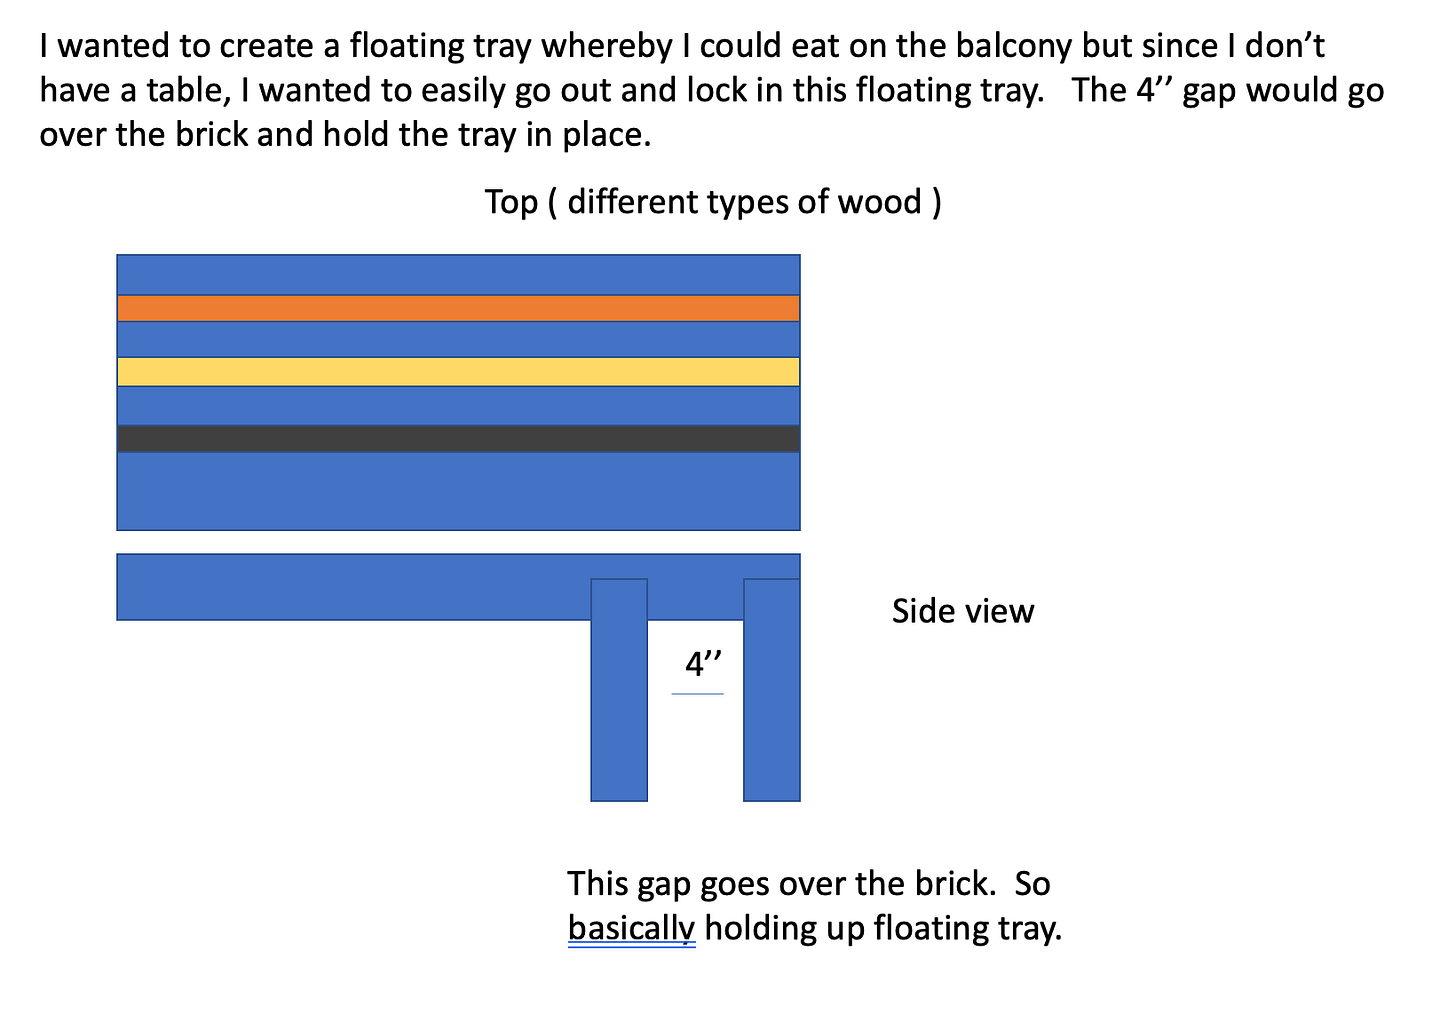
The drawing was in an attached PowerPoint file. For a moment I wondered if I was being subject to a phishing scam. Or maybe this was a test of my email security practices? But after a thorough forensic analysis, I concluded the email was legit and opened the file. In it was an illustration of a tray with two sets of legs sticking down from it. My friend, it seemed, was asking me to make him a custom dining tray. I agreed and it turned out to be an engineering puzzle that was fun to solve.
The illustration came with a note: "I wanted to create a floating tray whereby I could eat on the balcony but since I don’t have a table, I wanted to easily go out and lock in this floating tray. The 4" gap would go over the brick and hold the tray in place."
In other words, the desire was for a cantilevered tray that would grip the balcony wall somewhat like horseback riders use their legs to grip their horse.
If the need was just for a tray with two pairs of legs that could straddle the brick wall, it would have been a super easy (and not particularly interesting) project. I’d have just made the tray with fixed legs and it could be dropped into position.
However, there was a complicating factor at play: a few inches above the brick wall was a metal railing. That meant the legs — or at least one pair of them — needed to be removable and able to be added while the tray was in place.
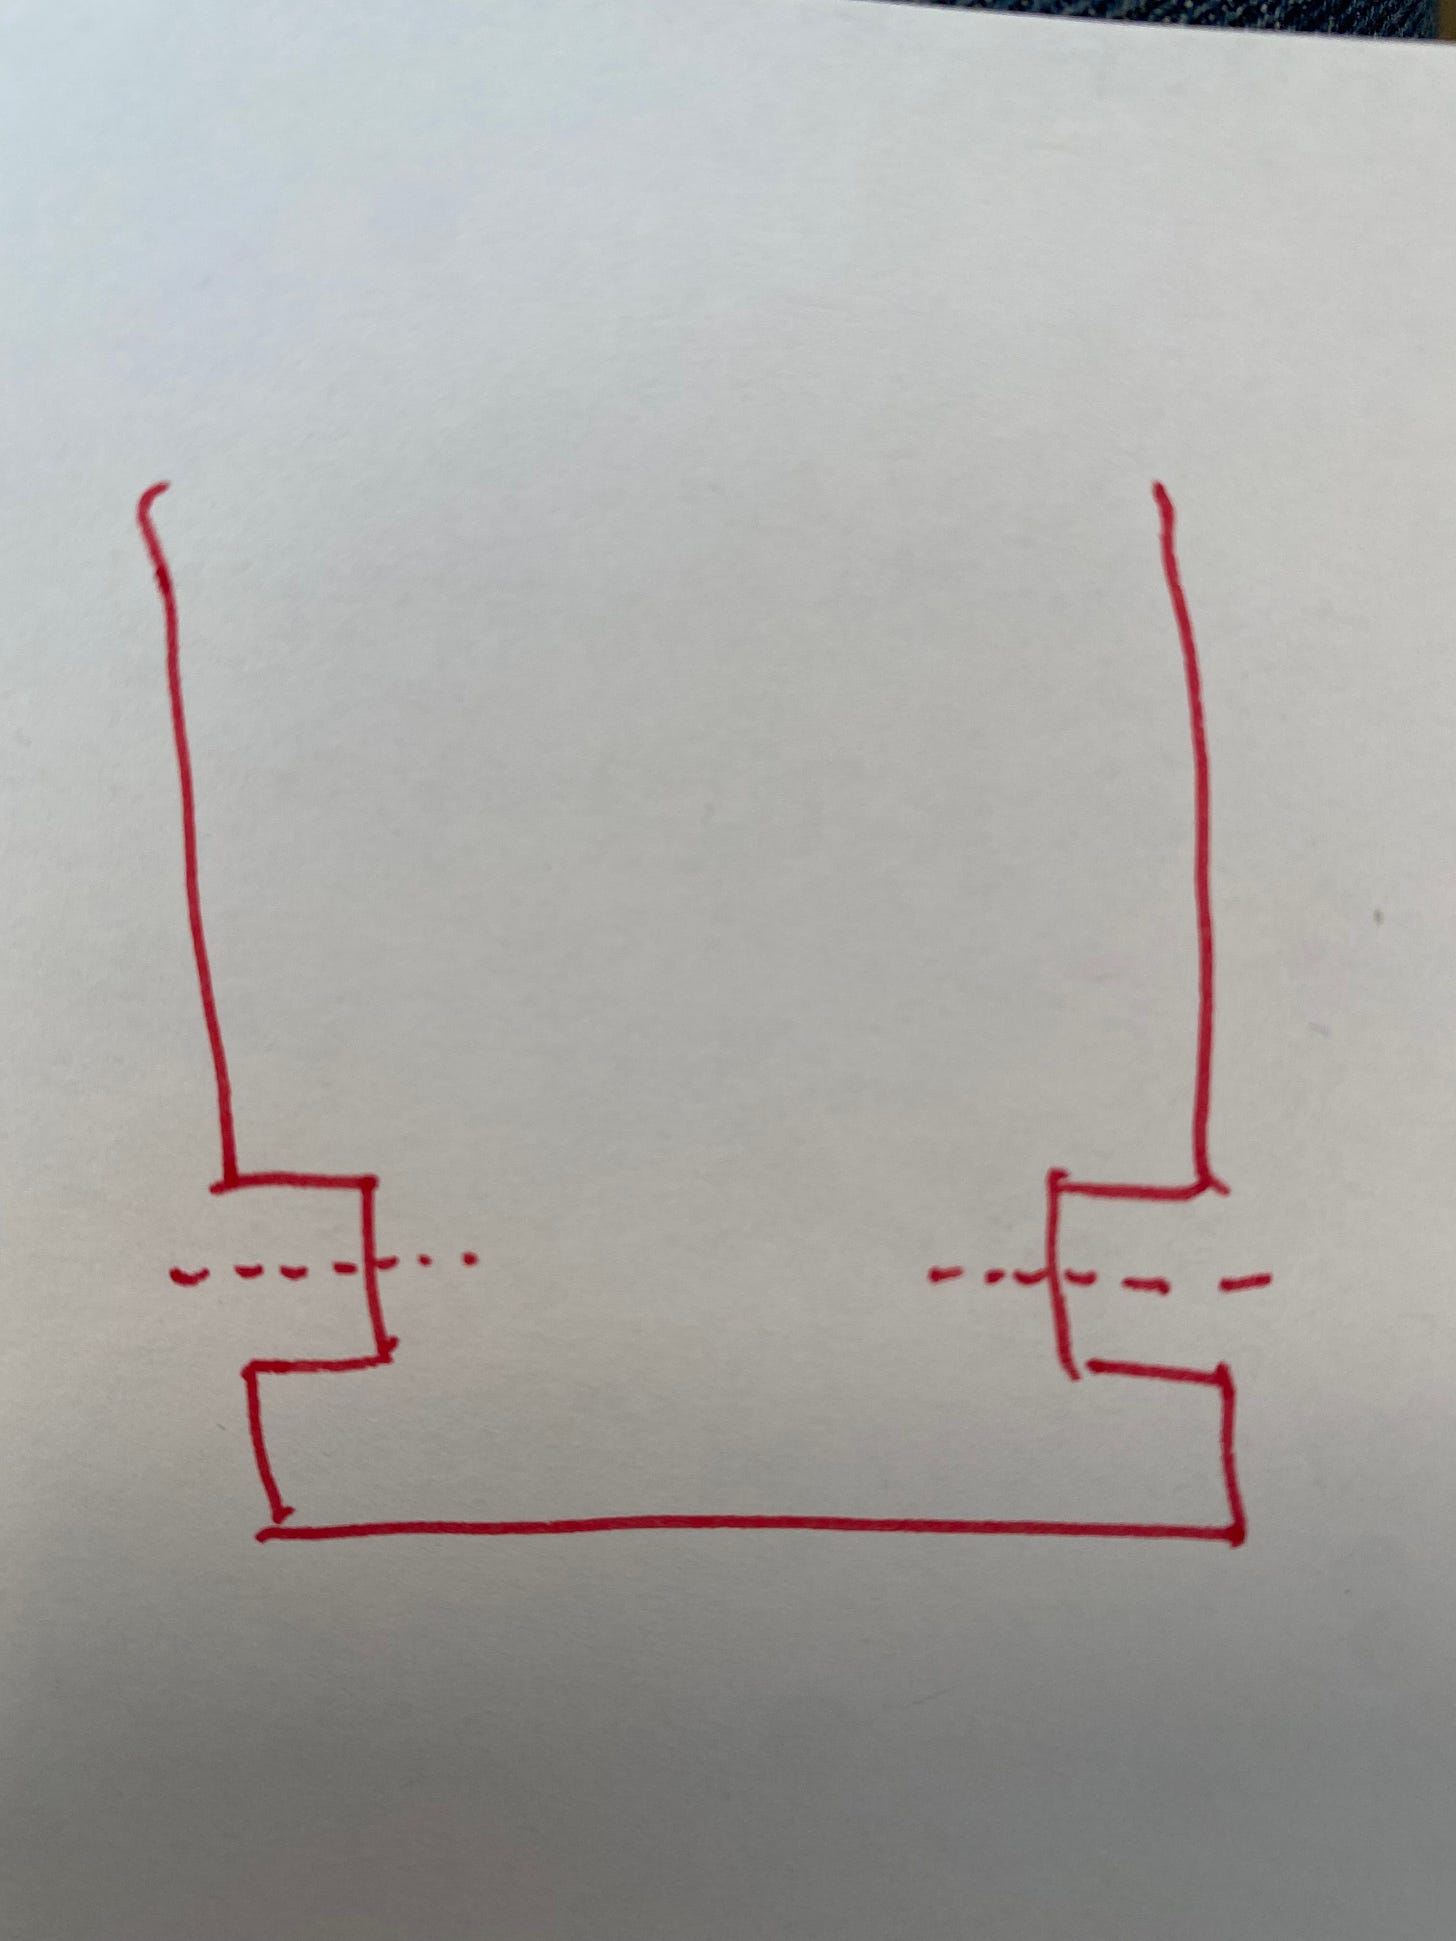
I sketched out a few drawing about how this could be done. Maybe the legs could be keyed, like with a dovetail, and slide into position. Or maybe I could sink the legs into holes and slide a dowel through the tray and legs to hold them in place — or perhaps more accurately, for the legs to hang from.
The latter seemed like a simpler approach, so I decided to proceed with that in mind.
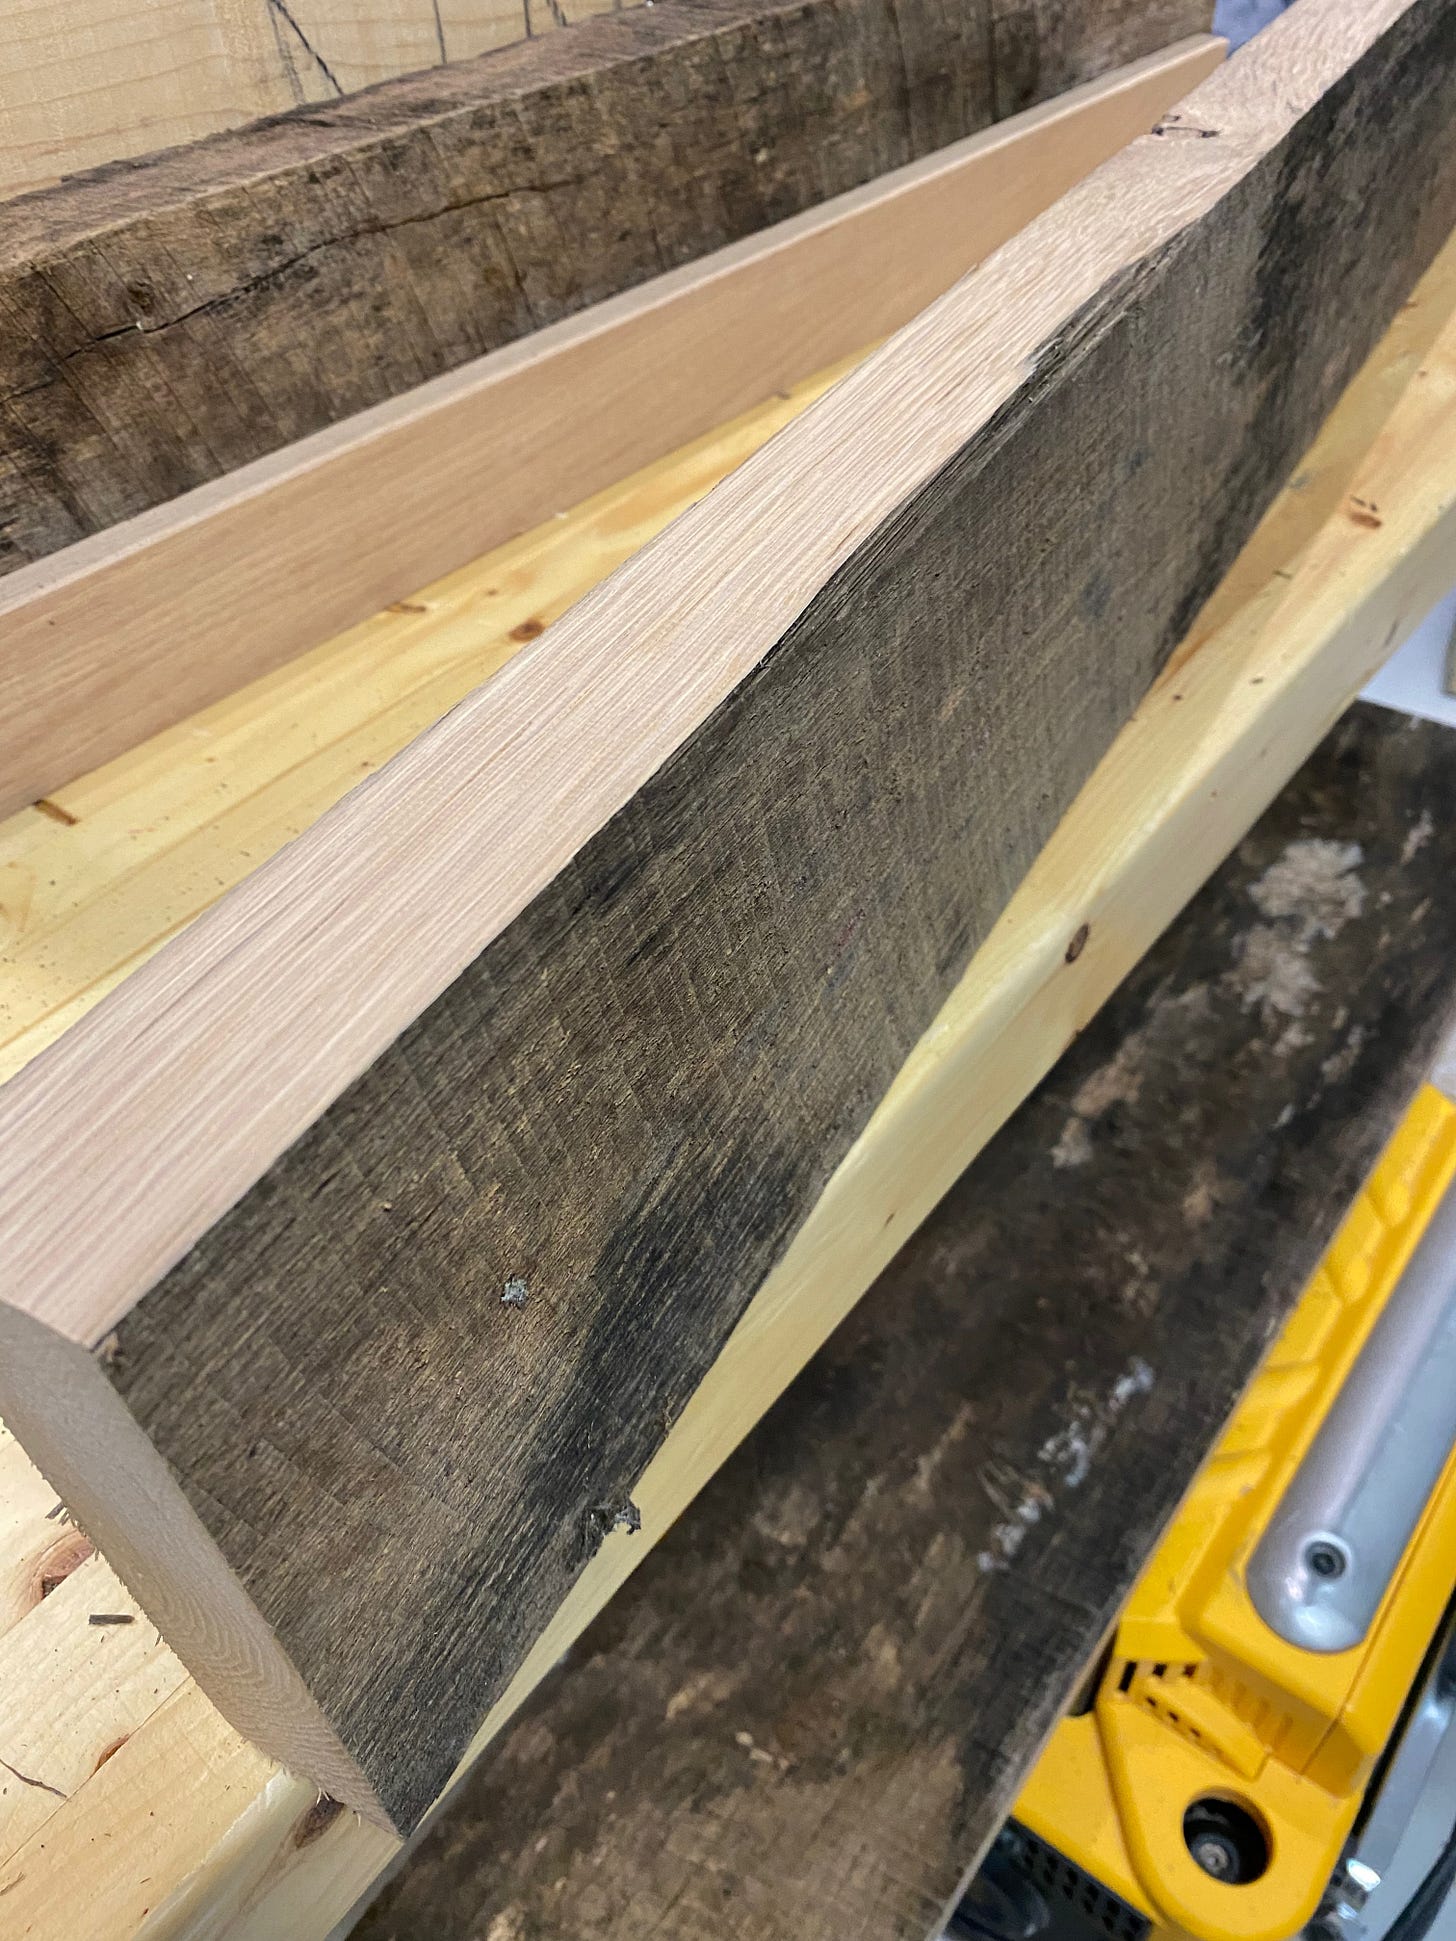
For the tray itself, my friend wanted it to be 30 inches long, 18 inches wide and made from a variety of wood species. So I looked through my stash and pulled out some red oak, walnut, maple, and some reclaimed hard wood that I think might be hickory or ash or even white oak.
Since I planned to sink the legs into recesses in the tray, I figured the tray would need to be at least two inches thick. Otherwise there wouldn’t be enough room to sink the legs and insert some kind of pin to hold them into place.
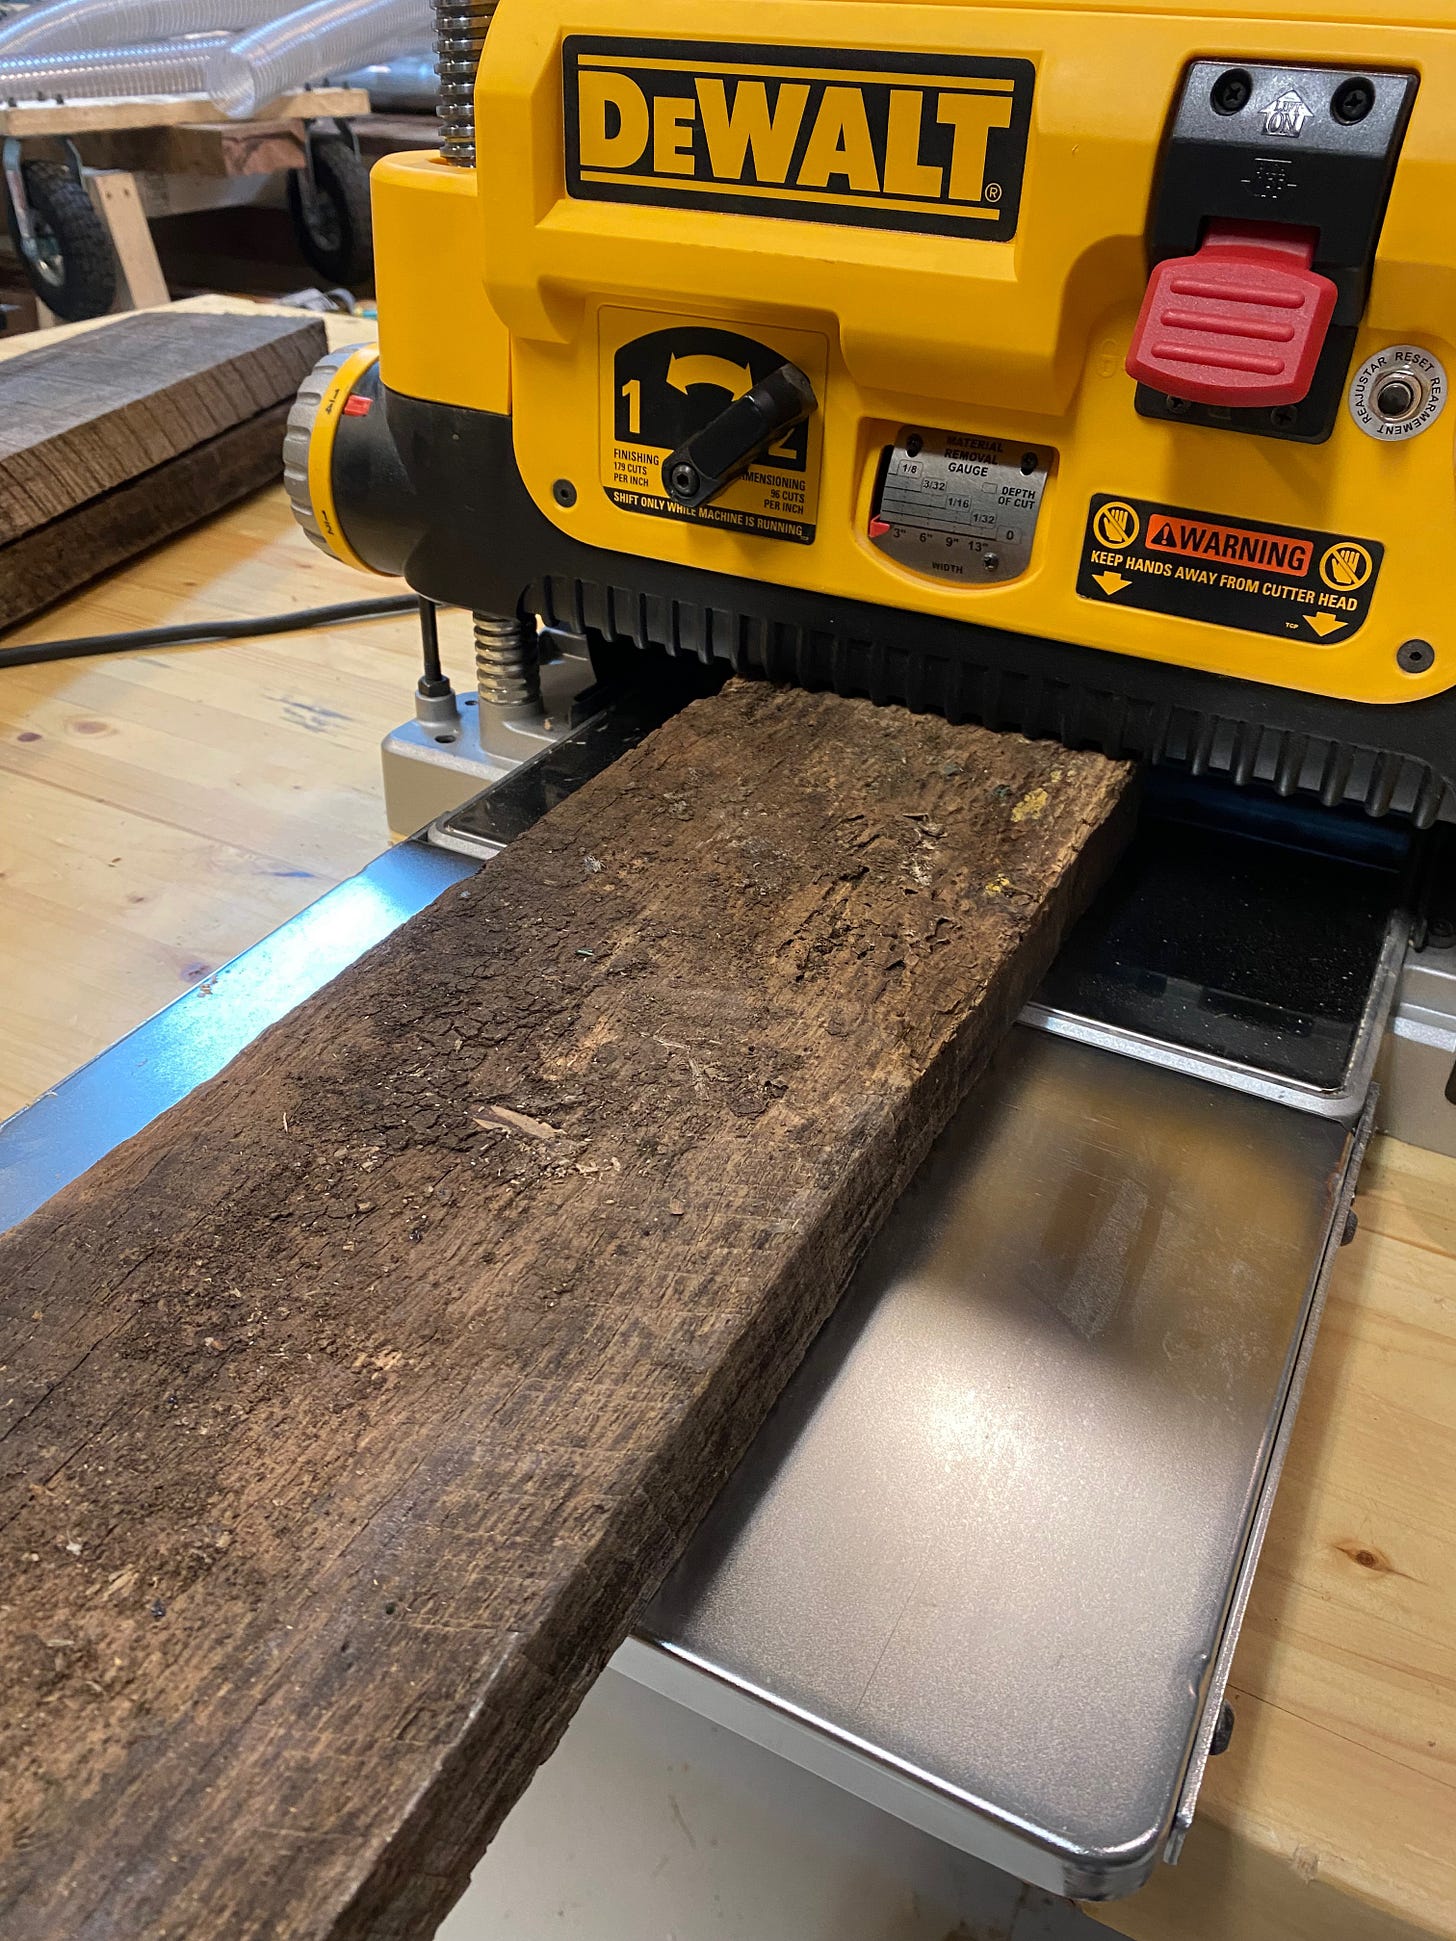
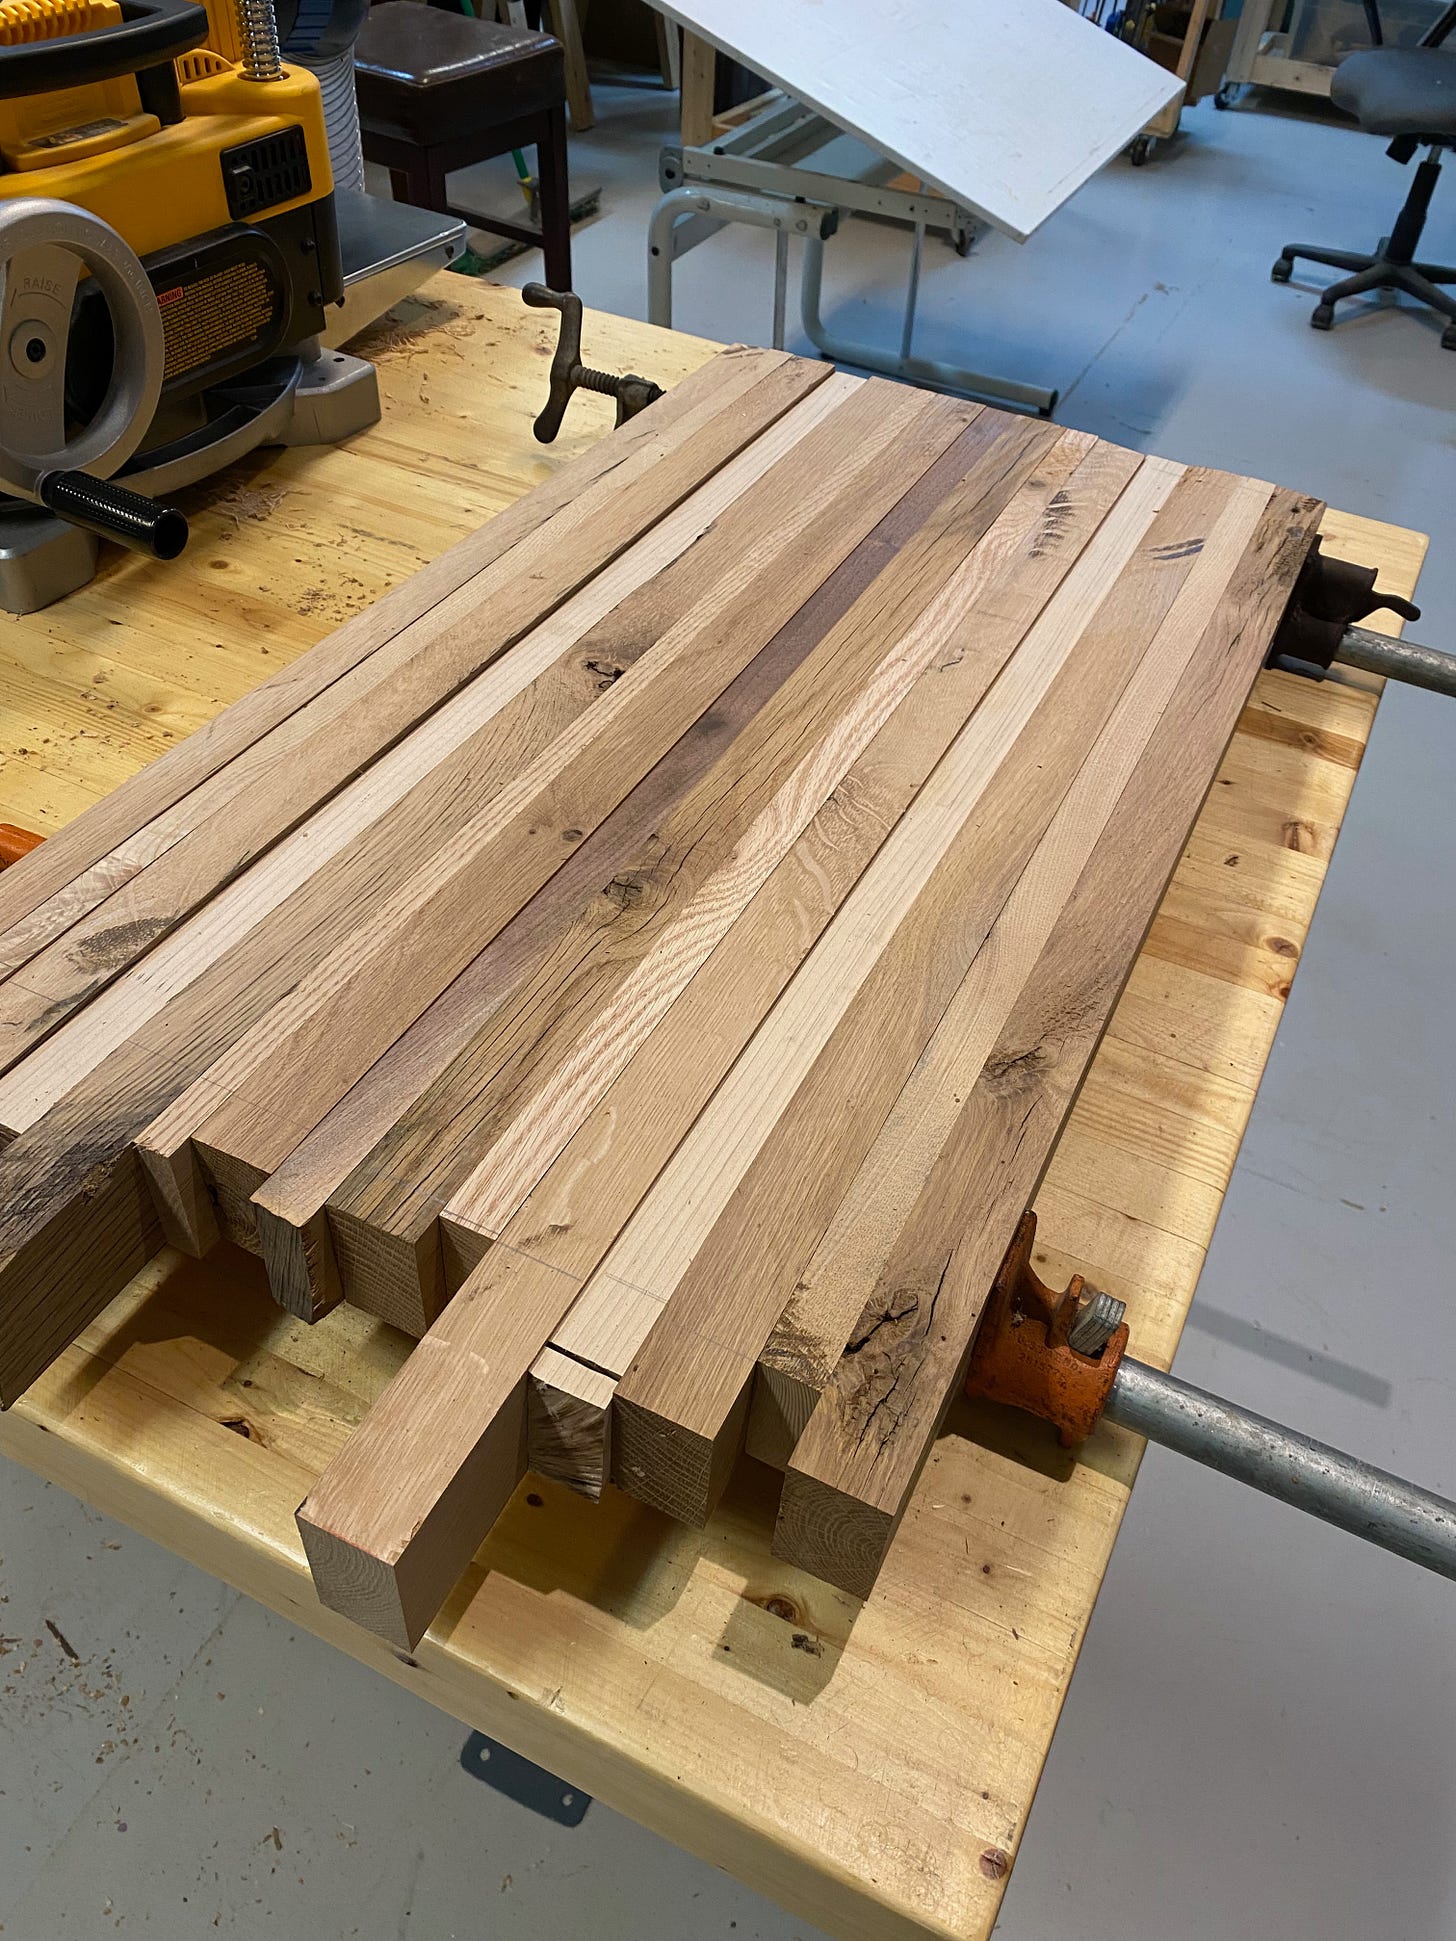
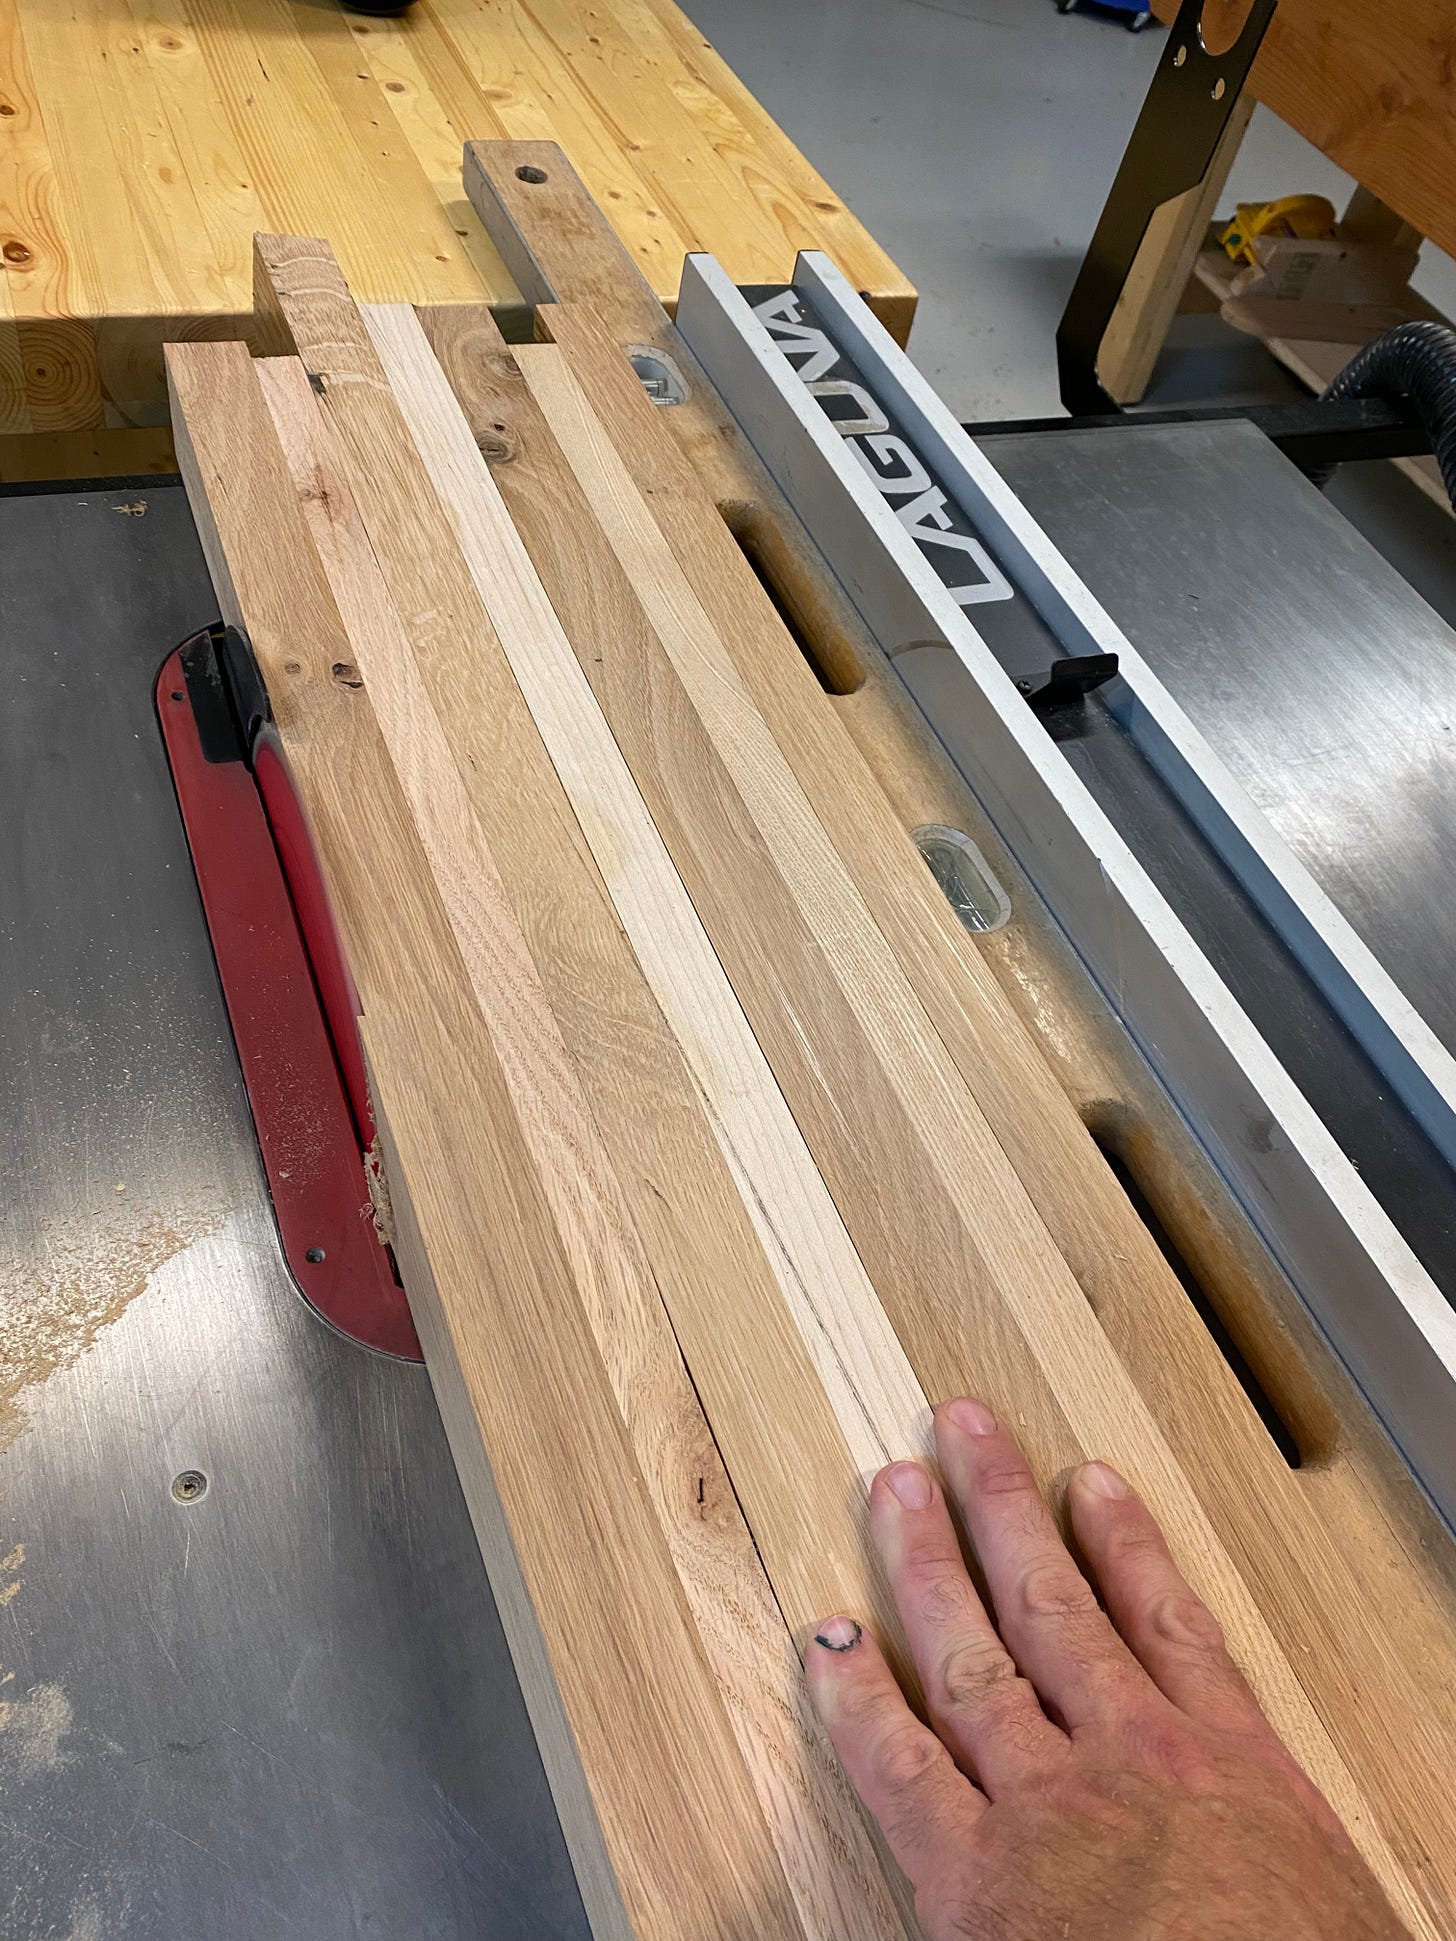
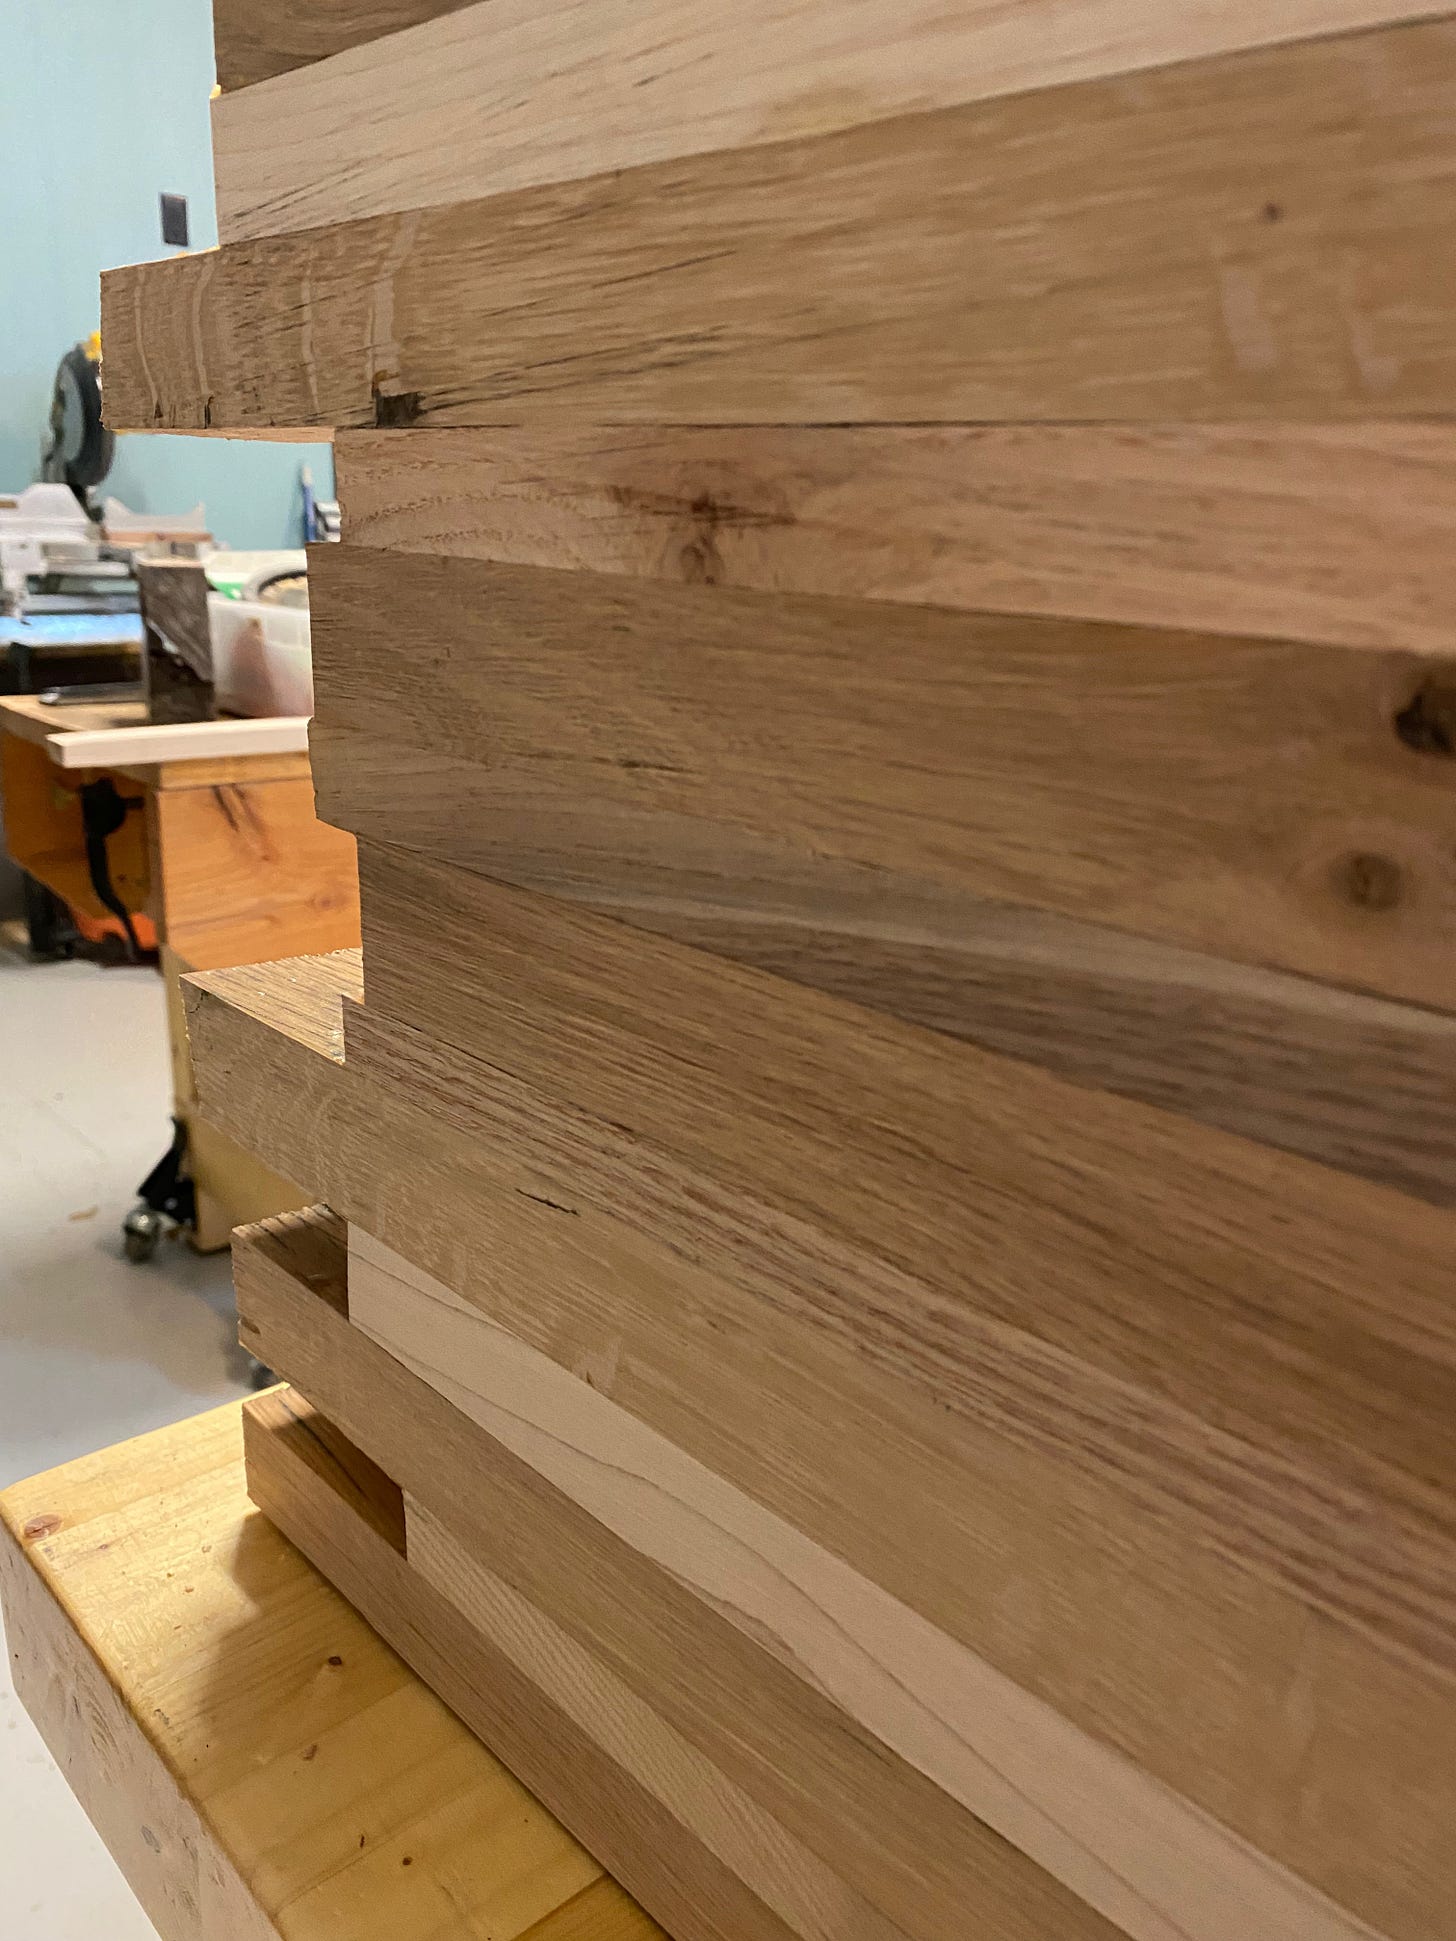
With that in mind, I jointed and planed the planks until they were smooth and flat. I ripped several pieces to a bit more than 2 inches thick and arranged the pieces to see how they’d fit together. Even in a rough state, it was starting to look pretty good.
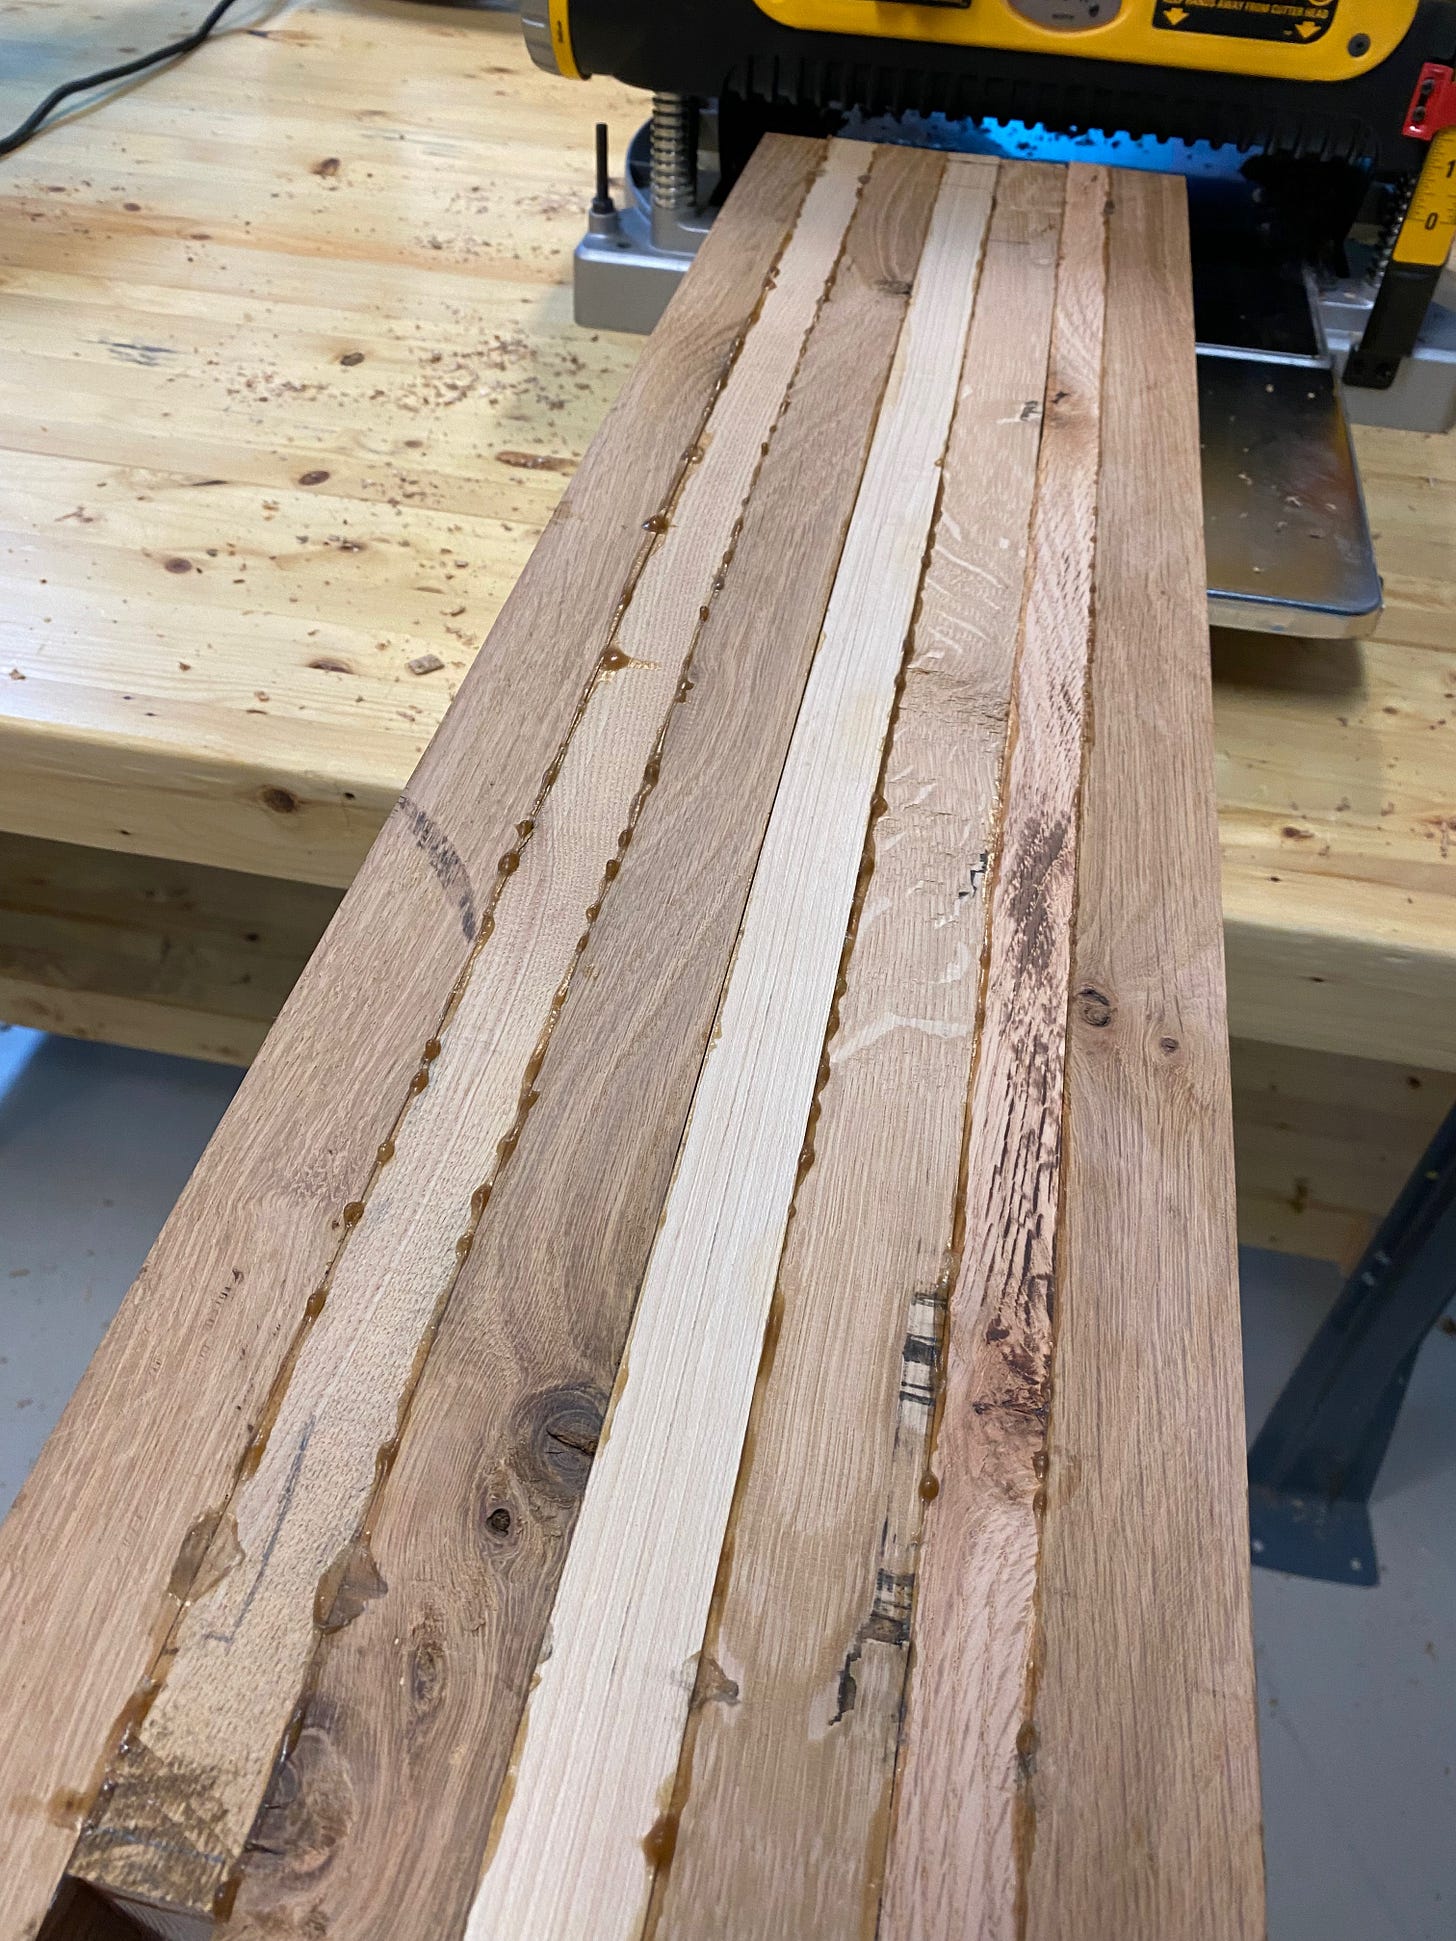
The next step was to glue the pieces together. I could have done them all in one go, but due to the varying thicknesses of the pieces and the certainty that the resulting glue-up would be uneven, I knew I’d need to run the resulting “plank” through my planer to make it smooth and of uniform thickness. Since my planer is 12 inches wide, gluing everything in one go — where the resulting plank would be more than 18 inches wide — was a nonstarter. Instead, I glued up two 9-inch planks.
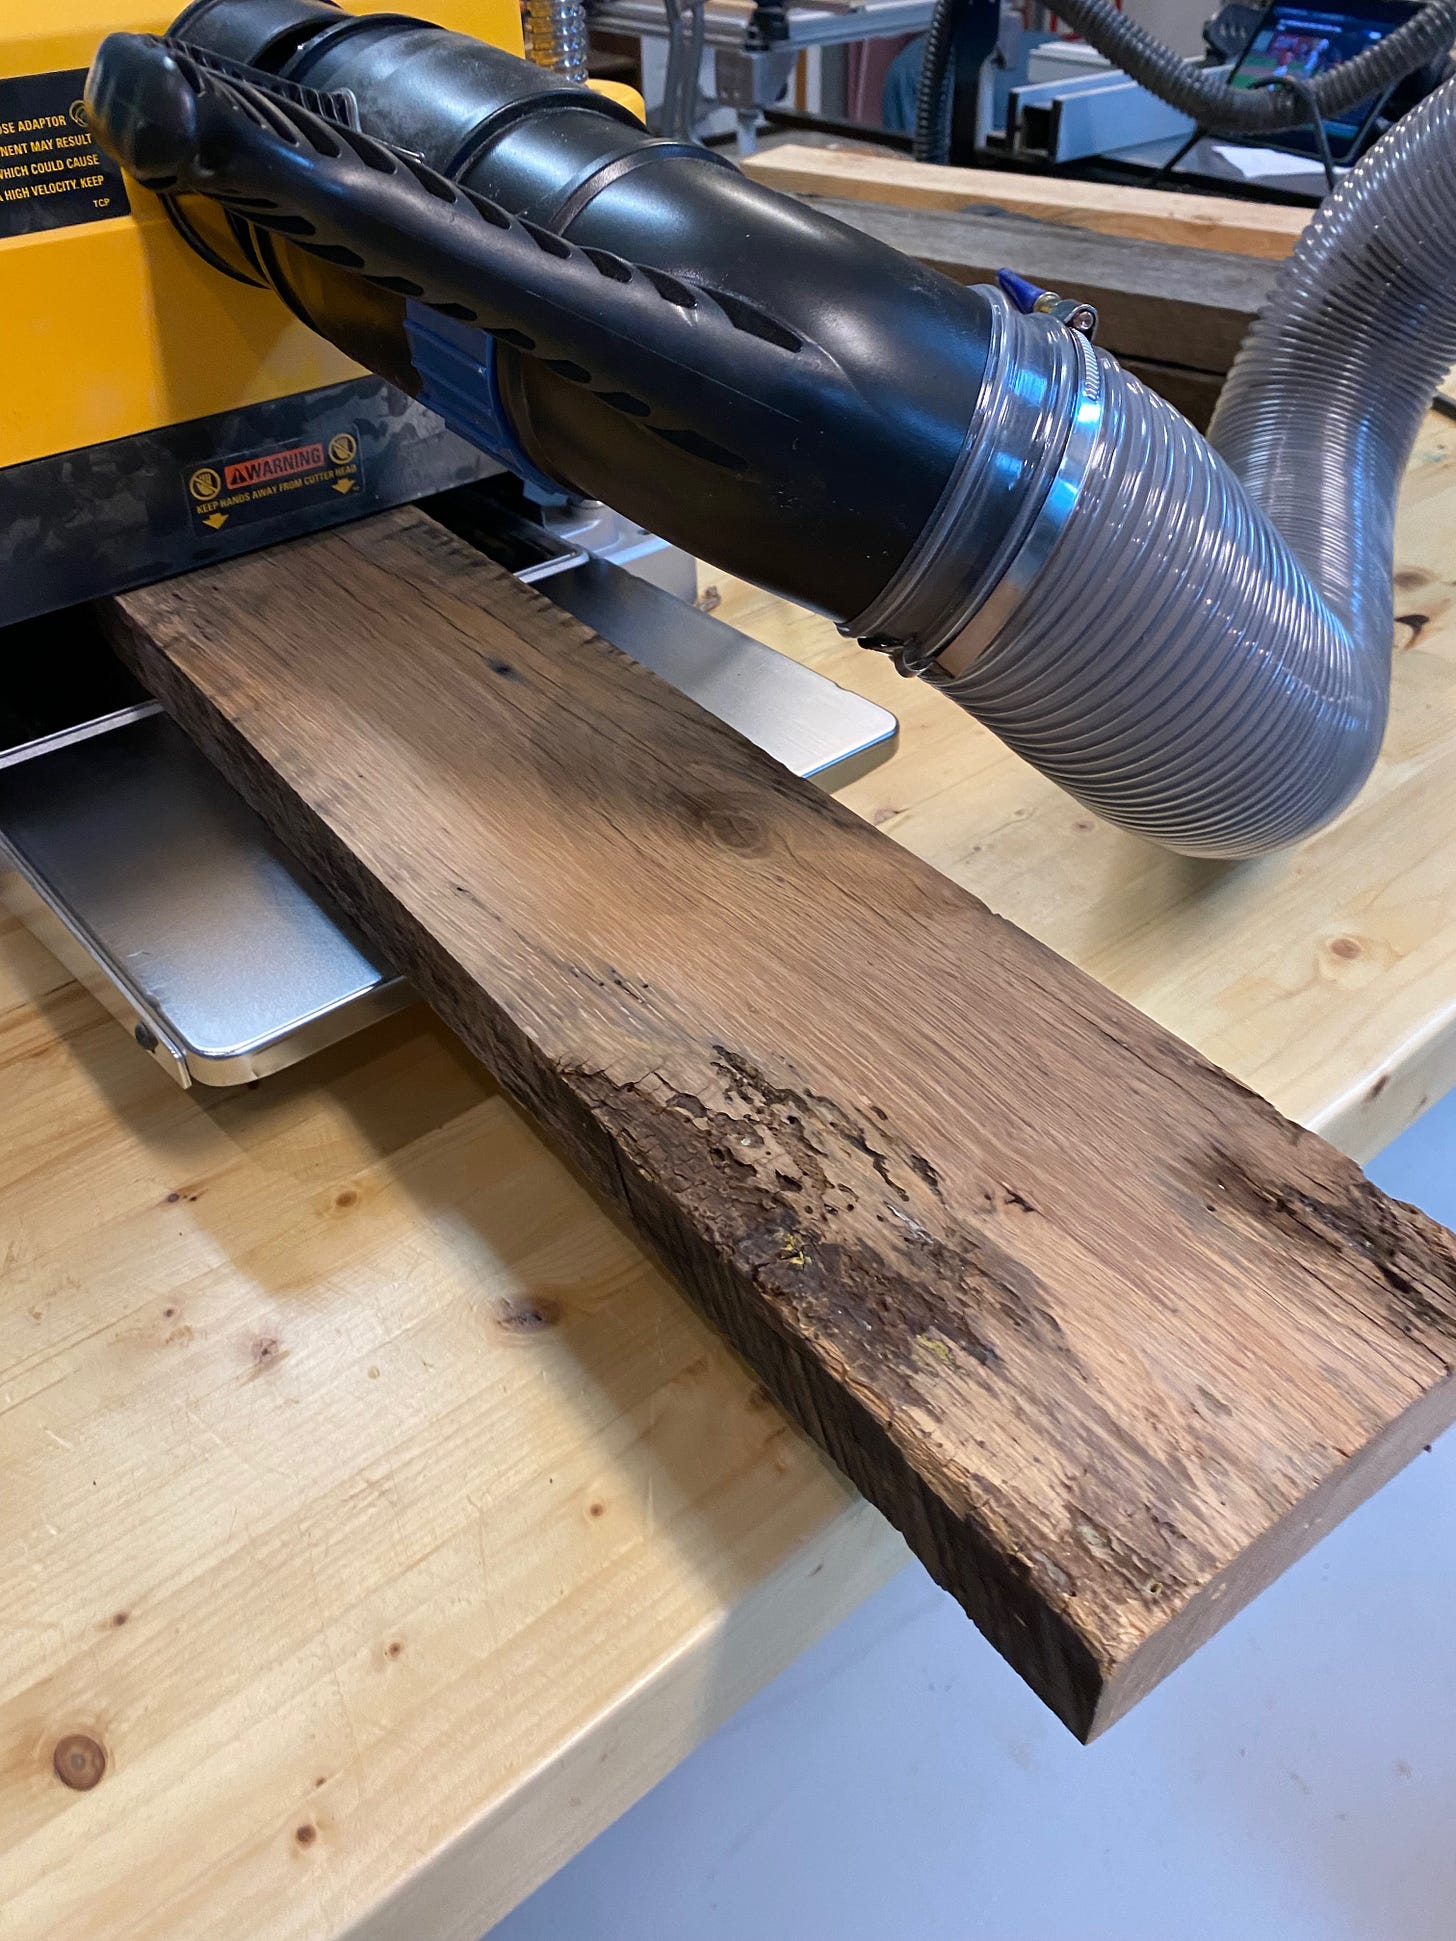
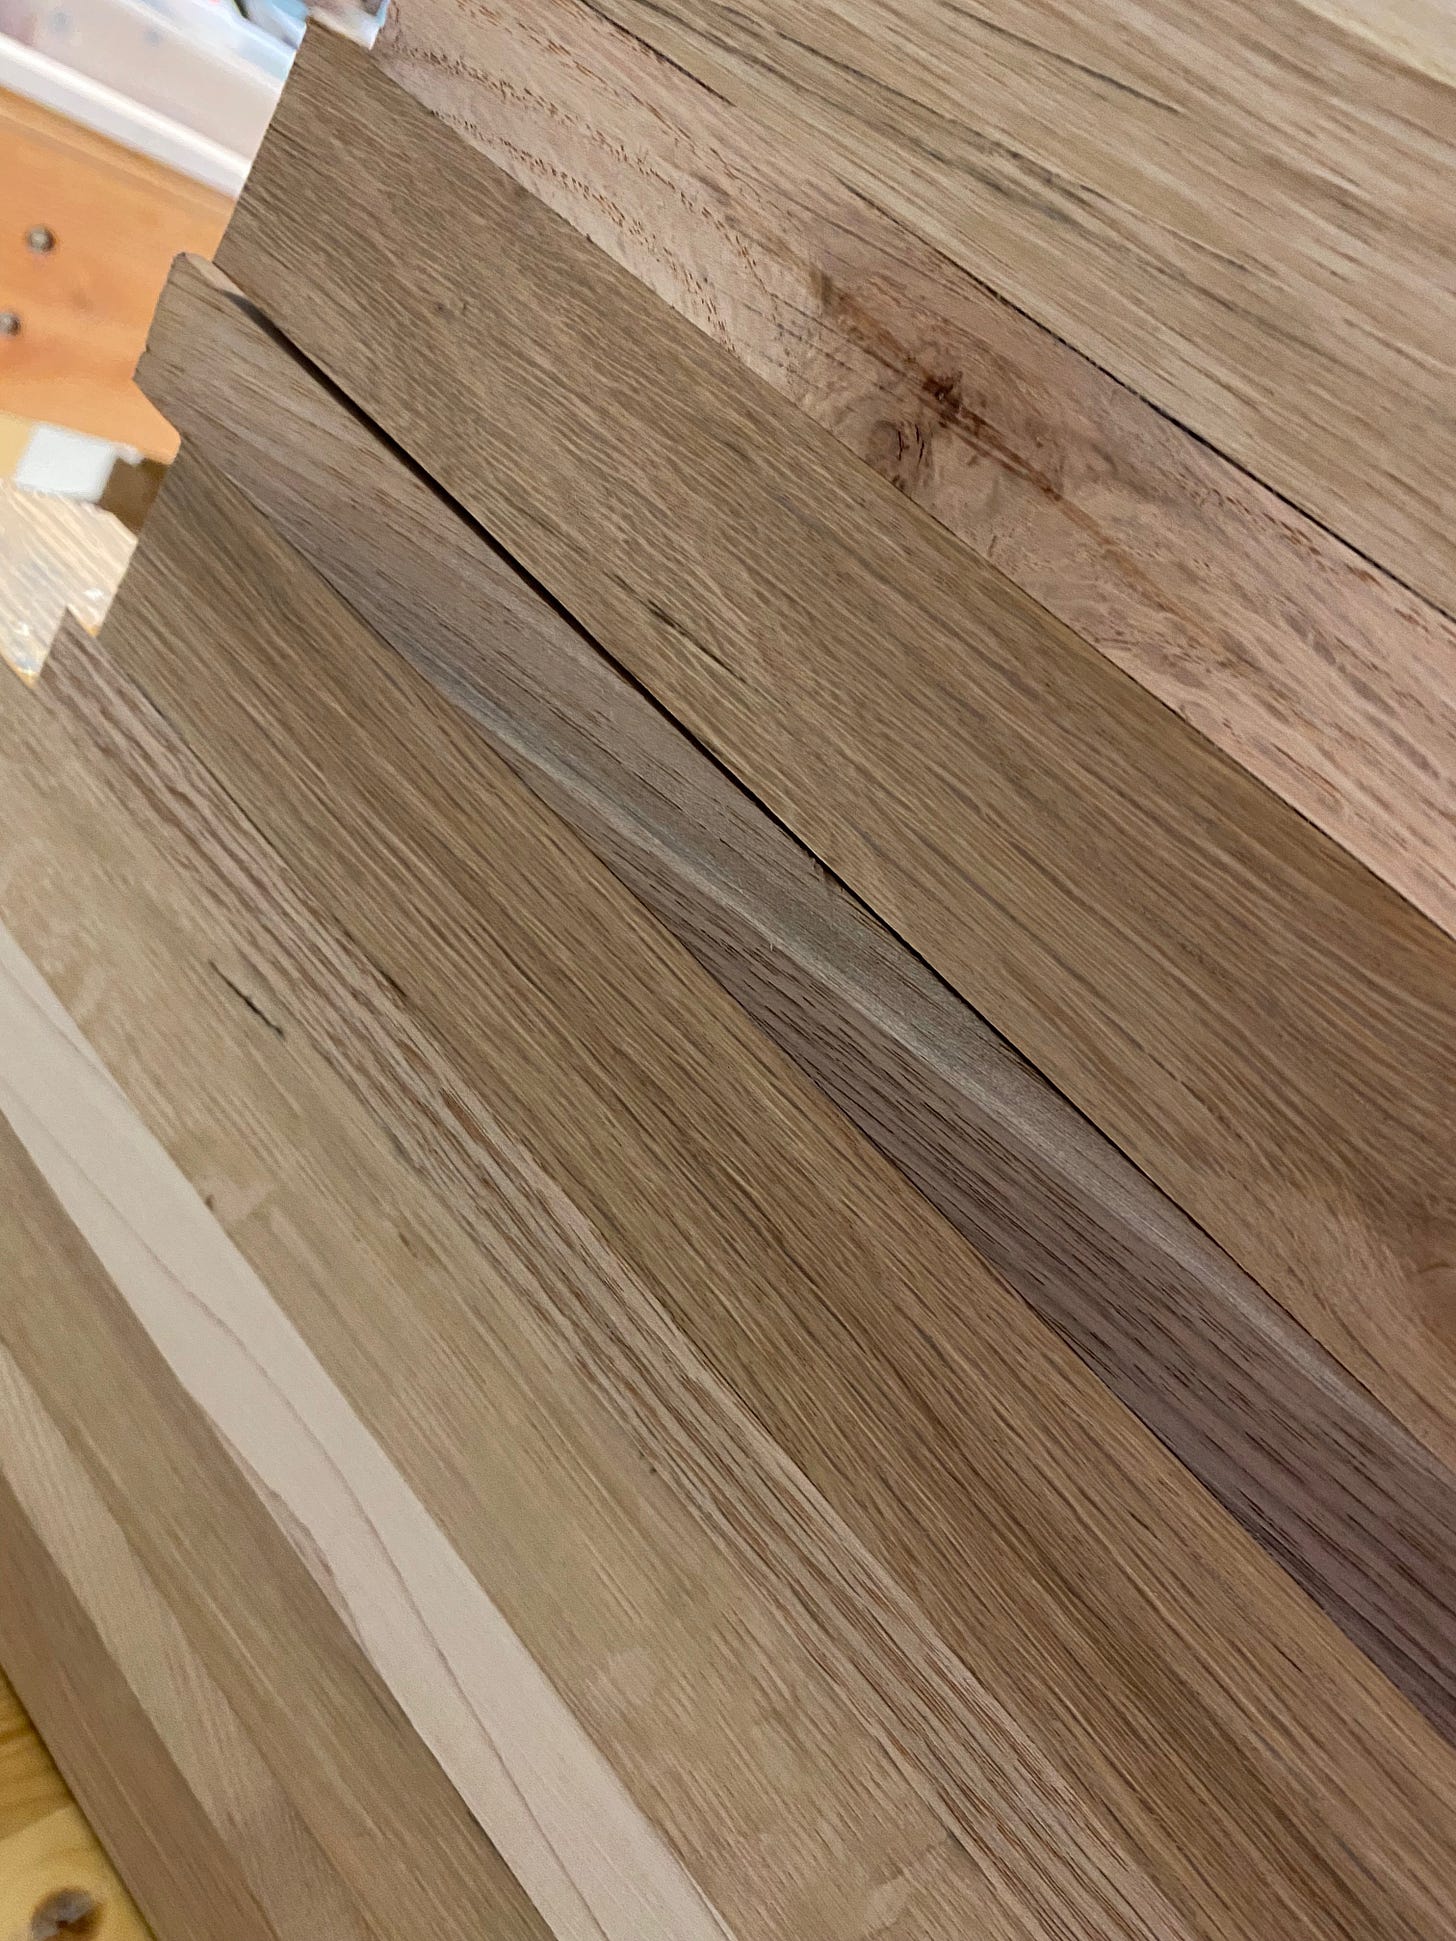
Once the planks dried, I put each through the planer until they were smooth and the same thickness. Then I went to glue them to each other, but was dismayed to discover the edges weren’t perfectly straight. There was a noticeable gap between them.
No worries, I thought. I’ll just flatten the edges on my jointer; After all, that is its expressed purpose. But it seemed that no matter how many times or how carefully I tried to flatten the edge on the machine, it failed to bring the two pieces tightly together. Clearly I was doing something wrong. I guess I need to go back to jointer school.
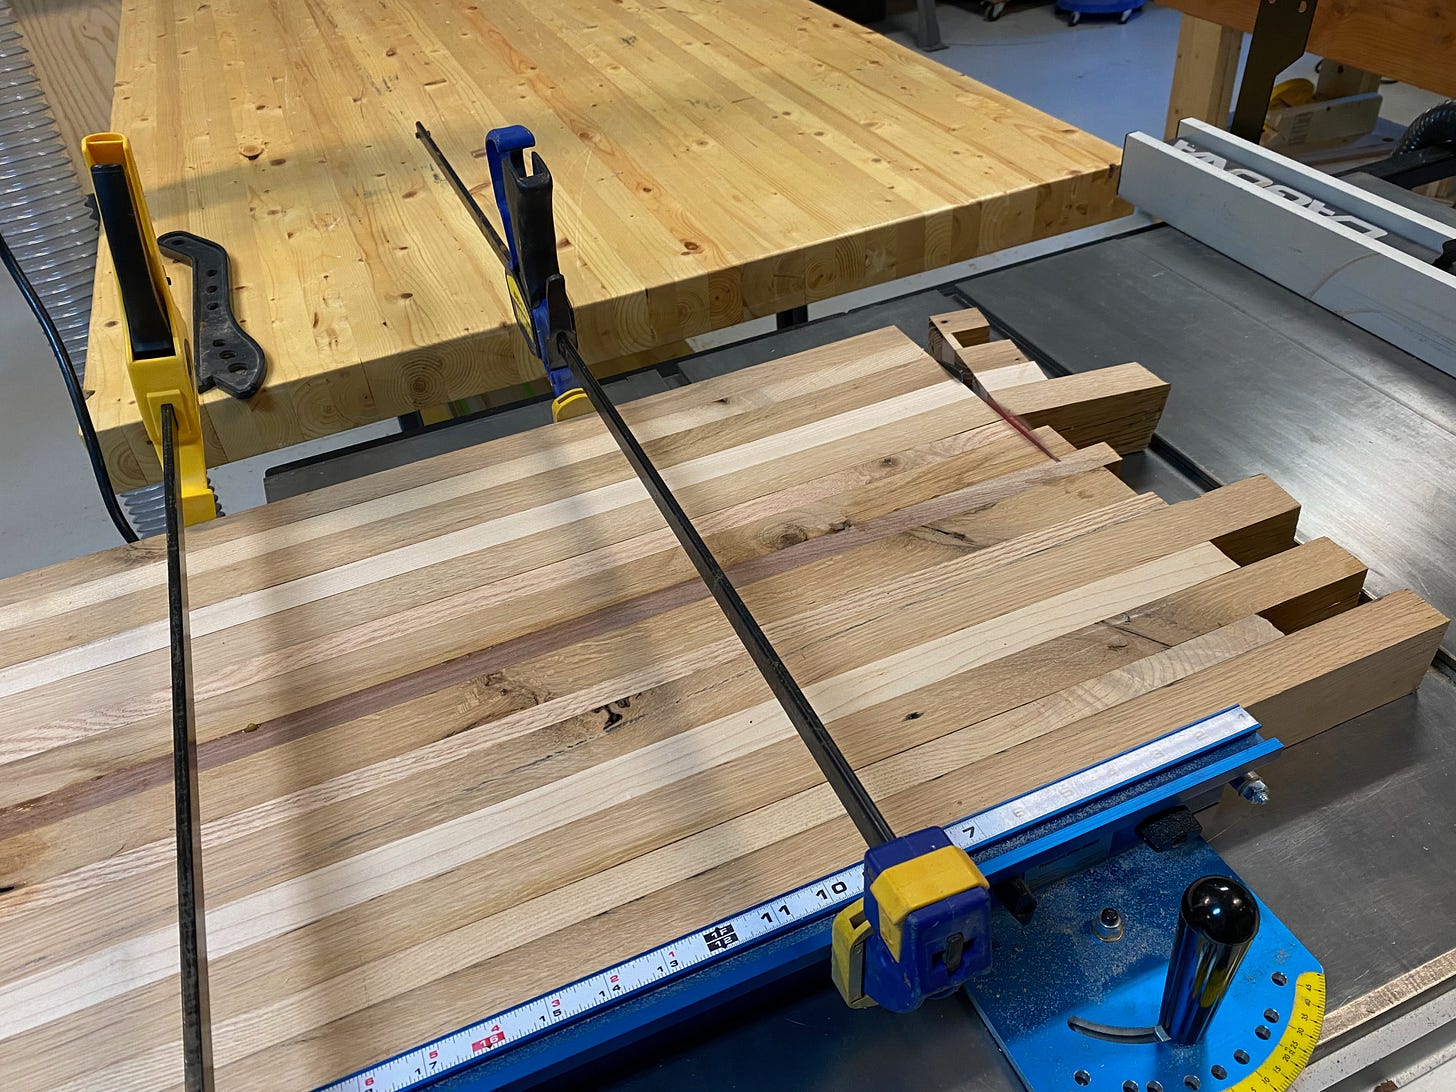
To solve the problem, I took the planks to the table saw and made careful rips using a straightedge as a guide. The trick worked; the two pieces now tightly fit together. I glued them up.
Once the glue dried, I brought out my sander and smoothed the joint and the rest of the tray’s surfaces. Then I took it to the table saw and cut off the jagged ends.
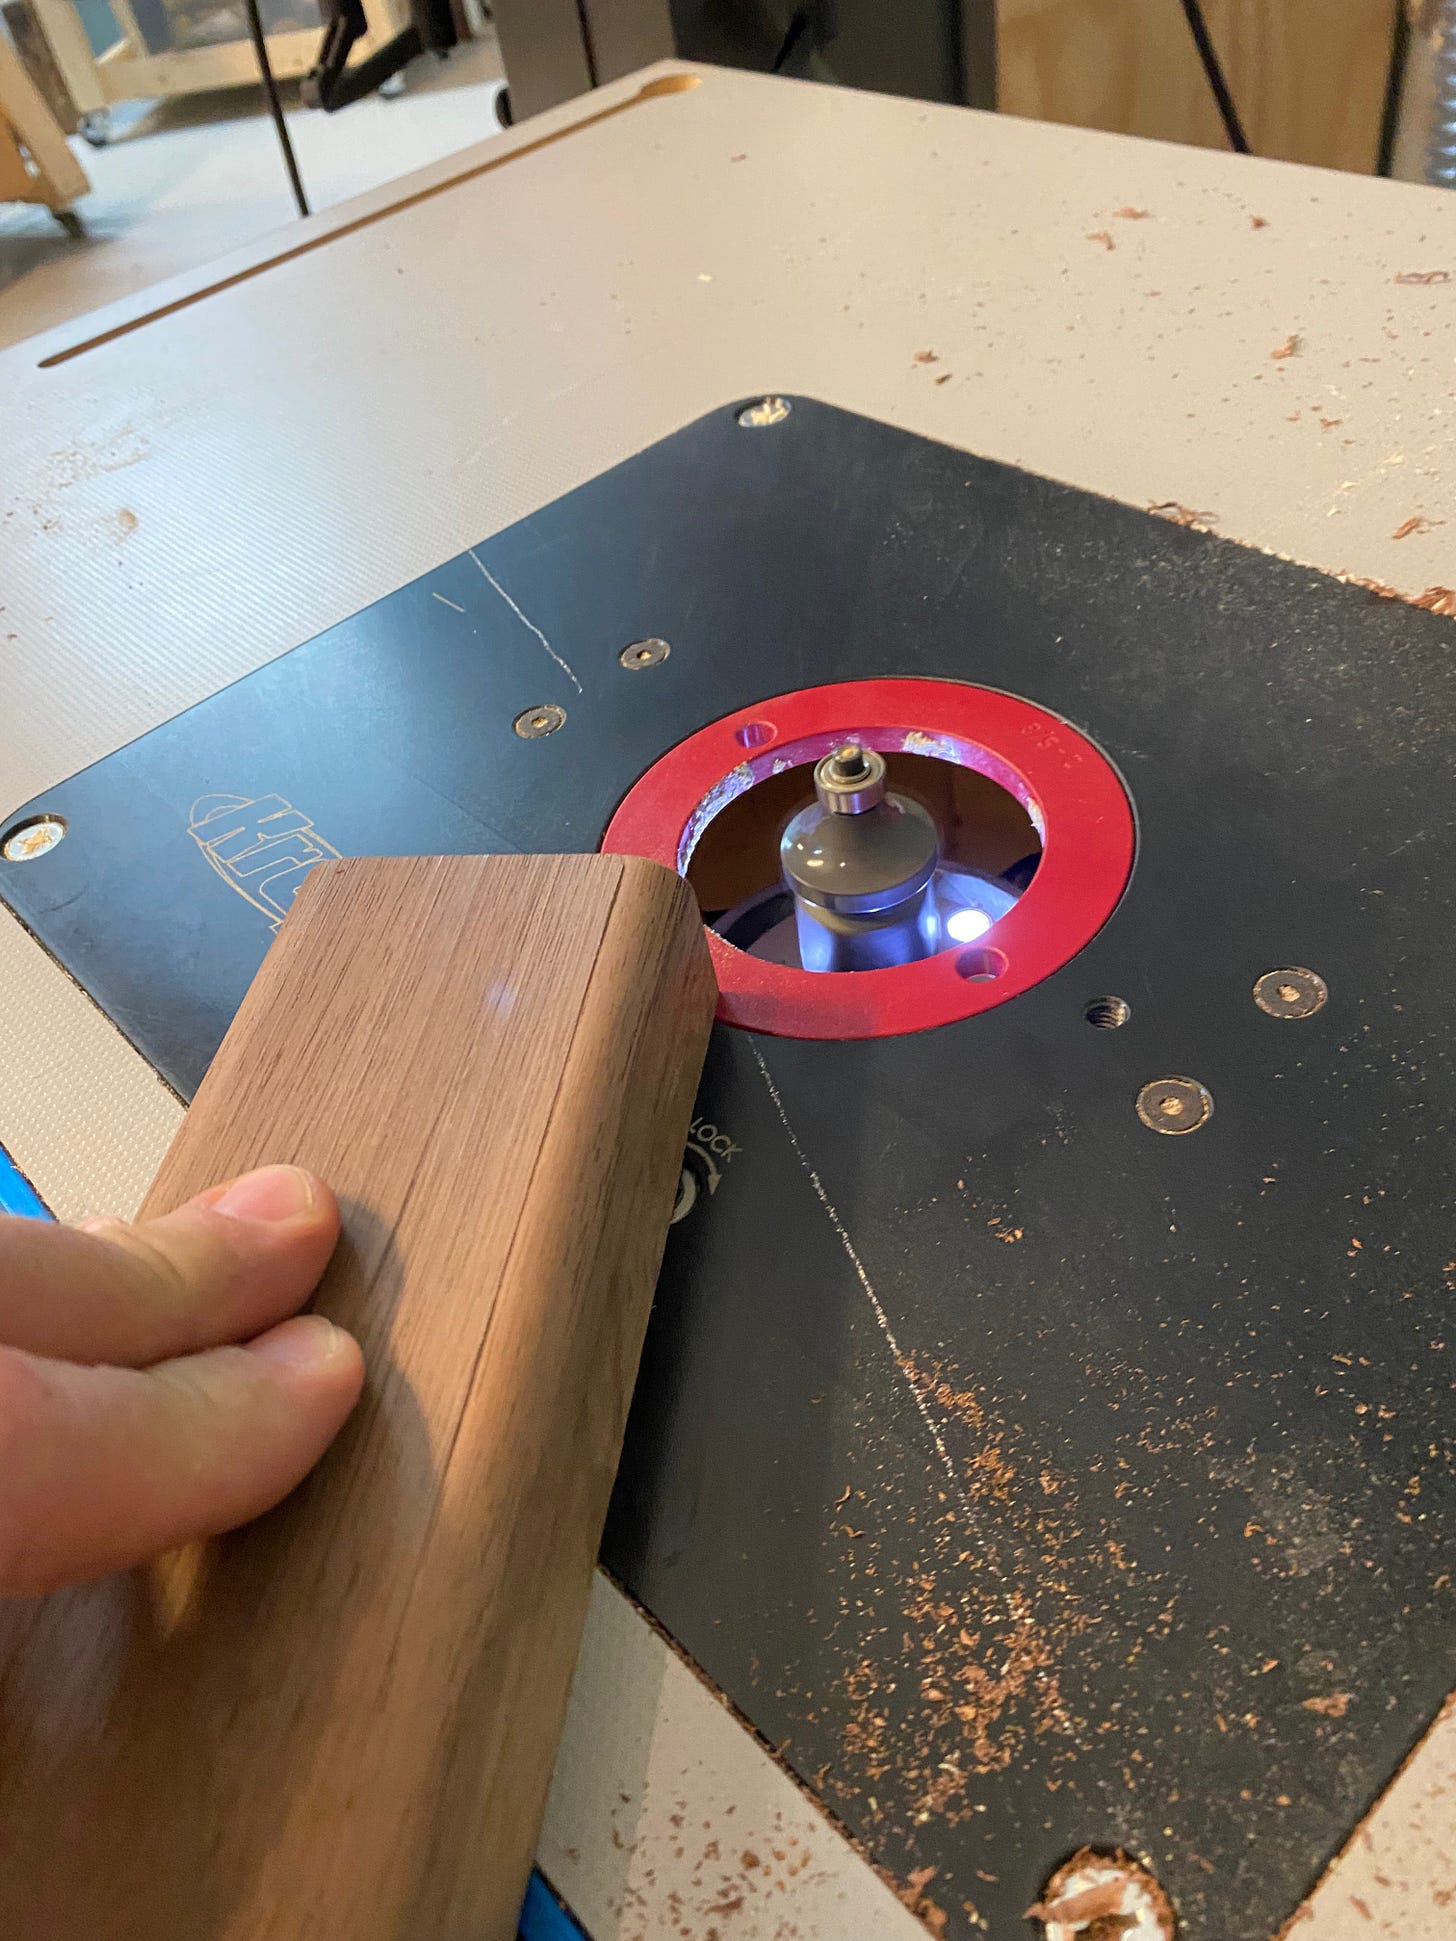
The tray was now it’s final size and shape. All that was left — other than dealing with the legs — was to put a nice round over on all of the edges. So with my trim router, I did just that.
Nice Legs
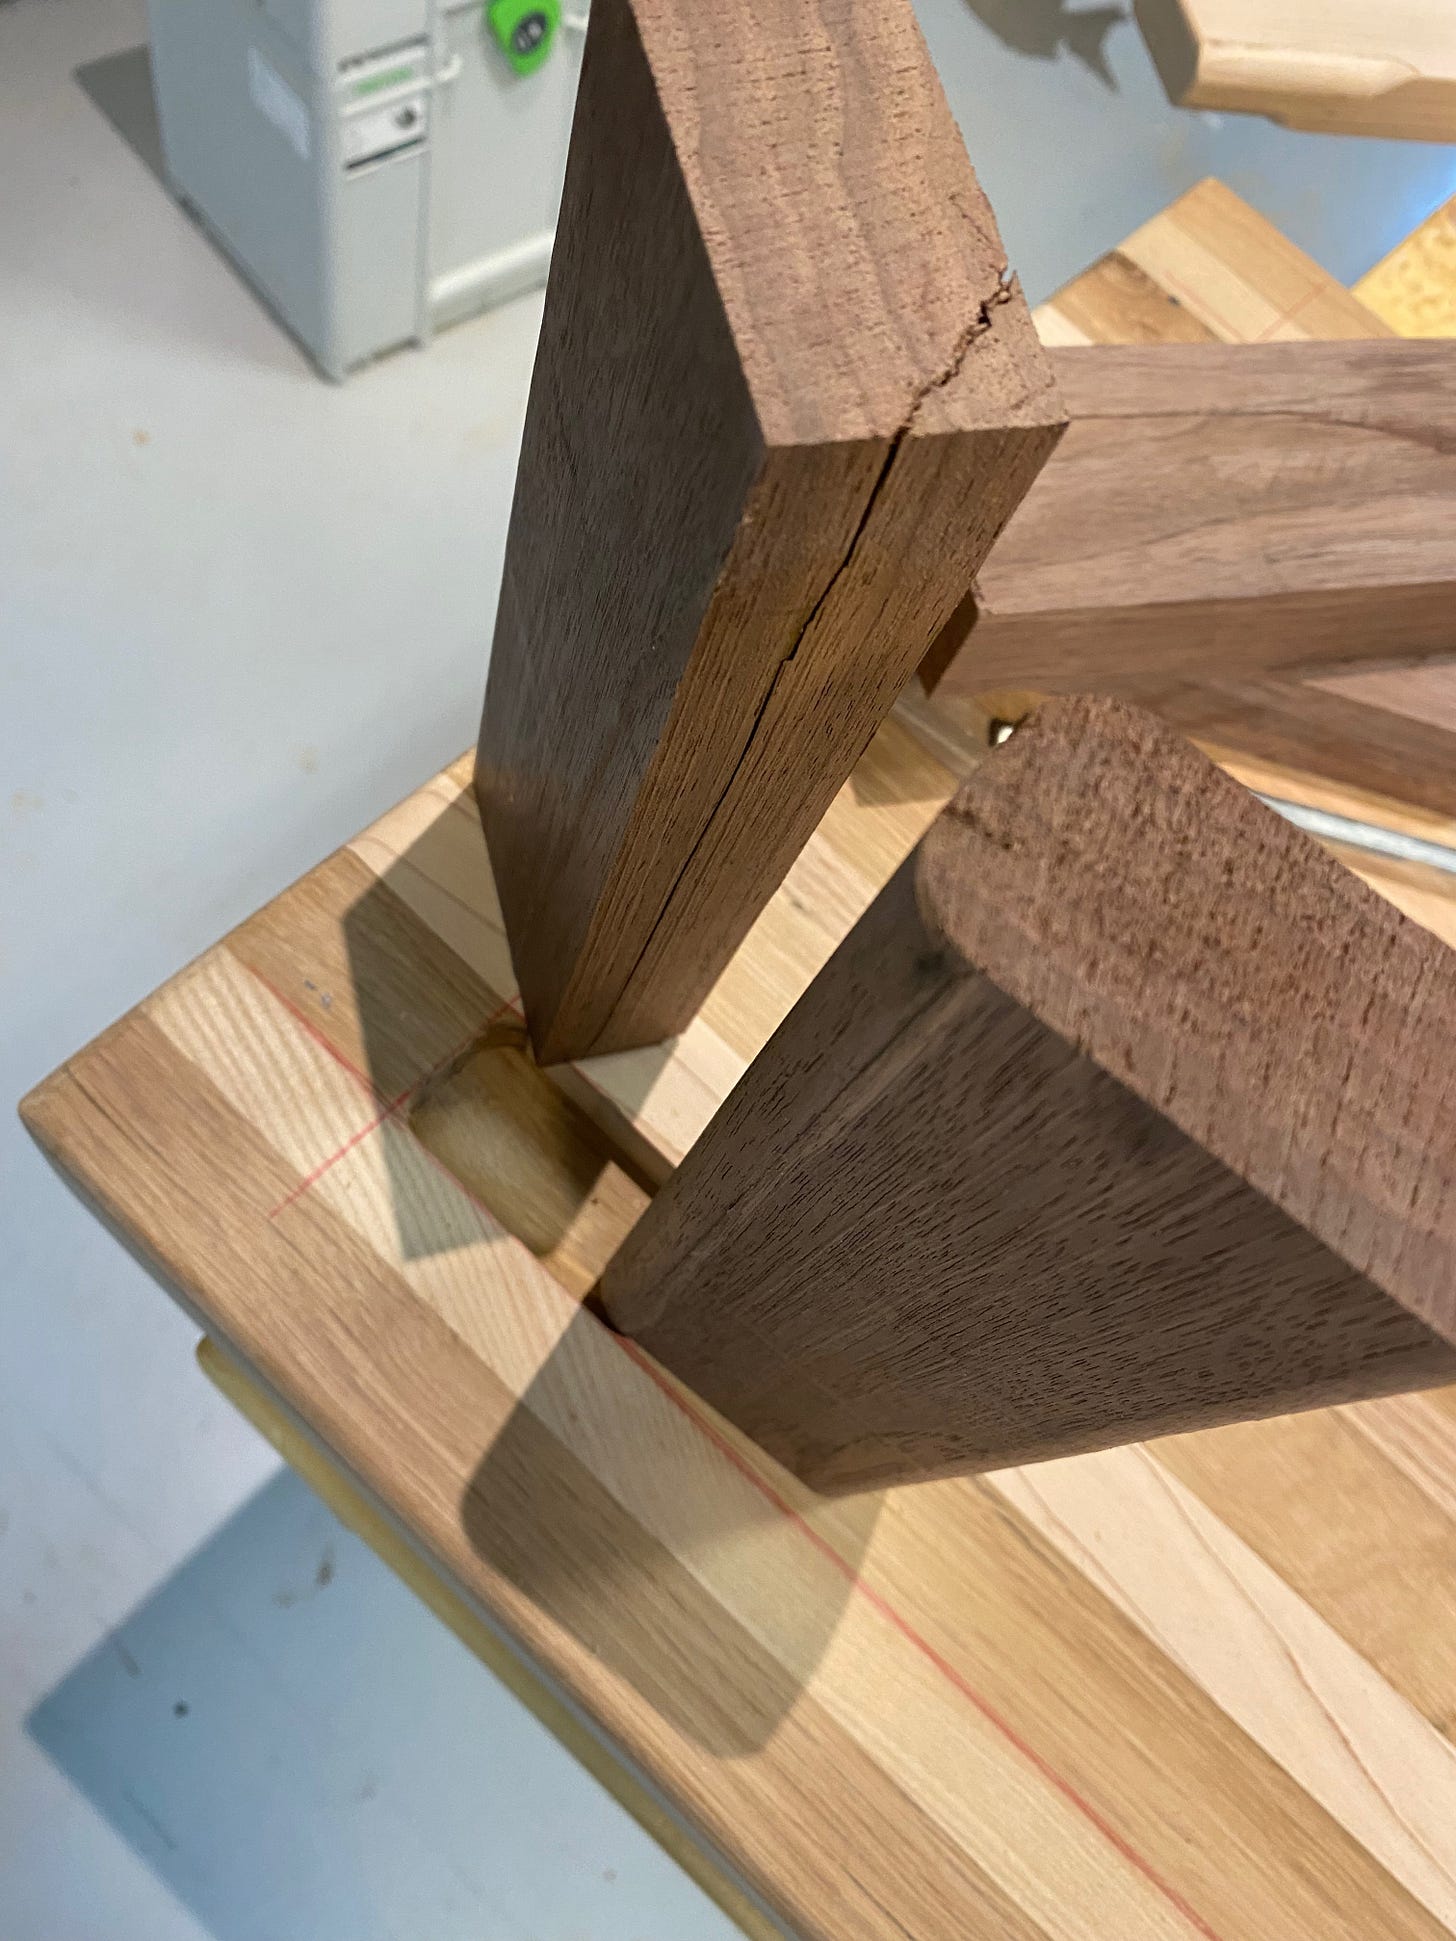
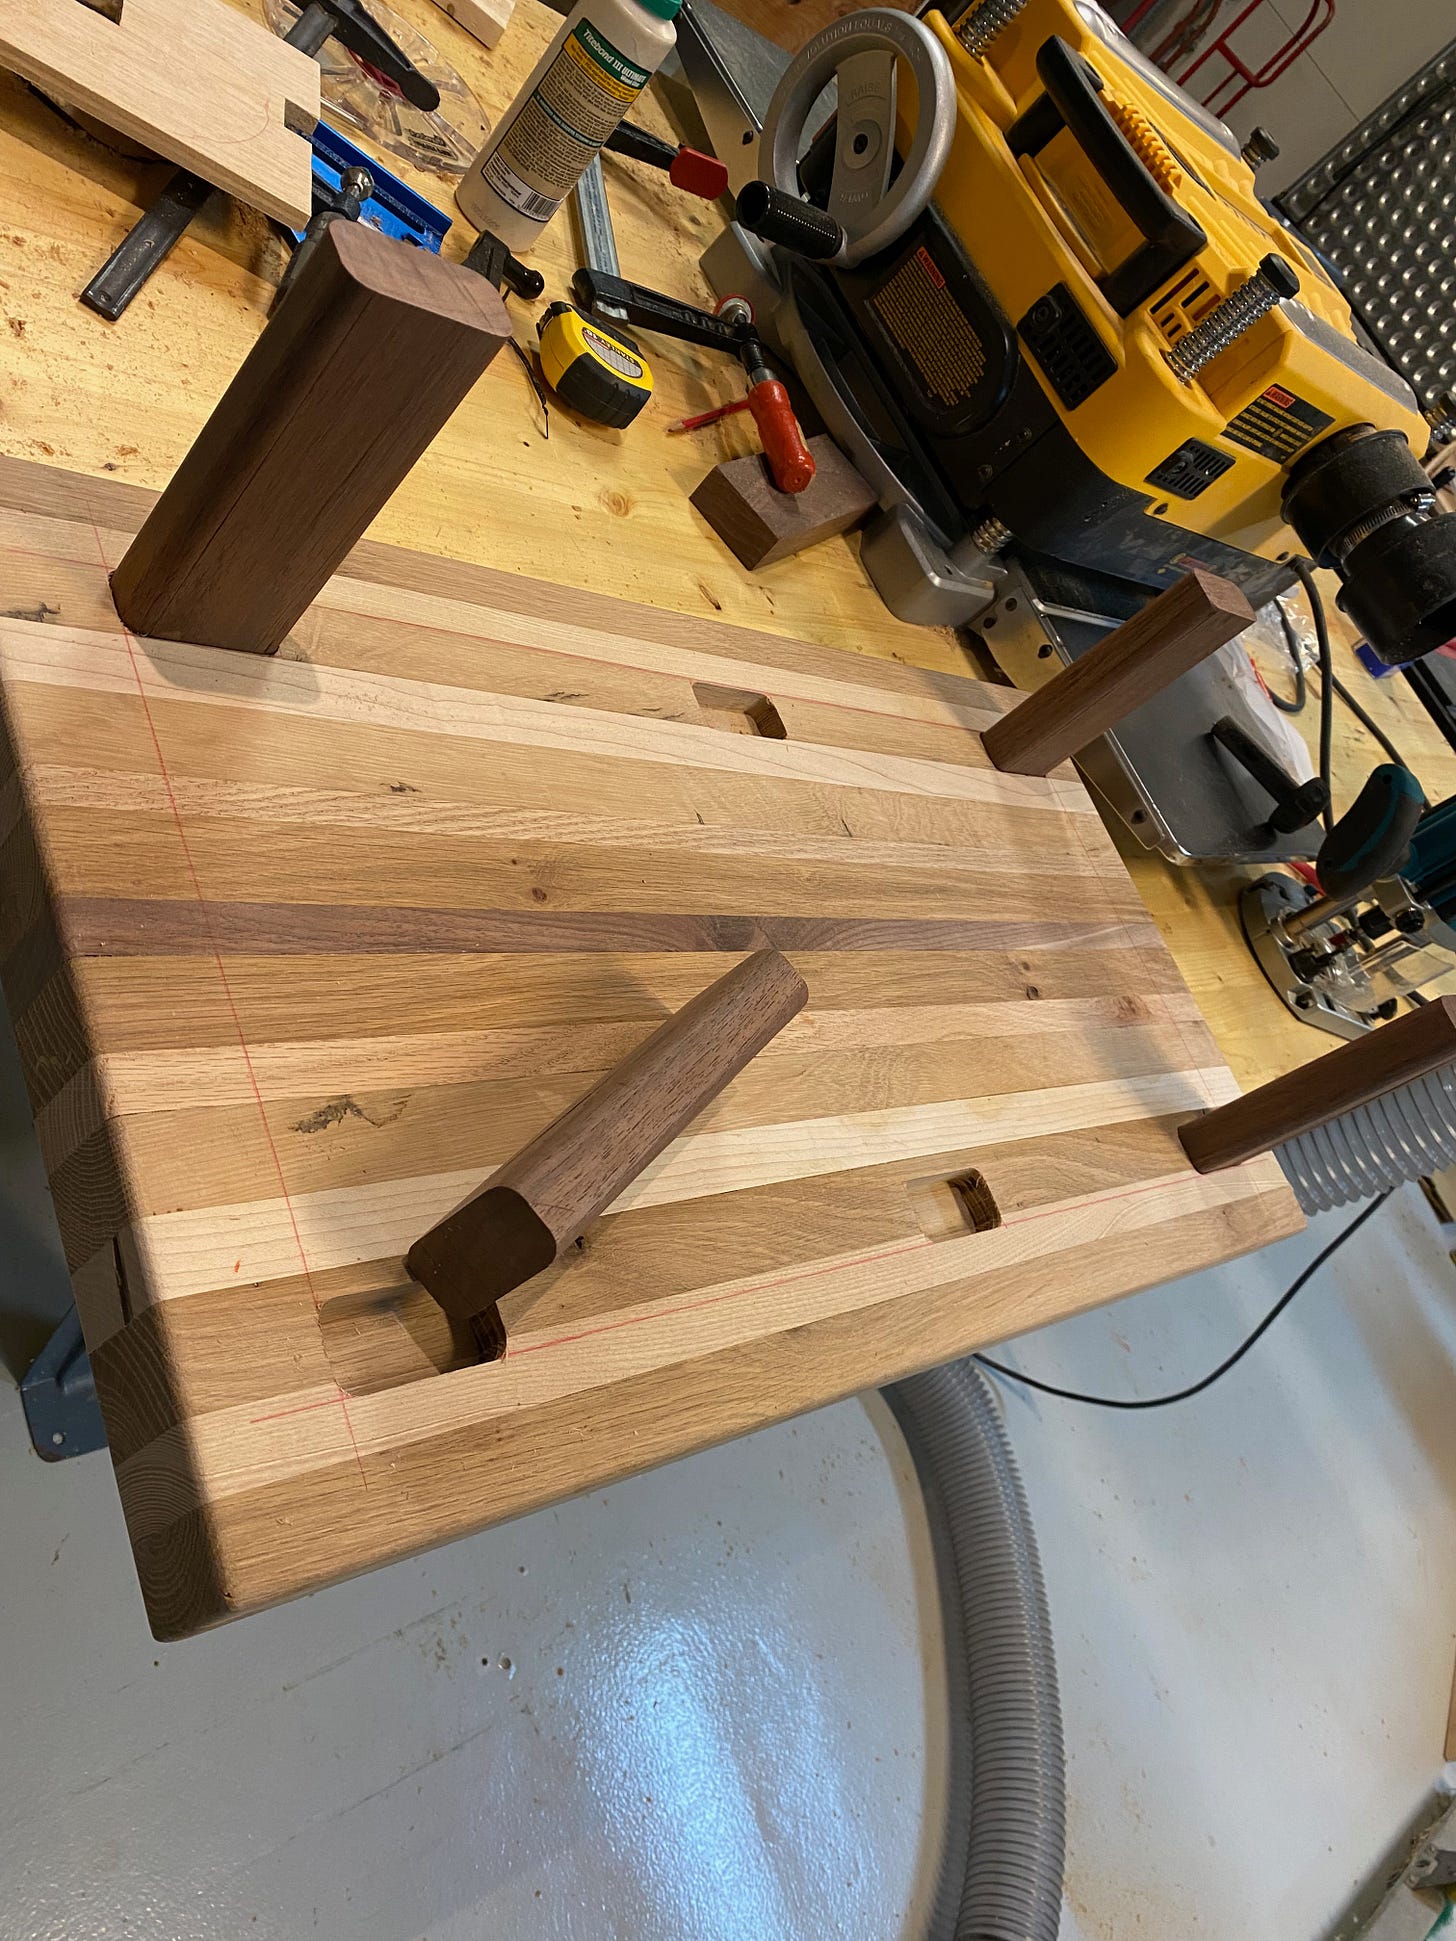
For the legs, I turned to a block of walnut. It was large enough that I was able to cut four eight-inch legs from it with a little left over. Each leg would be about 1-½ inches thick and three inches wide. Once I made them, I used them as the basis to make a jig that I’d use to rout out recesses for the legs to sink into.
I double-checked the width of the brick wall with my friend to make sure the recesses I was about to make would be correctly spaced so the legs would fit over the wall.
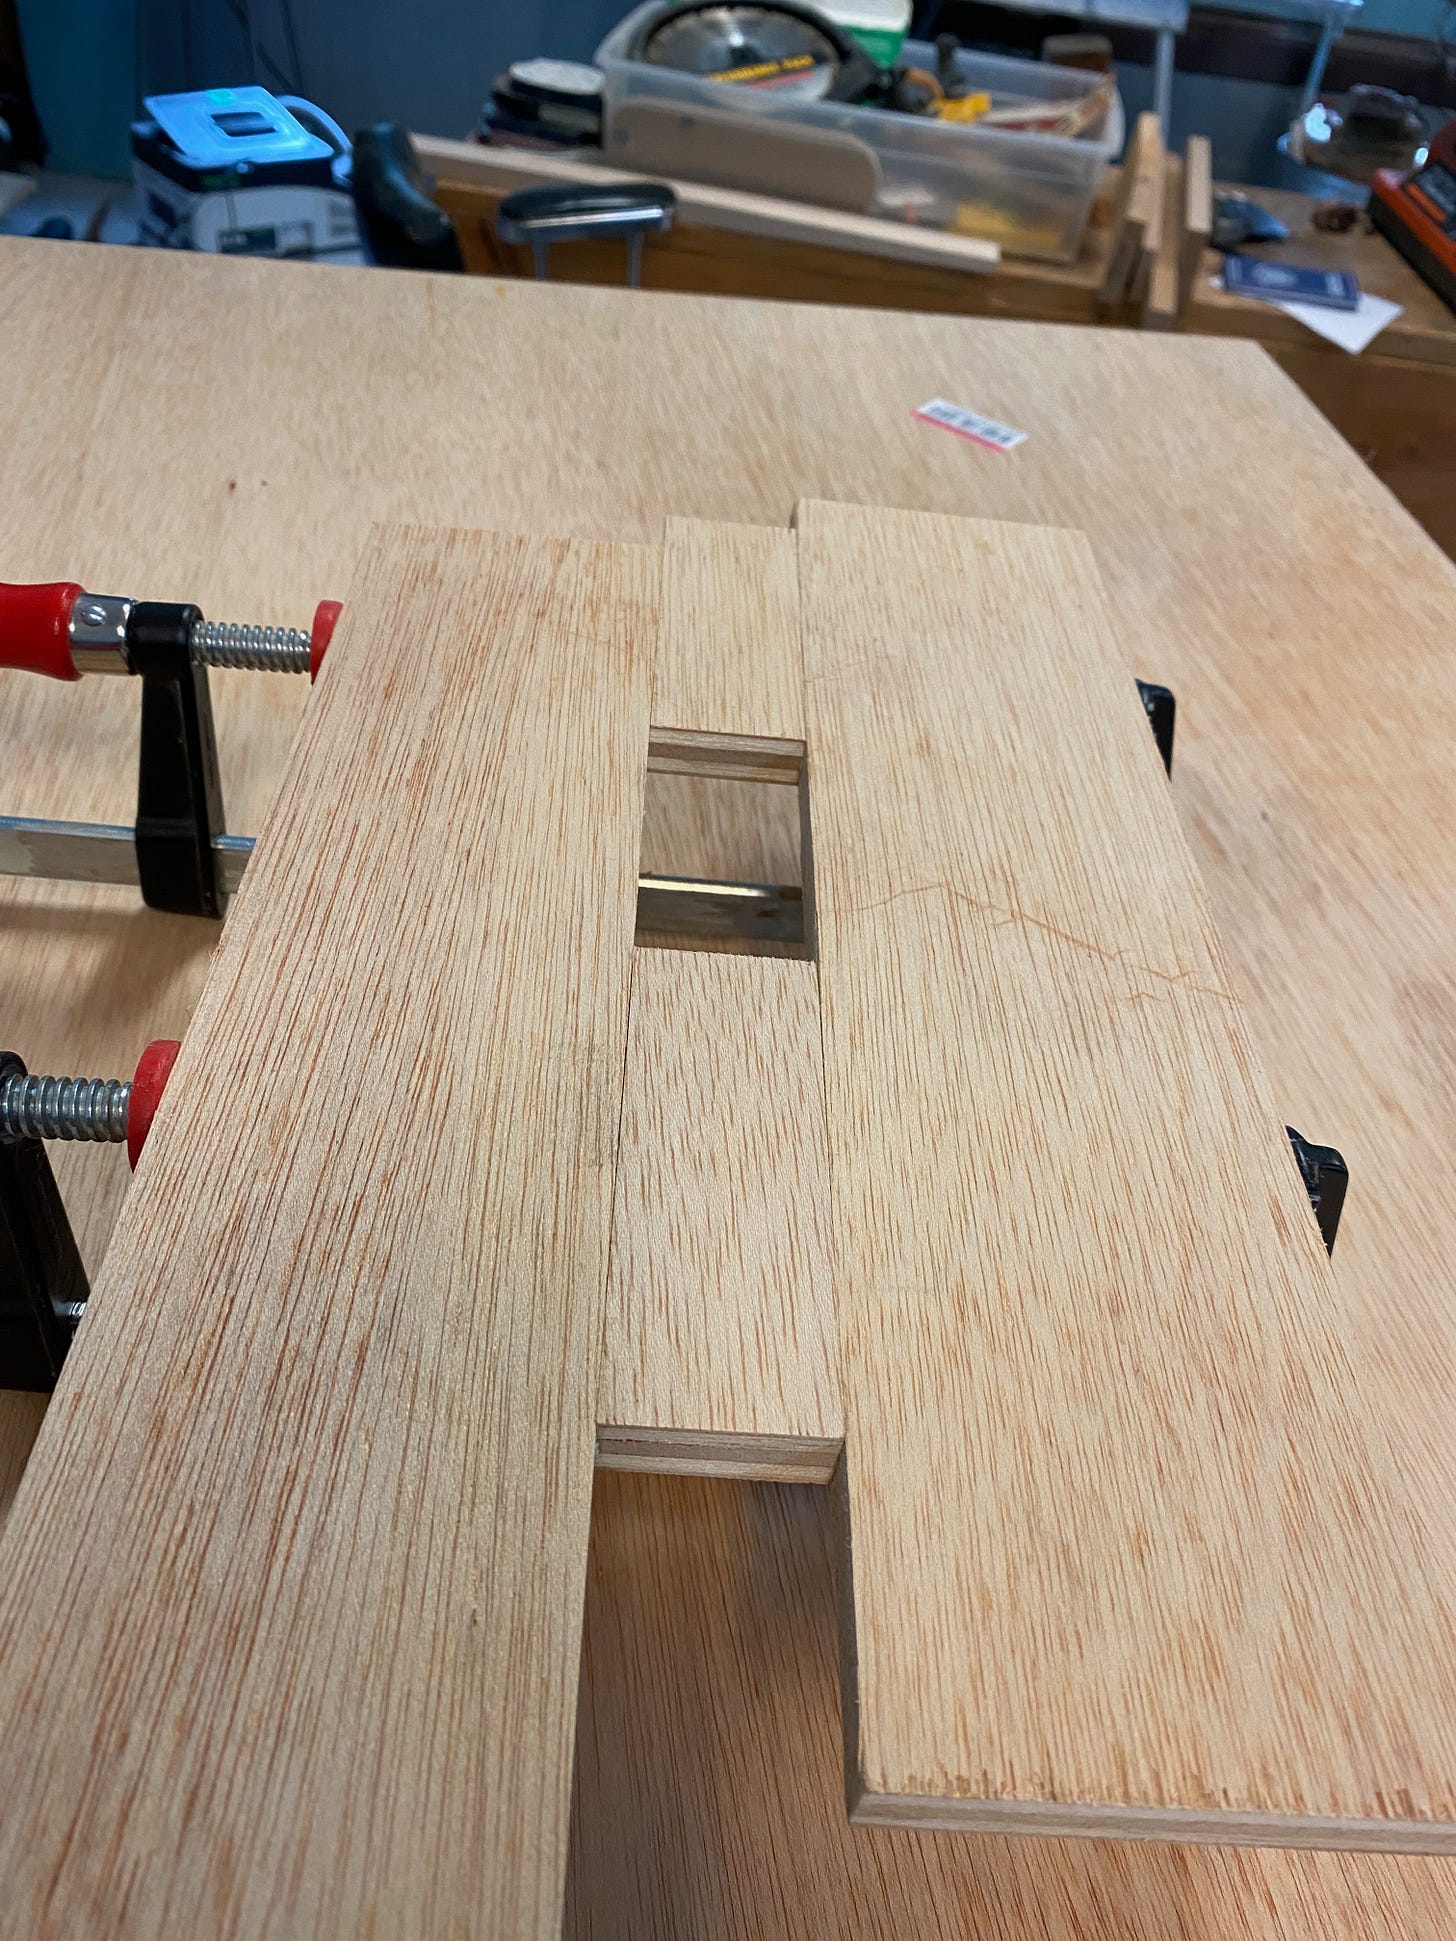
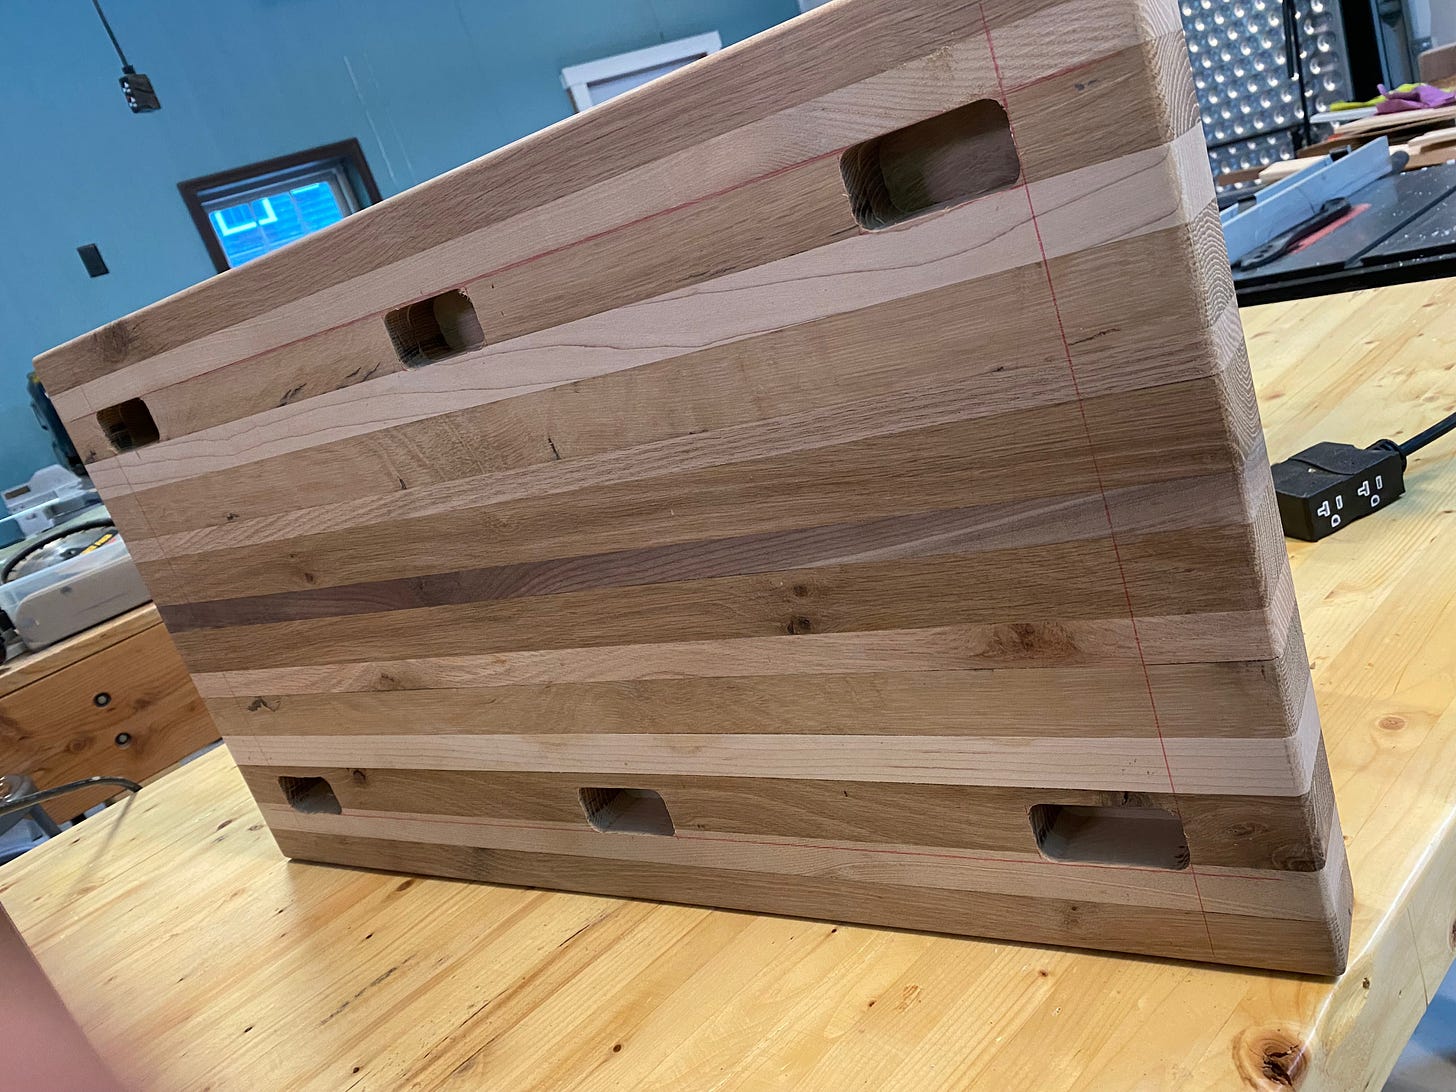
I made the jig from some ½-inch-thick pieces of plywood I glued together. Then I clamped it to the tray and used a plunge router with a template guide bit to carve out the recesses, which were each about 1-½-inches deep. That should give the legs plenty of depth to sink into, I thought.
At first I made four recesses, but I realized that if I made two more on the “floating” end of the tray, my friend could repurpose the tray as a small table simply by shifting one set of legs. Then I routed a nice round over on the recess holes.
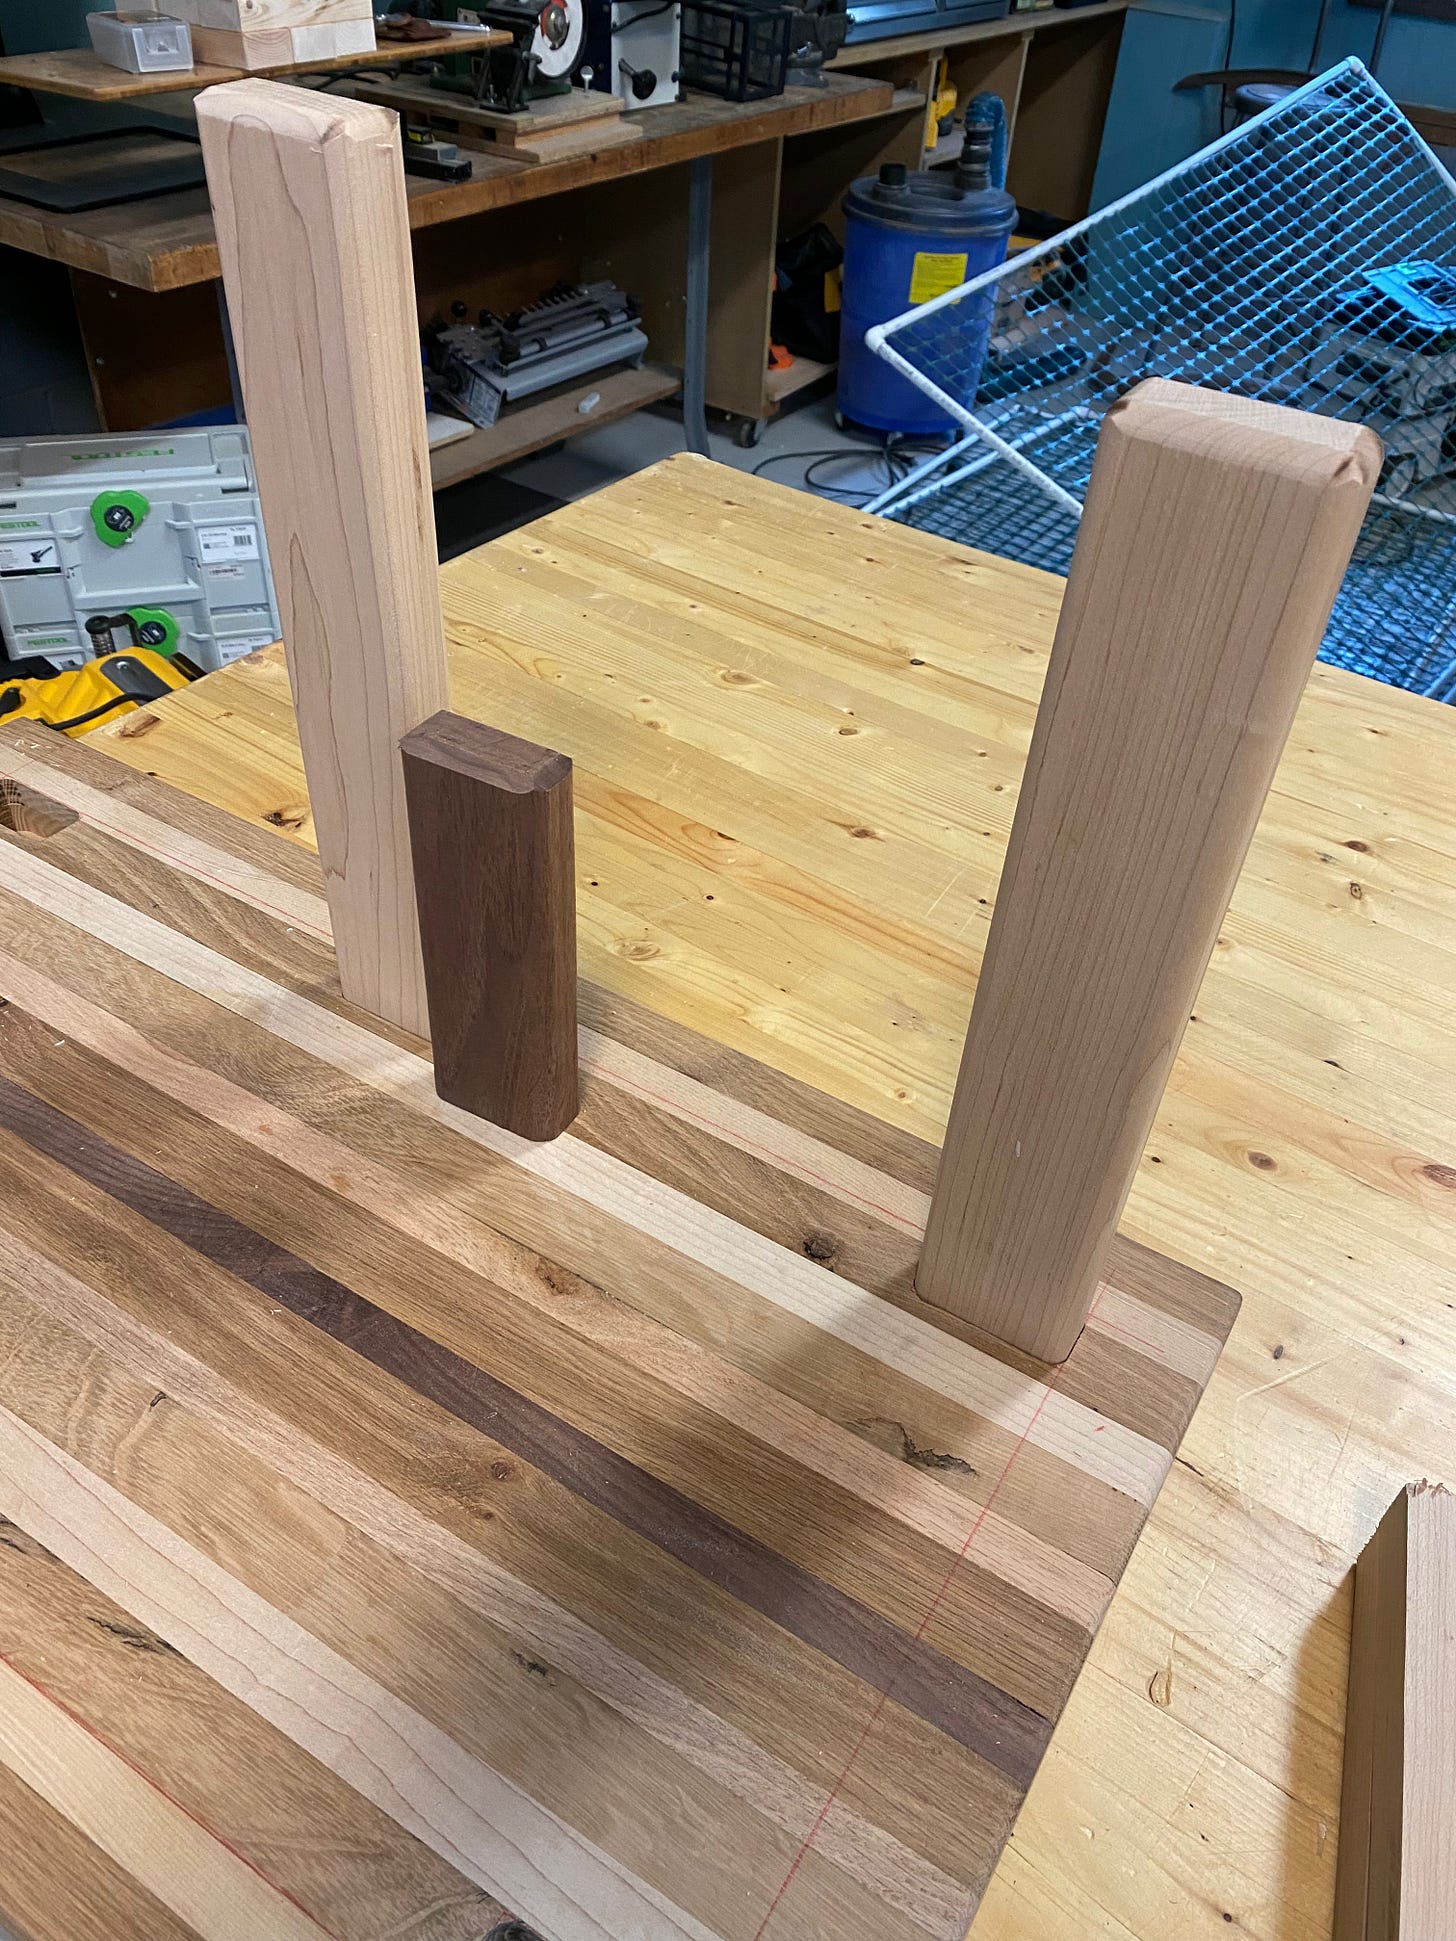
With everything cut, I dry fit the legs. They fit perfectly, but once the eight-inch legs sunk 1-½ inches into the tray, that left just 5-½ inches for them to extend down the wall. I decided that just wasn’t going to be enough “grip” to hold the tray in place. After all, at 18 inches by 30 inches by 2 inches thick, this tray was pretty hefty and it was going to need significant support.
So, I decided to make a second set of legs — longer legs — out of a block of maple. These legs would be the same width and thickness, but would stretch closer to a foot.
To finish the legs, I rounded over all but the top edges.
Finally, I used the leftover walnut from the first set of short legs to make two wedges. My thinking was that they could be used between the tray and the metal railing it would sit under to help hold the tray level and in place. Whether or not they’d be needed I wasn’t sure.
In any event, the key pieces were complete. Now I just needed to figure out how I’d keep the legs in place when the tray was in position.
Don’t Let the Bed Bolts Bite
My initial thought was that I’d bore a long whole through the edge of the tray and through each pair of legs. That would allow me (or more accurately, my colleague) to slide a dowel through the tray and legs and hold everything in place.
In theory, this could work perfectly. The problem was that in practice, I had no idea how I could drill a straight hole 18 inches through the board.
So during a shopping trip to Rockler, I described this challenge to one of the staff. He shared by skepticism that I could drill such a hole without screwing it up. But, he had an idea.
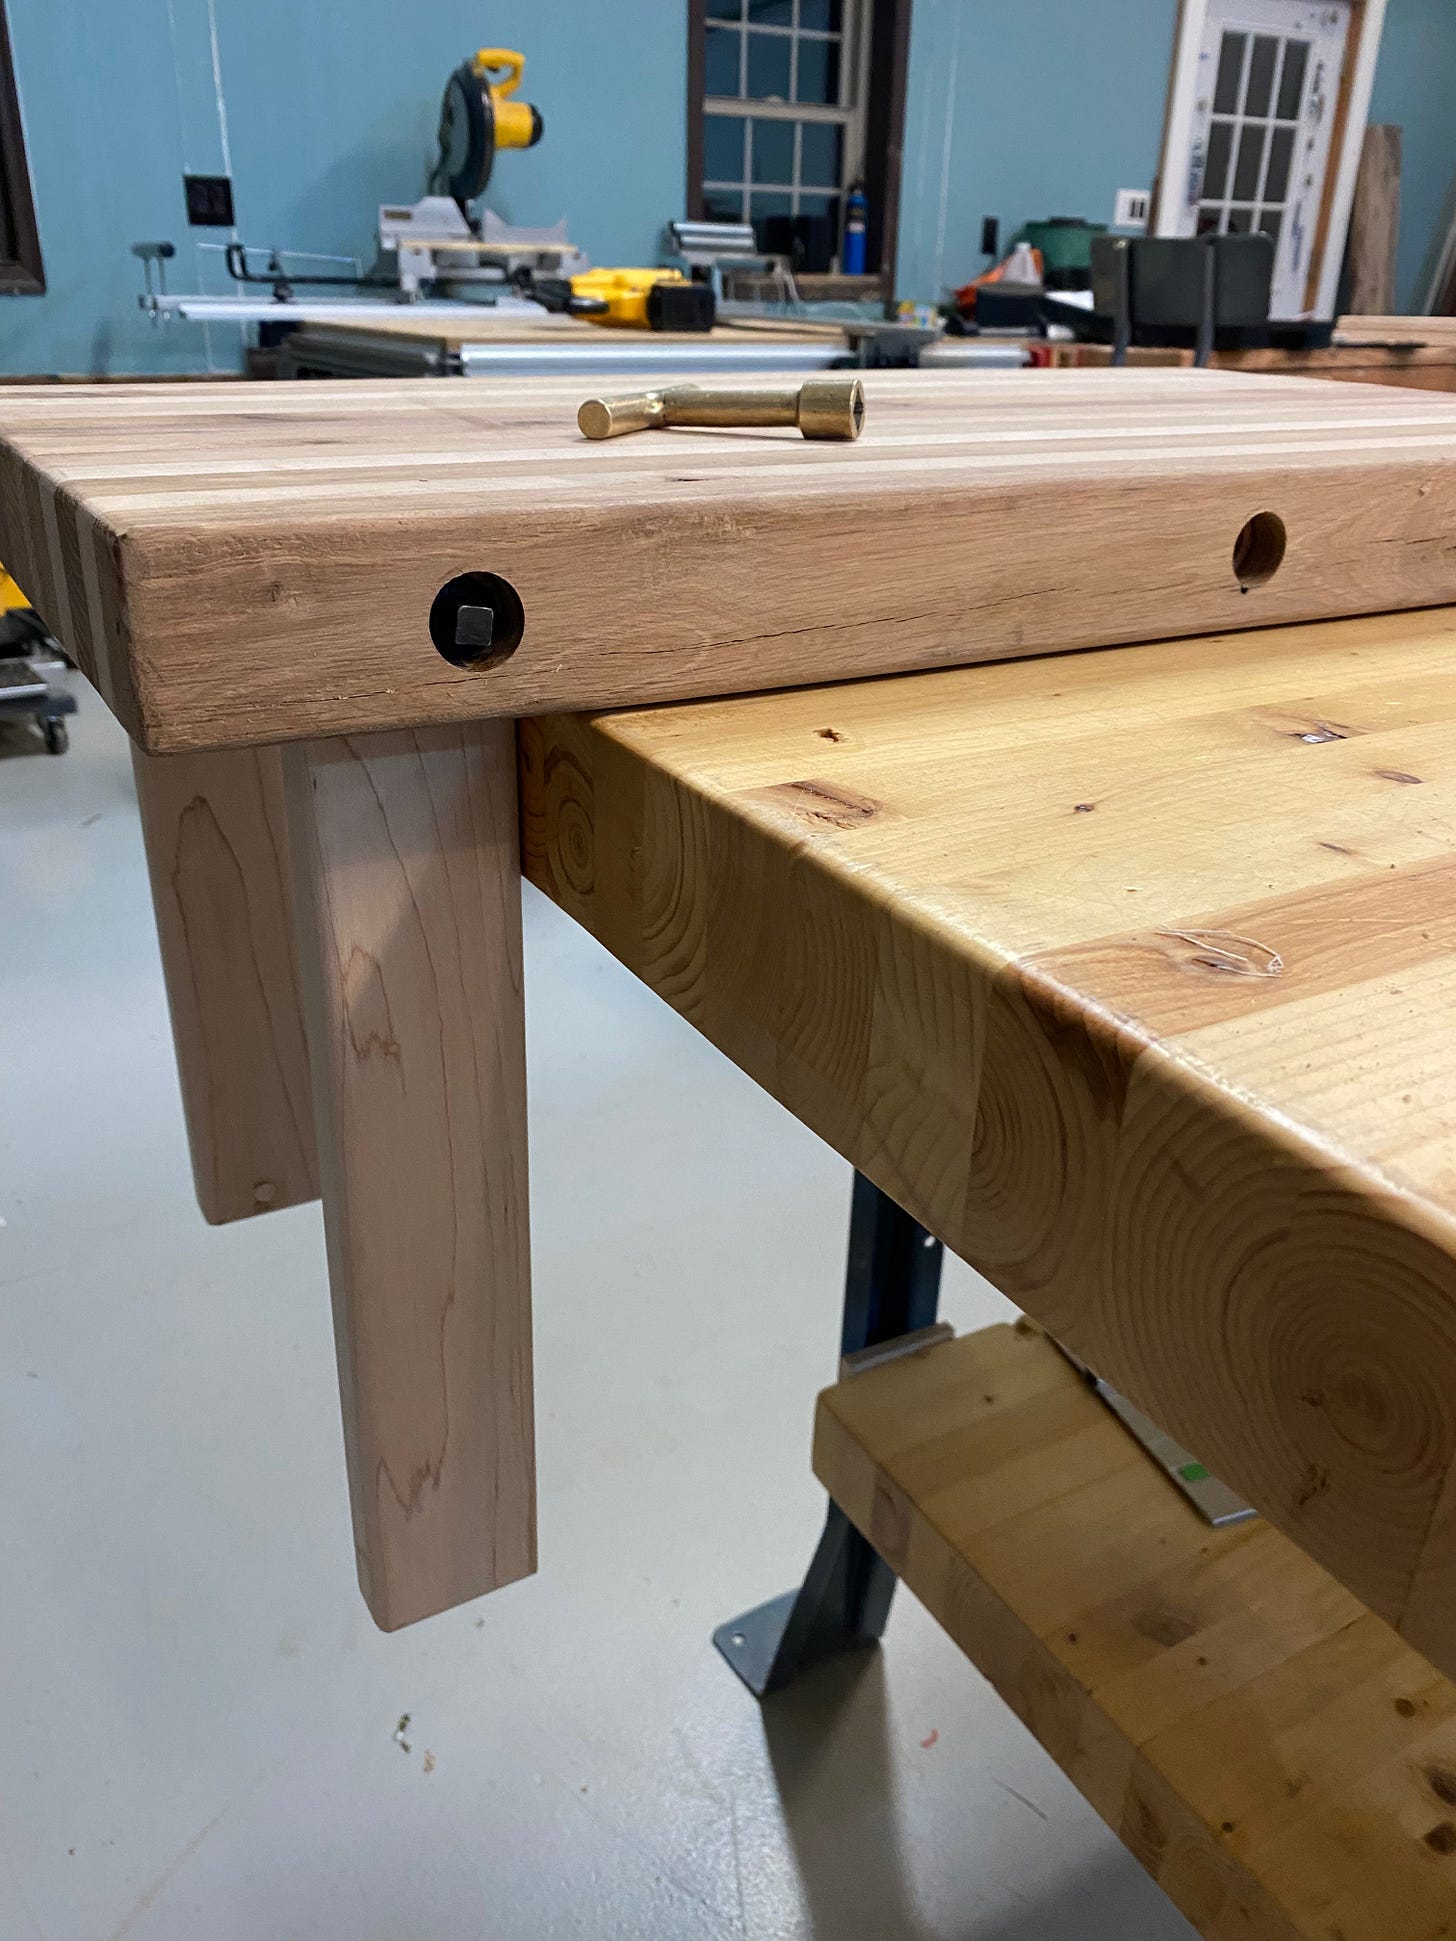
He took me over to the hardware section and grabbed a pair of four-inch-long bed bolts. Rather than drill a hole entirely through the board, I needed only drill one deep enough to sink the bolts. As to the question of what the bolts would thread into, he suggested either burying their rectangular nuts (which would require an unsightly cut into the underside of the board), or to drive brass threaded inserts. I liked the latter option and decided to give it a shot.
I bought six bed bolts, a brass key for the bolts, a bag of threaded inserts, and a special bit to drive the inserts.
Back in the shop, I used a forester bit to create a recess the bed bolt head could hide in, and then switched to a pointed brad bit to drill a hole into the board and through a leg I had inserted into the recess.
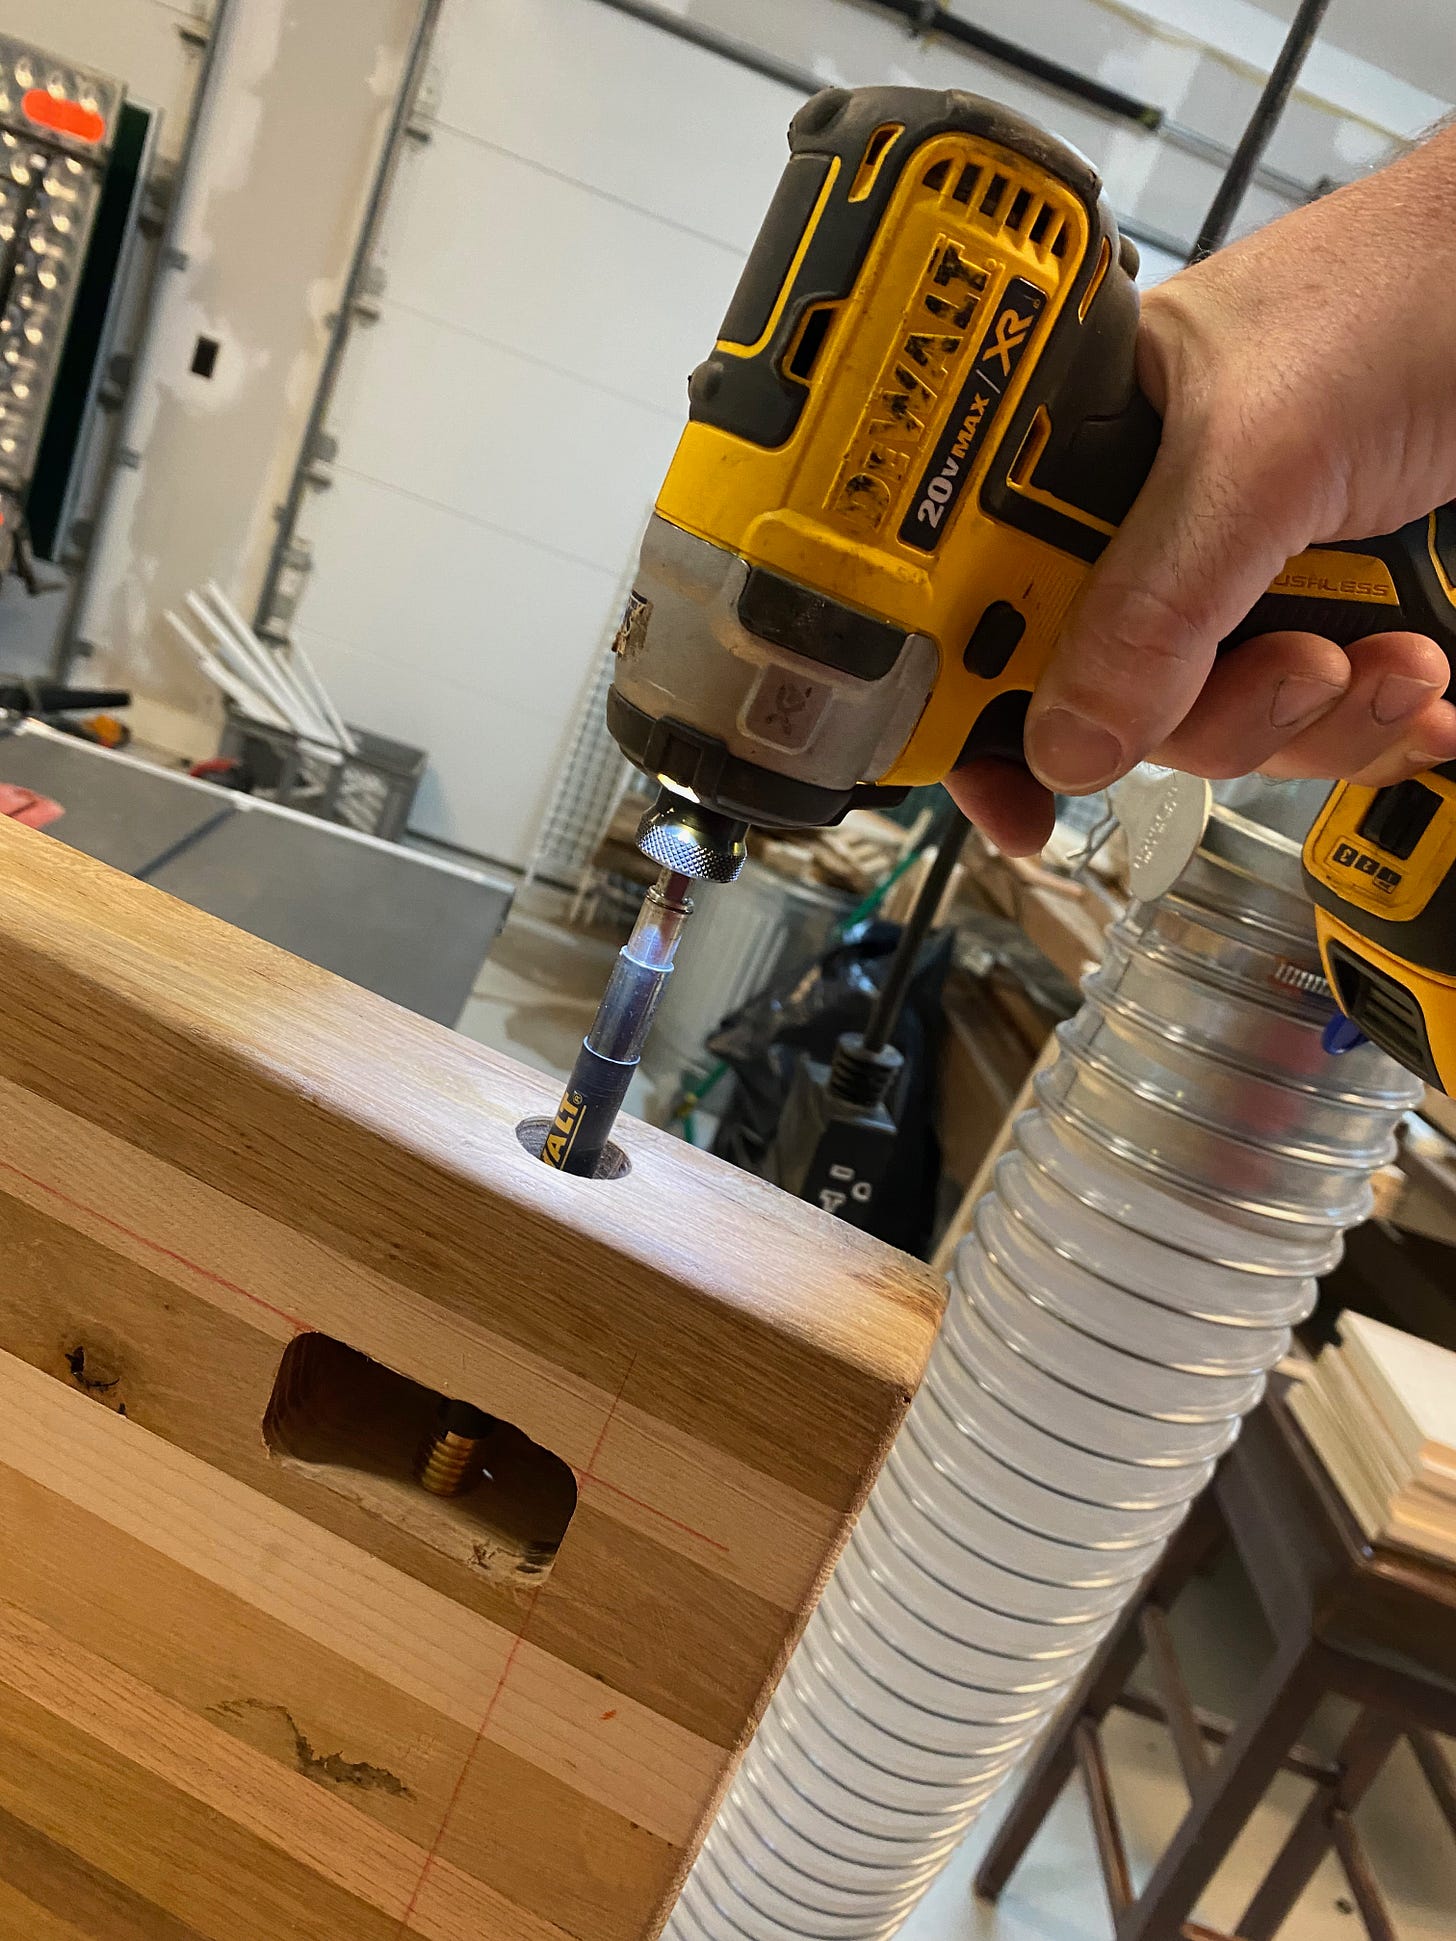
Once the holes were in place, I used the special bit to drive the brass threaded inserts into the board on the inner side of each recess. With the inserts in place, I could now thread the bed bolts into the tray and through the legs. It worked perfectly.
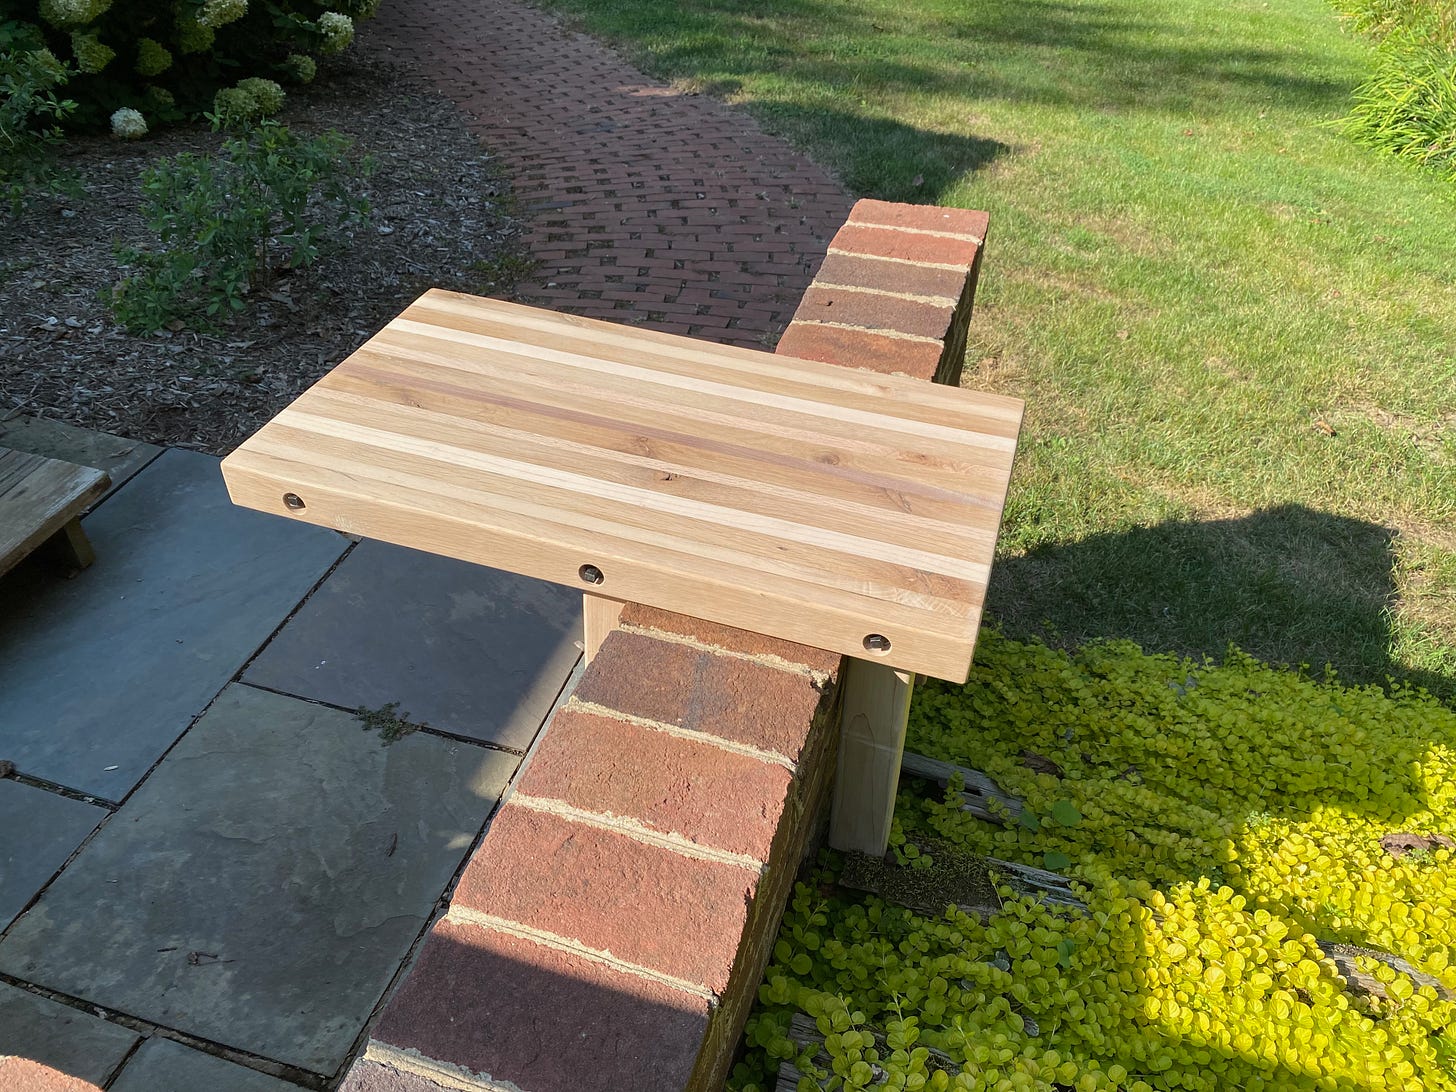
I took the assembled tray to a brick wall on my property and tested it out. I was thrilled to see it work exactly as designed.
With everything in place, it was time to sand and finish the wood. I sanded, sanded, sanded and sanded some more. I applied a pre-stain treatment and then a natural stain to the wood. And then I sprayed all of the wood with nearly a dozen coats of clear satin lacquer. It gleamed.
Bonus Box
Although I had finished the project according to my friend’s specifications (with a few extras, like extra legs and the “table” option), I decided that one more thing was needed to really pull the whole thing together: an accessory box.
With eight legs, six bolts, two wedges and a bolt key, my friend was going to need something to hold all that stuff when not in use.
Looking through my wood pile, I found a few pieces of ½-inch-thick cherry that was perfectly sized for what I had in mind.
I cut the cherry into sides, ends, a bottom and a top. For the corners, I decided to make lap joints to increase the glue surface area and strengthen the box. I floated the bottom in dadoes cut into the side and end pieces. Once I have everything cut, I glued it up.
After the glue dried, I decided the corners needed to be further strengthened, which I decided to do by adding two walnut spines in each corner. Using my spline jig from a previous project, I made two cuts in each corner of the box and then glued walnut wafers. Not only does this provide extra strength on the joints, but the contrasting colors of the species looks pretty nice.
I had one more piece of cherry for the top, but I realized a bit too late that it was just a tad too small to really serve as the box top. I thought about what to do and came up with what I think was a clever solution.
First, I cut the board in half in both directions, given me four equal rectangles.
Then I cut two strips of walnut about an inch wide. I used the strips to make a cross. Then I set a piece of cherry into each corner of the cross. The result made the top look like it had a ribbon across both dimensions, like a gift box. It also mimicked the long pieces of wood that made up the tray and evoked the idea of the bed bolts running crosswise through the piece.
I glued up the top and cut rabbets on the underside so the lid would have edges that would stay within the box.
With the box fully assembled, I gave it a thorough sanding and applied the same pre-stain treatment, natural stain and multiple coats of satin lacquer. Once dry, I put all the pieces in the box and found myself quite pleased with the result.
There was one final step before I was ready to hand it off to my friend, though. For my birthday earlier this year, my wife and daughter bought me some branding irons so I could mark my work. I got one of them out and held it over a torch until the iron was red hot. Then I pressed it into the underside of the tray. Smoke billowed from the iron. I pulled it off and saw my brand burnished in place. It almost feels professional.
With the tray done, there was only one thing left to do: put it on the balcony. Unlike with my test wall, where I could just plop the tray with its legs in place over top of the wall, my friend's wall has a metal railing on top of the brick wall. That means either the tray has to slide under the rail and over the brick before the read legs can be bolted on — and that means reaching over the railing and inserting and bolting on the legs while they hang over the edge.
Alternatively, the rear legs could be added first, but then the tray would have to be held out over the edge of the balcony and then slid through the gap between the brick and railing. Once it's inserted, then the inner legs could be added. The problem there is that the board is pretty heavy — maybe 30 pounds — and holding it over the edge the balcony comes with the risk of, you know, dropping it, where it could fall 12 stories to the ground and kill someone. Not exactly ideal.
My friend ended up going with option two, but found a helper to assist him with the installation. All went well — nobody was crushed to death — and now the tray is in place. Time to eat!
P.S. A few days after I delivered the tray, I was talking with my friend about how best to mount/install the item. He wondered if we could reduce the weight by routing out more of the bottom. While that might help, I don't think it would really solve the essential problem, which is the need to hold it out over the open air in order to put it in place, since it couldn't just be set down over the brick due to the metal railing.
As we discussed this problem, I realized I should have built this think differently. Instead of sticking legs up and into recesses in the bottom and then locking them in place with bolts, I could have made it so the legs dropped down through the top. To do this, the legs would have to be tapered or capped so that they didn't drop all the way through the holes.
That could have worked really well. Alas, it didn't occur to me until too late. Maybe next time.


