
Crown Molding: Adventures in Angles

As I've written about in recent posts, I've been doing some work in our living room and on the fireplace in particular. Re-painting it and re-crafting the mantle were two projects from this spring. Both projects turned out well, but something was missing. The room just wasn't "finished." What it needed was some crown molding to give it that final flourish.
I've never put up crown molding before. I was both excited to try it and also nervous — I've heard it can be really tricky to do well. So to prepare, I consulted the masters, Tom Silva of This Old House and Jim Heavey of Wood Magazine. (How I envy their grandkids!) Each has several videos on crown molding, including these:
https://www.youtube.com/watch?v=DeLqfGVM-DQ
https://www.youtube.com/watch?v=zCWQlM-e-NY
The Jim Heavey/Wood Magazine one in particular was really insightful and I love his advice on making templates for reference. That ended up being critical to this project's success.
Inspired and emboldened by the videos, I decided to give it a shot. I would put crown molding not only in the living room, but also in the dining room. My dad said he'd help, too, even though his previous adventure with crown molding left him saying, "I'll never do that again."
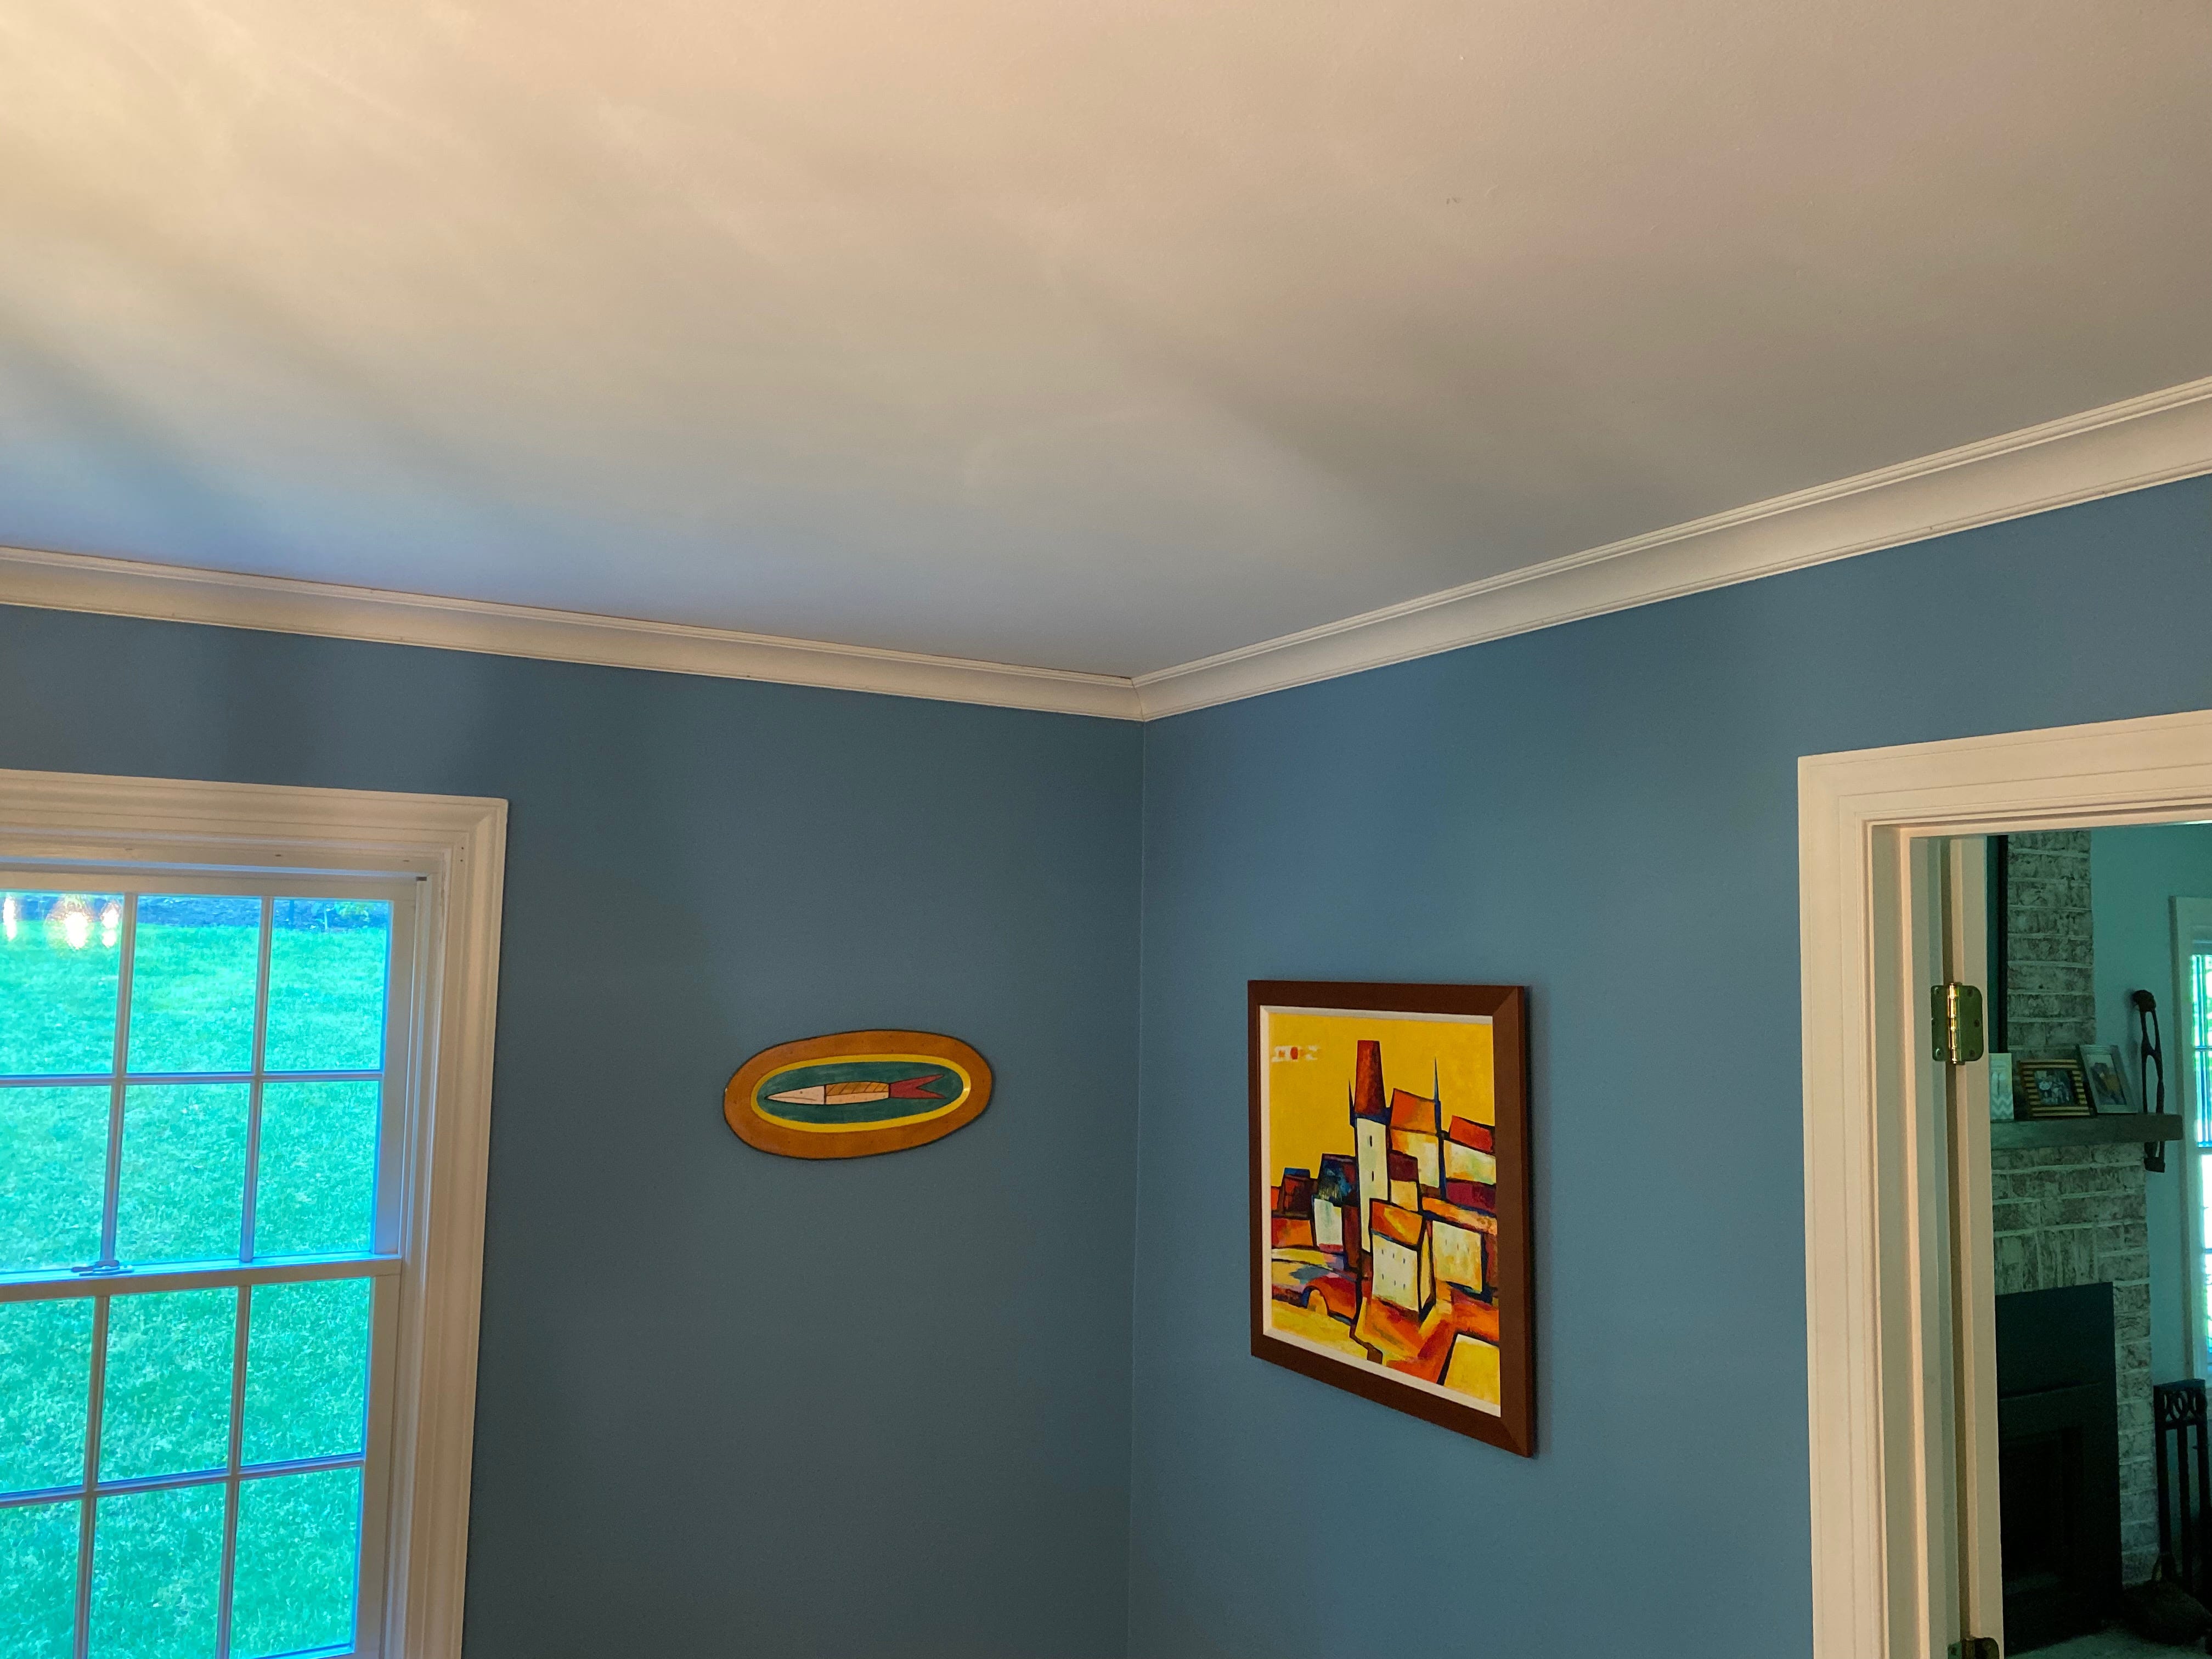
I was sure the dining room would be easy — it is just four walls in a simple rectangle. Four inside corner. Easy peasy. But the living room would be harder thanks to a corner column hiding an HVAC duct and the protrusion of the fireplace. So instead of having just four inside corners, I'd have seven inside corners and three outside corners. And of course, none of them is 90° Furthermore, the two outside corners at the fireplace extend out less than half an inch. How the hell was I going to do that? It was a problem I'd have to gnaw on.
Meanwhile, the first step was to pick a molding profile.
Our house has a simple farmhouse style to it. The door/window moldings and baseboards are wider than you'd typically find, but aren't heavily styled. I browsed the options at the local Home Depot and Lowes, but found their selection to be lacking and inconsistent with our home's style and my taste. Then I visited a local lumber yard and they had a far better selection including molding number BM80, which was just what I was looking for — a 4-½-inch concave molding with very simple detail on the top and bottom.
Having taken the measurements of the two rooms, I calculated that I needed nine 16-foot pieces and one eight-foot piece — at least, that's what I'd need if I didn't make a mistake in my cuts. A couple of days later, the molding was delivered. I unpacked it in my shop and decided I'd pre-paint the molding to make the project easier. Better to paint it on my workbench then up on the wall, right?


I looked at the cans of paint I inherited with the house and found a pint that read, "trim." The dab of creamy white looked right to me, so I cracked it open and painted a piece of scrap wood, which I then took inside to compare against the existing trim. It looked right, so I proceeded to paint all 10 pieces. It looked yellower to me than I expected, but I figured that was just the light playing tricks on me. But when I took the eight-foot piece inside, I instantly saw it was the wrong color. Somehow my eyes deceived me when I looked at the initial test piece. Argh.
To get the right color, I disassembled one of the interior doors and schlepped it to The Paint Shop, our local paint store, which aside from being locally owned, also is where the previous owner of our house bought all his paint, so it has records on everything on our walls.
They tested the door color and determined what it was, mixed up a fresh pint for me and I was on my way.
After painting the trim with two coats of the correct color, it was time to put the molding on the wall. I consulted Jim Heavey's video and took notice of his comment about most trim sitting against the wall at 38 degrees and against the wall at 52 degrees. But when I looked at the trim I bought, that didn't appear to be the case. Indeed, when I measured the angles with a protractor, the trim I bought sits at 45 degrees on both sides. That meant I wouldn't be able to use the marked stops on my miter saw as Jim describes. Uh oh.
But, the Internet, being the home of all great things (as well as the likely cause of the downfall of our society) came the rescue yet again. I found this handy crown molding angle calculator where you simply plug in your corner angles and your molding angles and it tells you exactly how to set up your miter saw. Yay Internet!
With the miter saw set to the proper angles — 35.3° on the miter and 30° on the bevel, I made my first cuts to create the templates as Jim Heavey advised. Then, with my dad on hand to supervise/help/argue, we measured the first piece, muttered a prayer to Norm Abrams and cut.
With the first piece cut, we took it inside, used Jim Heavey's suggestion of tapping support nails into the wall, and nailed the piece into place. It looked pretty, pretty good.
Then we went back to the saw and cut our second piece. Following Tom Silva's advice, we then coped a back cut so that this piece could abut the first piece and give us a little flexibility on fit.
I had been nervous about the coping cuts — that seemed like a surefire way to screw everything up. So I first practiced on some scrap and after a couple of trials, got the hang of it. It turned out not to be too difficult and with practice, it becomes rather easy. One key to making it work is to use a file to refine the edge after the initial cut. Works like a dream.
Once the second piece was ready, we took it in and put it up against the wall. To our dismay, the corner looked awful. It just didn't match at all. WTF? We did what Jim and Tommy told us to. Had they lied to us? Did someone mess with our miter saw when we weren't looking? Did we — God forbid — make a mistake?


With my frustration and anger rising, I decided what I needed was to step away for a moment. I got a cold drink, re-checked the miter saw and the angle calculator. All seemed right. I went back inside and looked at the corner. Then I realized the problem: we put the first piece up incorrectly. It was sitting at the wrong angle against the wall and ceiling. We carefully pulled it off the wall, re-positioned it and re-nailed it. Suddenly the joint looked perfect.
Relief.
Fairly quickly, we cut the two remaining pieces for the dining room and put them up. It looked great and I was rather proud of ourselves. The dining room instantly looked more elegant.
Next up was the living room — by far, the more challenging of the two rooms. In addition to the extra corners, we also needed to splice pieces together since the long side of the room was longer than 16 feet, the length of the longest molding pieces.
But by now, we were experienced crown molding installers with a whole dining room under our belts.
Using Jim's templates, we were able to work through the inside and outside corners of the HVAC duct and had most of the room up fairly quickly. All that was left was the fireplace.
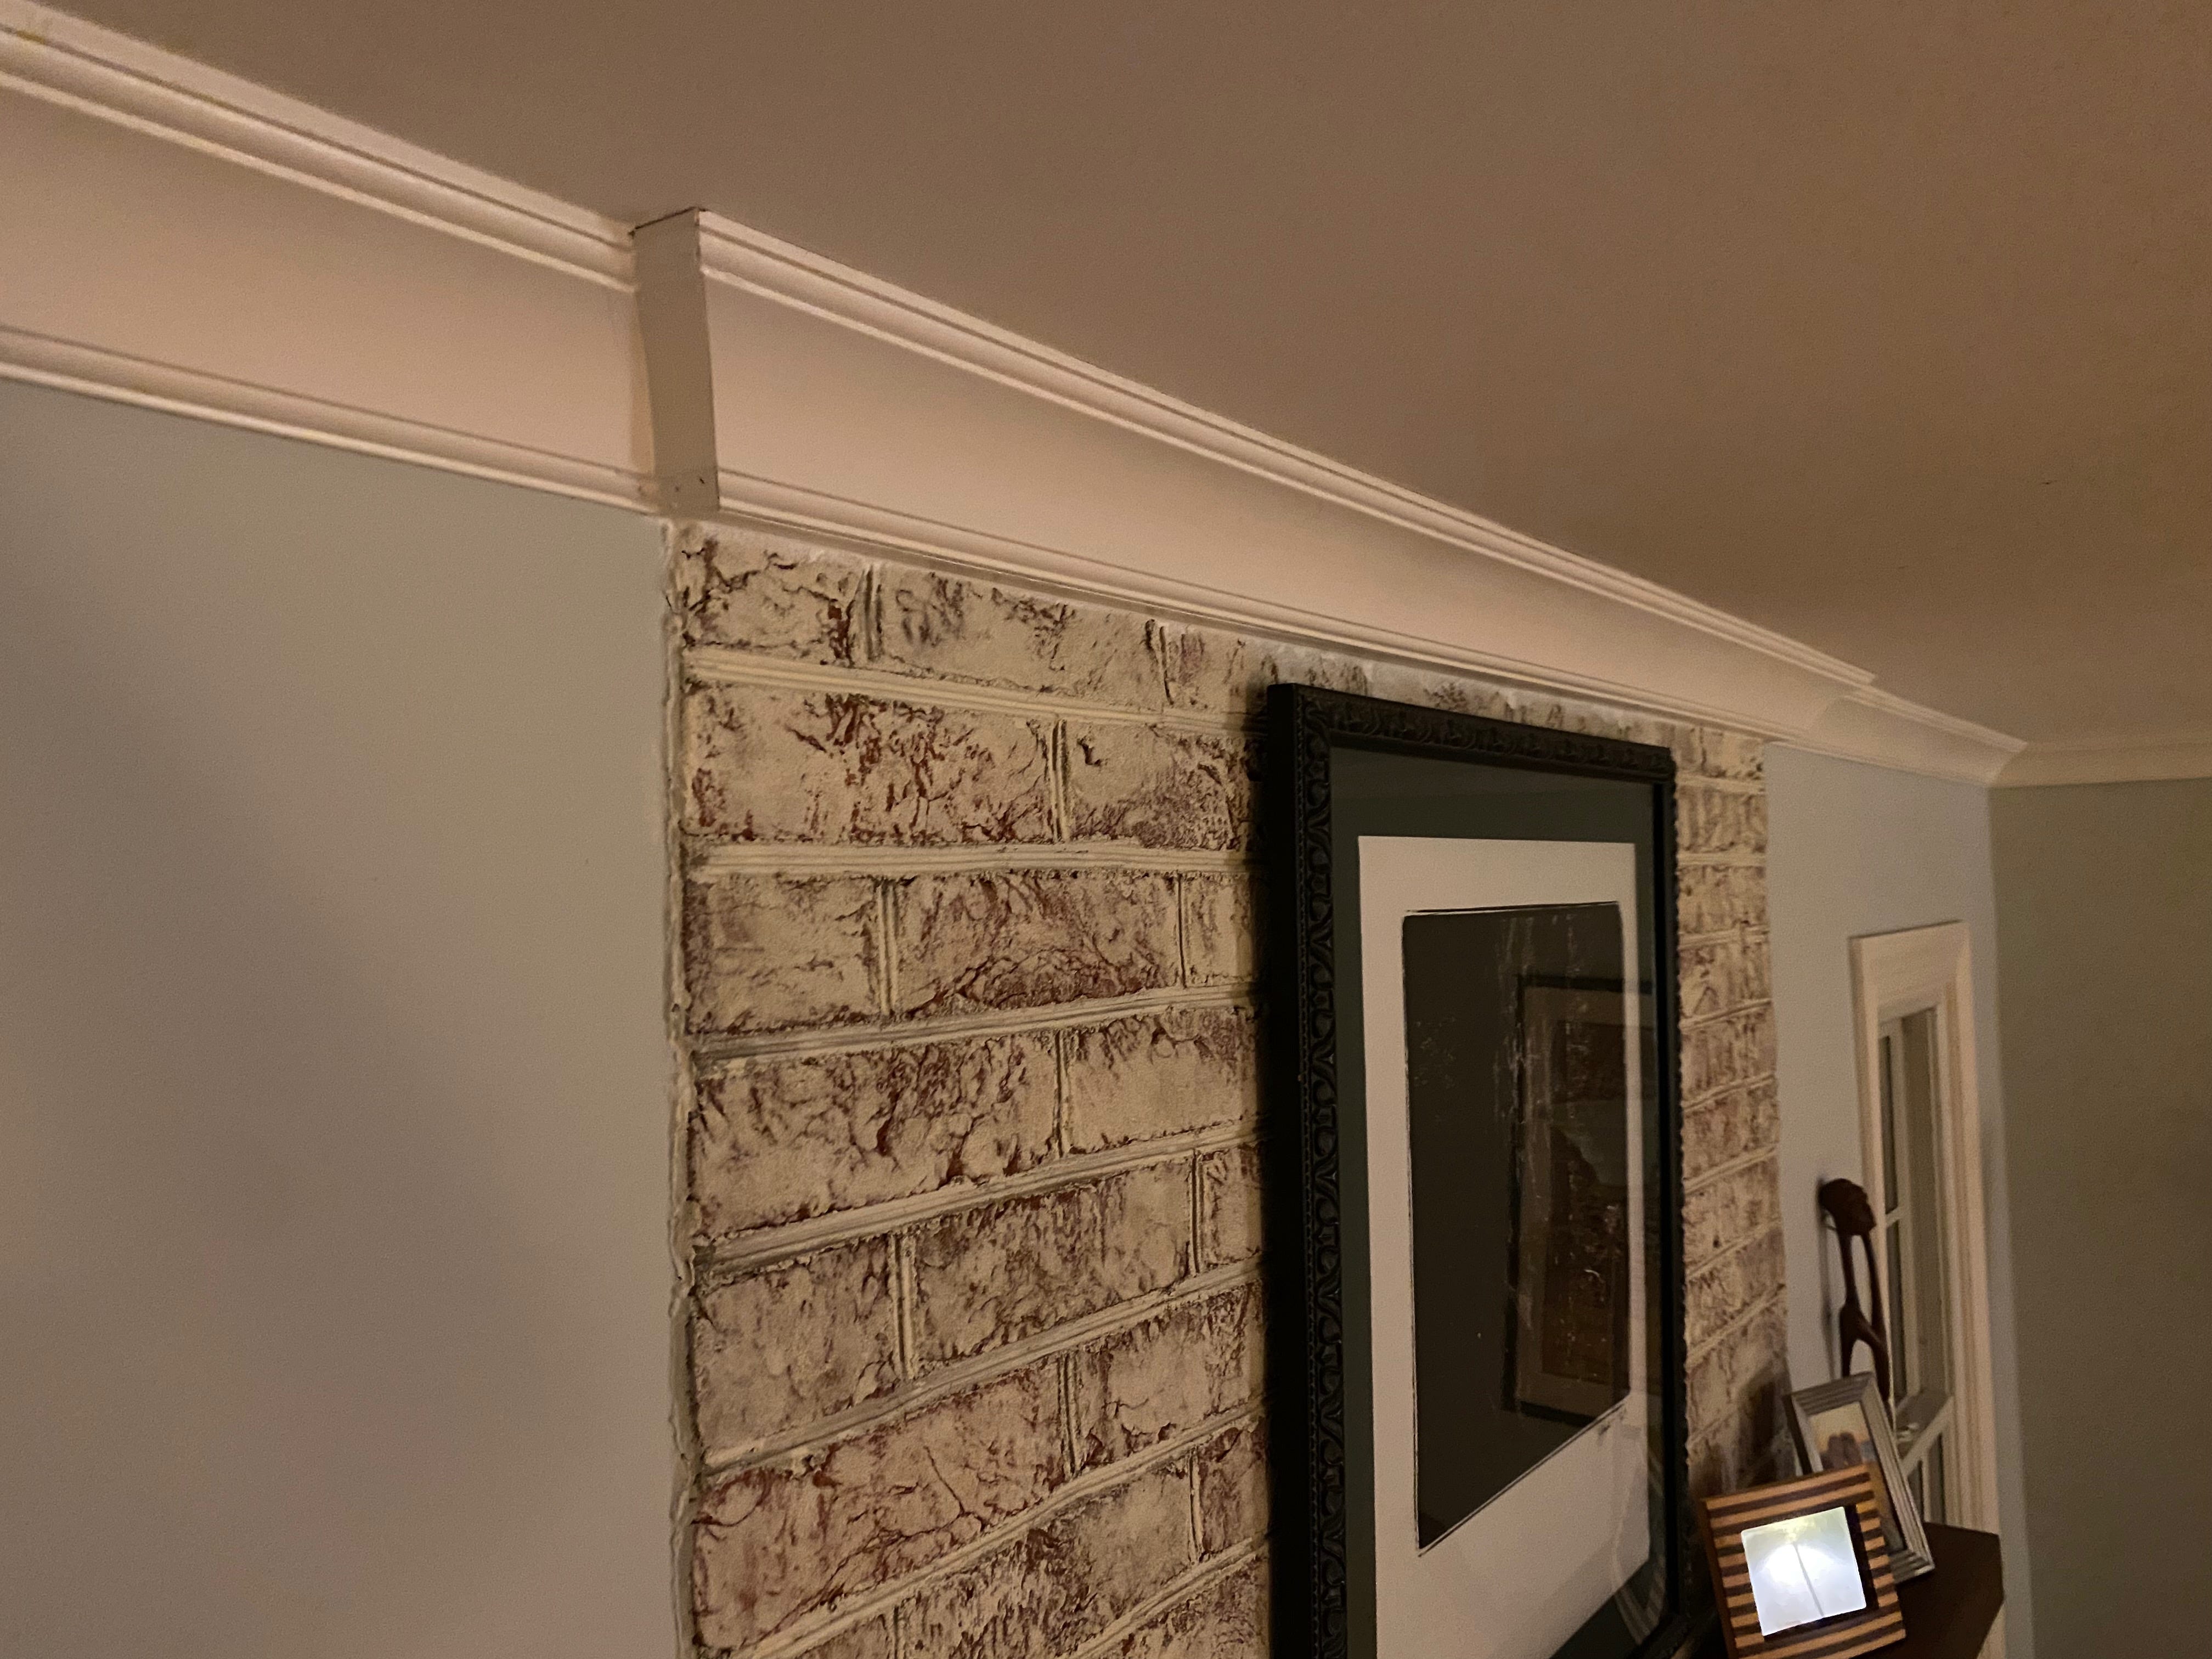
The fireplace posed several challenges. First, I wouldn't be able to nail the molding into the all, since the wall was brick. In addition to that, the brick was proud of the wall only by ¼ of an inch on one side and ½ inch on the other. How would I cut such short pieces of molding and make that work?
A friend of mine provided the answer: put a piece of wood behind the molding to make it even more proud of the fireplace. It was a genius insight. (Thanks Paul!)
I also decided that I would create the entire assembly in the shop rather than trying to build it in pieces on the wall. It would be easier, I thought, to put the front, backing and sides together as a unit. And that turned out to be right. Once I had it built, I could hold the entire thing up, put some construction adhesive on the backing board and shoot nails into the sides and the top to hold it in place. It worked perfectly.

Well, it worked perfectly the second time. The first time I made a mistake in one of my cuts, having set the miter saw incorrectly. But I was lucky in that I had just enough extra material that I could make a second piece that fit perfectly.
With the molding up, I could see a few places that weren't perfect, but my dad was confident it was nothing caulk couldn't fix. And he was right. I successfully filled gaps along the wall, ceiling and in joints, as well as the nail holes. A little touch-up paint later and the project was finished. I think Tommy and Jim would be proud.