Cornhole in One
A few months ago, I decided to make some outdoor games for when friends come over. I started with a simple oversized Jenga set using leftover 2x4s from the dog kennel demolition. And while folks do seem to love Jenga — especially when a falling tower has the potential to break a toe — I decided I needed to add a less destructive game to the mix. Cornhole to the rescue.
Before I go on, let me state the obvious — this was not a complex project. It didn't take sophisticated math or, sadly, any new tools. It was just a quick a fun evening project. I'll write about more complex undertakings soon.
Cornhole, as I suspect everyone knows or can guess, it's a basic horseshoes-like game where players toss beanbags (filled with corn, no less!) at a target. The target is a board with a — wait for it — hole in it. There are some rules — scoring is based on landing the beanbags on the board or sinking the beanbags into the hole; the boards should be a certain size and distance apart — but don't worry about any of that. If you've mastered the concept of "throw a bag at a board with a hole in it," you've got as much understanding of the game as you need.
Conveniently, the regulations for an official Cornhole board stipulate the the top should be 24 inches wide by 48 inches long. In other words, it's exactly one quarter sheet of plywood — a size that home centers sell pre-cut.
Furthermore, the board top should be fixed to a frame that is 3-4 inches deep, which just so happens to be the thickness of a 2x4 on edge.
It's as if Andy Cornhole, the eponymous inventor of the game*, wanted to make building a set as easy as possible. Mission accomplished, Andy Cornhole.
* My fact-checker is on vacation this week.
Of course, there's a little more to a Cornhole board than what's above. One also needs legs for the back of board to stand on, and a 9-inch hole cut in just the right spot. And corn-filled beanbags, too.
To start, I visited my local Home Depot where, and I am not joking, I have spent more time than anyplace else over the past year except for my own house. I picked up two 24x48 ¾-inch pieces of baltic-birch plywood. I would have picked up a couple eight-foot 2x4s as well, but I already had plenty of those, as well as leftover screws, from the dog kennel demolition.
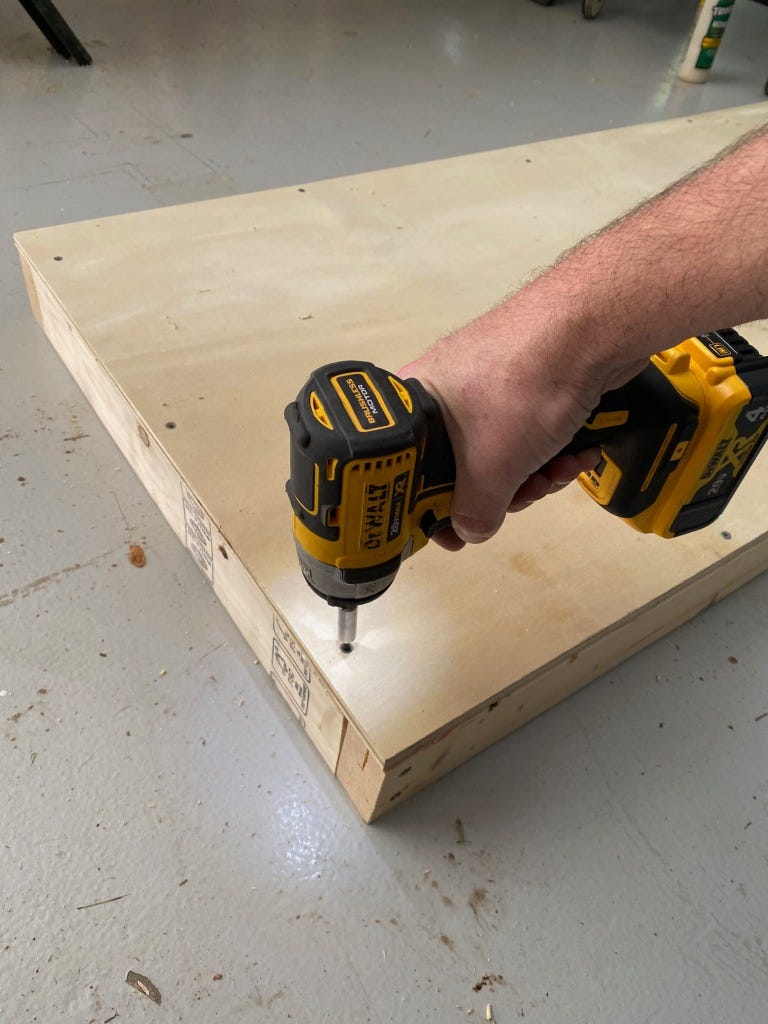
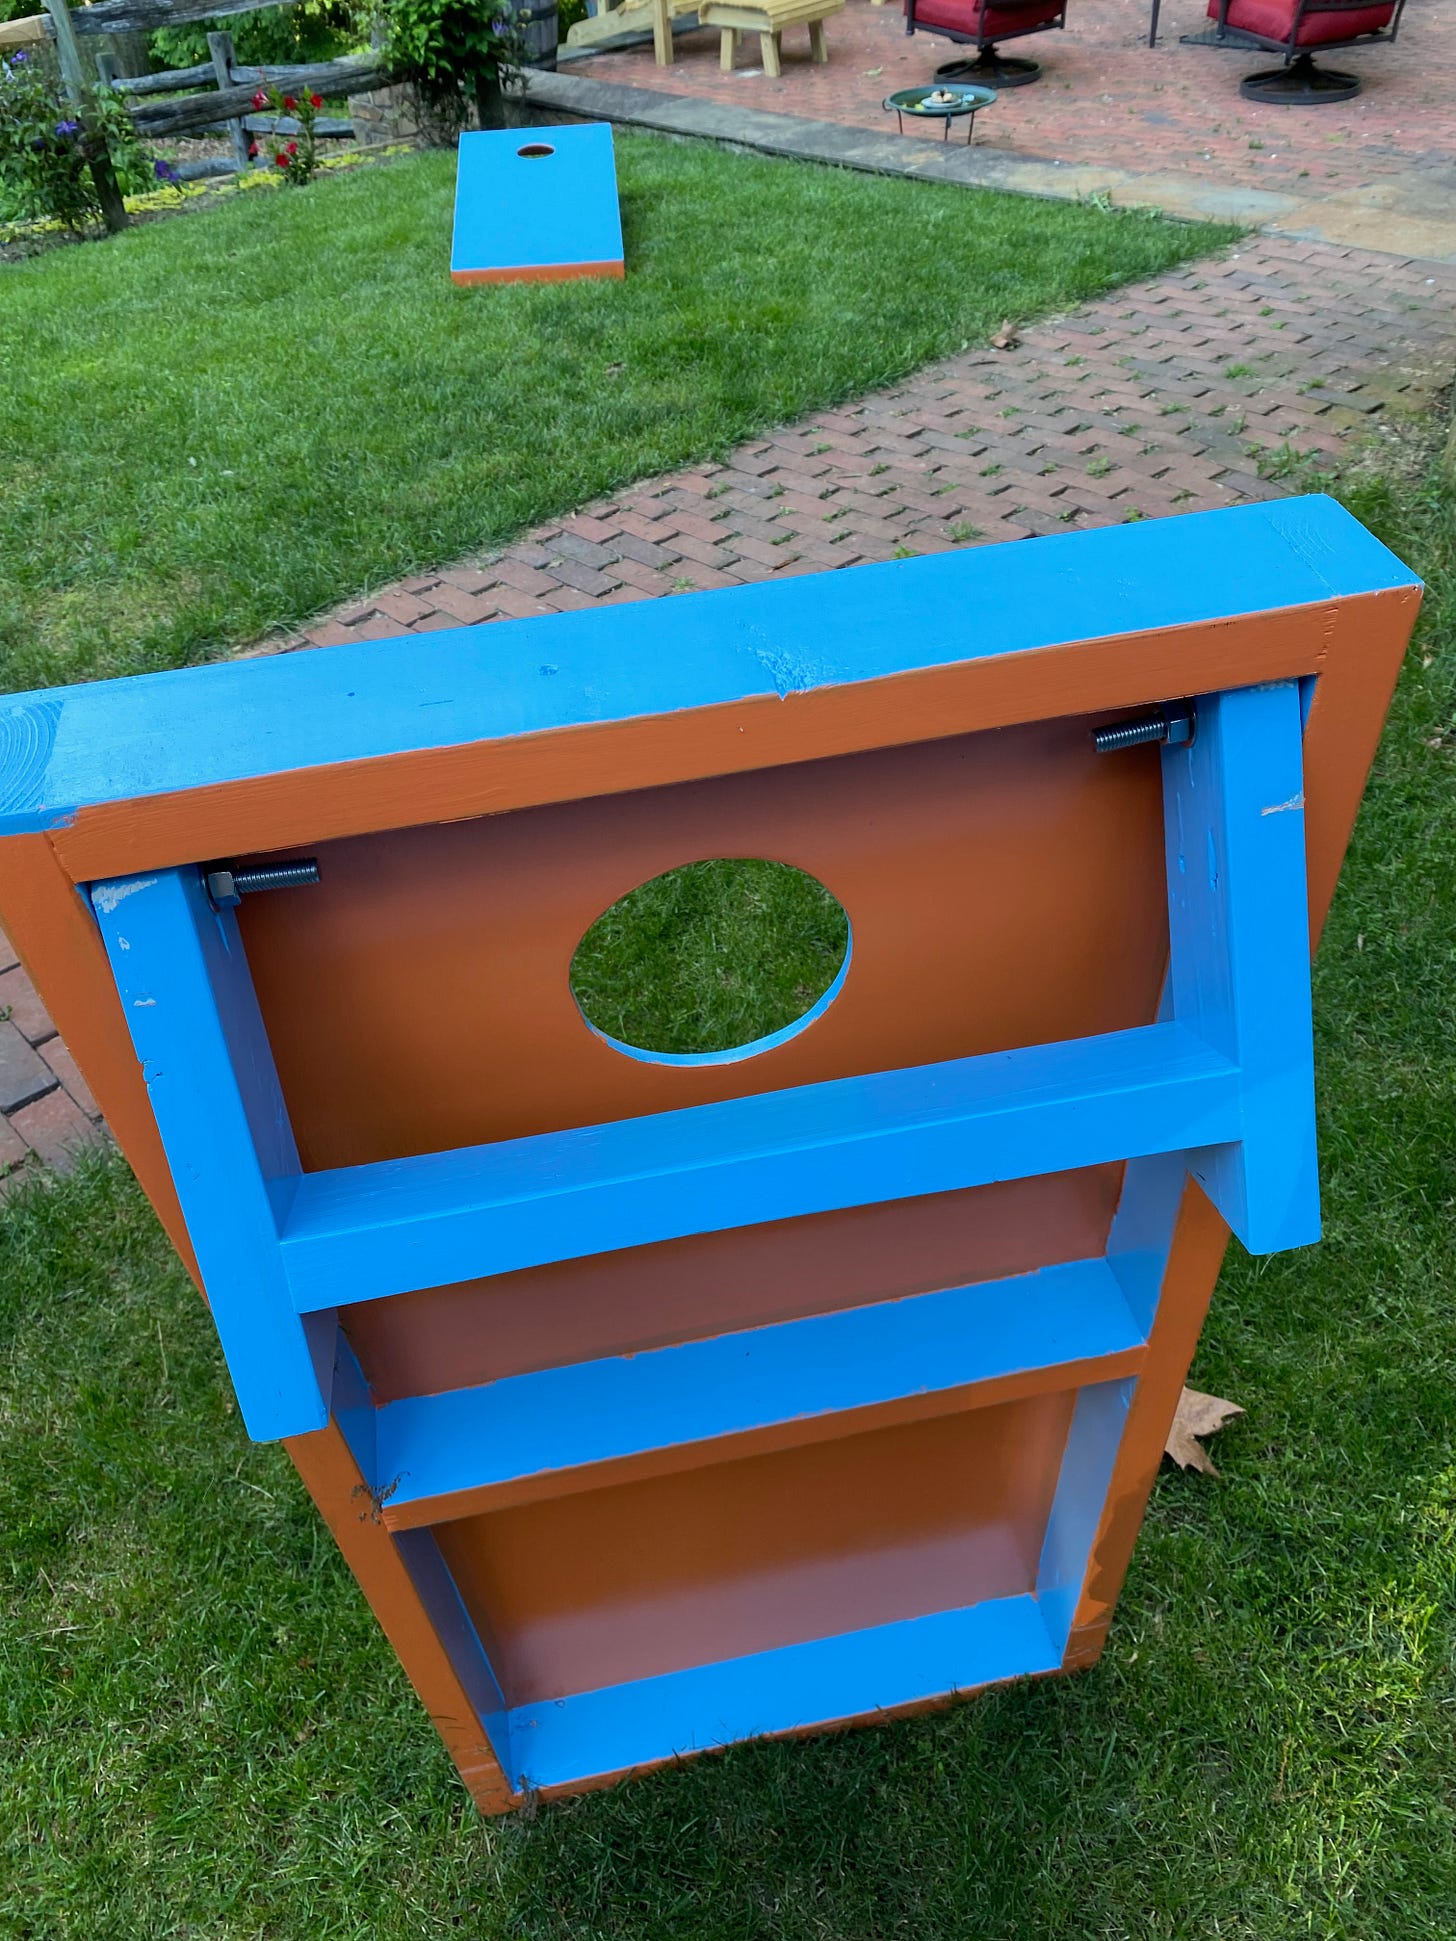
Back in the shop, I cut the 2x4s to length and then glued and screwed them to the plywood. Not only did I make a frame under the edge of the board, but I put a piece across the center as well, just for some extra support.
The next step was to cut and shape the rear legs. The back of the board is supposed to be 12 inches off the ground, but that doesn't mean the legs are 12 inches long since the legs kick back at an angle and also attach to the side frame and not the top.
The easiest way I could come up with to determine the leg length, then, was to prop the board up on blocks to its proper height, and then measure the distance from the underside of the top to the ground. That ended up being 11-¼ inches.
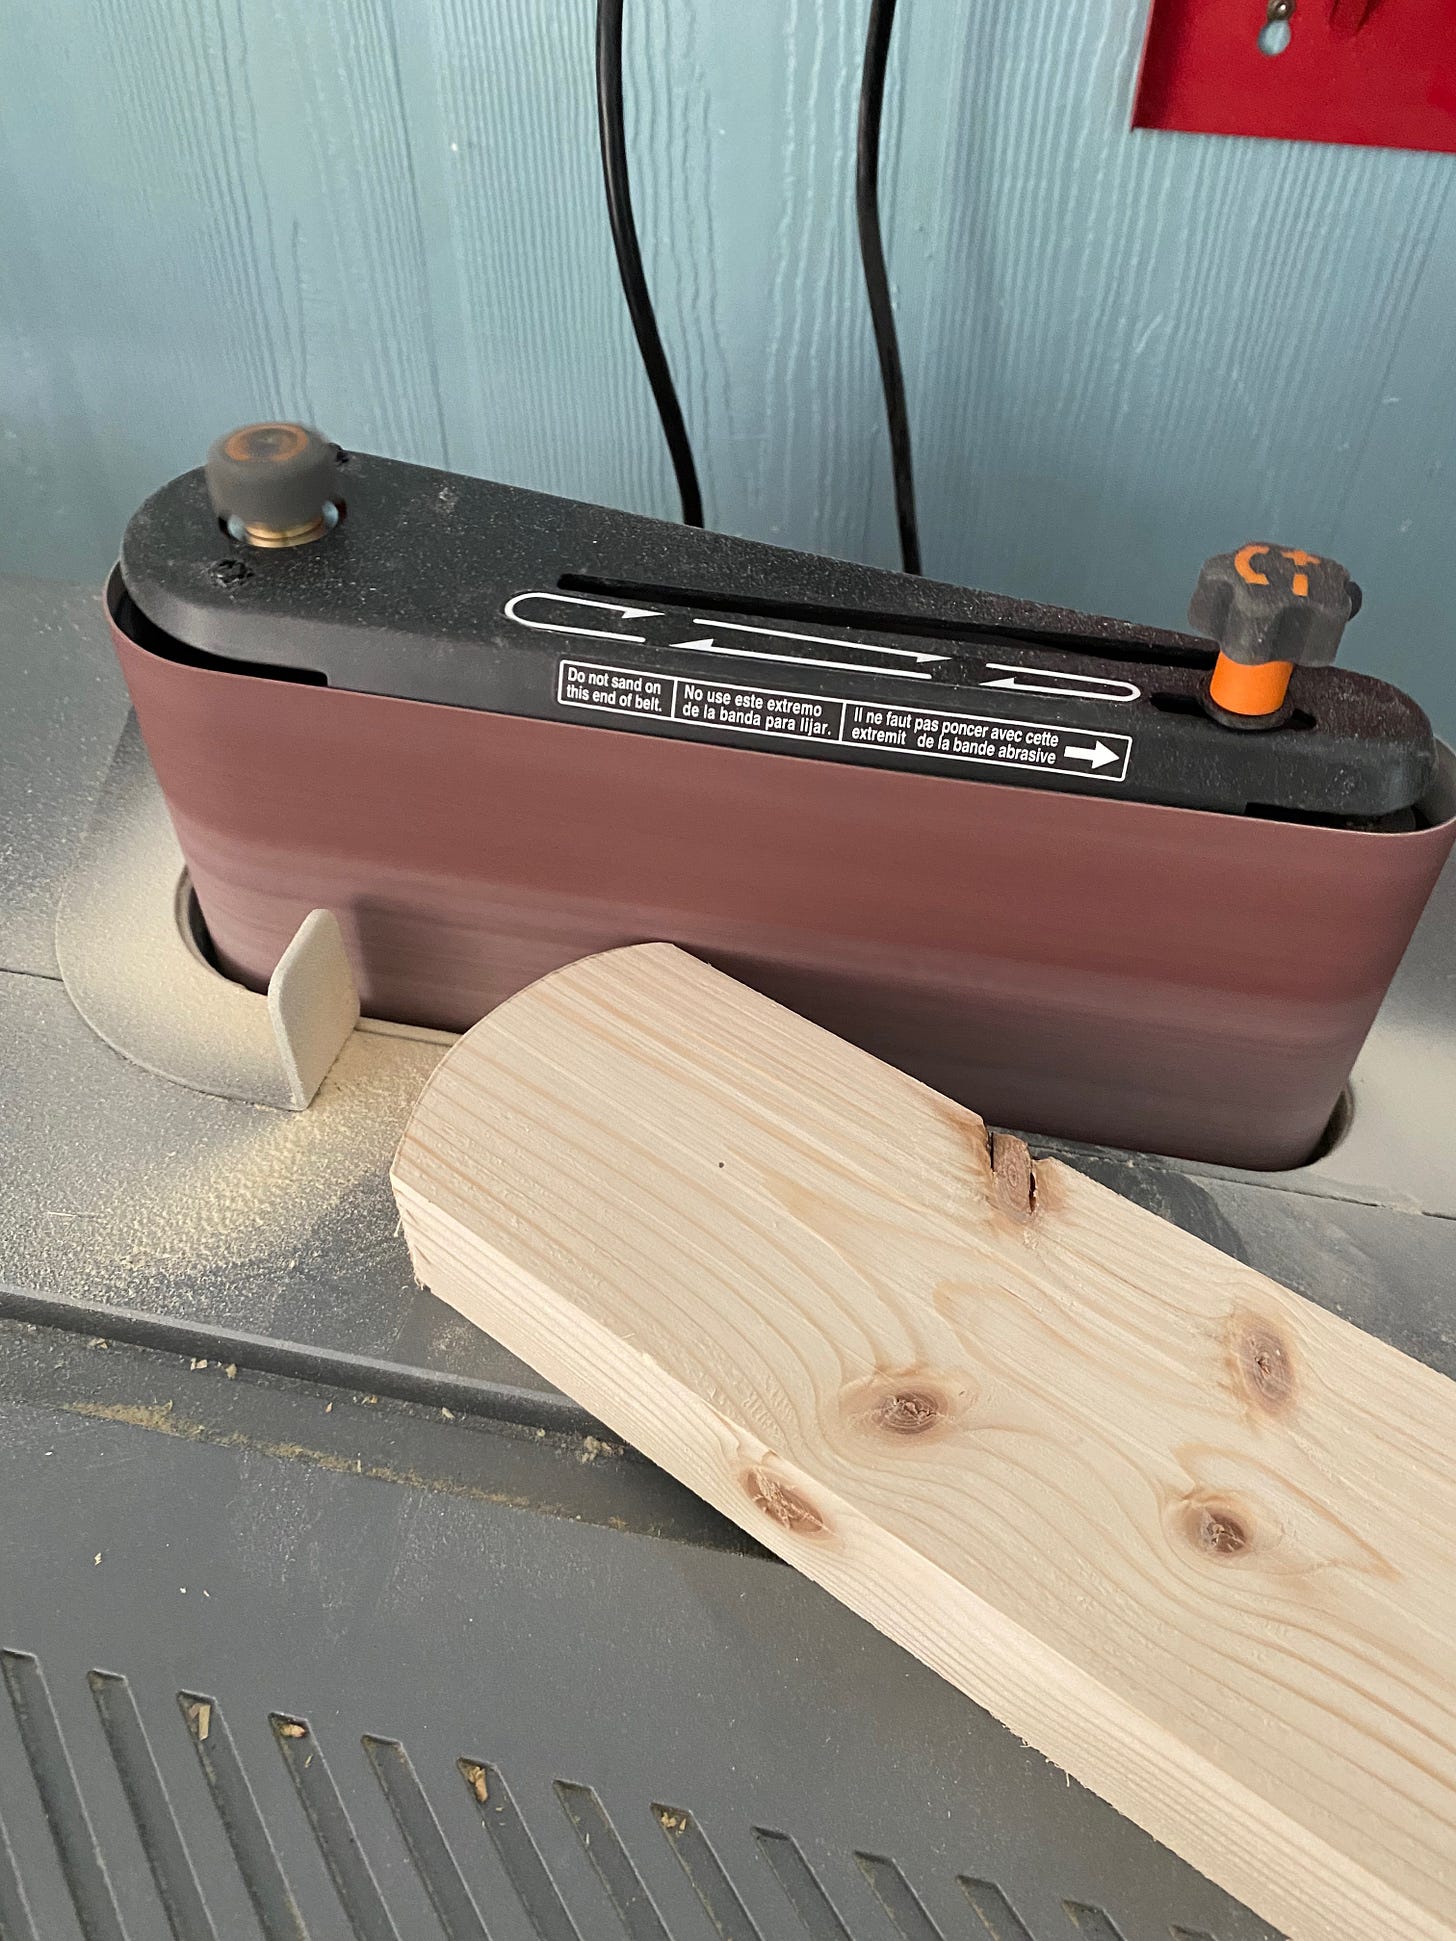
I cut the legs to fit and then used a compass to scribe a curve on one end. A quick trip to the bandsaw where I cut the curves and then to the sander to smooth them out. The other end I cut at an angle so they'd sit flat on the ground.
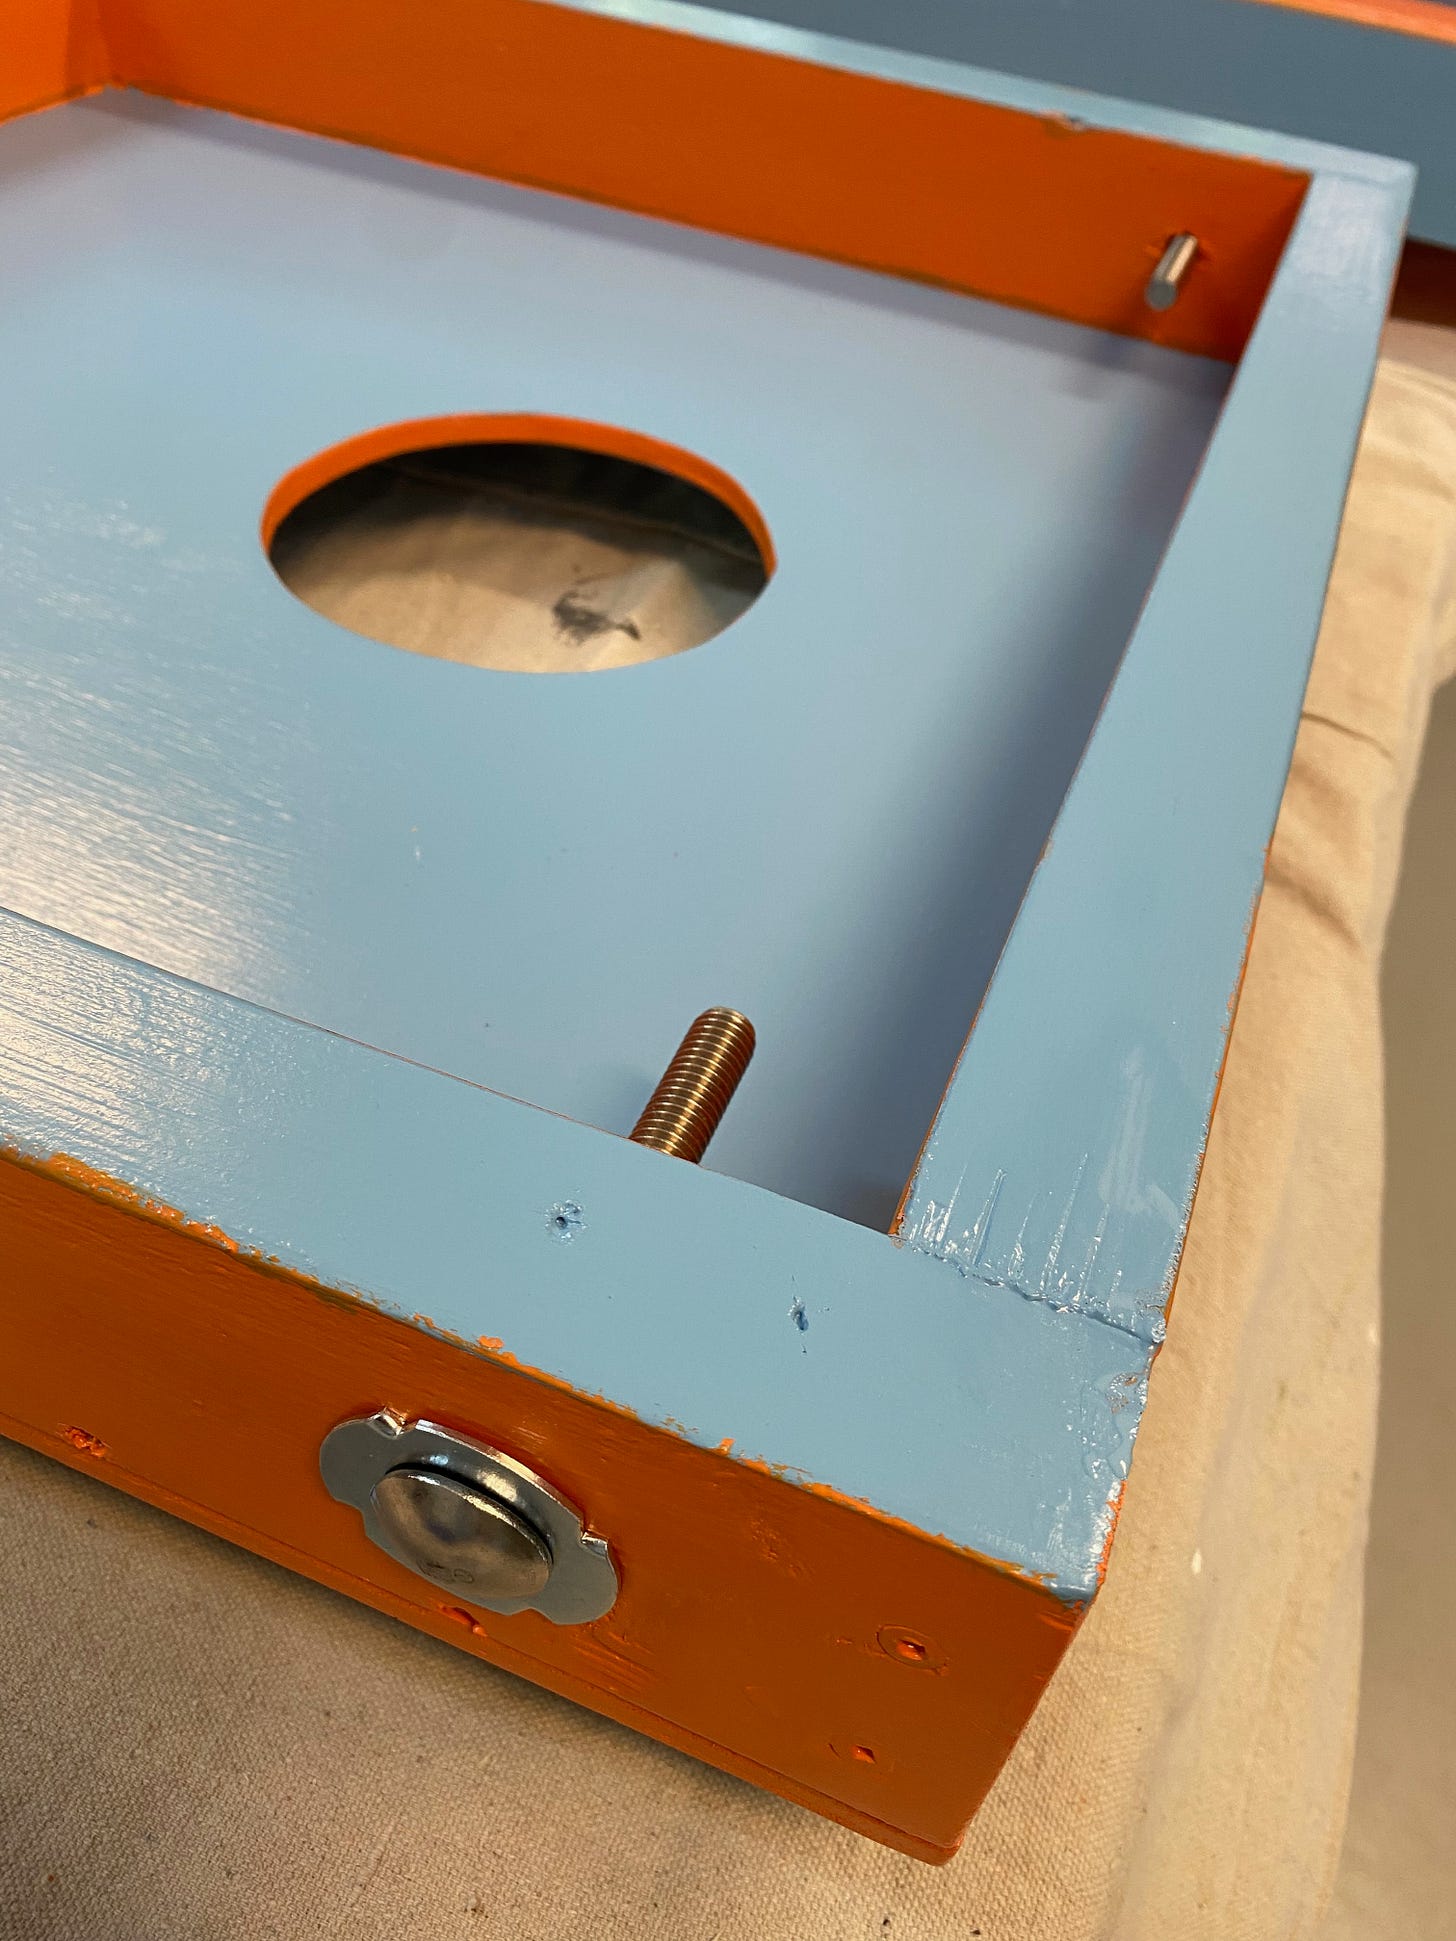
To connect the legs to the boards, I clamped them against the inside rails and drilled a hole through the sides and legs. I used a small stick to set the legs back from the board's edge. To attach the legs, I used a carriage bolt inserted through an anti-turn washer. I also put a normal washer between the side and leg to prevent sticking, and then secured the bolt on the inside with a washer and nut. Then I glued and screwed a cross piece between the two legs in order to keep them aligned.
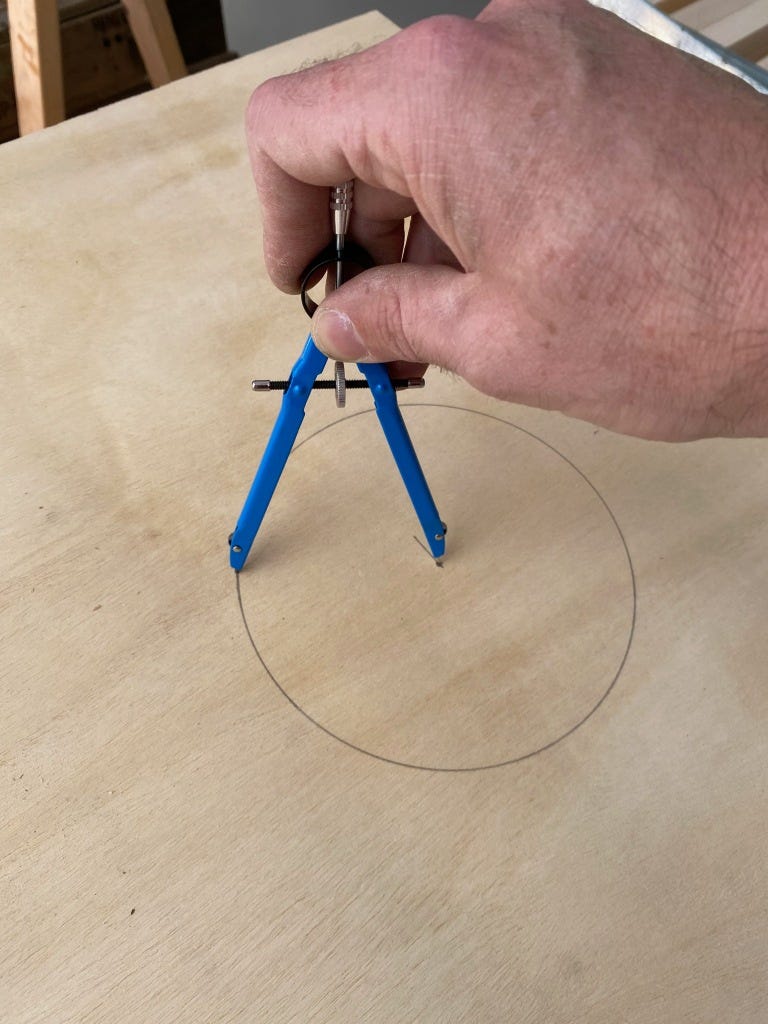
The only carpentry left at this point was to cut the six-inch hole in the top. The specifications stipulate that the center of the hole should be nine inches from the top and 12 inches from either side. I marked this point and then set my compass to three inches in order to draw the six-inch circle.
The best way to cut the circle, then, would have been to use a jig and a plunge router. That would have made a perfect circle. So that's not what I did. Instead, I just drilled a hole near the circle's perimeter and then used a jigsaw to cut the hole. The result was not perfect, but it was good enough.
At this point, construction, such as it was, was complete. All that was left was sanding, smoothing the corners, filling some screw holes and painting the thing.
I decided to make one board orange and the other blue — those being our favorite colors. With that determined, I ordered two sets of matching bags on Amazon.
Once the paint was dry — I briefly considered painting some designs on the boards, but decided against it due to my severe lack of artistic/painting skills — it was time to try them out. My wife and daughter dutifully challenged each other to a game during which they determined that I had successfully replicated Andy Cornhole's invention.
Let the Games begin!


