Completing the Greenhouse
After delays from weather, shipping, and general busyness, I finally finished the new greenhouse
The best thing about being a former and future Browns fan is that in the present, I need not waste my Sunday afternoons watching football. Instead, I can spend them finishing projects, like the greenhouse rebuild.
When last we left, the greenhouse was mostly constructed and I was waiting on the polycarbonate panels that would serve as the see-through walls and roof. I ordered the panels from a manufacturer in New Jersey, which promised to ship them to me within a couple of weeks. Not wanting to wait, I briefly considered driving to New Jersey to pick them up, but after calculating gas and tolls and 11 hours of driving time, decided that wasn’t the best idea. So I waited. Impatiently.
When they finally arrived, the weather was what I believe meteorologists describe as “shitty.” Rain. Rain. Rain. And more rain. After a brief respite where it was drizzly for a bit, it then returned to more rain.
When the rain finally stopped — or at least slowed enough that I could work in it — I hauled the panels up to the greenhouse and got started.
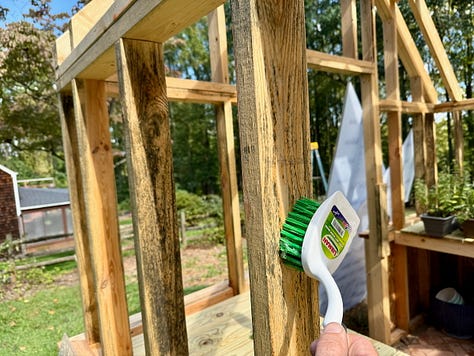
Unfortunately, all the rain had caused some of the lumber to sprout black mold. I don’t know how big a problem that would end up being, but it didn’t seem good. So I mixed together some hot water, detergent, and bleach and scrubbed each piece of affected lumber. It didn’t seem to remove any of the black spots, but I hoped it would at least arrest any further spread. After doing a little internet research, I decided the problem wasn’t really much of a problem anyway — once the greenhouse was sealed up, the lumber would dry out and everything would be fine.
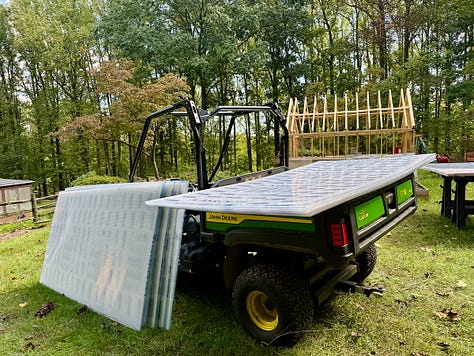
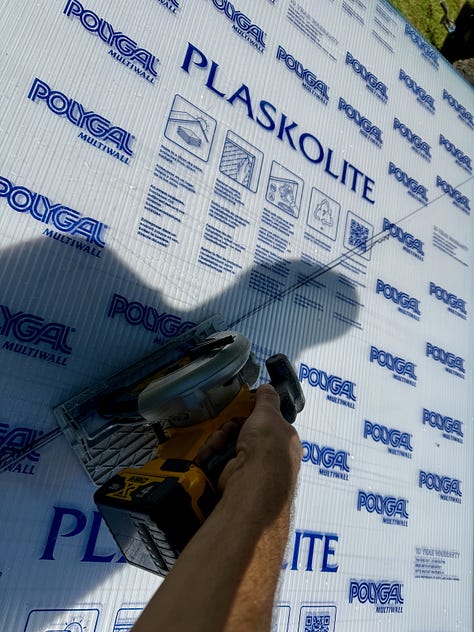
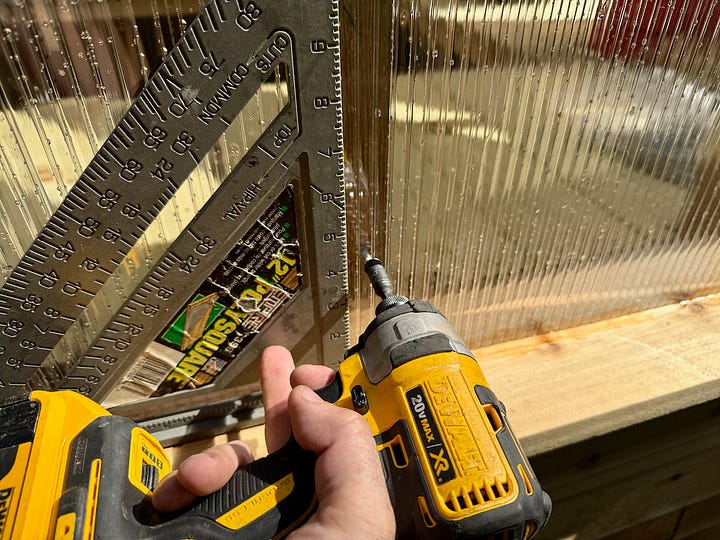
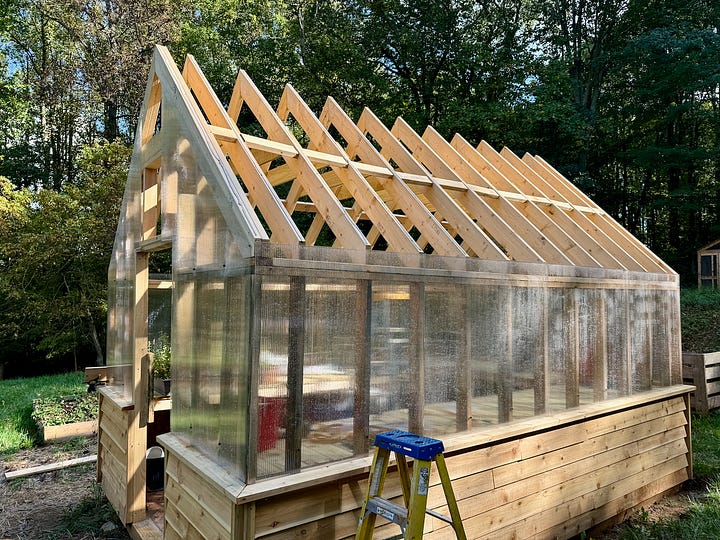
Putting the panels up along the long side walls was pretty easy. I needed to make only a few simple square cuts and then I could quickly screw the panels into place. For the front and back, I had to make more careful angled cuts, but even those weren’t terribly difficult, especially since the edges of the panels would be covered in cedar trim.
Once all that was in place, I turned to the roof. To start, I applied strips of butyl tape — kind of like a putty — down each truss. Then I hoisted the sized panels and plopped them down. The challenge here is that — ideally — the first time a panel touches the butyl tape should be the last time it touches the butyl tape. Moving the panels after they make contact is — to use construction jargon — not great.
And that means dropping the panels exactly where they should go the very first time. Unfortunately, that is not what I did. With my wife’s help, we dropped the panels kind of close to where they needed to be, but not exactly where they needed to be. So I had to push and pull and slide them around until they were lined up correctly. It’s not how it’s supposed to go, but in the end, we got there.
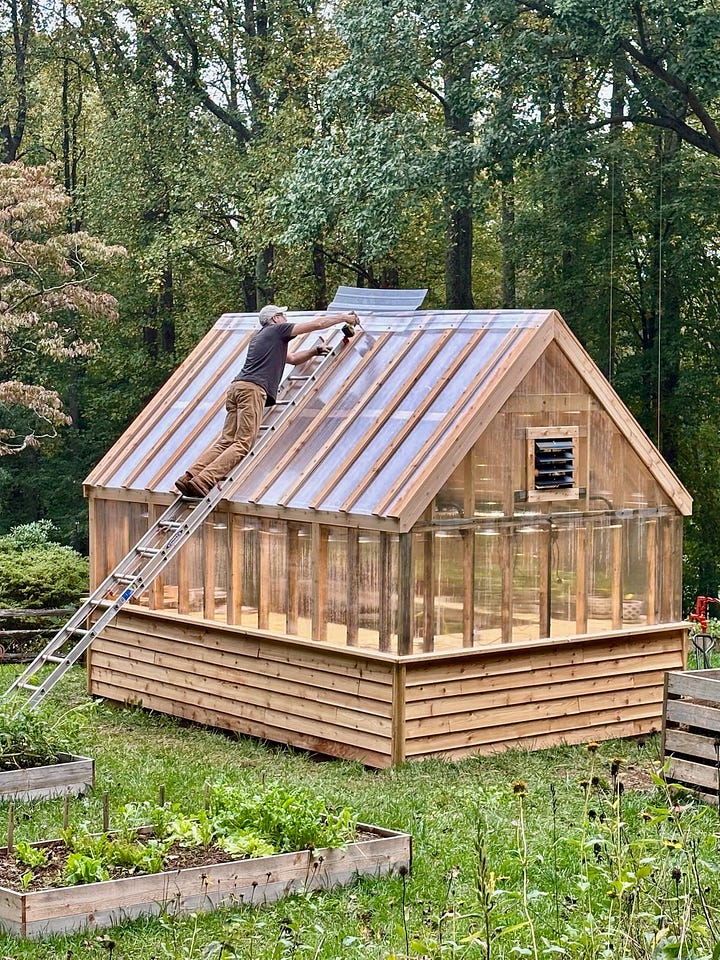
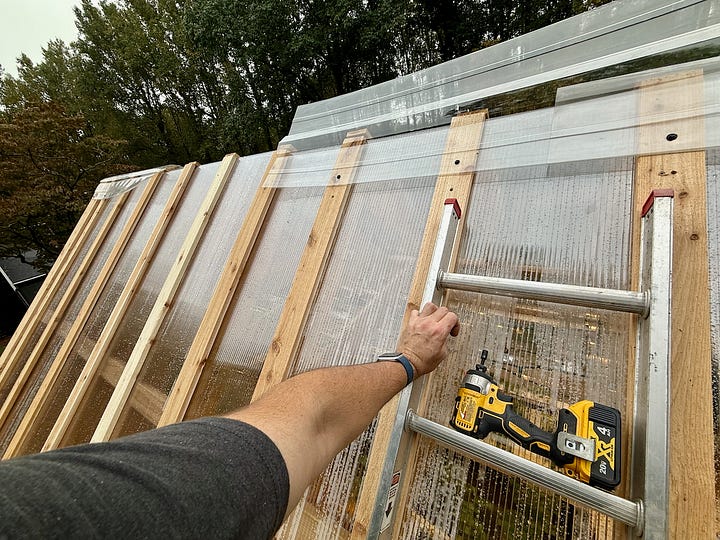
With the roof panels in place, I then had to screw them down to the trusses, which I did by placing cedar battens on each seam before driving screws through the battens and panels into the trusses. It was pretty easy for me to reach the bottoms of each batten, but to screw them down at the ridge line, I needed some way to get to the top of the greenhouse.
The best way I could do this was by extending a long ladder up the roof line at a precariously acute angle. Thanks to a wise suggestion from my dad, I wedged a 2x4 against my raised beds and used that as a brace for the bottom of the ladder. That allowed me to climb the ladder to the roof line where I could screw down the battens and attach a ridge cap.
Finishing Touches
Here’s the secret I’ve learned about construction: trim is your friend. Trim hides all the little mistakes and imperfections in the underlying construction. And so it is with the greenhouse. At all the corners, edges, and seams, I cut and attached pieces of cedar, which immediately transformed the greenhouse from “rough” to “finished.”
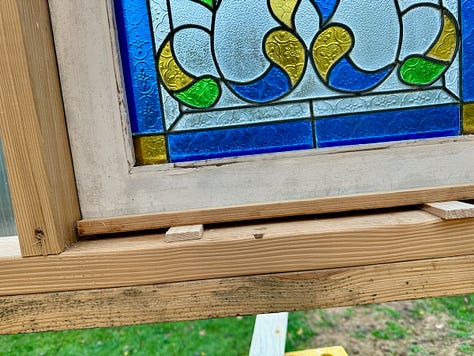
I also cut out two squares of polycarbonite so that I could install an exhaust fan in the back and seat a piece of stained glass in the front. The stained glass initially had a white frame, but once I installed it, I realized the white didn’t fit with the overall look, so I removed it and repainted the frame a rich blue to match our house’s front door.
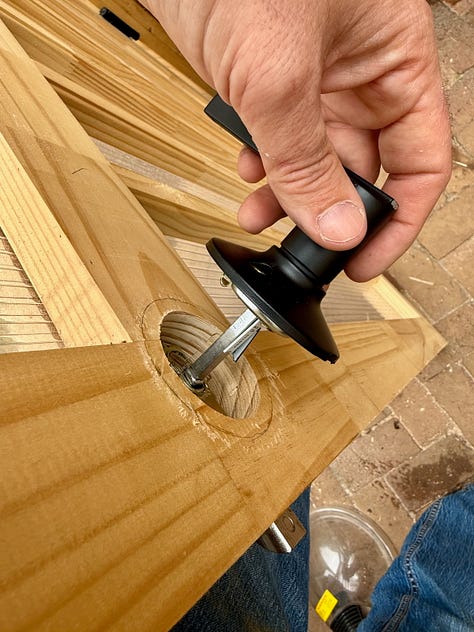
For the greenhouse door, I removed the screen from a store-bought wooden screen door and attached a panel and some cedar trim. Unfortunately, adding the cedar trim made the door too thick for the knob I bought — the spindle that connects the two pieces wasn’t long enough. To fix that, I bought a metal bar and reshaped it to serve as an extension rod.


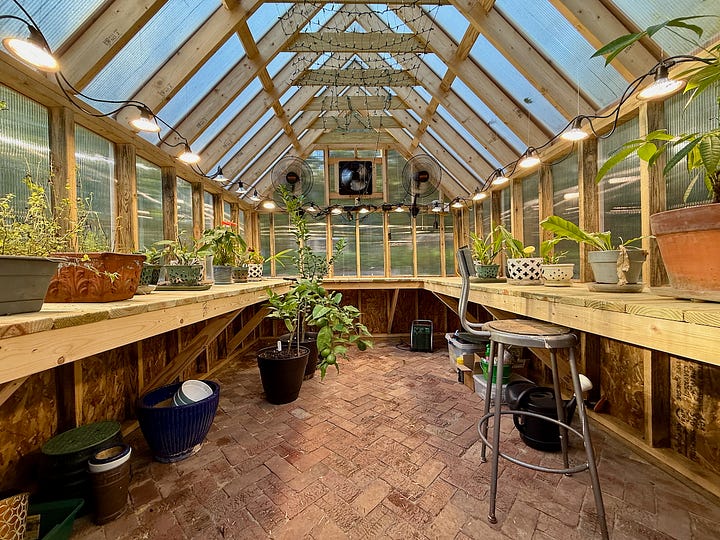

Inside the greenhouse, I installed not just the exhaust fan, but two oscillating fans to help move air. I also attached screw eyes to each truss from which I hung strands of wire to hold grow lights, which are extraordinarily bright. Then I strung fairy lights across the ceiling for when I want a softer light to come from the greenhouse.
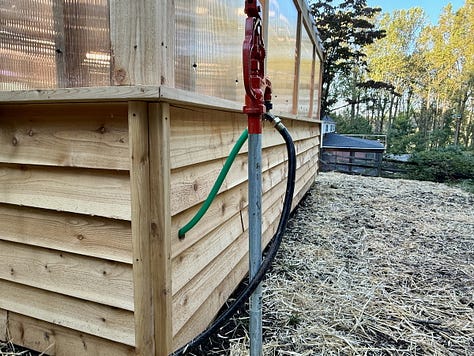
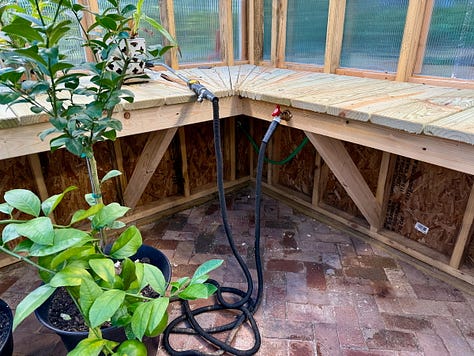
After neatly wiring everything together and tying them into HomeKit-powered outlets, I cut a hole in the siding for a hose to connect to the outside yard hydrant. I attached it to a hose bib inside the greenhouse.
I vacuumed up the sawdust and packed up my tools. Everything was dry and buttoned up. Electricity, ethernet, water were in place. The door was hung. Light were set. We set up two heaters and set out our plants. The greenhouse was done.


HatchMade. Fantastic.
Nice work. It’s been fun watching it come together.