Benched
It's both rewarding — and a little daunting — when people ask me to build them something. I'm quite honored and touched that they would ask and that they entrust me to deliver something that they'd want and would meet their standards. But it's also a little daunting because now there are expectations I have to meet.
It's also fun, because often what is being requested is not something I would have thought or planned to make. Such was the case when a friend asked me to make her a long bench for her indoor plants. She has more than 100, she said, and needs a place for them in the winter where they can sit under a wide array of windows.
"Send me the dimensions," I told her, "and examples of what you like."
She wanted the bench to stretch seven or eight feet long and stand just under two feet tall. I sent her photos of different kinds of benches — mostly examples from Room and Board — secretly hoping she'd select the style that I personally preferred. I was relieved when she did.
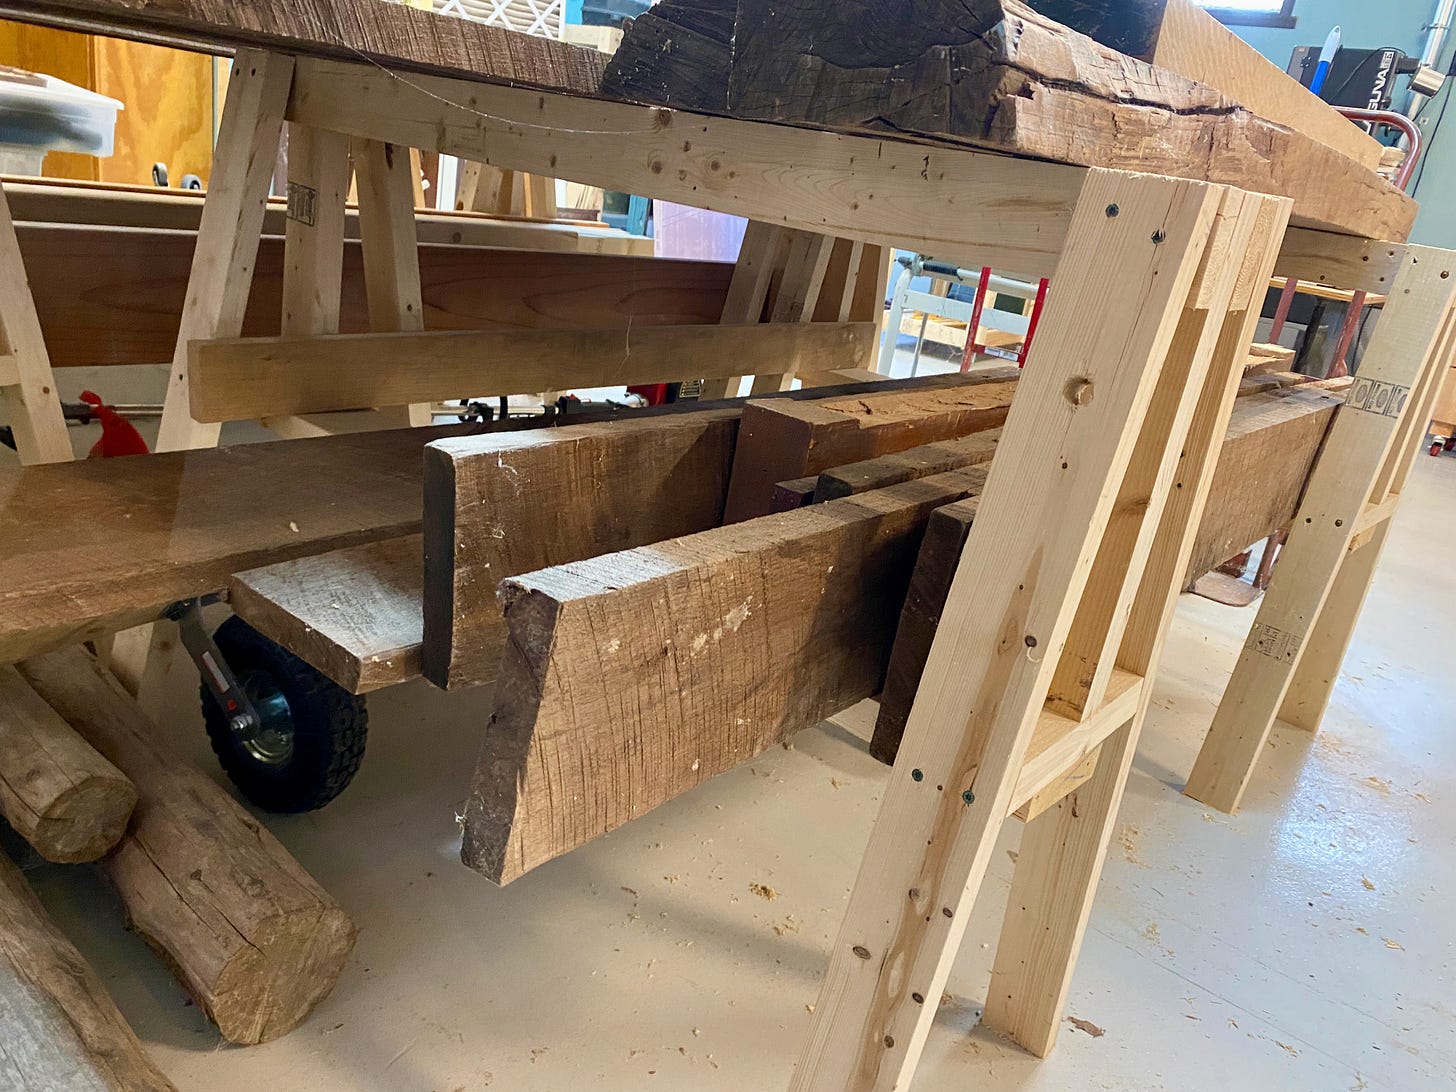
In the shop, I scanned my wood pile and decided a stack of beefy walnut planks would be perfect.
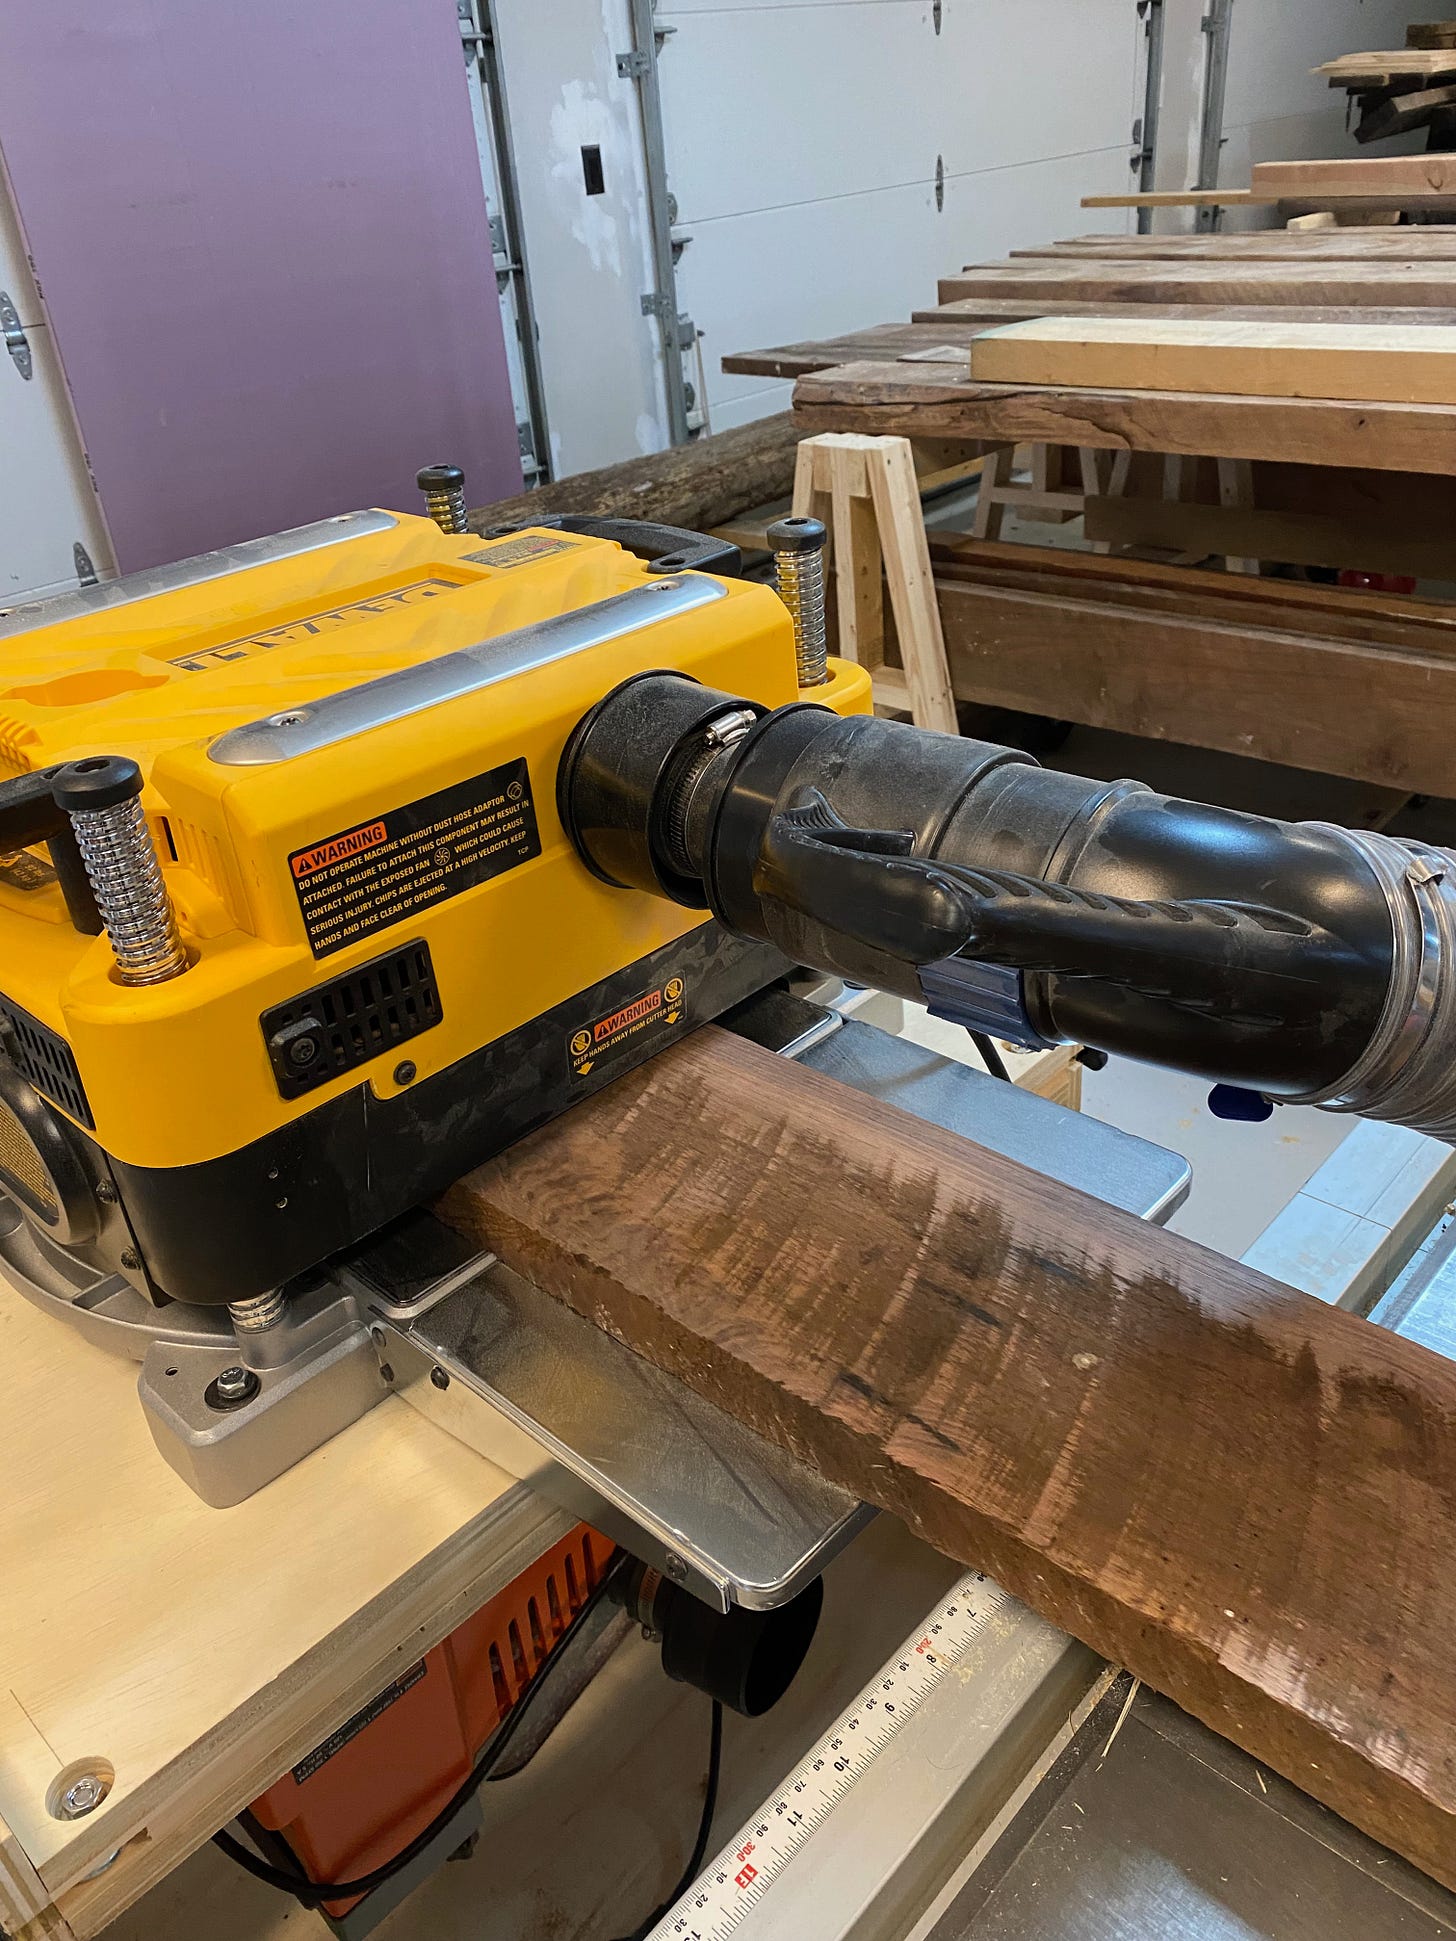
They were still rough-sawn, so the first step was to plane them smooth and to a consistent thickness. I started sending them through the planer, which valiantly worked to bring the planks into shape. After the machine stalled for the second time, I wondered if maybe I should install a fresh set of knives. I took the machine apart, swapped out the knives and started it up again. What had been a chore for the machine suddenly turned into a dream. It easily resurfaced the boards, leaving them sparkling smooth. Note to self: don't suffer dull knives.
Next, I needed to put a perfectly straight edge on the boards so I could glue them together, edge to edge. Each board was about 7 inches wide and I wanted the bench to be about 12.5 inches wide. To do this, you must first "joint" the edge — make it perfectly flat, smooth and square so that two edges can glue to each other without any gaps.
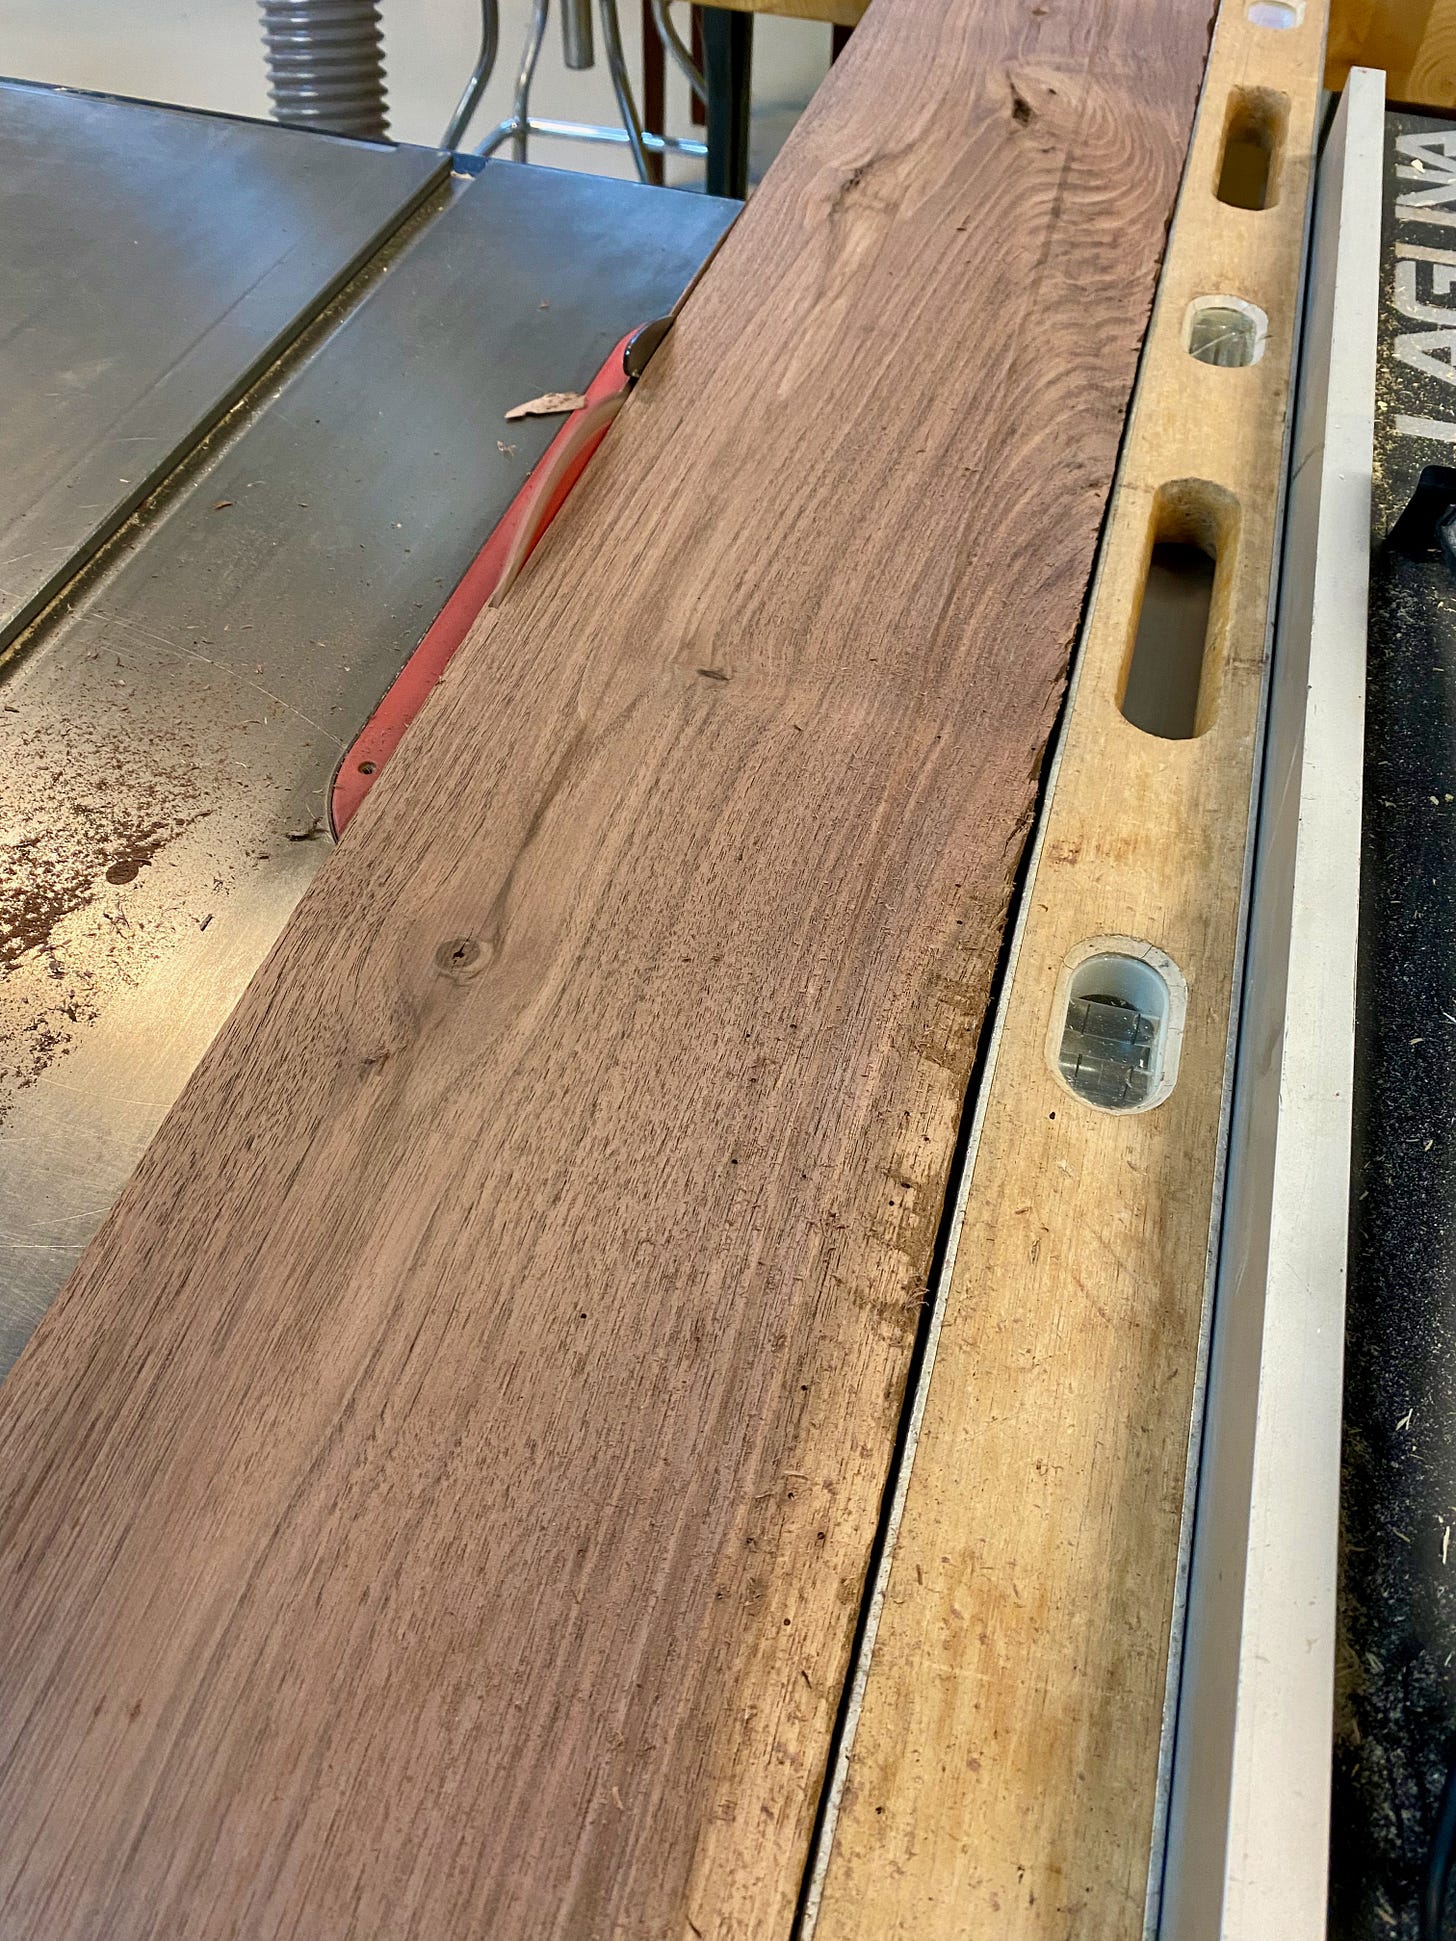
Jointing is easier said than done, however — at least for me. Normally you can't create a jointed edge just on the table saw… especially on a long board. There's simply too much side-to-side movement, Even 1/32 of an inch in variation will be a noticeable gap… and a weak point as well.
Nevertheless, I tried using the table saw via a couple of techniques I've had some success with in the past. One is to use a straight edge as temporary edge to the board. I've done this successfully with short pieces, however with an 8-foot board, this proved to be impossible to manage.
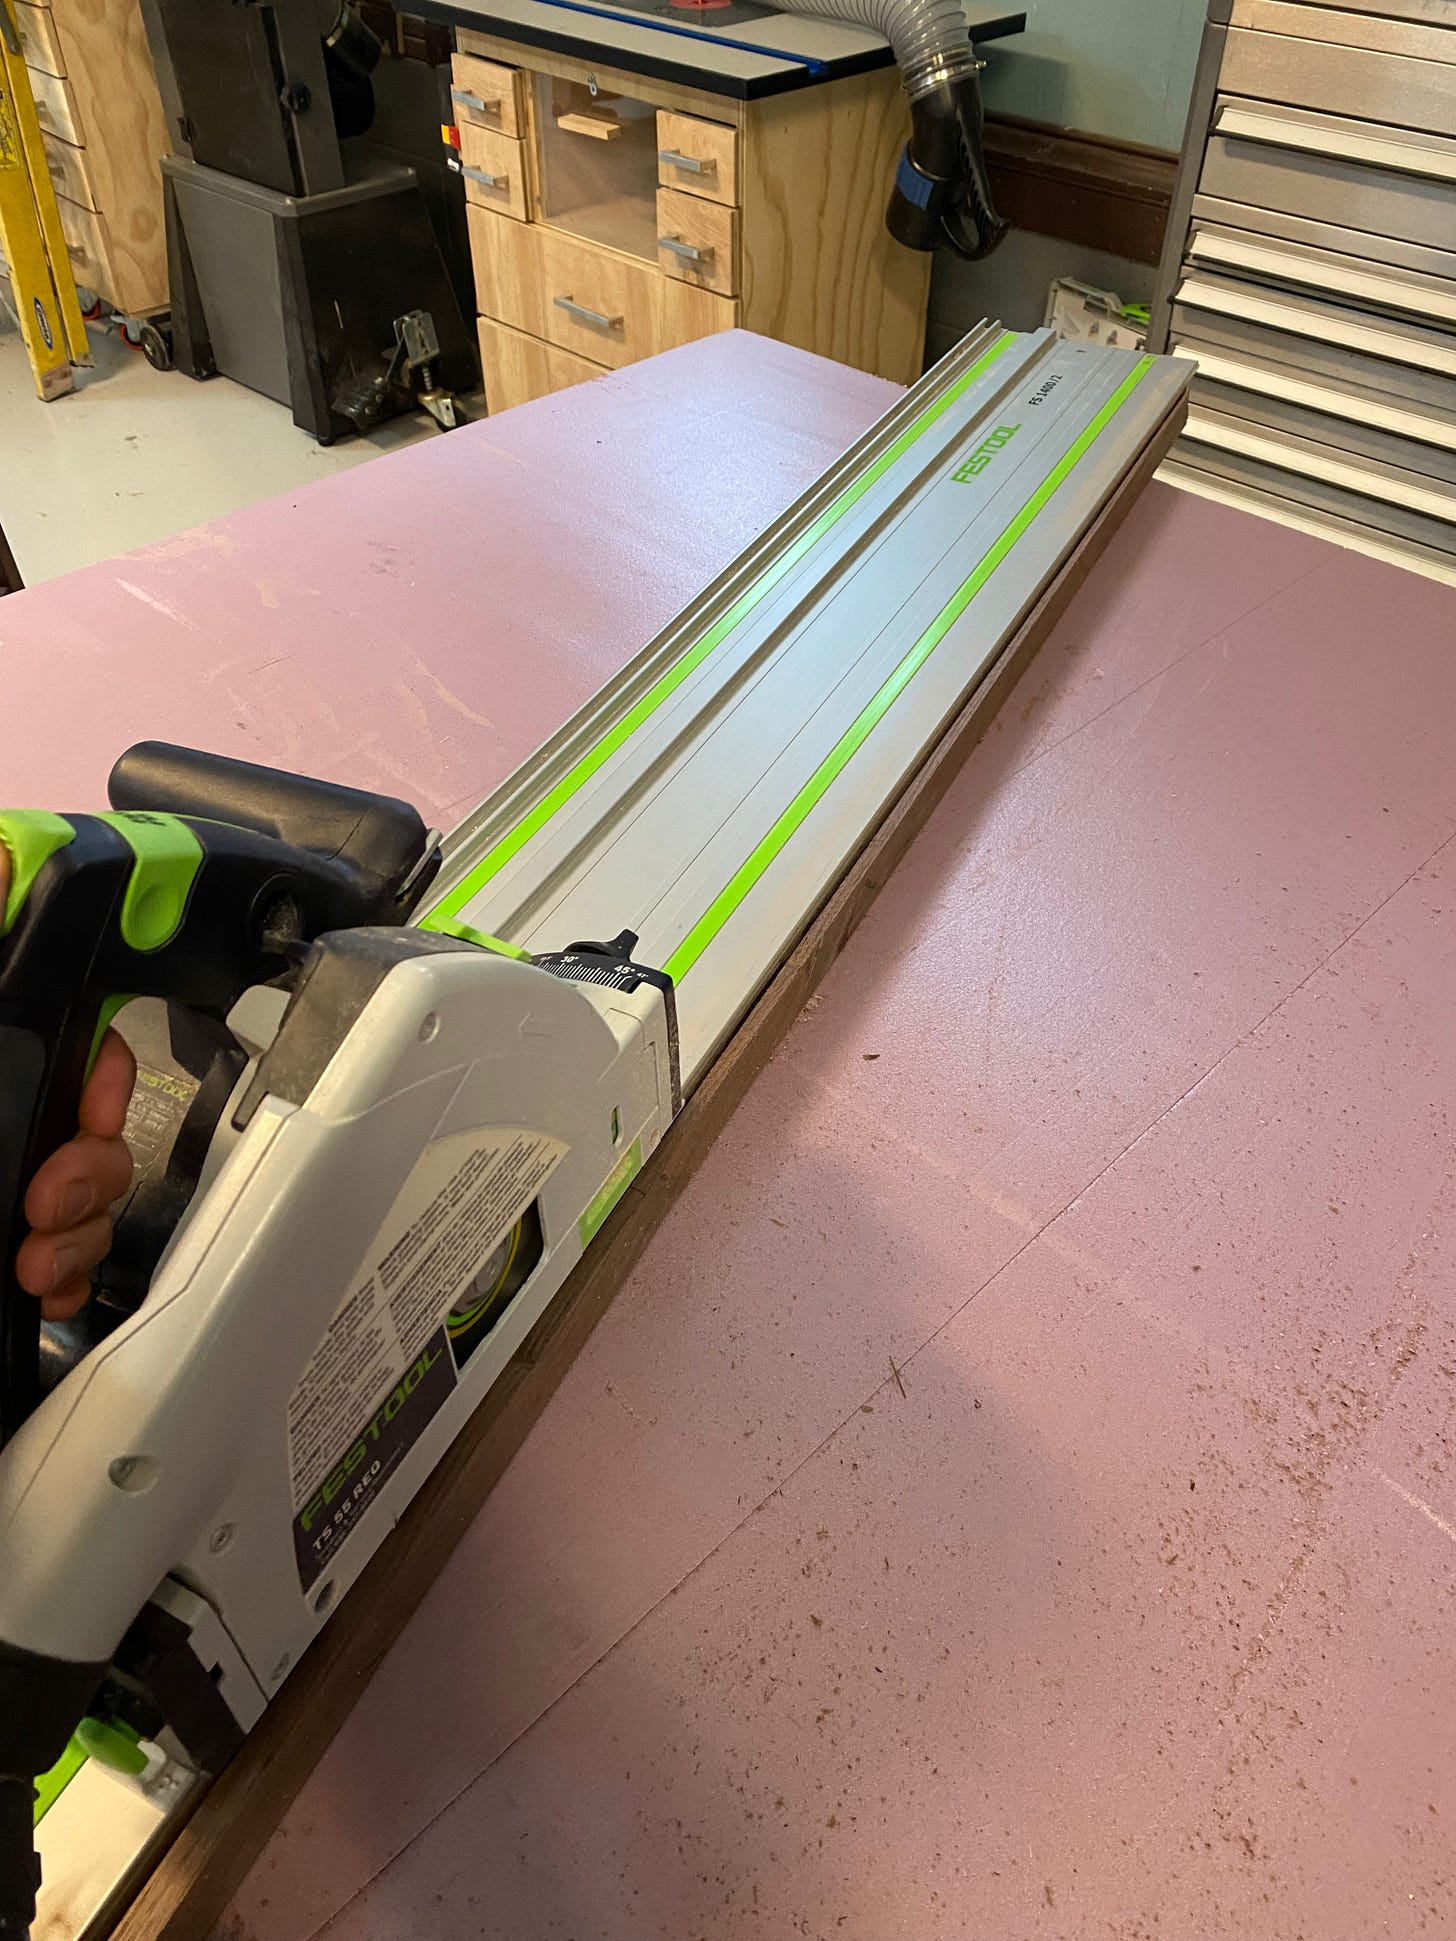
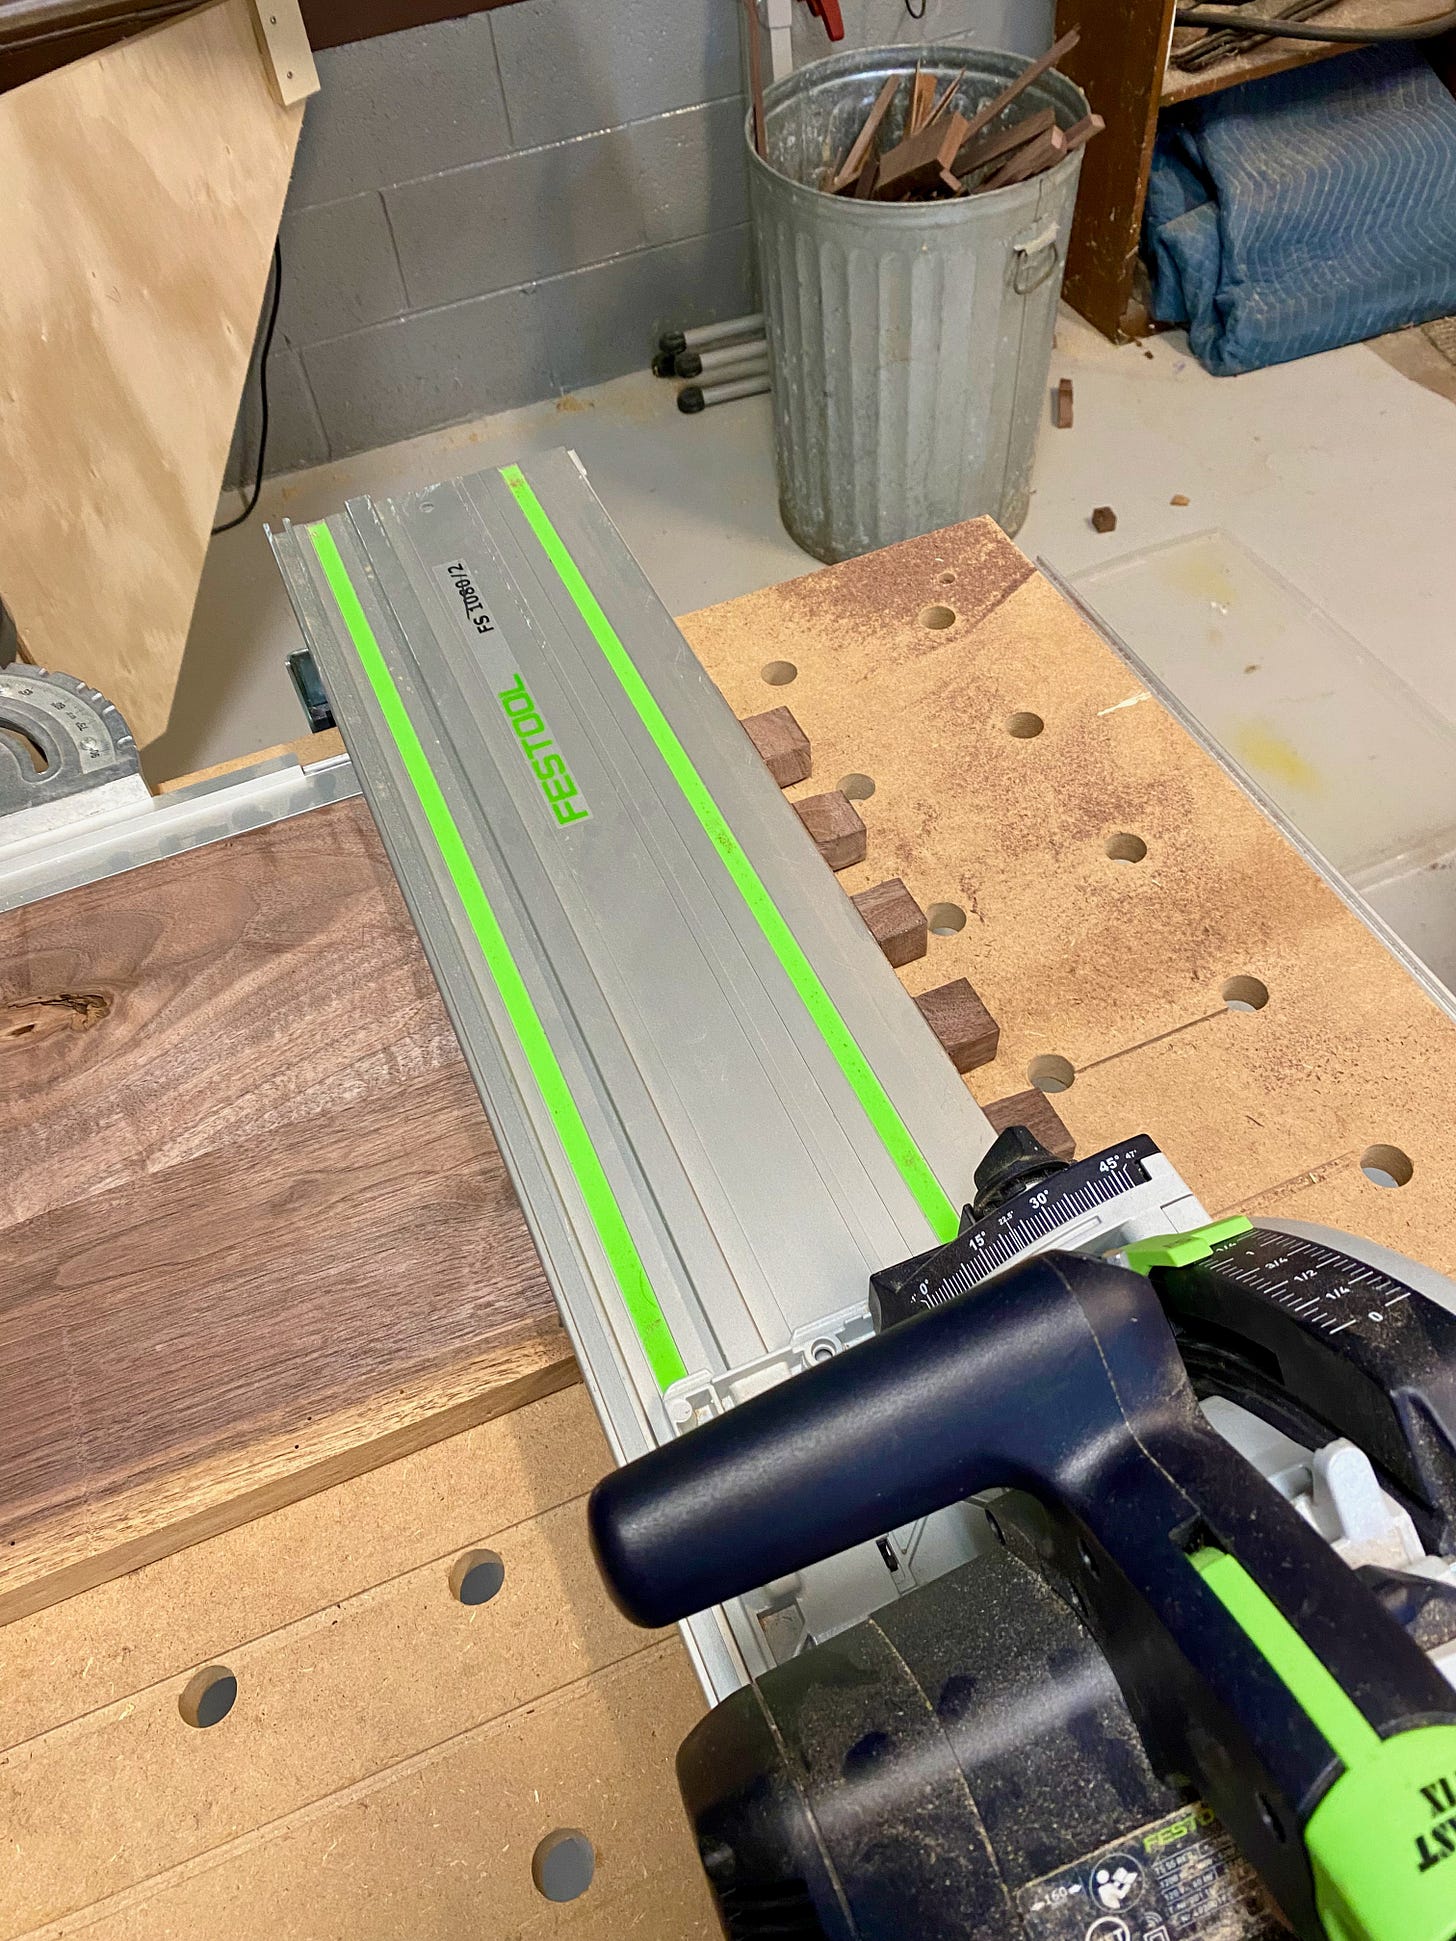
Next, I tried using my track saw. That's definitely a doable strategy, but my track is too short for the board I was working. So then I turned to the router table. Again, this is a reasonable tactic, but again, the length of the board — along with my makeshift fence — made this too unwieldy.
Now, I do have a jointer machine that is made for this specific purpose, but it's a small bench-top model. It's designed for pieces that are 2-3 feet at most, not 8. So that wasn't an option either. I could take the planks to a proper shot that has large floor-model jointers and that would work, but the prospect of driving several hours to the nearest shop I could use wasn't appealing.
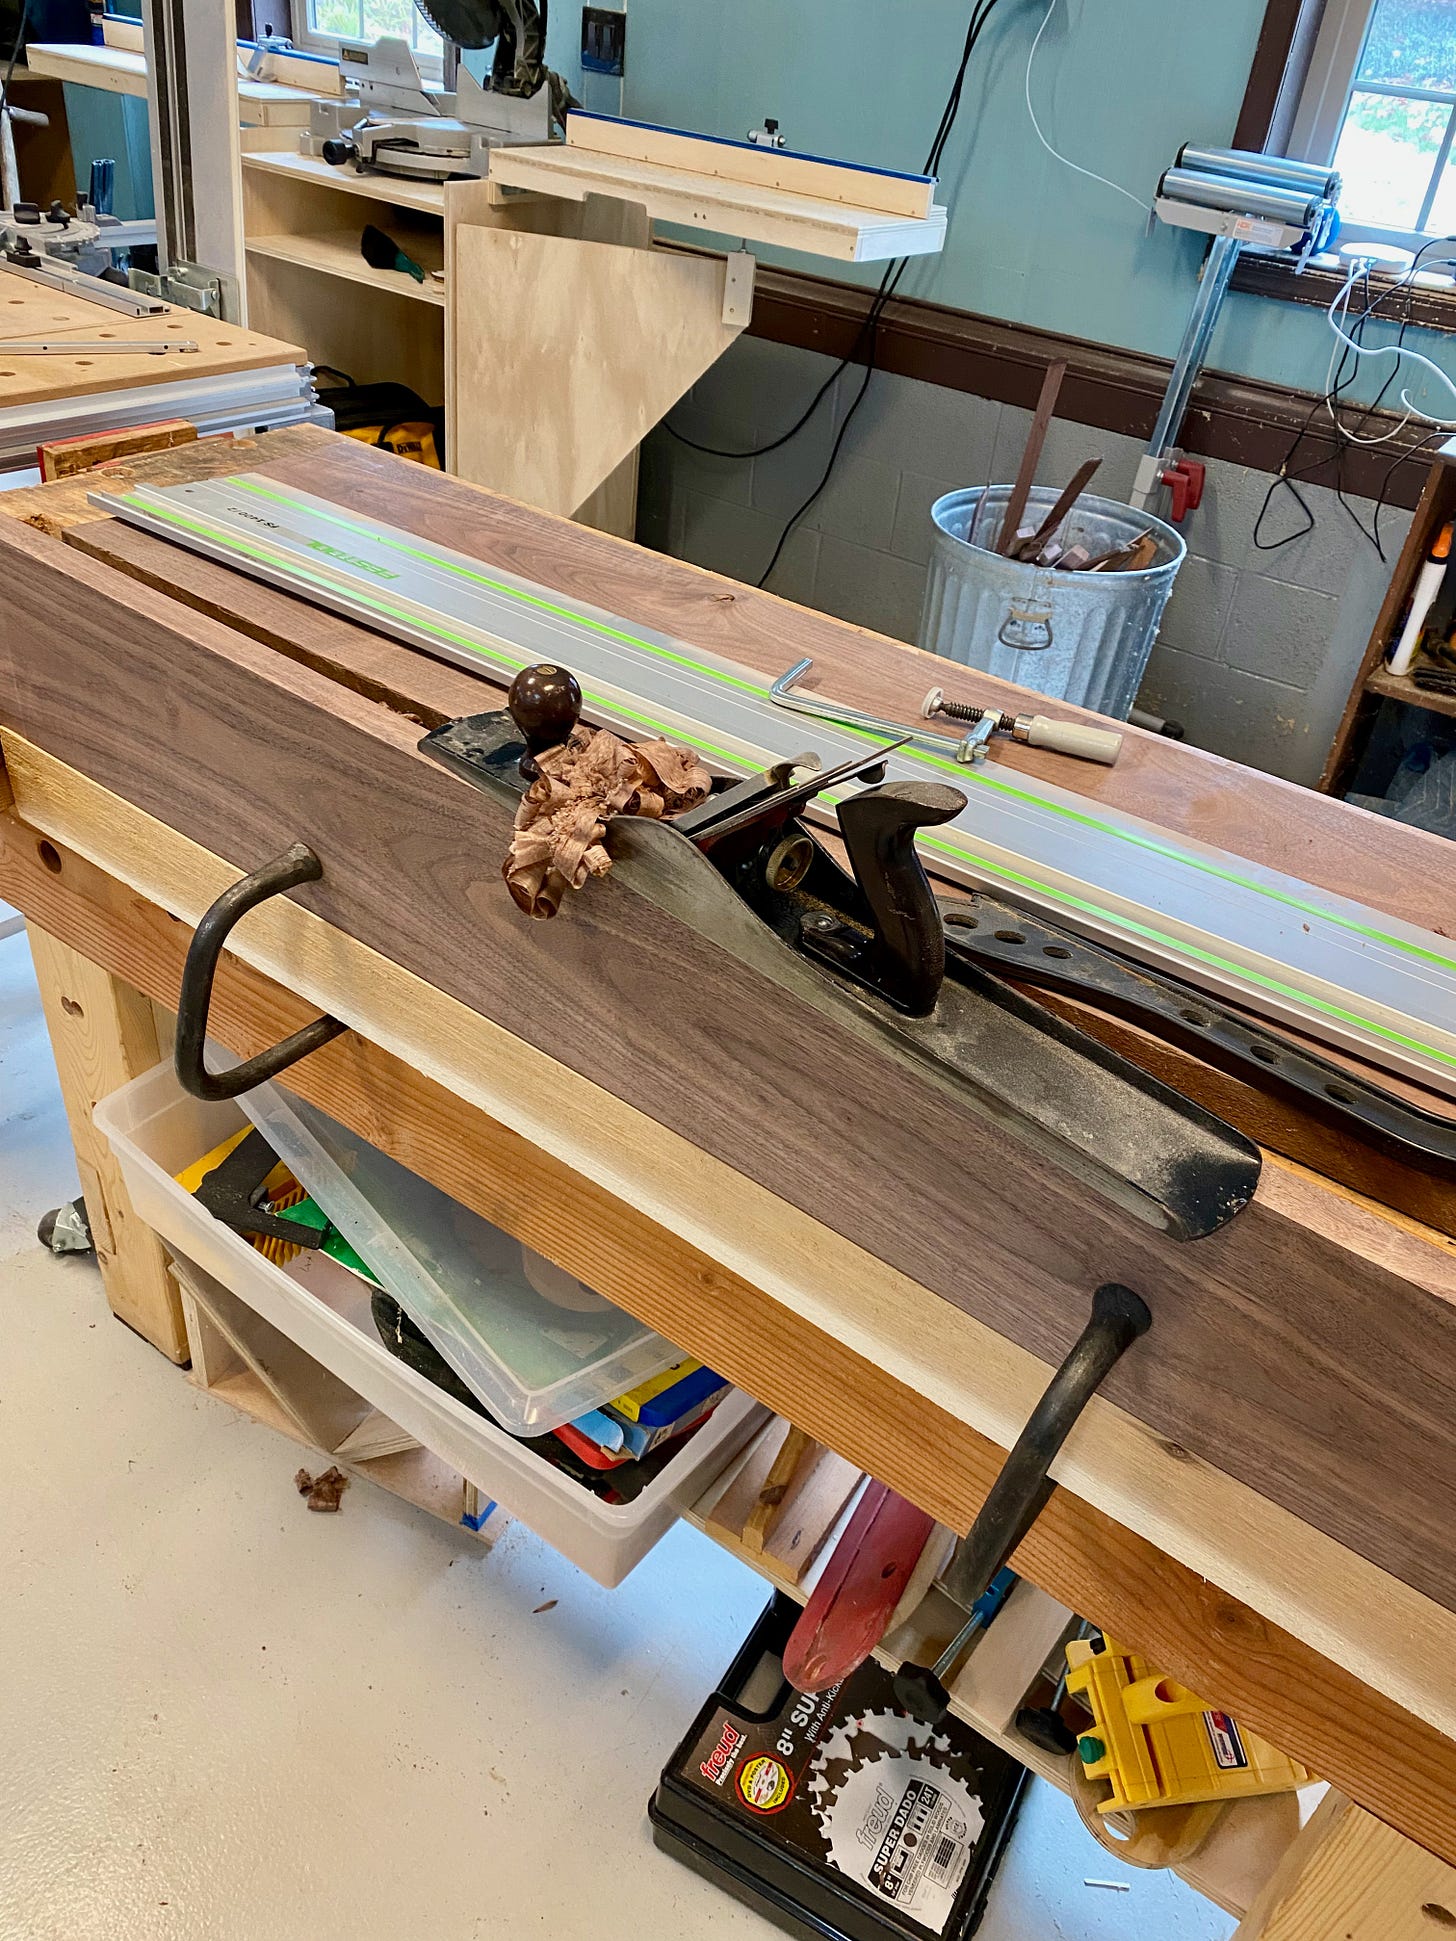
I was bemoaning my troubles to a friend when he asked, "WWPSD?" That is, "What Would Paul Sellers Do?" Paul Sellers is a famed hand-tool woodworker and it was a brilliant question. Why, he would use a hand plane jointer, of course, just like the one I reconditioned last year and have sitting on a shelf!
Hand Tools to the Rescue
With newfound inspiration, I clamped a plank to my workbench, grabbed ny No. 7 Millers Falls plane and got to work. Beautiful curls of walnut shavings fell to the floor as I worked up a healthy sweat. Without loud machines, I could work to the beats of The Black Keys. It felt good.
And it felt even better when I planed the second board and then set the two edge-to-edge. They rested against each other without so much as a ray of light squeezing through the joint. I was as delighted as I was exhausted.
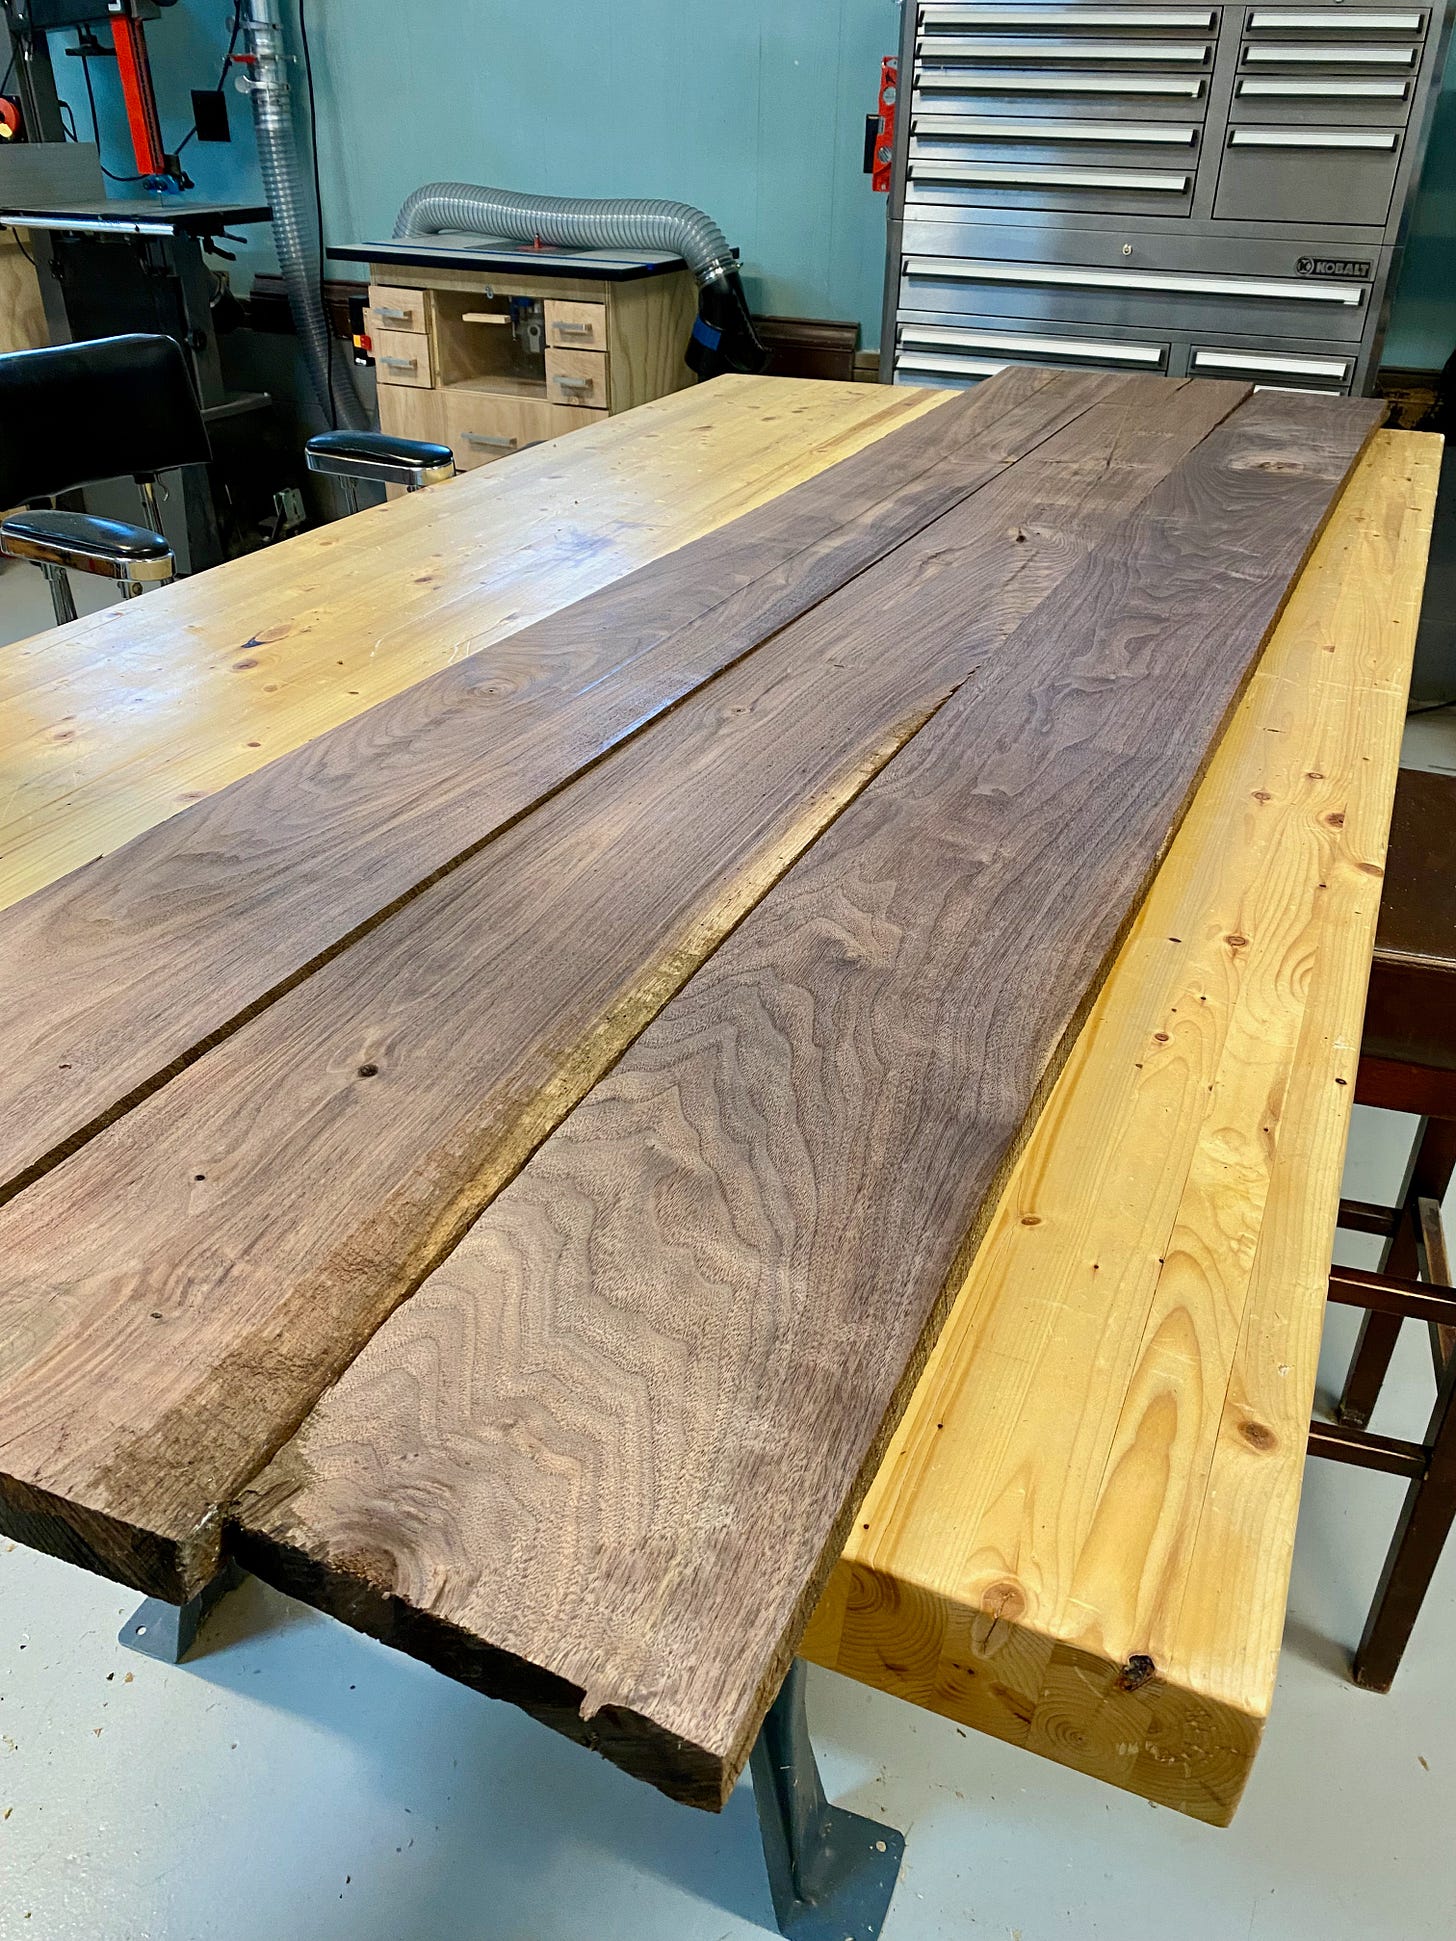
After gluing and clamping the pieces, I ran the widened piece through the planer and marveled at the tight joint, smooth face and rich grain.
I cut the board to length and repeated the work to create two shorter boards that would serve as the bench supports.
Finger Joints
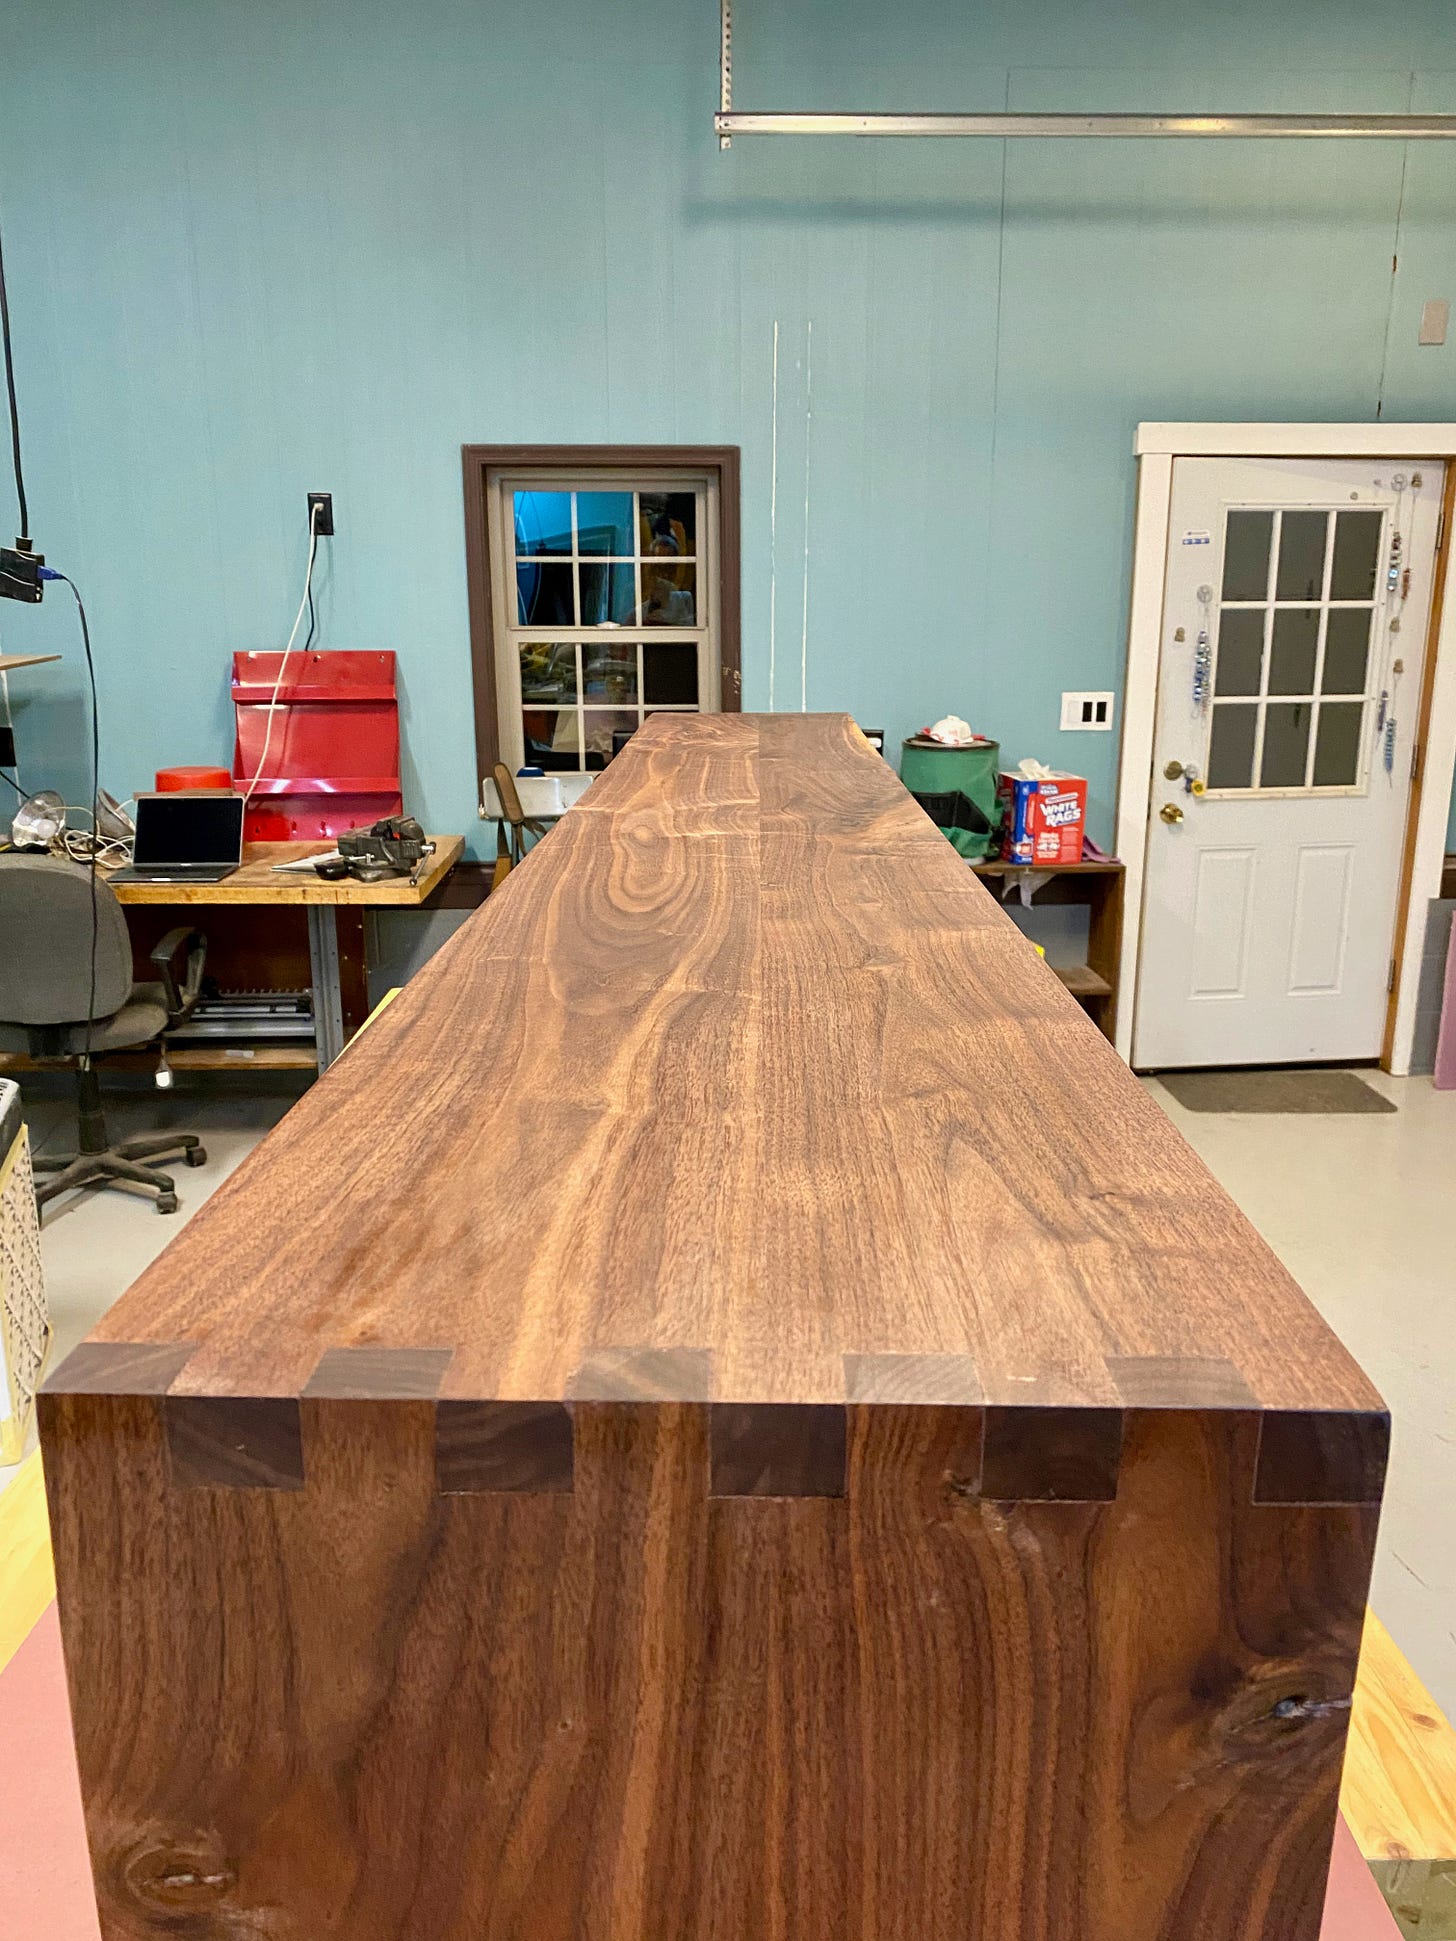
As originally conceived, the bench would be made of three planks — one long top and two supports on the ends. I planned to join the supports to the top using what are called "box joints." If you're familiar with dovetails, then all you need to know is that box joints are the same, but instead of being keyed or angled, they are straight and square. Or at least, they're supposed to be.
One way to make the slots for the box joints is to stand the board on end and run them through a table saw with a dado stack. This cuts wide, flat passes through the boards. The trick to this is keying the cuts so that they match up perfectly with the piece that will be joined.
However, there's no reasonable way to hold an eight-foot board on end through a table saw. So, WWPSD?
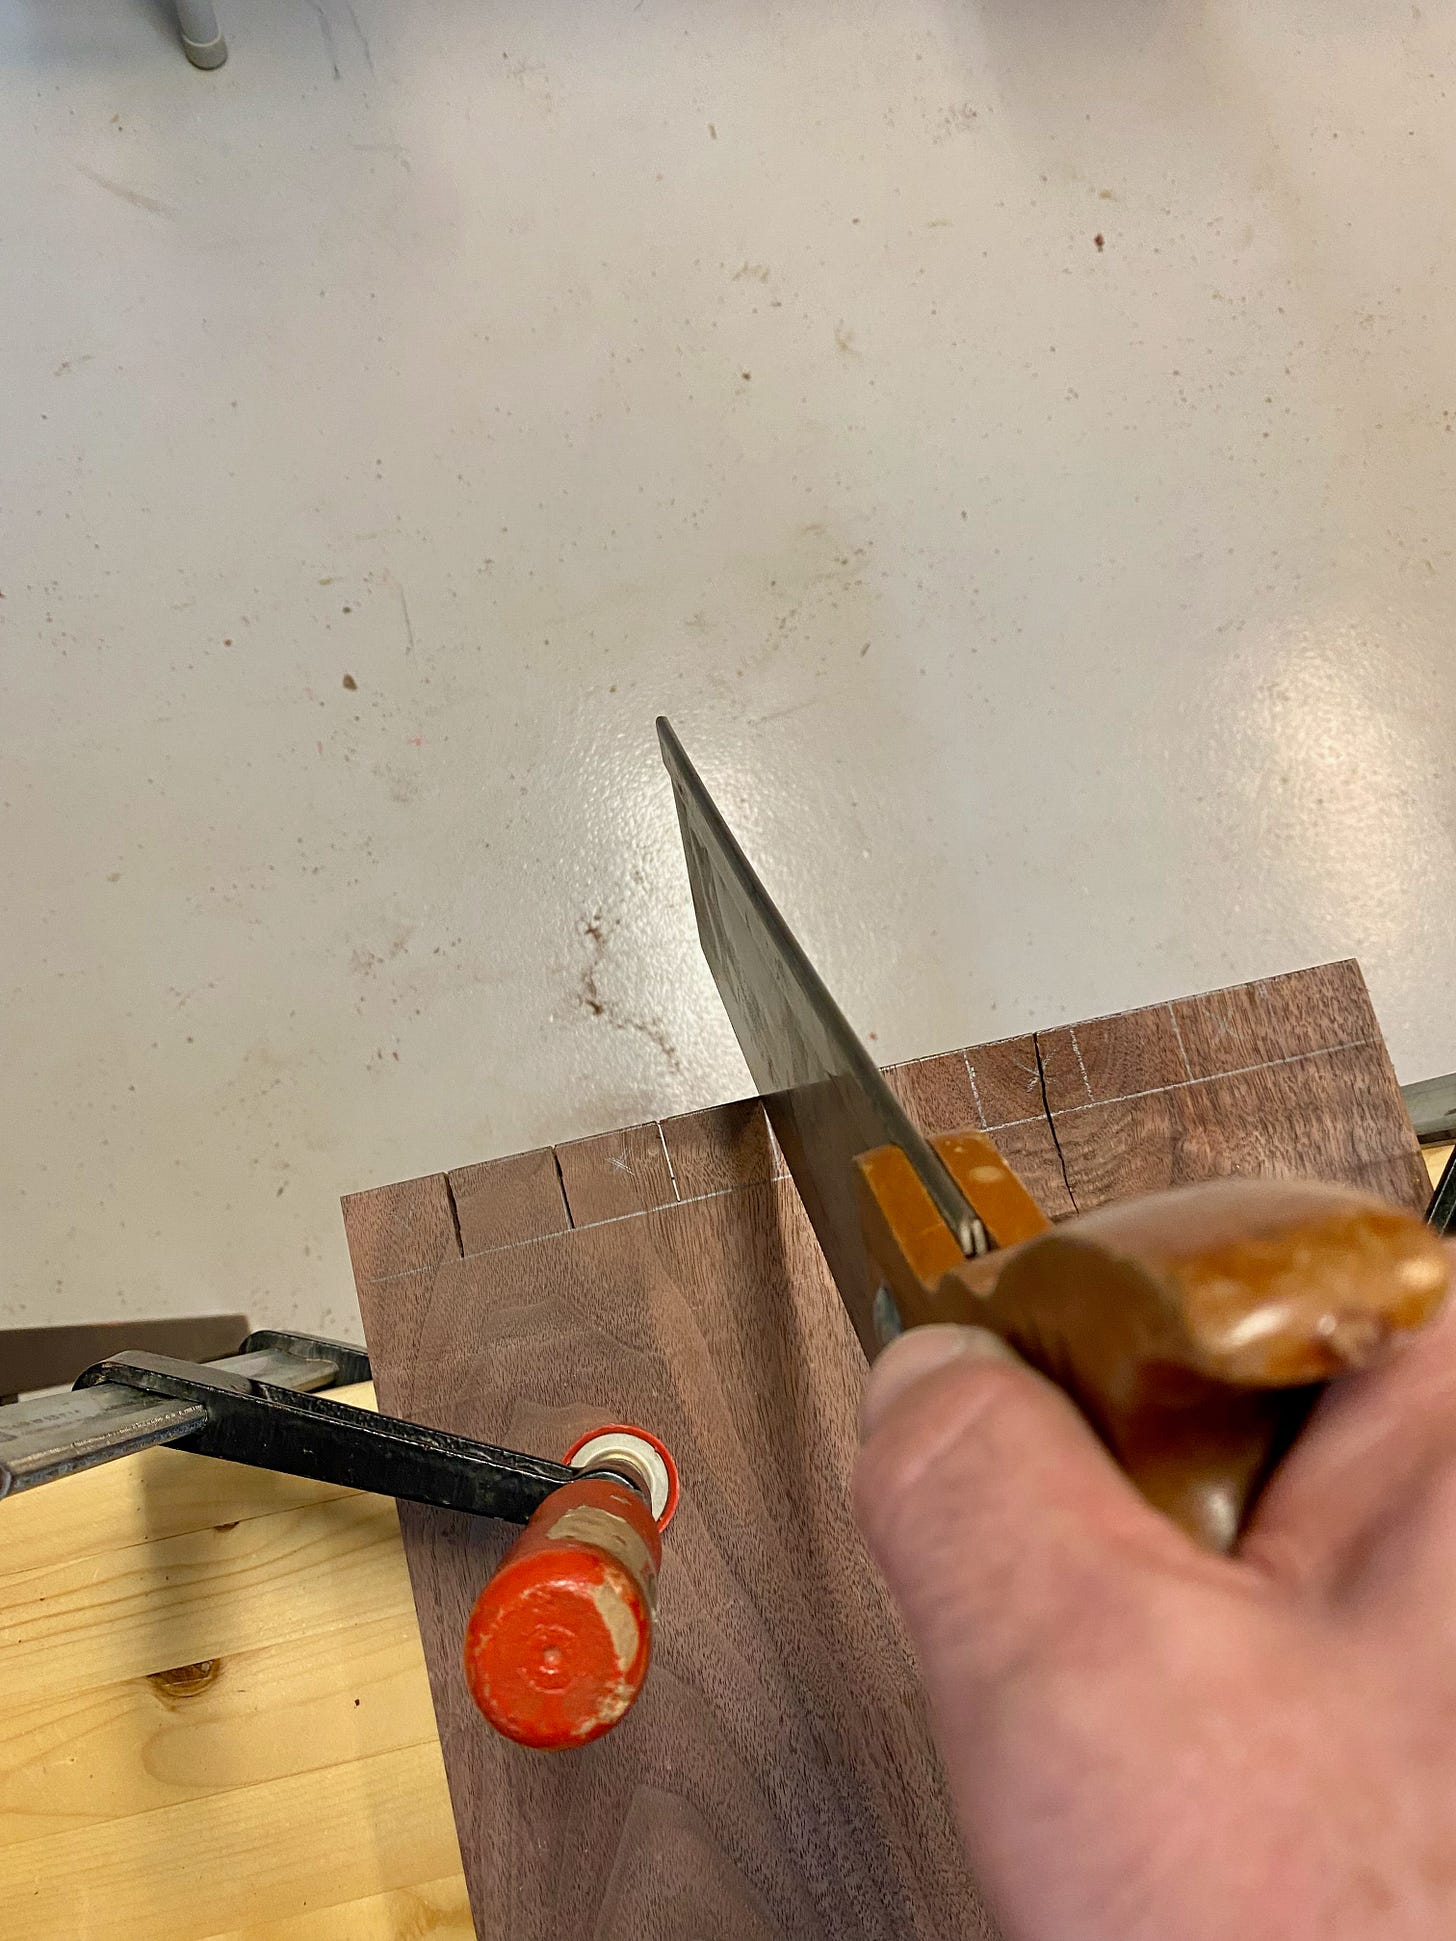
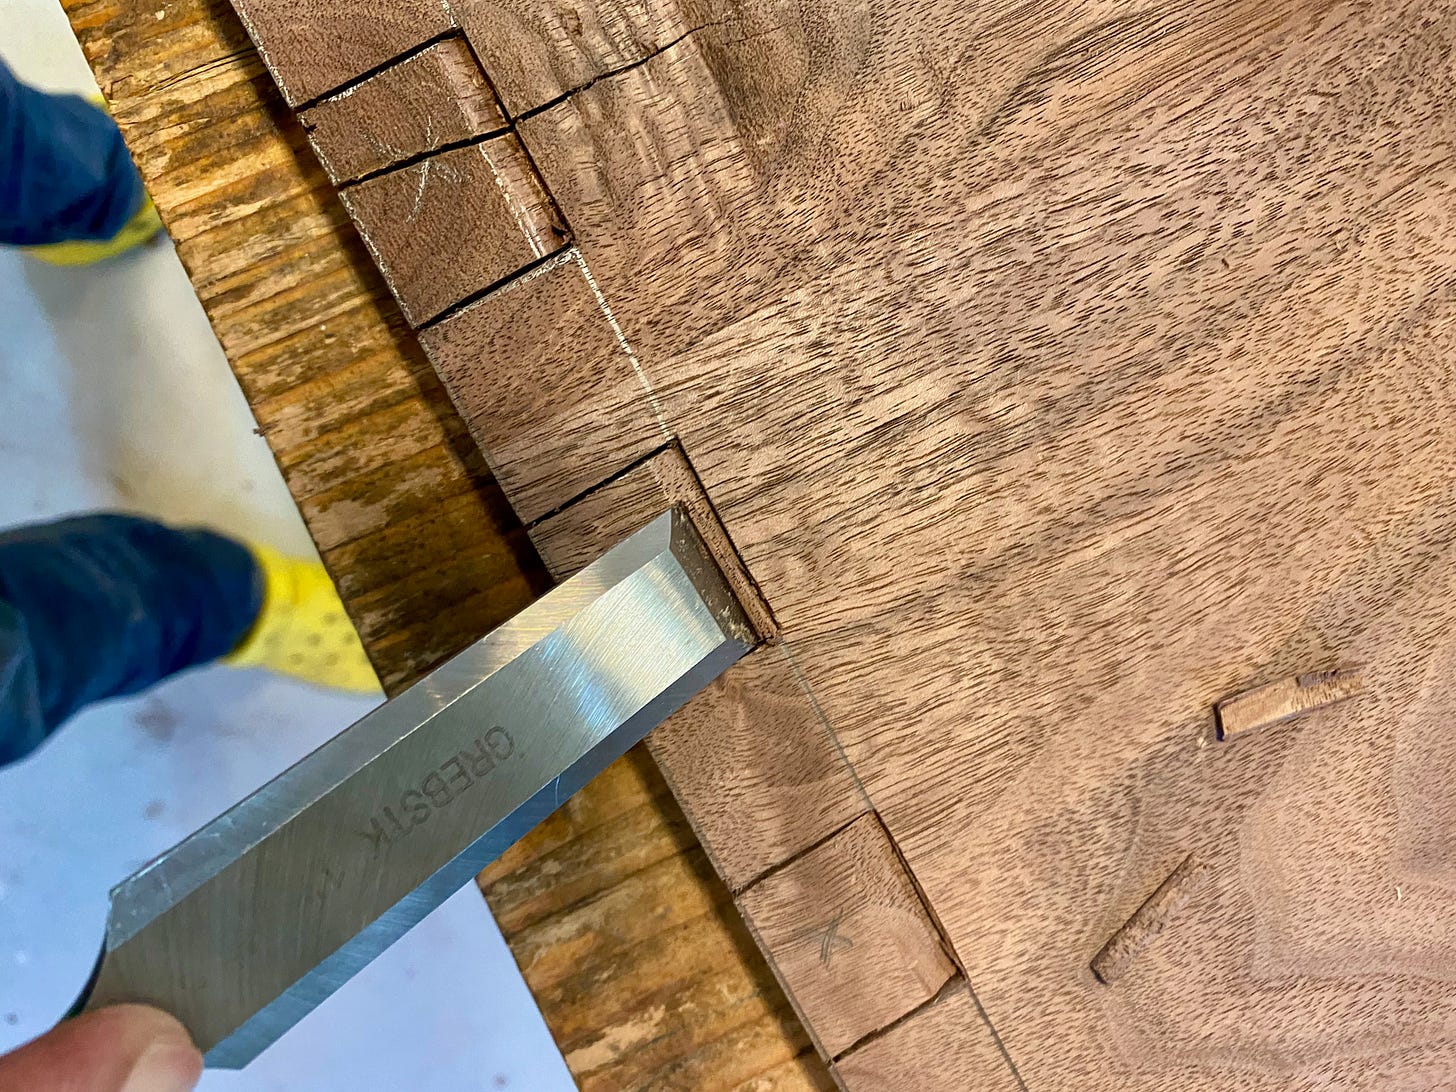
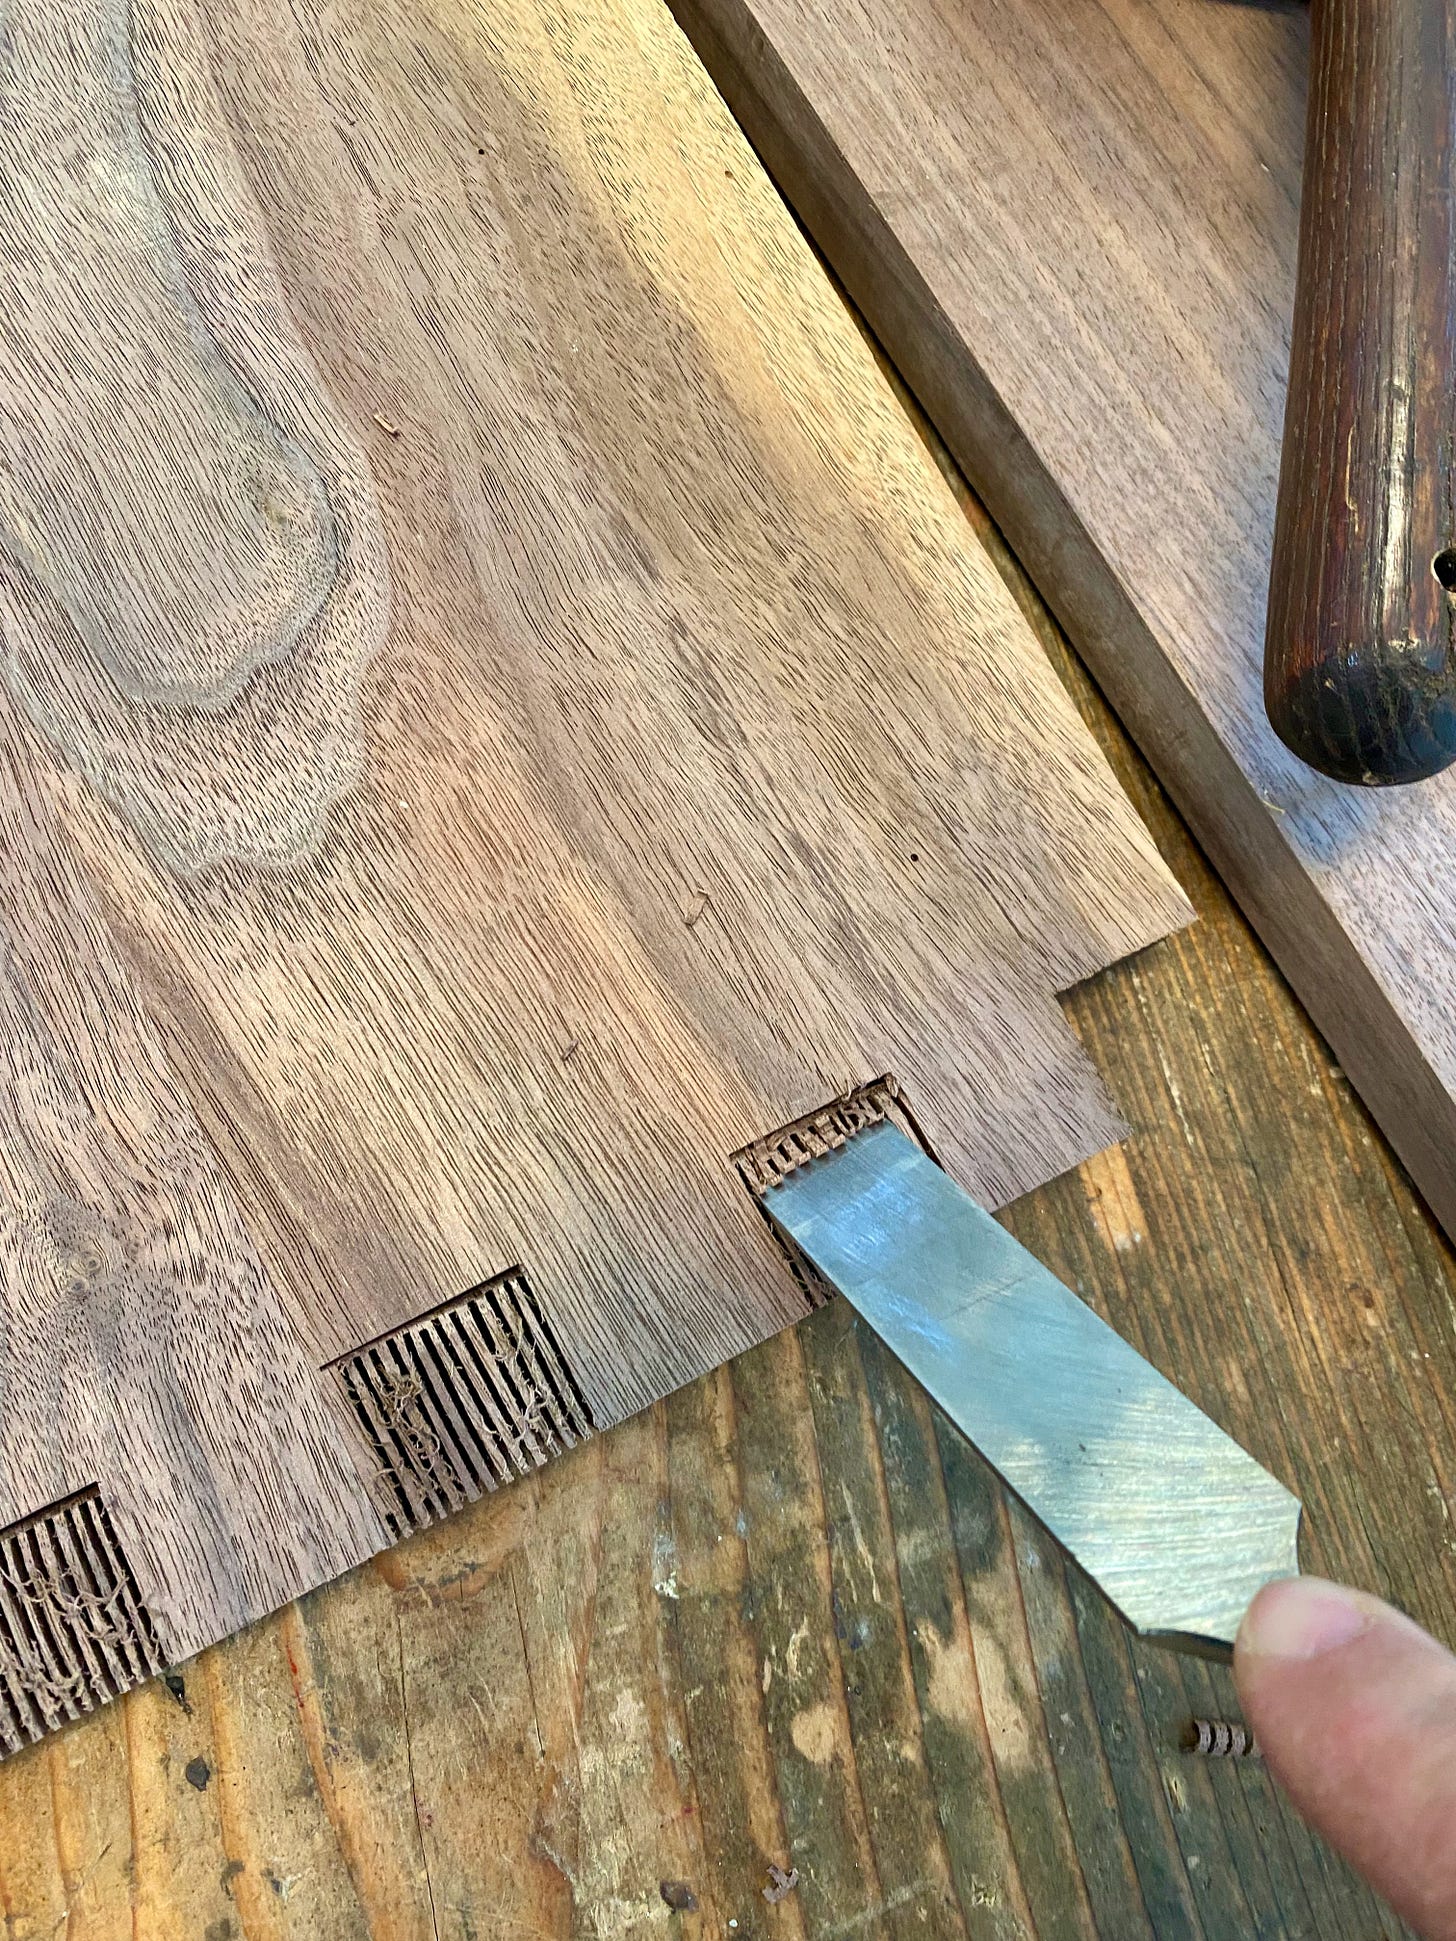
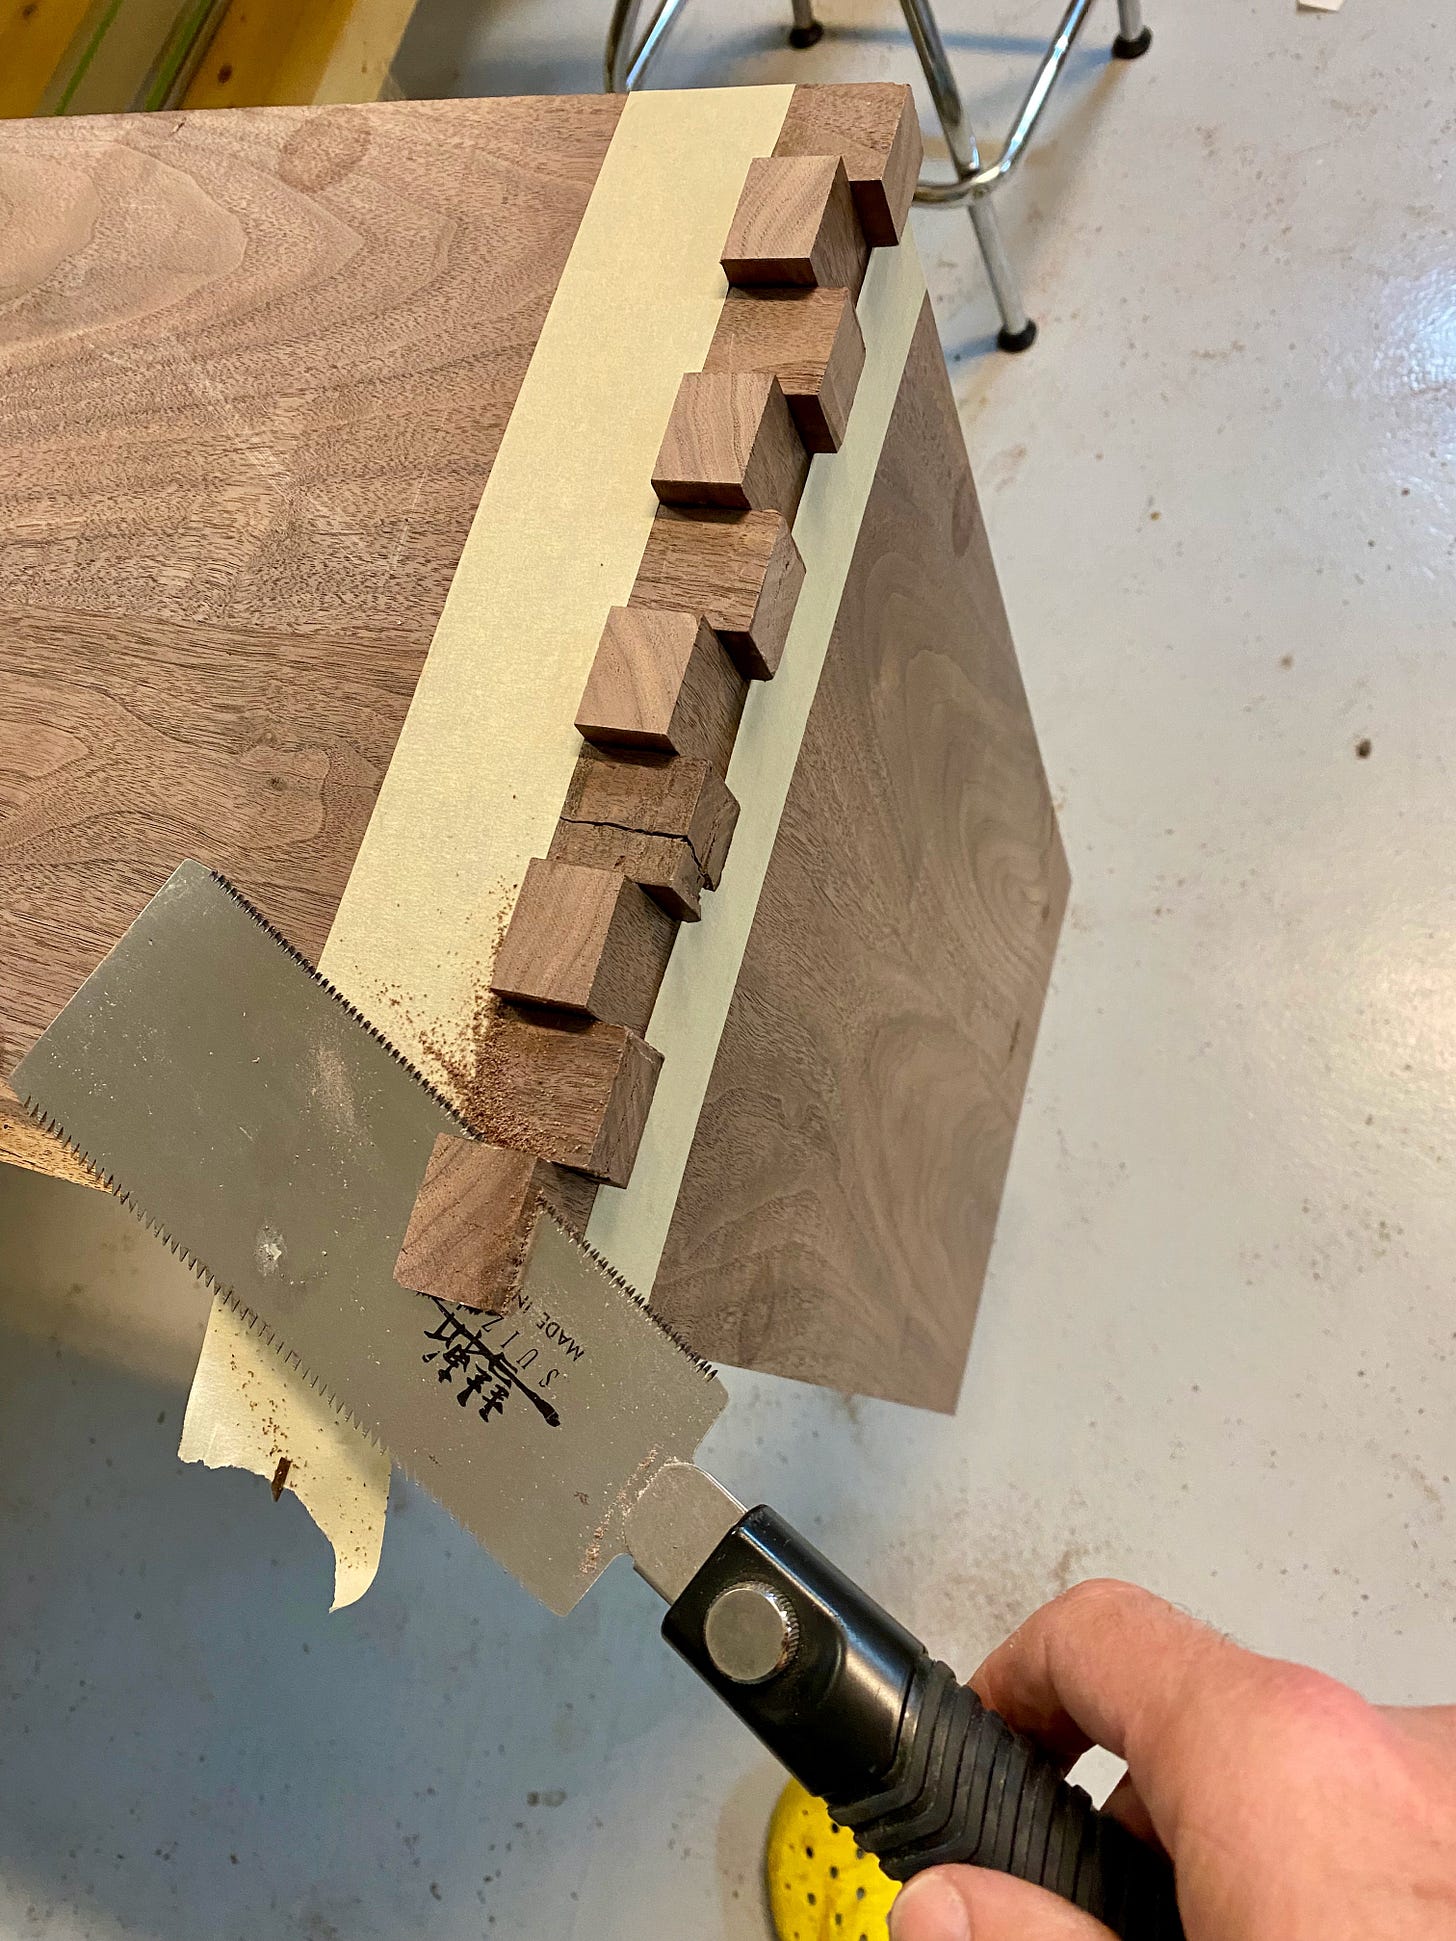
Why, he'd use a handsaw to hand-cut the joints, of course! I carefully measured the locations of the cuts and used a sharp, stiff dovetail saw and made my cuts. Then I got my chisel and mallet and started chipping away at them. I'd remove a little material and then sharpen my chisel. Rinse and repeat. Rinse and repeat. I decided to make some relief cuts on the bandsaw in hope it would ease the process. It didn't. But eventually I cut all of the joints out of two of the boards. Then I matched them up and dry fit them.
It looked like shit. I mean, if I were blind, missing a hand and intoxicated, I might not have done a worse job. The truth of the matter is, when it comes to these joints, there are really only two outcomes — good and terrible. If it's not good and tight, it's crap. And my joints were crap.
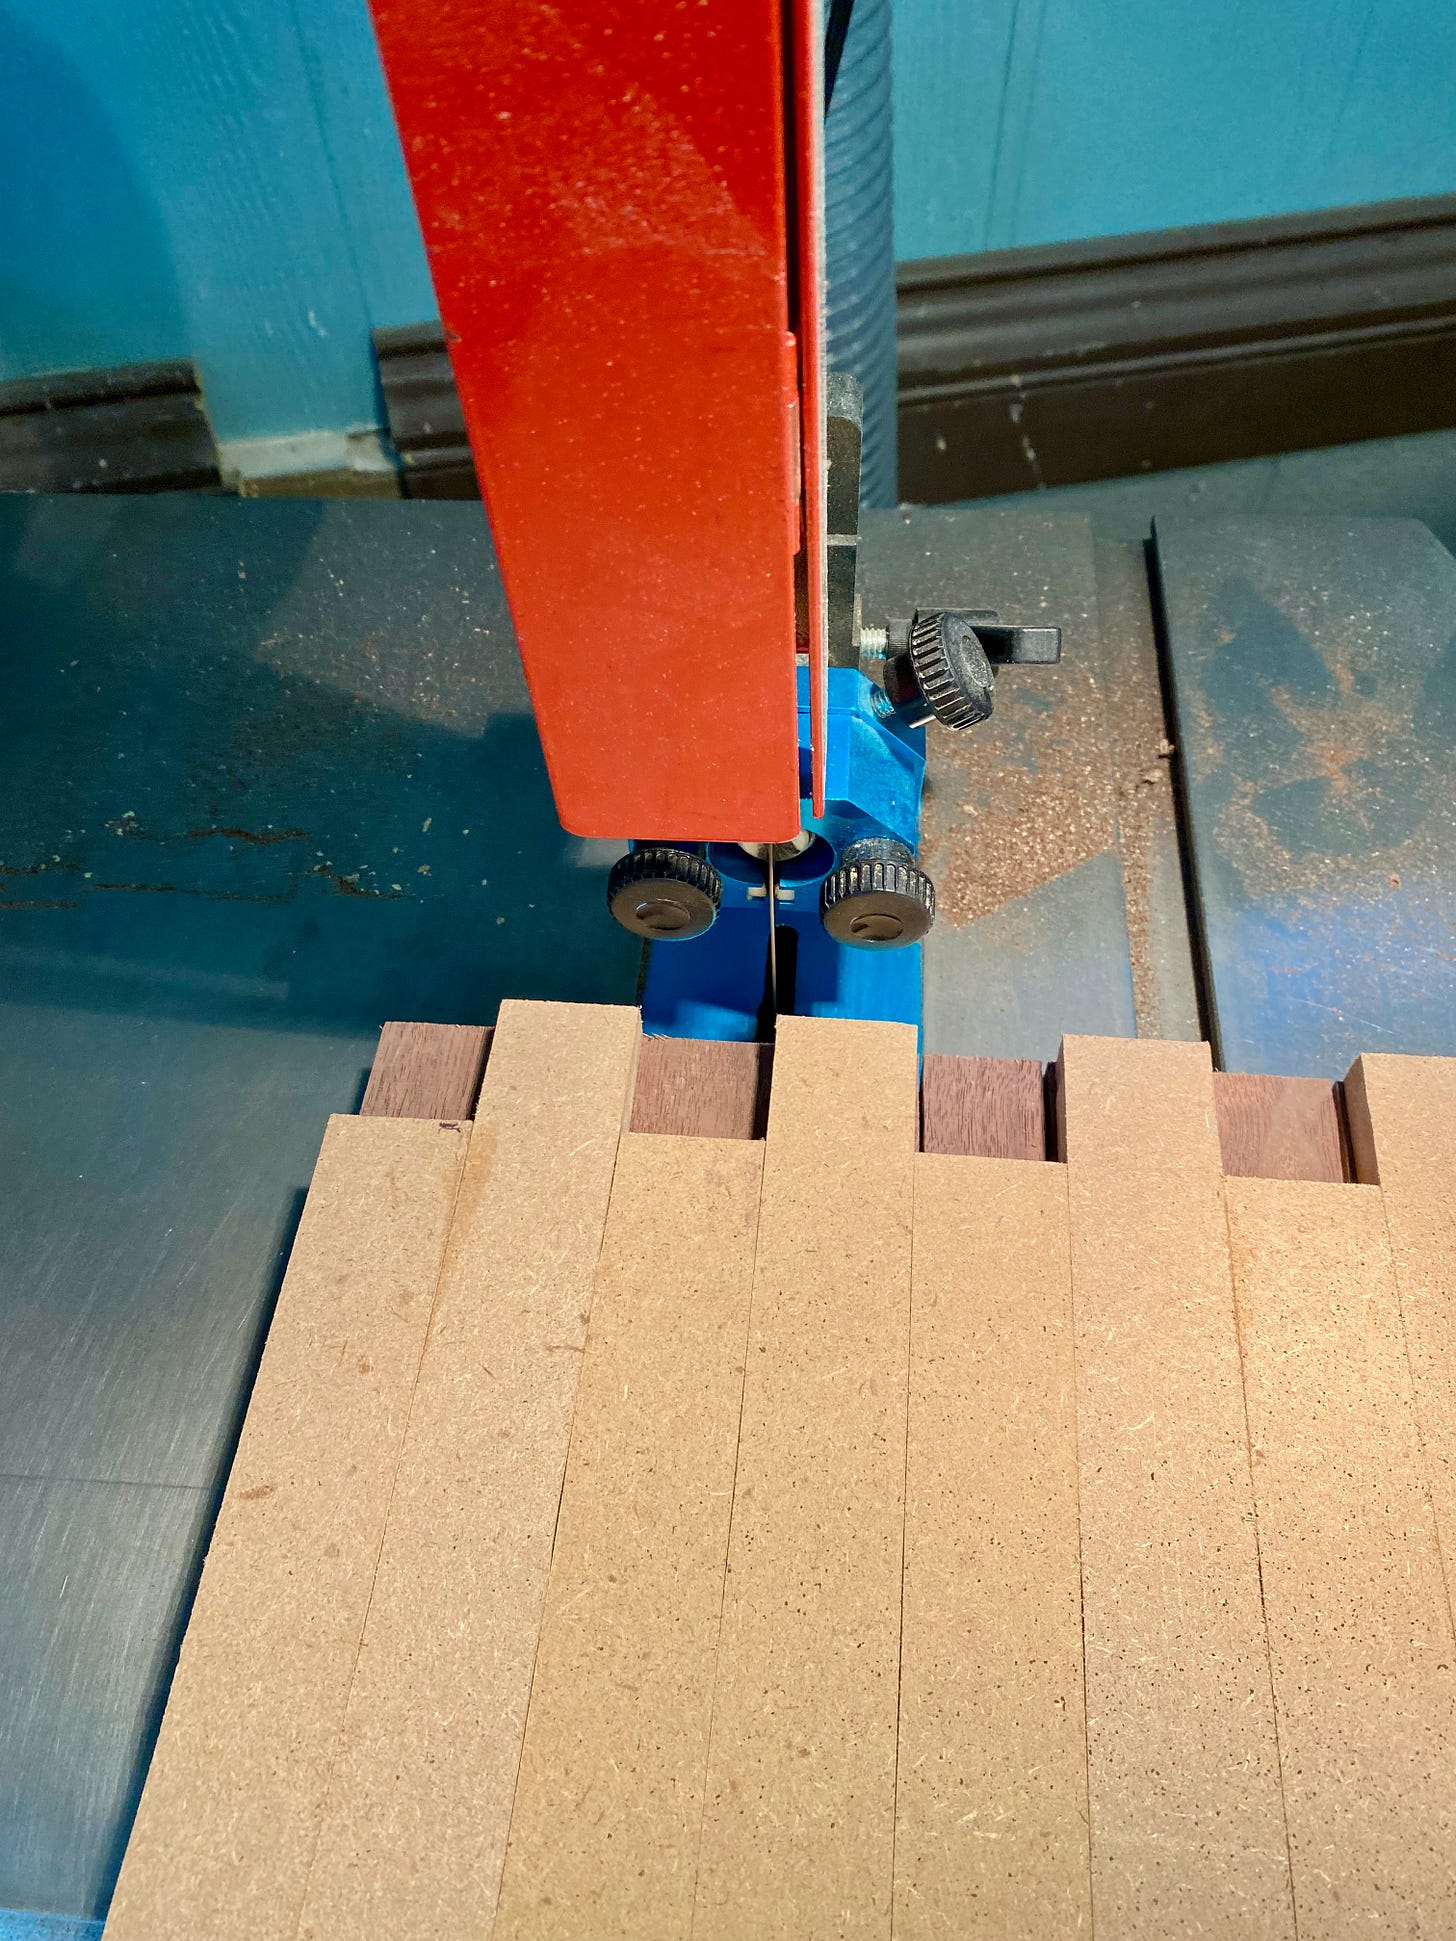
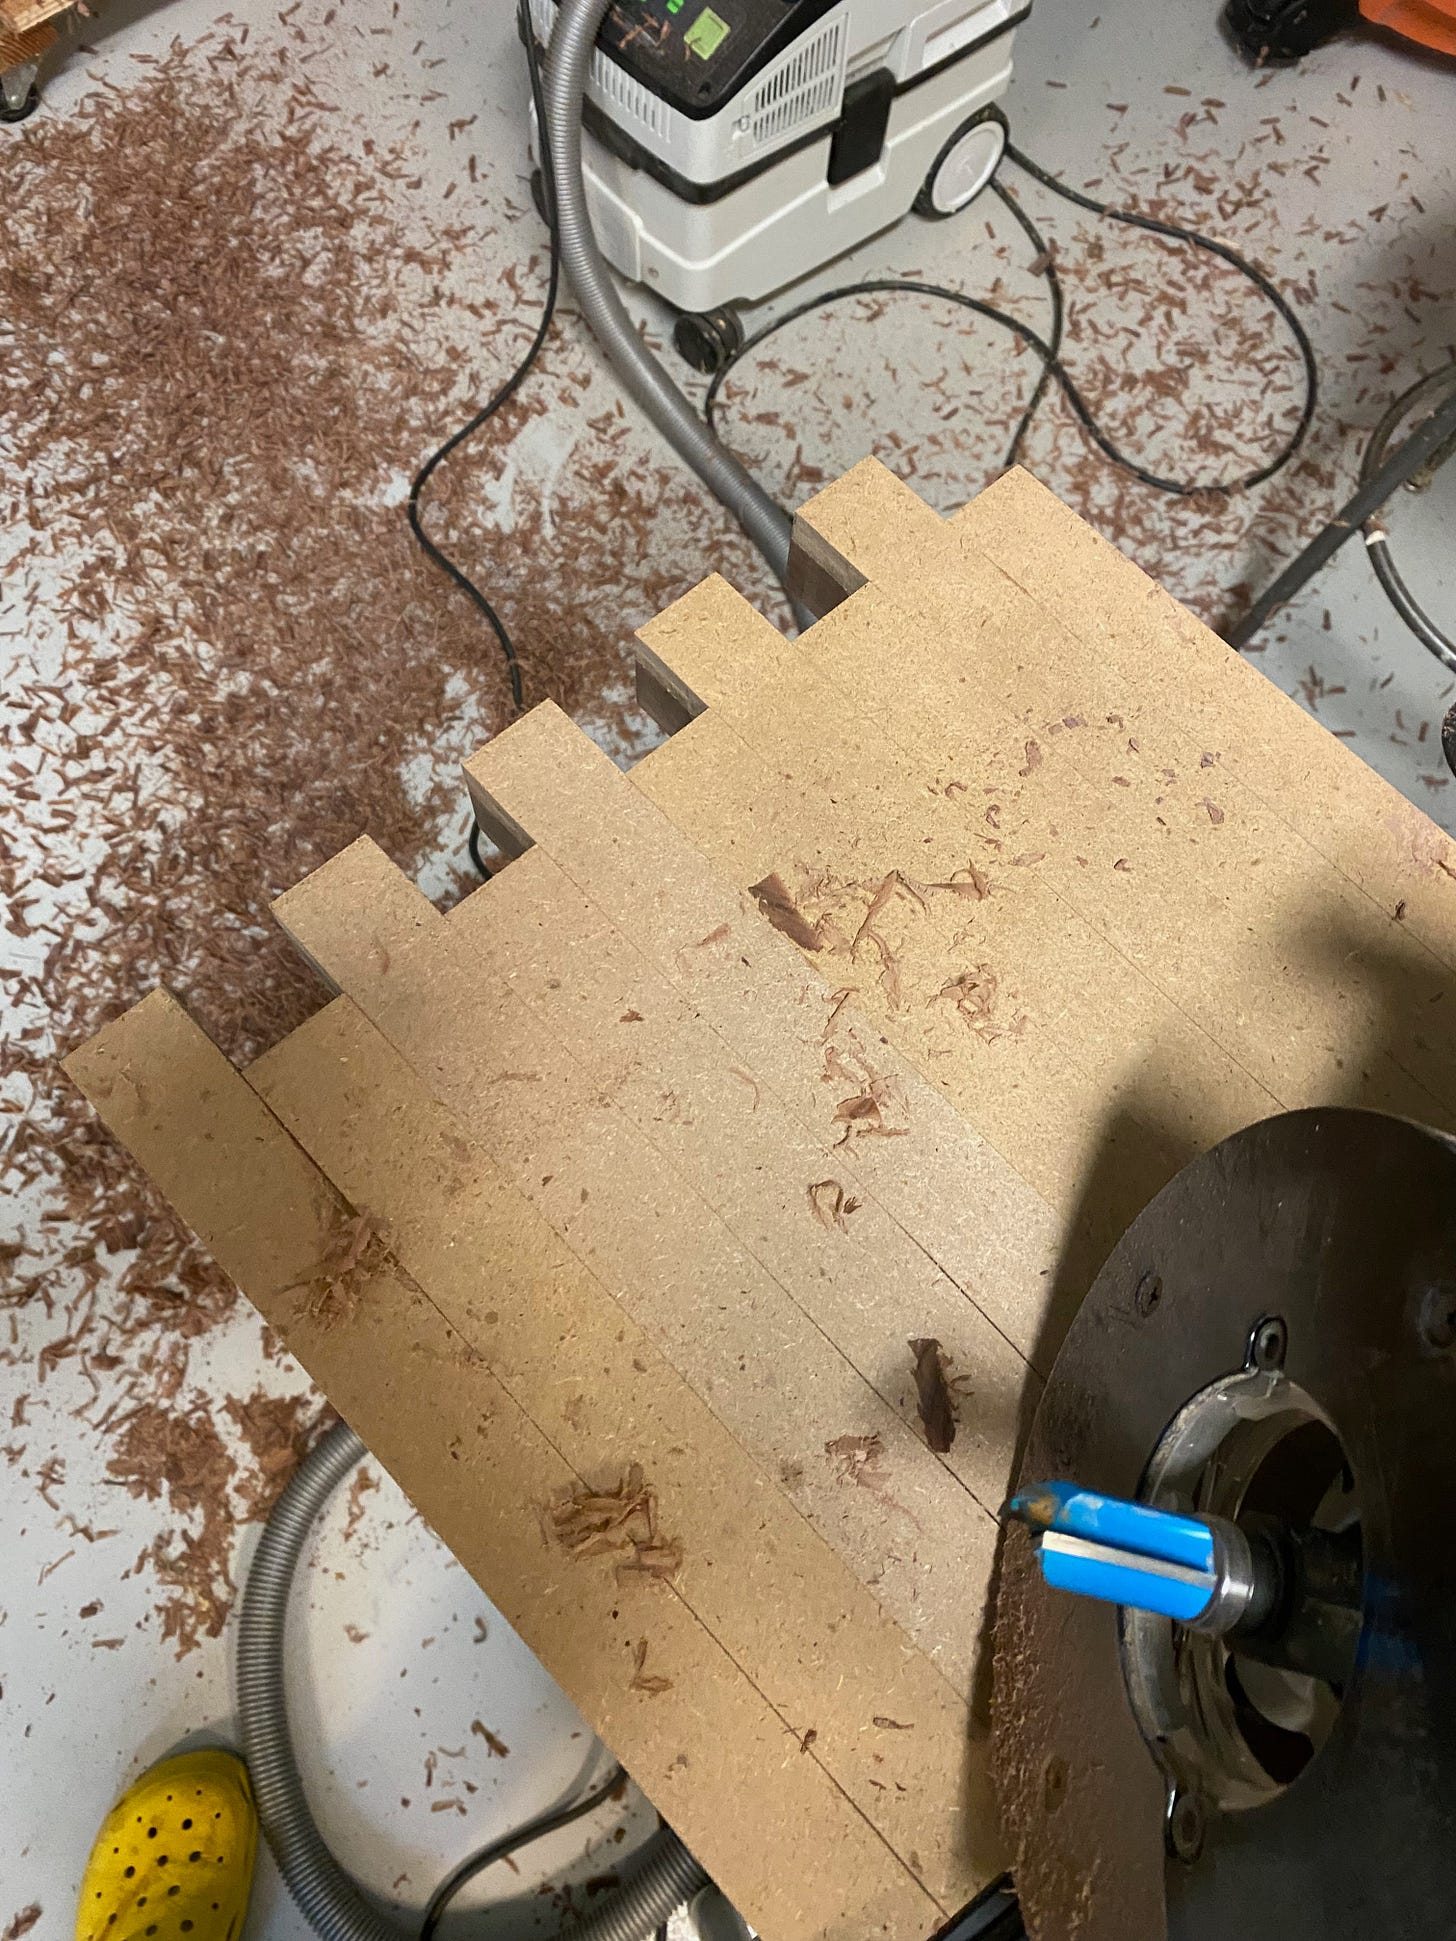
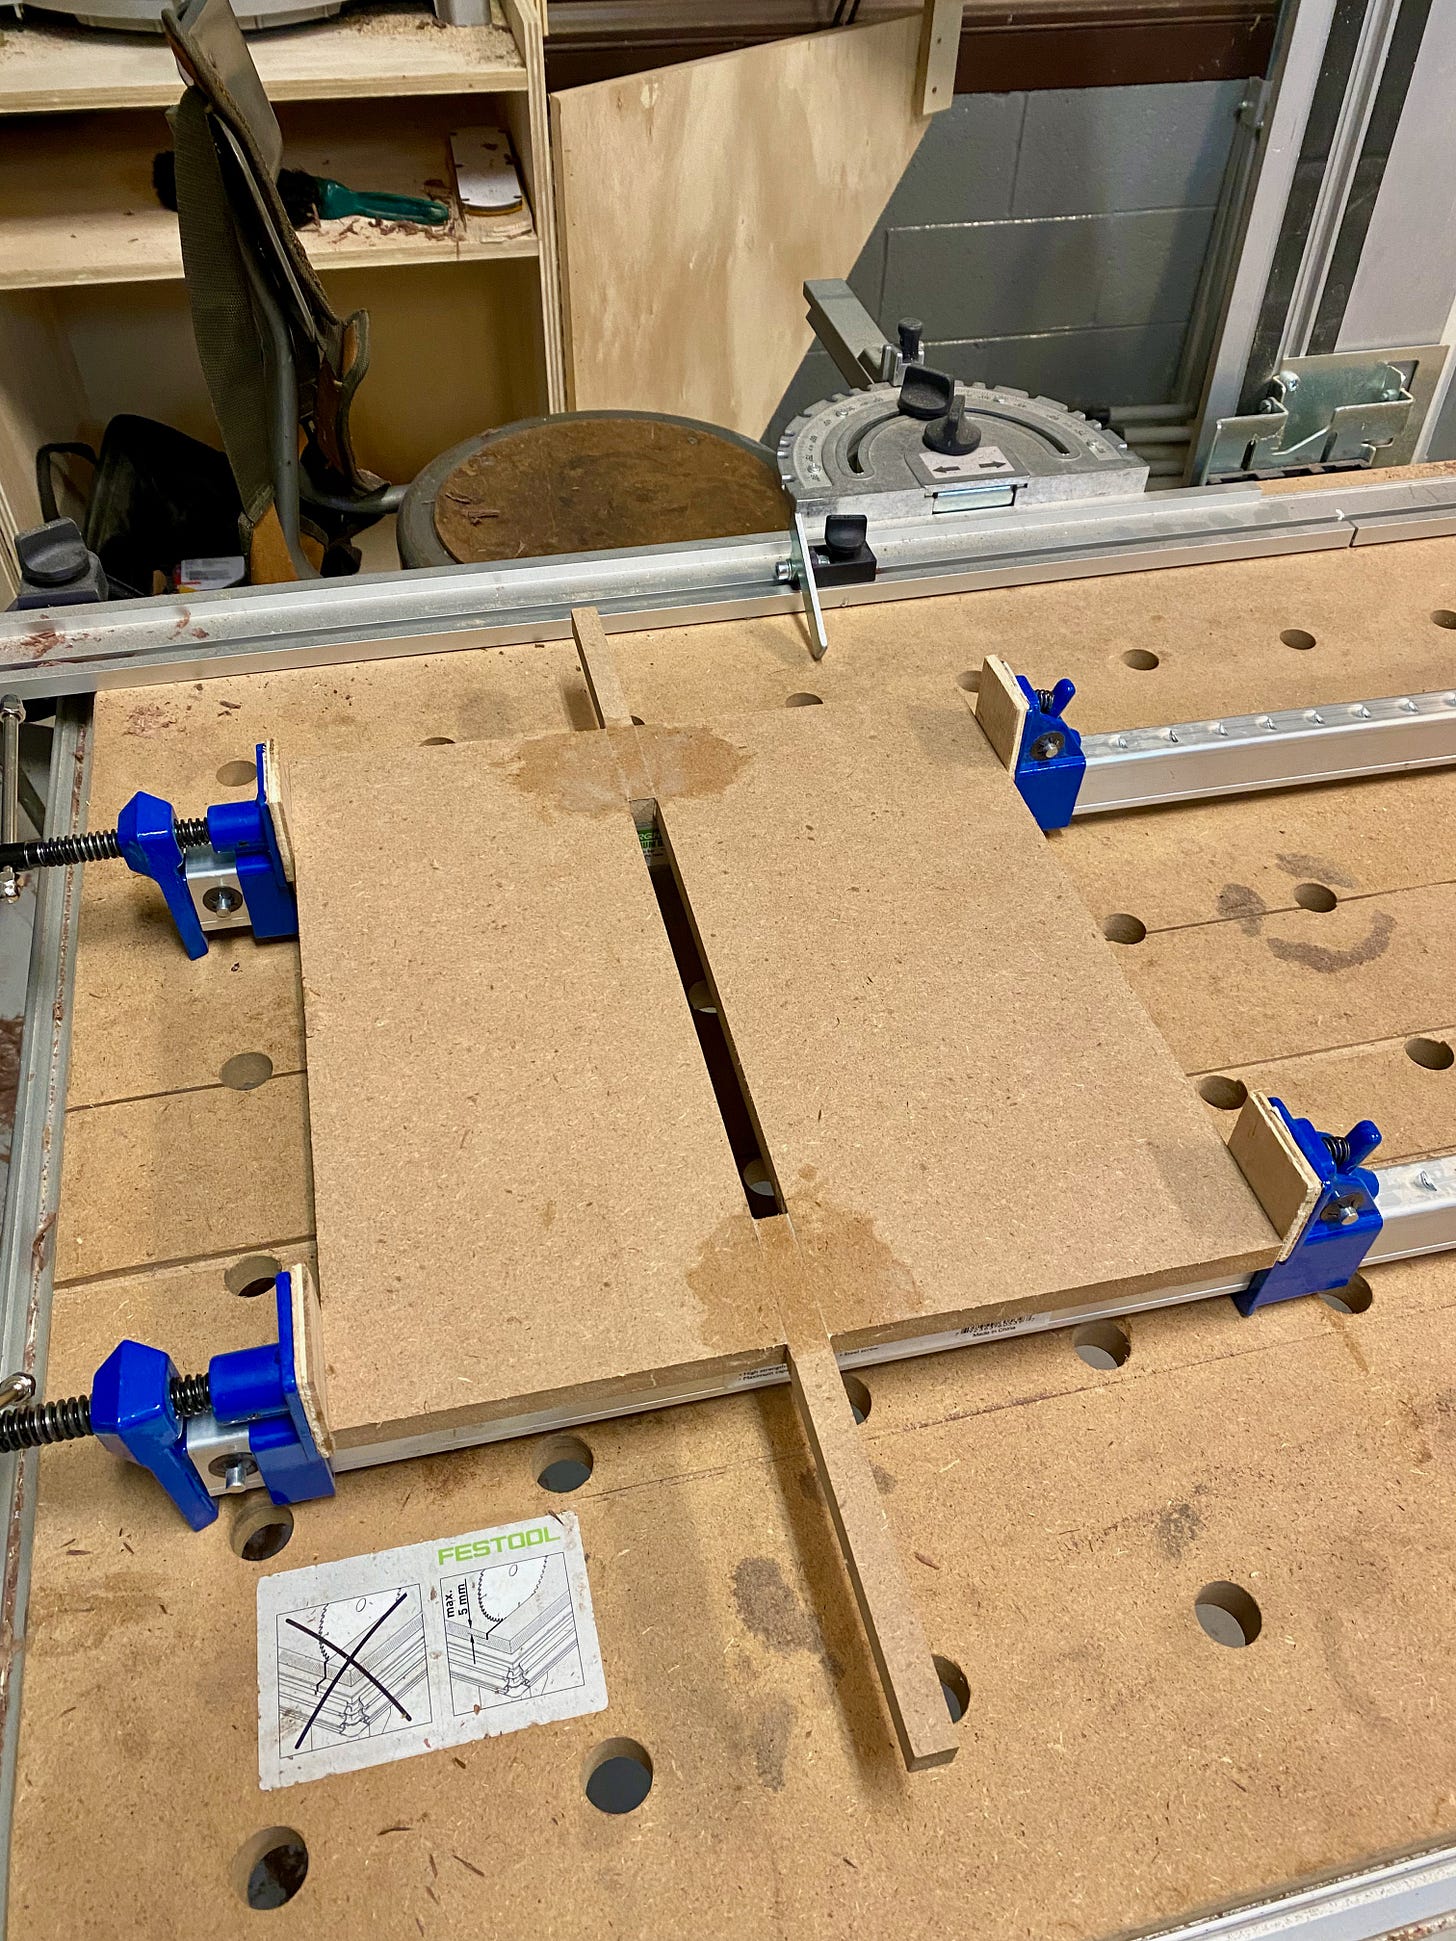
I thought about my options. I did a little research online. I knew I could use a router and a jig to cut the joints, but I wasn't sure what the best way to do that was. And then it hit me. Each joint was 1-¼" wide. If I cut a bunch of 1-¼" strips out of some medium-density fiberboard (MDF), I could offset the strips and glue them together. That would create a perfect jig for my router.
Of course, I'd have to cut off my shit joints, which shortened my top by about 3 inches and made one of my supports too short to use, given that the bench needed to sit at a certain height. So that meant making a replacement support — planing raw wood, jointing the edges, gluing it together, planing again, cutting to width, etc. — which annoyed me mostly because it felt like a waste of valuable material. But, so be it.
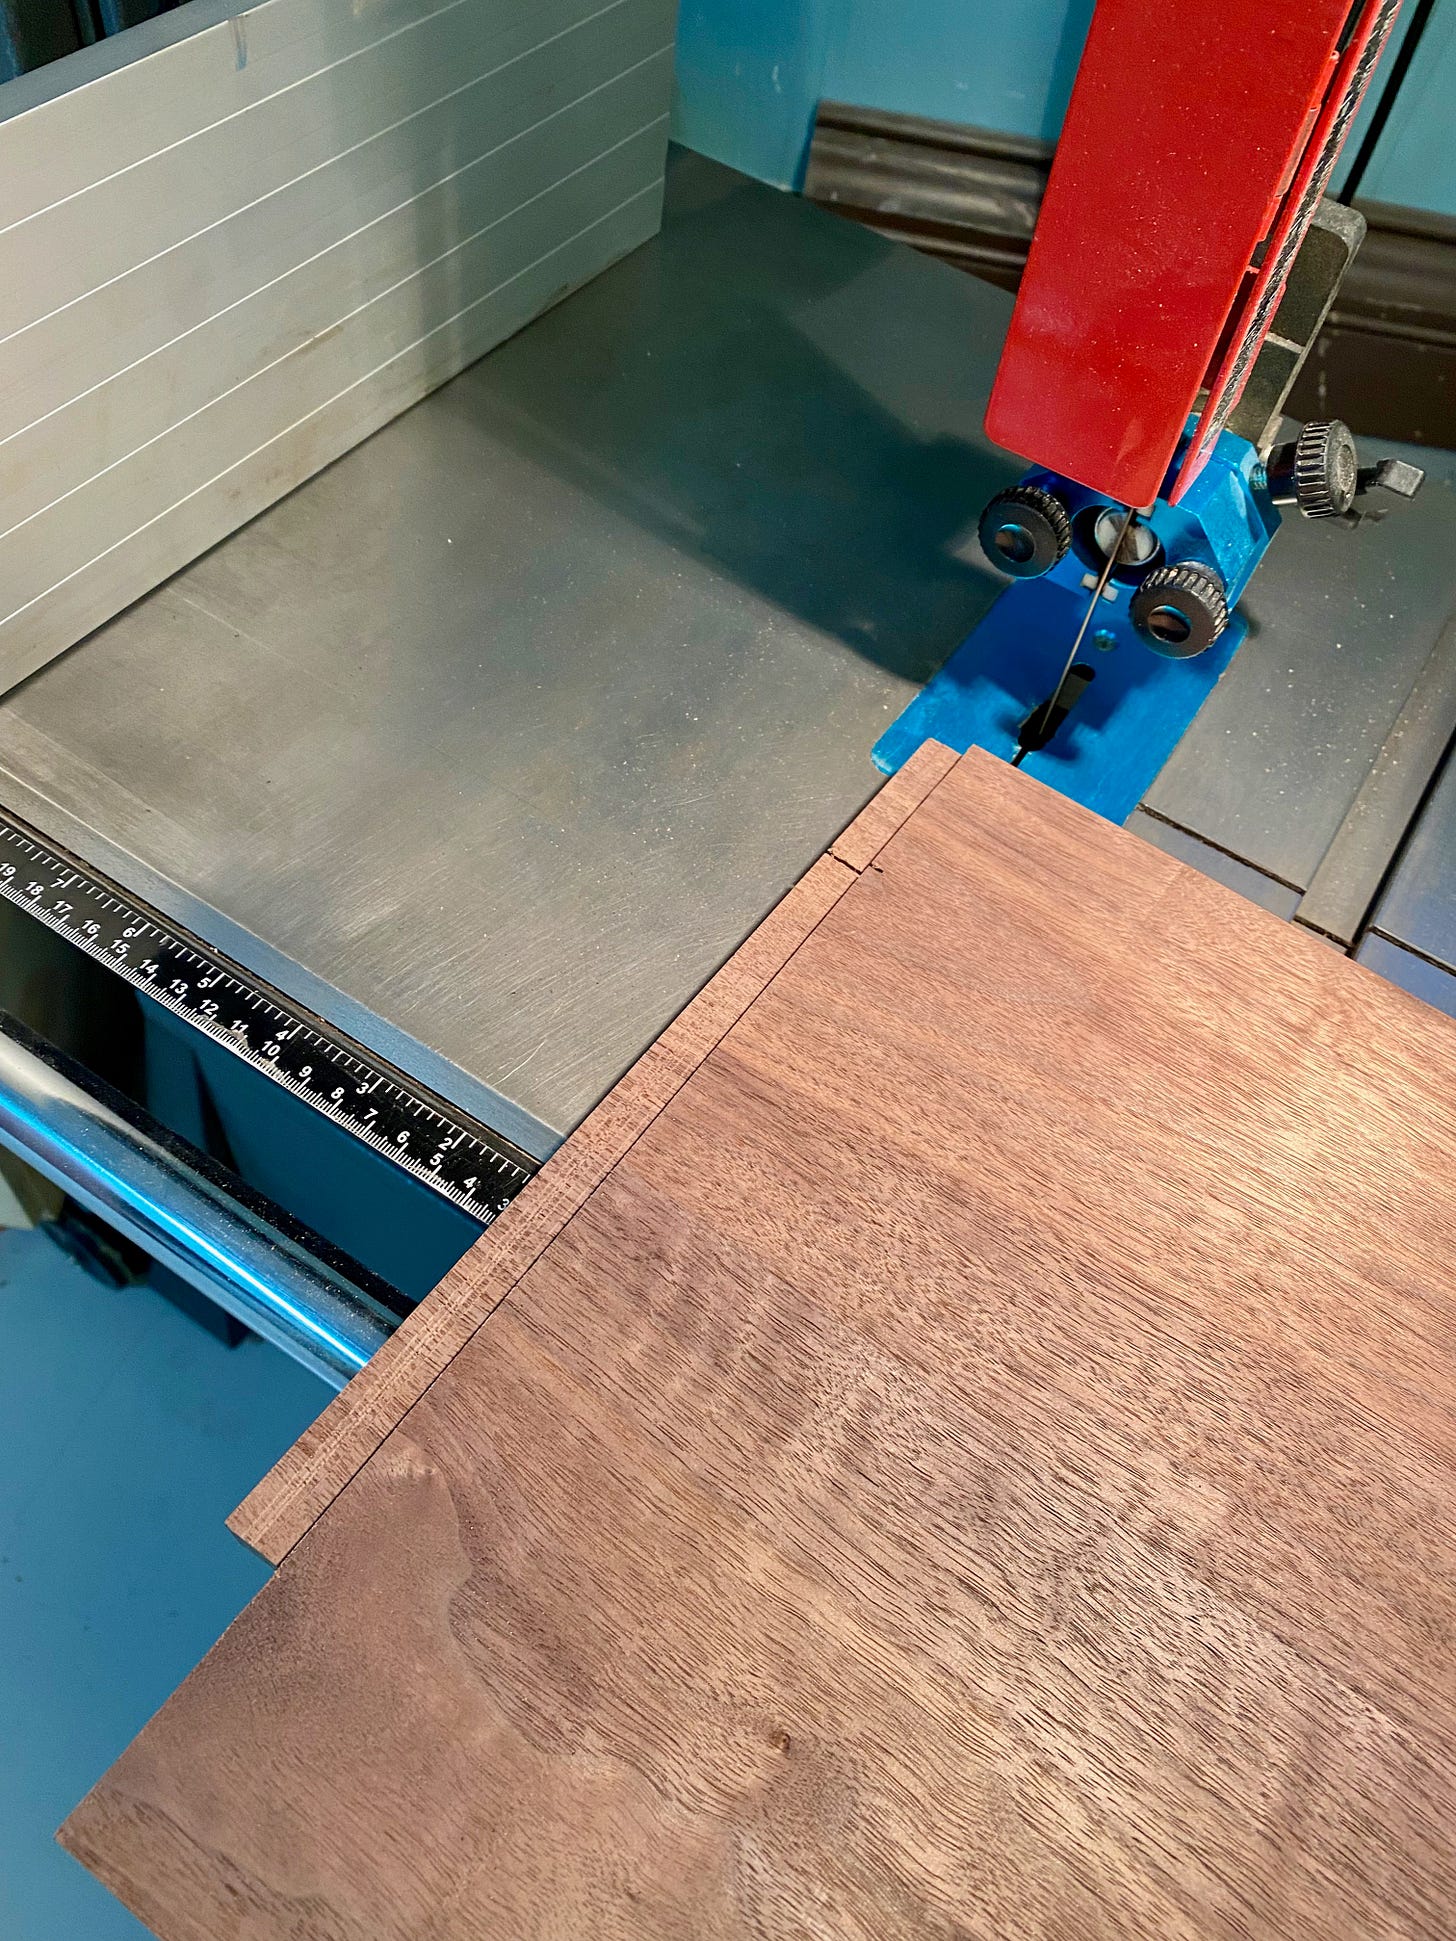
When the jig was ready, I clamped it to the my top and used the router with a flush-trim pattern bit to cut away the wood. This works by the bit's bearing riding along the jig while the cutting edge removes material flush with the bearing. It made beautiful, straight cuts and I was thrilled. For the second set of joints, I first cut away excess material with a bandsaw before finishing it with the router. This made the router portion easier as it had less material to remove.
Feeling particularly proud of myself, I got to work on one of the support pieces. As I neared the end of the jig, I noticed I had somehow missed material on earlier joints. So I went back and cut away the extra material. And then I suddenly realized I hadn't missed it at all… the jig had moved.
In other words, my pattern shifted while I was cutting, which rendered the joints utterly useless. I'm pretty sure I invented several new swear words and and may have pushed my cortisol levels to new heights. Oh I was hot. Super hot. In fact, as I write this, I can feel my chest tightening and my heart racing.
I had ruined the other support piece.
Once I calmed myself, I set the piece aside, planed some more raw lumber, jointed the edges and glued up my fourth panel, cut it to size, blah blah blah, and went to bed.
The next evening, it was time to cut the joints into the replacement supports. I clamped the jig in place and carefully made my cuts. And this time I did not fuck up. Everything came out beautifully.
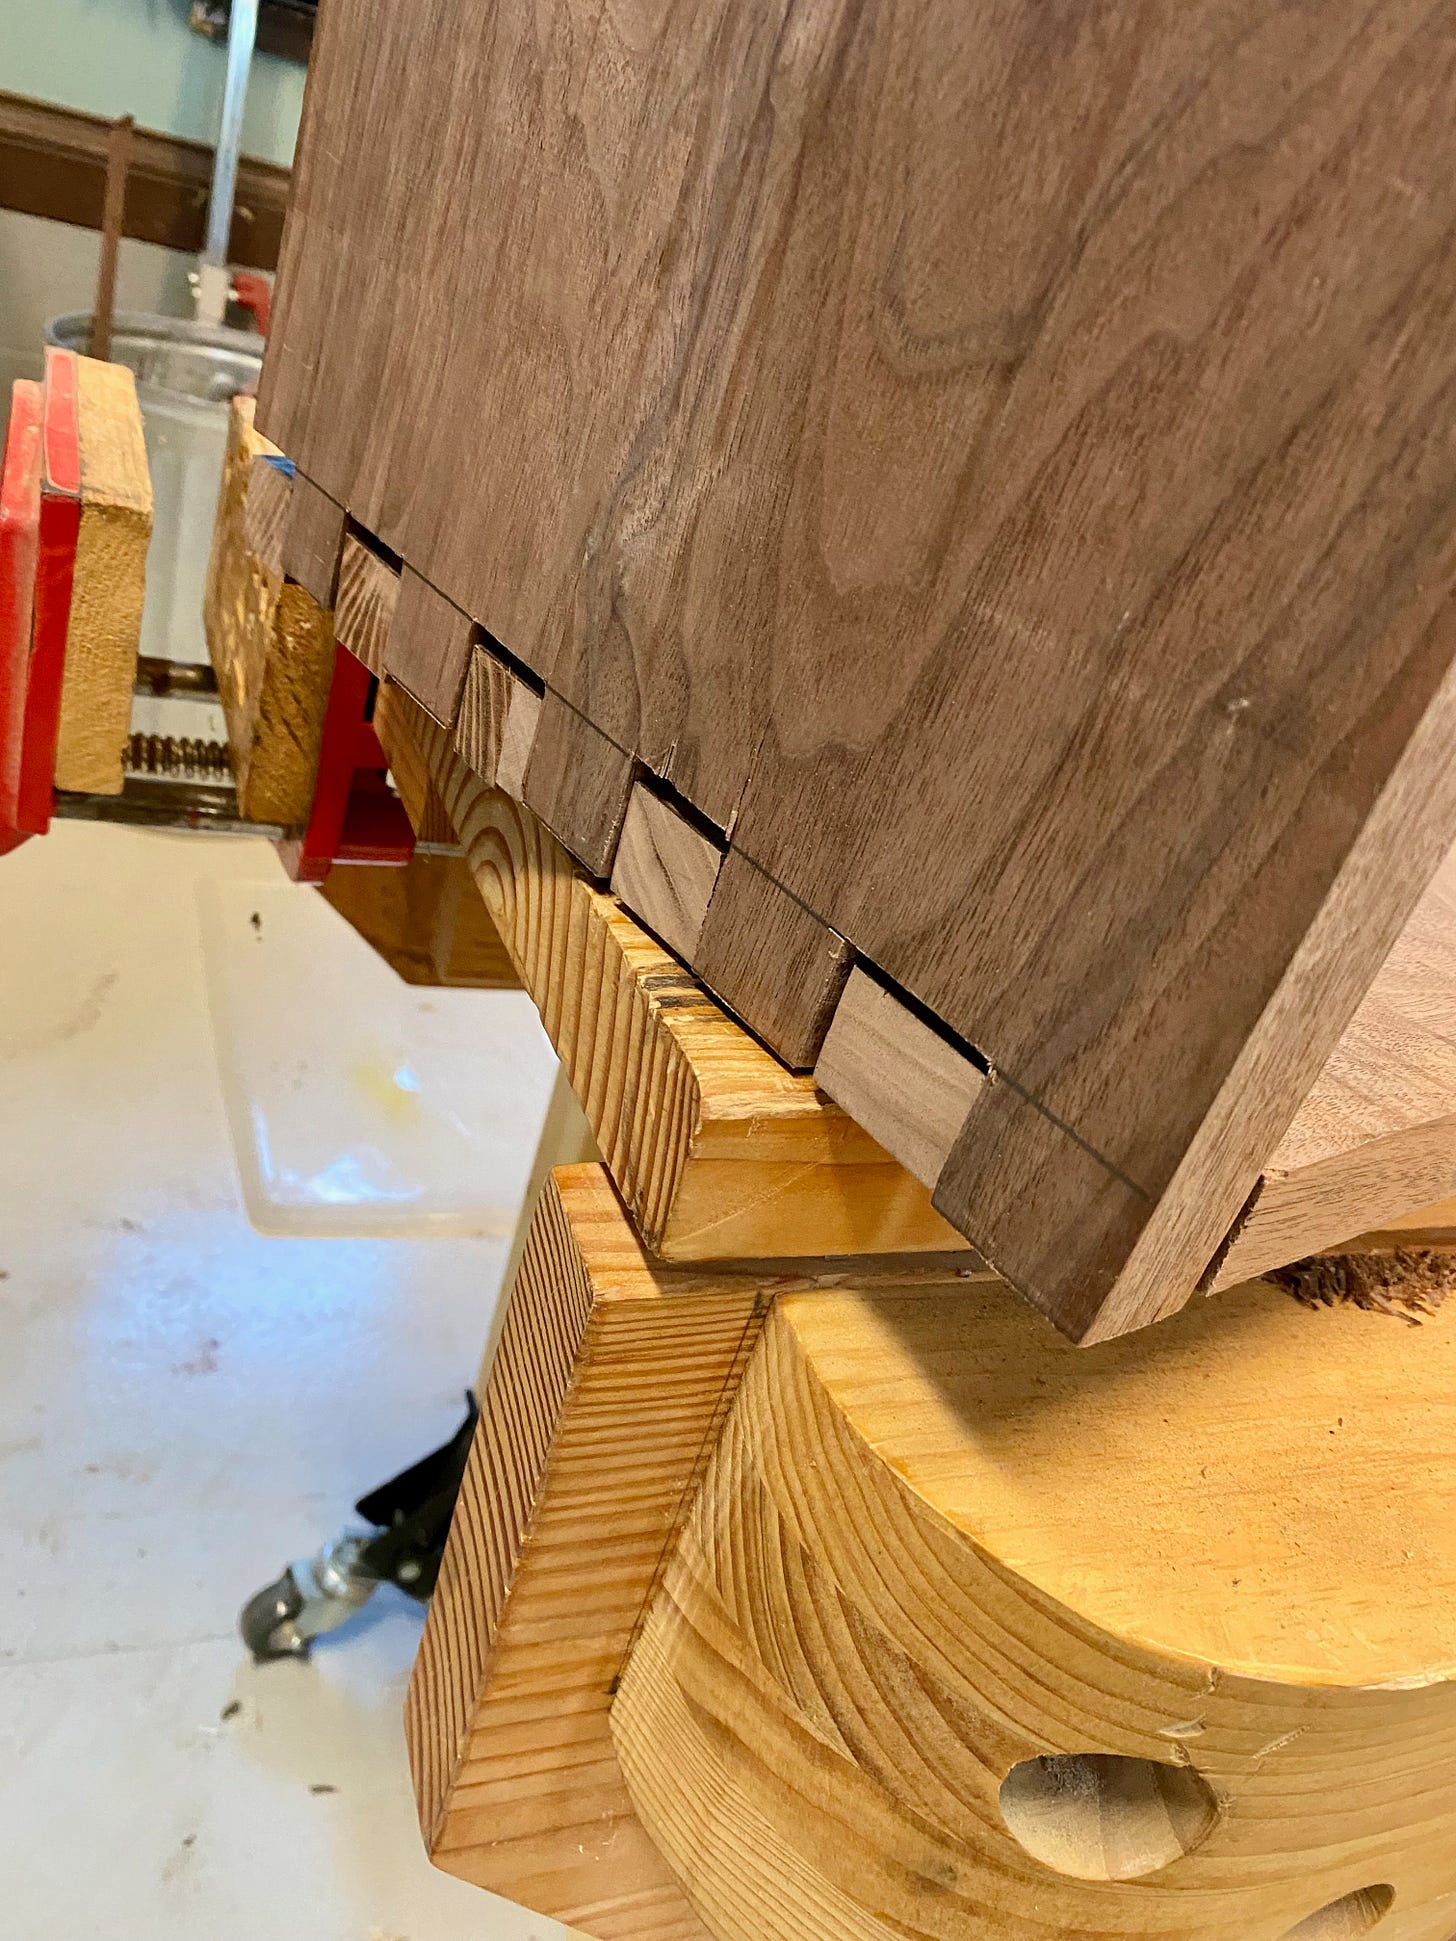
I dry-fit the joints and they came together like Cinderella and her slipper. Like Spencer Tracy and Katharine Hepburn. Like Turner and Hooch.
Well, almost. Because the router turns a bit in a circular motion, it can't cut inside corners. At best it can make small-diameter curves. So to make the pieces really come together like Arm & Hammer, like Proctor and Gamble, like macaroni and cheese, I had to hand cut the corners. To do that, I broke out my jig saw, fit it with a finishing blade, and very carefully cut away the excess wood.
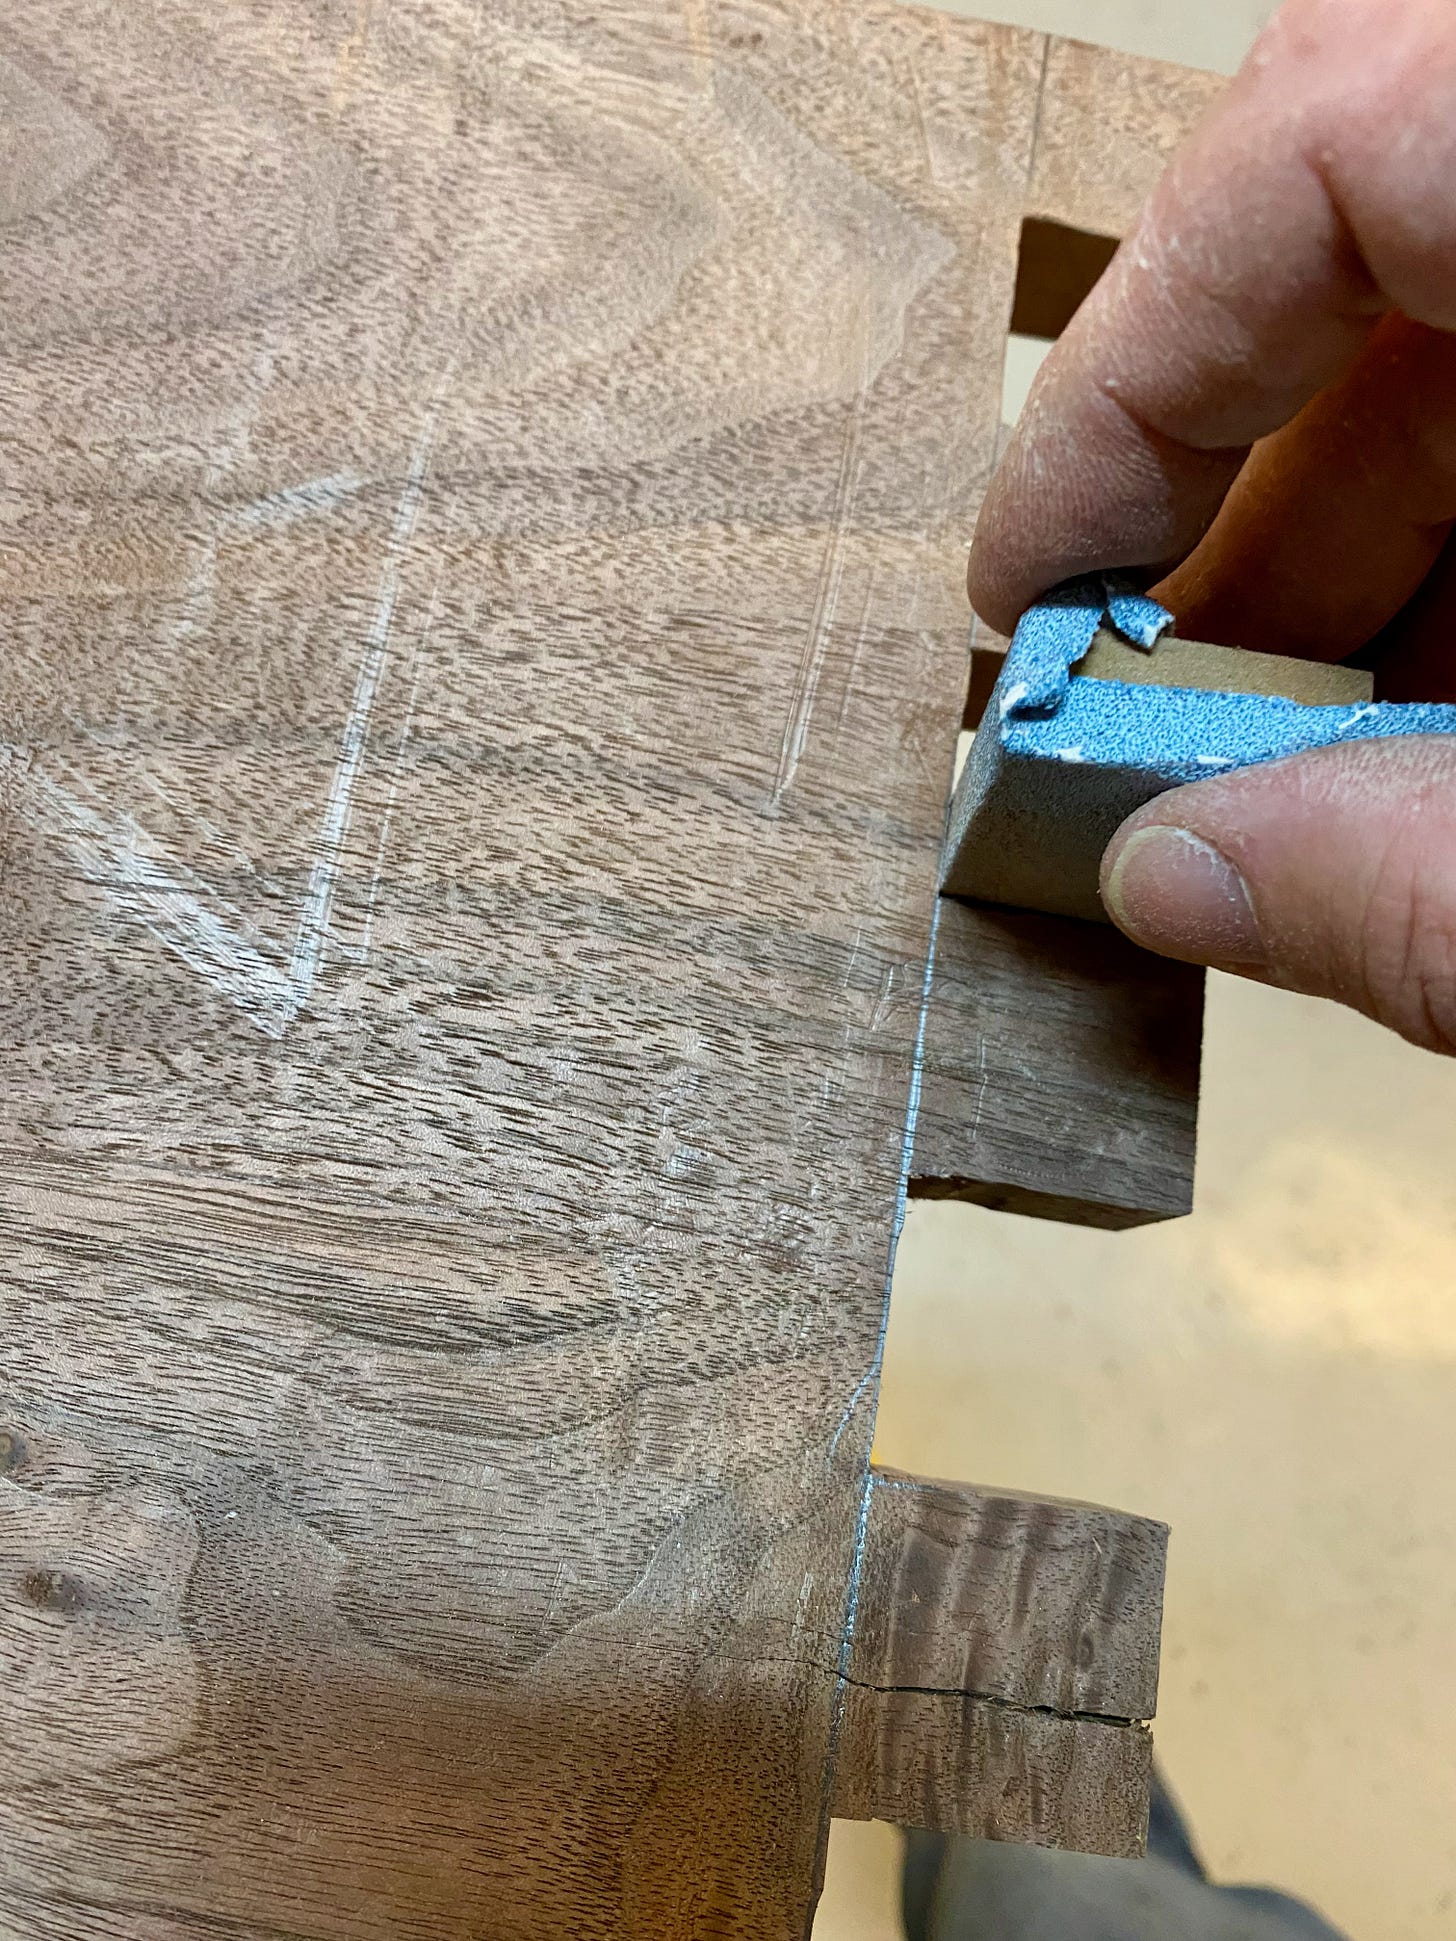
That got me close, but to really get the joints tight required careful hand sanding to take away just enough excess for everything to come together like… well, you know.
And for the most part, it was a rousing success. Once I was satisfied with the fit, it was almost time to glue everything together. But first I wanted to put a small chamfer on the botton of each support so that if the bench was dragged long the floor, the chamfer would redice the chance for the support to splinter. I took the supports to the router table and made the elegant angled cuts.
Finally, I glued everything together and clamped it tight. The few small gaps that appeared I filled with sanding dust and glue.
I intentionally left the joints a little long so, after the glue dried, I carefully flush cut the exccess with a Japanese pull saw and then sanded the joints to make a smooth, flush finish.
Extra Support
By this point, I knew I had another problem that I needed to solve. The bench was so long and the supports were so far apart that if someone were to sit on the bench, the top would flex, the supports would splay and the whole thing could break. Not good.
The question was, how best to solve this problem?
I had a few ideas. One was to use another long plank of walnut and run it under the bench like a rib. This would give the bench necessary support, but at the cost of another full-length board and it would reduce the clearance of the bench. That was a problem because one of the requirements of the design was that a small dog kennel would be able to fit under the bench. If I added a rib, the kennel would no longer fit.
Another option was to add a center support. That would definitely work, but it would mean I'd need to make yet ANOTHER support section — the planing, the jointing, the gluing, the cutting. Oof. Maybe, I thought, I could repurpose the previous supports. Since they woudln't have to be joined through to the top of the bench, they didn't need to be as long. Maybe I could use some kind of center bracket or brace to hold it in place? Maybe I could make the center support narrower or lengthen it with another board.
But the more I considered each idea, the more I realized none of them would work or look good. What I needed was a new center support that I could put into the underside of the top through a mortise and tenon joint. So I sucked it up and prepared another support piece… my fifth!
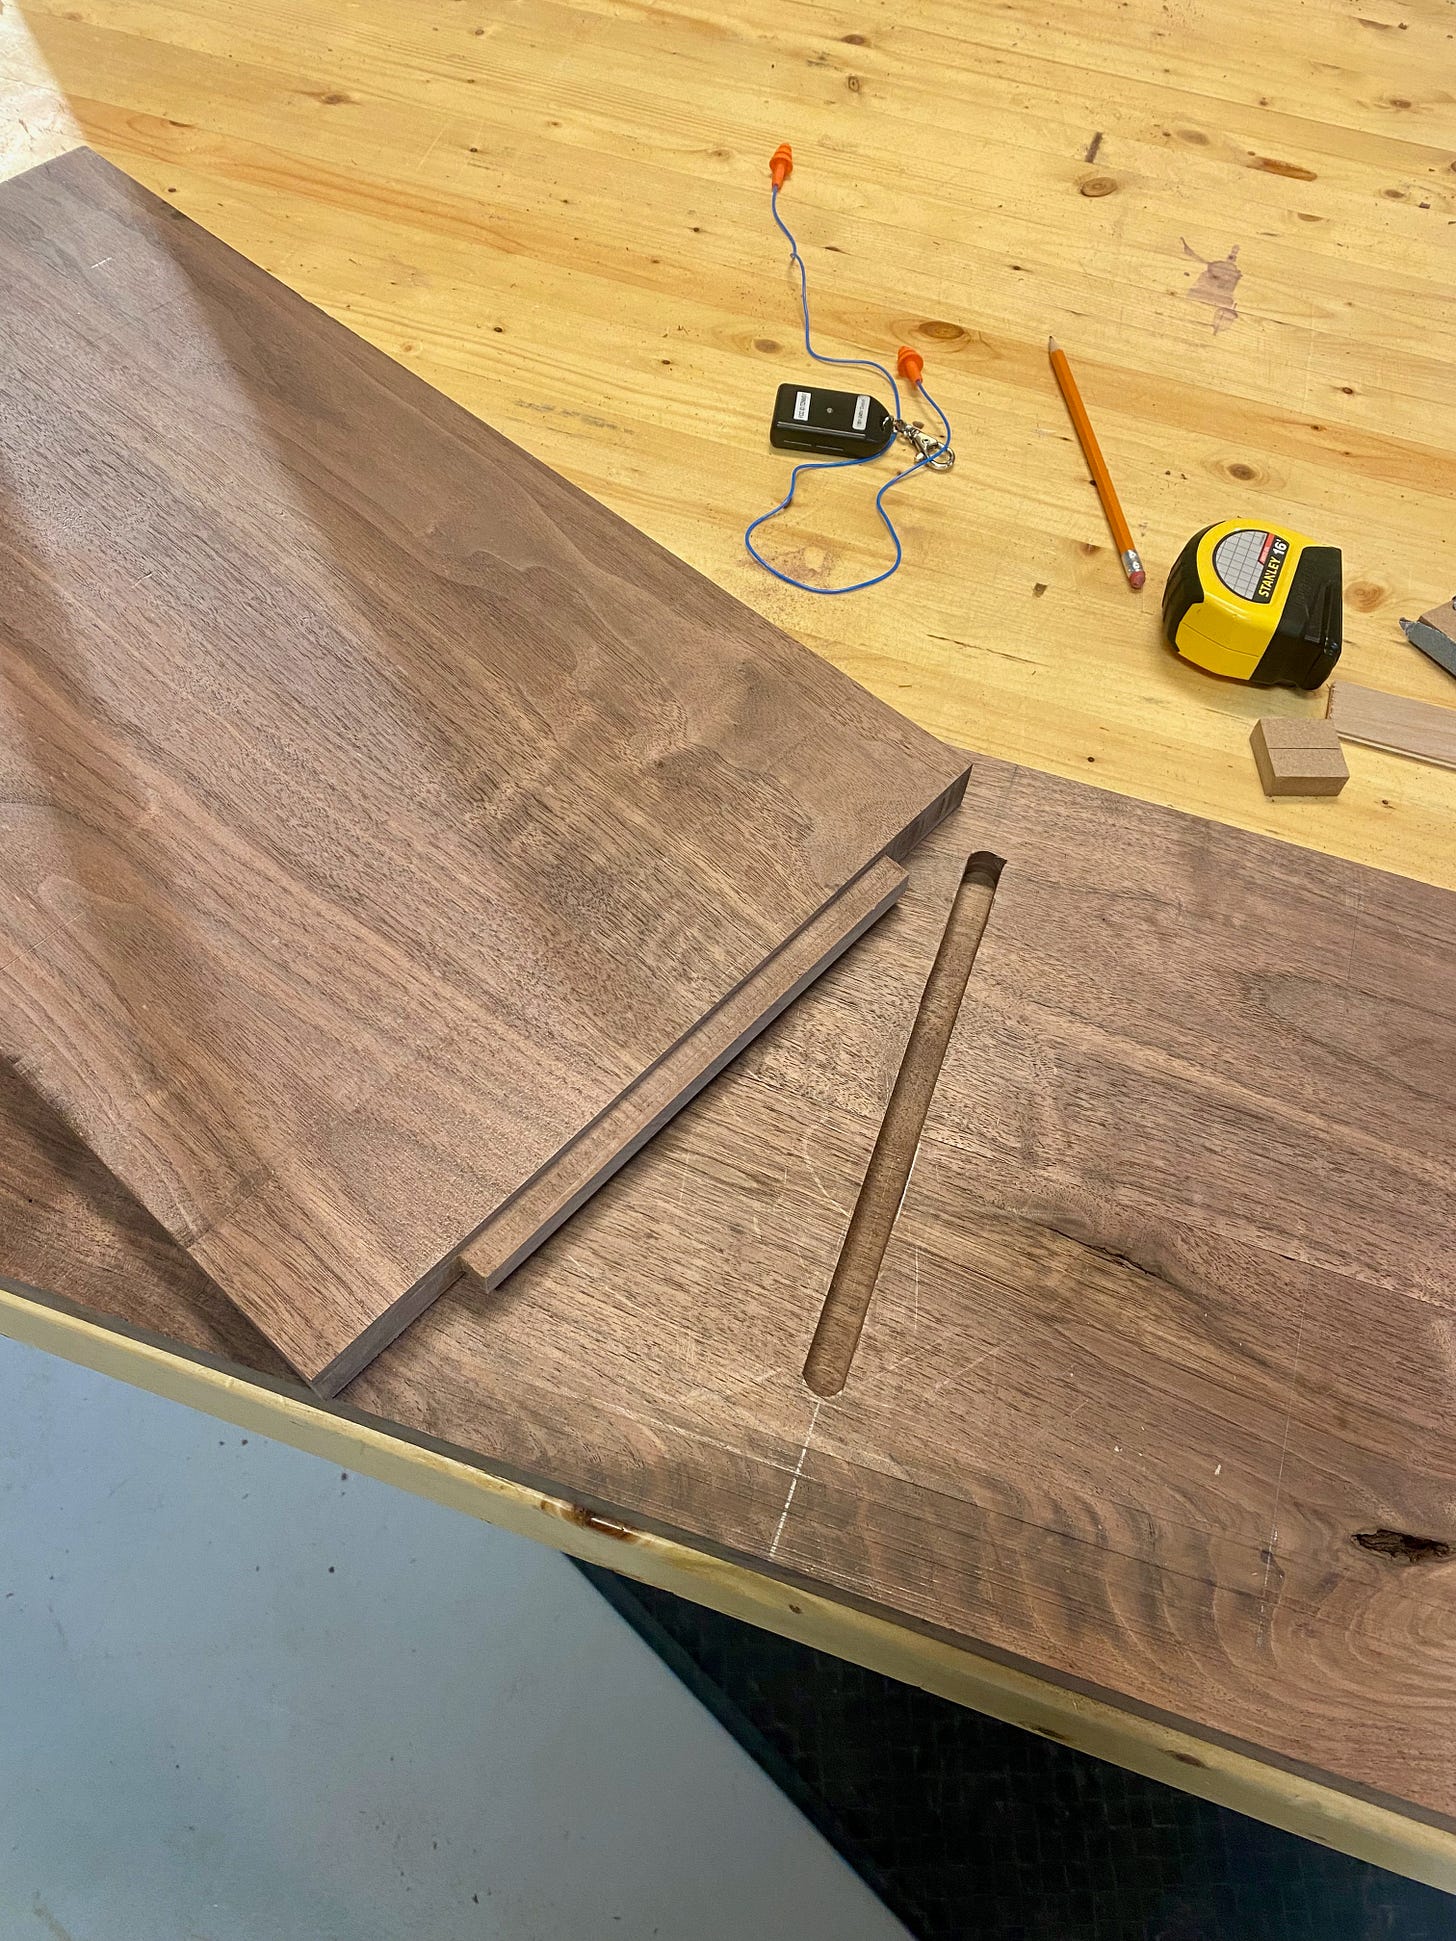
While the glue on the new support piece dried, I made a new jig to cut the mortise into the underside of the bench. What I needed was a groove that run across the very center of the underside of the top, not quite edge-to-edge. The groove needed to be ½ inch wide and ½ inch deep.
The center support, like the rest of the bench, was one inch thick, I would have to cut away 1/4 inch from each side and also about two inches from each end to make the tenon.
I started by making the cut into the underside of the top. I was nervous — it wouldn't be hard to screw up, and a screw up would be catastrophic. I clamped the jig to the bench and to the worktable. I inserted a ½-inch diameter, ¼-inch long mortising bit into the plunge router and power it up. Through several passes, I made my groove and all seemed well.
Next, I took the center support to the table saw and passed it over the dado stack, flipping the board with each pass to keep the tenon centered. After each pass, I dry fit the tenon into the mortise. I intentionally kept the tenon fat so that I could ease up on the right thickness — you can always remove wood, but it's hard to put it back.
Eventually I got it to just the right thickness. Then I took the piece to the bandsaw and cut away the shoulders. The tenon was too long for the depth of the mortise, but that was ok. I had intentionally kept the entire piece long so I had some margin for error. I cut off the end of the tenon and lightly sanded the relevant surfaces until it was a smooth, tight fit. Perfection!
I then cut the bottom end of the support to the correct length, added the chamfer and then it was time to glue it into place.
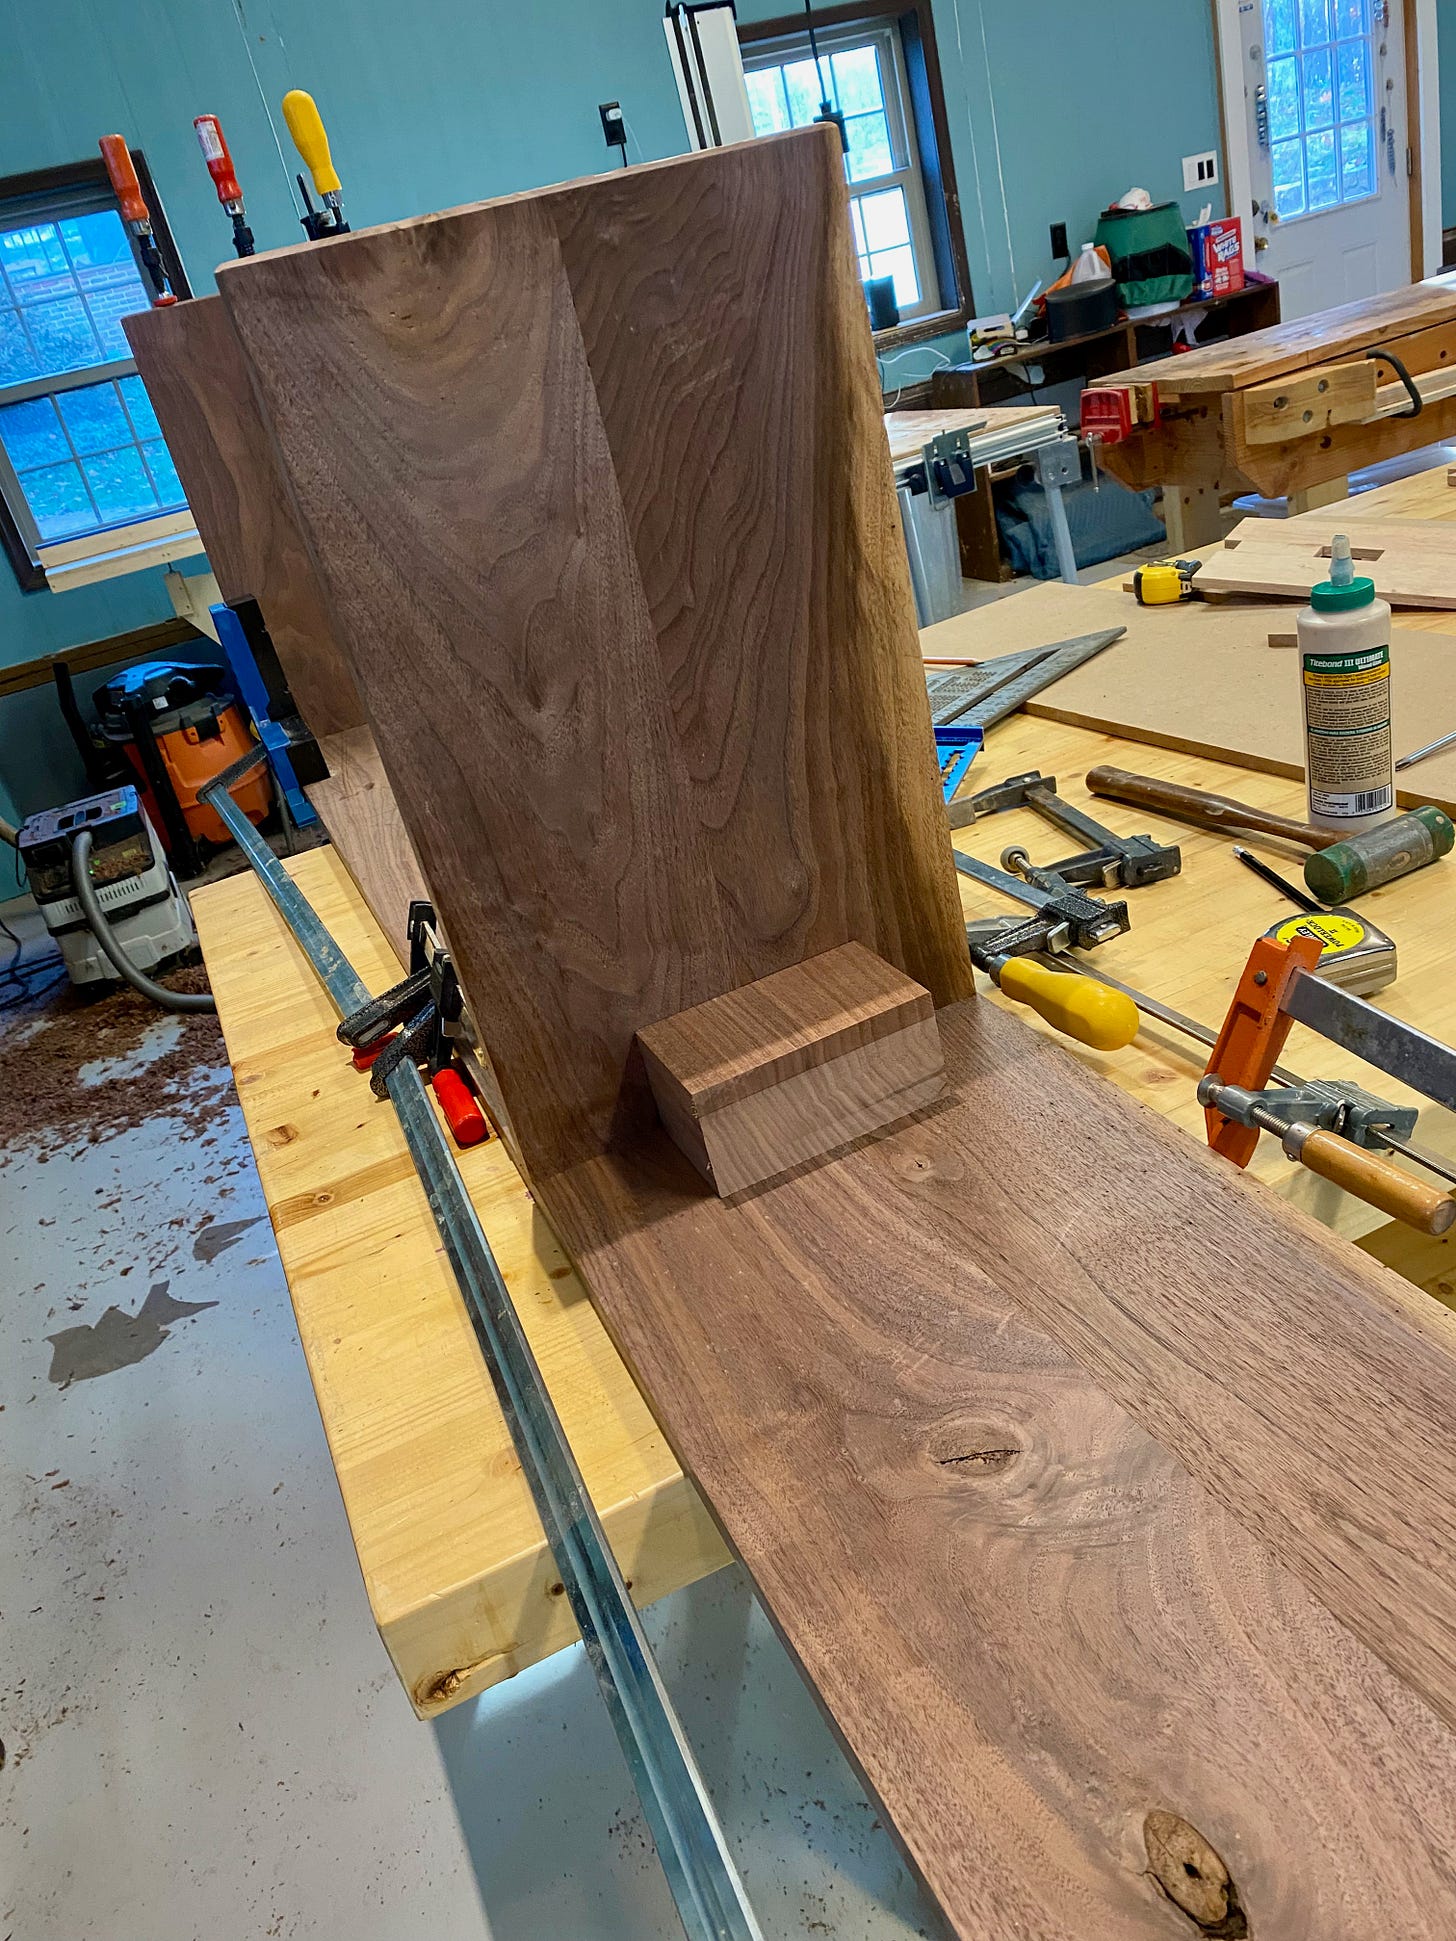
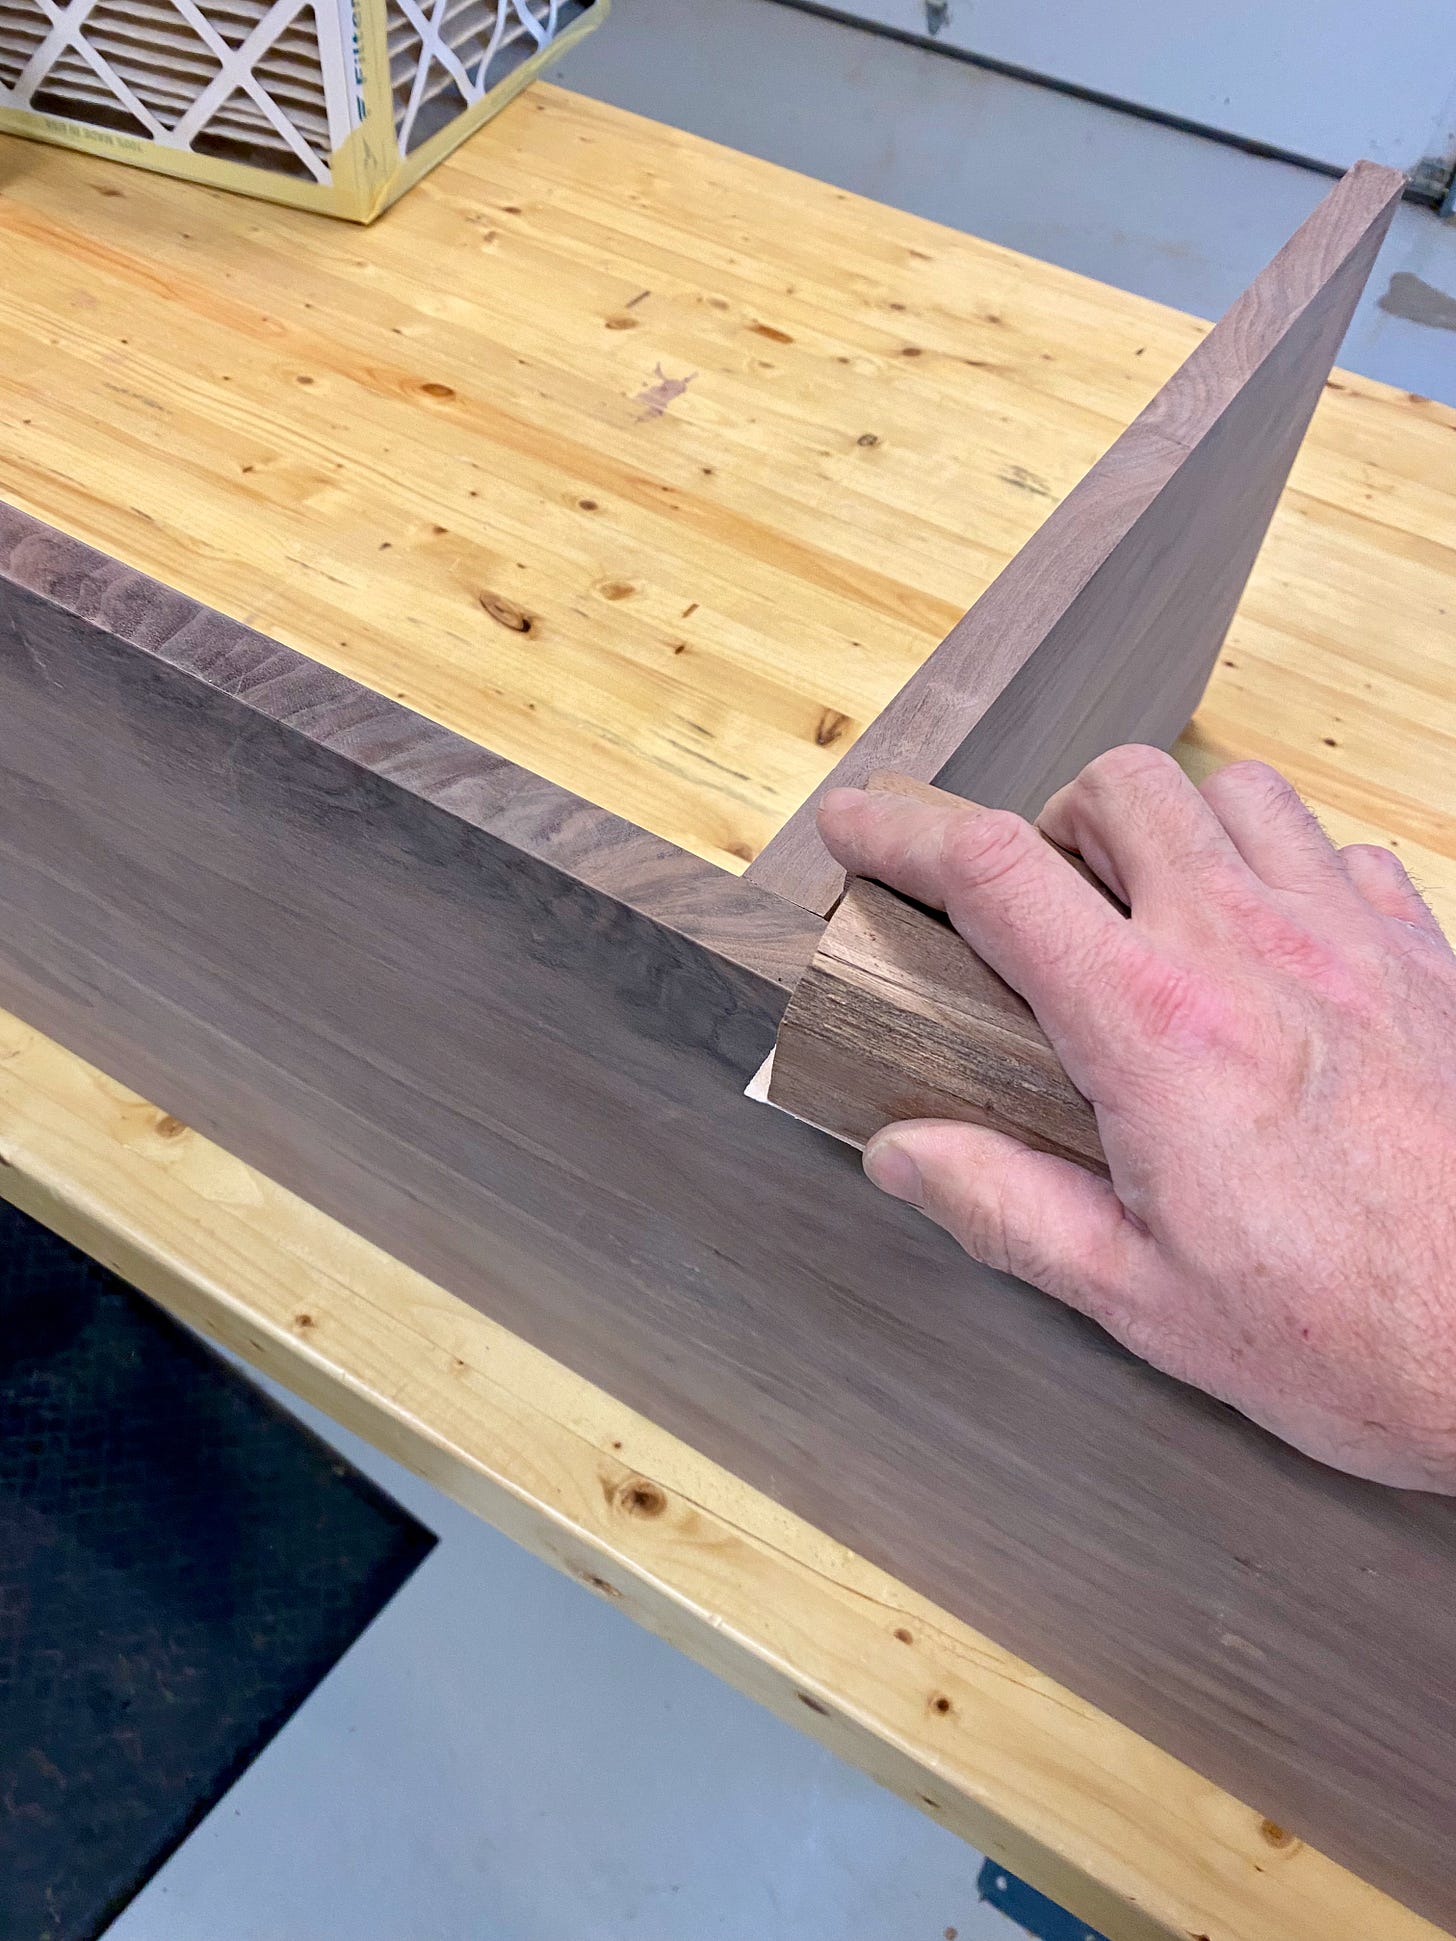
To do that, I used an array of clamps and right-angle brackets to ensure it would be plumb. I sqeezed in some glue, tightened the clamps and left it to do its thing.
An hour later when I cam back to check on it, i was dismayed to see the support was no longer tightly in the mortise. I gave it a wiggle and out it came. Oh no!
I realized that with all my clamps, I havd failed to clamp it into the mortise. So, I squeezed a healthy amount of glue back into the groove and put new clamps onto the support that held it IN the mortise. Speed squares ensured the support was perpendicular to the top and as I tightened the clamps, glue squeezed out giving me the satisfaction that this time the joint was solid. And sure enough the next day, it was fixed firmly in place.
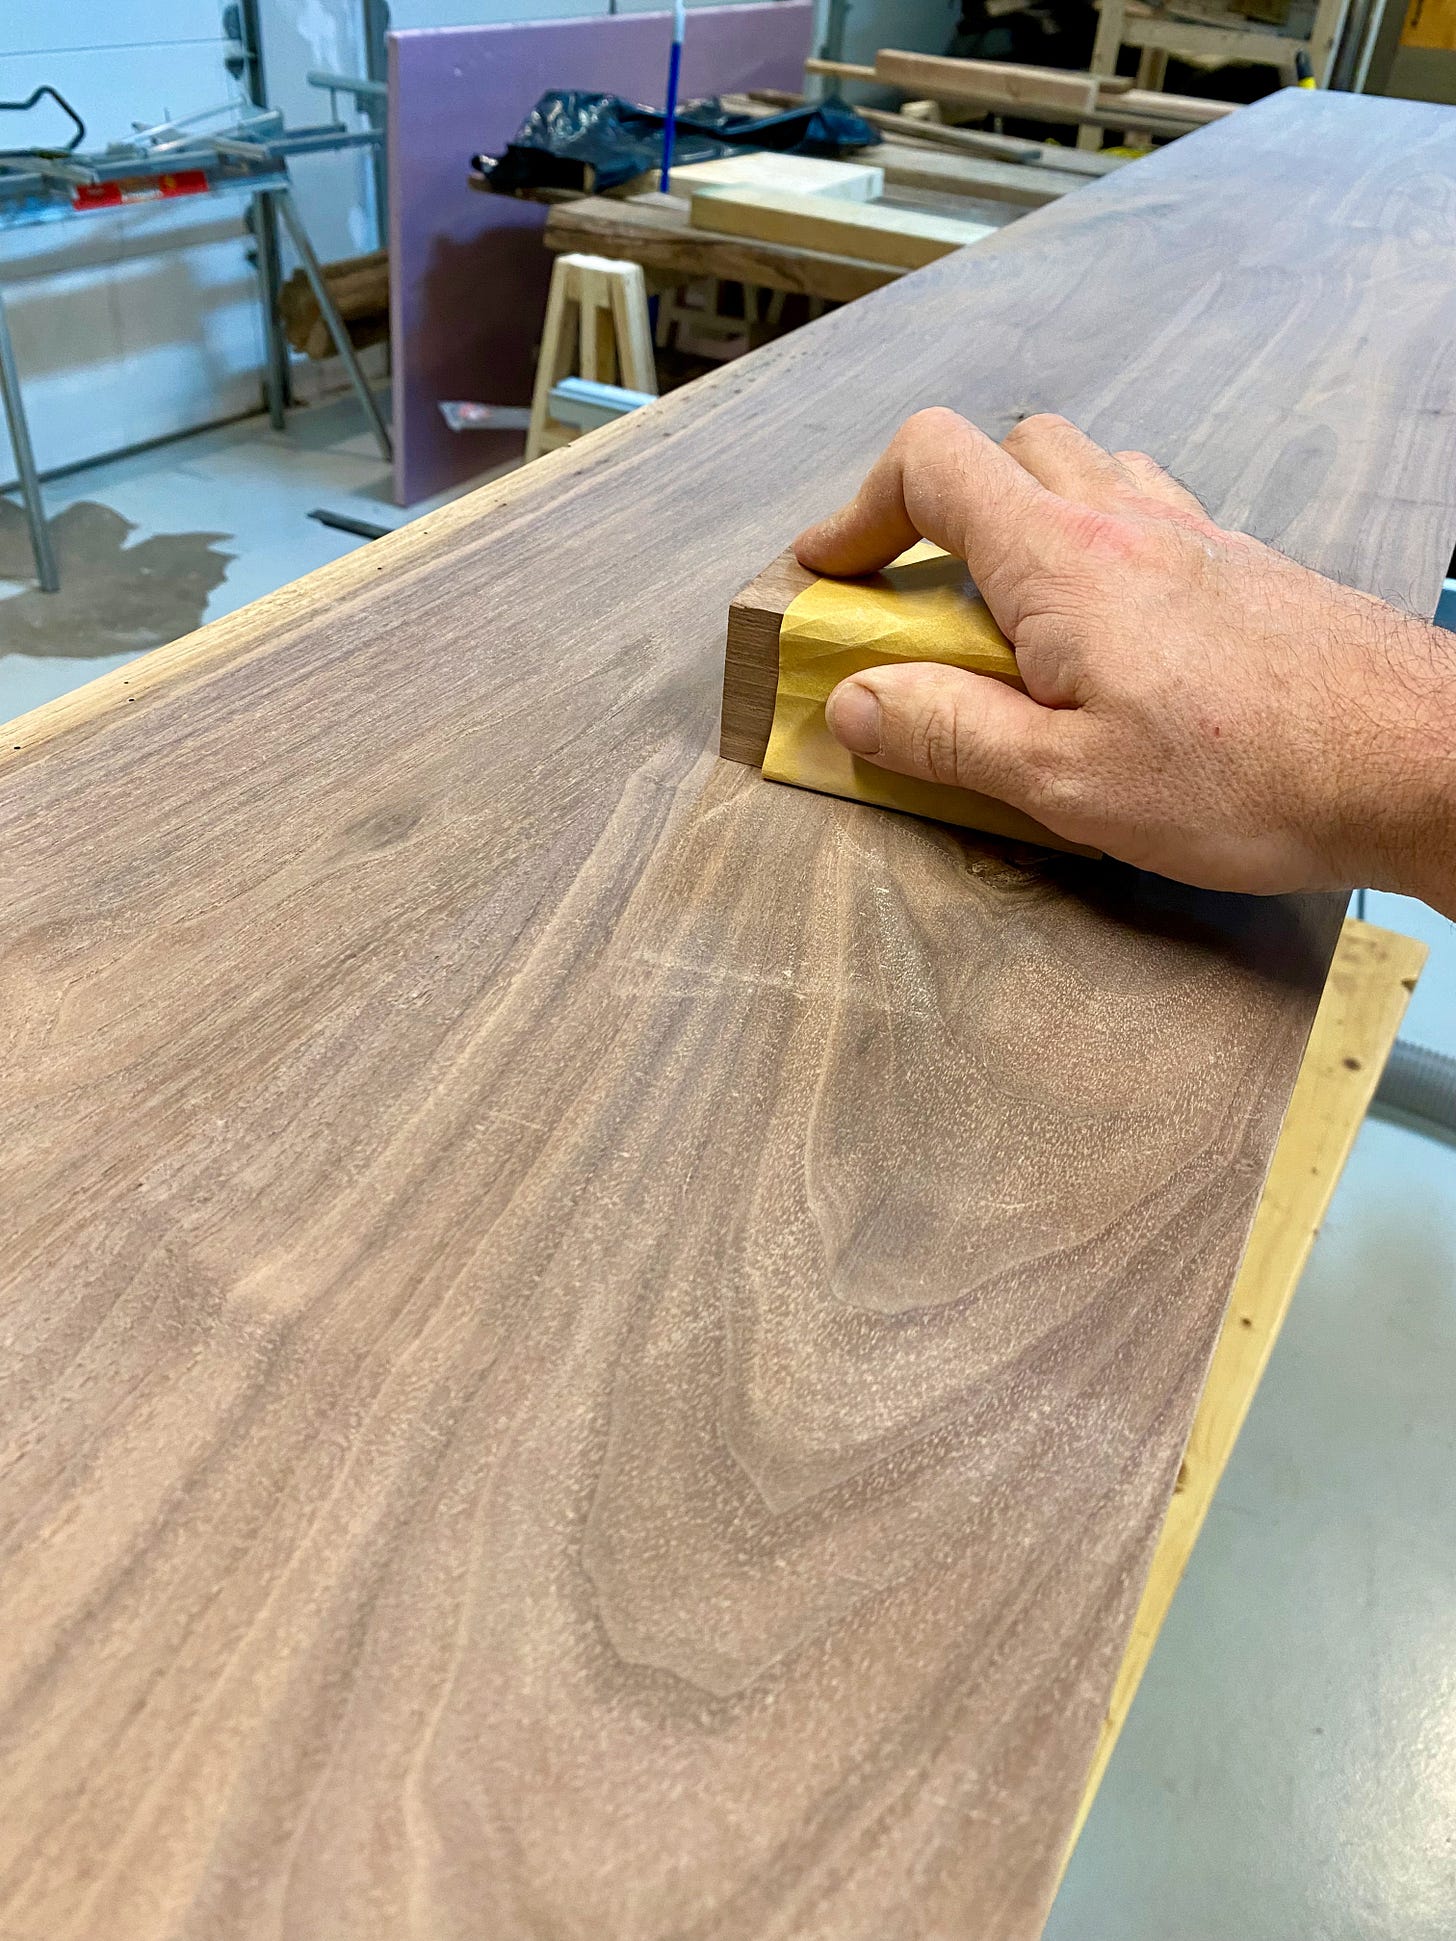
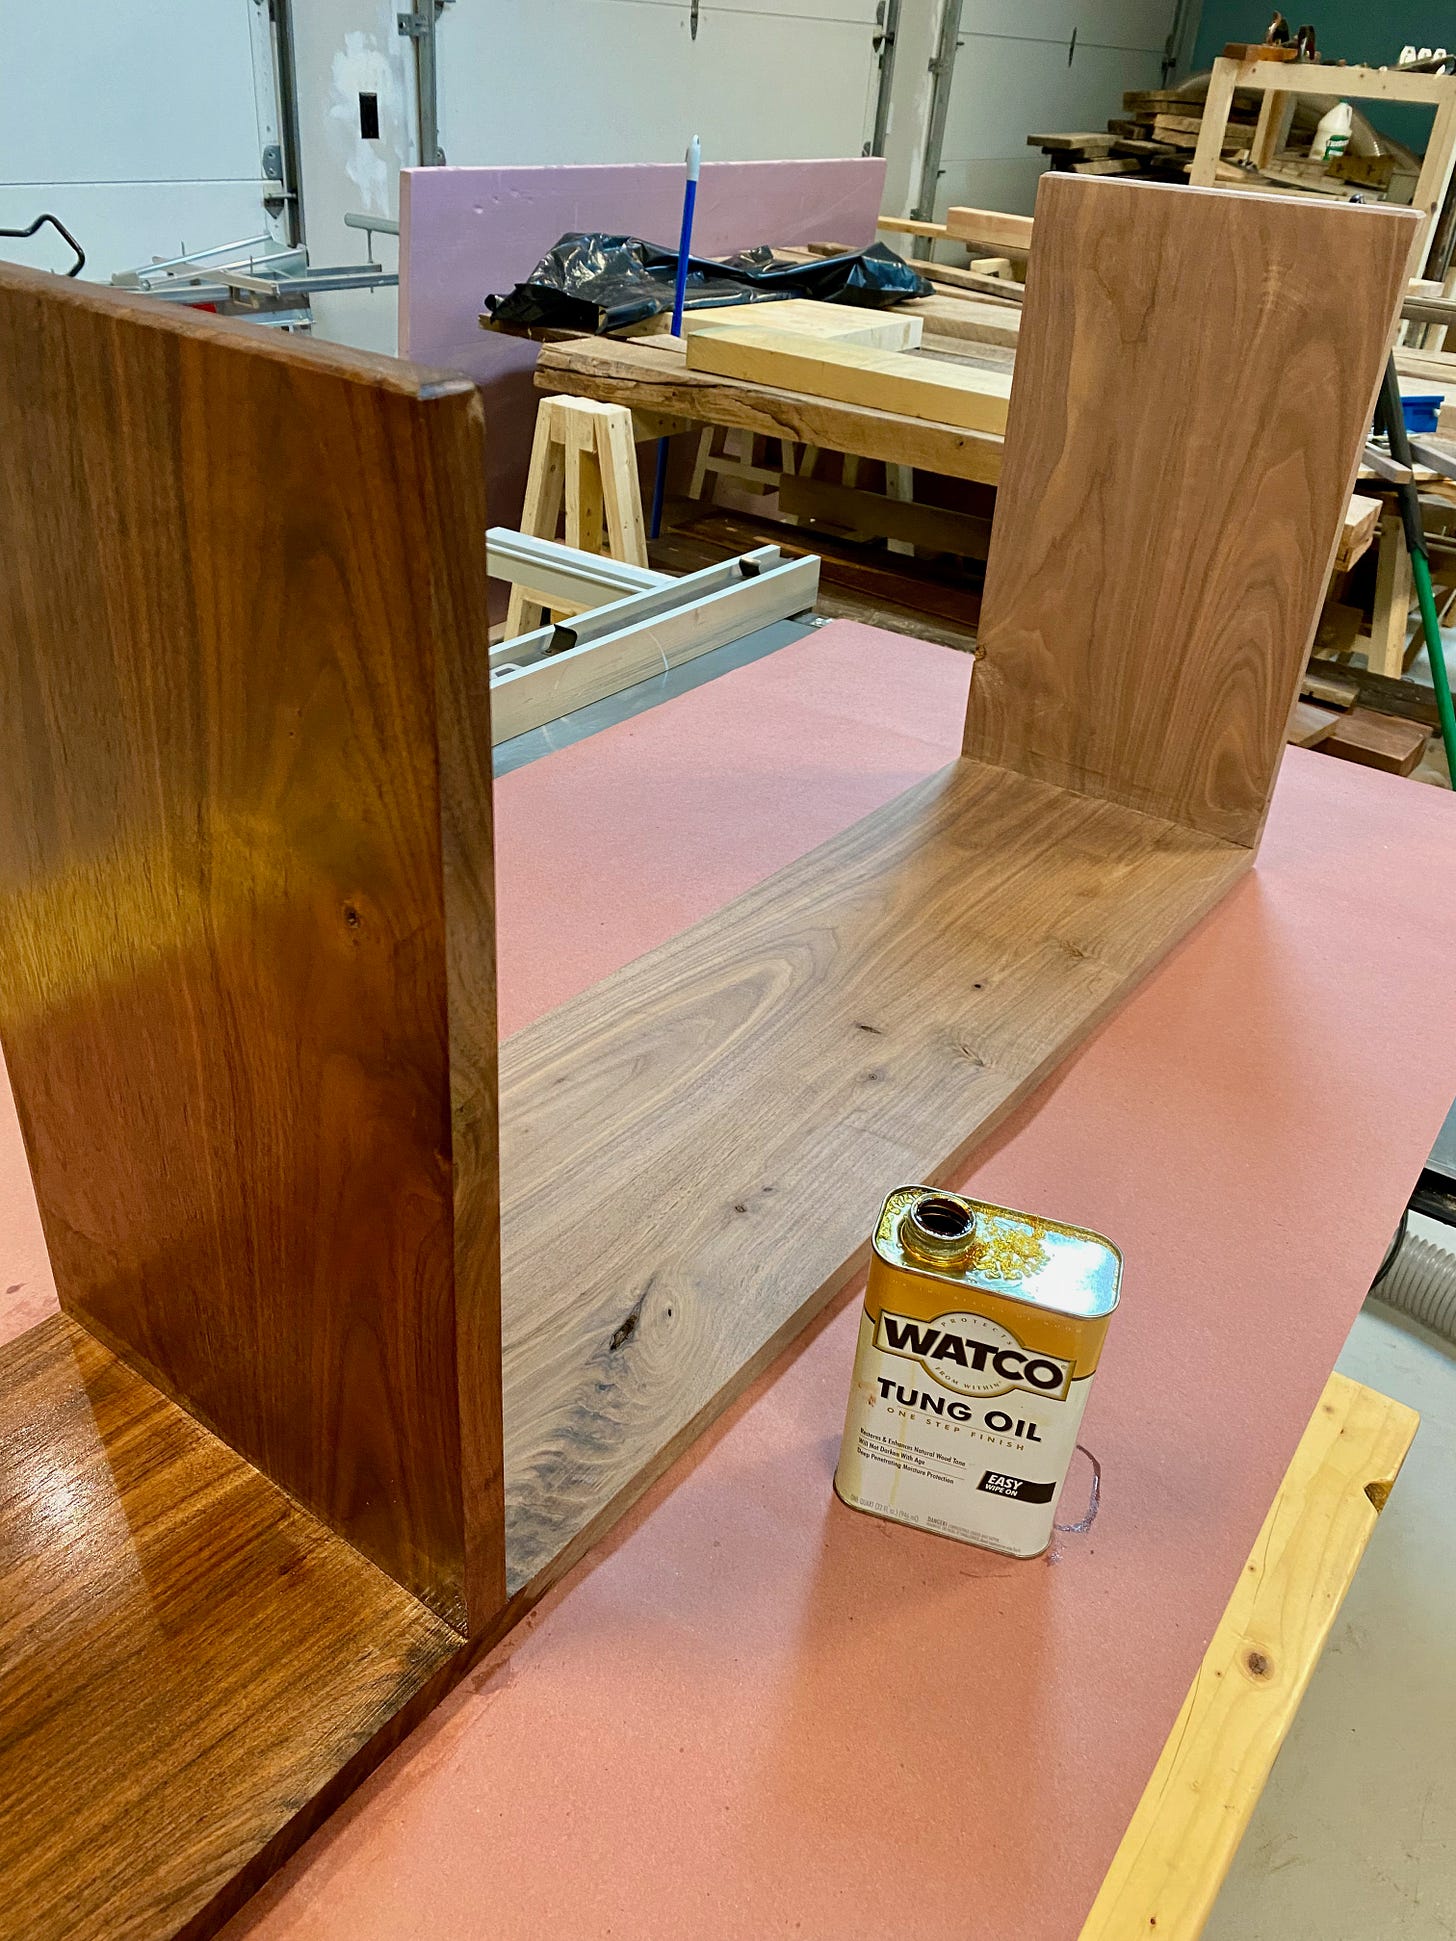
The bench was now assembled. All that remained was copious sanding, from 40 grit to remove some planer snipe, all the way to fine 320. Once it was smooth, I vacuumed the dust away and wiped on a coat of tung oil. The pinkish raw wood instantly transformed into a beautiful deep brown. The grain popped and sparkled.
A day later, I added a second coat and a day after that, I buffed on a layer of paste wax to give the bench a healthy lustre.
I delived it to my friend and it looks pretty spectacular under the wide windows, if I do say so myself. I dare say this bench might be my favorite thing I've made so far. Or, at least, it's up there. quite the plant stand.
And the good news is the two supports I ruined turned out to be the perfect fit as a new top to an antique treadle a friend gave me. I glued the two support pieces together, added some detail work and attached it to the treadle, which now sits in our dining room as a little side table.


