
Back on Board

Most of my free time at the new house has been taken up with what you might call "property management" issues. Things like the garage "renovation," the greenhouse, replacing the dishwasher, taking down some small outbuildings, or other similar projects. What I hadn't done much of was a true woodworking project.
I decided to fix that by making a wedding gift for my cousin — an elegant little charcuterie board. I actually come across this particular project idea in a magazine. The magazine's concept was to edge-glue three pieces together, with the middle piece holding a tile in a recessed cavity. In addition, two of the corners would feature small circular recesses for ramekins. Under the tray would be two runners for feet, each cut at an angle and connected to the board through a keystone slot. The board would be one species and the feet another.
One of the reasons this project appealed to me was that I had a nice piece of maple I could use, as well as a board of walnut I had found laying around the house. I thought they'd work well together, the dark walnut accents playing off the light maple body.
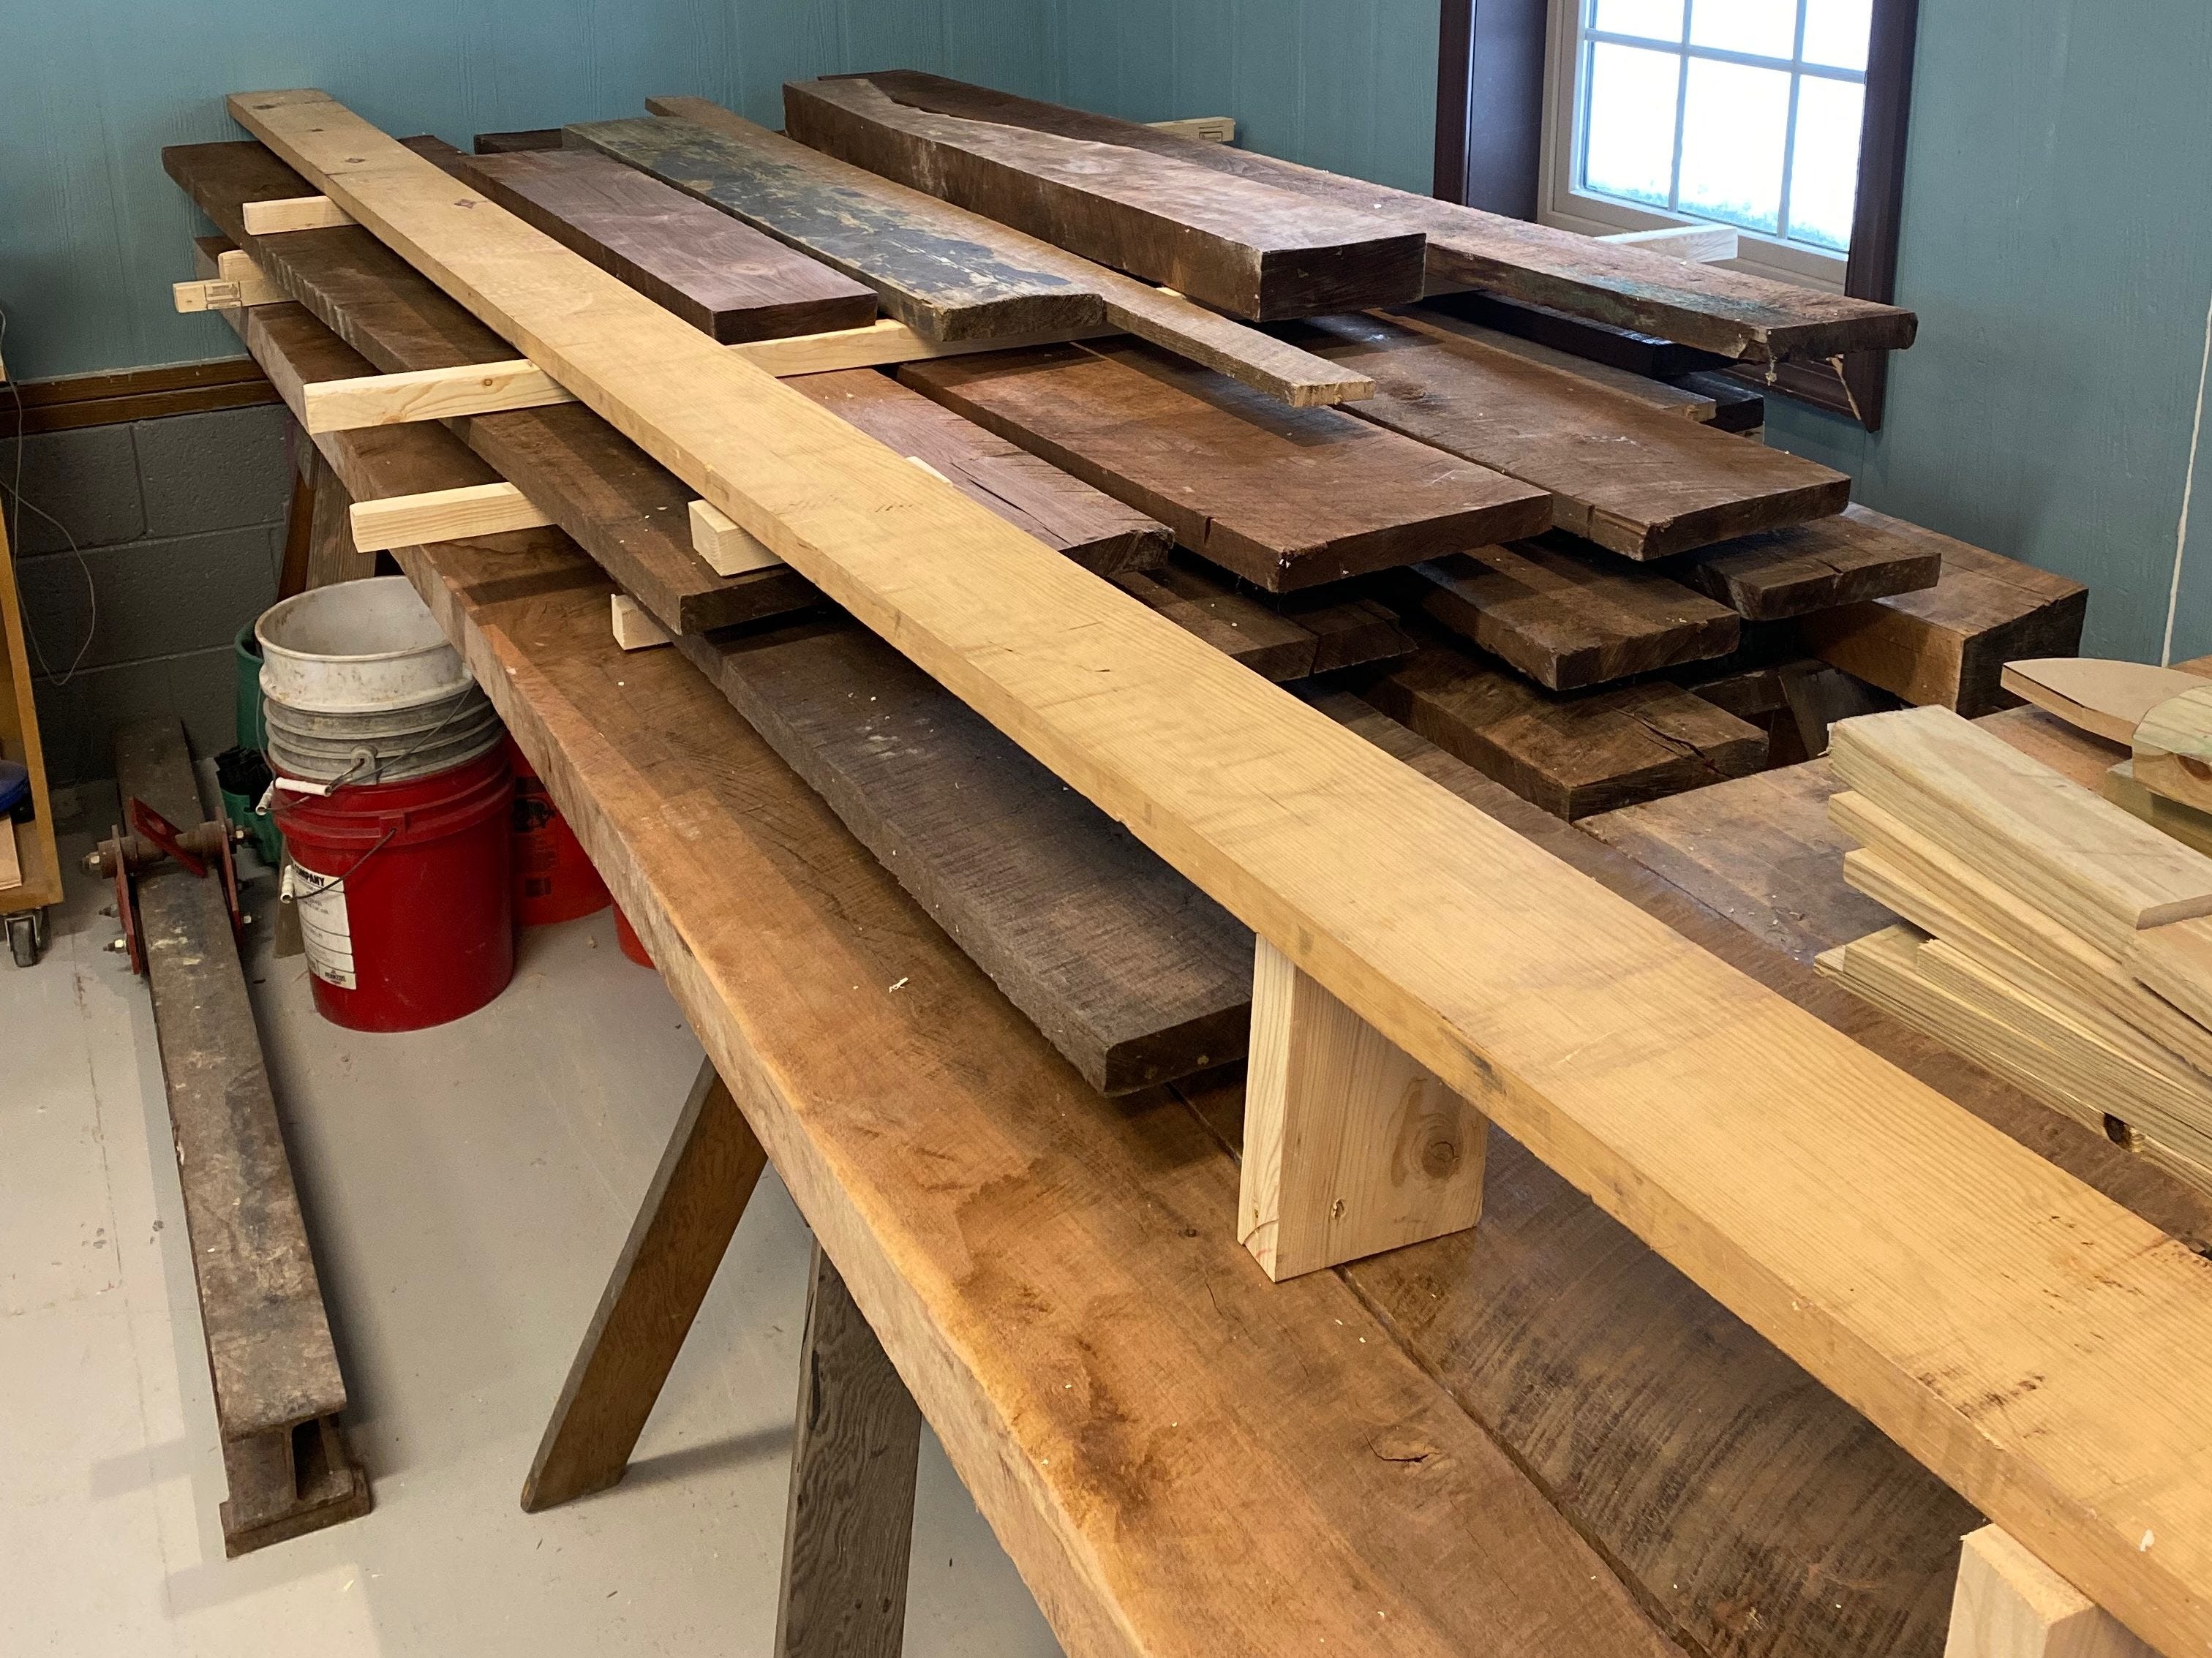
The piece of maple I wanted to use was actually a small leftover block from another project. It was about two inches thick, eight inches wide and five inches long. I figured I could slice the board twice to make three pieces each about ¾ of an inch thick. Once I joined them edge to edge, this would end up making a board roughly 15 inches long by eight inches wide.
I started by carefully planing the block to make it a uniform thickness. After several passes, it was time to slice the block into three, sort of like cutting a loaf of bread. To start, I carefully measured the thickness of the block (1-¾ inches) and divided by three, which is... a shitty fraction (seven-twelfths for those who care).
So instead I measured half an inch from each side and drew two lines along the edge as guides for cutting on the bandsaw. There, I started cutting the block into the three slices through a process called "resawing." I quickly found myself varying from the line, but I figured it would be ok. These slices were never going to be of perfectly uniform thickness anyway. What's the worst that could happen?
Once I cut the block into the three slices, I looked them over and realized they varied from each other by a good eight of an inch and each one also had a thickness variance of about the same. That might not sound like much, but if the goal was to have a perfectly flat and even board, it was actually quite unacceptable.
No worries, thought I. I have a planer! I'll simply run the pieces through that and return them to uniform thickness. Unfortunately, that plan went awry when the planer got jammed.
Remind me never to ask, "what's the worst that can happen" when woodworking again. (Yes, I'm well aware a jammed planer is not the worst that could happen. It is, however, a non-bloody example of why you don't tempt the gods.)
While I worked on repairing the planer, I thought more about how this project was going to go. I decided to forgo the tile and the recessed circles, mostly because I felt my planks were just too thin.
I also looked at how I could put the boards together and saw that in one arrangement, I could almost get the grain to match from one board to the next. Unfortunately, this created a woodworking version of the uncanny valley, where it was off just enough to look bad. I could solve this, though, by running a walnut inlay at the seams. This would separate the edges just enough that the eye would connect the grain lines in a more pleasing way.
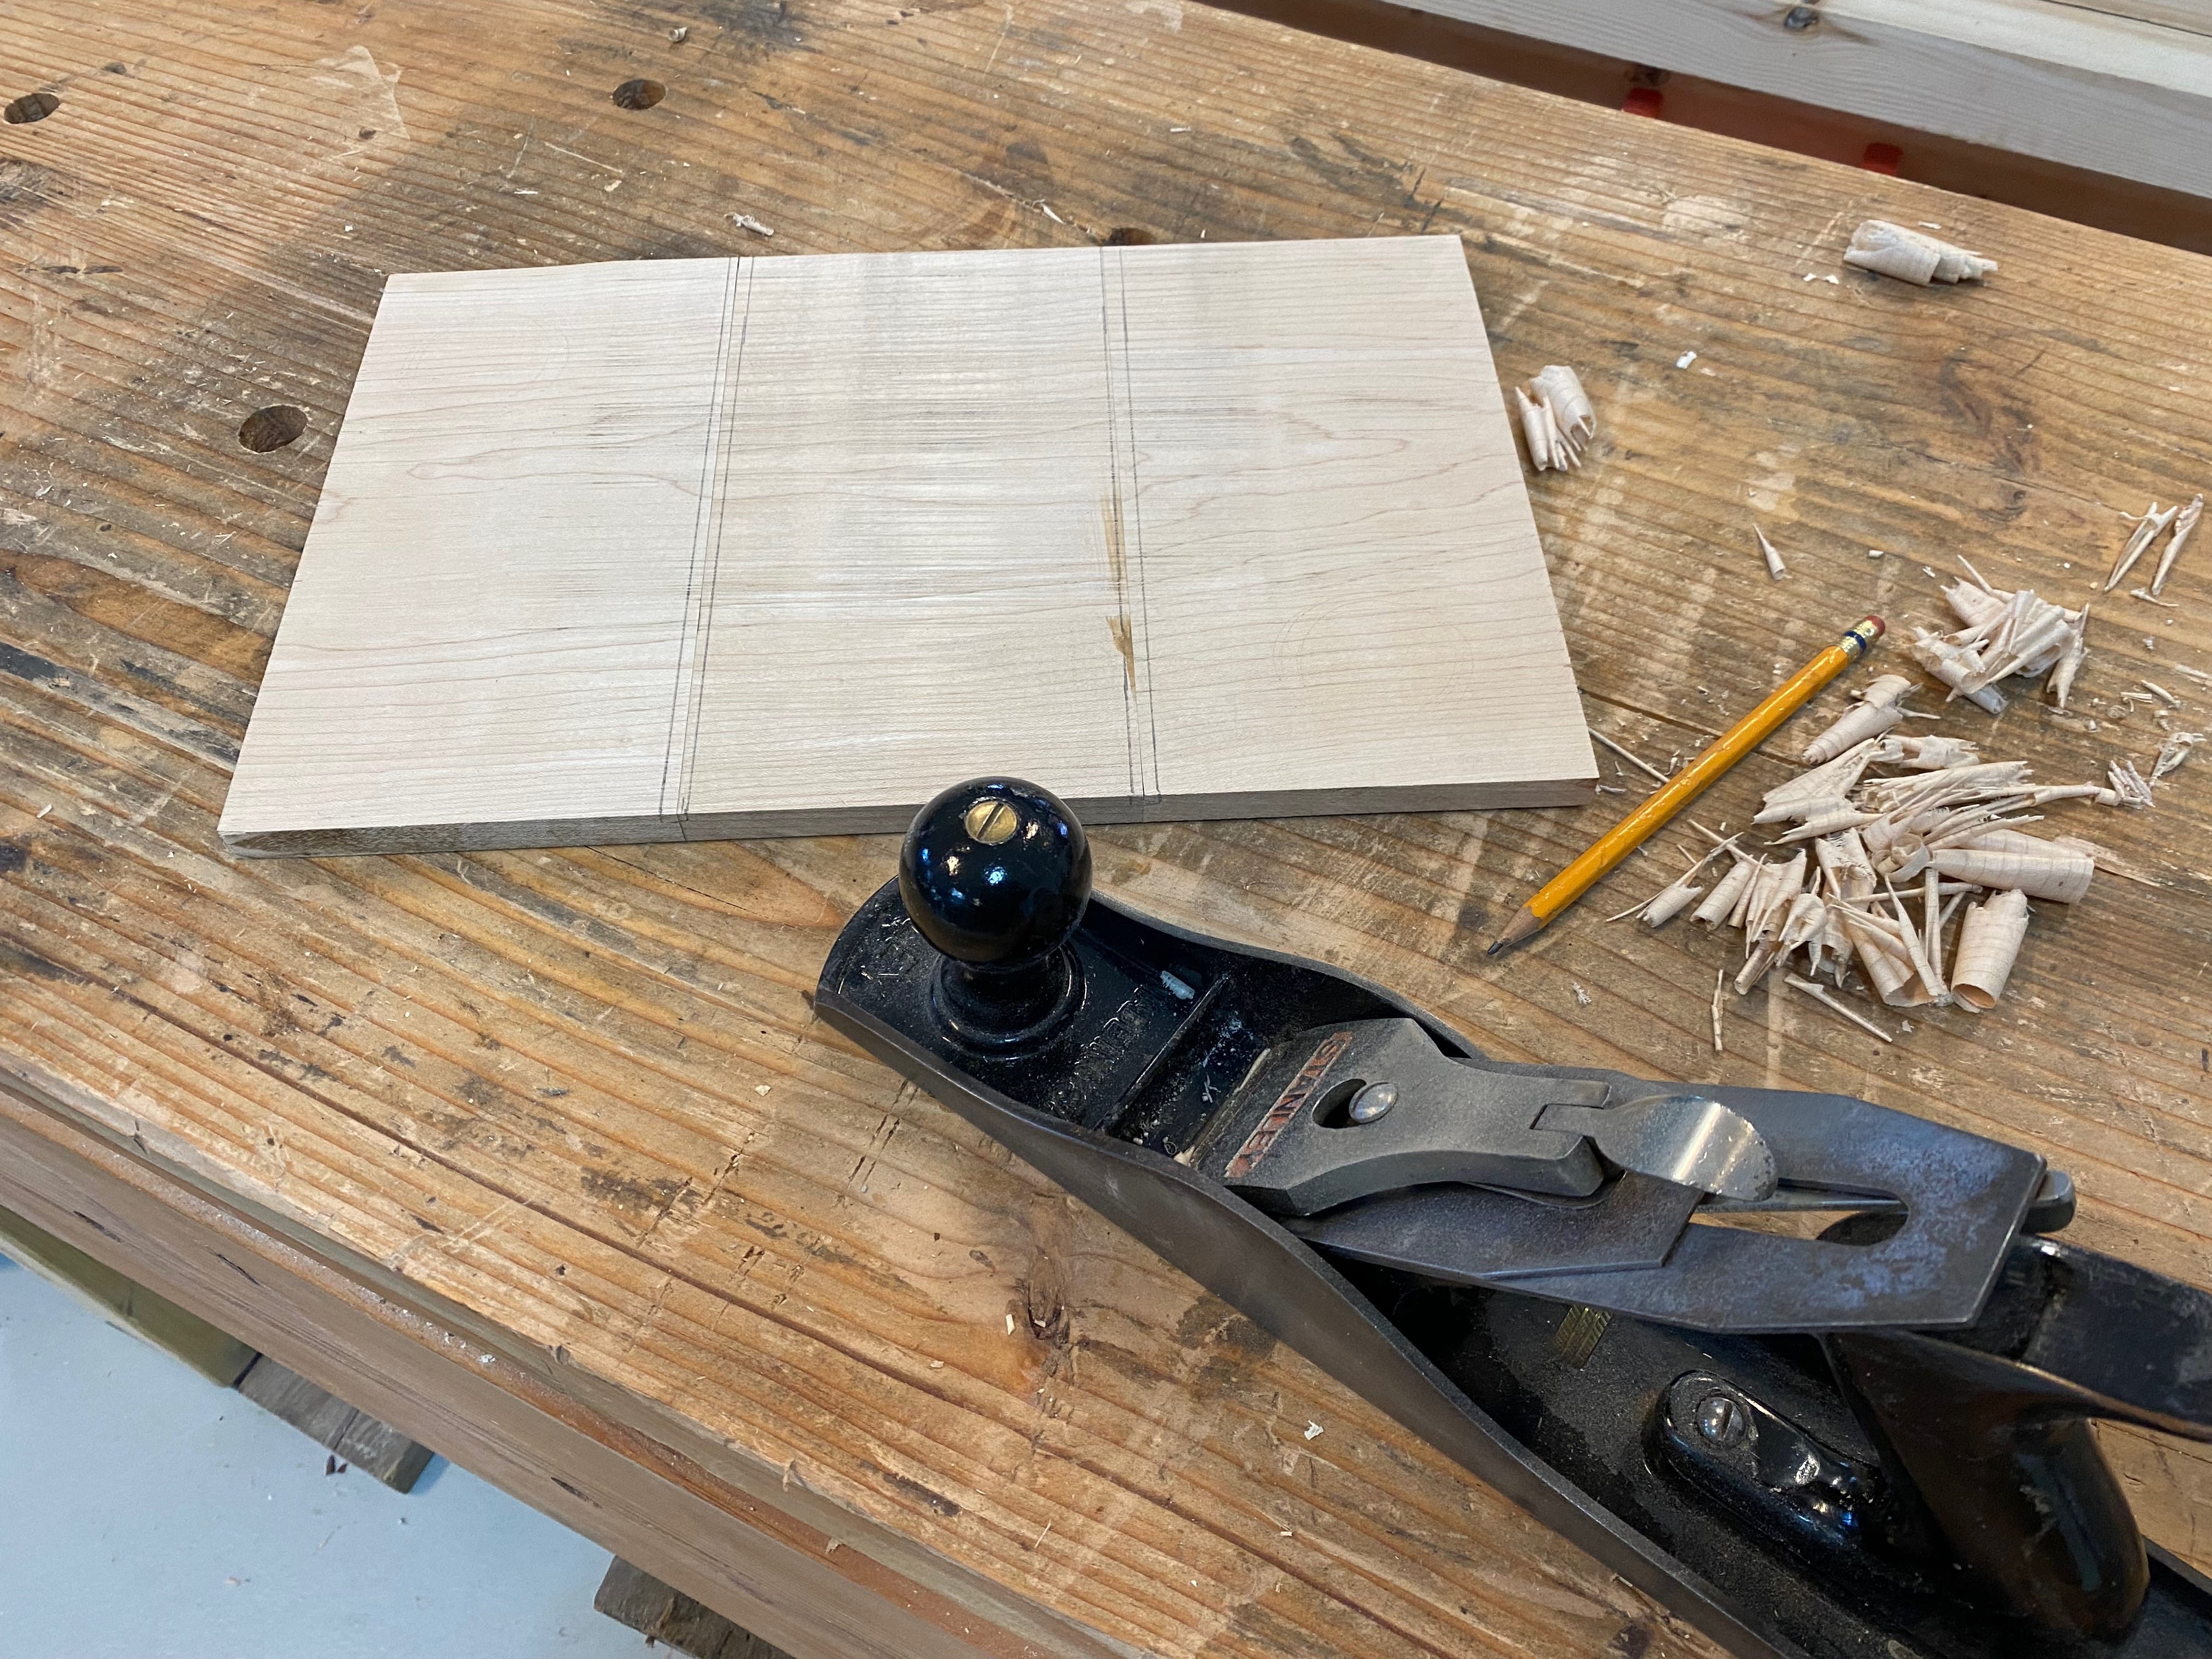
Once I got the planer fixed, I finished making the boards uniform thickness and edge-glued them together, I then marked a ¾-inch section on top of each seam where the inlays would go.
I started by cutting the walnut to the desired width and then sliced it into thin strips.
Then I lowered the table saw blade so it would cut into, but not through, the wood, to a depth slightly shallower than the walnut is thick. I made repeated passes to create the channels for the inlay. When I got close to the correct width, I attempted to dry-fit the walnut. If the channel wasn't wide enough, I'd ever-so-gently adjust the table saw fence and saw off a wee bit more, widening the channel. After several passes, each removing a thin shaving, I achieved a tight fit and stopped. After repeating for the other side, I slid in the walnut strips and glued them in place. Once they dried, I used a Japanese pull saw to cut the strips flush with the edges.
After sanding the top so the boards were smooth and the inlays laid flush with the top, it was time to cut the keystone channels for the legs/runners. To do this, I outfitted the router table with a dovetail bit. Since I don't have a fence for the router table (add it to the list of things to spend money on), I jerry-rigged one with a straight-edge and a pair of clamps. Then I ran the bottom of the board across the dovetail bit, which was set to less than the thickness of the board.
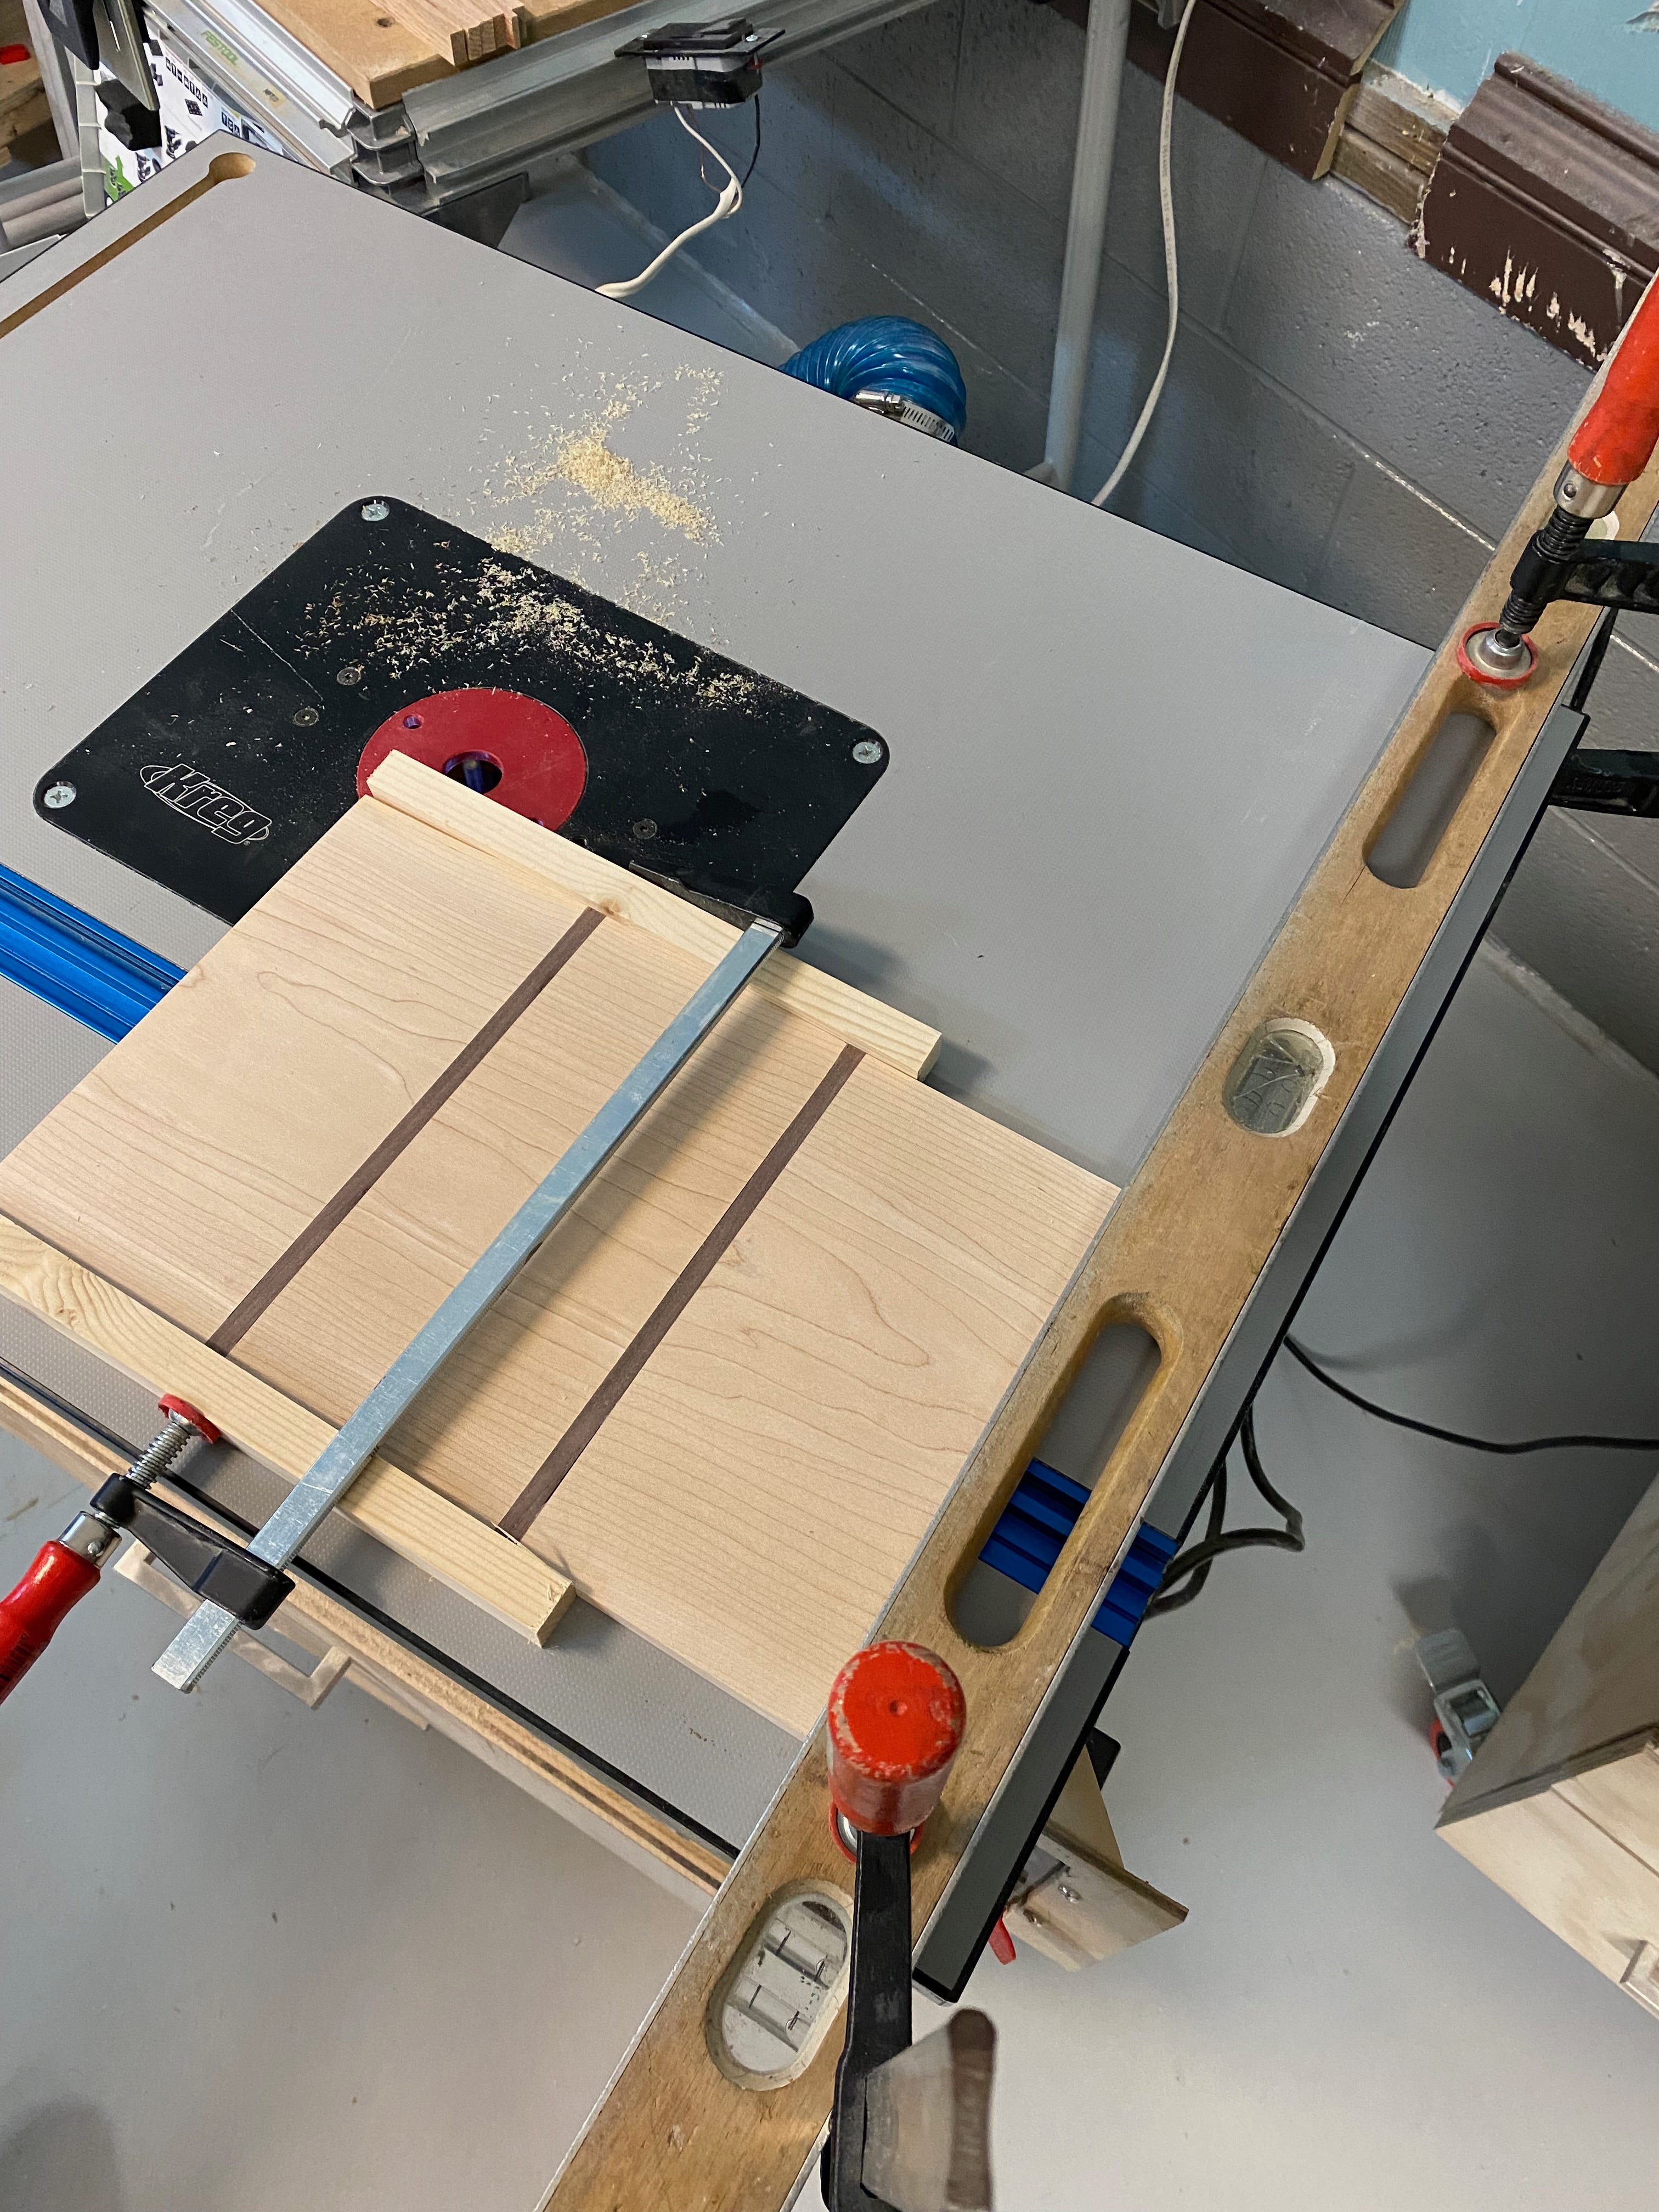
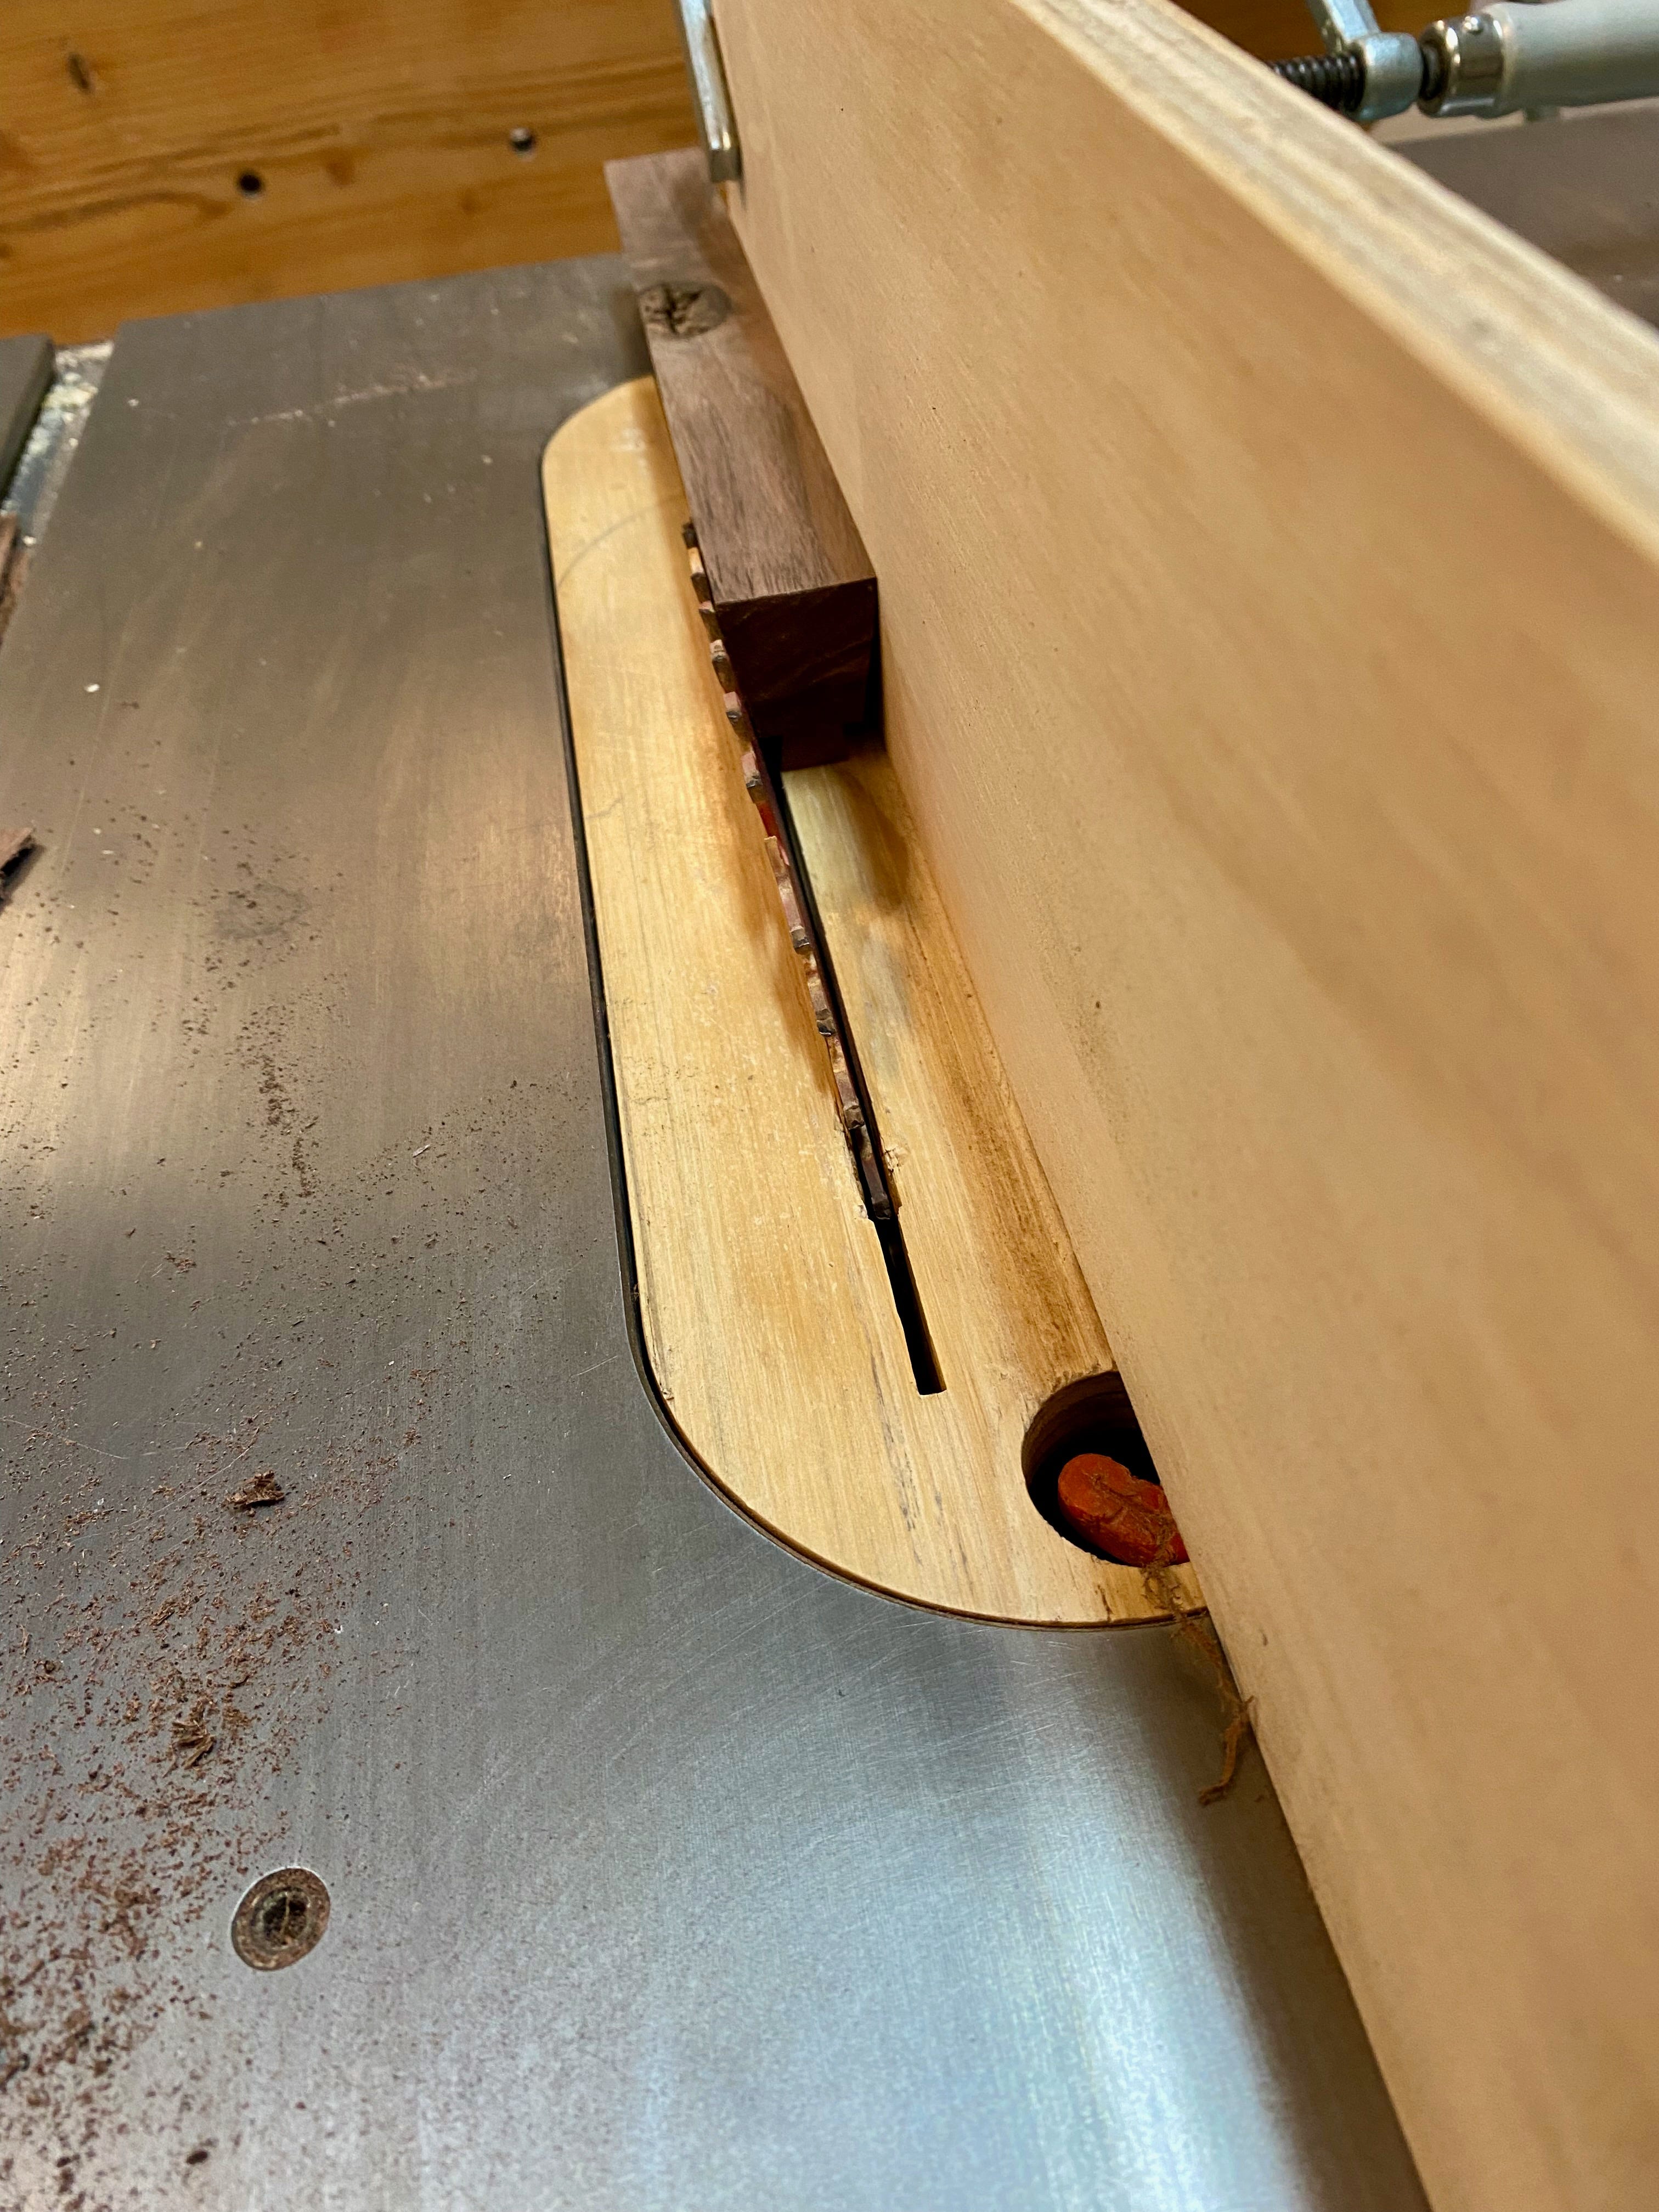
With my keystone channels in place, it was time to cut the runners to fit. In some respects, the process for this was the same as with the inlays. I simply had to cut the runners down to size until they fit the channels perfectly. However, this was slightly more complicated as the runners would have wider "feet" under the keystone and the keystone needed to be centered. That meant every "shaving" had to be done to each side of the runner.
And rather than use the table saw, I would use the same dovetail bit on the router table to ensure a perfect fit. Except this time, I couldn't use my straightedge as a guide. I needed something else that the router bit could bit into, since I'd be using just half of the bit. Furthermore, having a piece of scrap meant that the makeshift fence could support the wood as it passed by, reducing the chance of tear-out, which is when the end fibers of the wood flake off.
Anyway, what I needed was a straight piece of scrap wood and as luck would have it, I had plenty of that laying around. Once I set it in place and clamped it down, I was ready to cut the runners.
However, as you can see in the second photo above, the runner is a bit -- clunky. To make this more elegant, what it needs is for that big square end to be tapered. Using the table saw, I sliced each piece at a 10-degree angle. That gives each foot a much more elegant appearance.
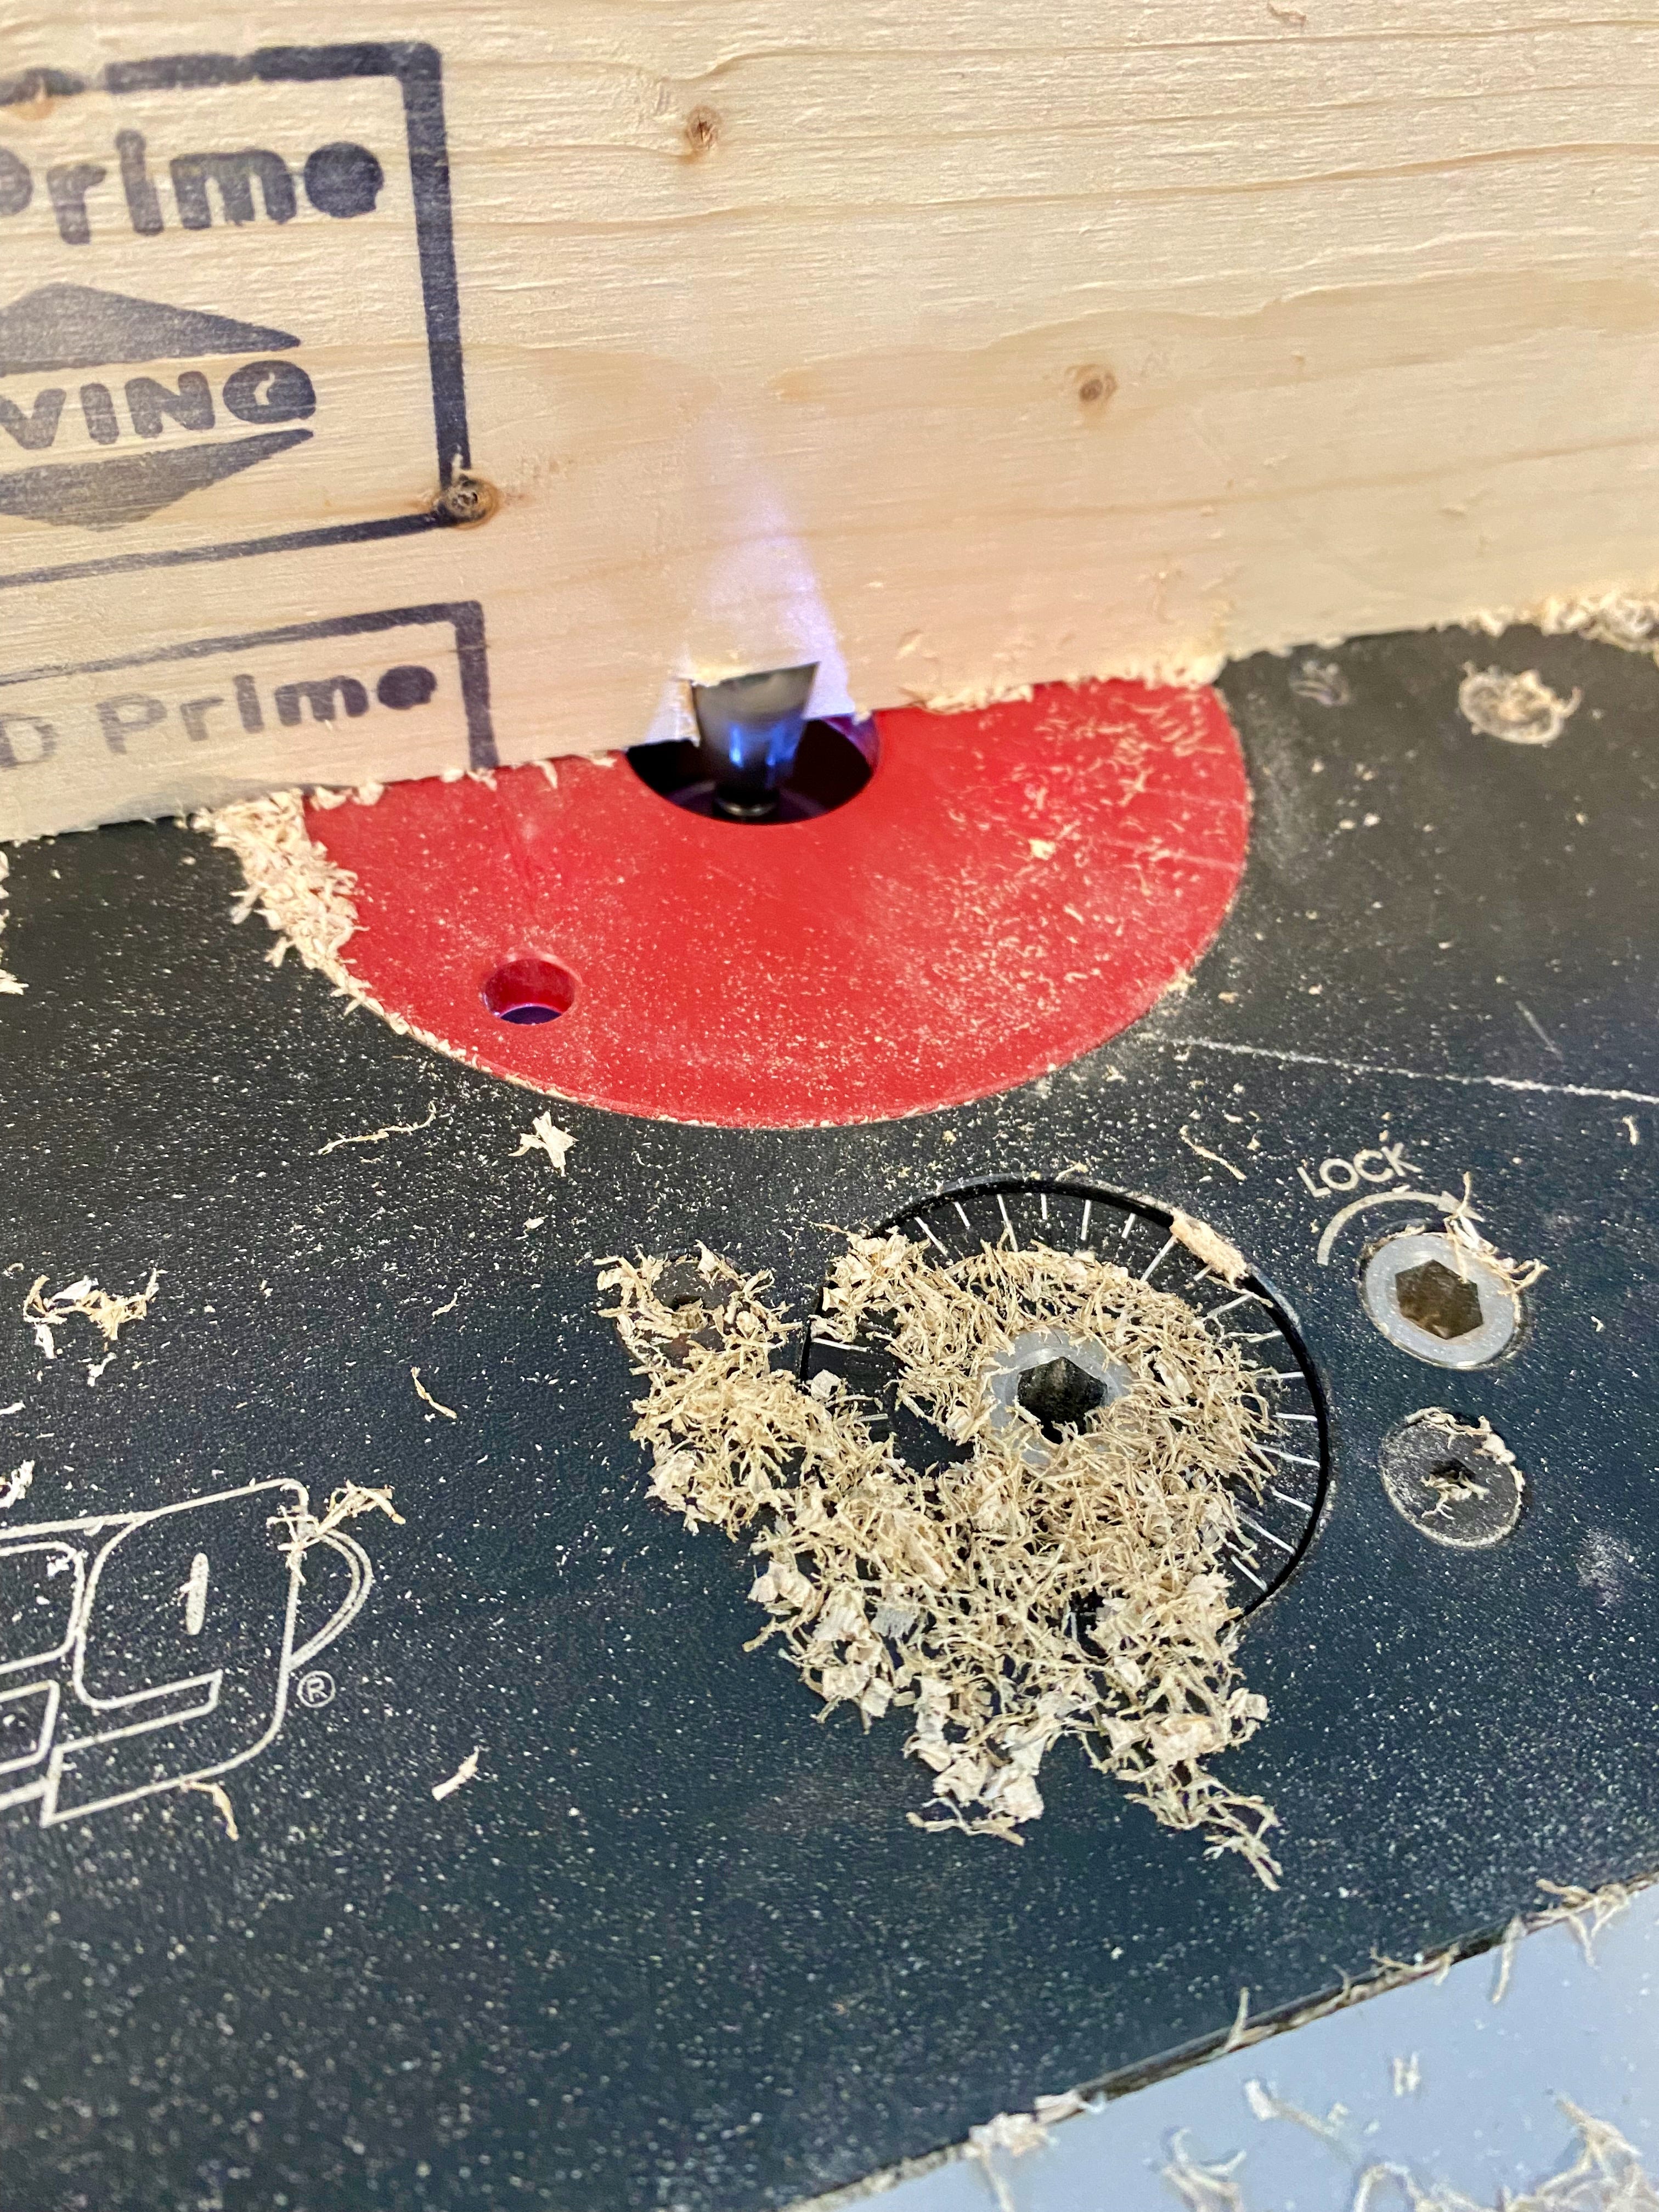
With the legs in place, I decided one more detail would be to add a chamfer to the top edge of the entire board. I switched router bits and reset the scrap fence. Then I ran the board, face down, across the chamfer. The only tricky part with this was that maple (and walnut for that matter) will quickly burn when held against a blade or bit for too long. Go too fast and you're likely to screw up. But go too slow, and you'll leave burn marks on the wood.
One way to reduce the changes of this happening is to take multiple passes with each pass cutting only a thin slice. This is most easily done with a fence that can be quickly and easily adjusted. I did not have such a fence. A few passes did result in scorch marks, but subsequent passes removed them and all looked good.
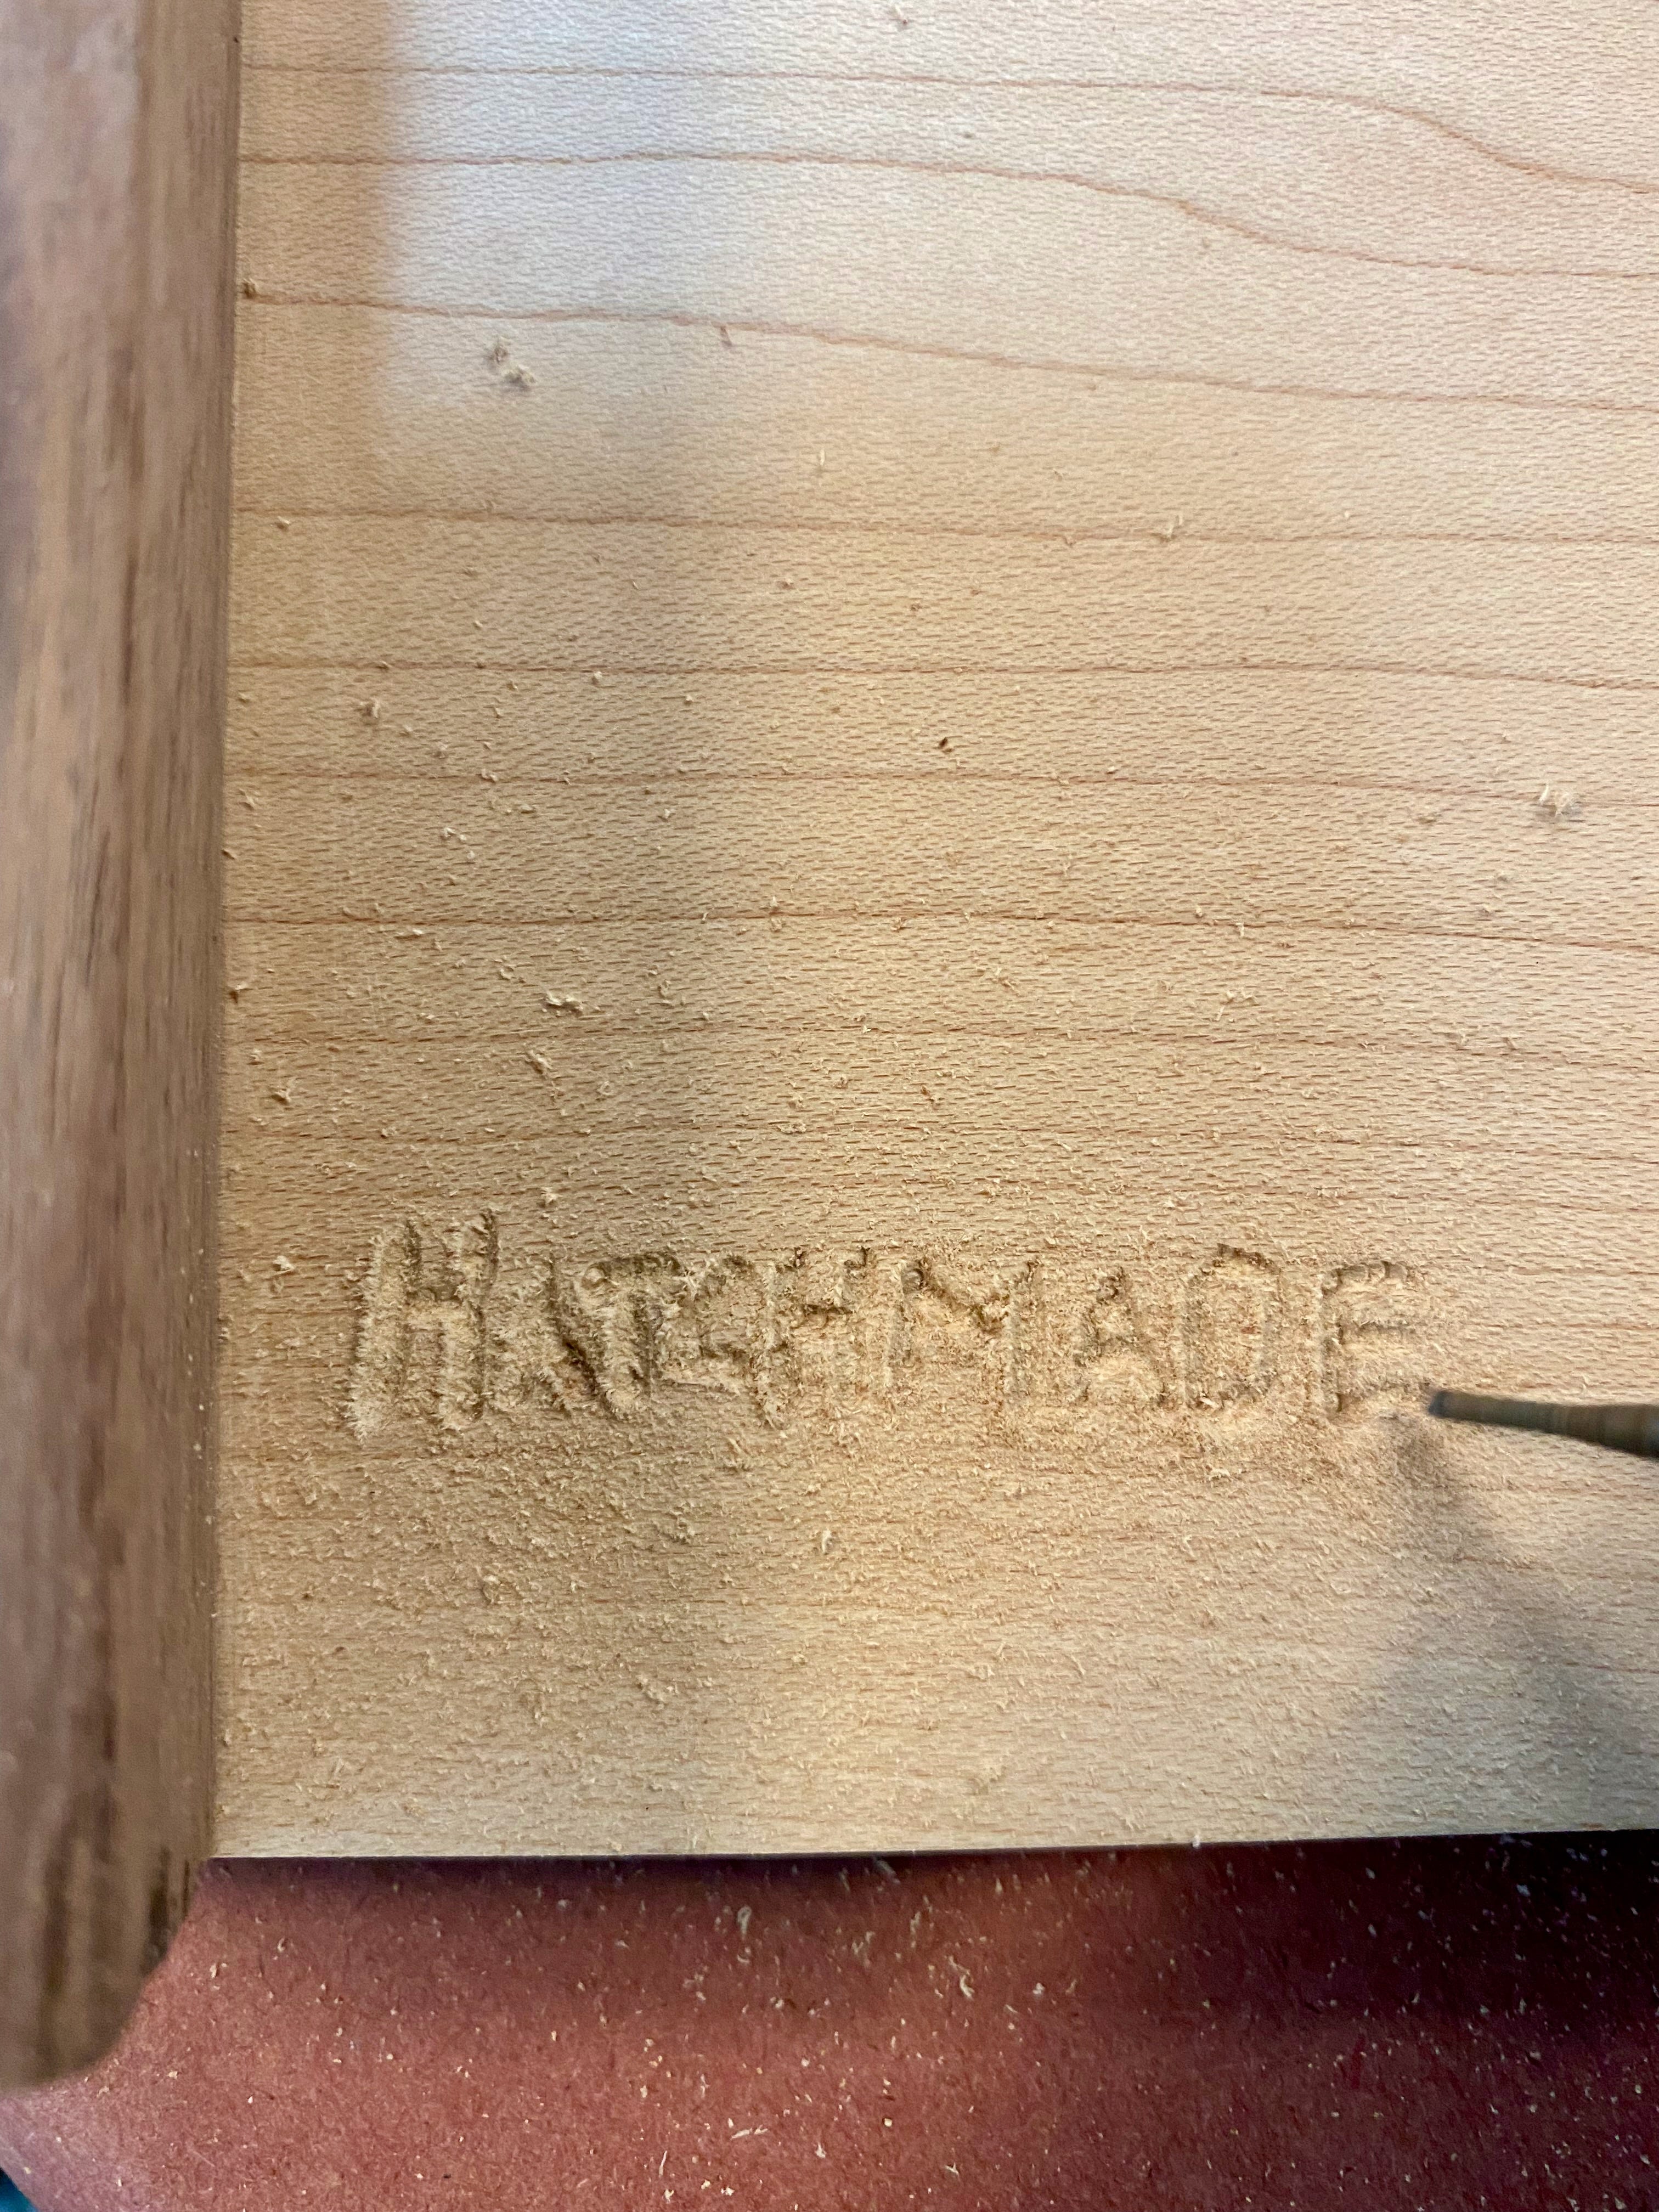
I got out my sandpaper and started to work through the grits — 80, 120, 150, 220 — when I realized I had forgotten one thing. As this was a gift, I wanted to inscribe a message and leave behind a "signature." I got out my trusty Dremel and fitted it with a cutting bit. Then I carefully inscribed a personal message and also left behind a "HATCHMADE" mark. Too bad my shitty handwriting extends to Dremelwriting.
With the inscription in place, I finished sanding and then applied several coats of Tung oil, a food-safe finish that brings out the natural richness of the wood. Once the Tung oil dried, I used paste wax to give the table a final protective sheen.
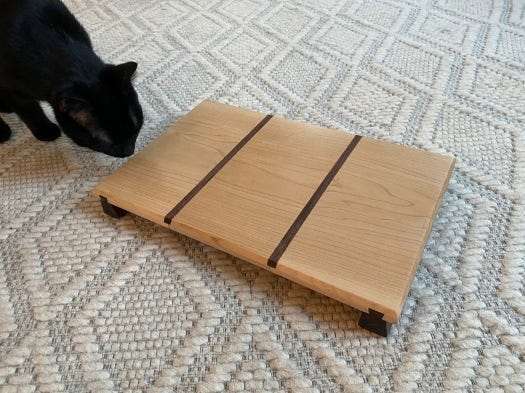
Now, into the mail it goes.