
Another Brick In the Hall

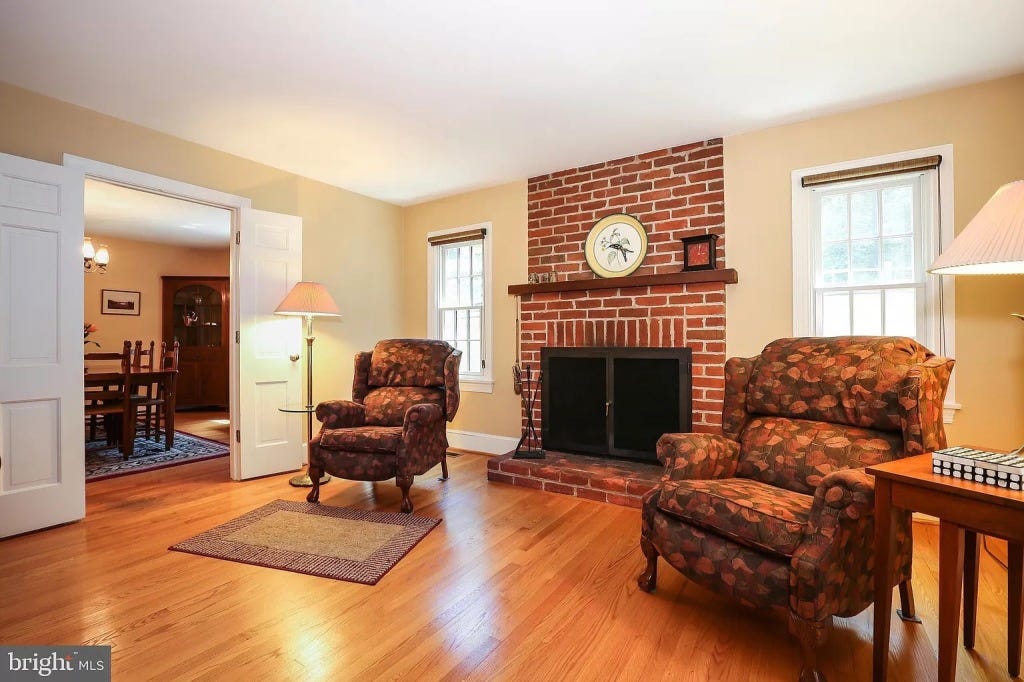
One of the first things we did after moving into our new house was to install a wood-burning fireplace insert into our living room. In the months since, we've made ample use of the fireplace, but it never felt quite right. Finally one recent weekend, I decided to do something about it. Hopefully I don't come to regret it.
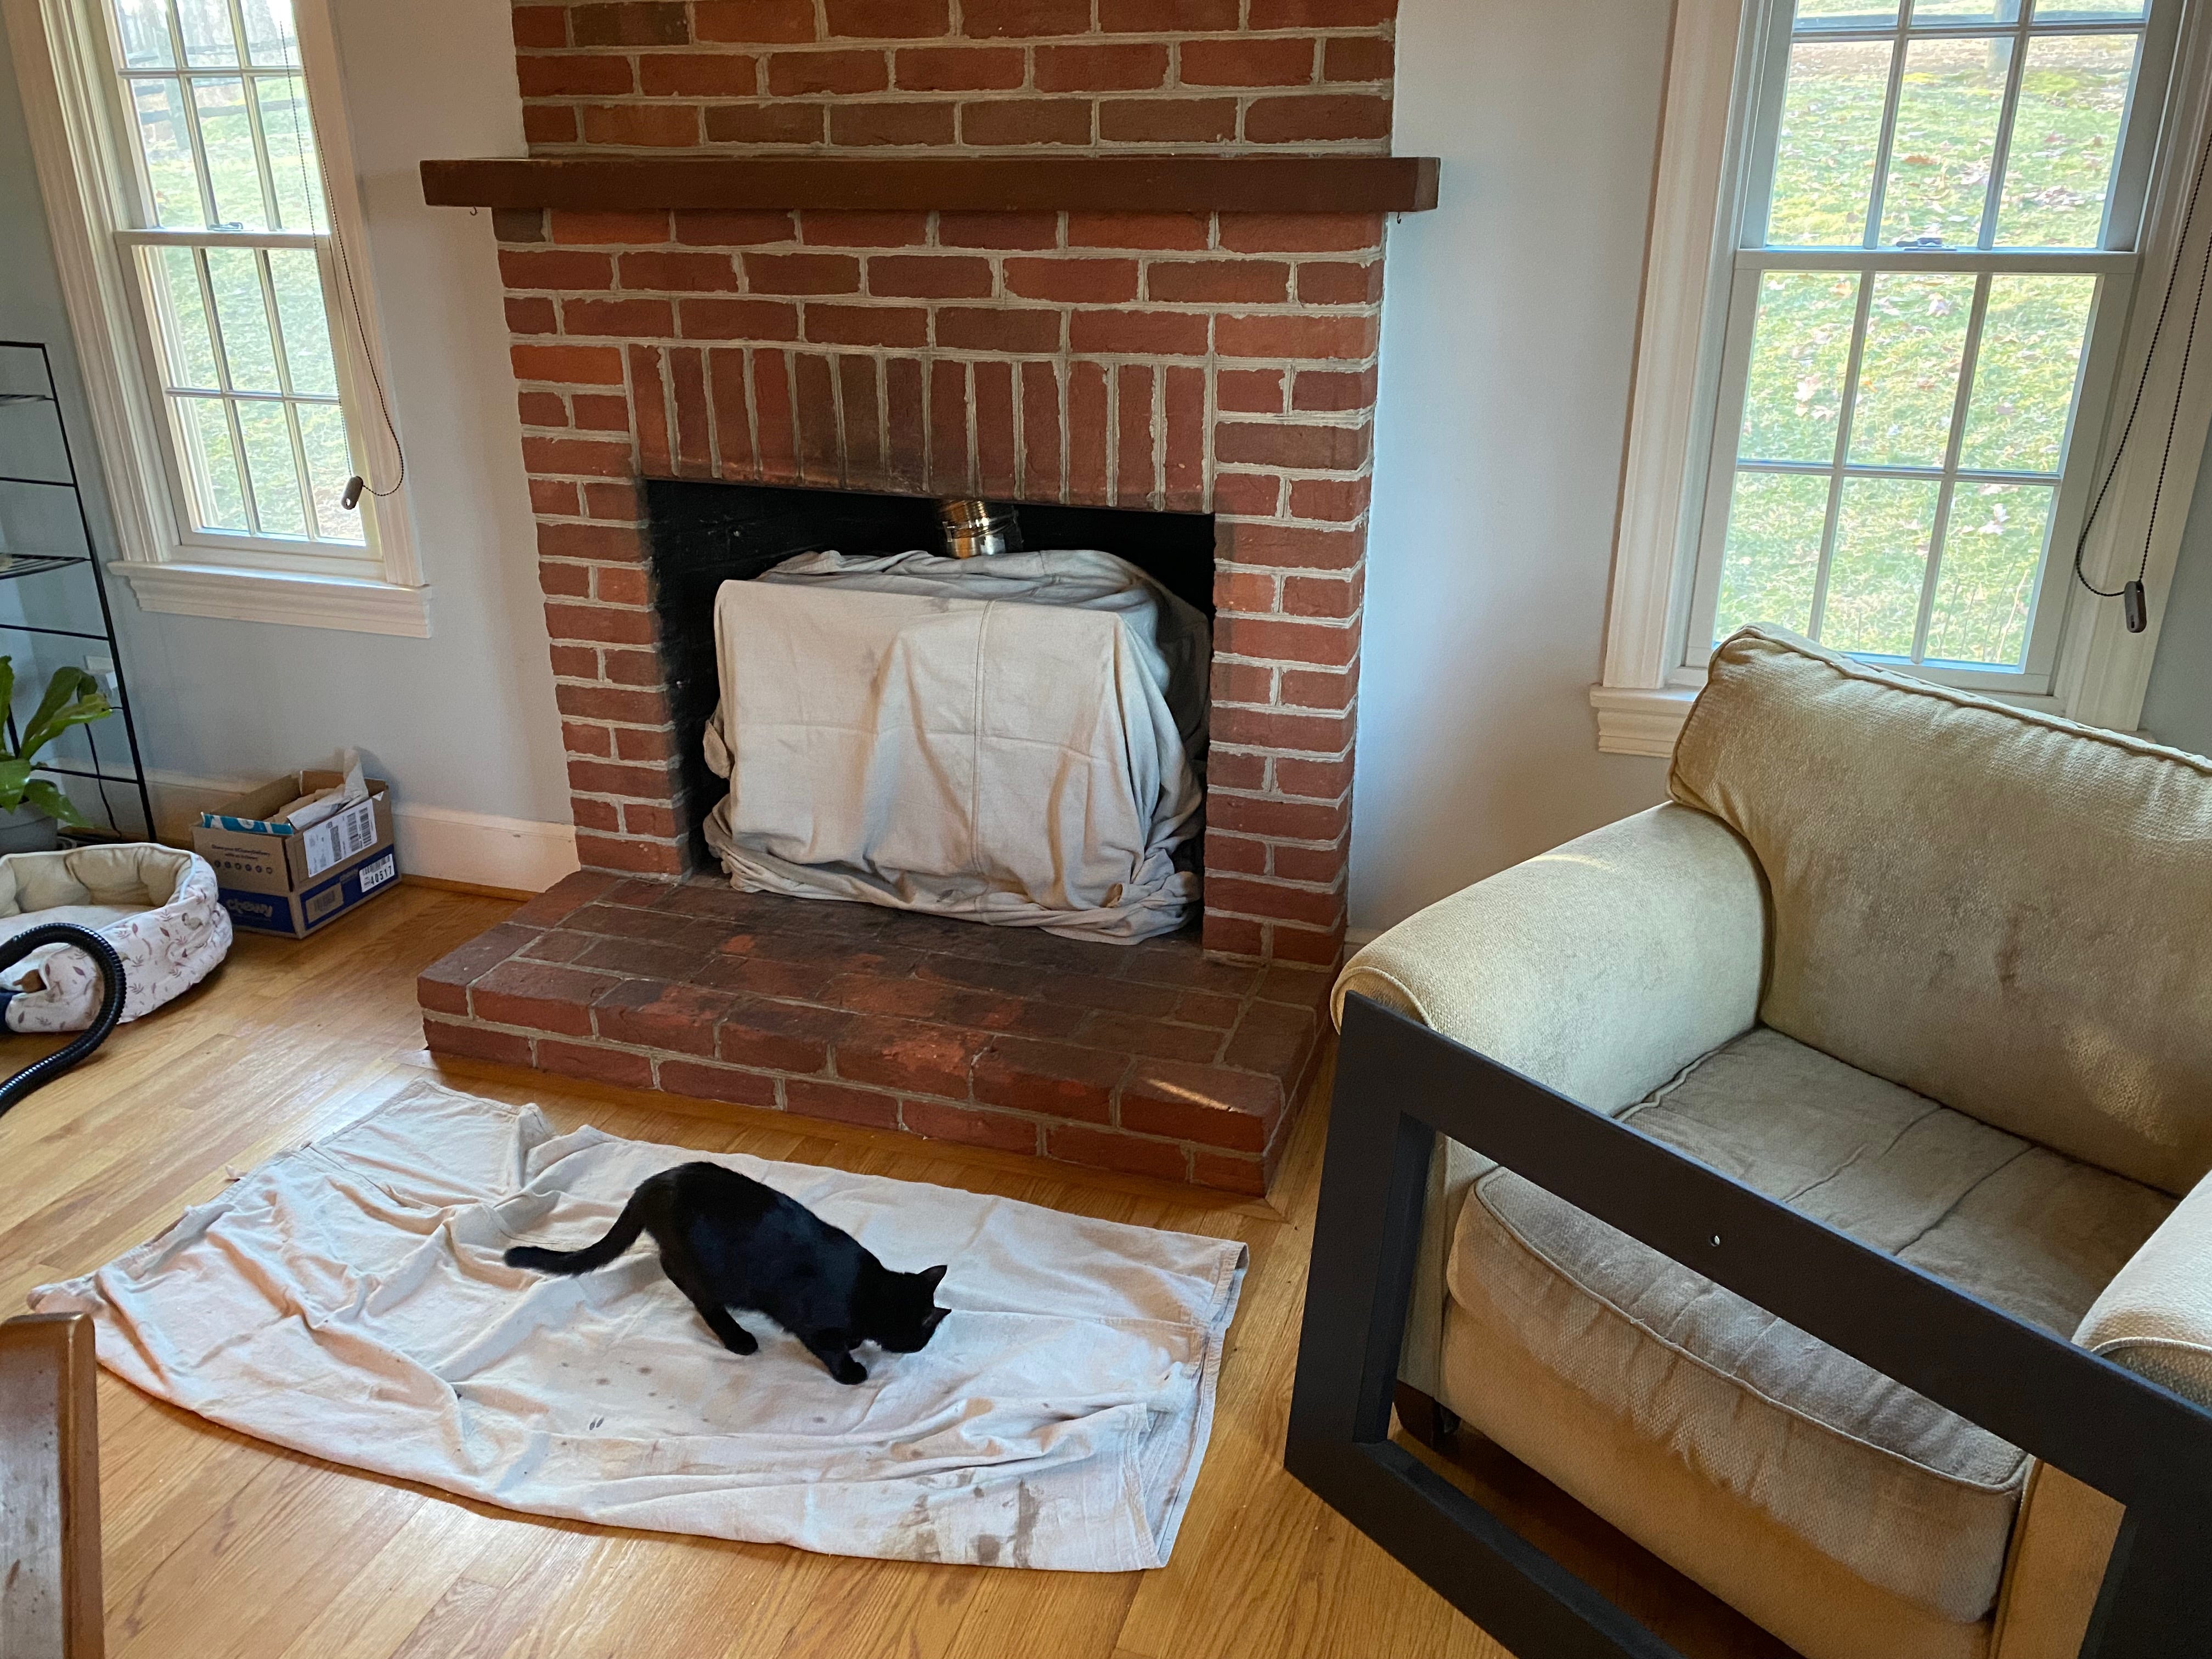
There are a few reasons we decided to address the fireplace as soon as we moved in. First and foremost, it had been used extensively and a layer of smelly creosote at built up in the firebox and flue. The odor was strong and pretty unappealing. To address it, we needed to remove the old terra cotta liner and seriously clean the firebox.
Then if we wanted to use the fireplace, we'd have to re-line the flue, which was not only pricey, but likely to continue to deliver a char smell into our house from the remaining creosote. Plus, open fireplaces are notoriously inefficient as they draw warm air from the house and send it out the chimney.
The best solution we had for his was to install a flush-faced wood-burning insert — basically a wood stove without feet. After measuring the opening of our fireplace, we found one that would fit the space and our style.
Installation was smooth, if sooty, and once in place, we enjoyed the intense heat it delivered to our living room and house. But something just wasn't sitting right. The black matte insert simply didn't fit in with the brick fireplace.
So, after several months of pondering, I decided to paint the brick. It felt like such a consequential decision. What if we didn't like the look? Could we really go back? It's not like getting a bad haircut where in time your hair will just grow back. This was more like getting a face tattoo; You'd better fricking like it.
Tattoo Artist, Here I Come
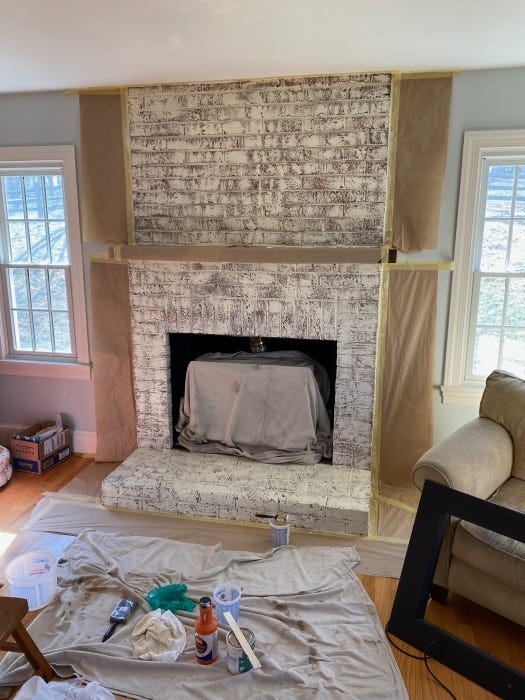
Finally I decided it was time. Early on a recent Saturday, I headed to the paint store and bought a quart of paint in the same color as our trim. Back at the house, I removed the insert's trim, taped the fireplace's edges and covered the floor. I shooed the cats away and washed the brick with a mixture of TSP in warm water. After letting the brick dry for an hour (I think I was supposed to wait 24 hours, but eff that), I mixed the paint 1:4 with Floetrol paint additive. I wanted to thin the paint and give it a more whitewashed quality.
Starting at the top, I brushed on some paint and dabbed it off with a cloth. Brick by brick, row by row, I brushed and dabbed. Once I got to the bottom, I stepped back and took it in.
It looked... ok. Kind of like someone coughed skim milk over the fireplace. Did I like it? Too much? Not enough? I texted photos to some friends to get their thoughts.
"It doesn't look finished," one wrote.
"It needs another coat," another said.
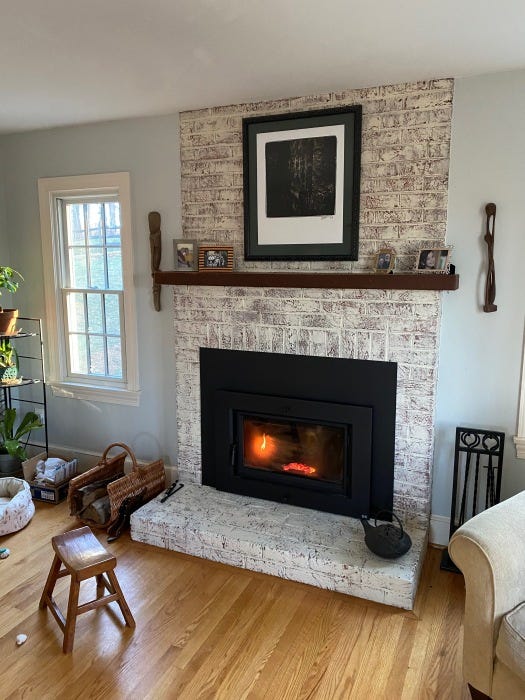
I took the words as encouragement and poured more paint. This time I mixed 1:1 with the Floetrol to increase the opacity. I brushed and dabbed again. I stepped back. The result was transformative. I snapped and sent more photos.
"Good. No third," I was advised.
That seemed wise, so I packed up and cleaned up. When I returned, I found myself staring at the now-white brick wondering if I'd made a huge mistake. I reassembled the insert and stepped back to take it in.
"It's pretty stark," I said to Cyn. She said she liked it.
I wasn't so sure. I thought maybe a piece of art would help. We tried several pictures and paintings, but all got list on the busy white-red background.
"Maybe a clock?" Cyn suggested and pulled out her iPad to search for clocks that might look right in that space.
Meanwhile, I remember a photographic print I had given Cyn many years earlier. It was a black and white photo of a petroglyph in Eastern Europe. We had it mounted on a dark green matte with a carved black frame. I fetched it and put it on the mantel.
Suddenly, everything worked. The solid colors of the framed photo against the white and red swirls on the brick snapped into place. The large photo over the insert tied the two together. Finally it was right.
Almost.
There is one thing that's not quite right, and that's the wooden mantel. I'm not sure what wood it is, but it doesn't appear to be anything special. And it seems to be painted a dark brown, rather than something more natural.
As it happens, I have a large piece of black walnut that could be cut to the same dimensions. I'm thinking that would be a much nicer replacement, but I'm not sure how to remove the old piece of wood. If I can figure that out and then shape the walnut to fit, I think it will elevate the fireplace even further.
I guess that's something new to munch on. For now, though, I'm pleased with the improvement.