Addition by Division
Looking at this past year of woodworking projects (and some more coming up), I think they can be divided into three categories:
Outdoor furniture, which focuses more on build quality than on the finish work.
Indoor pieces, which demands a high-quality fit and finish.
Quick solutions that aren't meant to meet high standards, but get the job done.
Adirondack chairs and planters, for example, certainly fall into the first category. Cutting boards and trays, shelves, boxes, and a walnut bench (coming soon) clearly fall into the second. And the third category includes projects like the dog feeder stand, Jenga blocks, garden boxes, and this week's project: the cutlery dividers. Oooh, ahhh.
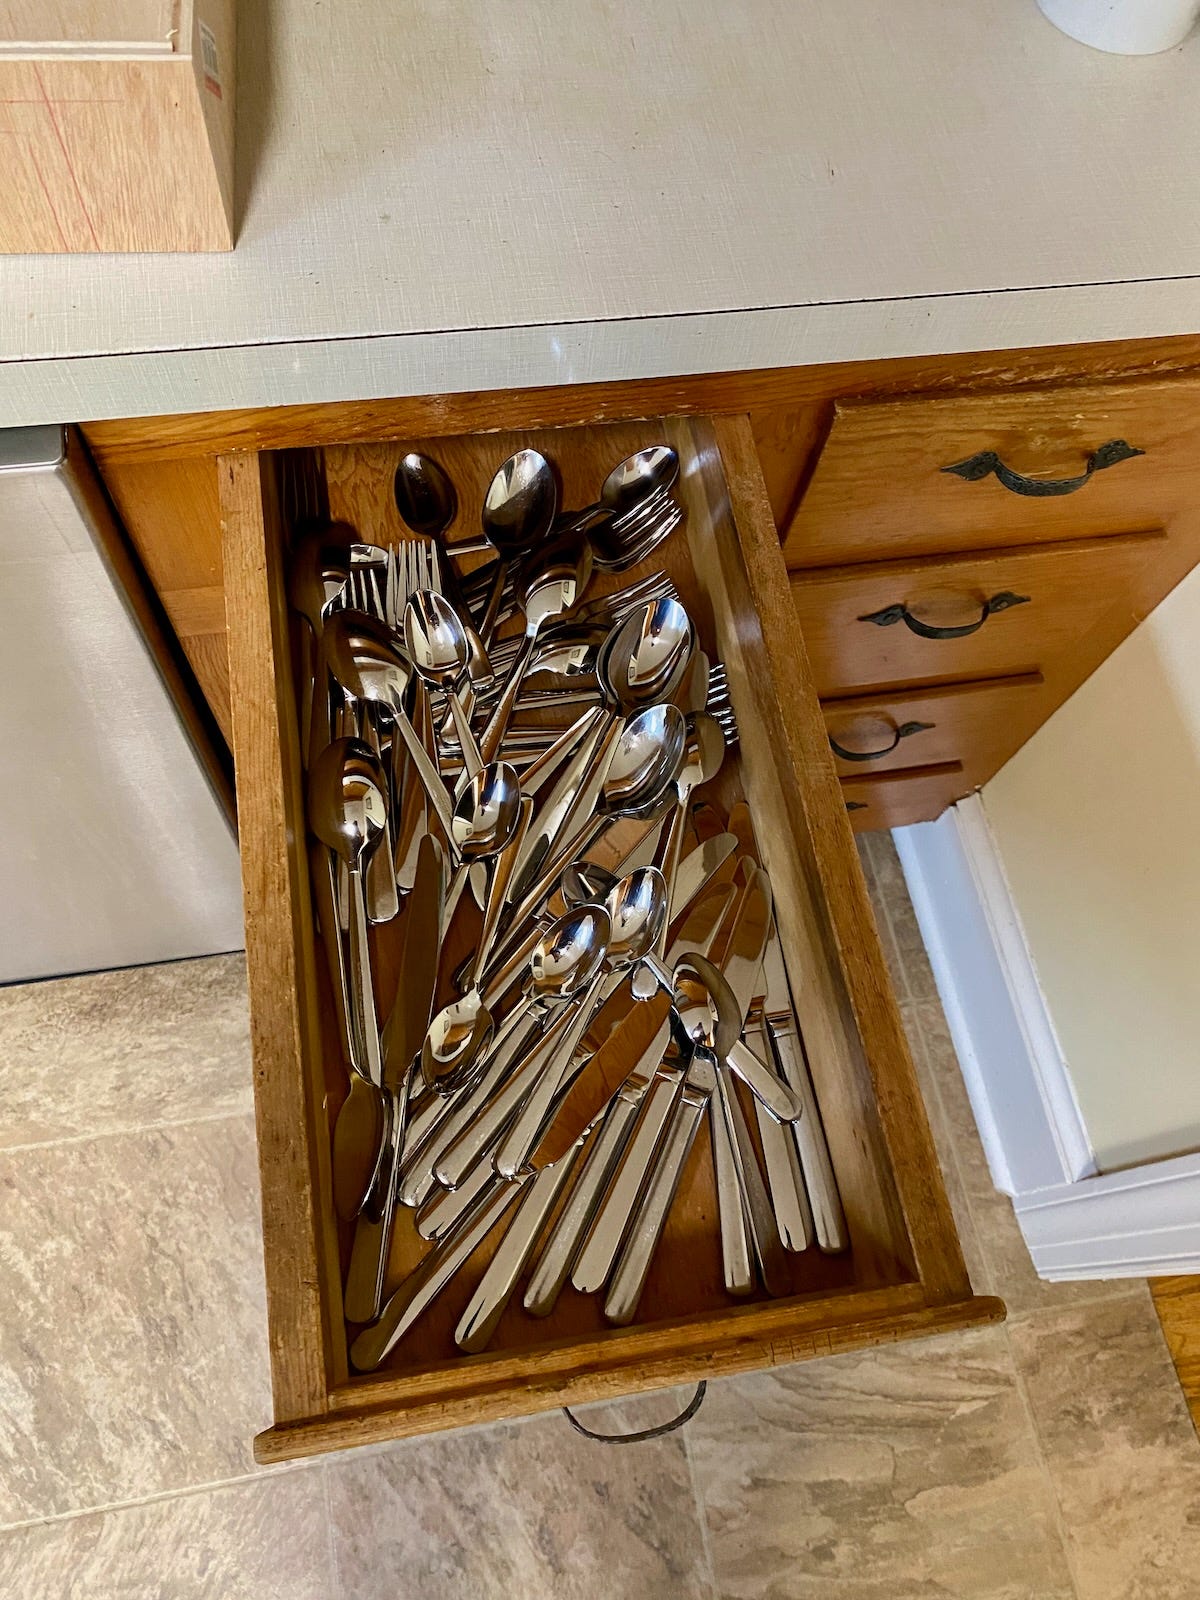
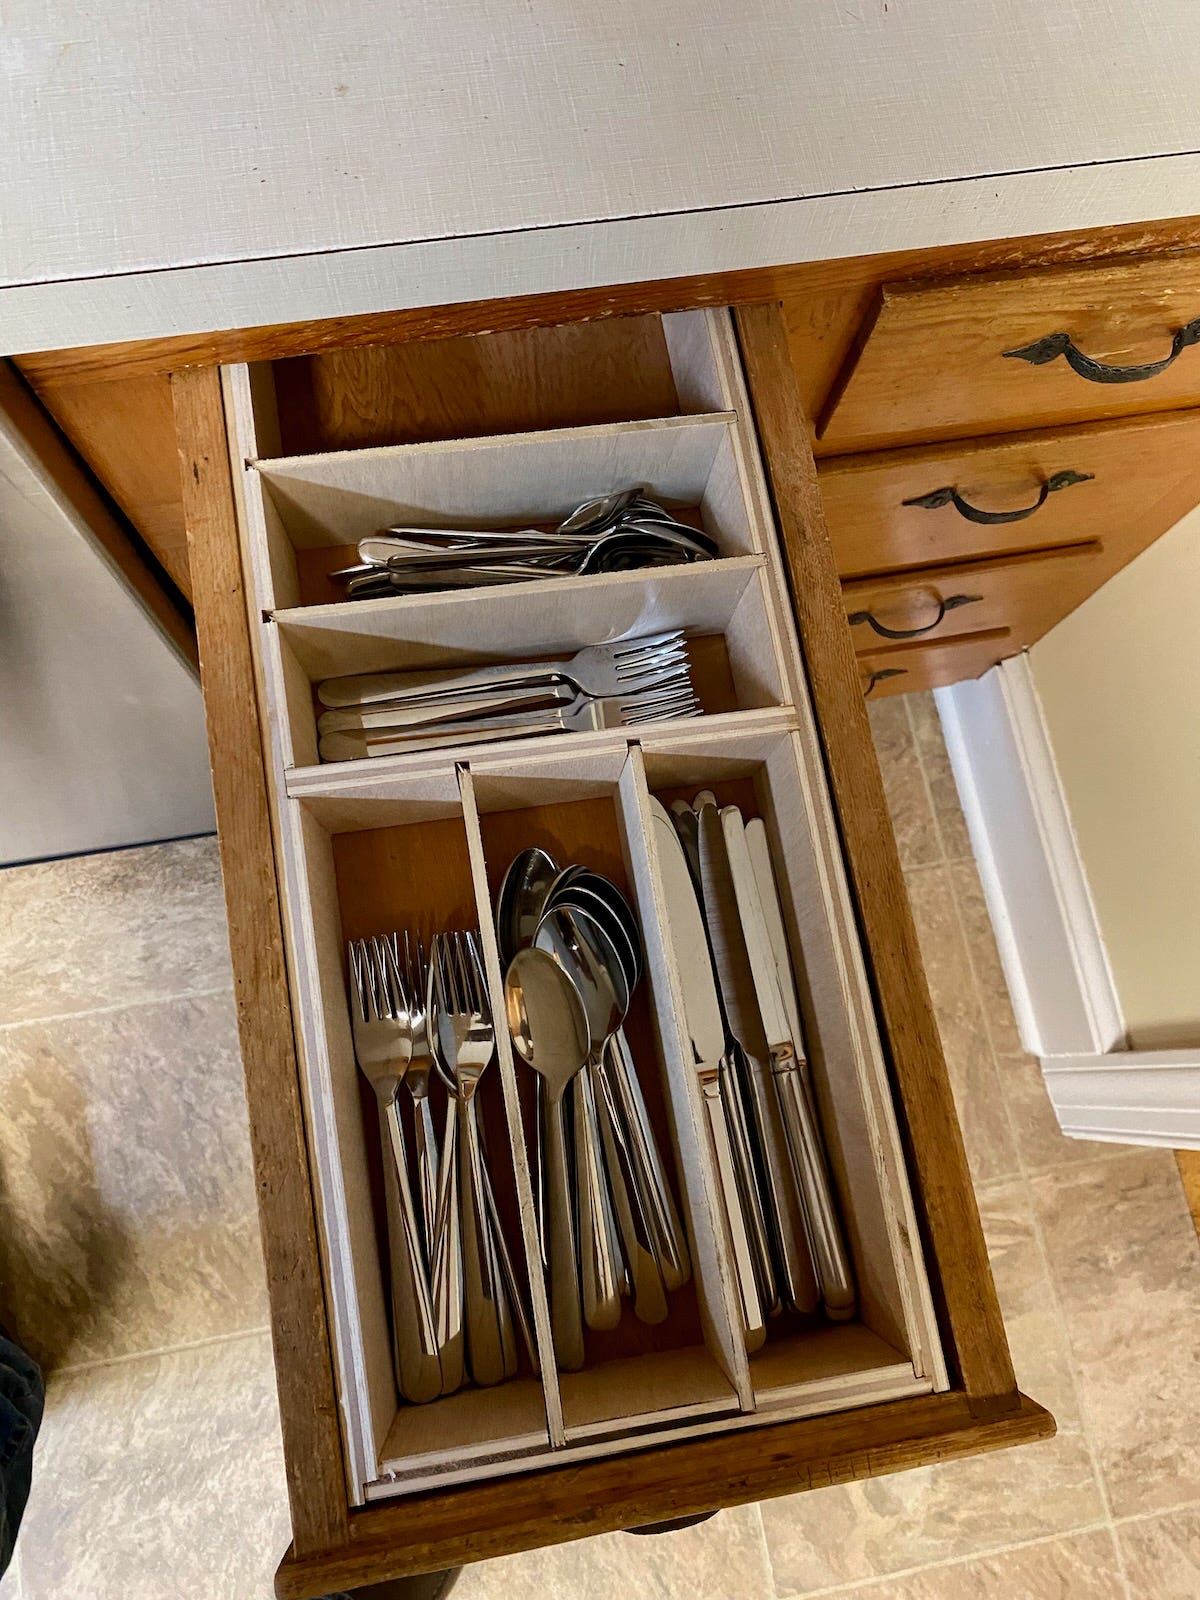
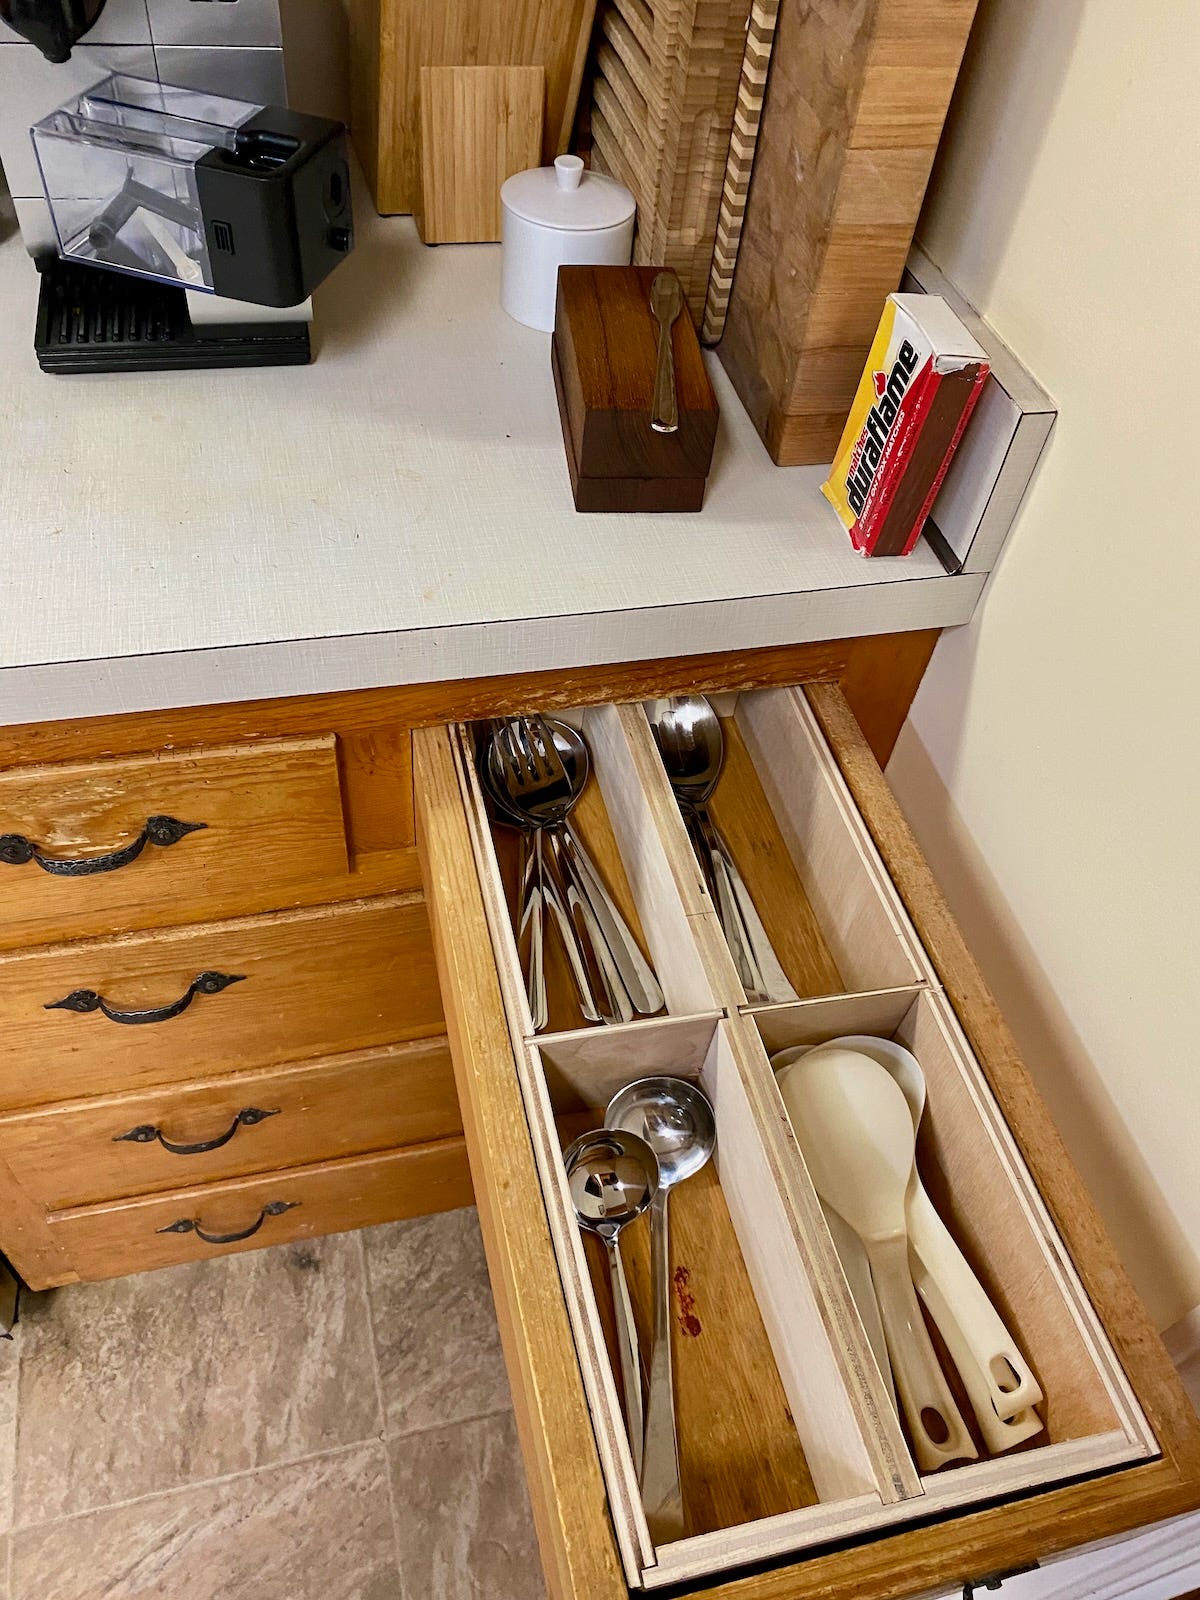
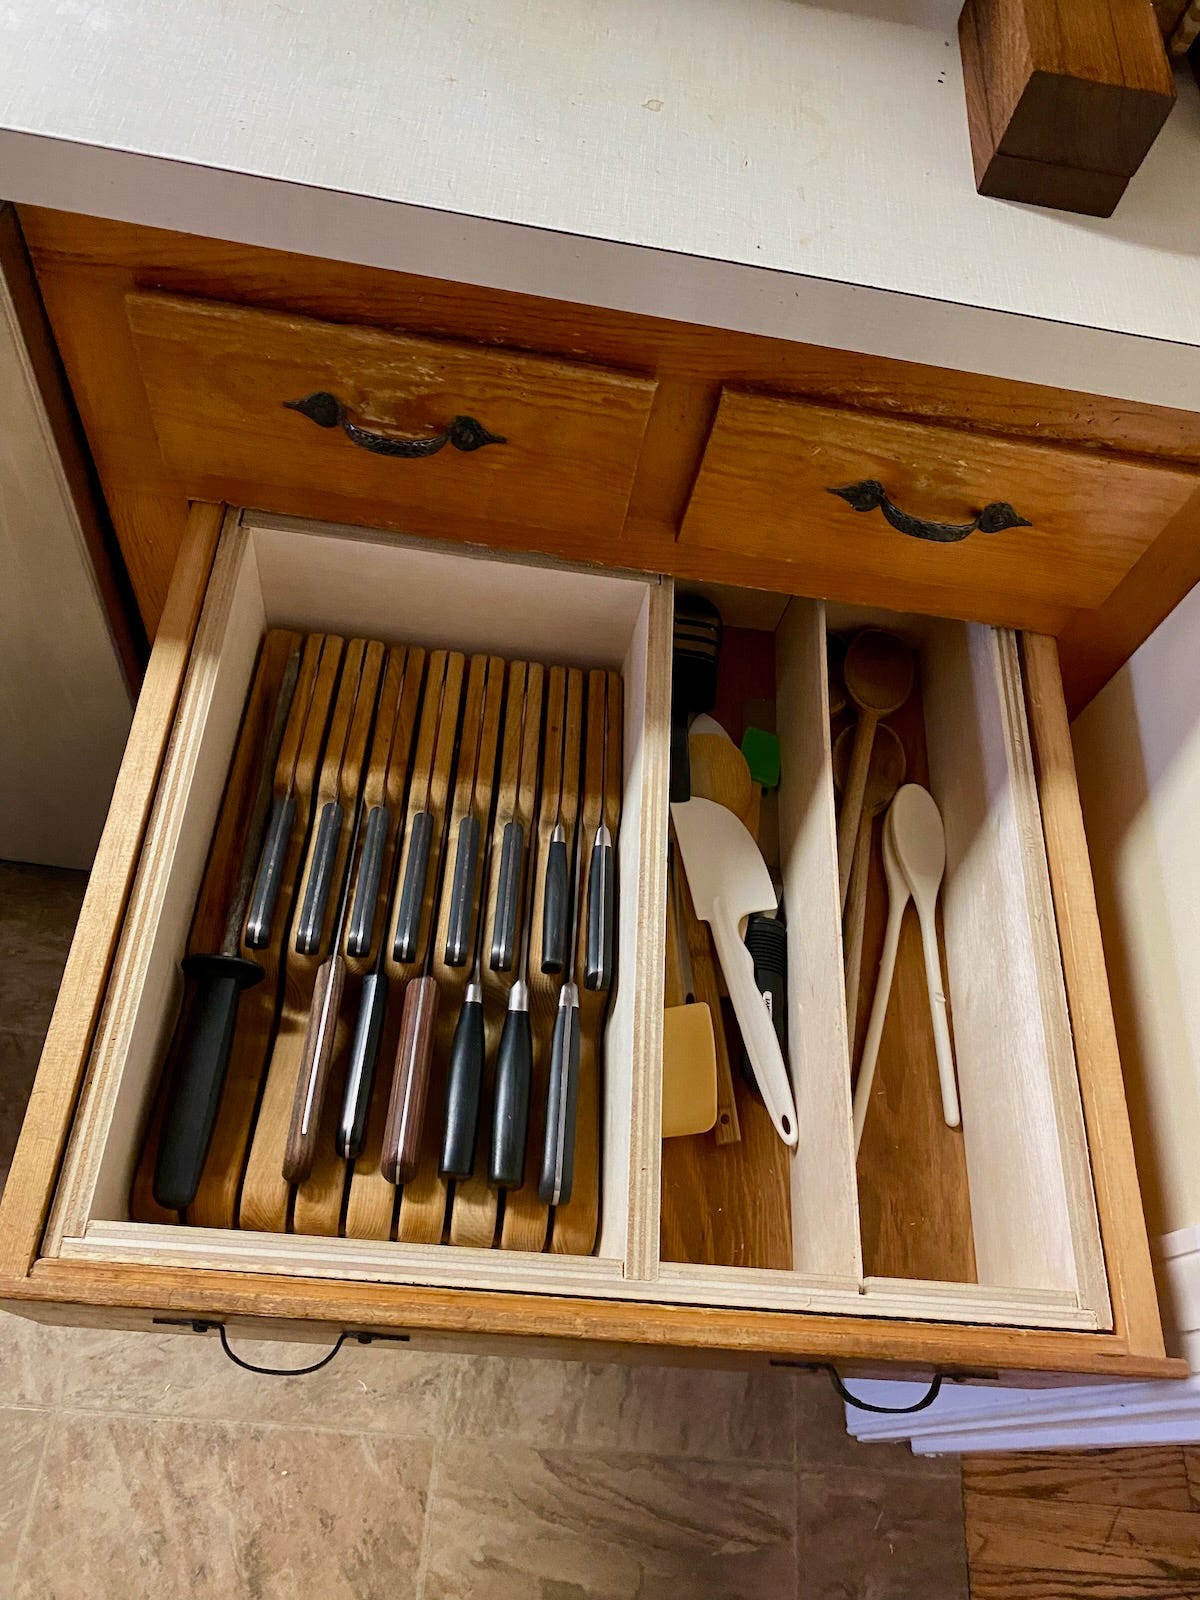
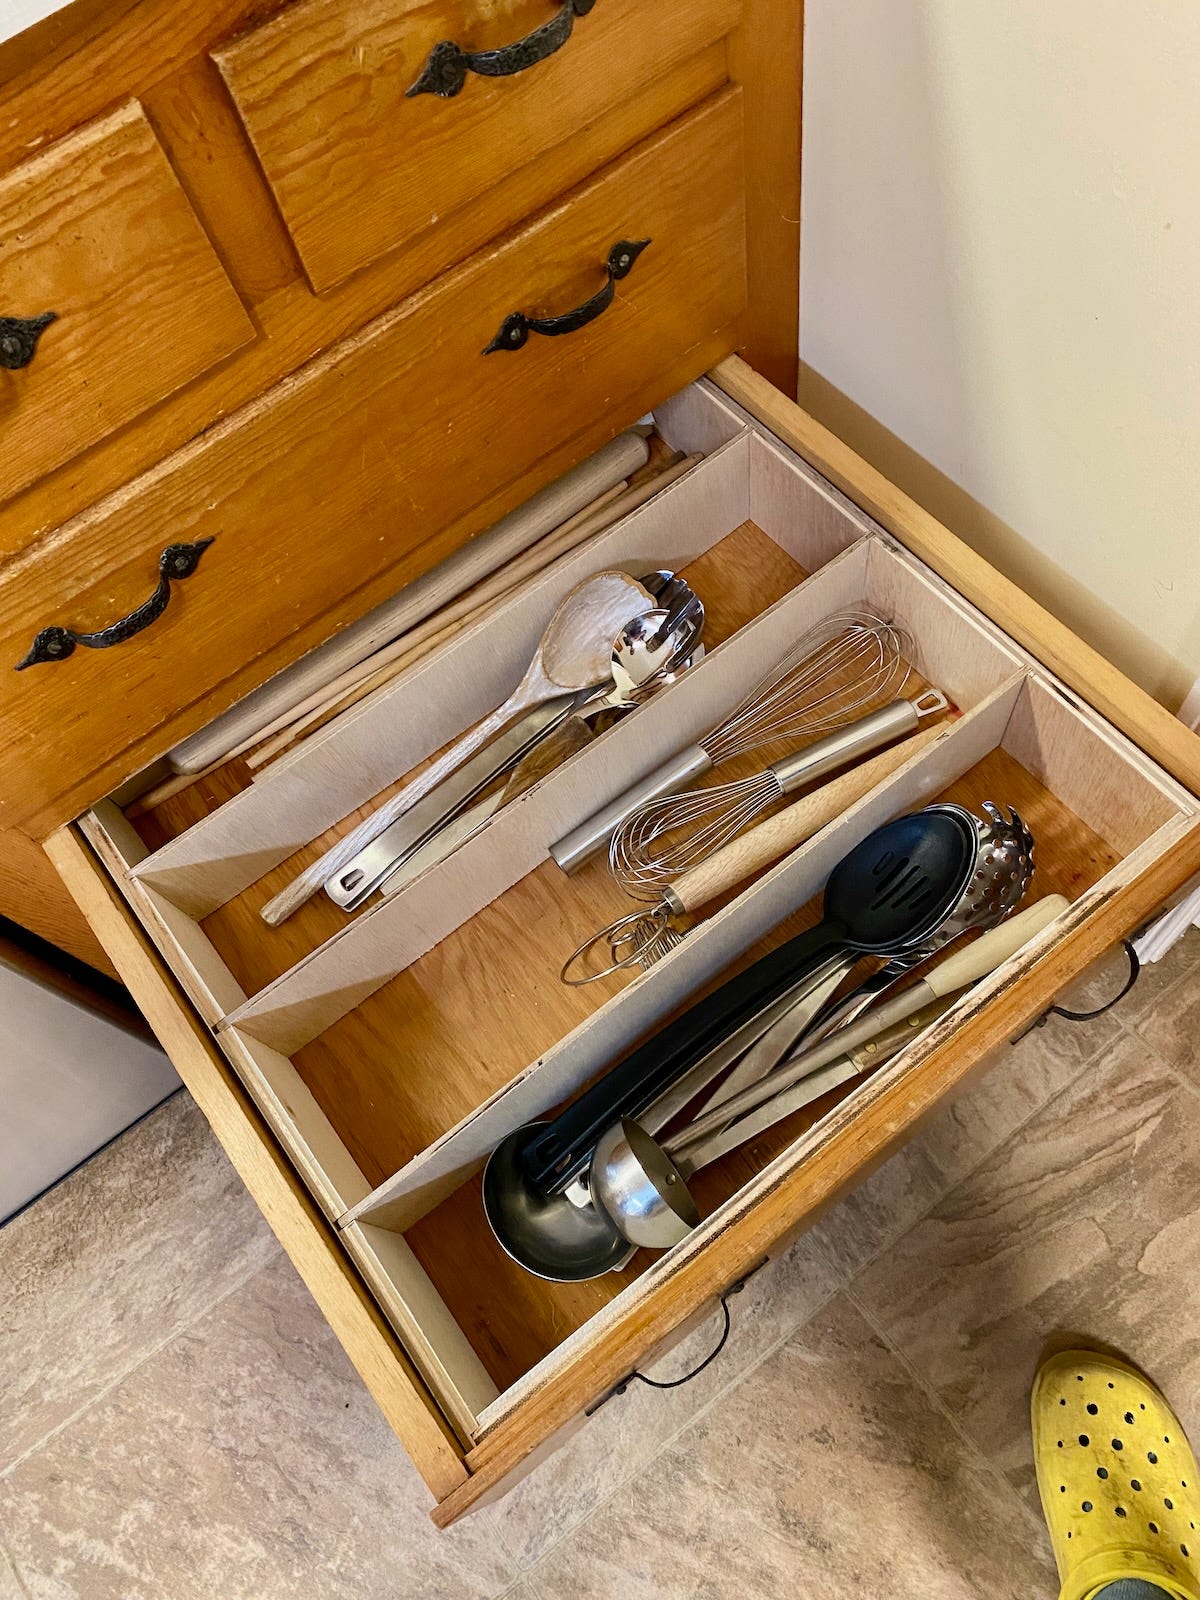
If our kitchen was fancy with fine cabinetry and stone countertops, then I'd want equally fine cutlery dividers — the kind that would adhere to the standards of indoor pieces with a high-quality fit and finish. But, our kitchen is 40-60 years old with pine cabinets and formica countertops. I did not need to go all in on fine dividers. I just needed something to help put order to our drawer disasters. And for that, it was scrap plywood to the rescue.
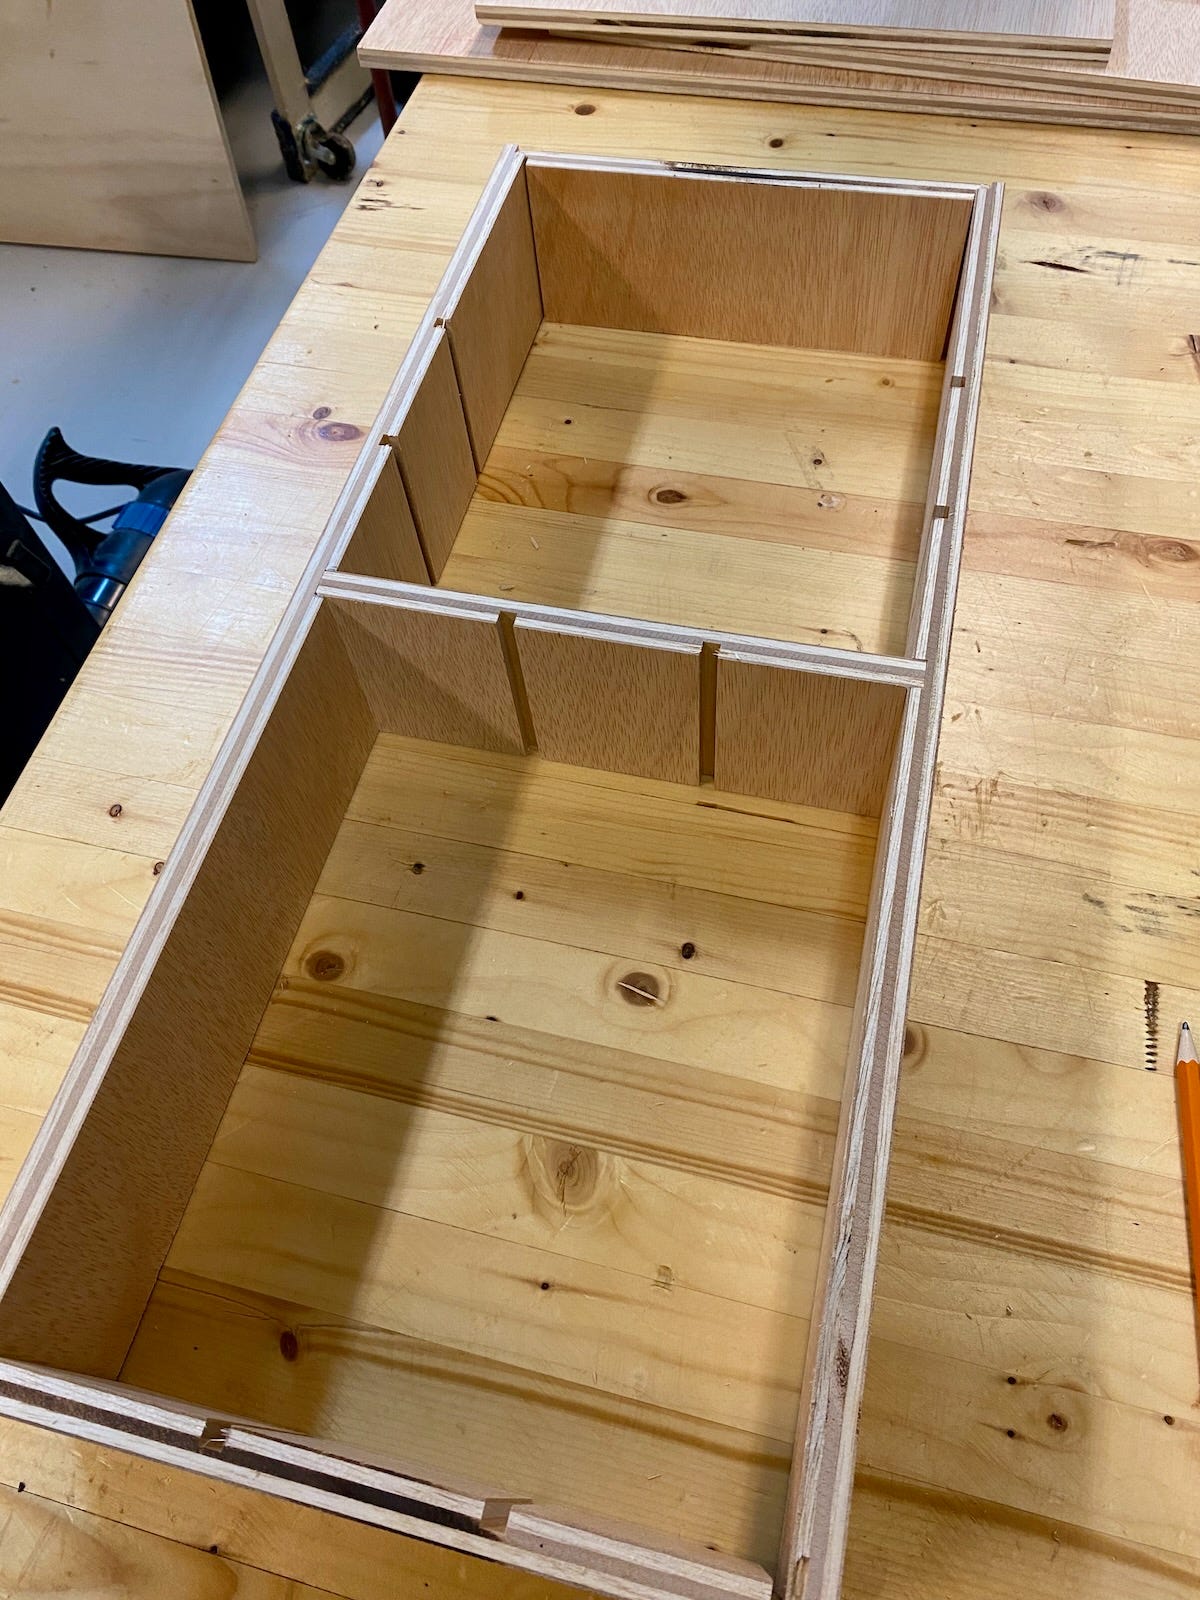
My plan was to build what you could imagine as a box without a top or a bottom. That box would sit inside the drawer, basically adding four new inner walls. Then I would slot dividers into this box and they would separate forks from spoons from knives and so on. Easy peasy.
I started by measuring the interior dimensions of thee drawers — there were five in all that I wanted to organize, two narrow drawers and three wide ones.
Once I had the dimensions of the drawers, I measured key utensils and determined how many — and in what size and orientation — spaces I wanted. To do this, I had to keep in mind the space that the dividers themselves would eat up. For example, if my drawer was 12 inches wide and I wanted three spaces, it's not like the spaces could be 4 inches each. I had to account to the thickness of the divider's walls. Thus if the outer box used ¾-inch plywood on each side and the two dividers were each ¼-inch plywood, that adds up to 2" lost to the plywood, leaving each section just about 3-¼" wide.
In addition, I needed to think about construction and the size of each piece. For example, if the width of the box was 12" and the length was 20", that didn't mean I needed two 12" pieces and two 20" pieces. Depending on how I chose to join them together, the side pieces might only be 18.5", since the ¾-inch plywood on each end would take up the remaining 1-½ inches.
This was true for the interior dividers as well. Let's say I wanted a section that was 8" long. That divider needed to slot into walls on either side, so instead of cutting it to be 8", I might cut it to be 8-½" so that there would be ¼ inch to slide into the ends.
All of that is to say, I had to measure and work out all the dimensions before I got started.
Once i had the measurements, including the depth of the drawers, I started making sawdust. I ripped the plywood down to size and used the miter saw to cut pieces to length.
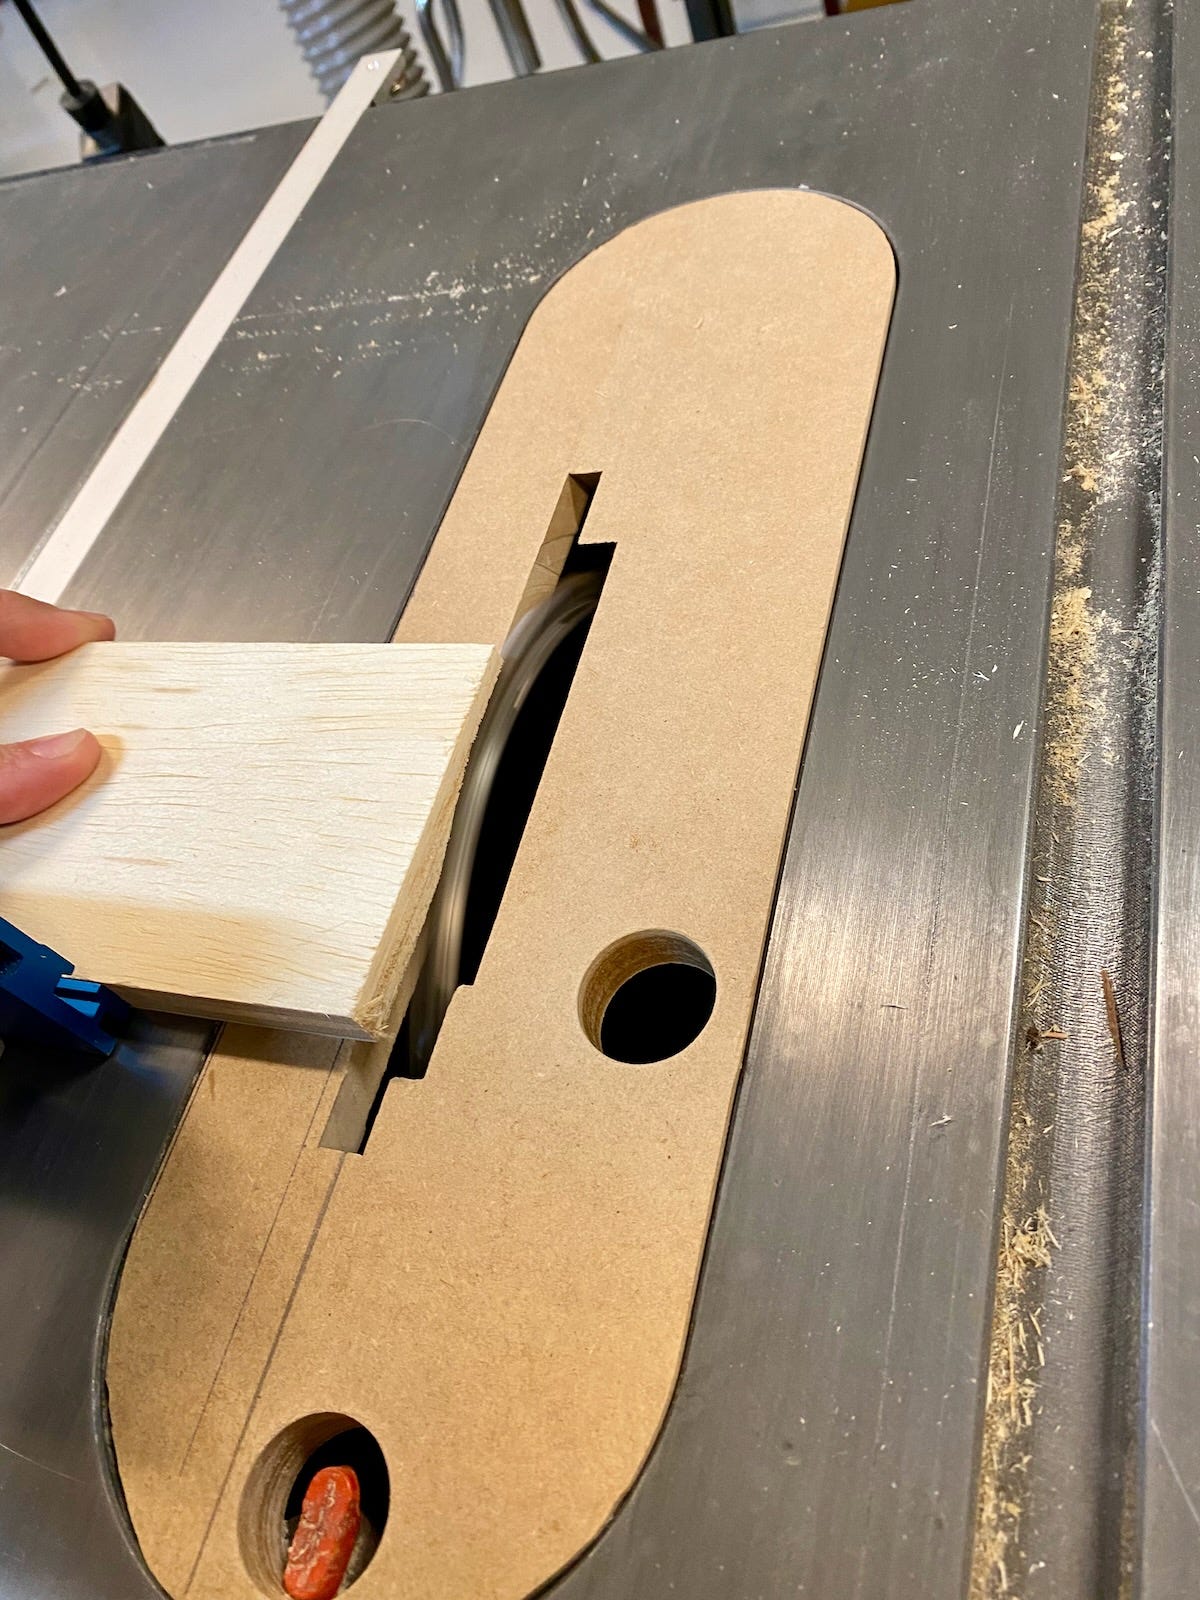
I decided my corners would be lap (as in overlap) joints. Lap joints are great because they are easy to make and they have lots of surface area for glue. To make them, you cut what's known as a rabbet, which is a recess or a groove cut into the end. It's the perfect job for my table saw and dado stack.
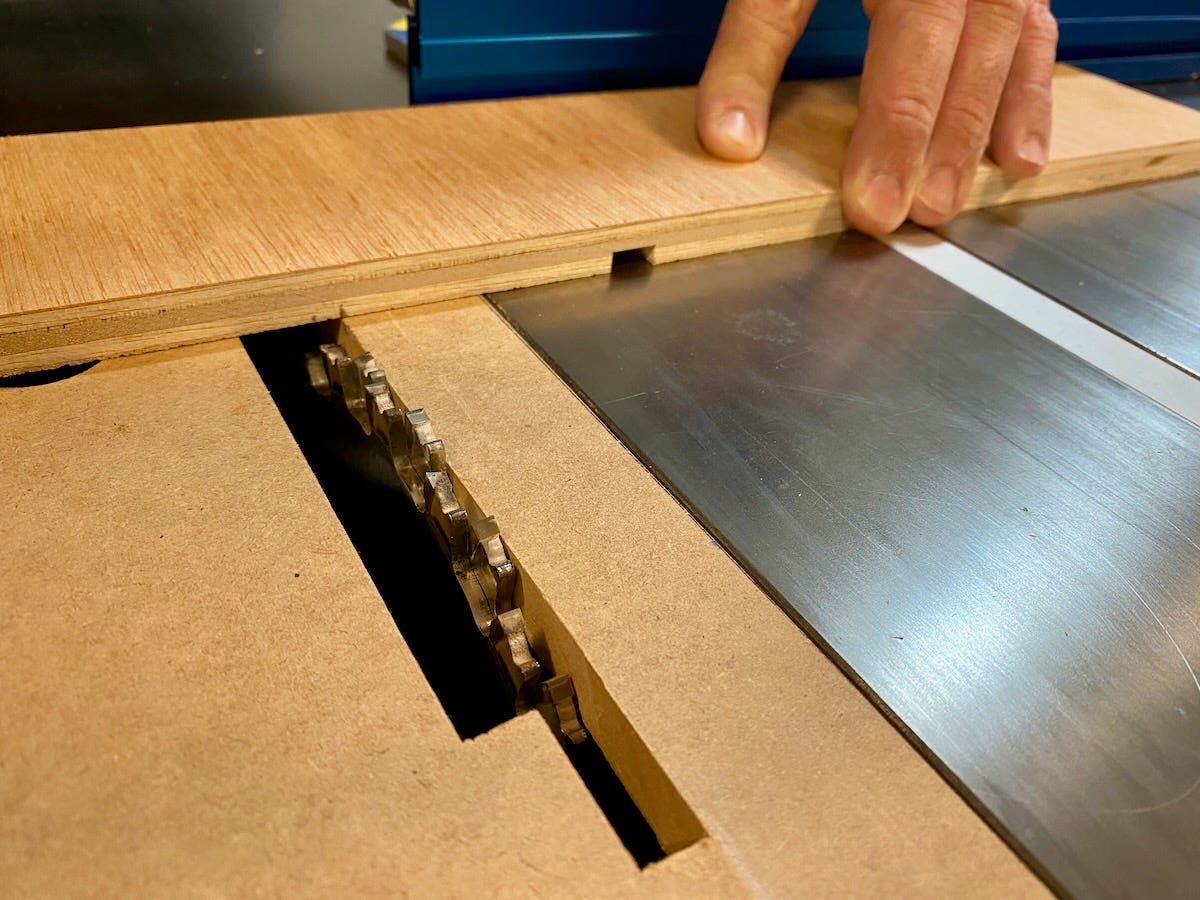
Next, I needed to cut dados or grooves into the side pieces to fit the interior dividers. I made careful measurements and marked where the grooves should go. Most of my interior dividers were made with ¼-inch plywood, so I altered my dado to make thinner cuts and sliced away. However, some interior dividers would be further sub-divided, so for those I needed thicker plywood — either ½-inch or ¾-inch. As such whatever slots were intended to receive those pieces needed to be cut accordingly.
With all the pieces cut, it was time to dry-fit them together. I set everything up on the table, tacked corners in place with brad nails, and then brought them inside to test fit in the drawers.
For the most part, they fit great, but a couple pieces I managed to miscalculate. Measure once, cut twice is my motto and I once again lived up to it.
After muttering some choice expletives, I recut a few pieces, reassembled and then re-fit. Eventually I got them right.
With the fit confirmed, I glued corners and tacked in the dividers. I brought them back into the house, plopped them in palce and re-arranged all the utensils.
With their plywood construction, the dividers are definitely utilitarian. They won't win any design awards, but at least now I know where to find my spoons and whisks and spatulas. And really, in the end, isn't life just about being able to find your spatula?
Addendum: A few weeks after I "finished" this project, I discovered that the height of some of the dividers was a problem in that if they lifted up for some reason -- say a knife slipped under one of the sides -- the divider would rub against the top of the drawer causing it to stick. So, I took the dividers back to the shop and cut them down a bit. That solved the problem. Good to know for next time!


