A Love Seat for the Yard
A new bench swing in honor of a loved one
A few months ago, Cyn and I were visiting a beautiful farmhouse in Rappahannock county and I was quite taken by a lovely bench swing the owners had hanging from an old oak tree just off their front porch. If someone had told me that image was the inspiration for any number of novel covers, I wouldn’t have had reason to doubt it. One could easily imagine kids swinging back and forth and laughing while lemonade and ginger snaps sat at the ready on the front porch. It was perfect.
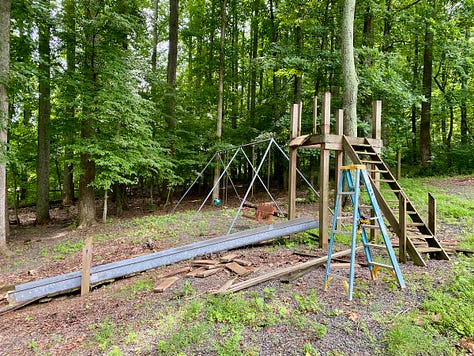
Back at our farm house, we also had a swing, but it was part of a 1970s-era galvanized metal New York City-style (my label) playground set. The set actually held several swings; two individual plastic swings and a love seat bench that was rather worn and tattered. Made from pressure-treated pine and stained a brownish red, the bench swing definitely had seen better days. The entire set sat above a gravel patch somewhat distant from the house. The whole situation was dated, disconnected, and somewhat dilapidated. To say it was a far cry from the idyllic tree swing I saw in Rappahannock would be to overly soften the comparison.
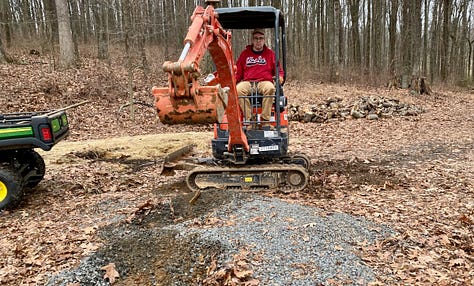
Inspired by the Rappahannock scene, I decided to take action on the home front. I cut down the swing set (and adjacent slide) and rented a mini excavator to dig up the six 250-pound concrete footings holding it in place. (Also, childhood fantasy fulfilled.) I filled in the holes left from the removed footings and schlepped the metal to the scrapyard. Already the back yard looked nicer.

My adult daughter had liked the swing set, even if she rarely used it, so she was disappointed that I had pulled it down, unaware that I had a new plan in mind. I took her to the back yard and showed her the giant oak tree that stretches 100 feet above our back patio. A thick limb about 50 feet from the ground juts out just where our back yard slopes into the woods.
“I was thinking we could put a swing there,” I said.
“Could you put the bench there?”
“I was thinking we could make a new one,” I suggested. She approved.
Better Than the Original
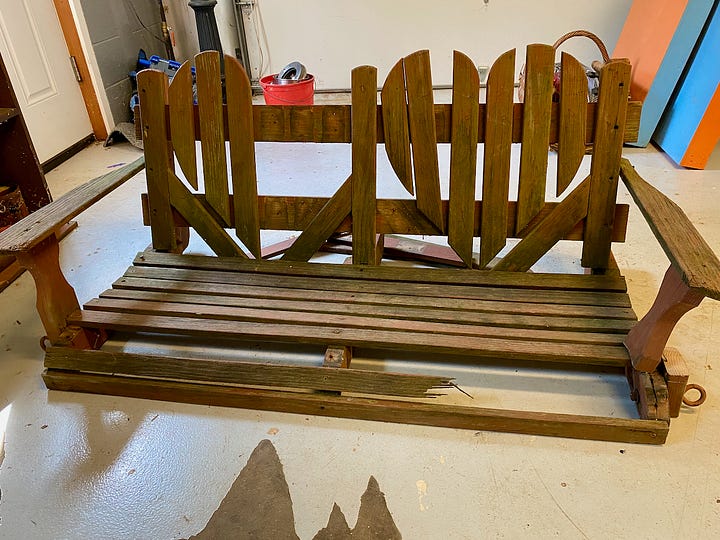
I took the original love seat bench swing into the shop. There wasn’t much hope for restoring it. It was badly weathered and not especially nice anyway. However, I did like the design. Built a bit like an Adirondack chair, the bench seat was made with about a dozen long slats that sat on three nicely curved/shaped supports. The bench’s back was made of vertical slats that were cut into the shape of two hearts. Love seat indeed!
Whereas the old bench was painted pressure treated pine, for the new bench I decided to use some of the oak lumber I had reclaimed from the property. Much of it had been stored under tarps in the woods for God knows how long and had been painted or stained and sported the occasional nail or screw. Even though some planks had rot, most were in quite good shape and would work well for this project.
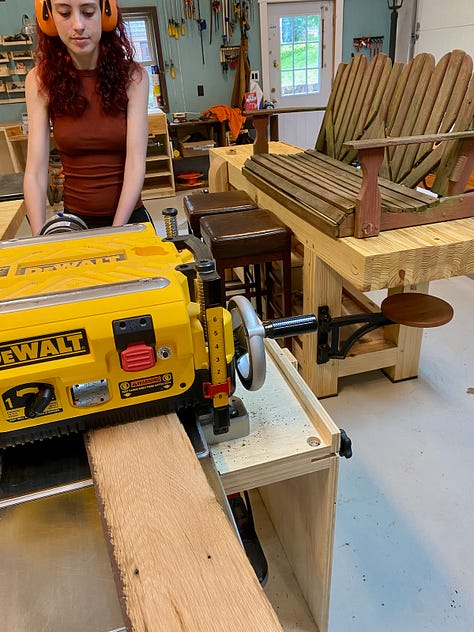



To begin, my daughter and I ran the planks through my planer (taking care to remove any of the remaining nails and screws). This cleaned up the boards quite nicely, though it also really, really makes me want to get a more powerful planer. Why, you might ask? Because that’s how this hobby works. Actually, I think it’s how every hobby works.
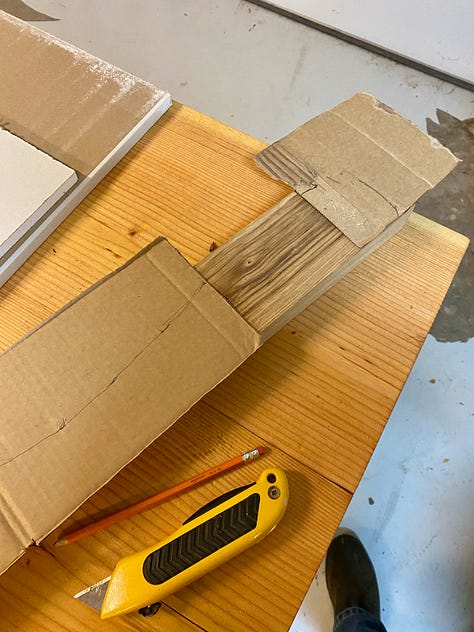
Once we had the boards cleaned up and to a uniform thickness, I used some of the pieces from the old bench as templates to cut the new pieces. That included two arm rests, the supports for the arm rests, the bench bottom braces, and the seat backs.
Some of the reclaimed wood had bits of rot or worm holes or other defects in it that I decided I need to patch. To do that, I mixed up some two-part clear epoxy and filled the holes that I thought needed attention. It wasn’t that every possible dot needed to be filled, but I thought that anything that might trap water and thus accelerate rot should be addressed.
After the epoxy dried and I sanded it smooth, I rounded over the edges of any piece that a person might touch, Then I sanded everything smooth.
Since the bench would be outside most of the time, I wanted to apply finish to the pieces before assembly so that everything would be protected. Doing that after assembly would leave raw wood in joints vulnerable to deterioration.
I applied a natural stain to the oak and then several coats of spar urethane, which is best for situations where the wood will be regularly exposed to the elements.

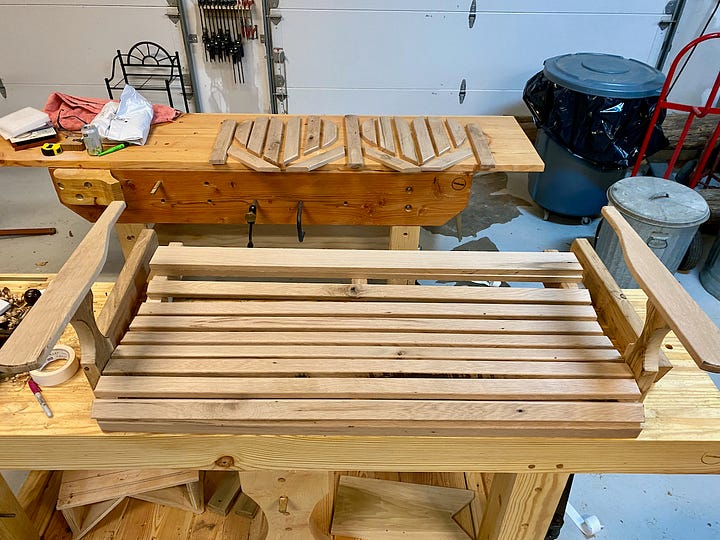

Once everything had received multiple coats and was dry, I started assembly. I used spacers to keep all of the slats evenly spaced. Clamps galore helped hold pieces together as I drilled pilot holes and countersinks for the stainless steel screws to sit in. I picked screws with pretty square-drive heads, not only because they don’t strip, but also because I think they just look nice.
This is also when I turned to Etsy to make the bench not just a pretty addition to the house, but a meaningful memory to one of my two beloved sisters-in-law who died last year. I found an Etsy seller who makes custom-engraved stainless steel plaques and placed my order. When it arrived a few days later, I set it in place with epoxy.
Up, Up, and Away
As happy as I was with the bench build, there was a critical issue still to be worked out: hanging it from the tree. Sometimes I think I can do more than I really can (or should), but in this case I knew that I was not going to be hanging this bench from a tree limb 50 feet in the air. (I did briefly consider renting a lift, but decided that was stupid.)
I called a couple of tree services. The first guy who came out suggested drilling two holes through the tree limb and bolting long eye bolts through it. In time, he said (and I also read this online), the tree would actually grow over the bolts. The second guy wanted to just loop two ropes over the limb, which I had read was a great way to cause damage to the tree, essentially slicing into the bark like a tourniquet. He also kind of weirded me out. I went with the first guy.
But, before he could do the work, I needed to get rope to hang from the eye bolts. For that, I turned to rightrope.com, which is freaking awesome. I don’t know what your rope needs are, but when the day comes where you find yourself wanting just the right rope, this site has you covered. Not only do they have many types of rope, and not only will they cut it to your specified length, but they’ll also prepare the ends for you. In my case, I needed two ropes (one for each side of the bench) and I wanted the ends thimble spliced with a metal thimble inserted into the splice so that the friction of the swing would be handled by the metal rather than on the rope.
The only catch was that I needed to figure out the exact length of the ropes because the ends would be pre-configured. I couldn’t adjust the lengths of the ropes later. And since the tree limb extends upward from the trunk as well as outward, the two lengths were not going to be the same.
I thought about how to do this for a bit, recalling my 7th-grade match class and the pythagorean theorem. However, that was not going to get me the precision I needed. So instead I bought a laser measurer from Home Depot and used that to get better measurements. I settled on 33 feet and 38 feet. Even if that wasn’t perfect, it was close enough that I could make further adjustments with the stainless steel chain that would connect the rope to the bench.
Once the ropes arrived, my tree guy brought two Guatemalan workers with him to do the actual labor. One tossed a line over a high limb and the other attached it to his harness. With spikey tree-climbing spurs and rope circling the girth of the oak, he clambered his way up the tree. Once we settled on the location of the first eye bolt, he drilled through the limb and bolted the eye in place. We attached one end of the shorter rope to the eye with a link bolt. Then we did the same higher up the limb for the second rope, doing our best to set them evenly.


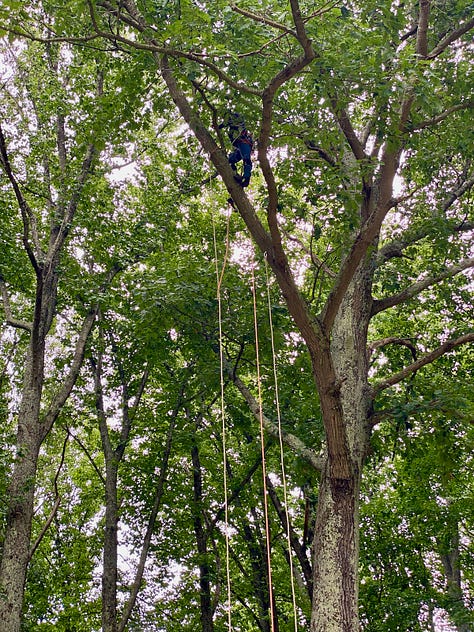


Once the bolts and ropes were secure, we connected stainless steel chain to the bottoms of the ropes and connected the chains to the bench itself. After several adjustments, we had the bench at the right height and nicely level.
I insisted the Guatemalans give the swing the first go, which they did, perhaps slightly reluctantly.
Dedication
Although the bench was in place, there was still one more detail to be worked out. In honor of my sister-in-law, I invited my sister (her wife) and their daughter and her boyfriend out to the house to dedicate the swing. While they knew something was up, they didn’t know what I had planned.
I took them out back, where the bench was covered in a blanket. We pulled it off. I showed them the plaque. And then they sat down for a swing. I’m not going to lie; It wasn’t as good as the Rappahannock farmhouse swing. It was better.


